
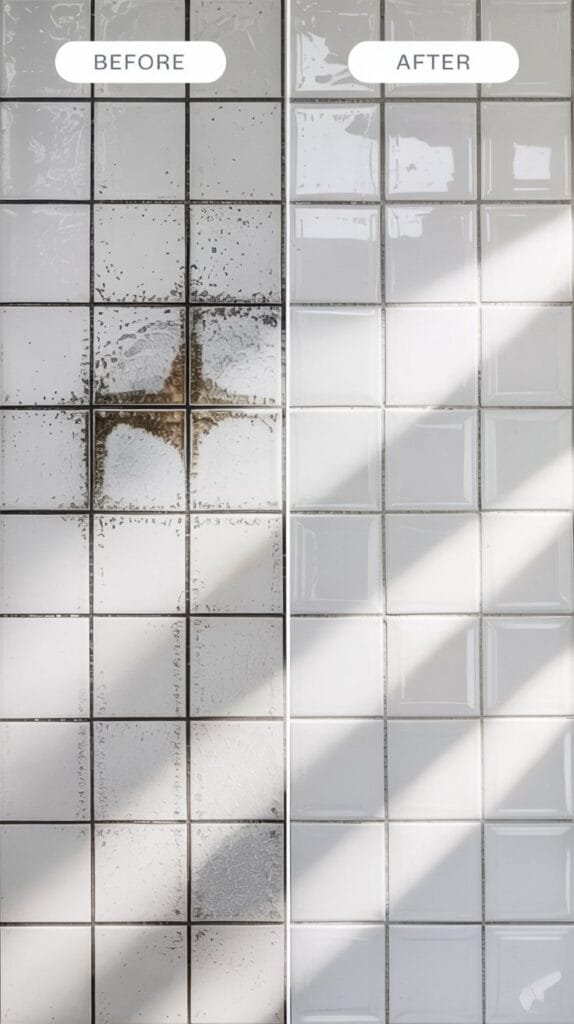
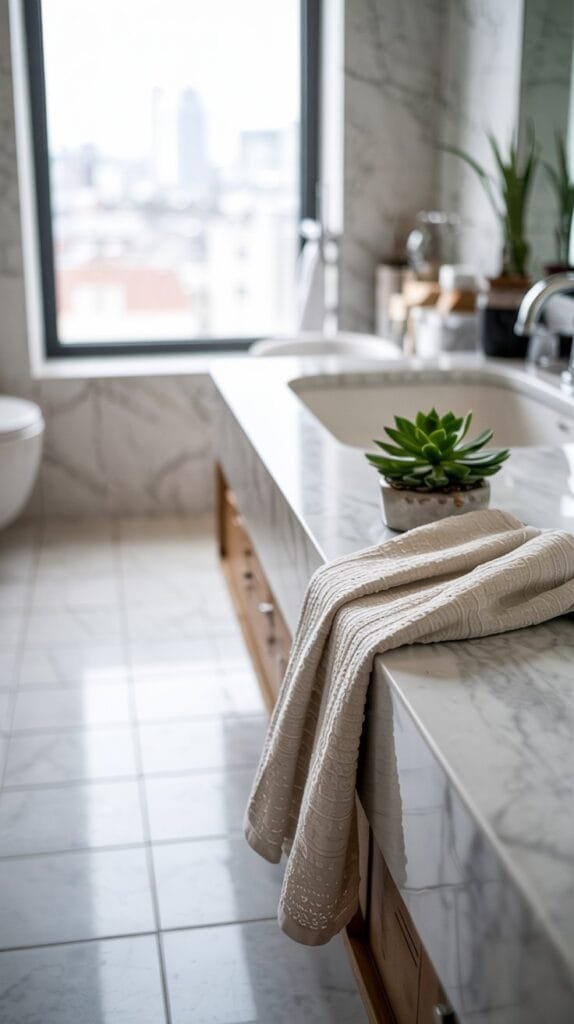
There’s nothing quite like the feeling of sparkling clean tile floors — the kind where grout lines vanish and your whole room feels lighter.
Dirty grout, though, can make even the prettiest tiles look tired.
Let’s fix that. Here’s a modern, practical guide to cleaning grout, keeping your floors stylish and fresh.
Why Grout Cleaning Matters
Grout is porous, which means it soaks up spills, dirt, and dust faster than your tiles.
Left unchecked, it darkens, cracks, or even harbors bacteria. Regular cleaning keeps your floors looking crisp and your home feeling hygienic.
Plus, it’s incredibly satisfying when your grout goes from dingy to pristine — almost like a mini home reset.
Step-by-Step Guide to Cleaning Grout
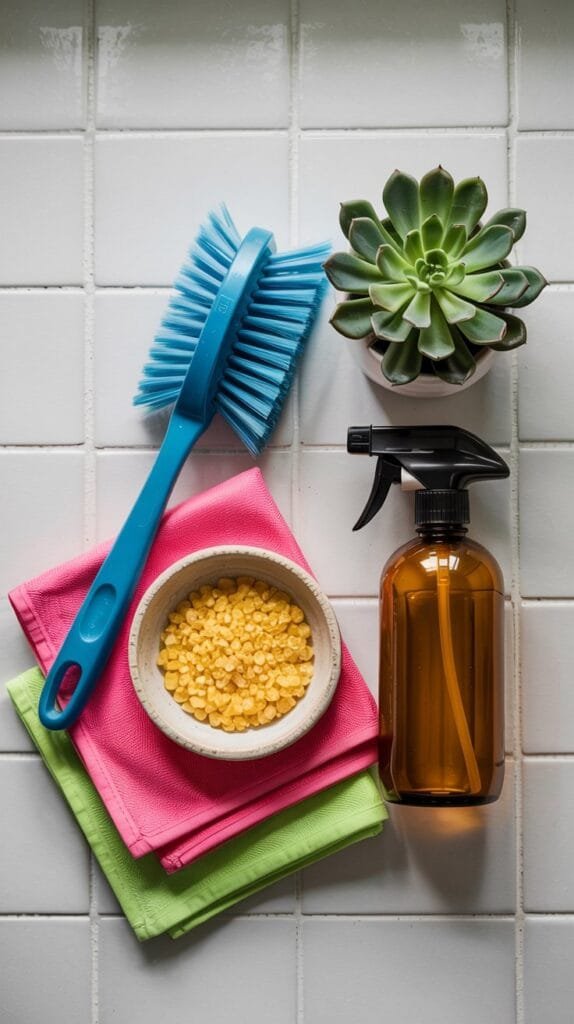
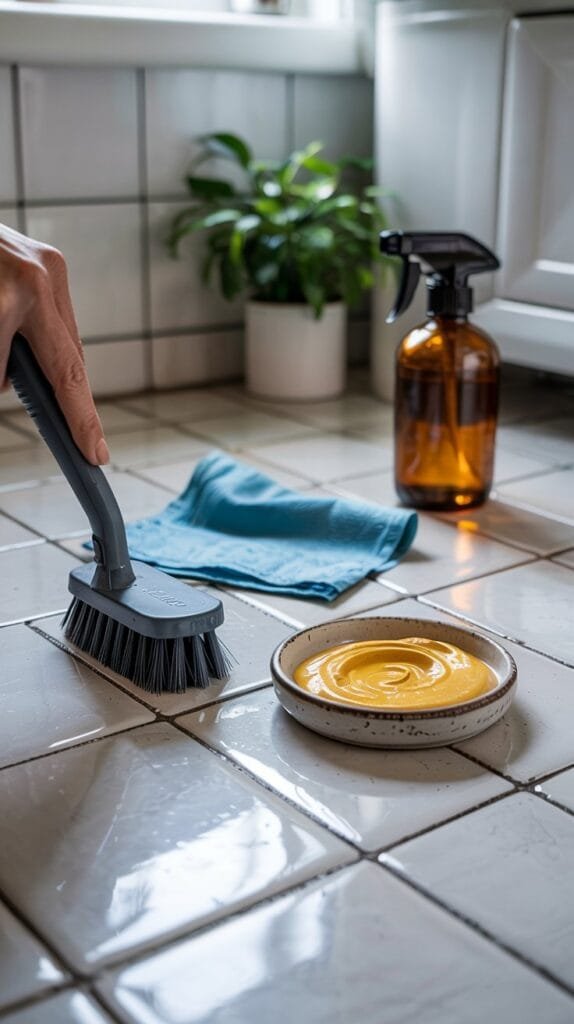
1. Gather Your Tools
Before you start, make sure you have everything in one place:
- Scrub brush with stiff bristles (natural fiber or nylon)
- Old toothbrush for tight corners
- Microfiber cloths for wiping
- Bucket for water and cleaning solutions
- Protective gloves
Optional products:
- Baking soda
- White vinegar
- Oxygen bleach or specialized grout cleaner
- Steam mop with grout attachment
2. Prep the Floor
- Sweep or vacuum to remove dust and loose dirt.
- Wipe the tiles with a damp microfiber cloth to get rid of surface grime.
- Protect baseboards or nearby surfaces with painter’s tape if using stronger solutions.
3. Choose Your Cleaning Solution
- DIY option: Make a paste of baking soda + water, spread it over grout lines.
- Spray lightly with white vinegar for a fizzy lift on stubborn stains.
- Store-bought: Oxygen bleach or grout-specific cleaners work fast and are gentle on tile.
Tip: Always test a small area first to make sure there’s no discoloration.
4. Scrub Like a Pro
- Work in small sections.
- Use a stiff-bristled brush to scrub the paste into the grout, letting the cleaning solution sit for 5–10 minutes first.
- For corners or tiny areas, switch to an old toothbrush.
- Keep tiles wet to prevent scratching.
Pro tip: Circular motions and gentle pressure are your friends — you don’t need to go brutal.
5. Rinse Thoroughly
- Wipe away residue with a damp microfiber cloth.
- Mop with clean water to make sure no cleaner remains.
- Dry with a soft towel or allow to air-dry.
6. Maintain Clean Grout
- Seal grout lines every 6–12 months to repel stains.
- Wipe spills immediately, especially oils or colored liquids.
- Lightly mop regularly with warm water and mild soap.
Quick Grout Cleaning Checklist
- ✅ Sweep or vacuum first
- ✅ Gather all brushes and cleaning products
- ✅ Apply paste or cleaner in small sections
- ✅ Scrub grout lines with brush or toothbrush
- ✅ Rinse and dry thoroughly
- ✅ Seal grout for long-lasting results
Stylish Product Suggestions
- Stiff Nylon Grout Brush: Perfect for deep cleaning without scratching tile.
- Microfiber Mop: Smoothly lifts dirt and residue while keeping tiles streak-free.
- Oxygen Bleach Powder: Gentle yet effective for stubborn grout stains.
- Ceramic Tile Cleaner Spray: Adds subtle shine and removes lingering grime.
- Protective Gloves: Keep hands safe while scrubbing and handling solutions.


These products make grout cleaning feel less like a chore and more like a small spa treatment for your floors.
Cleaning grout doesn’t have to be intimidating. With a structured routine, the right tools, and a few clever tricks, your tile floors can look brand-new — crisp, bright, and surprisingly satisfying to maintain.
Your home deserves this kind of attention — and your tiles will thank you.
All designs featured here are imaginative visual concepts. Every image is original and thoughtfully created by Shinku Studio.
Comments
One response to “How to Clean Grout on Tile Floors”
[…] The result? Crisp, clean lines that look freshly tiled.(And if you want a full deep-dive, check out How To Clean Grout On Tile Floors). […]