
When you’ve got an above-ground pool, privacy isn’t just a luxury—it’s a legit mood boost. You want to swim in peace, not pop out to wave hello to the entire neighborhood. DIYing a privacy wall is totally doable, and you’ll save money while getting a look you actually love. Let’s dive in (pun intended) and sketch out a wall that looks great, holds up, and plays nice with your yard.
Start with a honest plan: what you want your privacy wall to do
Before you grab power tools and a coffee, ask yourself a few questions. Do you want shade, sound dampening, or just a visual barrier? Are you aiming for a tall, imposing fortress or a low, breezy screen? Answering these helps you pick materials and a height that won’t annoy your HOA or your inner perfectionist.
– Define purpose: visual block, windbreak, or sound dampener
– Decide on height: 4–6 feet is common for privacy; taller if zoning allows
– Choose style: lattice, vertical slats, or a solid panel look
– Budget reality check: predict hardware, fasteners, sealant, and paint
Material options: what actually stays sane after a summer of sun
Your material choice sets the vibe and the maintenance schedule. Here are the main routes, from low-fuss to “I want a statement wall.”
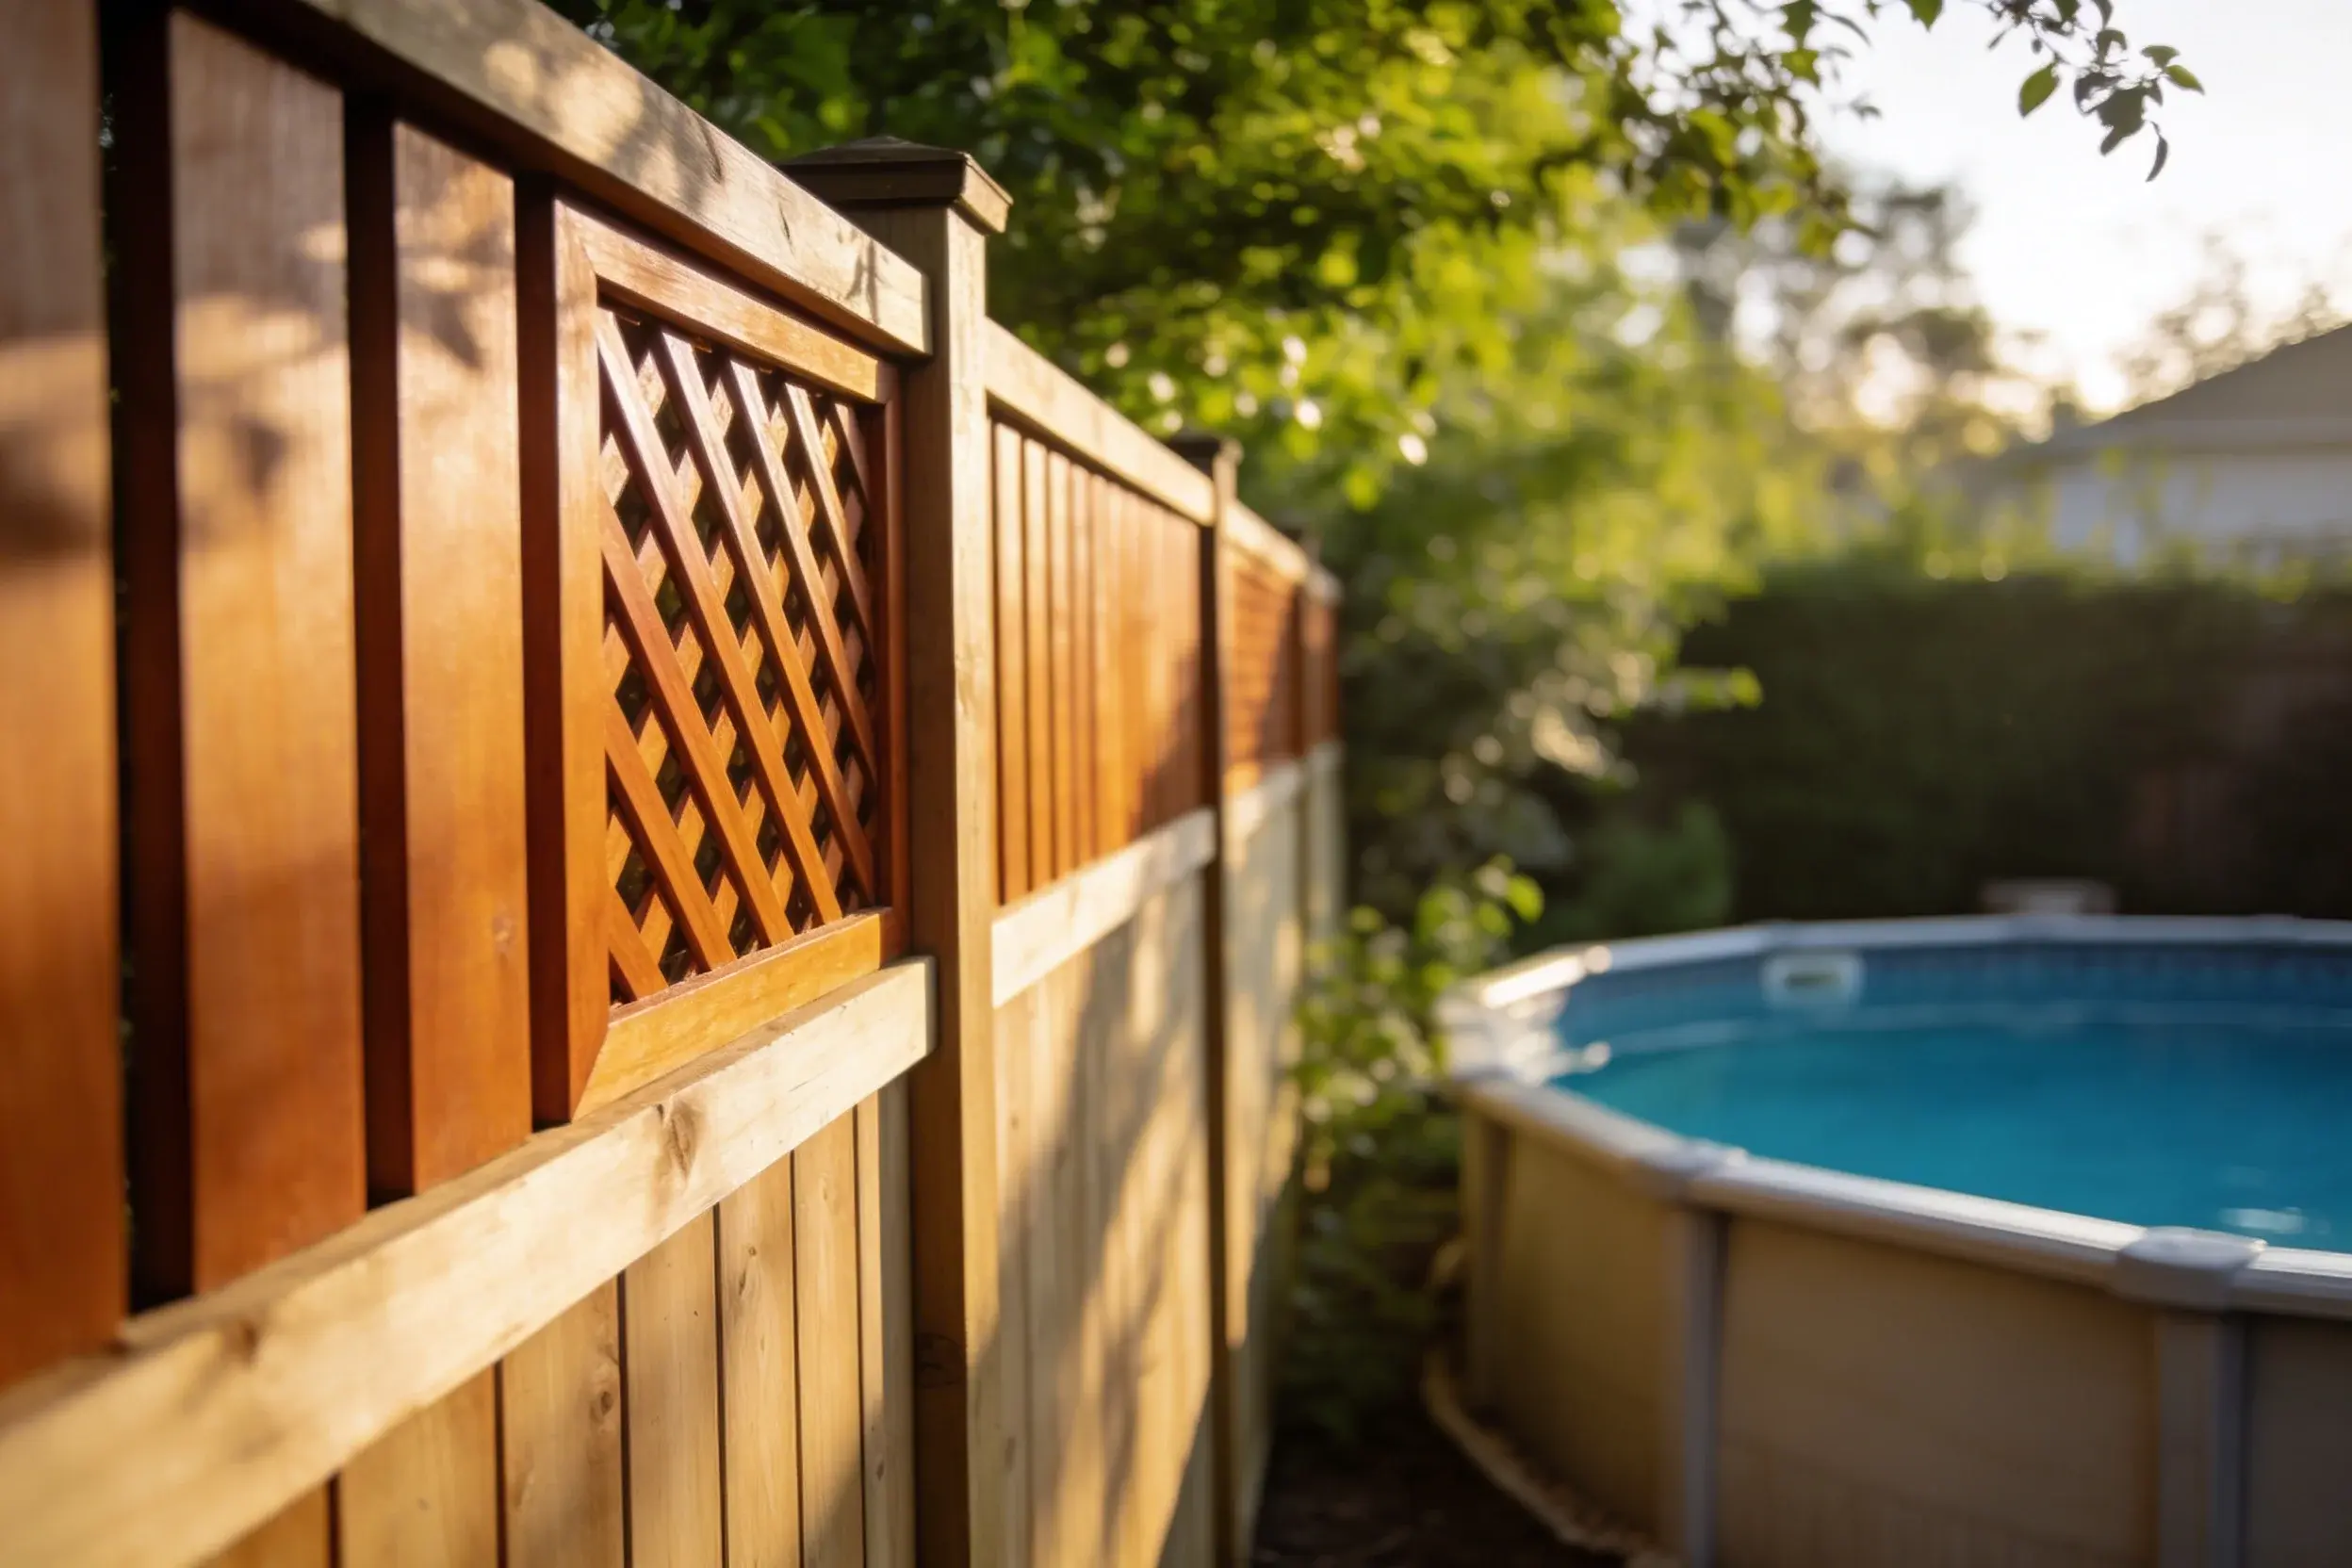
Wooden slat wall
– Quick to install, relatively affordable
– Need sealant or paint every couple of years to combat rot and warping
– Gives you warm, natural look that ages nicely
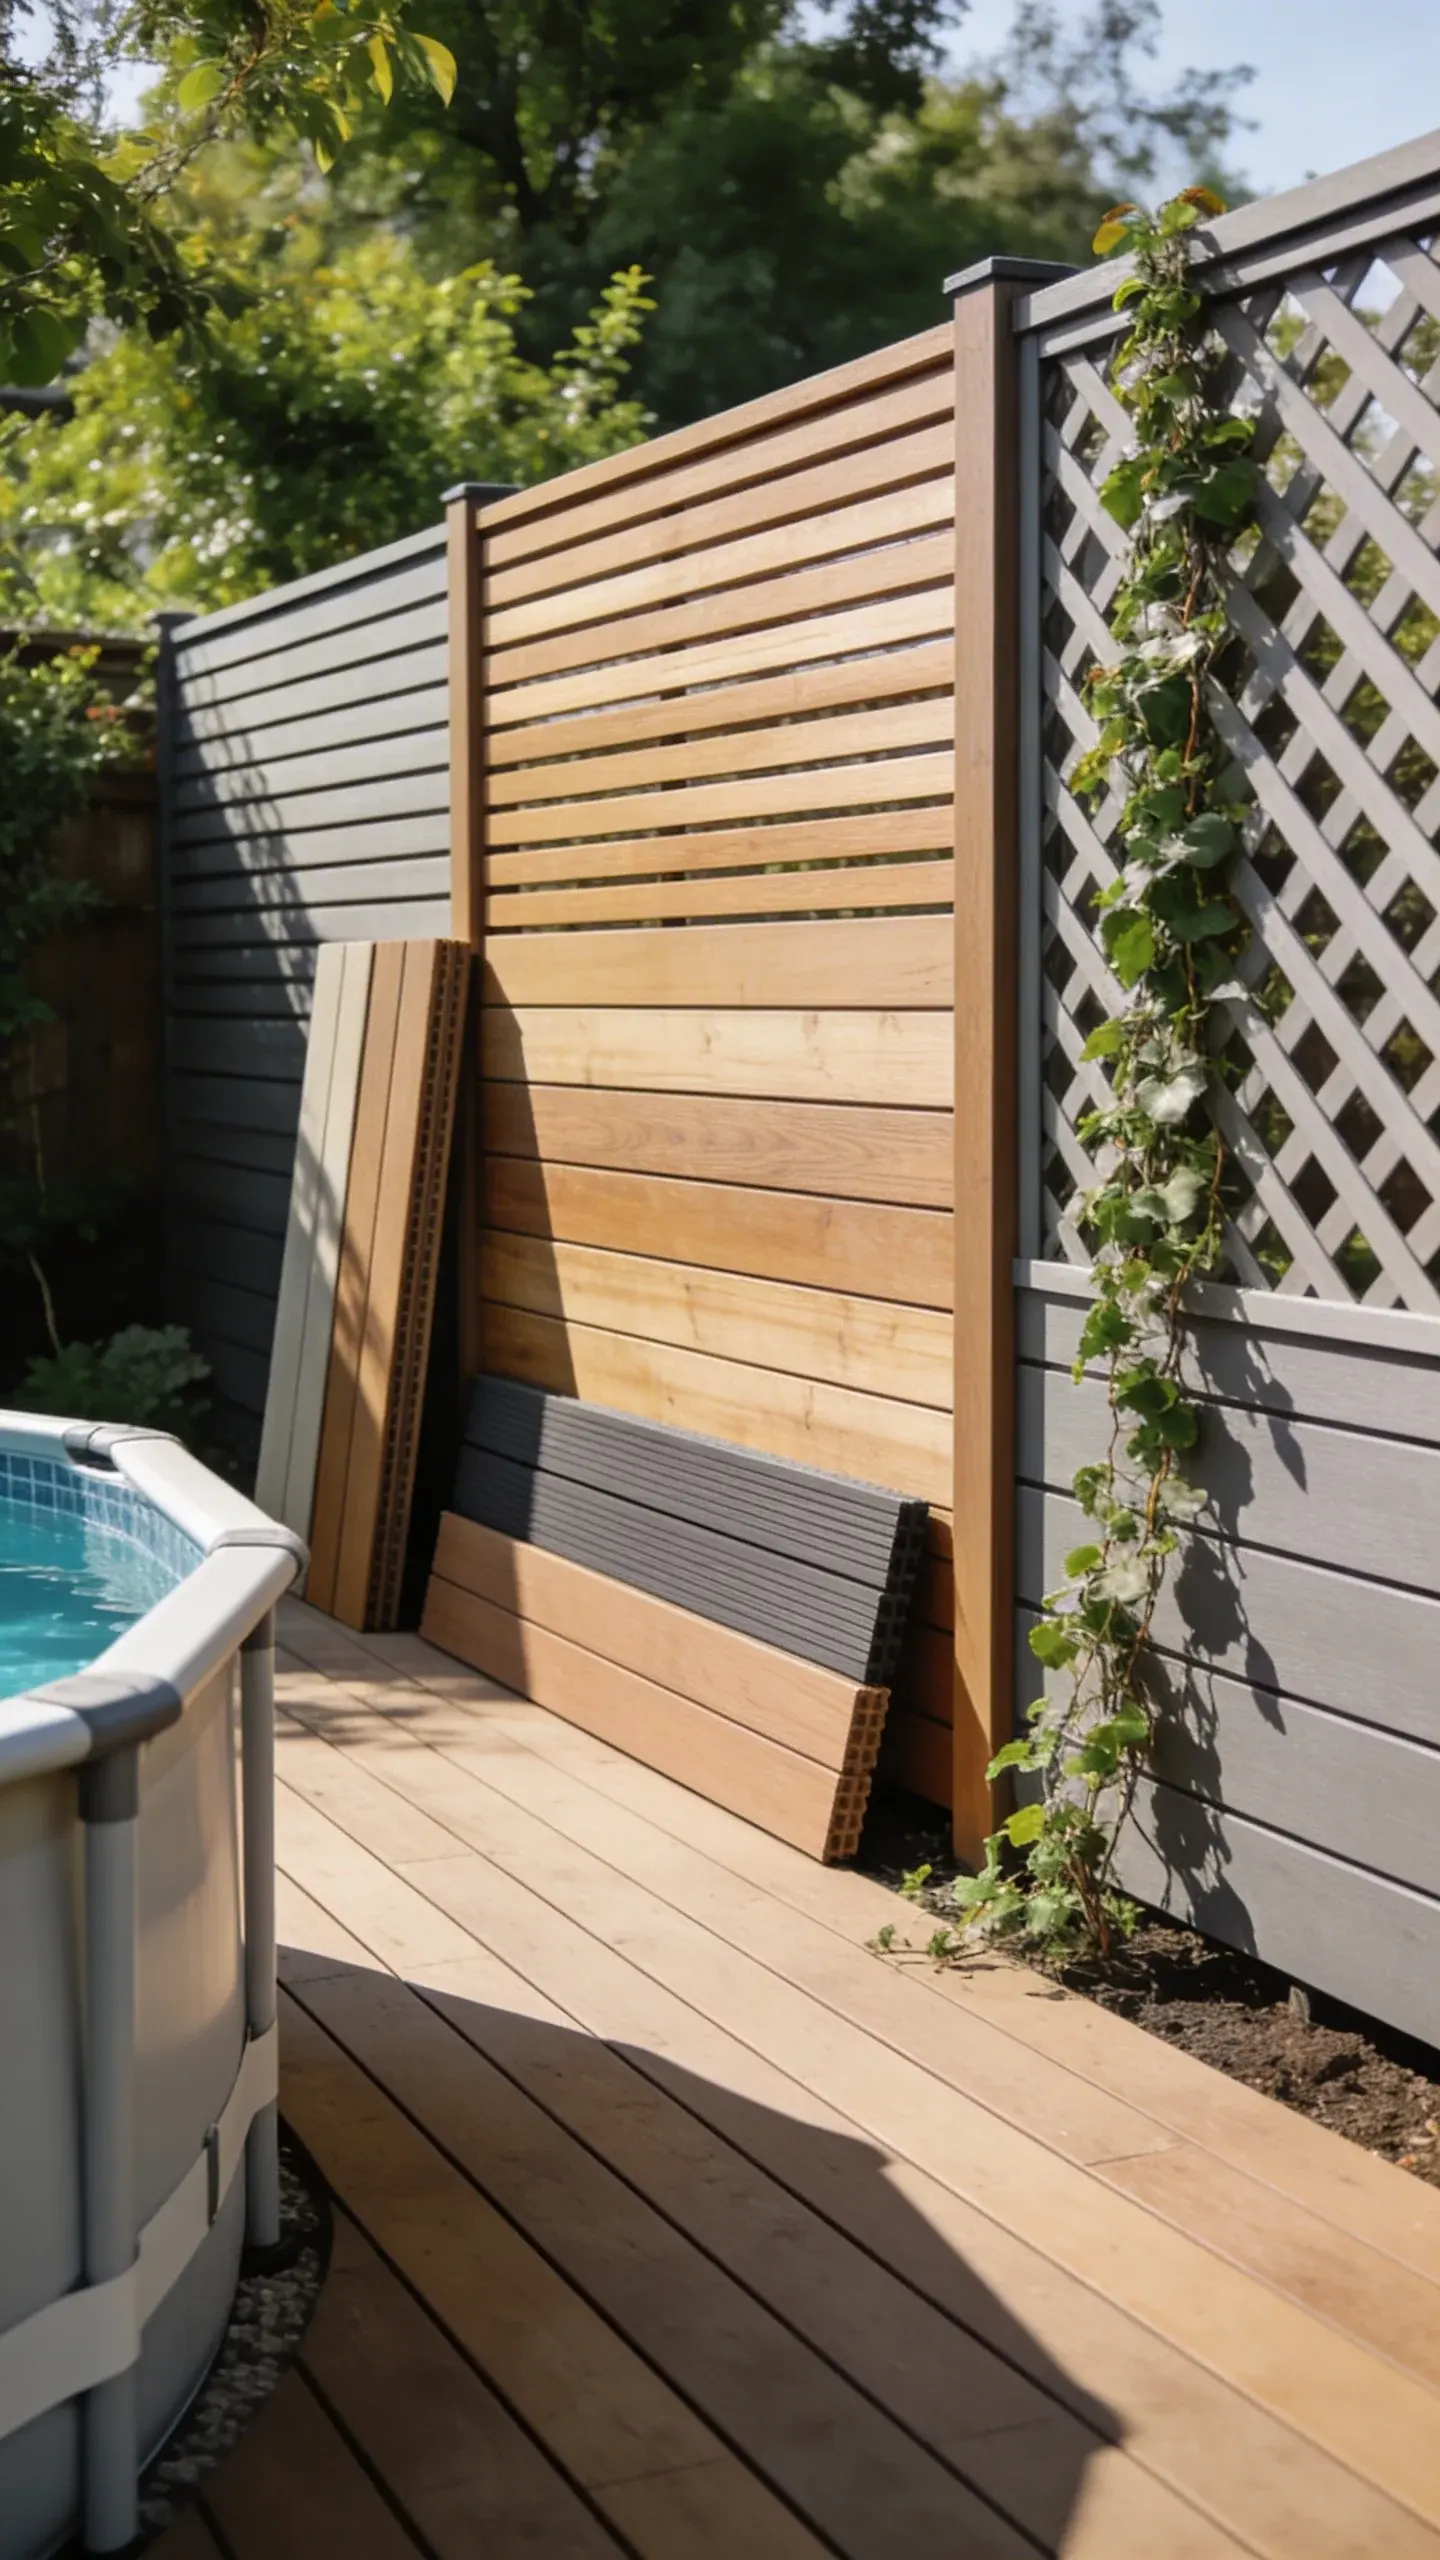
Lattice panels
– Great for airflow and light, less oppressive than solid panels
– Can be snazzed up with climbing plants for added privacy
– Basic maintenance but keep an eye on loose slats
Composite or PVC panels
– Minimal maintenance, great durability, holds color well
– Higher upfront cost, but you get easy cleaning and longevity
– Modern, clean look that pairs nicely with concrete or decking
Repurposed materials
– Pallets, old shutters, or fence boards can be charming if you plan properly
– Watch for splinters, nails, and rot—safety first with kids and pets
Height, safety, and code reality checks
Privacy is fantastic, but you don’t want to become the neighbor who triggers a permit saga. Do a quick check before you start sawing.
– Check local codes for pool barrier height requirements
– Ensure the wall doesn’t obstruct pool access or safety equipment
– Leave space for drainage and maintenance access
– Plan for sturdy anchoring—solid posts or rails that won’t wobble in a storm
Anchoring options that actually hold up
– Post-and-rail: set posts in concrete for a rock-solid base
– Deck-mounted railing: if your pool sits on a deck, anchor into deck framing
– Ground spikes: fast, easy, not as permanent as concrete—but still sturdy
DIY step-by-step: a straight path from idea to reality
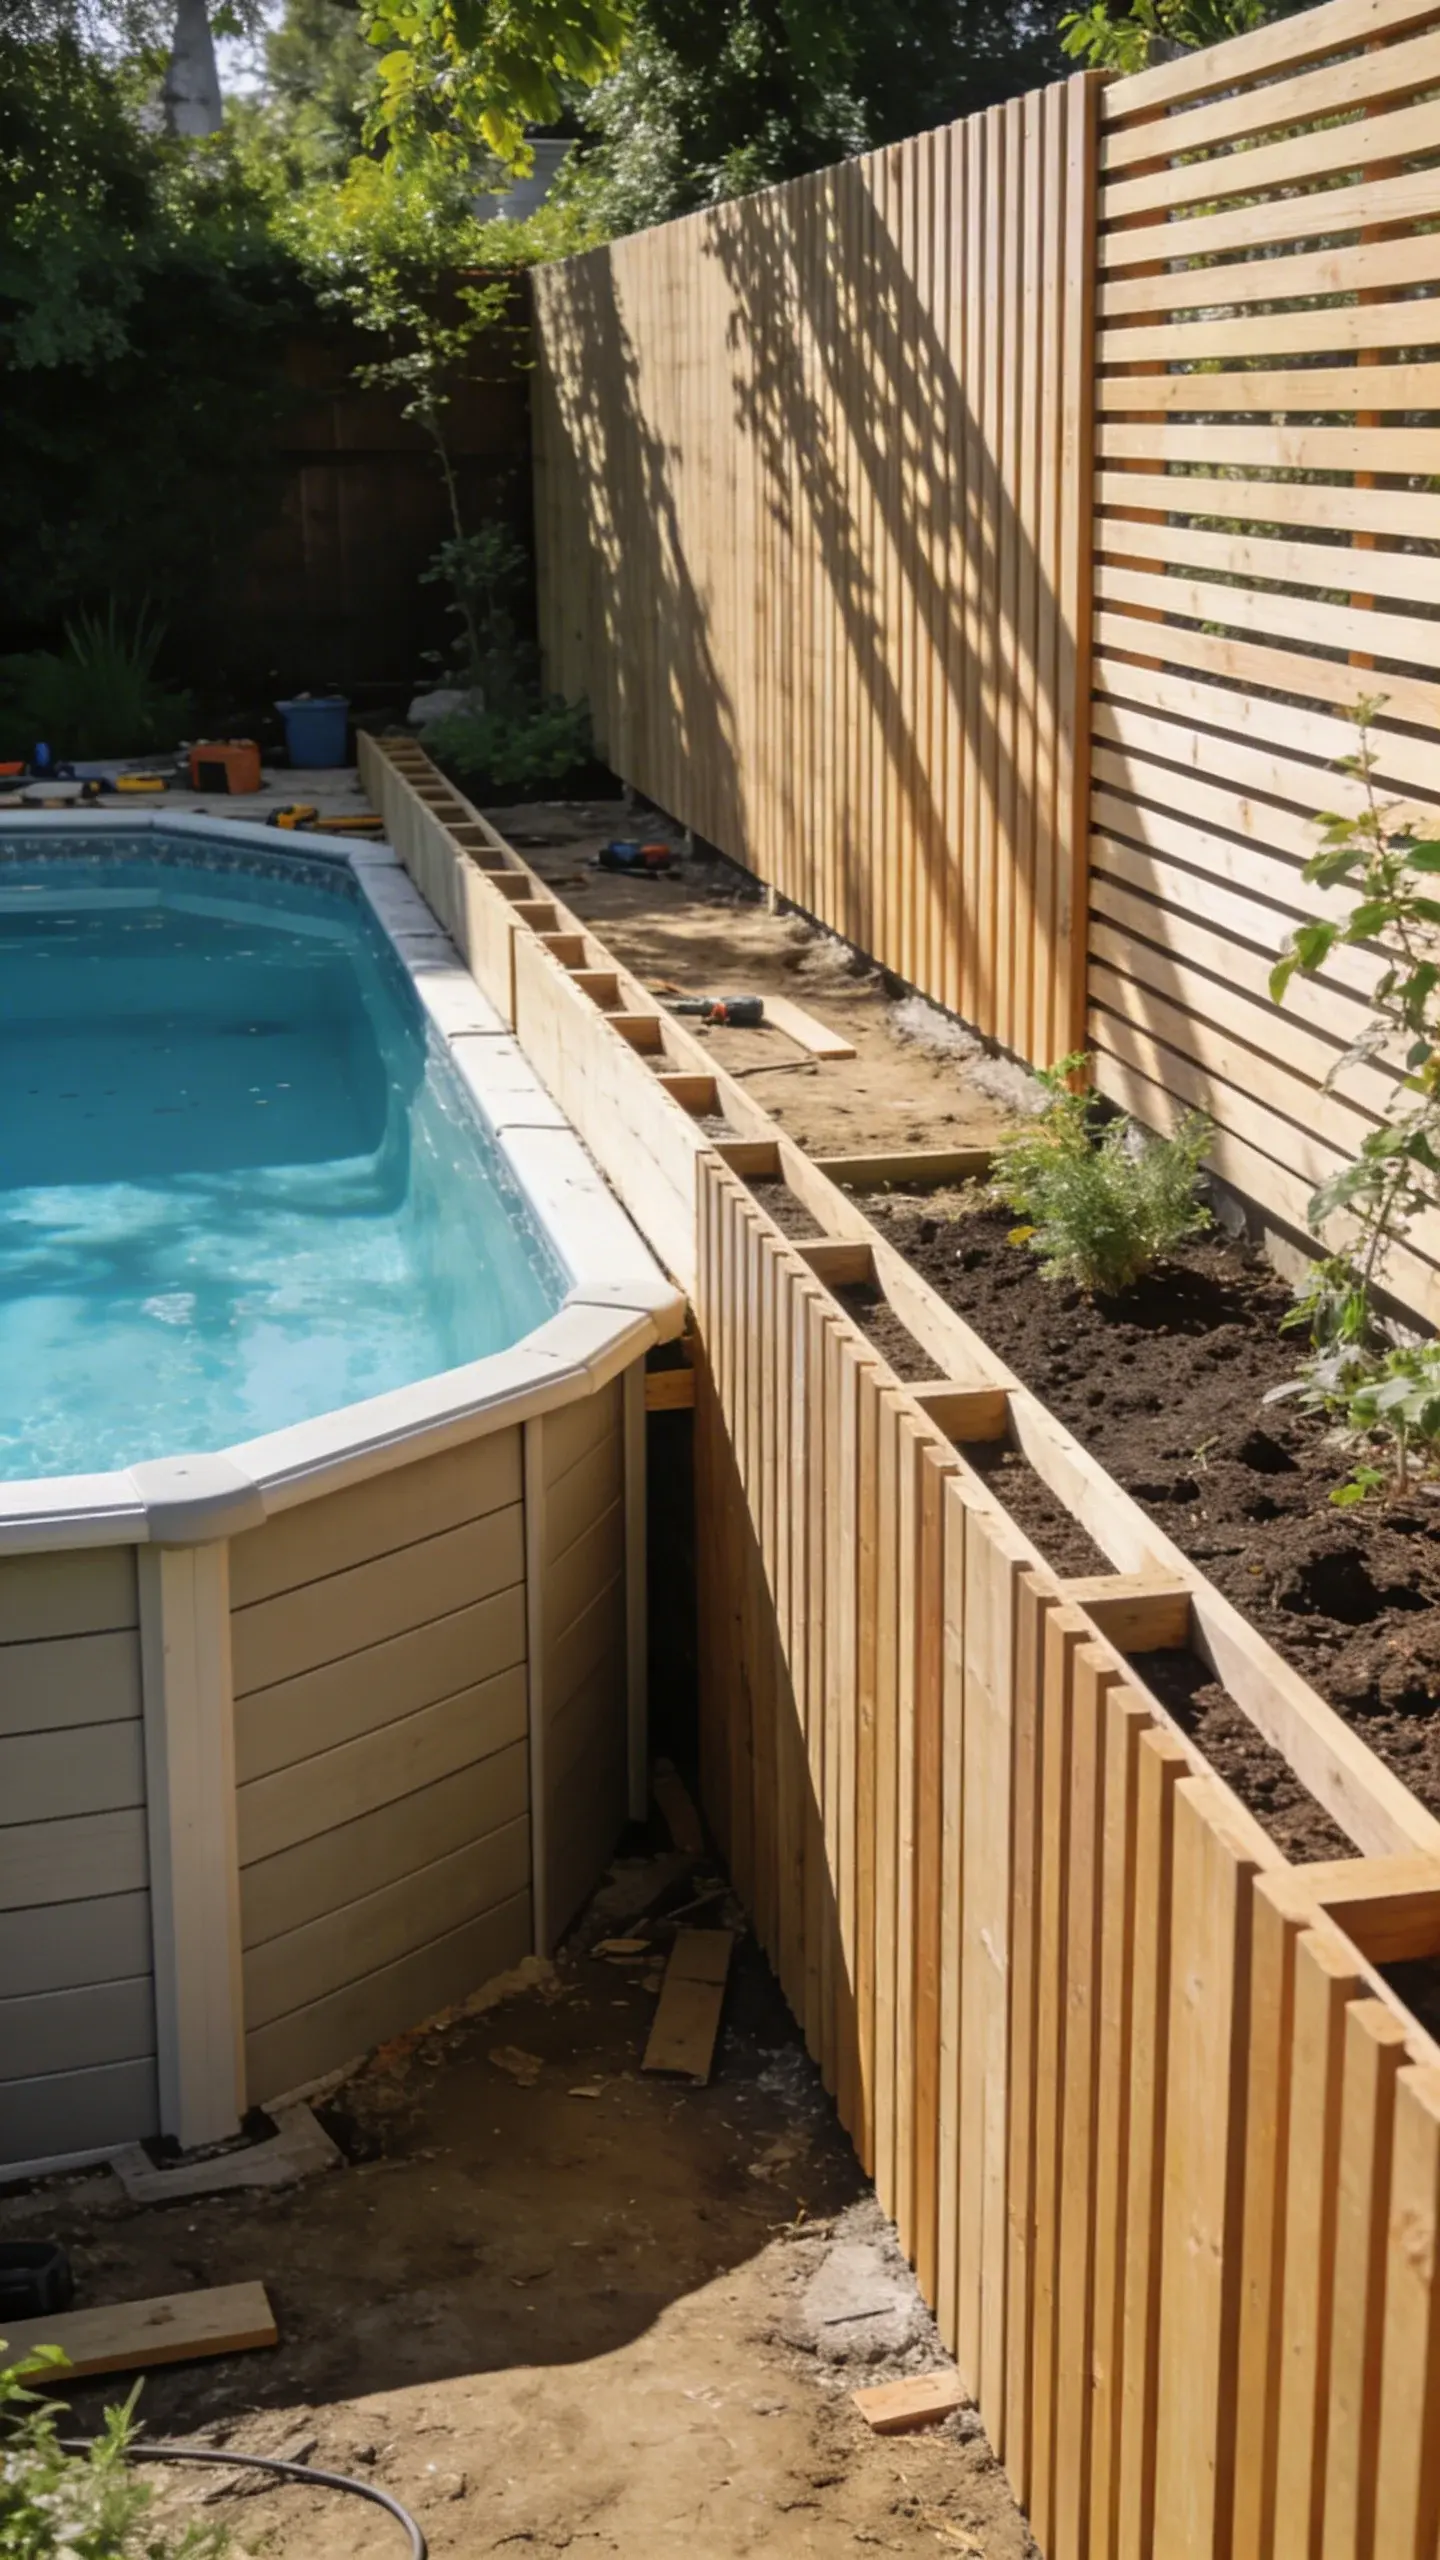
Here’s a practical outline you can actually follow. Feel free to mix and match steps based on your yard and materials.
– Measure the span: know exactly how long the wall needs to be
– Decide on panel dimensions: 12–24 inches wide per panel is easy to handle
– Prepare the site: clear debris, mark posts, and lay a chalk line
– Install posts: dig holes, pour concrete, set posts plumb
– Attach rails or panels: square, level, and securely fastened
– Add finishing touches: paint or stain, seal edges, and install any trim
– Test for stability: give the wall a gentle wiggle; if it moves, redo the footing
Stain, paint, or seal: choosing the finish
– Wood: use exterior stain or paint with a UV shield
– Composite: usually just needs a rinse; avoid harsh cleaners
– PVC: typically stays white or color-matched; occasional soap and water suffices
Plants as allies: climbing vines and green privacy
If you love a softer look, or you want a living screen that ages gracefully, plants are a genius addition.
– Quick climbers: ivy, clematis, or climbing roses
– Best fast-growers for privacy: trumpet vine, student of the garden cast
– Maintenance: regular pruning to prevent overgrowth and pool access obstruction
– Soil and sun needs: make sure the wall gets enough light for the plants you pick
Smart planting tips
– Plant roots away from the pool’s footing to protect the foundation
– Use planters or trellises that won’t become projectiles in high winds
– Offer a watering plan that keeps both wall and plants thriving
Finishing touches that actually look intentional

A great privacy wall feels cohesive with your backyard design. Small details make a big difference.
– Cap rails or trim: a small top piece hides rough edges and adds a finished look
– Lighting: solar post lights along the wall or subtle stake lights create mood and safety
– Accessories: hang a tasteful outdoor clock, a towel rack, or a wall-mounted shelf for pool gear
– Regular maintenance schedule: a 15-minute monthly check beats a weekend-long overhaul
Why I love a hint of personality
A bold color on the wall or quirky outdoor art keeps it from feeling like a prison fence. FYI, a little humor—like a cheeky sign—can be totally part of your vibe without being tacky.
FAQ
How tall should a privacy wall be around an above-ground pool?
A common range is 4 to 6 feet, depending on local codes and neighbor visibility concerns. If you want extra drama, you can go taller—but confirm permit and safety rules first.
What materials are best for a rainy climate?
Composite or PVC panels hold up well in wet environments with minimal maintenance. If you’re using wood, choose rot-resistant species and seal regularly to prevent warping.
Can I build this by myself, or should I hire help?
You can absolutely DIY a privacy wall if you’re comfortable with basic carpentry and level checks. For larger spans or challenging soils, a pro can save you time and headaches.
How do I protect the wall from wind damage?
Anchor posts firmly in concrete, use cross-bracing if needed, and avoid overly heavy top pieces that catch wind. Add lateral supports at mid-height if you’re in a gust-prone area.
How do I maintain the wall over time?
Schedule a yearly check: tighten fasteners, reseal wood, repaint or restain as needed, and inspect for rot or cracks. Quick touch-ups prevent bigger problems later.
Conclusion
So, you’re ready to turn your bare pool perimeter into a private retreat. With a clear plan, smart material choices, and a few DIY tweaks, you’ll get a wall that feels custom, not cookie-cutter. It’s doable, it’s satisfying, and it might just become your favorite part of the backyard. IMO, a well-built privacy wall pays you back in calm, shade, and a little extra swagger every pool day. If you want, we can sketch a materials list tailored to your space and climate—just tell me your pool diameter, yard conditions, and preferred look.