
Some links in this post are affiliate links. If you buy through one, I may earn a small commission at no extra cost to you. As an Amazon Associate I earn from qualifying purchases.
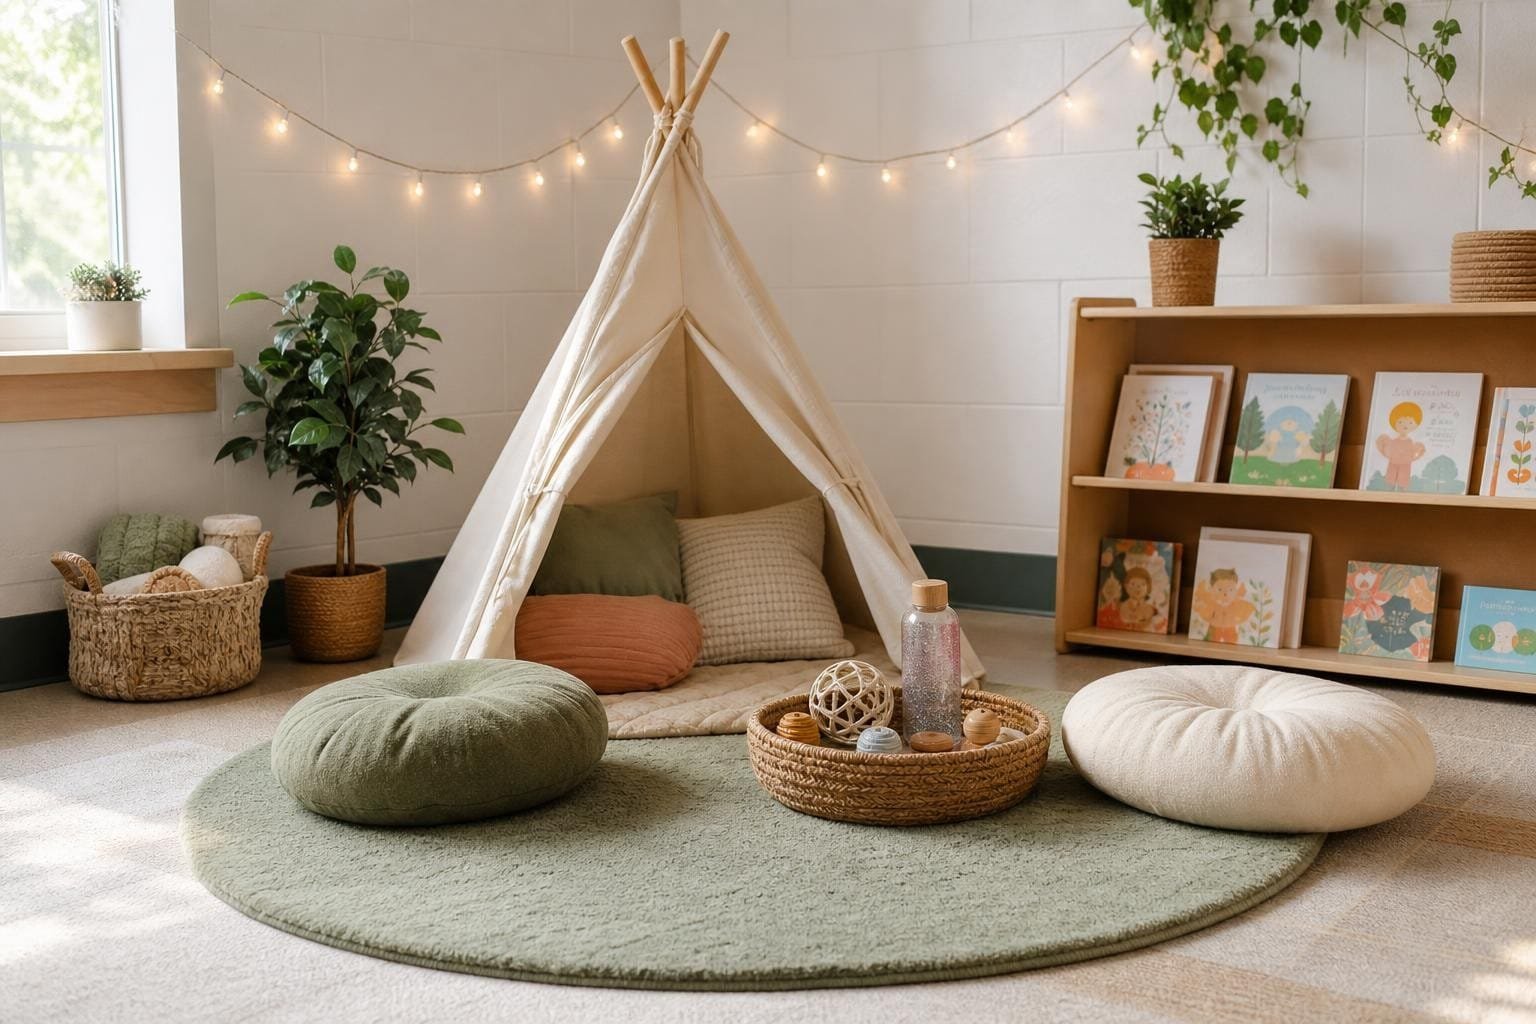
The short answer: a calm down corner works when it is small, visible, boring in the best way, and taught before anyone needs it. Pick a quiet spot you can see from anywhere in the room, add one soft seat, three to five calming tools, a simple feelings visual and a timer, then practice using it on a good day. That is the whole setup. Everything below is how to make each of those pieces actually work.
Most calm corners fail for the same reasons: they become a reward hangout, a punishment chair, or a toy shelf that takes ten minutes to tidy. In the classrooms I work in, the corners that last are the ones children can use on their own in under five minutes and come back from ready to learn. Here is how to build one like that, step by step.
 Save
SaveWhat is a calm down corner, and what is it not?
A calm down corner is a small, predictable space where a child can go to notice a big feeling, use a calming tool, and return to learning. It is a skill station, not a consequence. Children are never sent there as a punishment, and it is not a prize for finishing work early. If it turns into either of those, children stop trusting it.
- It is: a self regulation tool, open to everyone, with a clear routine and a time limit.
- It is not: time out, a reward, a place to avoid work all afternoon, or a toy corner.
Step 1: Choose the right spot
 Save
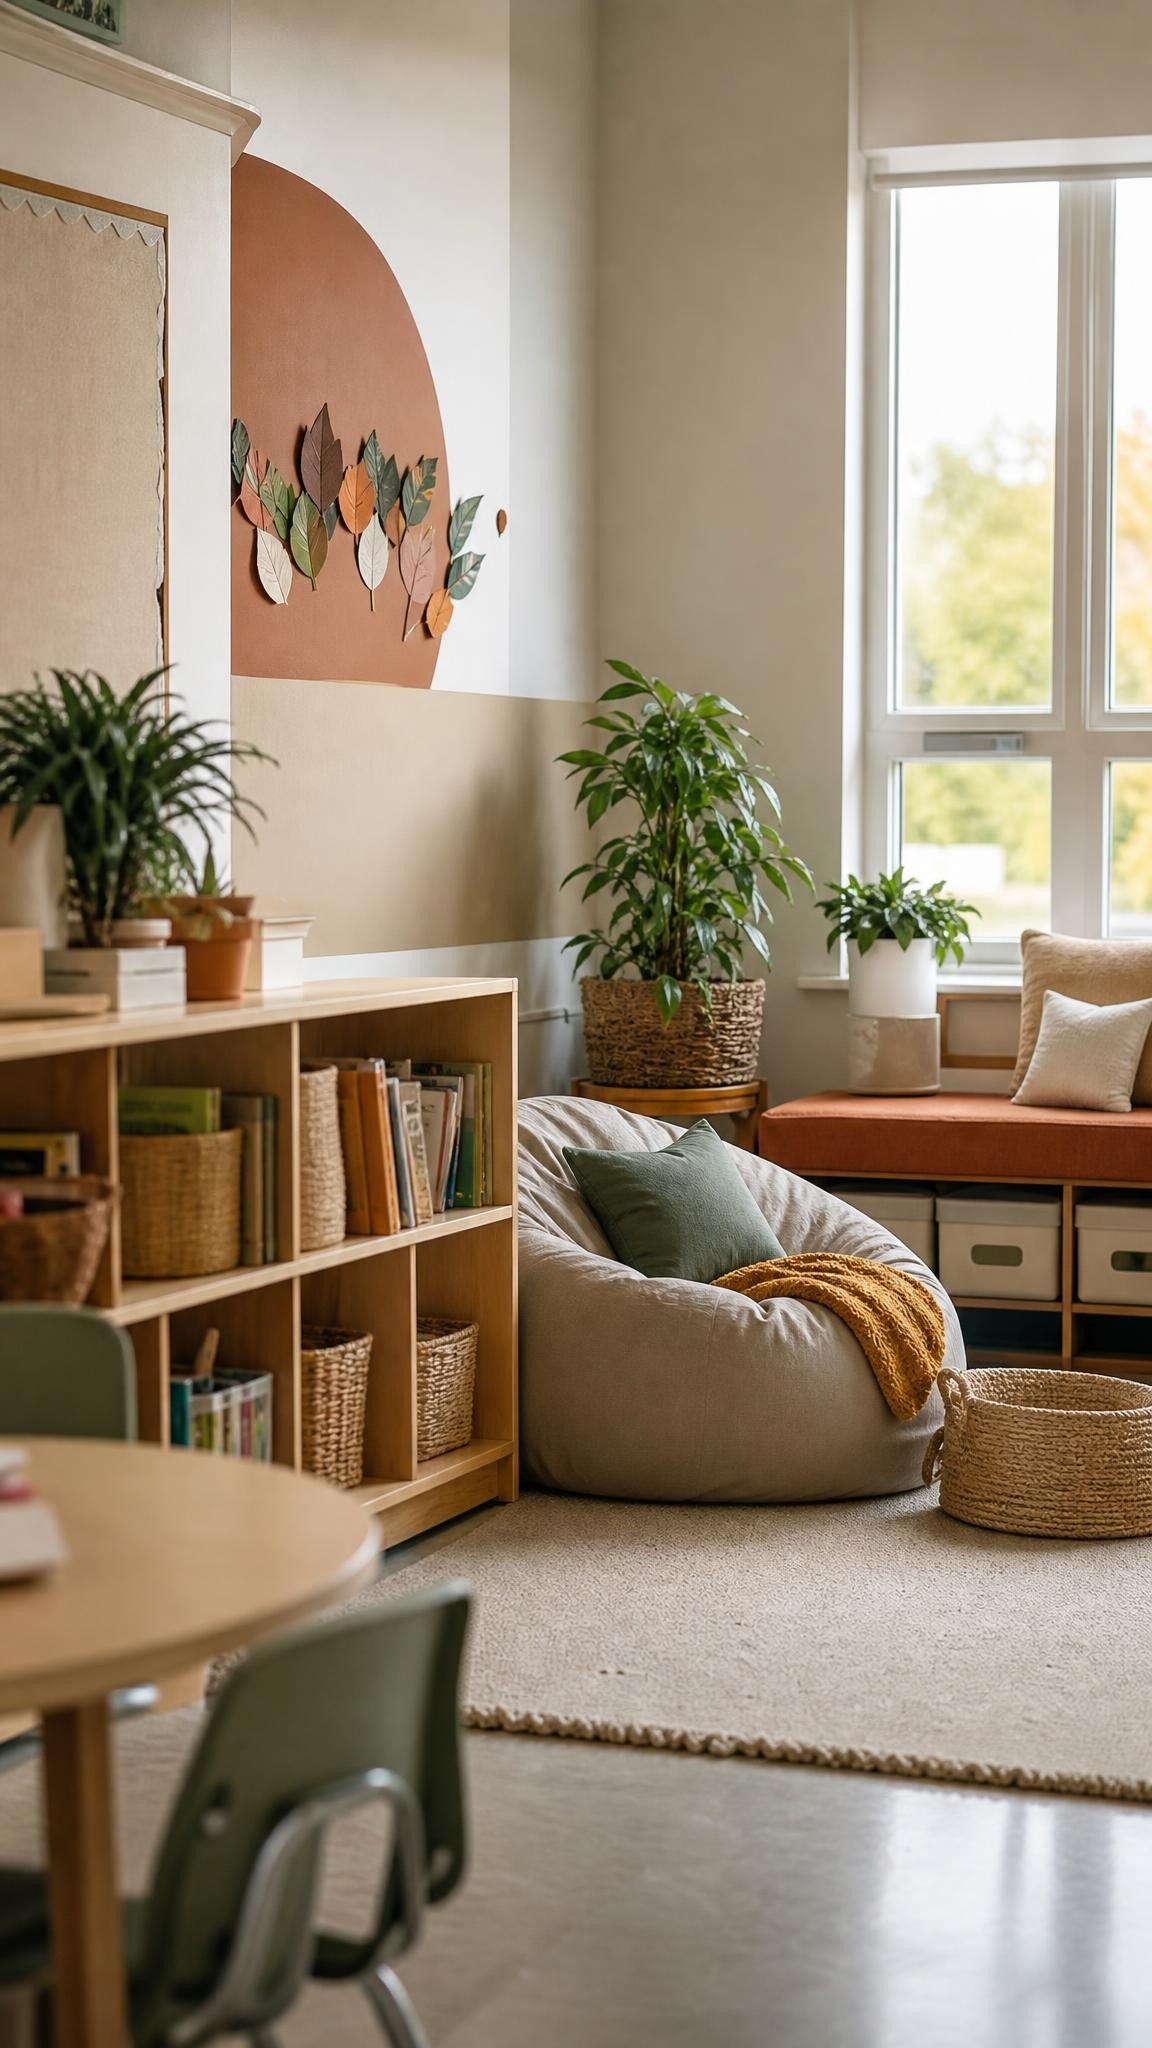
SavePick a corner away from the door and the busiest walkways, but still in your line of sight from where you teach. A low bookshelf turned sideways makes a lovely half wall that gives privacy without hiding anyone. Avoid spots next to the sink, the pencil sharpener or the class pet, because traffic and noise undo the whole point.
Good options: a corner behind a low shelf, the end of your classroom library, or a nook beside a window. If your room is tiny, skip to the small classroom section below.
Step 2: One soft seat, not five
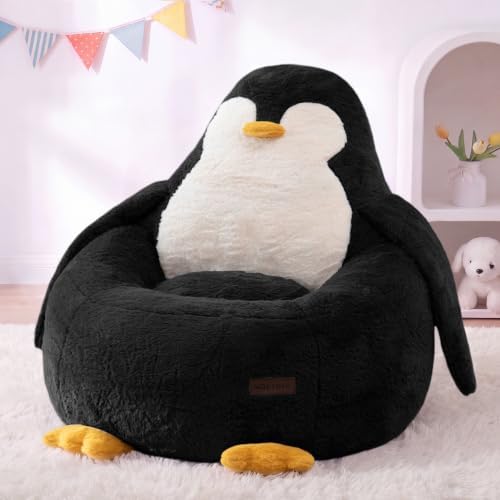
Children only need somewhere comfortable to land. One seat keeps the corner to one child at a time, which keeps it calm. Pick whichever fits your room and your fire marshal:
- Big Joe Classic Bean Bag Chair: kid sized, wipeable, and the one I see in more classrooms than any other.
- Large floor cushions (set of 2): flat enough to stack away and great for a corner with no room for a chair.
- Cotton canvas teepee tent: gives a feeling of a den without walls, which a lot of anxious children love.
- Washable round rug: defines the space instantly, and you will be very glad it goes in the washing machine.
Calm corner seating teachers love


Step 3: Choose three to five calming tools
 Save
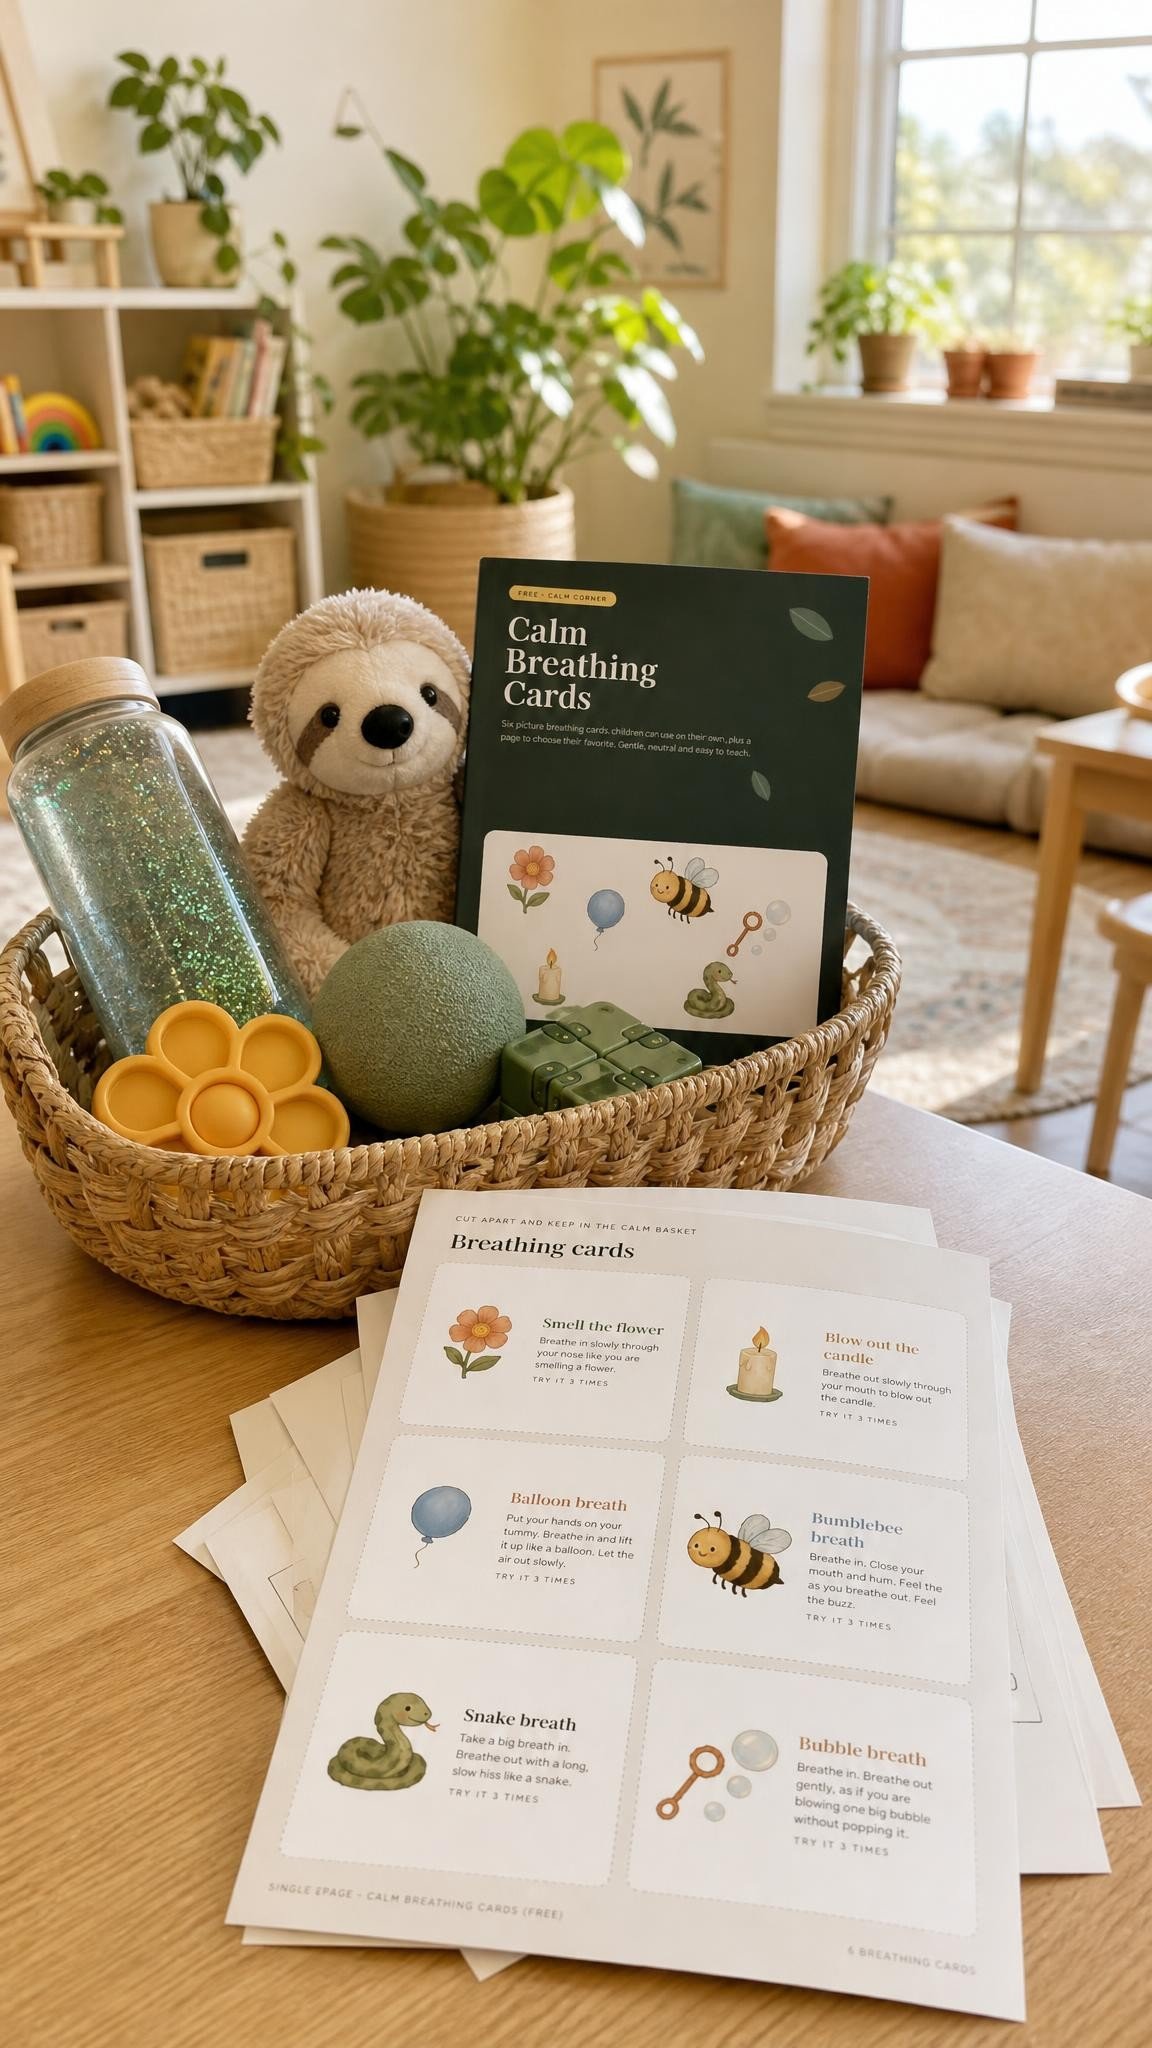
SaveMore tools means more mess and more time spent choosing. Start with one tool for each type of need: something to watch, something to squeeze, something to quieten noise, and something for heavy, grounding pressure. Rotate the rest in later.
- Liquid motion bubbler: something to watch. Children flip it and breathe until the drops stop.
- Crayola Globbles squish balls: something to squeeze. Quiet, satisfying and they do not roll away.
- Kids noise cancelling earmuffs: for the child who is overwhelmed by sound. Often the single most used tool.
- Weighted lap pad: gentle pressure that settles a busy body while sitting.
- hand2mind See My Feelings mirror: for naming the feeling, which is half of calming it.
- Wacky Tracks fidgets: quiet hands work, good for older children.
Free printable
 Save
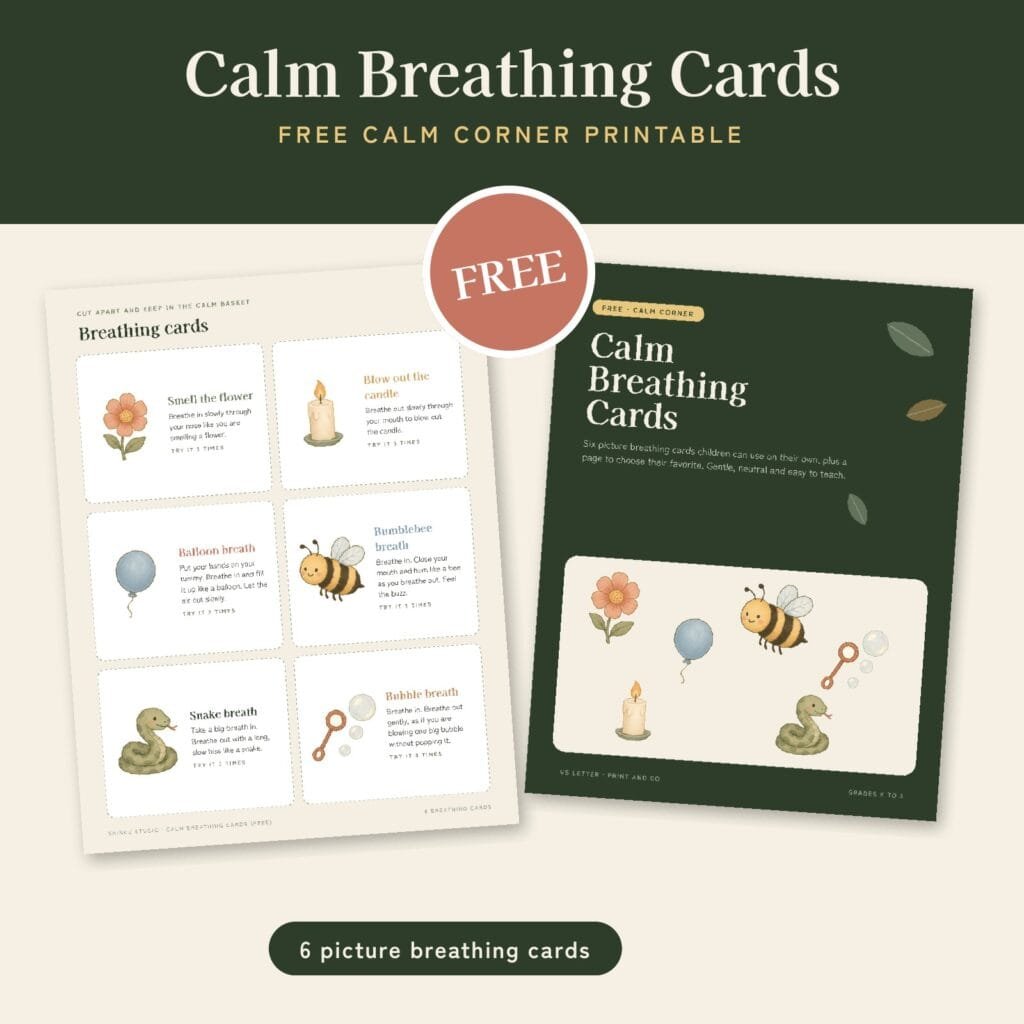
SaveAdd a ring of picture breathing cards to the basket. The free Calm Breathing Cards have six breaths children can do on their own, from smell the flower to bumblebee breath. Download the breathing cards free.
Free for your classroom
 Save
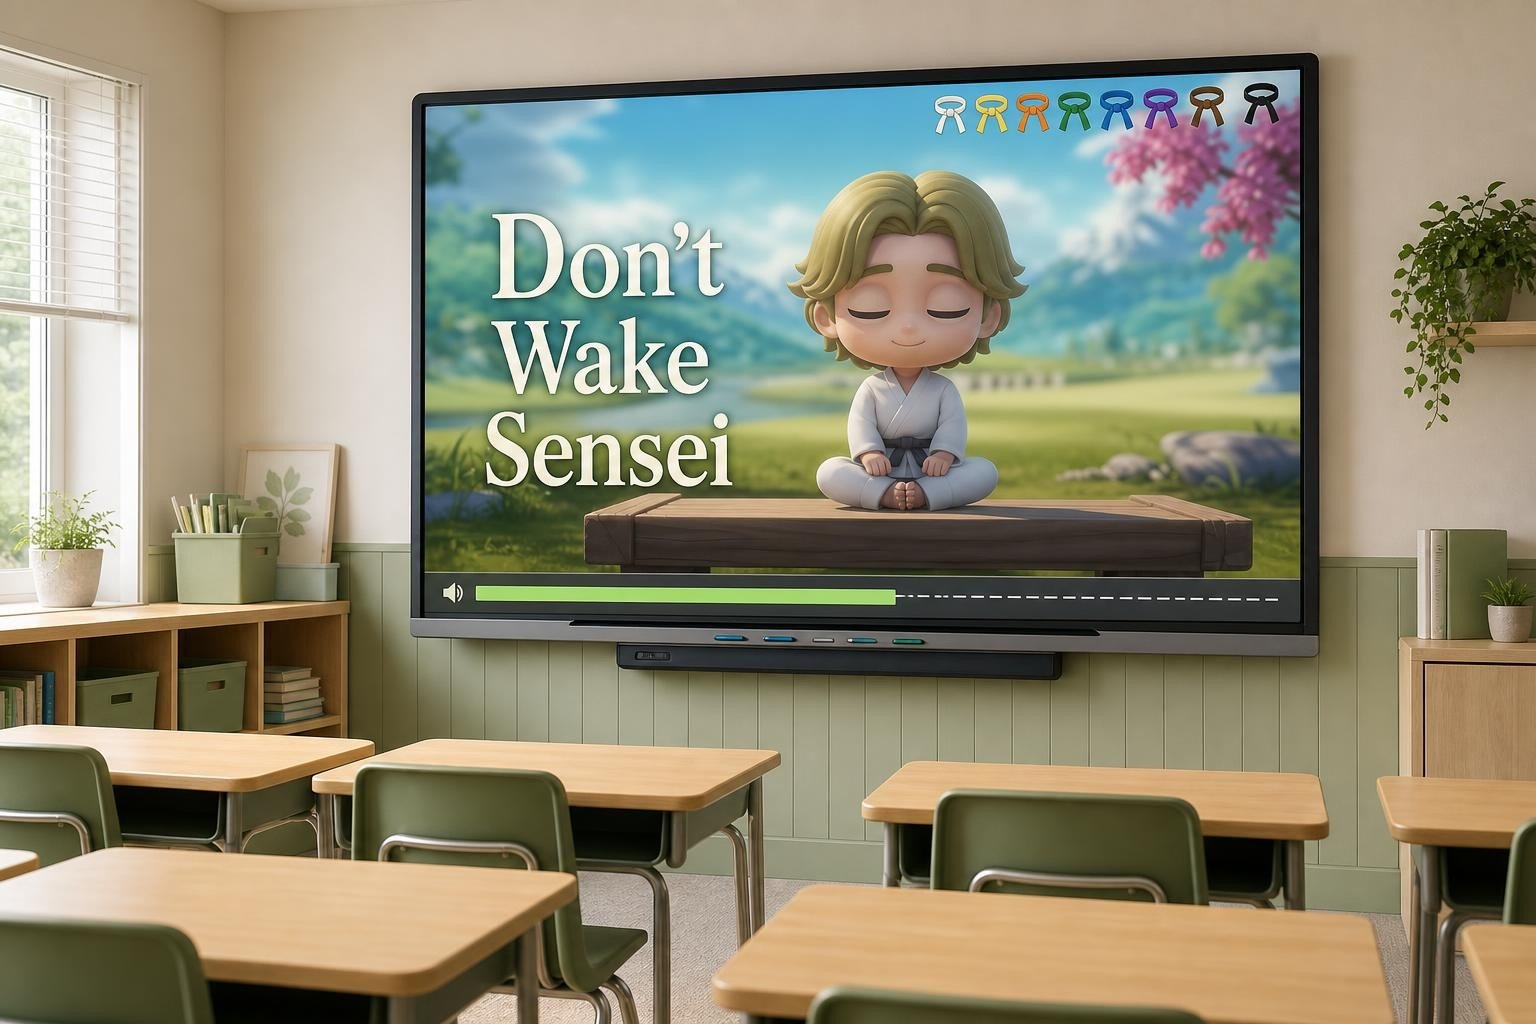
SaveDon’t Wake Sensei is a free classroom noise monitor that works like a game. Put it on your board, keep the room under the quiet line, and your class earns karate belts together while Sensei meditates. Nothing to install and nothing is recorded. Get Don’t Wake Sensei free.
Step 4: Add a feelings visual and a simple routine
 Save
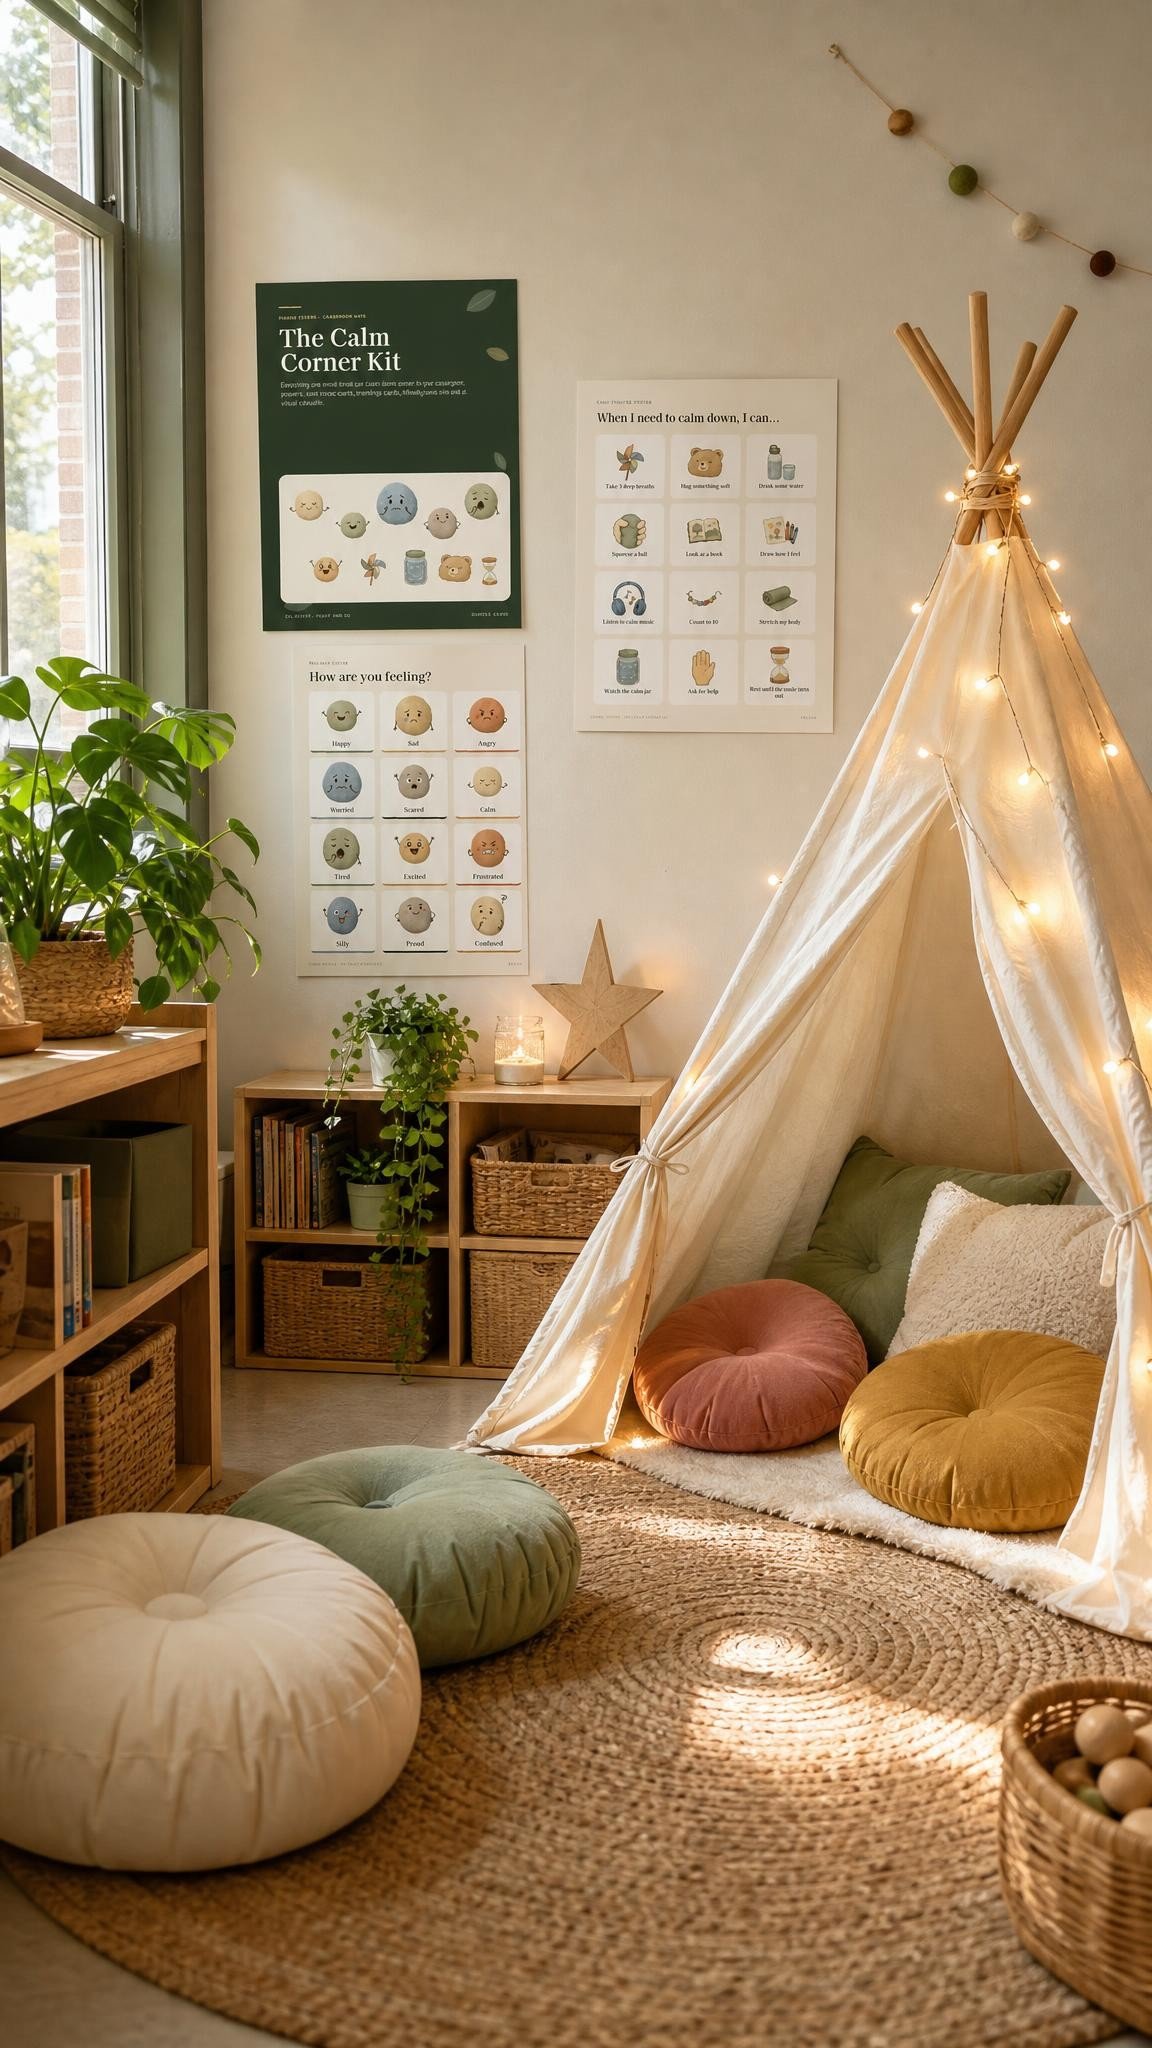
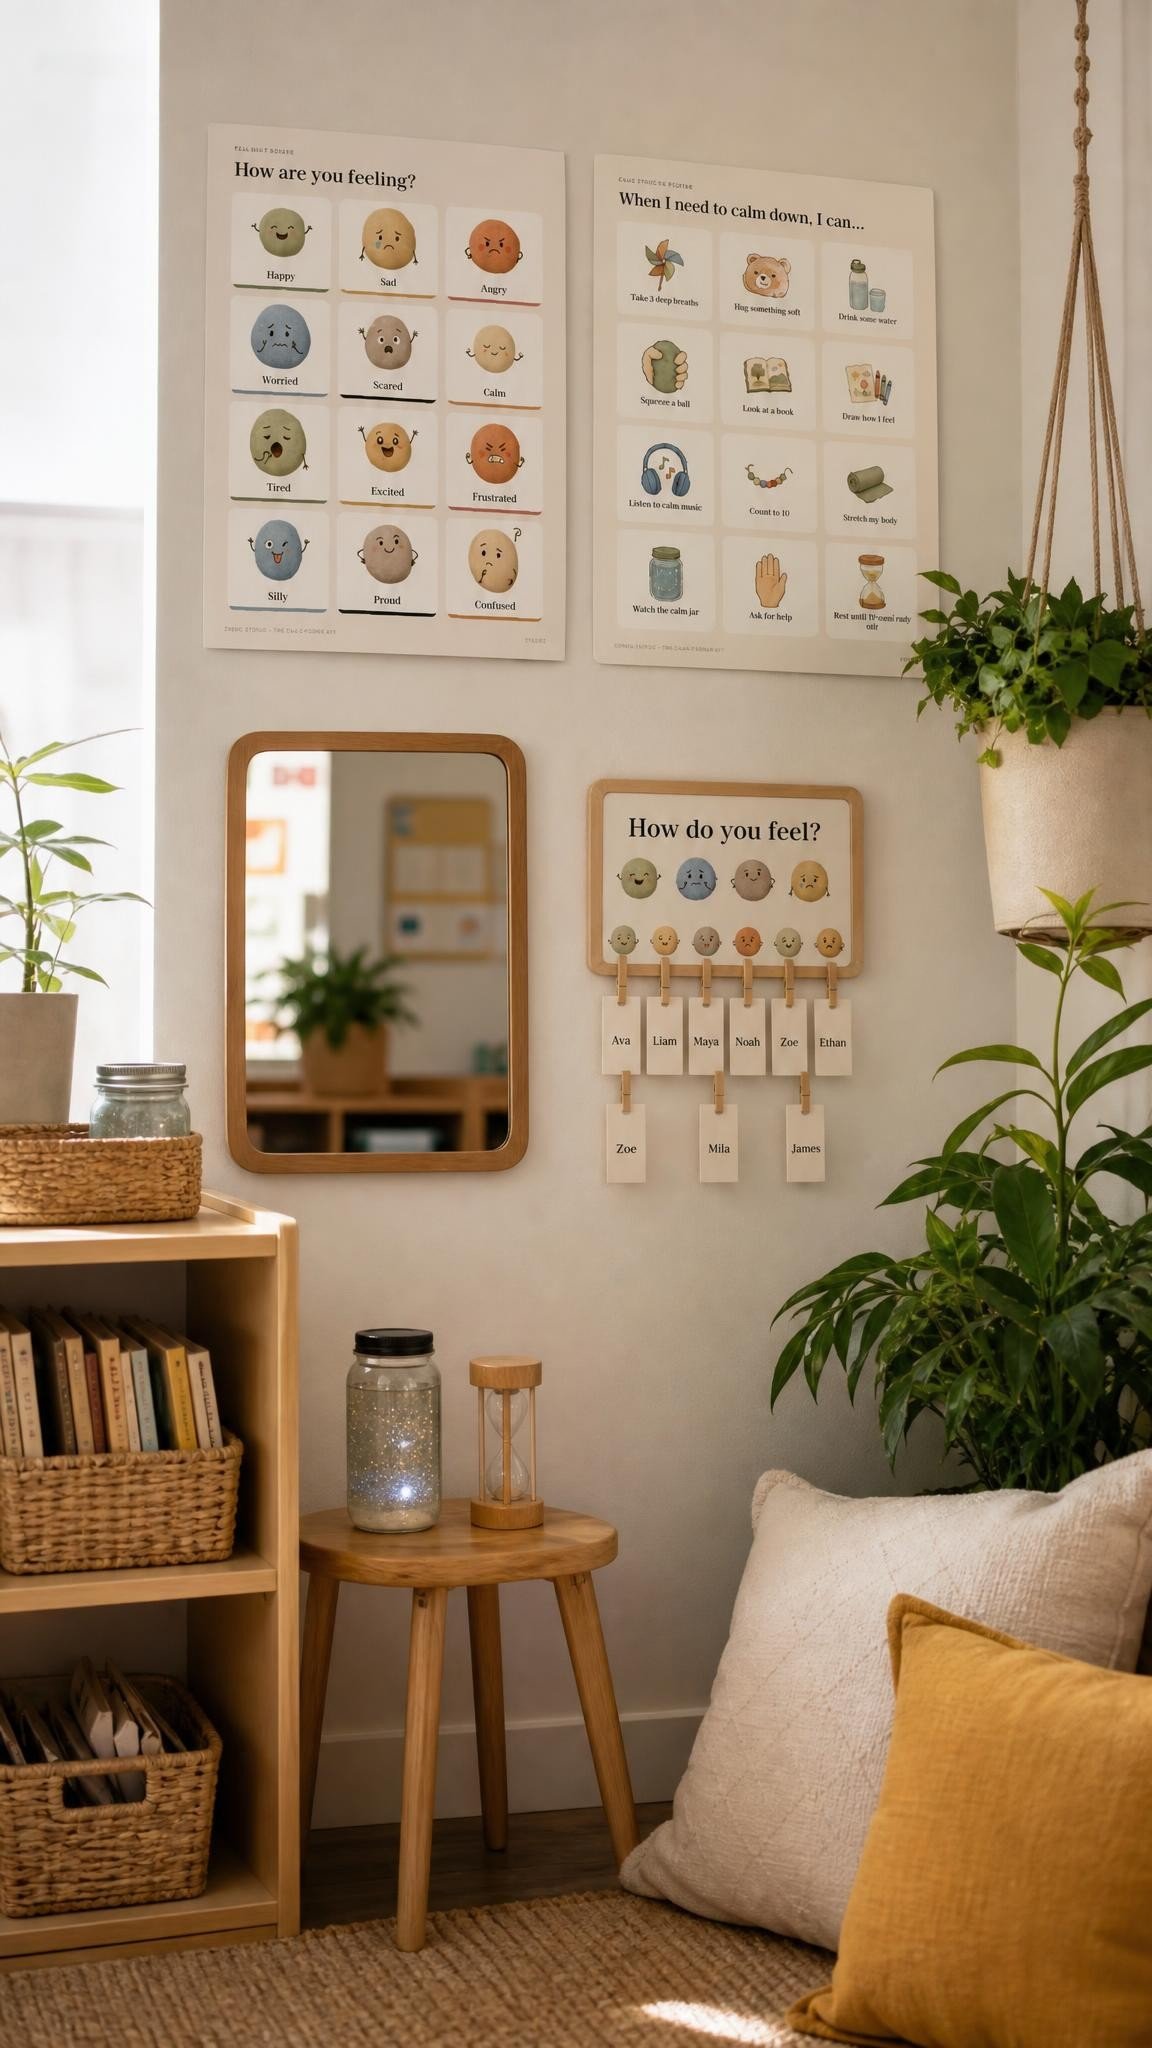
SavePut one feelings chart and one routine poster on the wall at child eye level. Pictures matter more than words, especially for pre-readers, ELL students and children with additional needs. Keep the routine to four steps that never change:
- Notice: point to how I feel.
- Choose: pick one calm tool or breath.
- Calm: use it until the timer runs out.
- Return: show my teacher a thumbs up and go back.
A flip book like The Original Mood Flipbook works well for children who find a wall chart too public, and A Little SPOT of Emotion is a lovely read aloud for introducing feelings words in the first week.
Ready made calm corner set
 Save
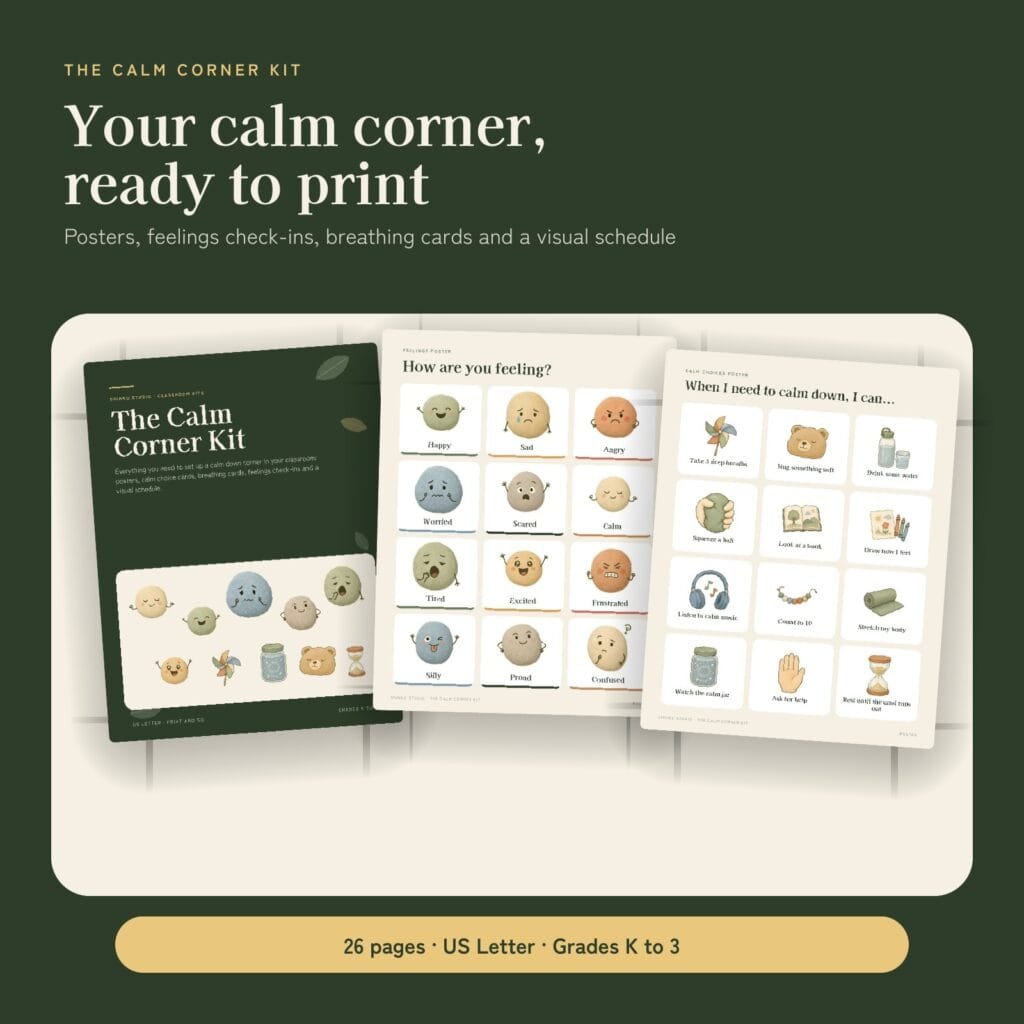
SaveWant the wall done for you? The Calm Corner Kit has the calm corner sign, a 4 step routine poster, breathing posters, a feelings chart, 12 calm choice cards, check-in sheets and 24 visual schedule cards, all in soft natural colors that stay up all year. See the Calm Corner Kit.
Step 5: Add a timer so it does not become a hideout
A visual timer answers the question every teacher worries about: how do I stop them staying there all morning? Three to five minutes is plenty for most children. A small sand timer is silent and children can flip it themselves, which keeps you out of it. Pair it with soft battery fairy lights on a timer if you want the corner to feel cozy without a lamp cord.
Step 6: Teach it before anyone needs it
This is the step most of us skip, and it is the one that makes everything else work. In the first week, model the routine yourself, then let every child practice it when they are perfectly calm. Children who have rehearsed it on a good day will actually use it on a hard one.
- Model it with a think aloud: “I feel frustrated, so I am going to choose the bubbler.”
- Let every child have a practice turn with the timer during a calm moment.
- Agree a quiet signal for “I need the calm corner” so nobody has to announce it.
- Check in privately afterwards. A thumbs up or a quick check-in sheet is enough.
No space? A calm corner for a small classroom
 Save
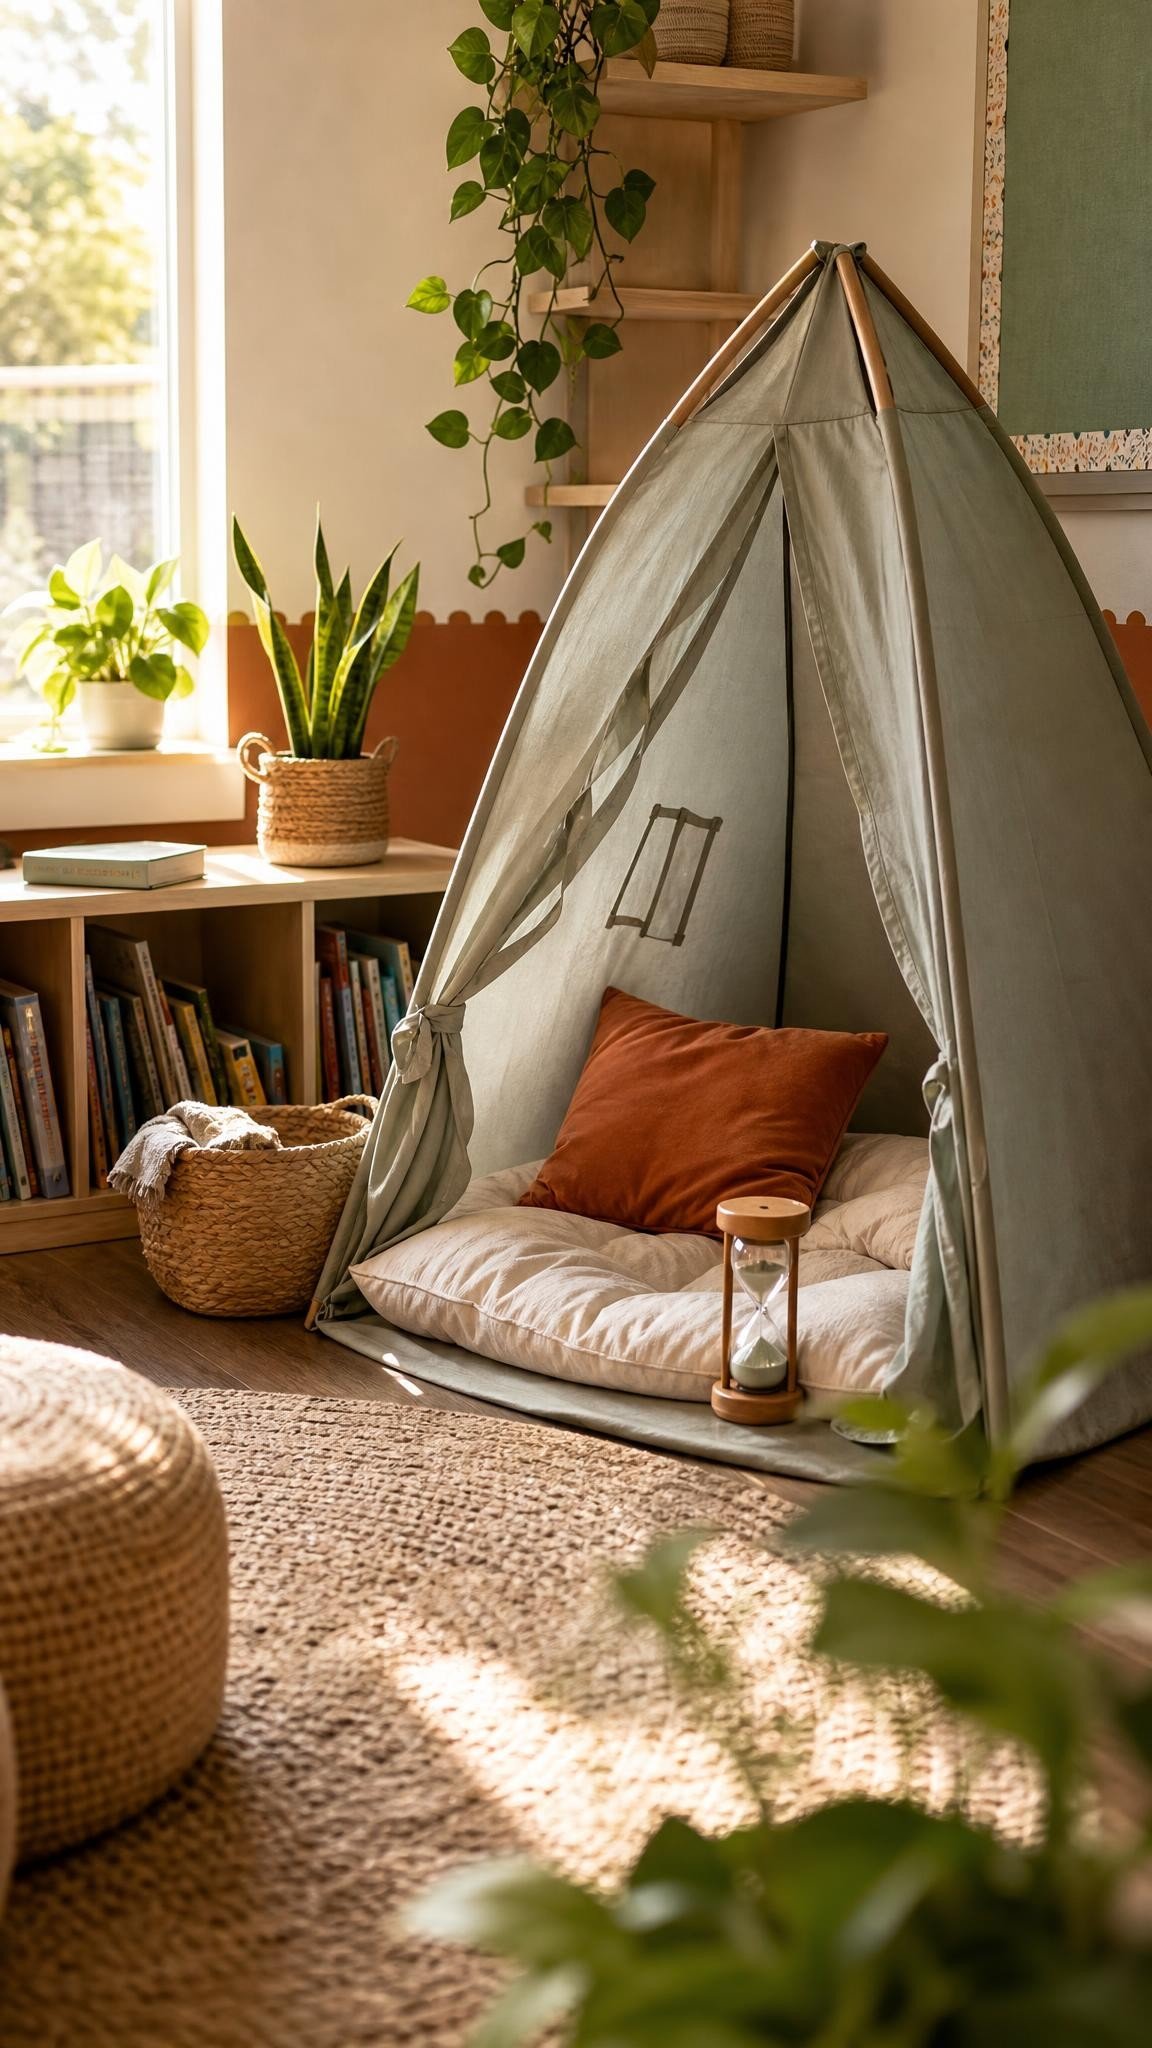
SaveYou do not need a corner at all. A single cushion, a small basket and a laminated card on a ring will fit beside a filing cabinet, under a window or at the end of your library shelf. Some teachers use a calm box instead: a lidded tub with the same tools that a child takes back to their seat. It works just as well and costs almost nothing in floor space.
Calm corner tools for the classroom


Common mistakes to avoid
- Too many tools. Choice overload makes the corner exciting rather than calming. Five is plenty.
- Using it as a consequence. The moment it feels like time out, the children who need it most will refuse it.
- Skipping the timer. Without a time limit, it becomes a place to escape work.
- Never resetting it. Give it a two minute tidy at the end of the day, and assign a calm corner helper as a class job.
- Leaving it untaught. A corner children have never practiced is just furniture.
Calm down corner FAQ
How long should a child stay in the calm down corner?
Three to five minutes is right for most children in K to 3rd grade. Use a sand timer or visual timer so the child can see when it is time to return without you having to say anything.
Should a calm down corner be a reward or a consequence?
Neither. It is a tool for self regulation that anyone can use. Keeping it neutral is what makes children willing to go there when they need it.
What should I put in a calm down corner?
One soft seat, three to five calming tools (something to watch, squeeze, hear less and hold), a feelings chart, a simple routine poster and a timer. Breathing cards are a great free starting point.
Can I have a calm down corner in a small classroom?
Yes. A single cushion with a small basket, or a lidded calm box a child takes to their seat, gives you the same benefit with almost no floor space.
How do I stop children using it to avoid work?
Use a timer, teach the four step routine, and keep the tools calming rather than fun. If one child is using it constantly, that is useful information about what is happening for them, so check in privately.
If you want to start today, print the free breathing cards, grab one cushion and one sensory bottle, and teach the routine tomorrow morning. You can make it beautiful later. A small corner that children understand beats a gorgeous one they do not.