
Some links in this post are affiliate links. If you buy through one, I may earn a small commission at no extra cost to you. As an Amazon Associate I earn from qualifying purchases.
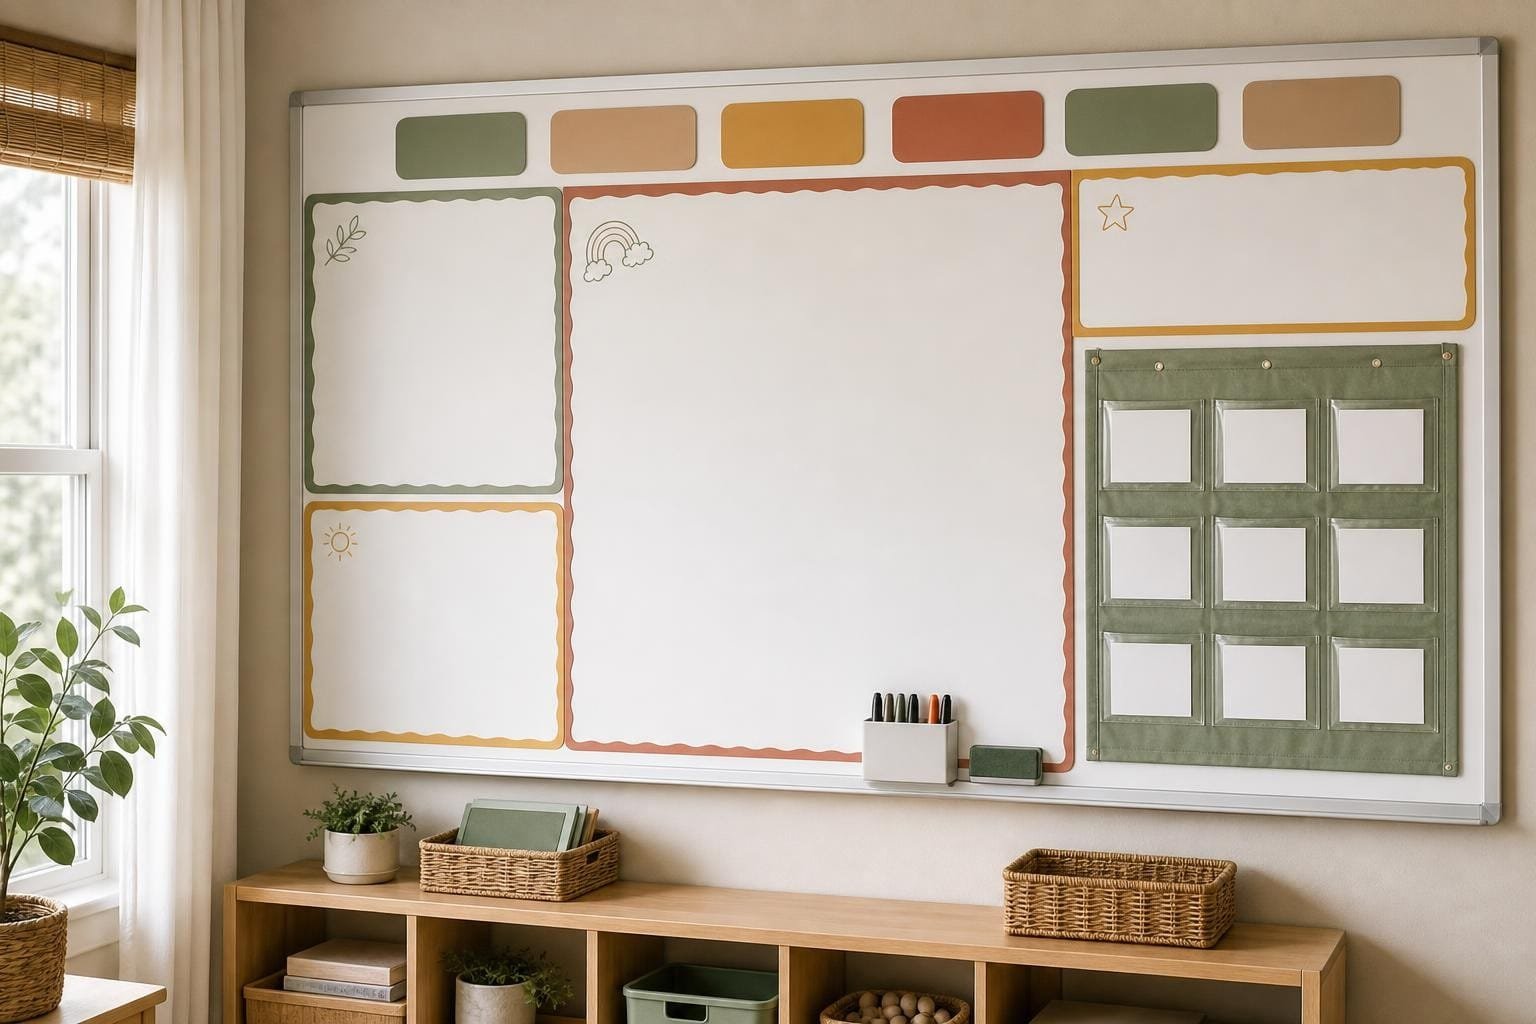
The short answer: organize your classroom whiteboard into fixed zones that never move: a daily agenda, a learning target, a teaching space, a jobs or attendance column, and a parking spot for reminders. Mark the zones with thin magnetic strips or pinstripe tape, keep markers and erasers on the board in a magnetic caddy, and use magnets instead of rewriting the same things every morning. Set it up once and your board runs itself.
A messy whiteboard costs more time than it looks. Rewriting the date, the schedule and the jobs every morning, hunting for a marker that works, and erasing around things you need to keep all add up. The fix is not a prettier board, it is a board where everything has a home. Here is the layout and the supplies that make that happen.
 Save
SaveWhy classroom whiteboards get messy
- There are no fixed zones, so every day starts from a blank board.
- Permanent information (jobs, schedule, targets) is handwritten and rewritten.
- Markers live in a cup on your desk instead of on the board.
- The board is used for everything at once: teaching, notes, reminders and doodles.
The 5 zone whiteboard layout
 Save
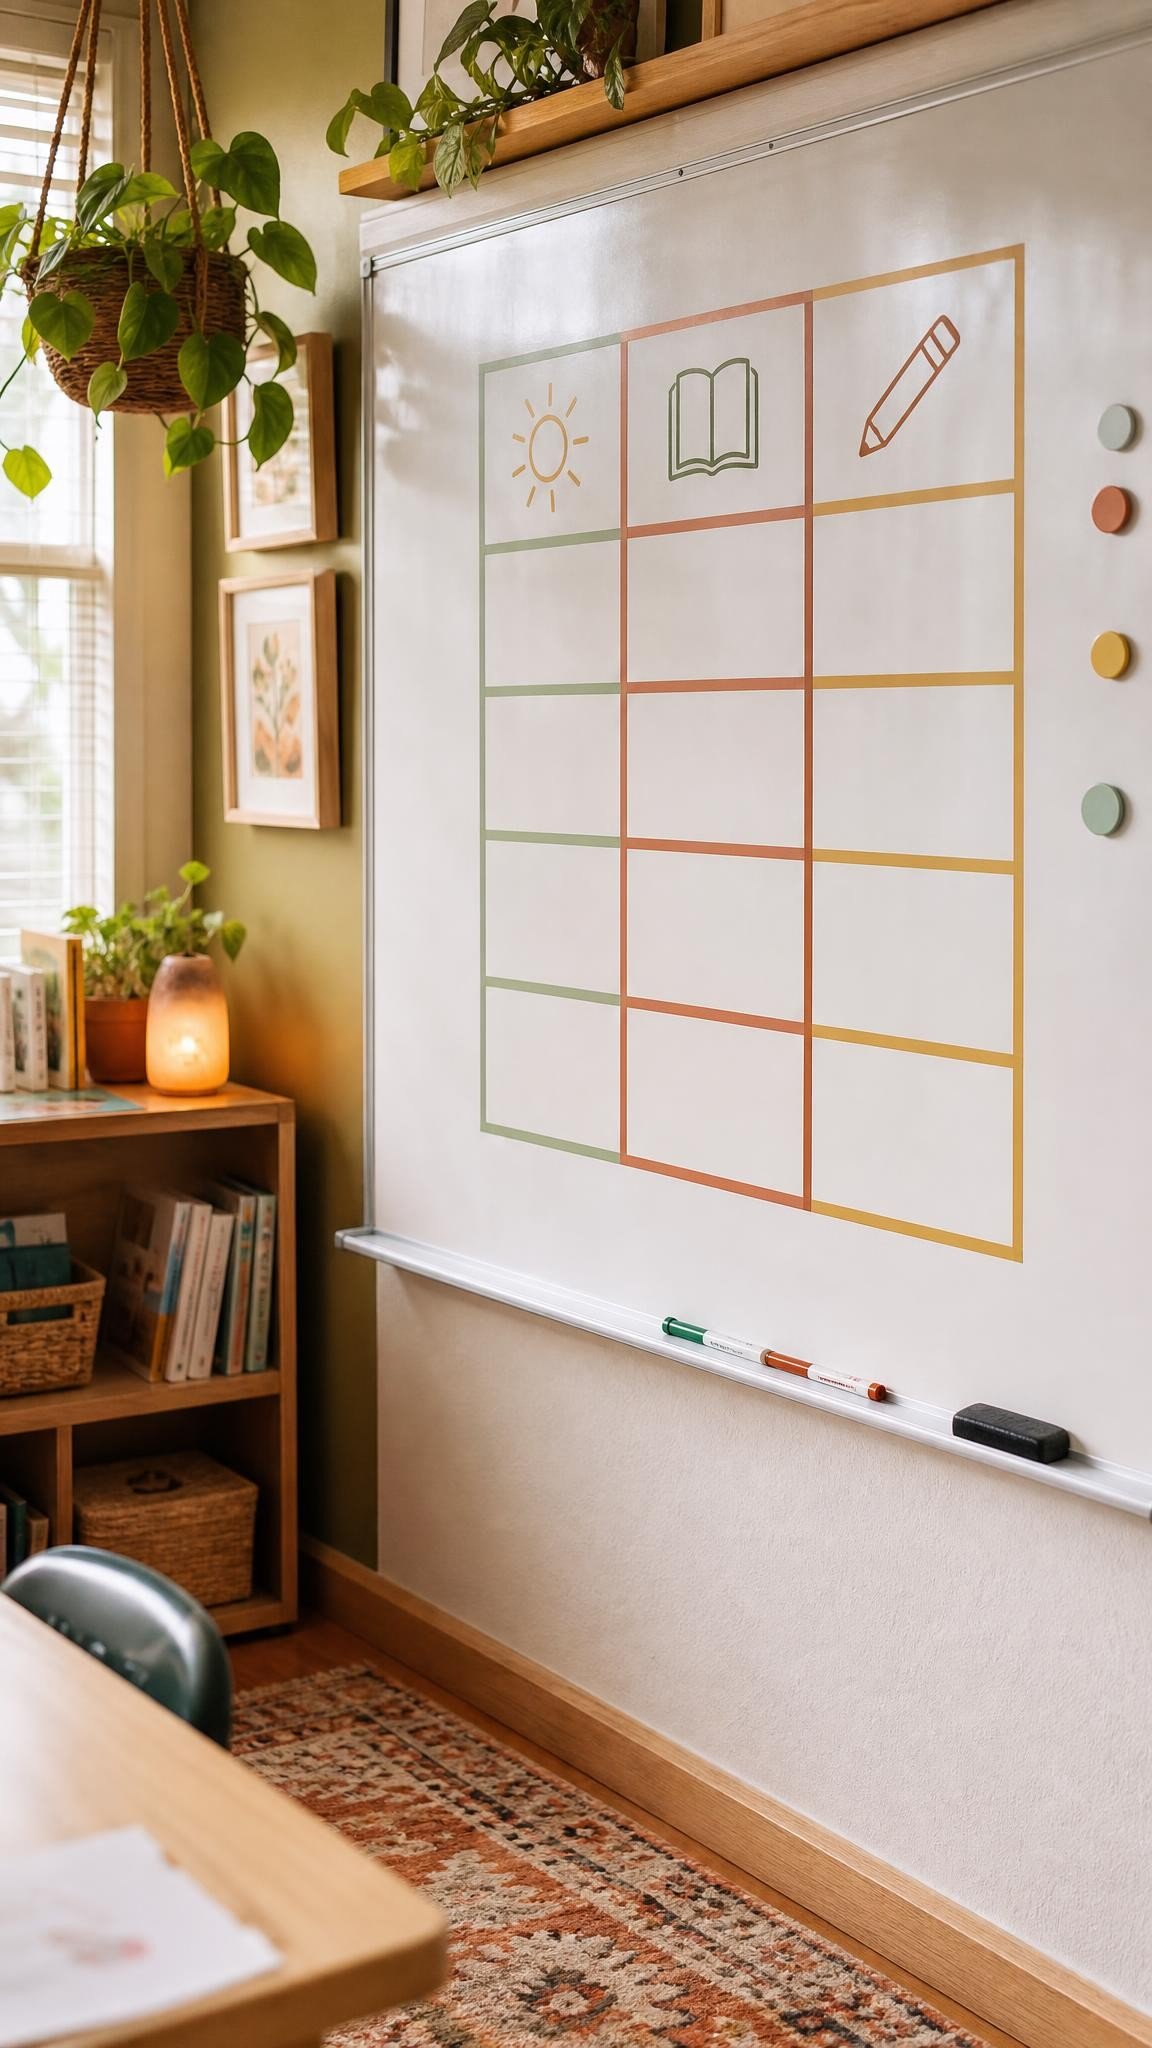
SaveDivide your board once, from left to right, and keep the zones in the same place all year. Children learn where to look, and you stop deciding where things go.
- Zone 1, Today: date, day and a short agenda on the far left where children see it first.
- Zone 2, Learning target: one “we are learning to” line for the current lesson.
- Zone 3, Teaching space: the big open middle, the only part you erase all day.
- Zone 4, Jobs and attendance: magnetic name tags in columns.
- Zone 5, Parking lot: homework, reminders, early finisher tasks.
For the lines themselves, magnetic whiteboard strips can be moved when your needs change, while thin pinstripe tape gives crisp permanent lines that do not wipe off. I prefer magnetic strips for the first month, then tape once the layout has proved itself.
Use magnets, not markers, for anything that repeats
 Save
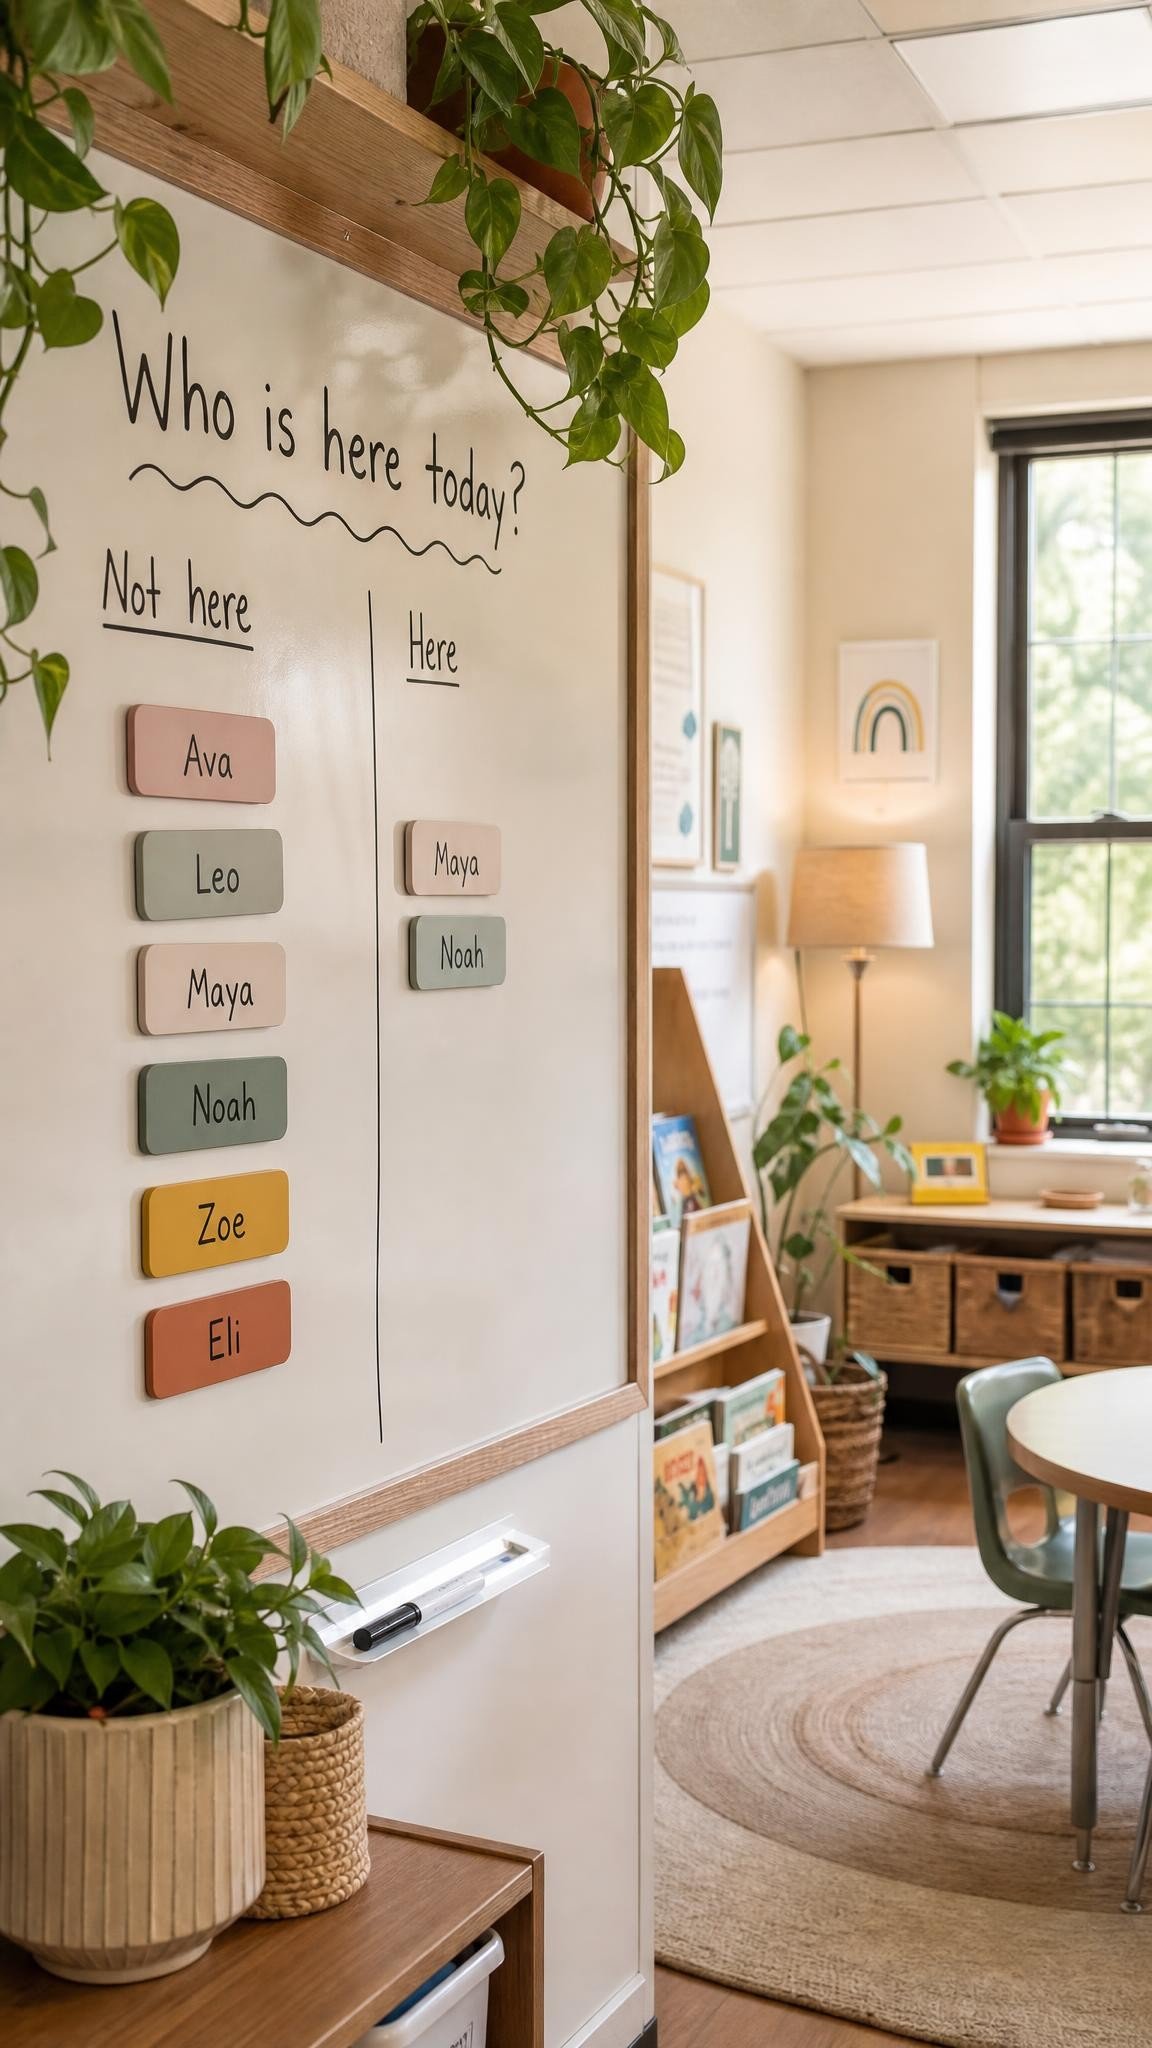
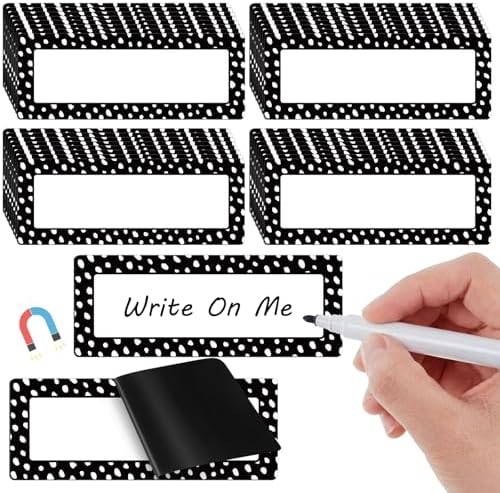
SaveIf you write it every day, it should be a magnet. Dry erase magnetic name tags turn into a job chart, a lunch count, a turn taking list or a “where are we” check-in in seconds. Children move their own name, which also saves you time.
- Magnetic pocket chart squares: hold word cards, sentence strips or picture cards right on the board.
- Magnetic dry erase calendar: a ready made monthly grid for the Today zone.
- Heavy duty magnetic hooks: hang a clipboard, the hall pass or an anchor chart on the edge of the board.
Free for your classroom
 Save
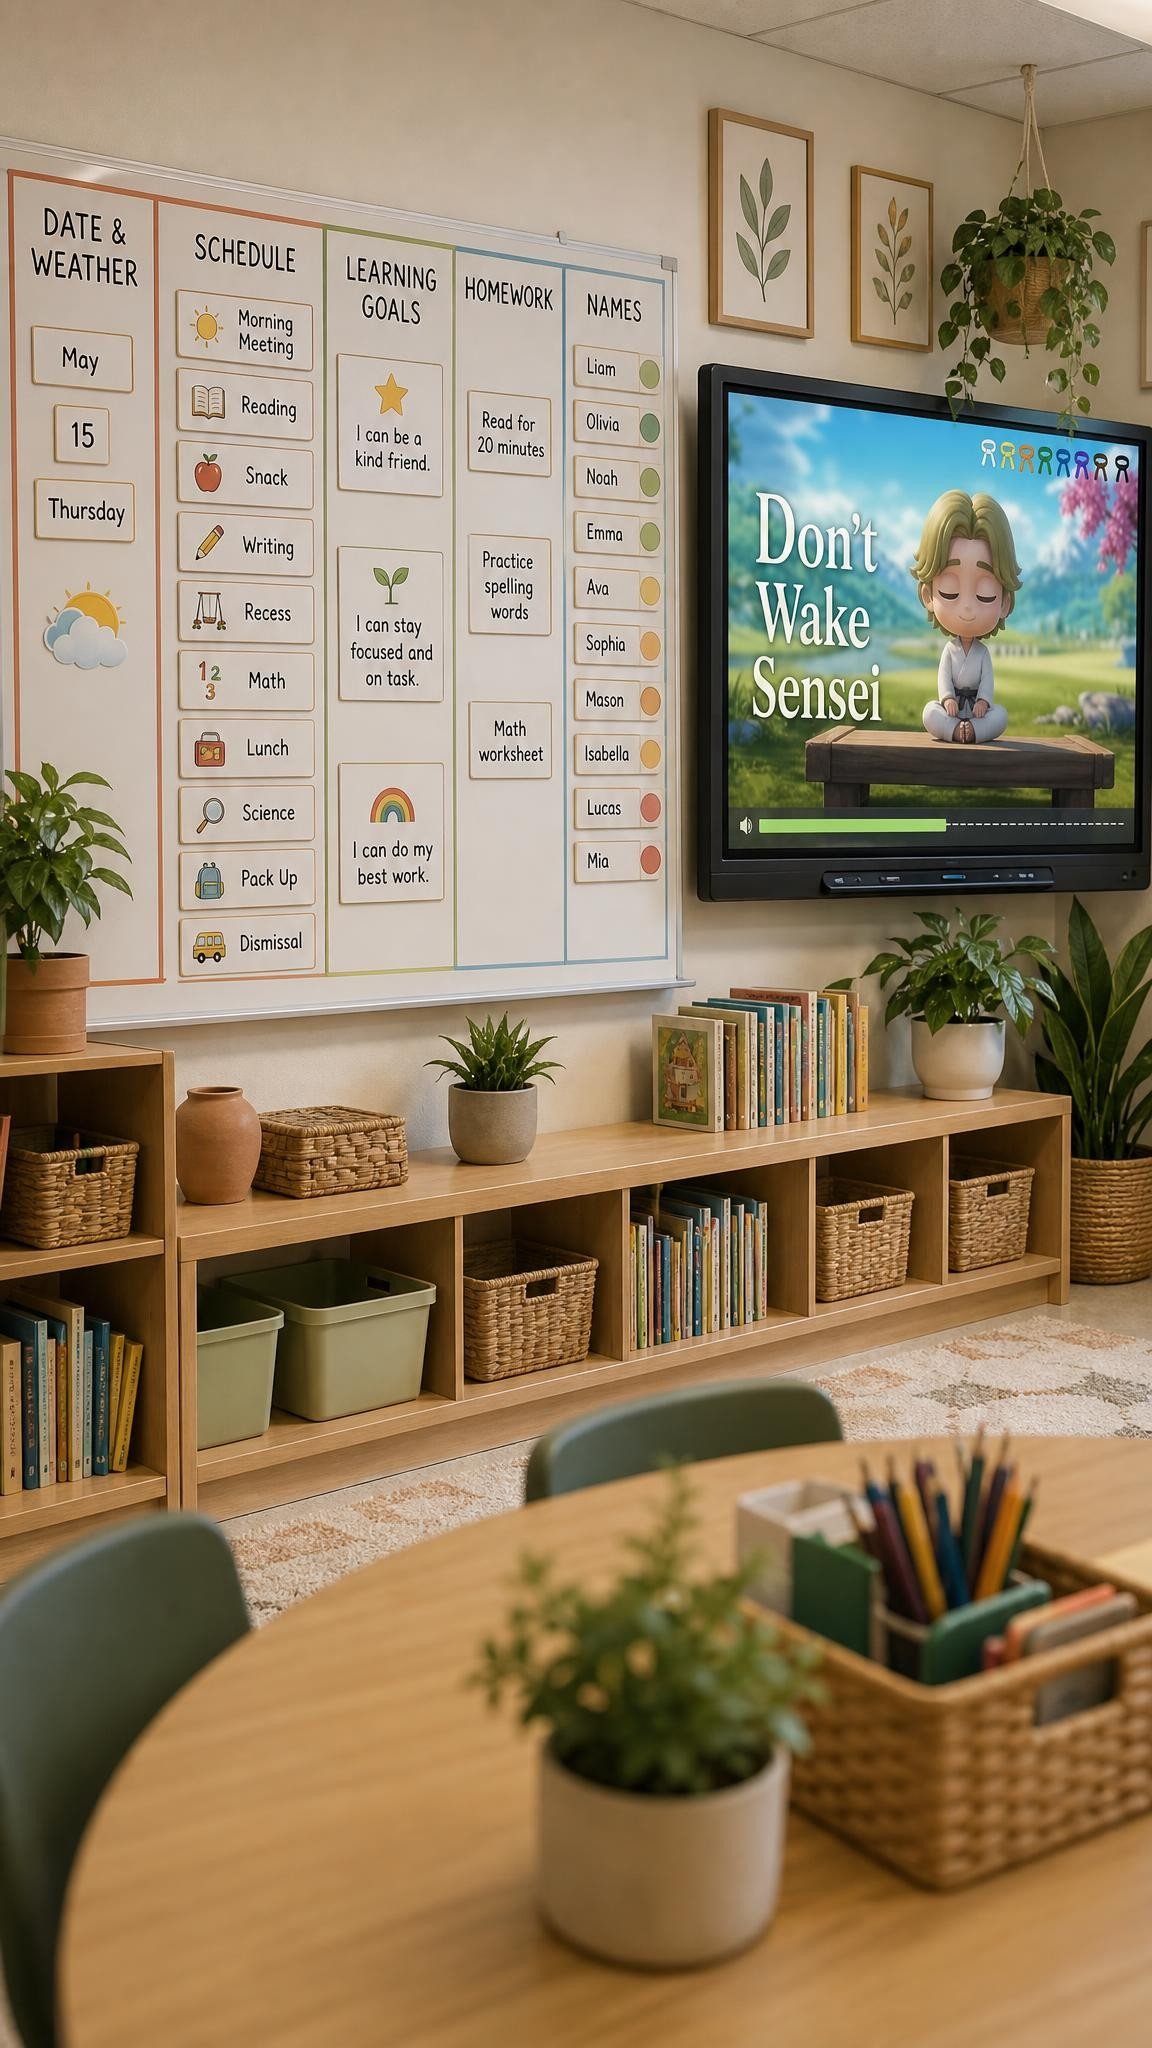
SaveDon’t Wake Sensei is a free classroom noise monitor that works like a game. Put it on your board, keep the room under the quiet line, and your class earns karate belts together while Sensei meditates. Nothing to install and nothing is recorded. Get Don’t Wake Sensei free.
Whiteboard organization favorites


A visual schedule that lives on the board
 Save
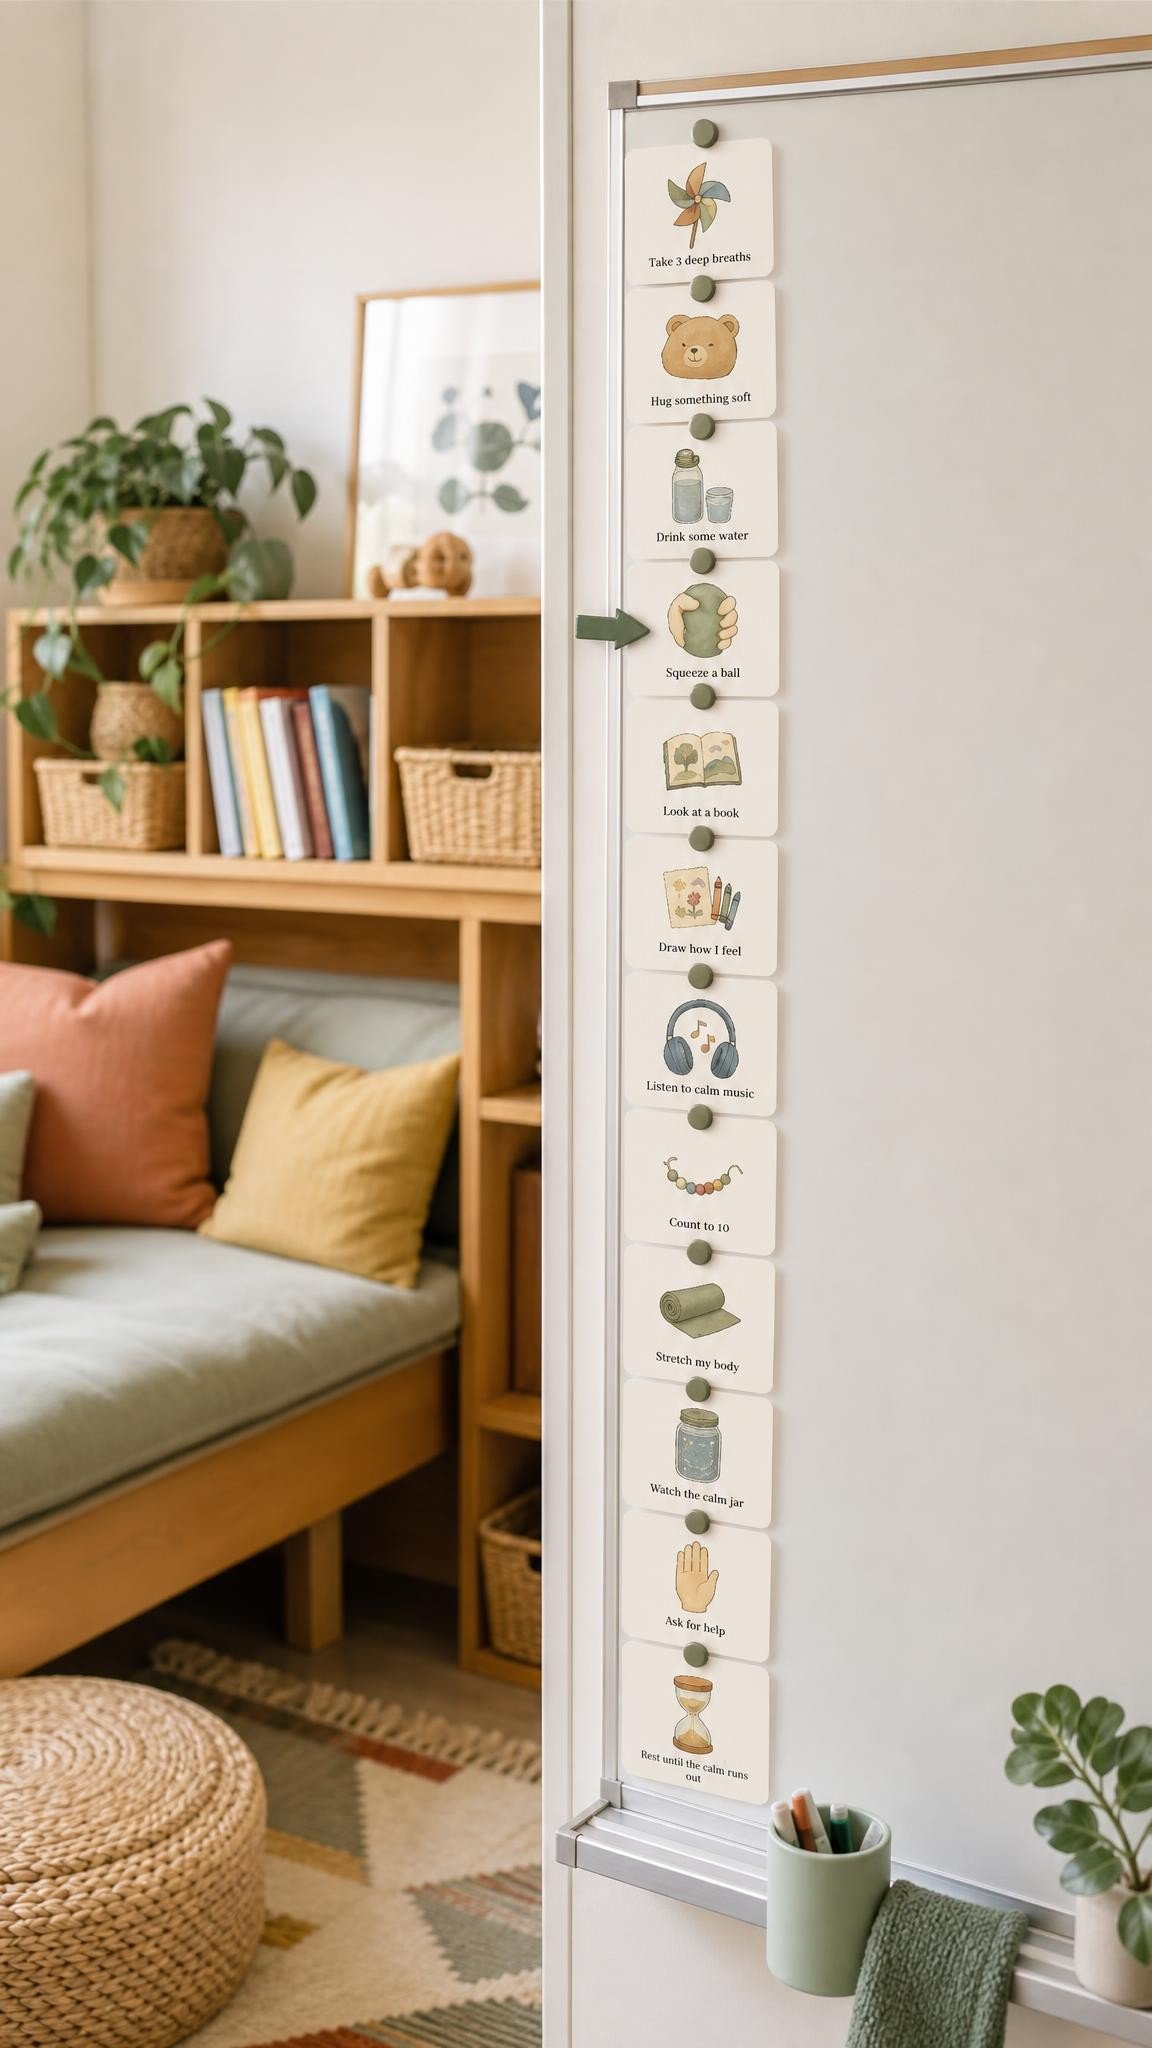
SaveA vertical picture schedule down one edge of the board is the single best thing you can add for younger grades, ELL students and children who need predictability. Move a clip or arrow down as the day goes, and change only the cards that are different tomorrow.
Picture schedule cards
 Save
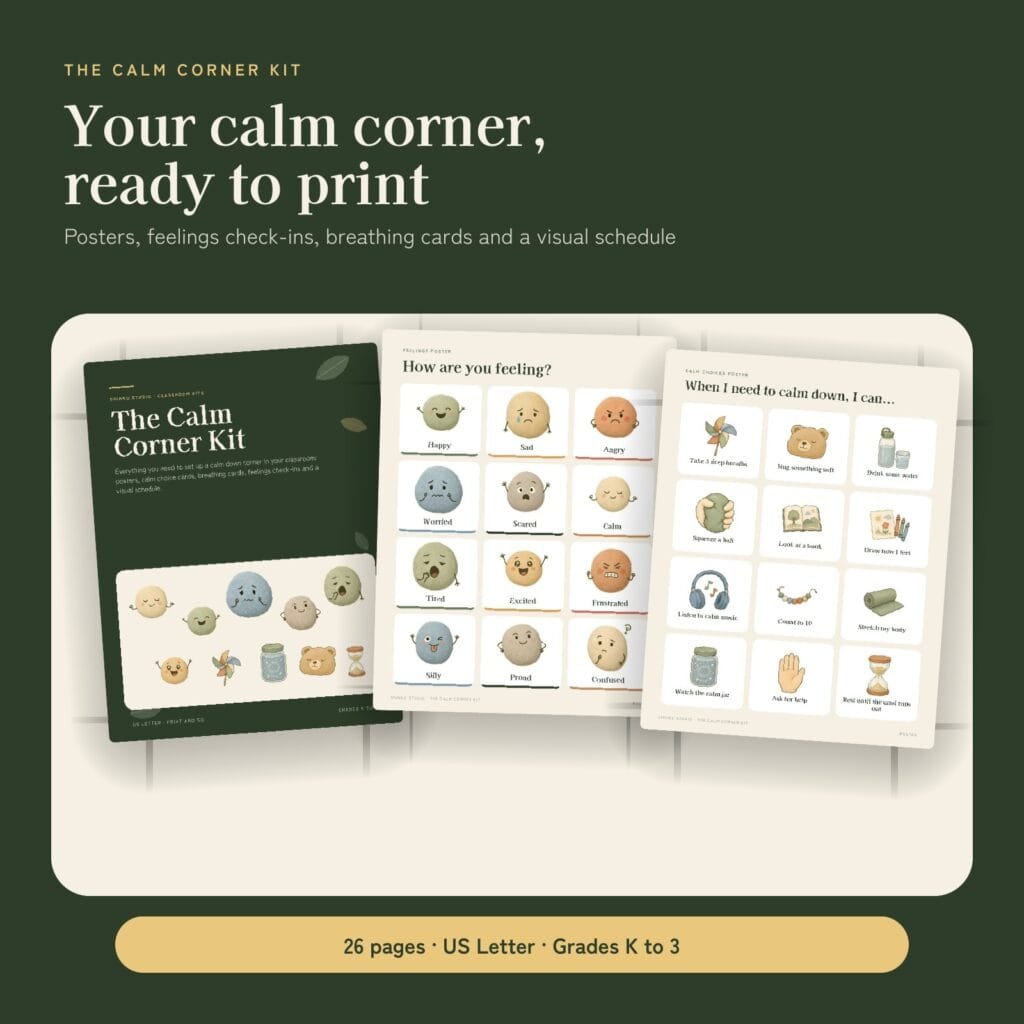
SaveThe Calm Corner Kit includes 24 picture visual schedule cards in soft natural colors, along with a feelings chart and calm choice cards. Print, laminate, add a magnet strip to the back and your board schedule is done. See the Calm Corner Kit.
Give markers and erasers a home on the board
 Save
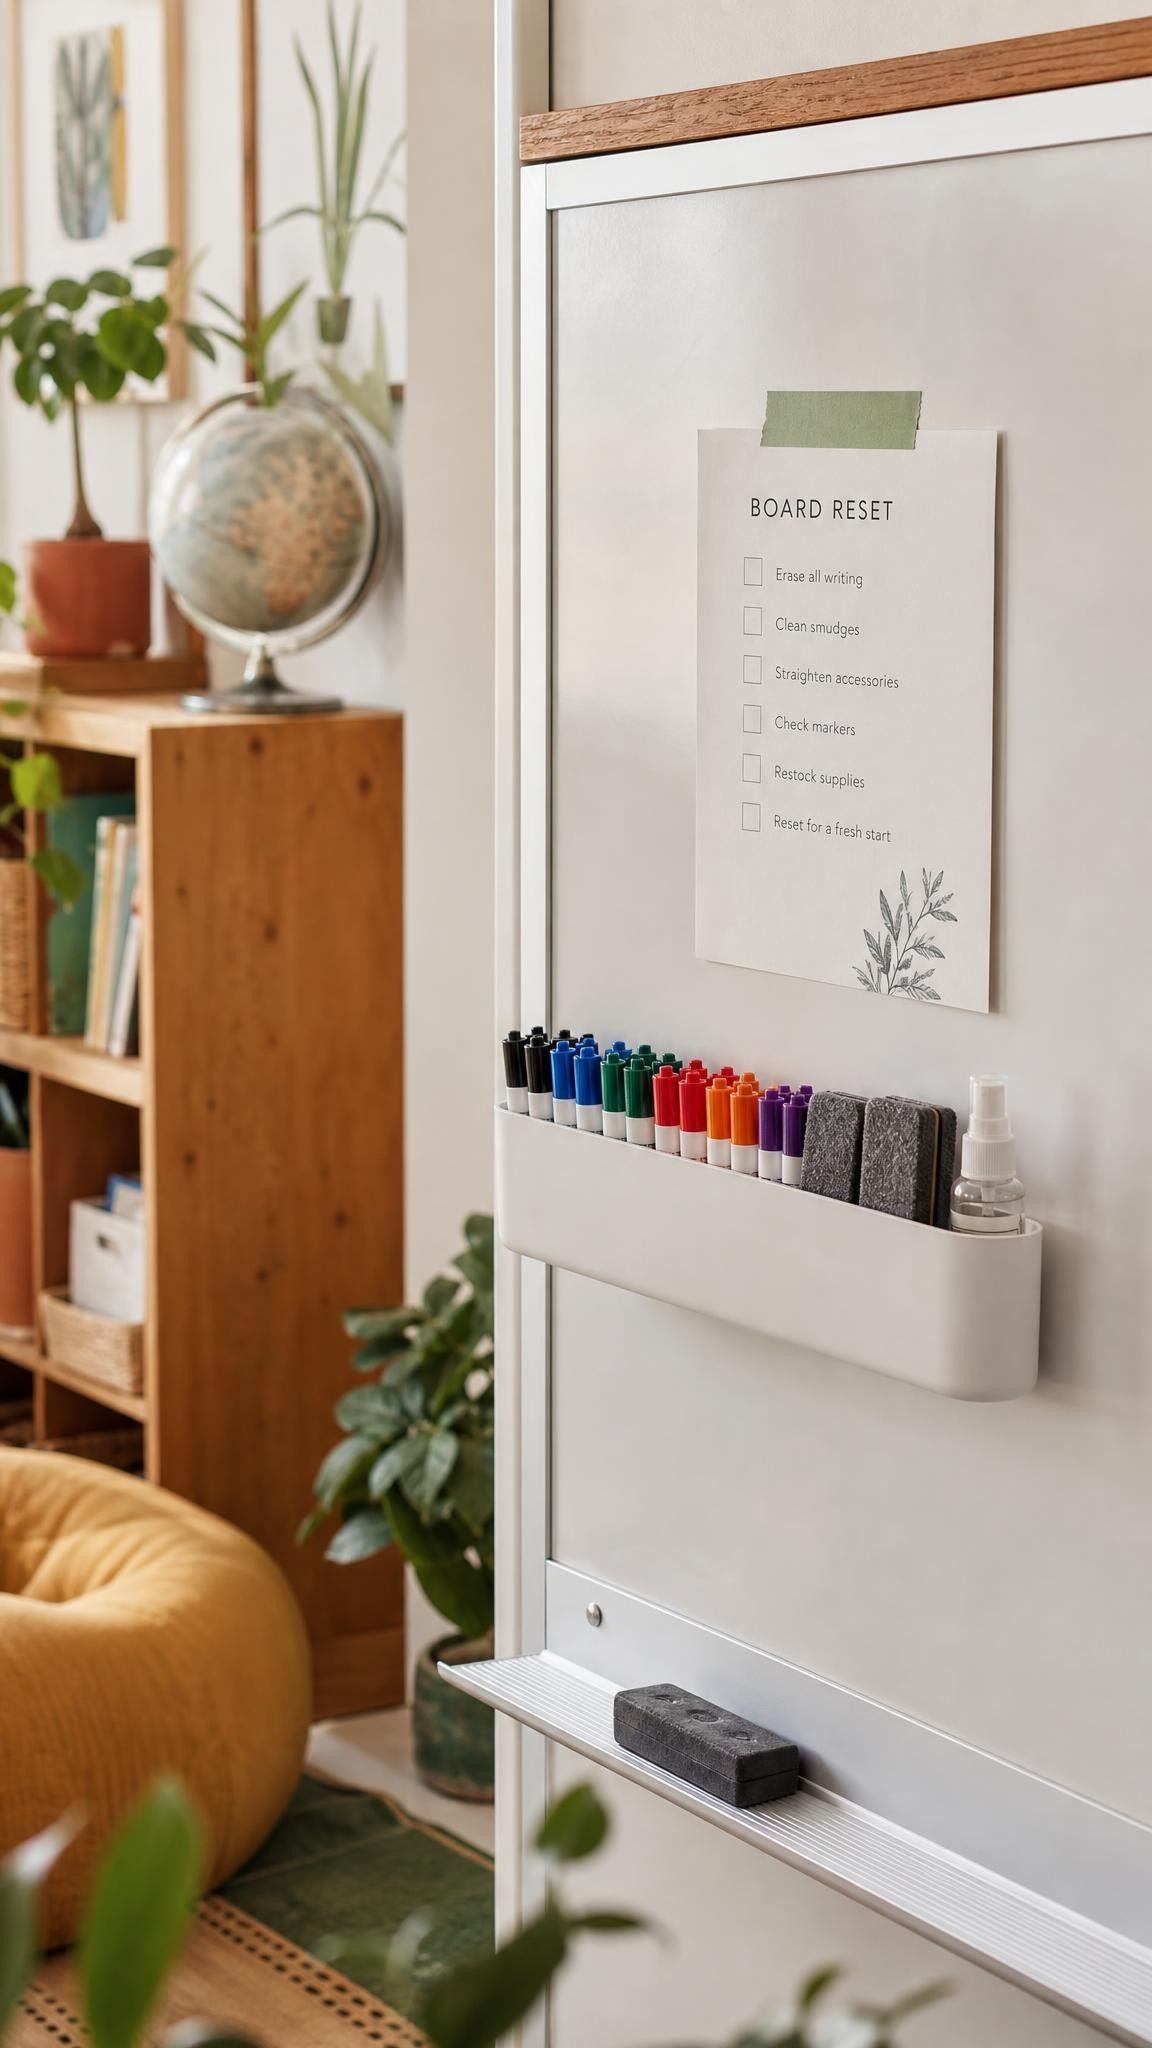
SaveMarkers that live on the board get put back. Markers that live in a cup on your desk walk off. Stick a magnetic caddy to the side of the board and keep only the colors you actually use.
- Magnetic pen holder: holds a full set of markers and sticks to any magnetic board.
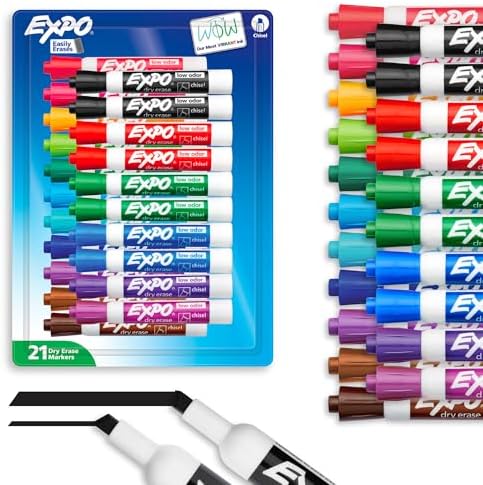
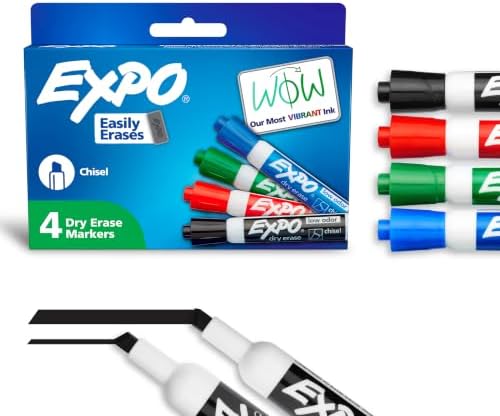
- EXPO low odor dry erase markers: the classroom standard, and the low odor version is kinder in a closed room.
- Magnetic dry erase erasers: they stay on the board instead of on the floor.
- EXPO whiteboard cleaner: a weekly spray stops ghosting building up.
A daily reset that takes two minutes
- Erase only Zone 3, the teaching space.
- Update the date and the learning target.
- Swap any schedule cards that change tomorrow.
- Return markers to the caddy and test any that look faded.
- Friday only: spray and wipe the whole board.
This is a perfect class job. A board monitor who resets Zone 3 and checks the markers at the end of the day takes the whole routine off your plate.
Seasonal board idea
 Save
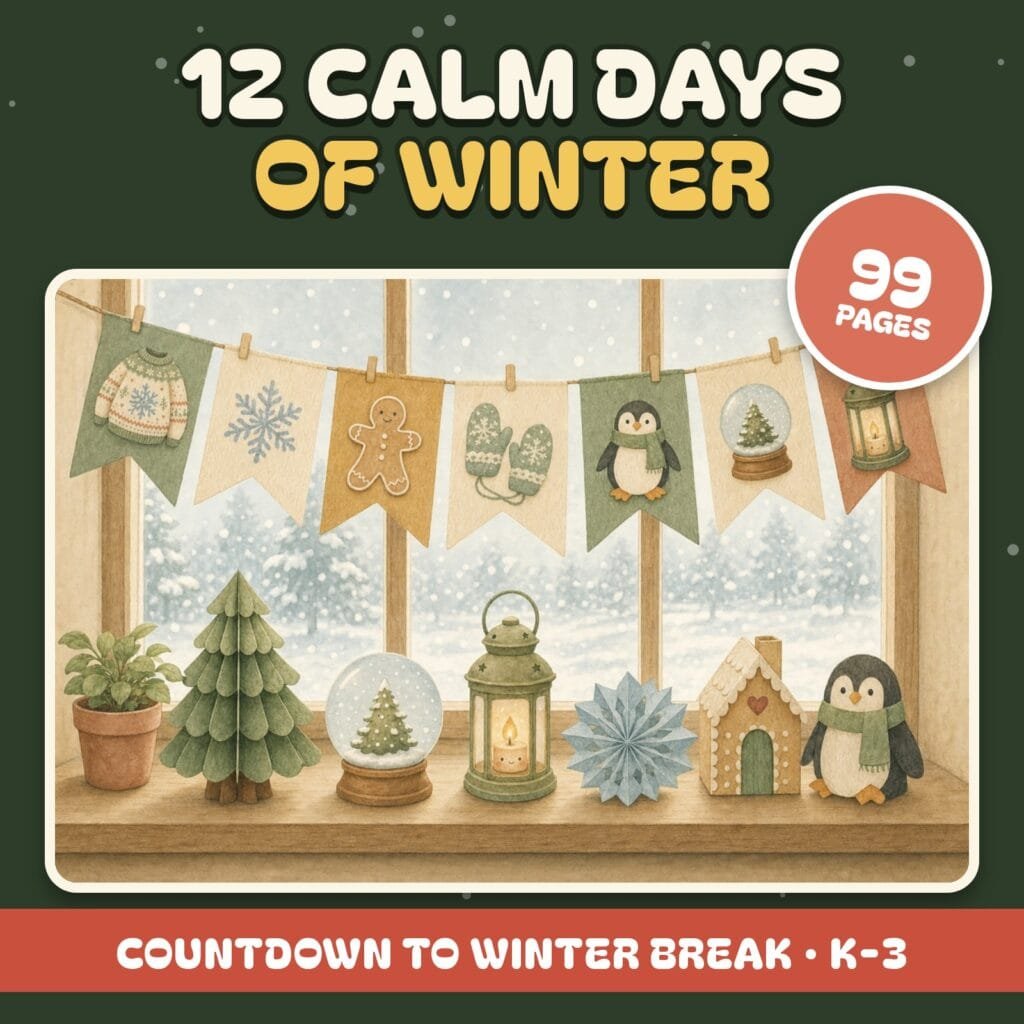
SaveIn December, use the parking lot zone for a countdown. 12 Calm Days of Winter gives you a numbered pennant and a two minute calm moment for each of the last 12 school days before break. See the calm countdown.
Dry erase supplies teachers restock

Classroom whiteboard organization FAQ
How should I organize my classroom whiteboard?
Split it into fixed zones that stay put all year: today and agenda, learning target, open teaching space, jobs and attendance, and a parking lot for reminders. Use magnets for anything that repeats so you only rewrite the teaching space.
What can I use to divide a whiteboard into sections?
Magnetic whiteboard strips are flexible and easy to move, and thin pinstripe vinyl tape gives permanent lines that do not wipe off. Both work on standard classroom whiteboards.
How do I stop markers going missing?
Keep them on the board in a magnetic caddy, keep only the colors you use, and make putting them back part of a two minute end of day reset.
What should go on a kindergarten whiteboard?
Keep it visual: a picture schedule down one side, the date with a picture of the weather, and name magnets for jobs. Less writing, more pictures.
Start with just two changes this week: put your markers in a magnetic caddy and divide the board into zones. Everything else can be added as you go.