
Some links in this post are affiliate links. If you buy through one, I may earn a small commission at no extra cost to you. As an Amazon Associate I earn from qualifying purchases.
This quick roundup targets preschool through elementary, with practical ideas you can pull off in a single prep period. Each idea works with standard classroom materials and near-casual setup, and fits well enough for homeroom or open house conversations. The focus is on usable, durable displays you can store and reuse.
What I’d Grab First
- Bulletin board paper roll: One fade resistant roll covers a whole door or board in a single piece, so there are no seams for little fingers to pick at.
- Bulletin board border: Finishes the edge in seconds and makes everything inside it look intentional.
- Cardstock: Heavier than construction paper, so cutouts stay flat and survive being handled all through December.
- Glue dots: Stick paper to paper instantly with no drying time and no drips, perfect for layered 3D pieces.
1. Countdown to Christmas Strings Across the Board
 Save
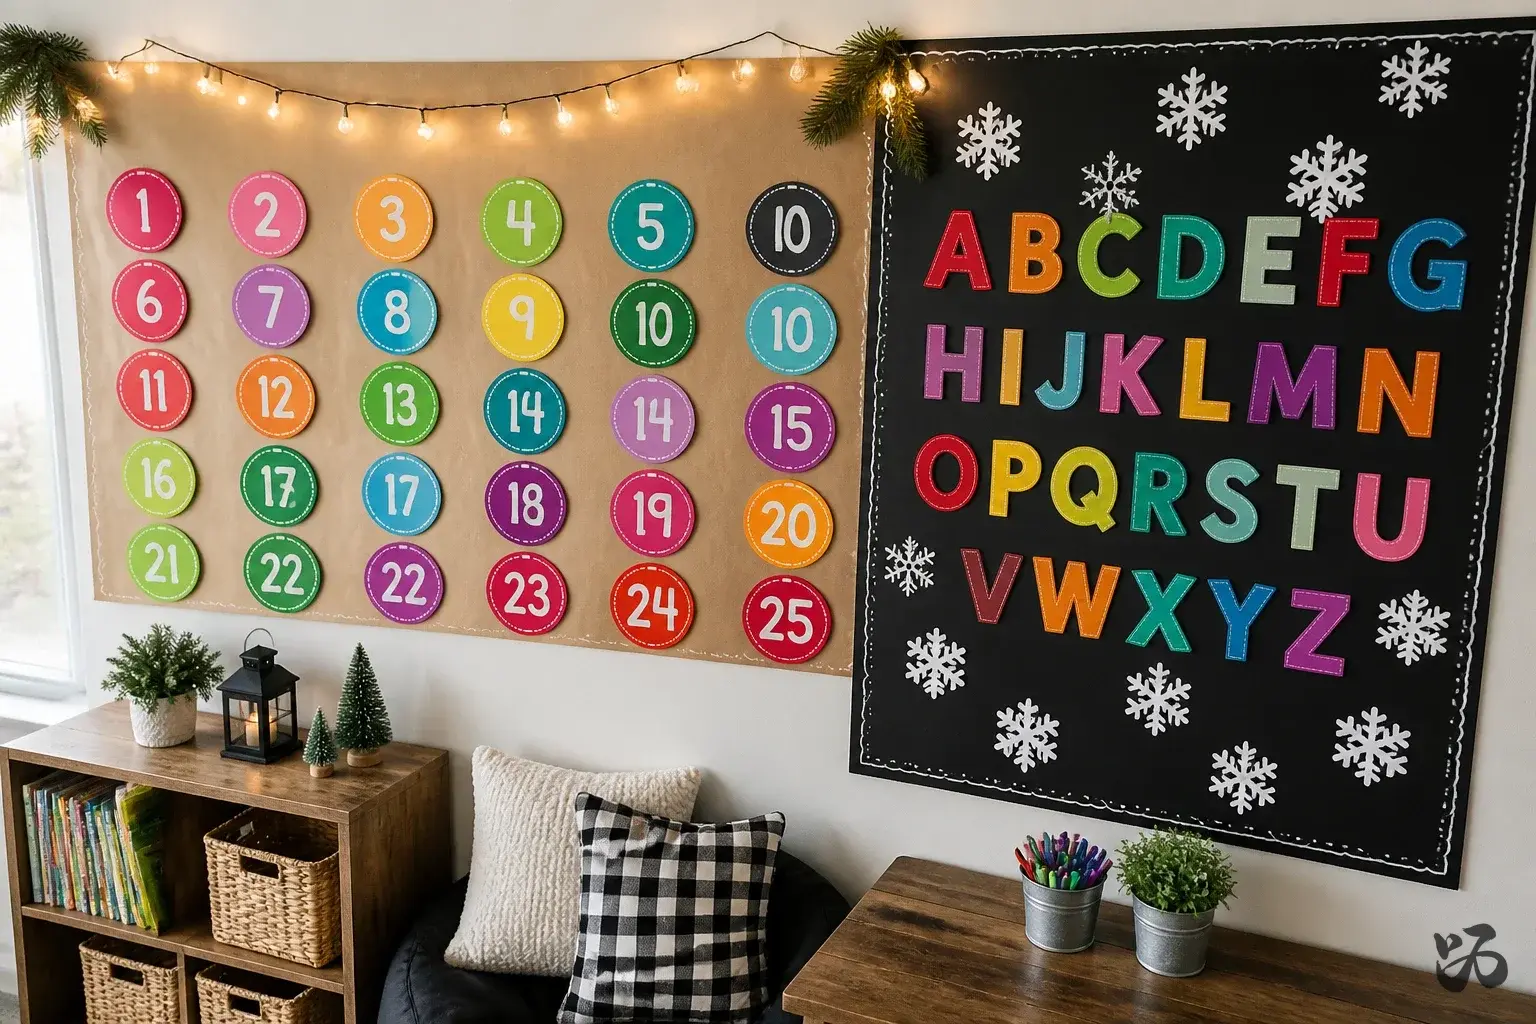
SaveLine a long strip of butcher paper across the bulletin board, then add a row of small cardstock circles numbered 1 through 25. Children color a circle as days pass, creating a simple visual countdown. The strings of lights or garland above catch the eye without overwhelming the space.
What you need
- Butcher paper for the base
- Cardstock circles numbered 1–25
- Colored markers or pencils
- Decorative string lights or warm white string
- Low-tack tape or poster putty
Prep during a planning period, then update daily with the class. Works well from pre-K through first grade.
2. Winter Chalkboard Alphabet with Cutout Snowflakes
 Save
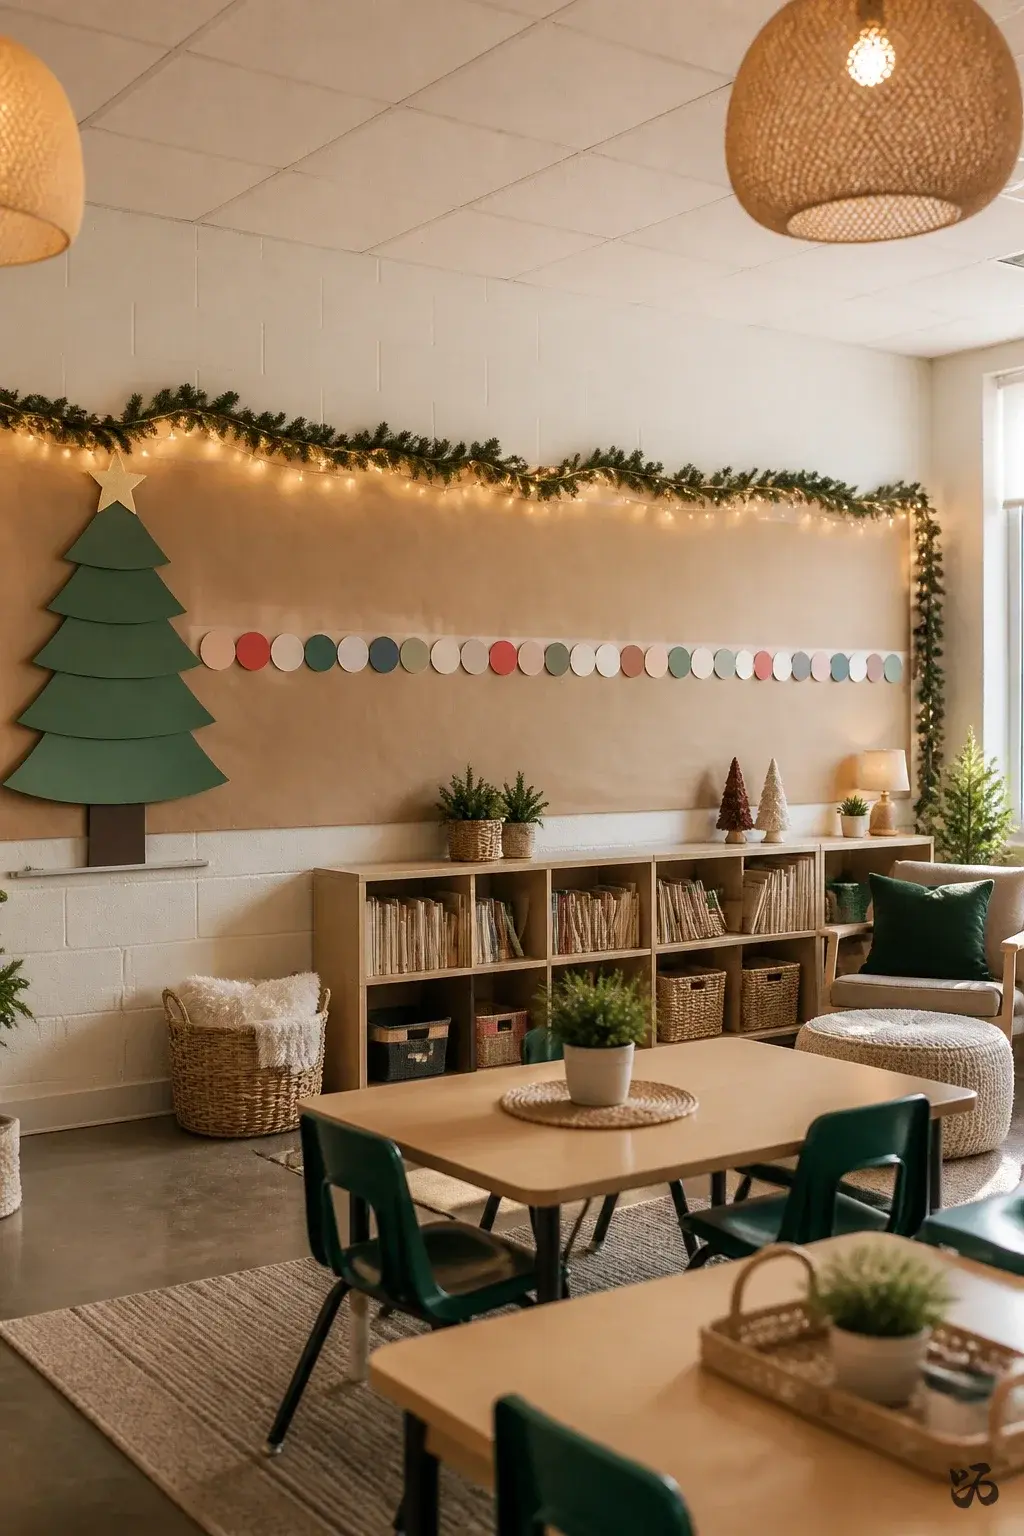
SaveA large faux chalkboard scene is created with black or dark blue paper, then letters A–Z (or a subset for younger grades) in bright cutouts. Scatter white snowflakes made from cardstock for texture. Place at eye level so kids can point to letters during reading time.
What you need
- Black construction paper or a chalkboard-style border
- Cardstock for letters
- White paper for snowflakes
- Glue sticks or paste
- Border trim to frame the board
Take a single prep period to cut and arrange; suitable for all elementary grades.
3. Gingerbread People Wall
 Save
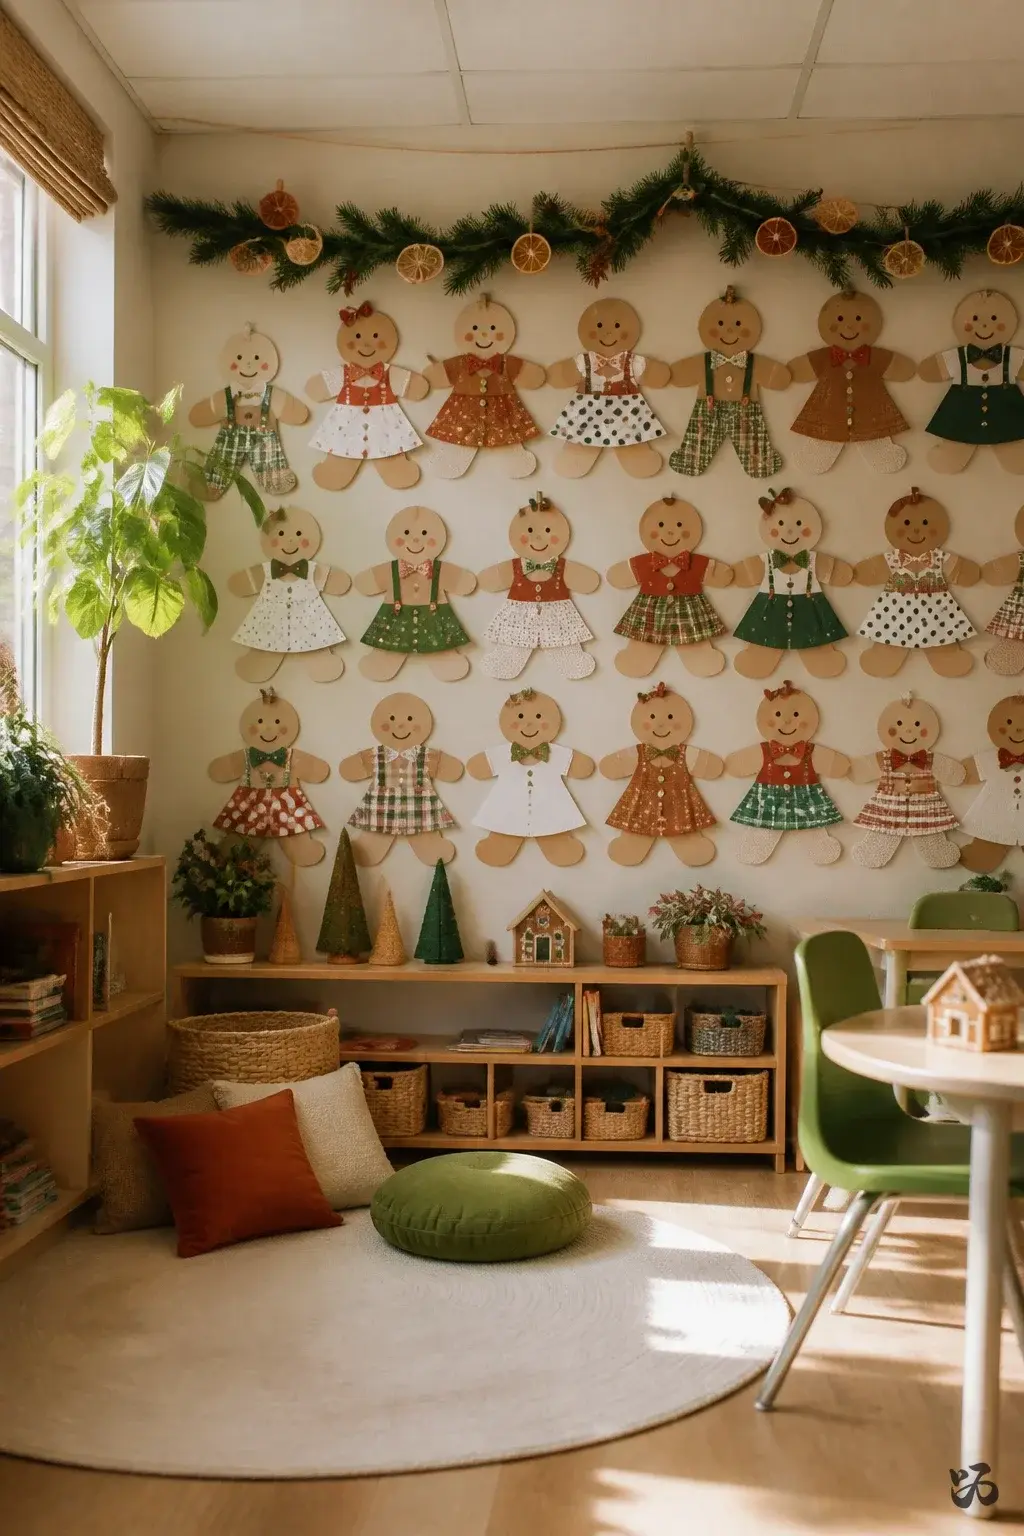
SaveTrace simple gingerbread people shapes on tan butcher paper and dress them with paper scraps to resemble students and staff in festive outfits. Lamination isn’t required if you use sturdy cardstock for the cutouts and reattach with mounting putty.
What you need
- Tan butcher paper
- Cardstock gingerbread shapes
- Patterned paper scraps for clothing
- Glue sticks
- Mounting putty
Good for a first-grade or second-grade display; easy to adjust when new students arrive.
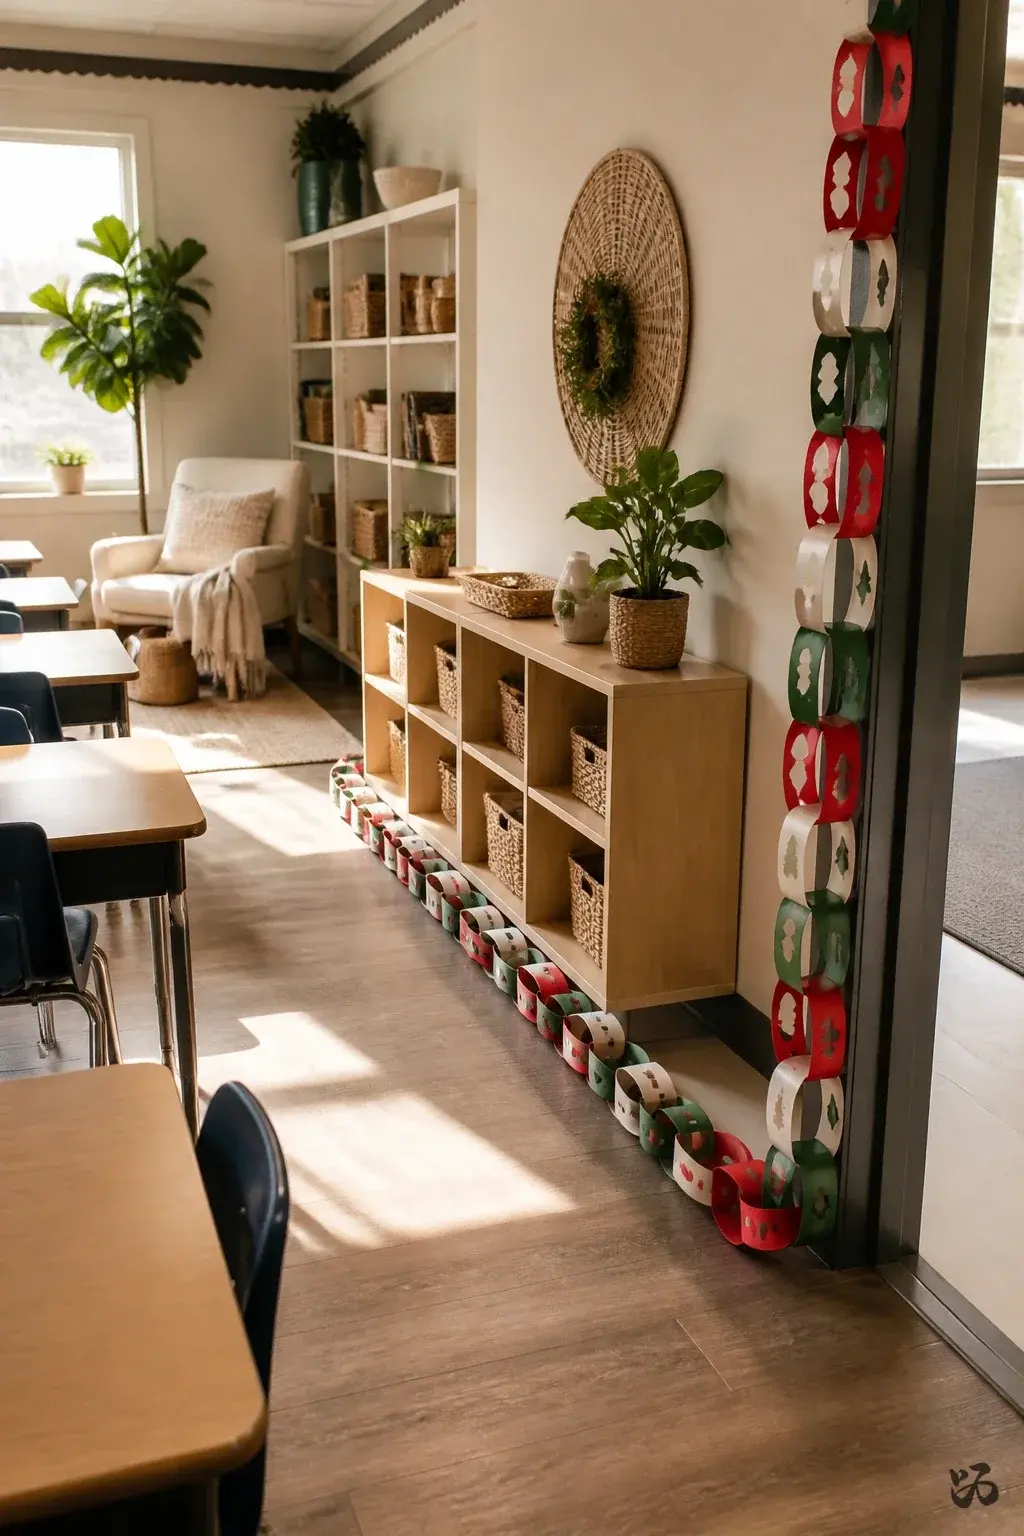
4. Paper Chain Countdown to Winter Break
 Save
SaveCreate a long paper chain that students can remove one link from during the last week before break. Each link can feature a class goal, a kind act, or a holiday wish. The chain hangs along the baseboard or around a doorway frame for visibility.
What you need
- Construction paper in holiday colors
- Scissors
- Stapler or tape (low-tack)
- Markers for writing goals or wishes
- Border trim to finish edges
It takes about 45 minutes to assemble; works in pre-K through second grade with adult help for cutting.
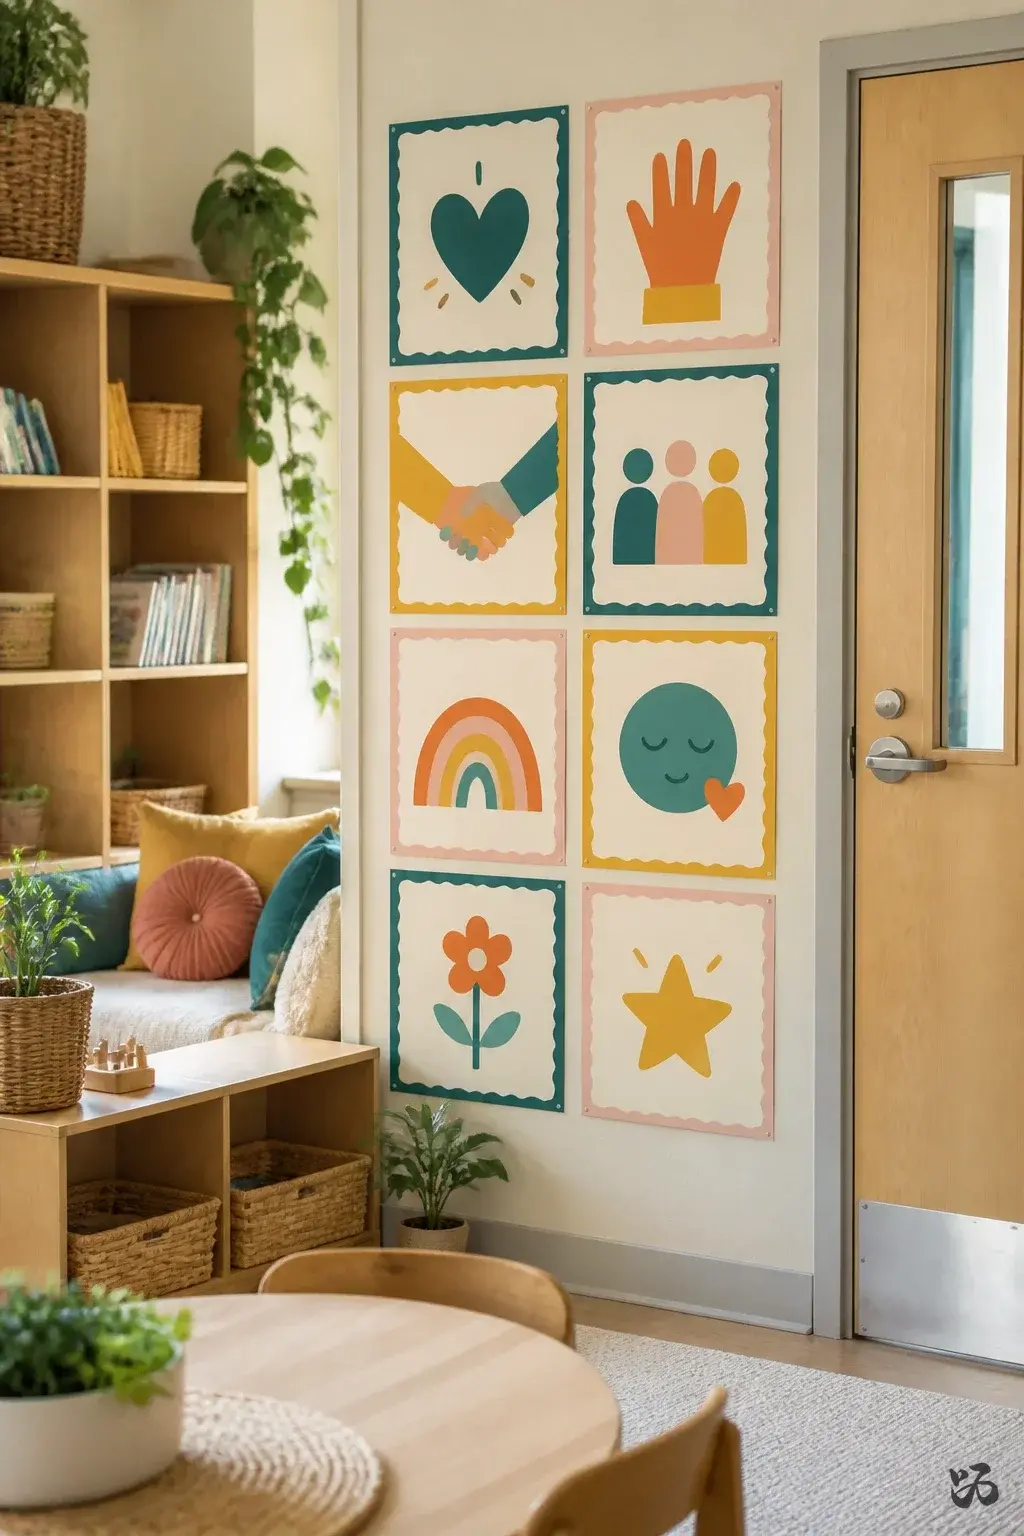
5. Festive Room Rules Chart
 Save
SaveCreate a bright, kid-friendly rules chart using large cardstock rectangles as tiles. Each tile shows one rule with a simple illustration. Place near the door so it’s familiar from arrival to dismissal.
What you need
- Cardstock tiles
- Markers and crayons
- Border trim for edging
- Clear velcro dots (optional) to swap rules
Keep it to 6–8 tiles for quick setup and easy removal in June.
Bulletin Board Sets

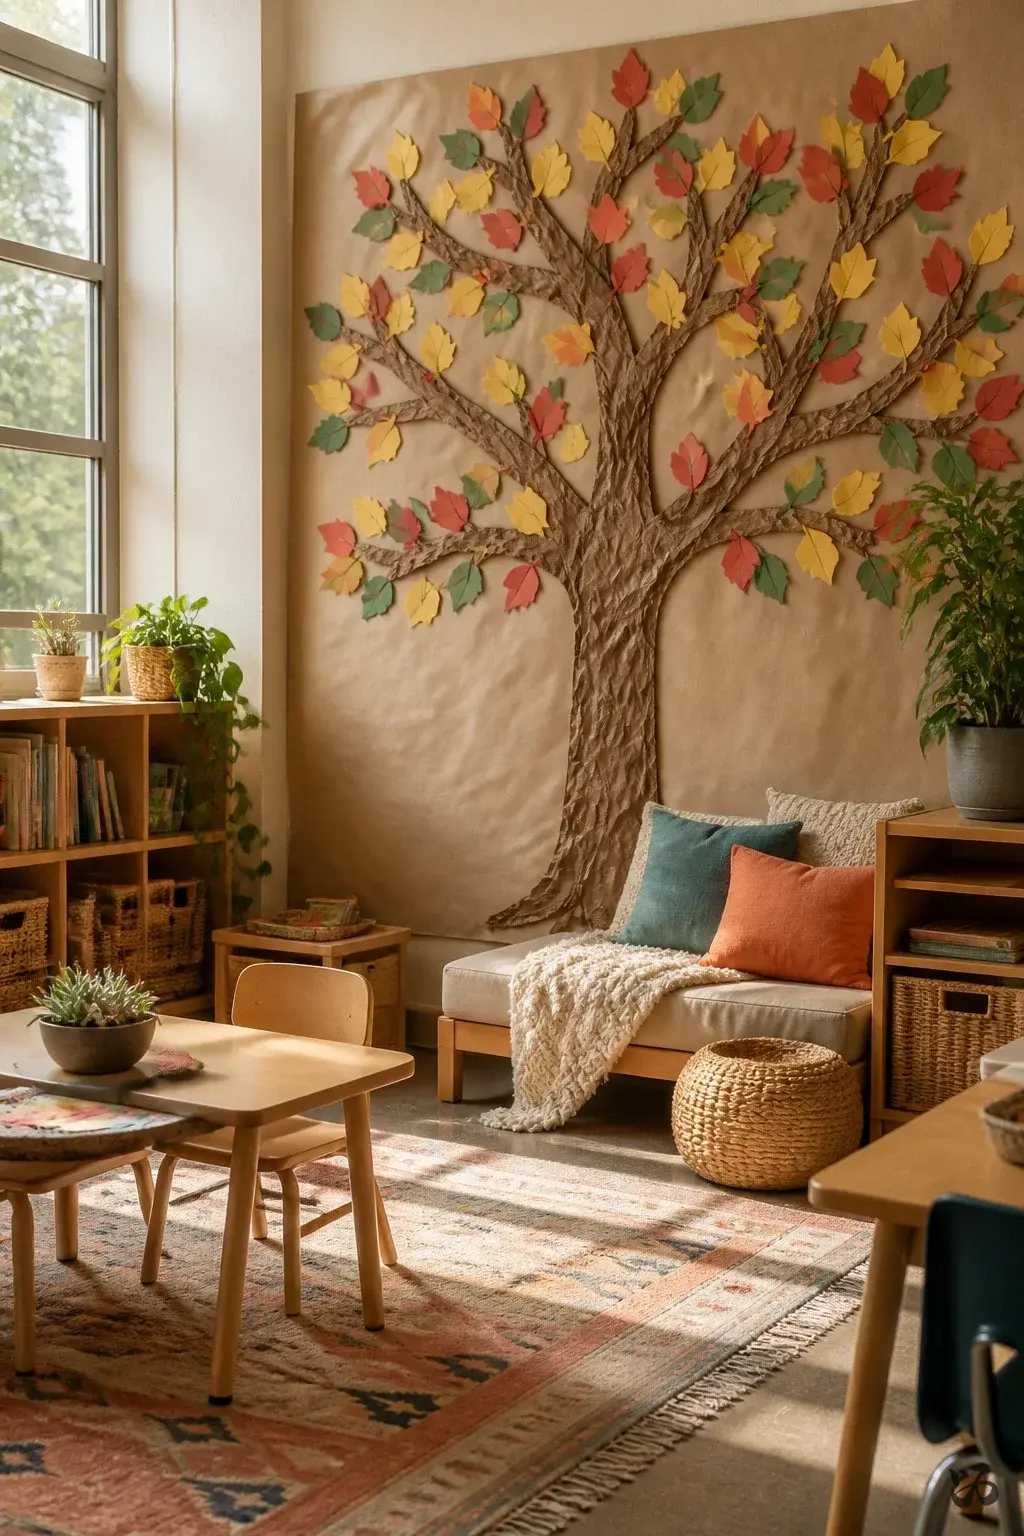
6. Kindness Tree with Cardstock Leaves
 Save
SaveDraw a simple tree on butcher paper and staple or tape brown trunk and branches to the wall. Students write kind acts on red, green, or yellow leaves and attach them to the branches. The tree grows as the month goes on.
What you need
- Butcher paper or large poster board
- Colored cardstock for leaves
- Markers for writing
- Pushpins or tape to attach leaves
- Thin ribbon to drape around branches
Laminate is optional; leaves can be replaced as needed. Suitable for all elementary grades.
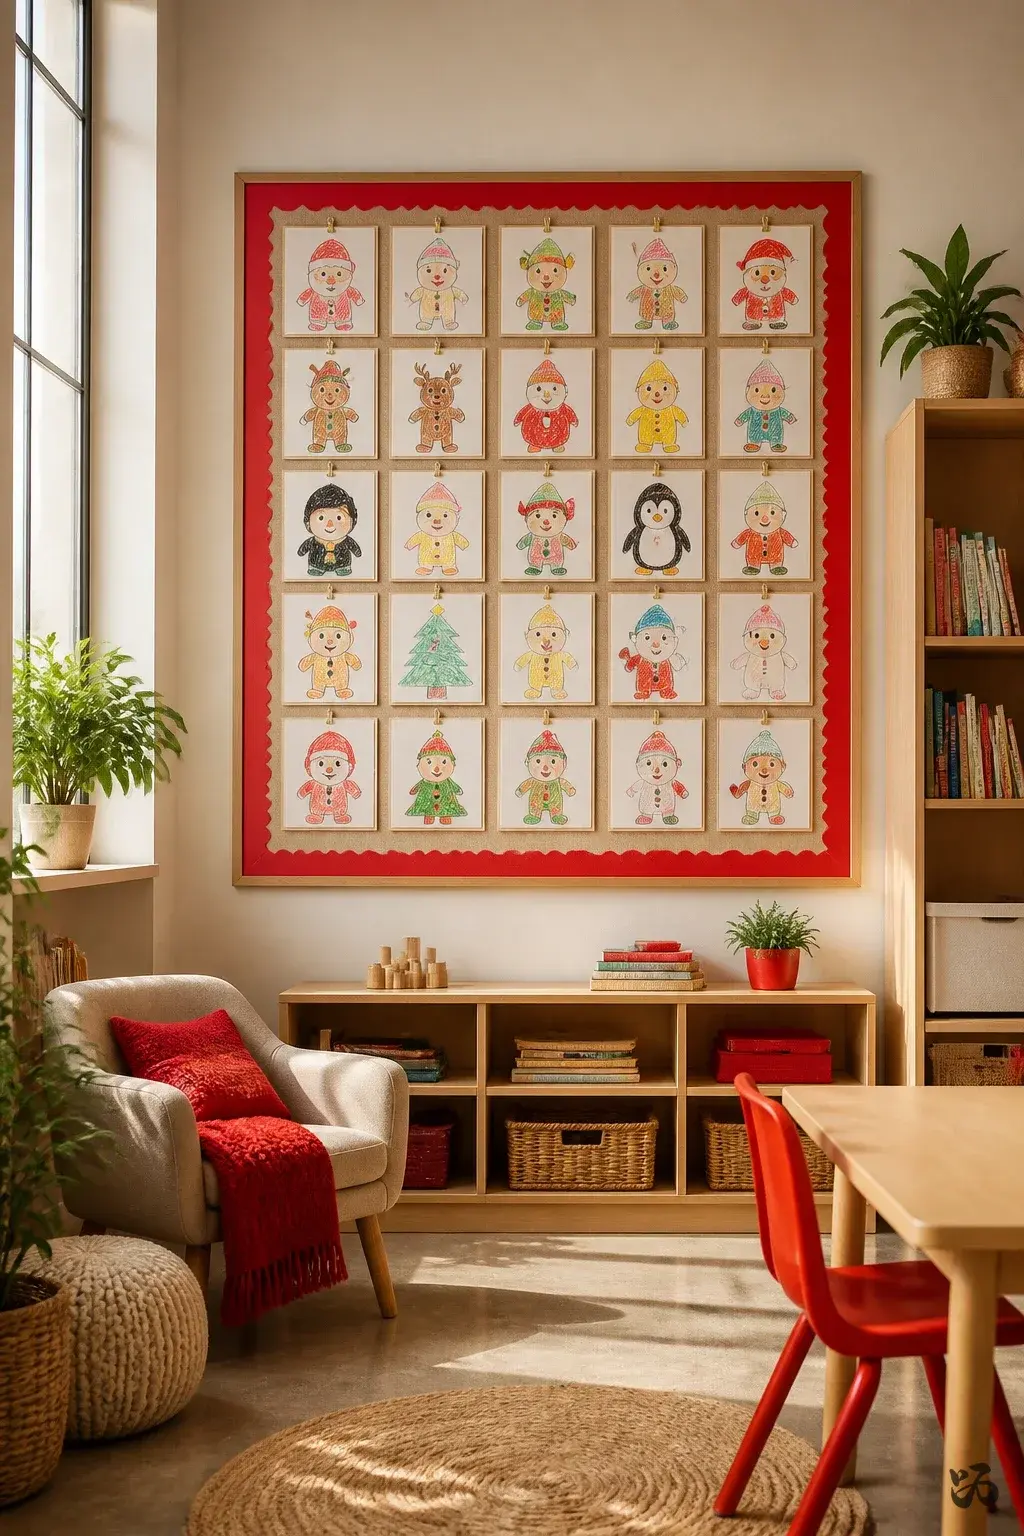
7. Character Crayon Clip Art Gallery
 Save
SaveDisplay a mini gallery of student-drawn character clips. Each student contributes a small drawing of a holiday character using crayons on cardstock. Mount in a grid pattern along a bulletin board or hallway display. Rotate as needed for new artwork.
What you need
- Cardstock or construction paper
- Crayons
- Thumbtacks or double-sided tape
- Coordinating border
Great for Open House and parent night; encourages minimal laminating.
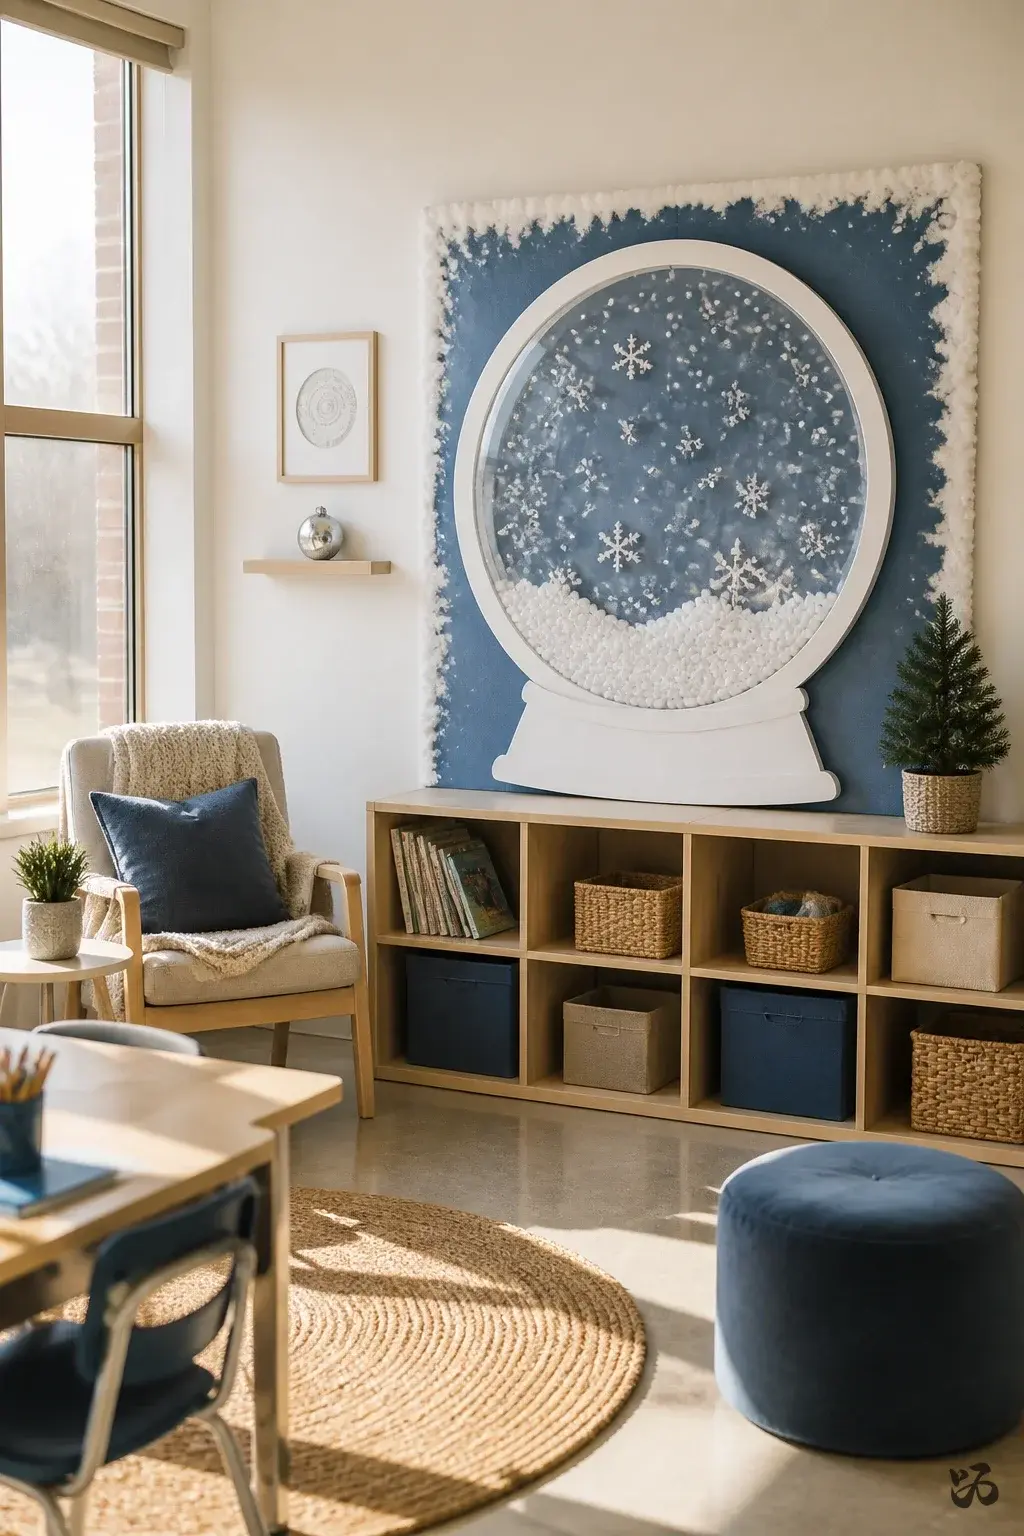
8. Snow Globe Scene
 Save
SaveCut a large snow globe shape from clear or white cardstock and fill with small foam or construction paper snowflakes. Mount on a blue or white background with a snowy border. Kids can add a single ornament or ornament initial to personalize their globe.
What you need
- Blue or white bulletin board background
- Snowflakes cut from white cardstock
- Cardstock for the globe
- Glitter is optional
One prep period to assemble; tolerates light handling from kids if secured with strong tape.
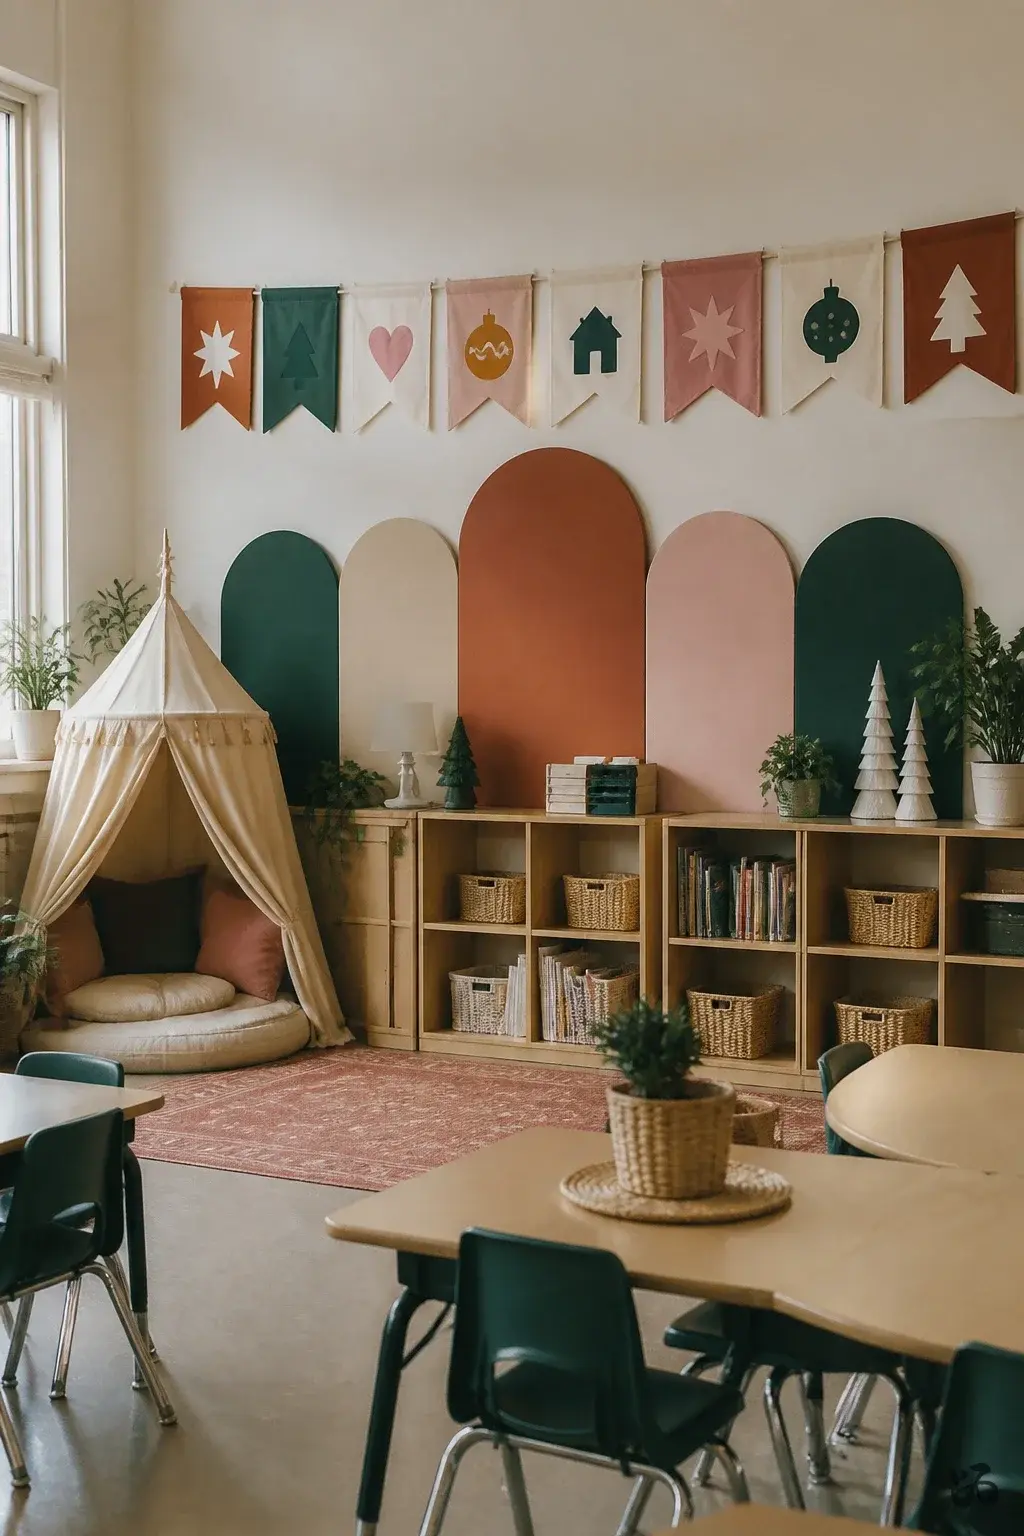
9. Holiday Habits Banner
 Save
SaveDesign a banner that highlights a class habit each day—sharing, listening, helping. Use word cards and simple drawings. Hang across the top of the board with a contrasting border to help it read from a distance.
What you need
- Banner length poster
- Word cards with habits
- Markers and cropping scissors
- Border trim
Simple to modify daily; best for kindergarten and first grade.
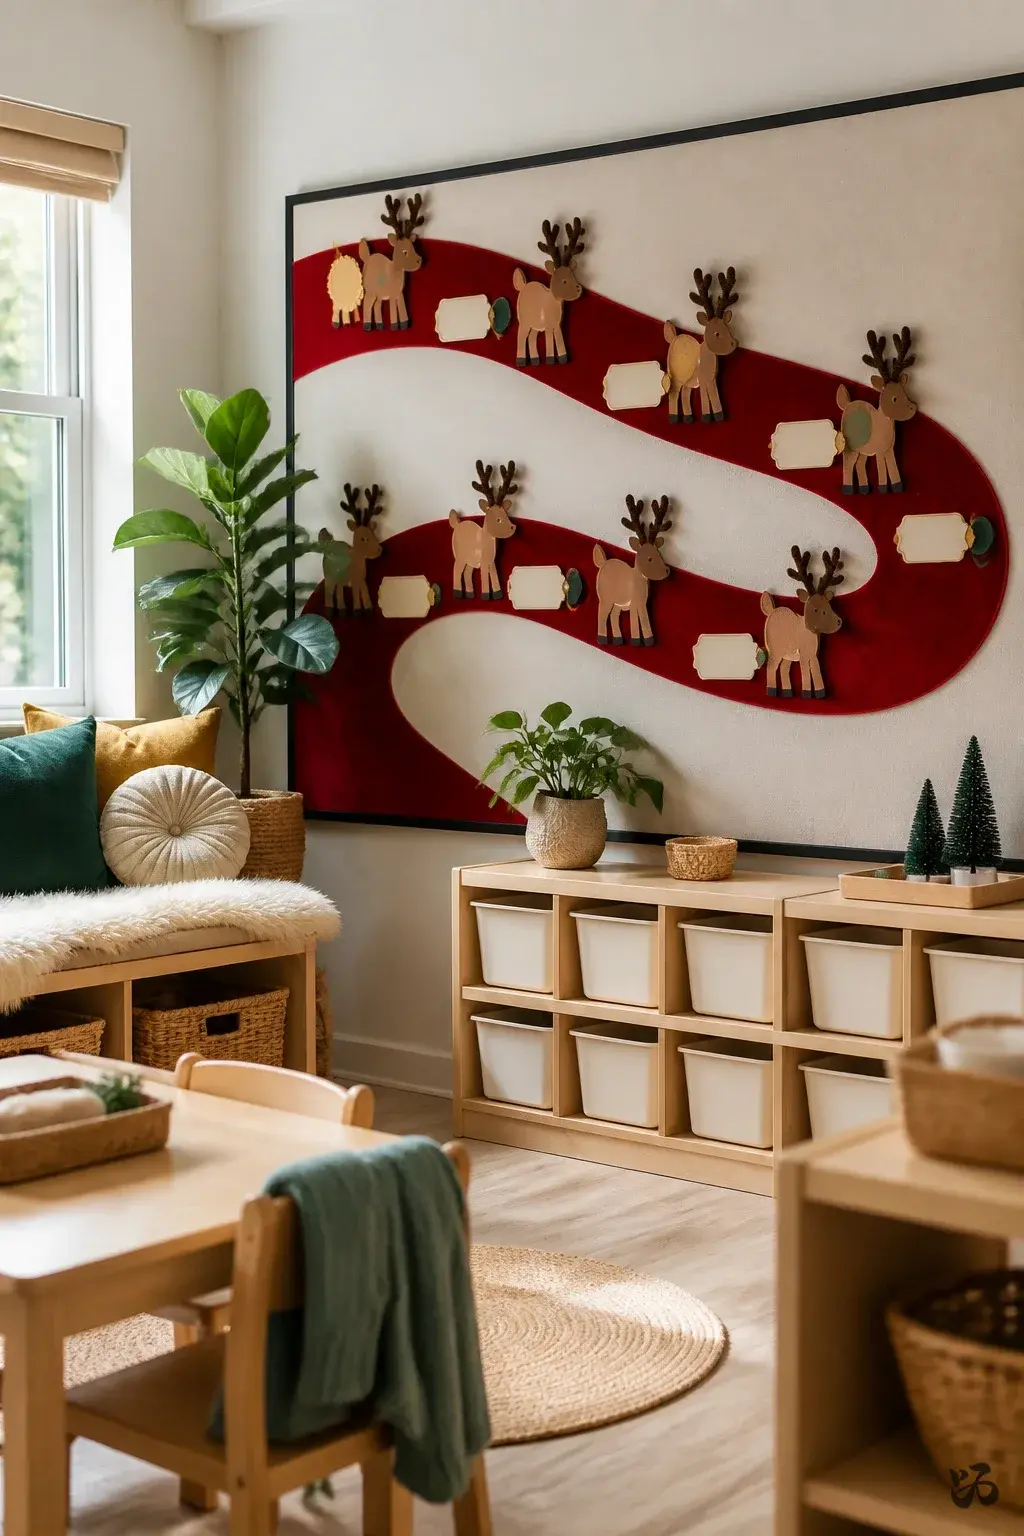
10. Reindeer Names on a Velvet Red Path
 Save
SaveUse a red path cut from velvet or textured paper that winds across the board. Each student’s name is written on a reindeer shape. A simple black border helps the names pop, and a few felt antlers add a playful touch.
What you need
- Red velvet paper or textured red cardstock
- Cardstock reindeer shapes
- Black marker for names
- Pushpins or tape
Durable with light handling; suitable for pre-K through second grade.
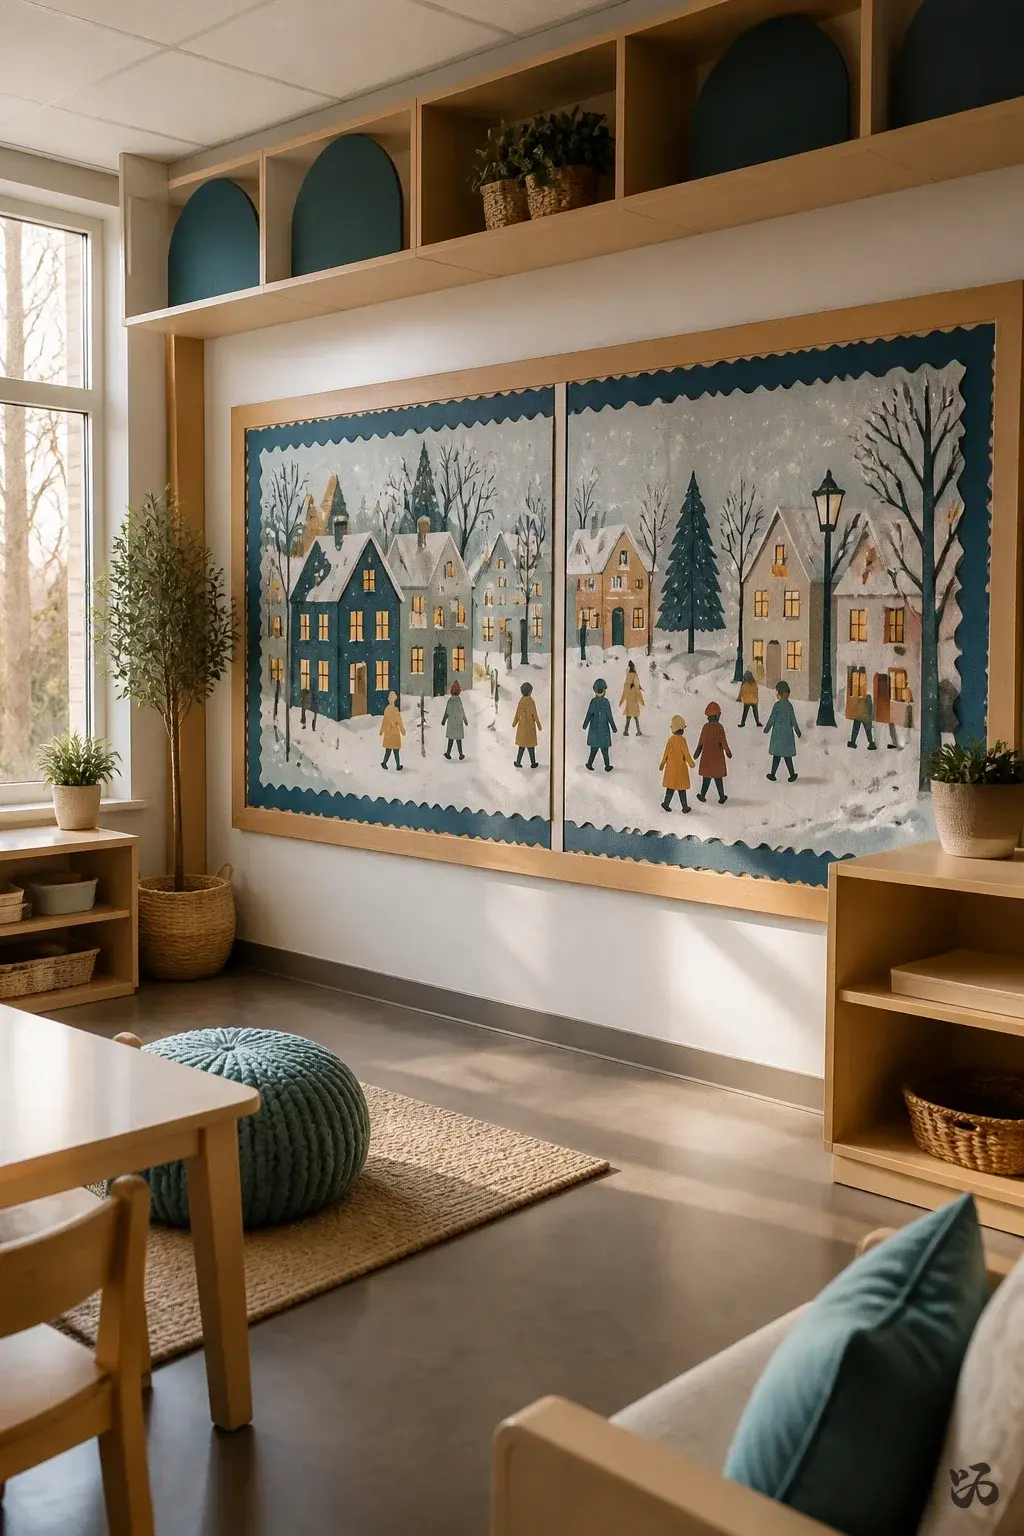
11. Winter Scene Diptych
 Save
SaveCreate two connected panels that show a winter landscape. One panel shows a snowy village; the second panel features students in winter clothing across the town. Keep the scene at child height and use low-tack mounting so it’s easy to remove.
What you need
- Two large boards of construction paper
- Colored tissue and construction paper scraps
- Glue sticks
- Border trim
Works well from kindergarten to second grade; consider swapping out houses or trees mid-season for variety.
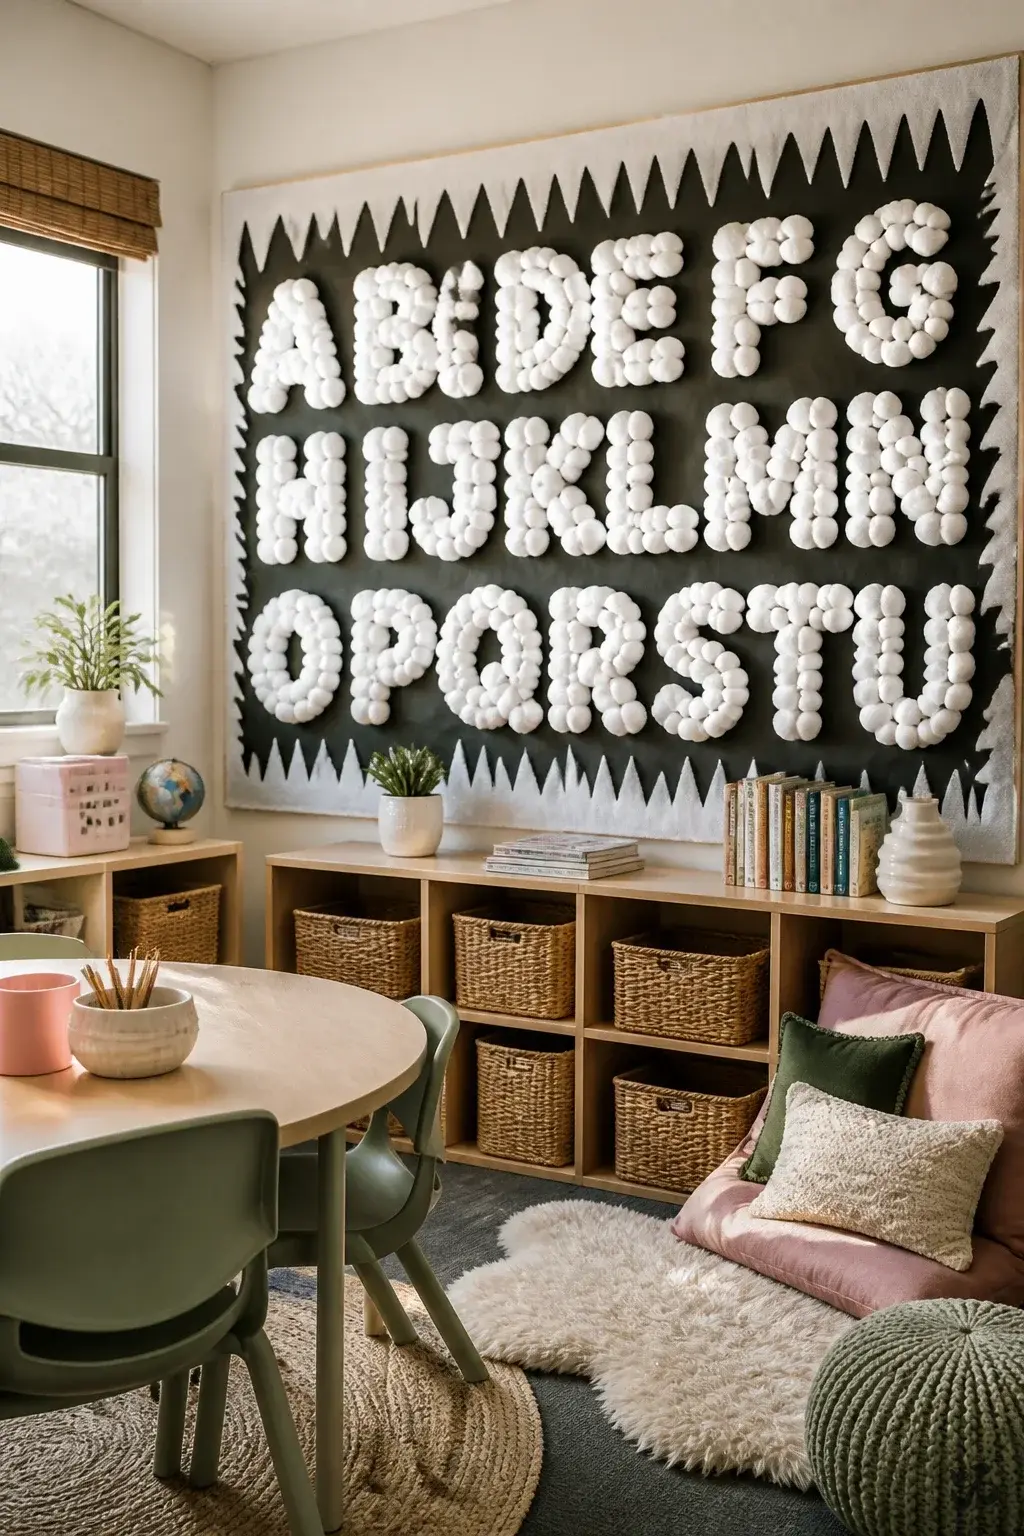
12. 3D Snowball Letters
 Save
SaveCut large letters from white cardstock and glue on 3D snowball shapes cut from cotton balls or batting. Place on a dark backdrop so the white letters pop. A few icicle border pieces complete the wintry look.
What you need
- White cardstock for letters
- Cotton balls or batting for snowballs
- Dark backing paper
- Icicle border
One prep period; avoid heavy glue on cotton balls to prevent future shedding.
Paper That Will Not Fade


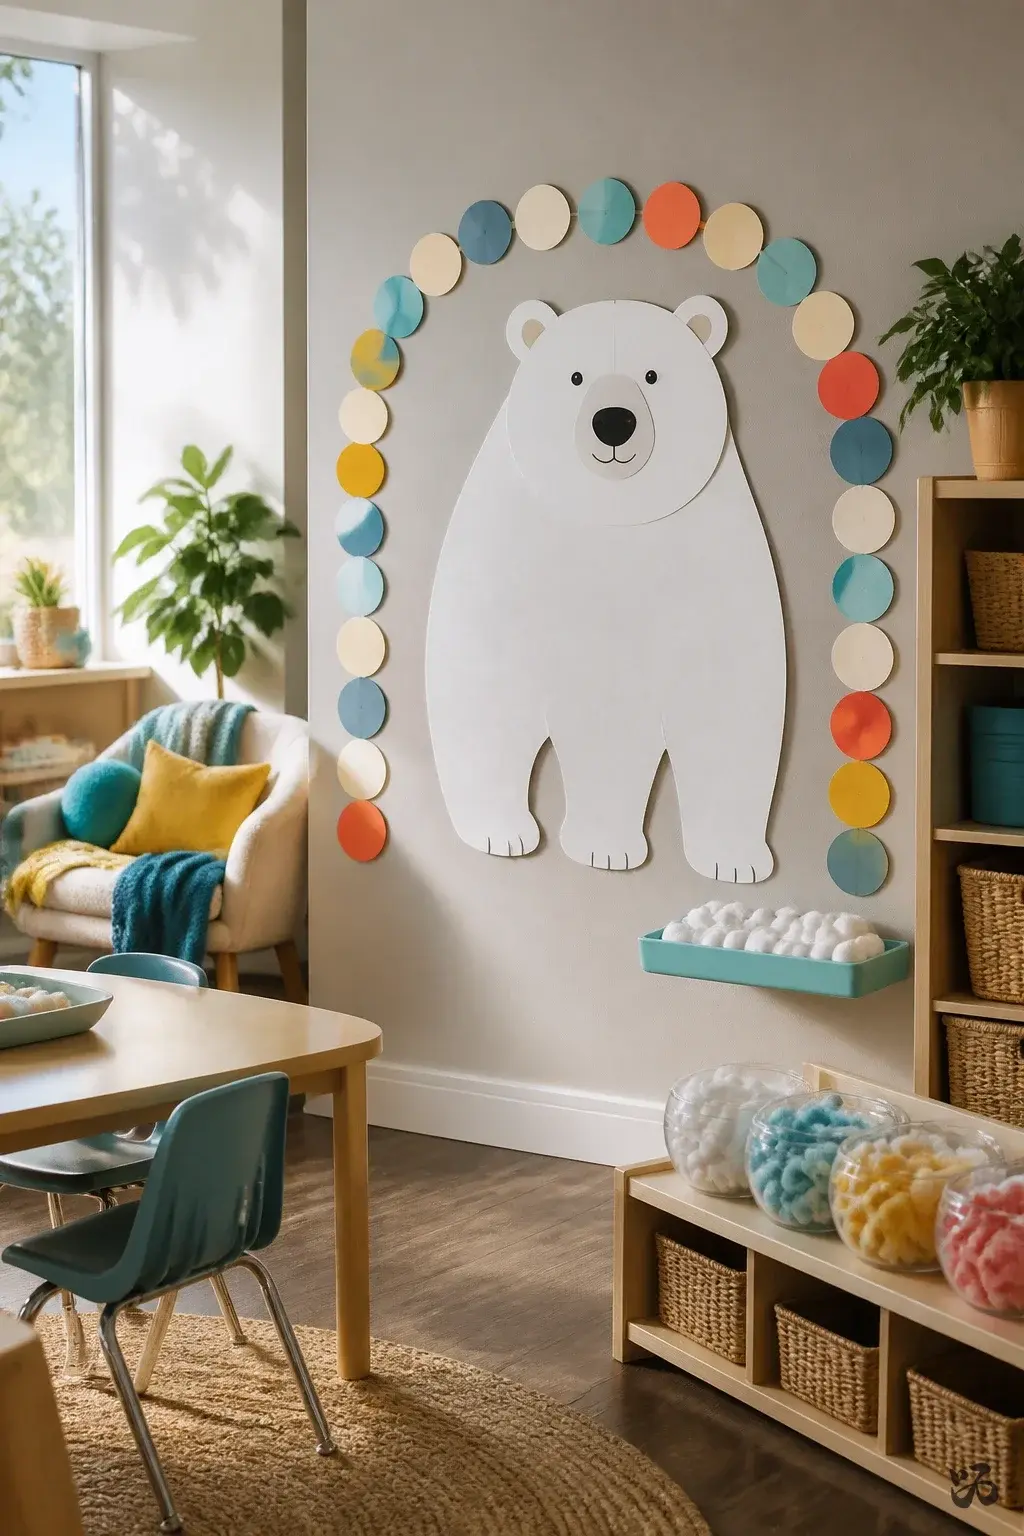
13. Polar Bear Counting Wall
 Save
SaveDisplay a large polar bear cutout with numbers 1–20 along the edge. Students can add manipulatives like cotton balls to show the count. Place near math centers or by the calendar area.
What you need
- Large polar bear cutout
- Numbers printed on cardstock
- Cotton balls
- Double-sided tape
Good for early math exploration; keep it kid-friendly and avoid over-attachment to fragile pieces.
14. Santa Letter Stepping Stones
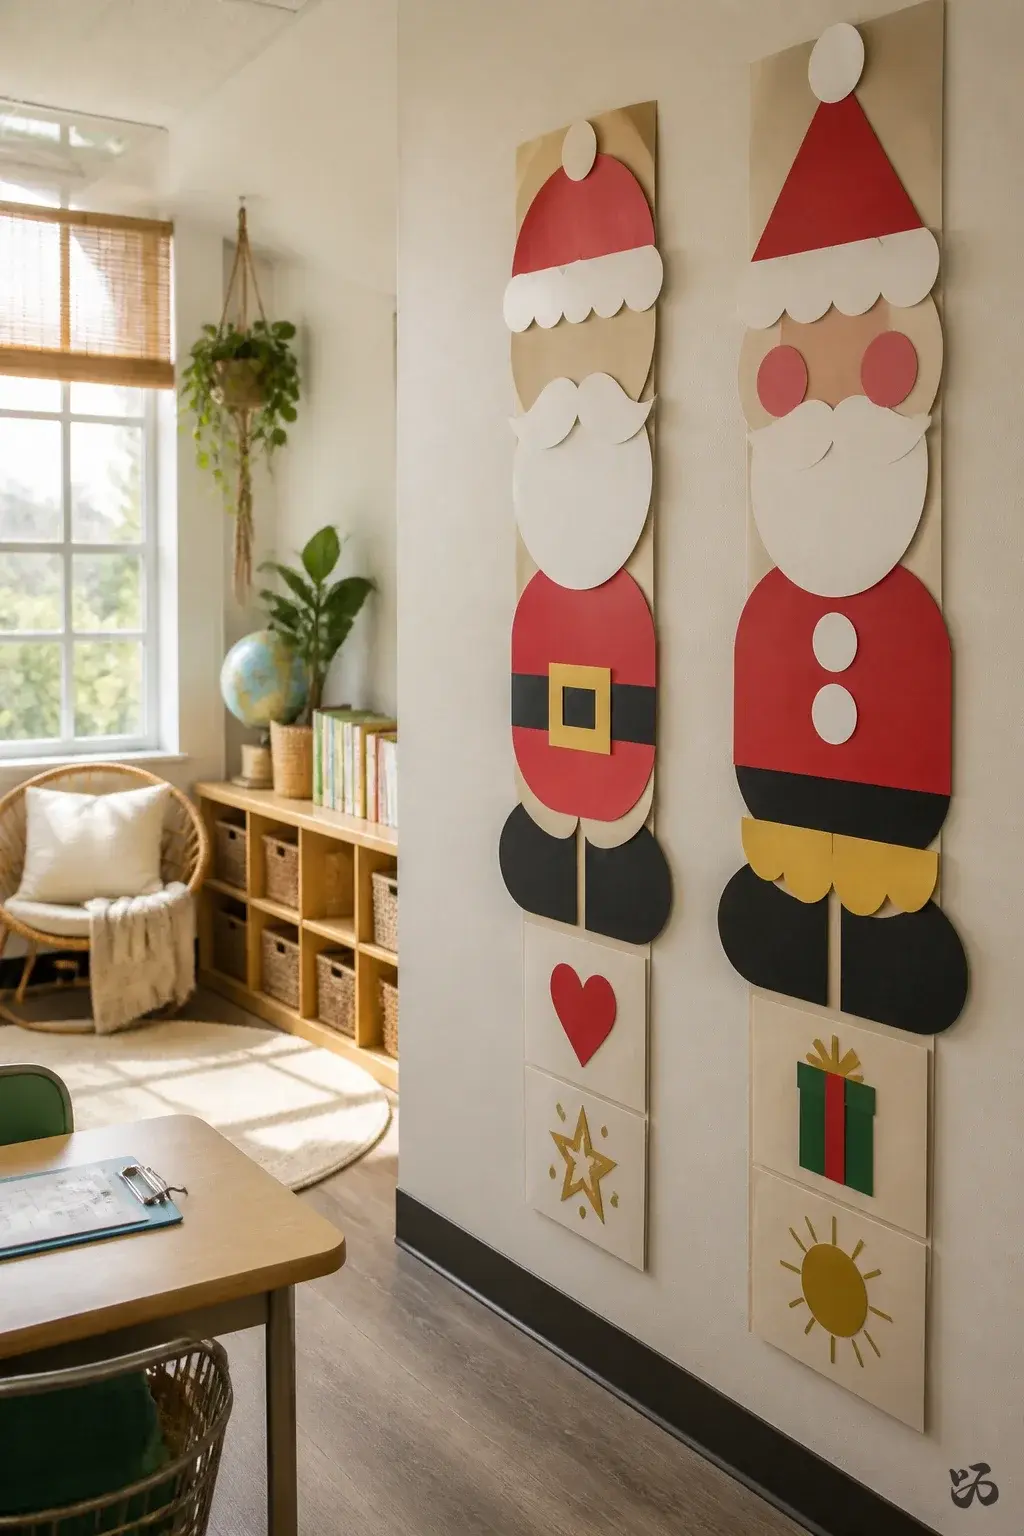 Save
SaveCut two sturdy pieces of cardstock into vertical stepping stones that spell out Santa’s letters. Each student adds a short, kind message underneath their stone. Arrange into a cheerful walkway along a wall or across the hallway if allowed by a custodian.
What you need
- Cardstock or poster board
- Marker pens for writing
- Glue sticks
- Border trim
Low-risk and portable; best for pre-K through first grade.
15. Open House History Shelf
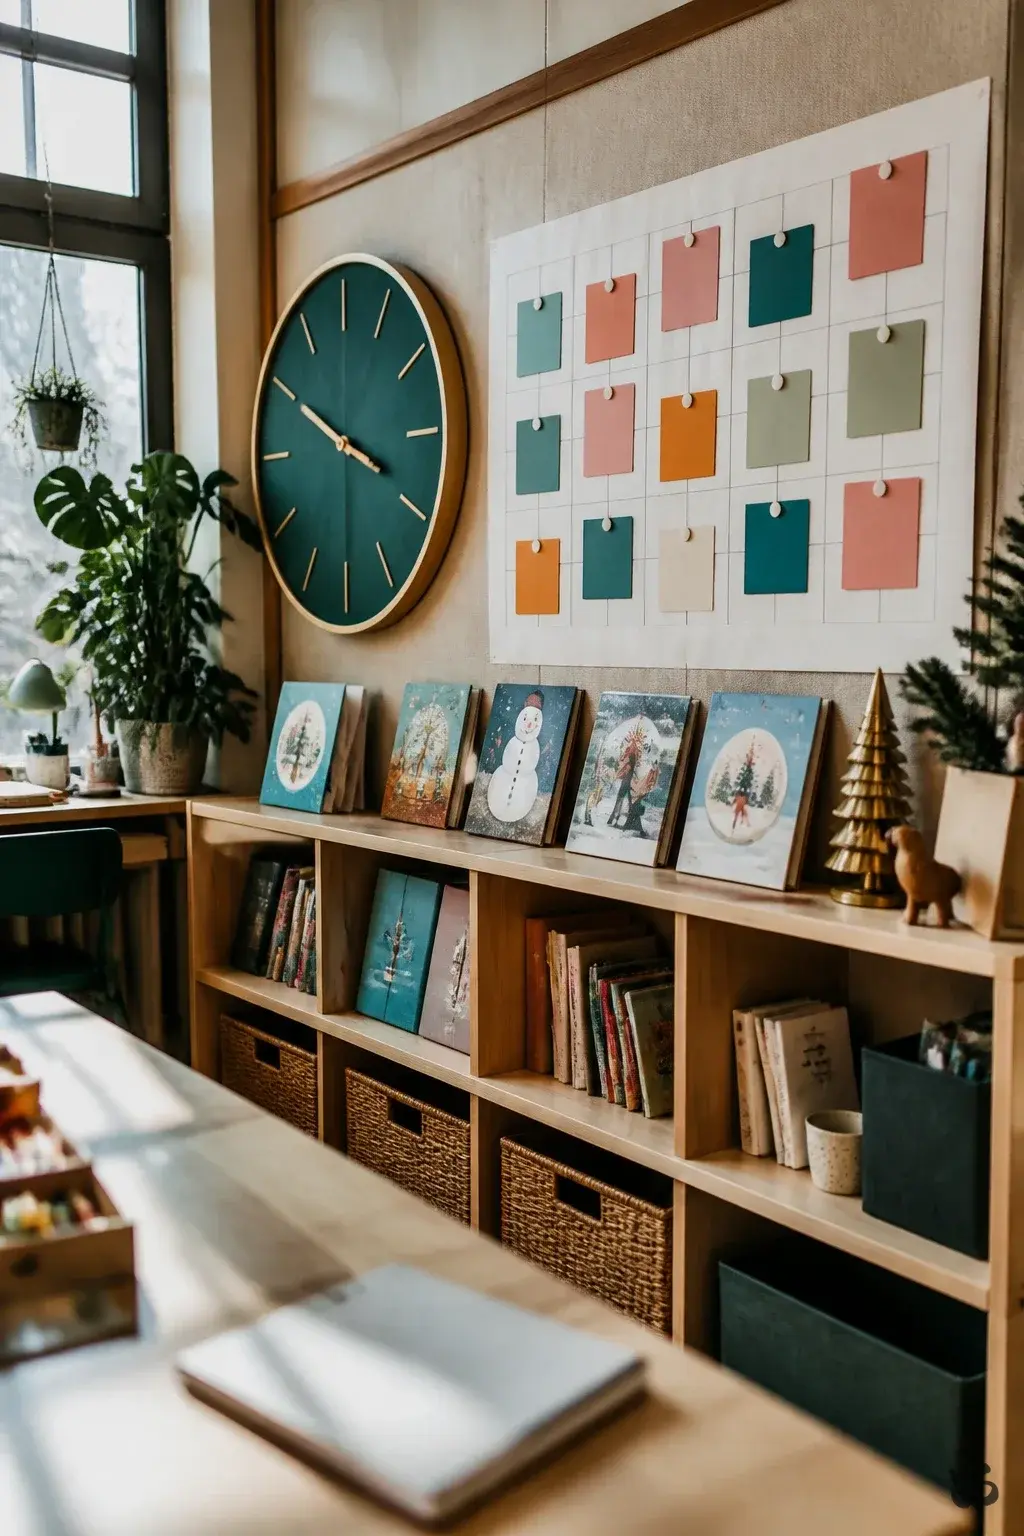 Save
SaveTurn a small section of the board into a mini-history shelf with dates of winter holidays celebrated in class. Use a simple calendar grid as a backdrop and slot in student-created cards with a fact or memory about a holiday tradition.
What you need
- Calendar-style grid on poster board
- Student fact cards
- Cardstock labels
- Mounting putty
Simple, quick, and conversation-starting for parent night and field trips.
16. Snowflake Symmetry Wall
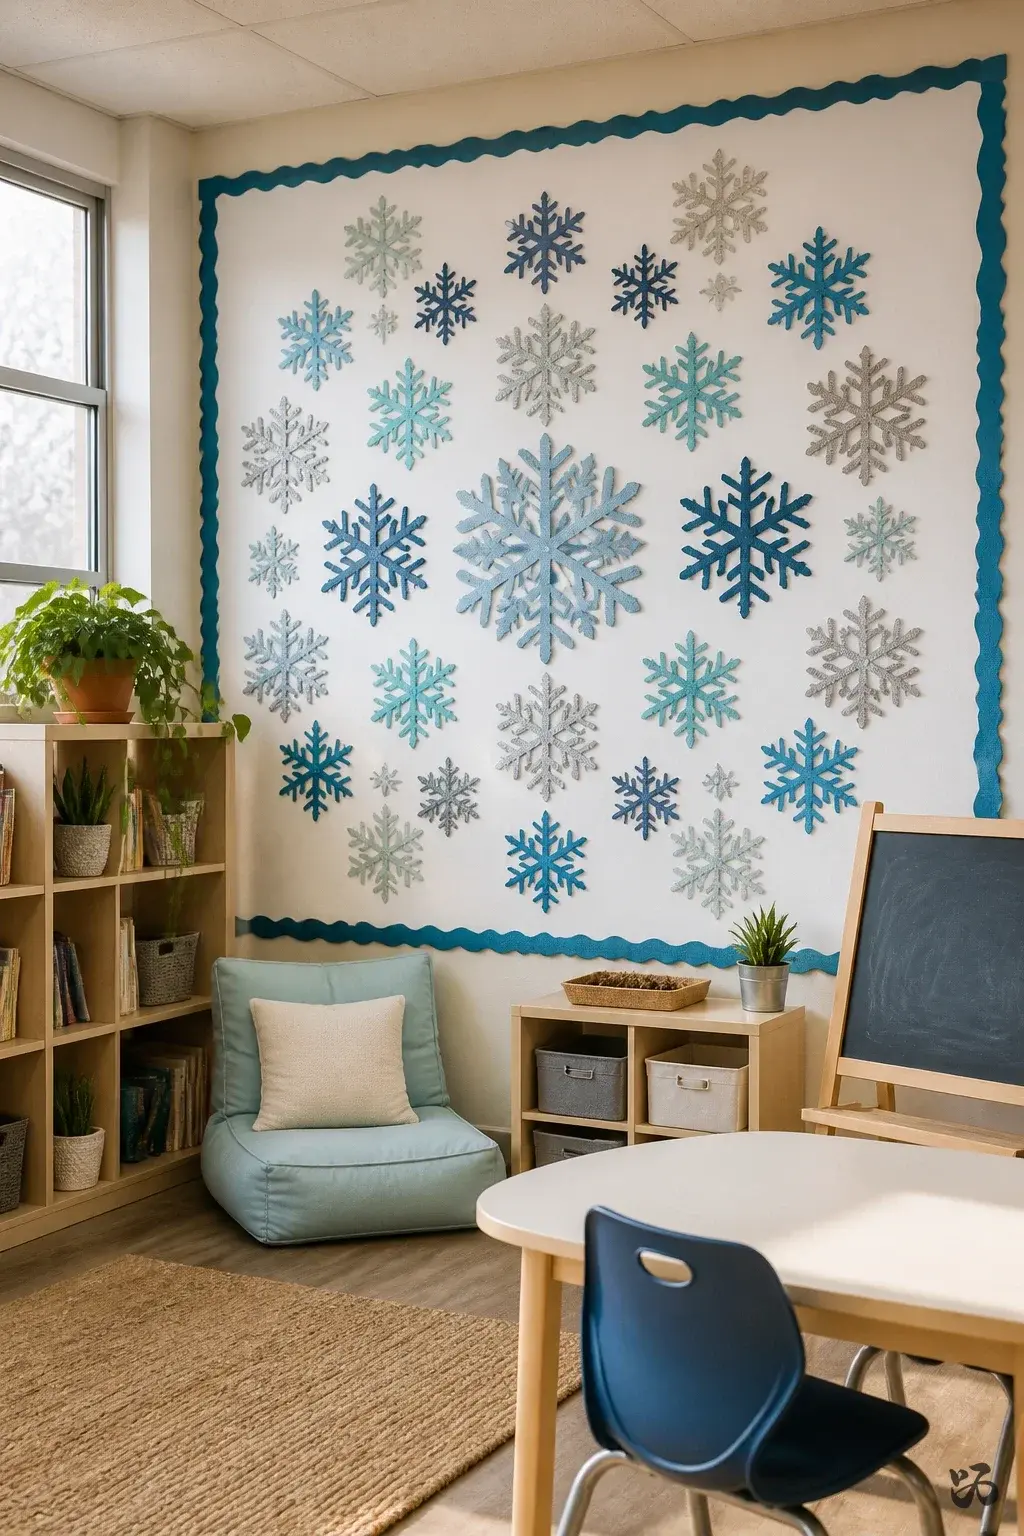 Save
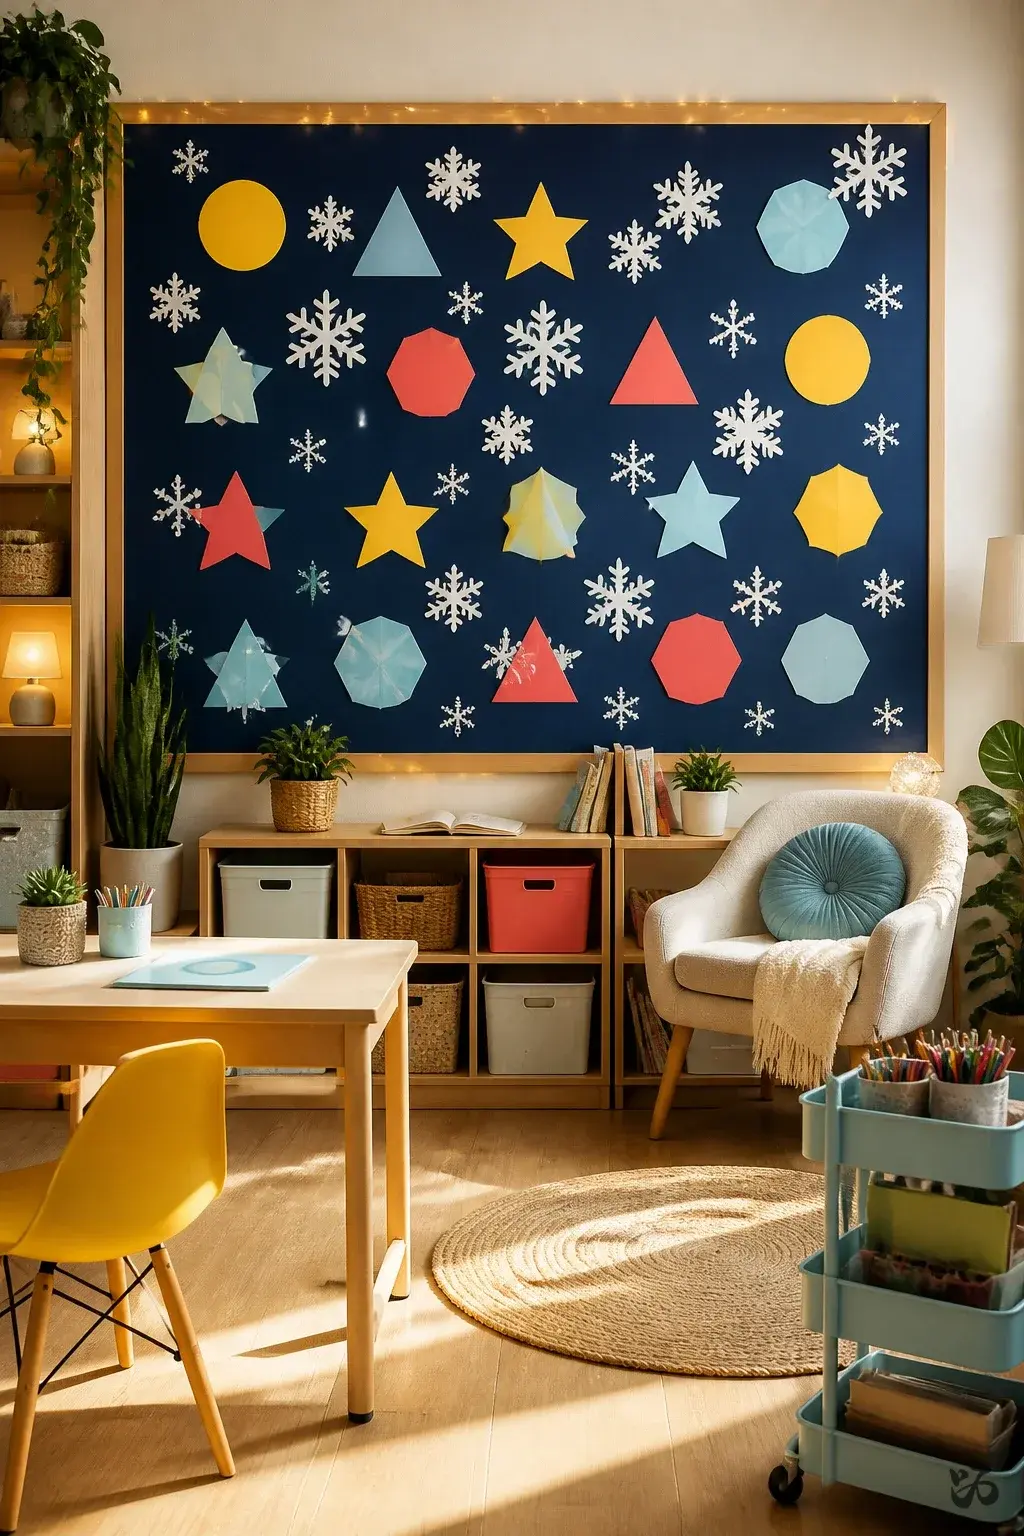
SaveMount a large white backdrop and hang intricate snowflake cutouts in symmetric patterns. This is a great time to discuss symmetry with students. Use a few bold border colors to help the shapes stand out.
What you need
- White paper or poster
- Snowflake cutouts
- Colored border trim
- Tape
Laminate is optional, but snowflakes can be swapped as needed. Suitable for all elementary levels.
17. Peaceful Poetry Corner
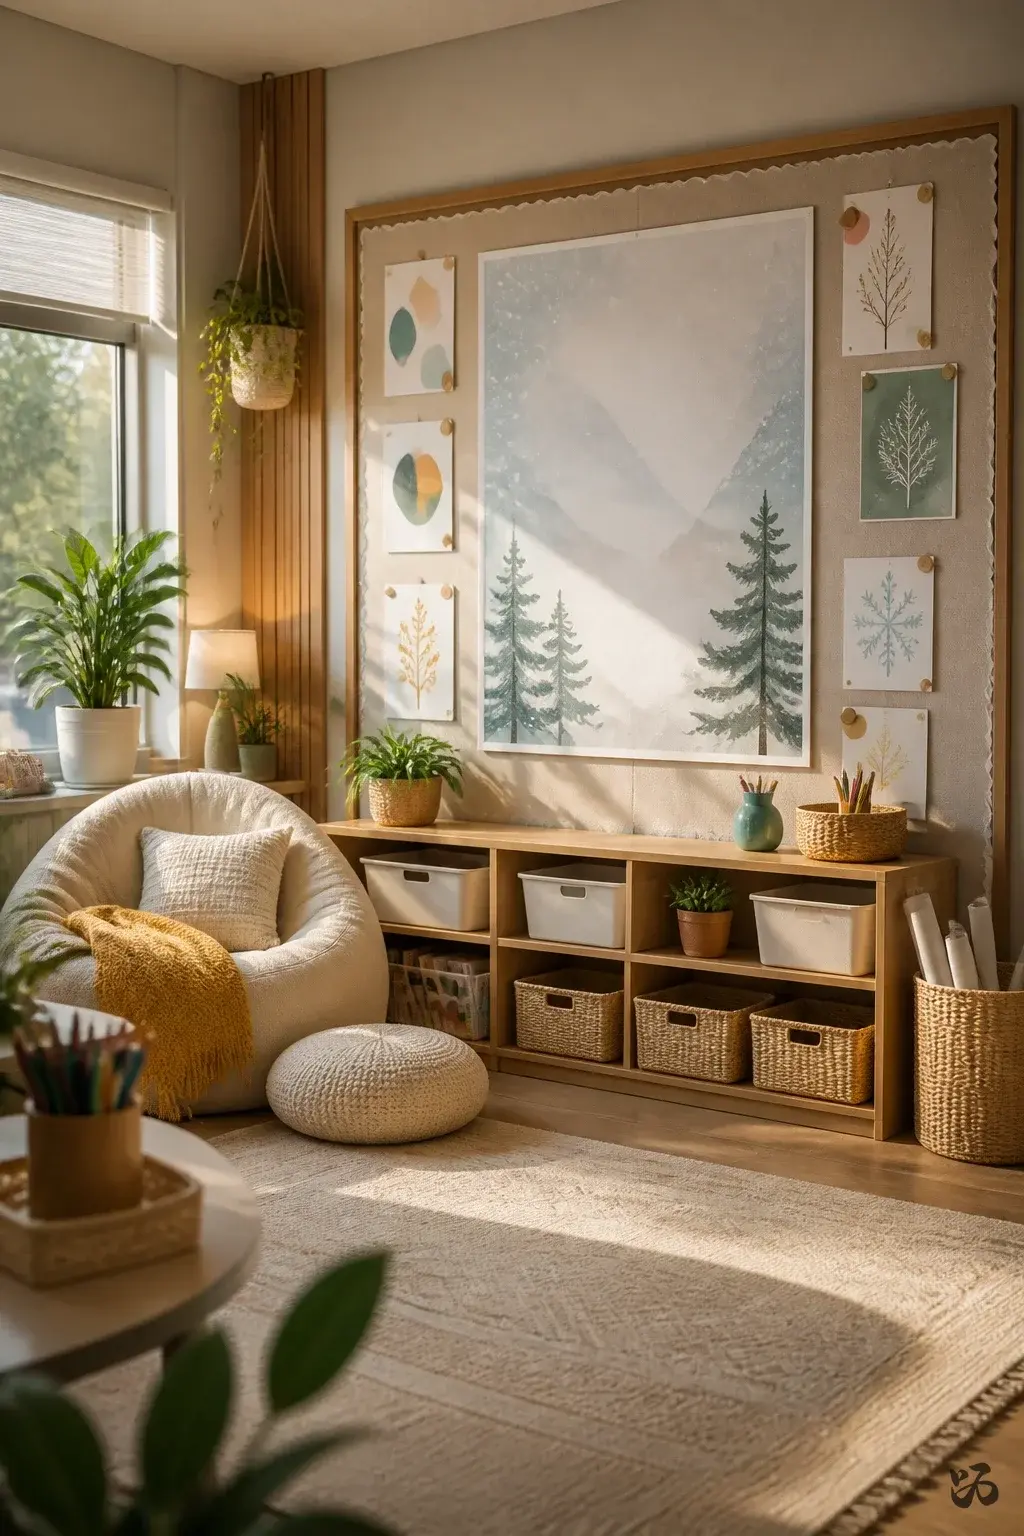 Save
SaveDisplay a short winter poem on a large card and invite students to add a tiny illustration next to their favorite line. Use a calm color palette to reduce visual noise and keep the space inviting for reading time.
What you need
- Cardstock for poem cards
- Markers or colored pencils
- Borders
- Adhesive putty
Very low maintenance; supports literacy goals across grades.
18. Ornament Self-Portrait Gallery
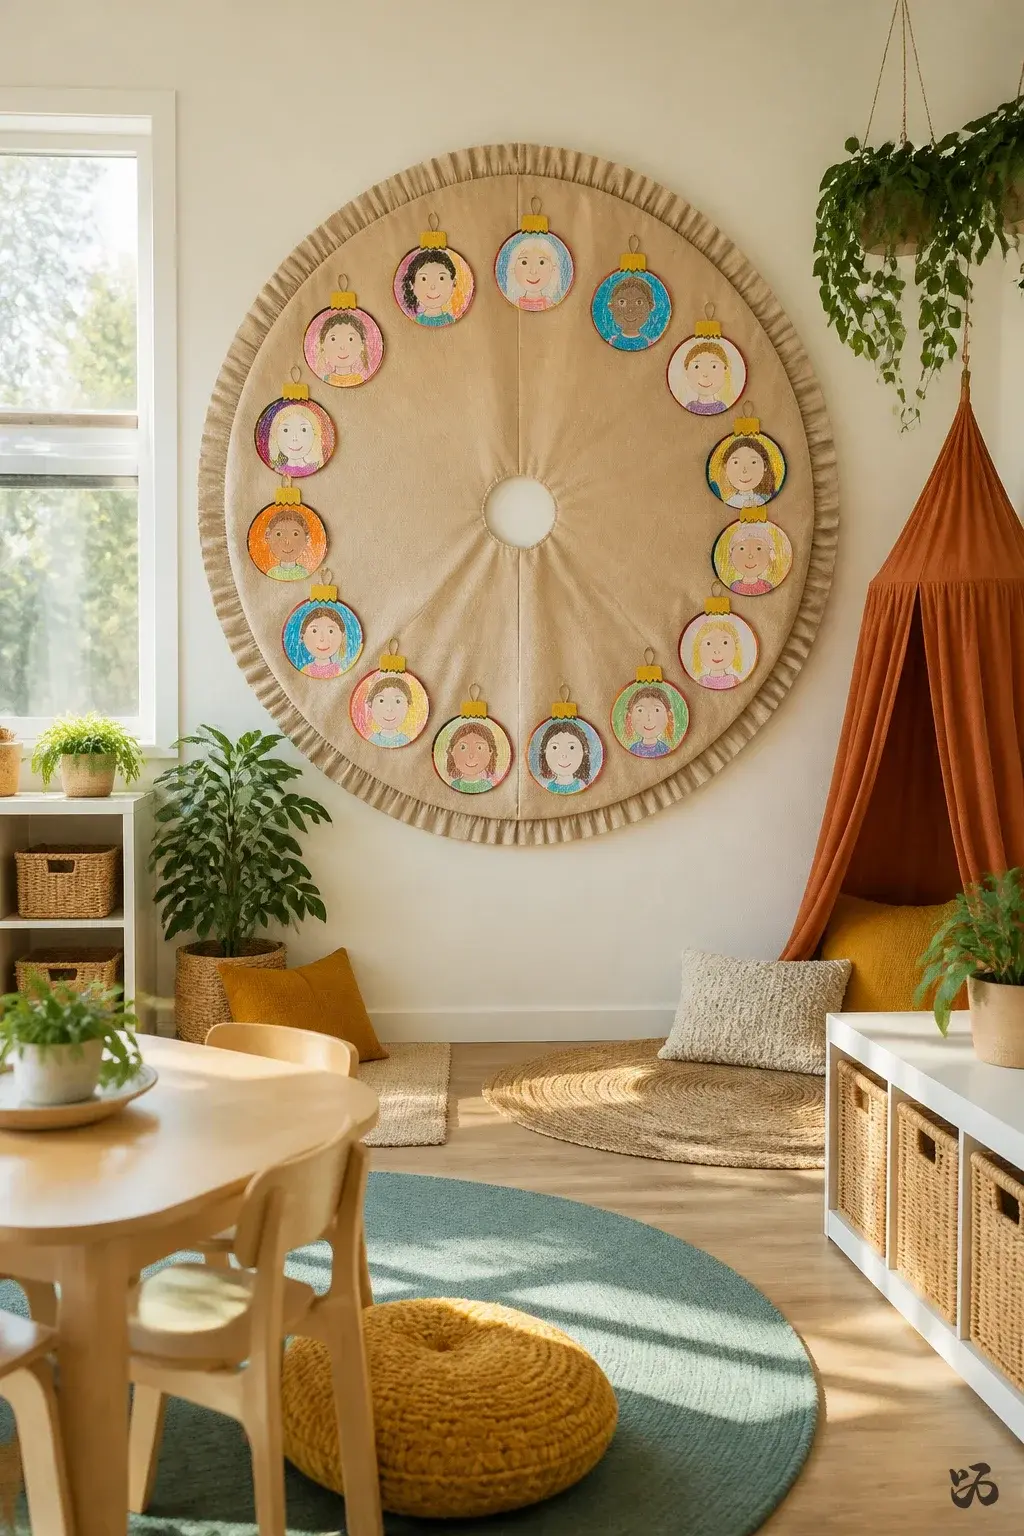 Save
SaveHave students trace or draw their self-portraits on small shapes and decorate them as ornaments. Display in a circular arrangement on a contrasting backdrop to simulate a tree skirt
What you need
- Ornament shapes cardstock
- Crayons or markers
- Glue sticks
- Ribbon or string for hanging shapes
Age-appropriate for kindergarten through second grade; remove easily at year-end.
19. Family Holiday Traditions Quilt
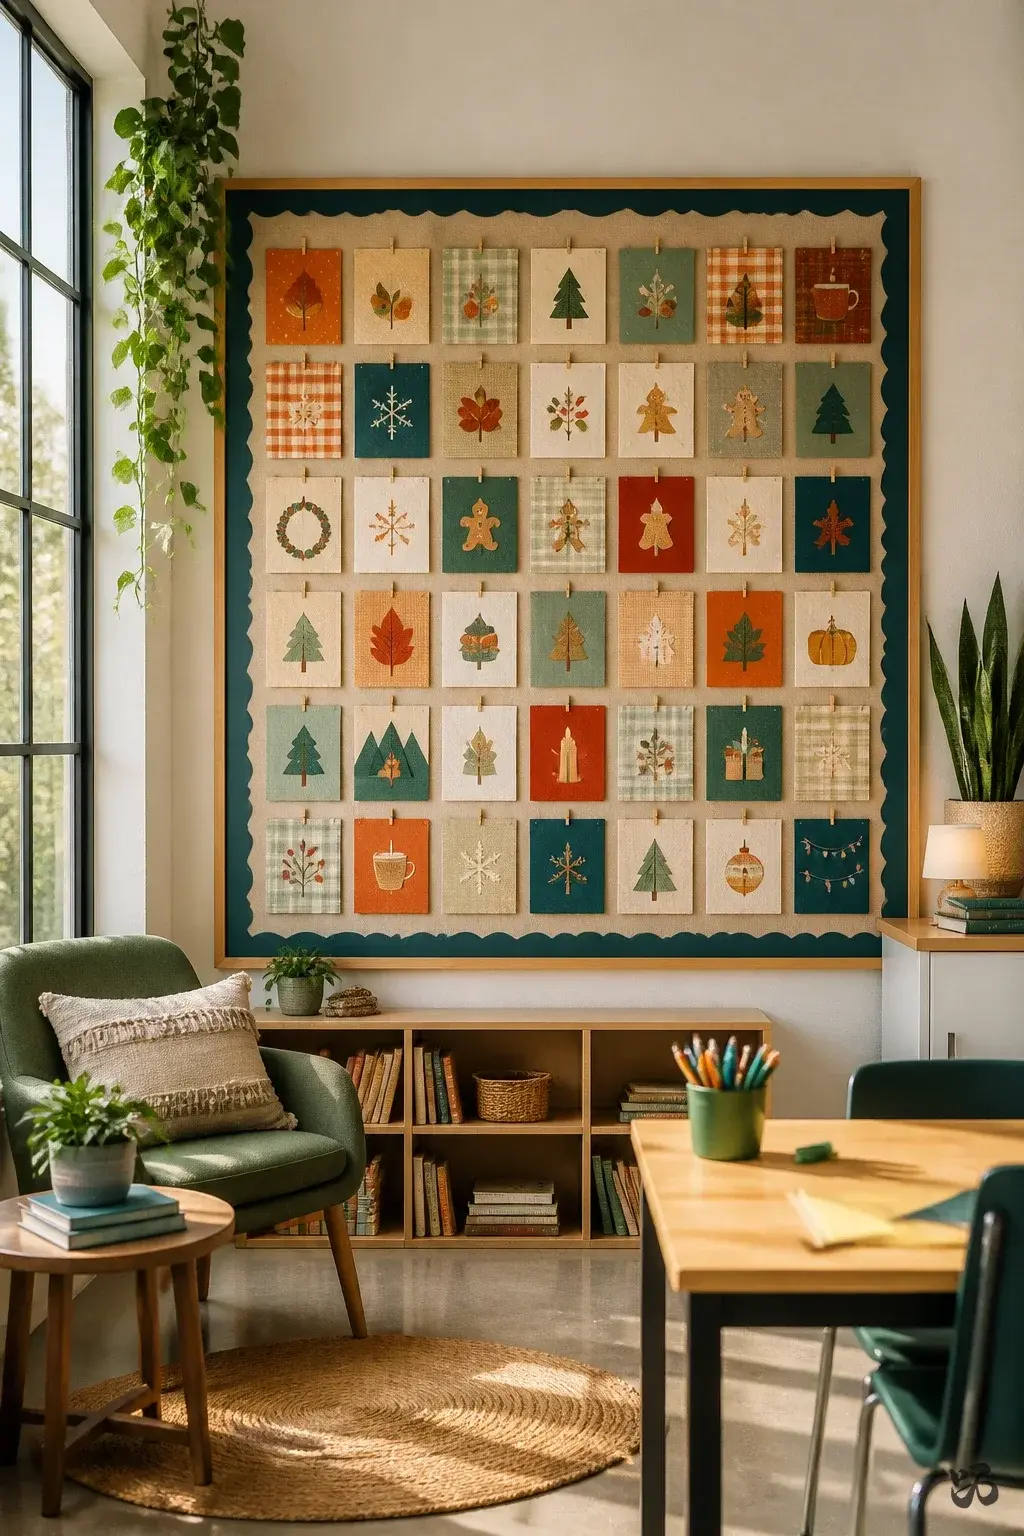 Save
SaveCollaborate with families by creating small square cards describing a tradition. Arrange them into a quilt-like display on the board. This is an Open House-friendly piece that honors diversity while remaining low-tech.
What you need
- Cardstock squares
- Markers
- Glue sticks
- Binder clips for temporary display
One prep period and easy to update with new traditions.
Borders and Trim


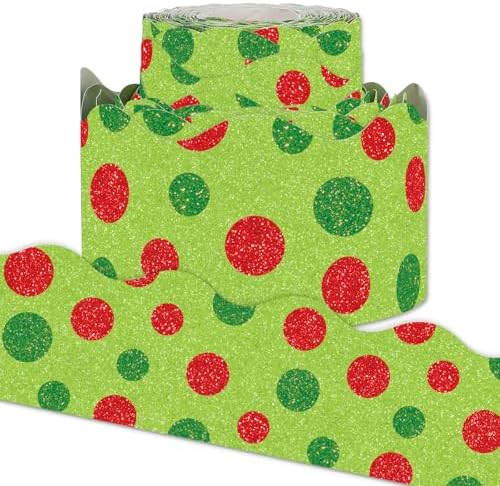
20. Santa Stop Here Trail
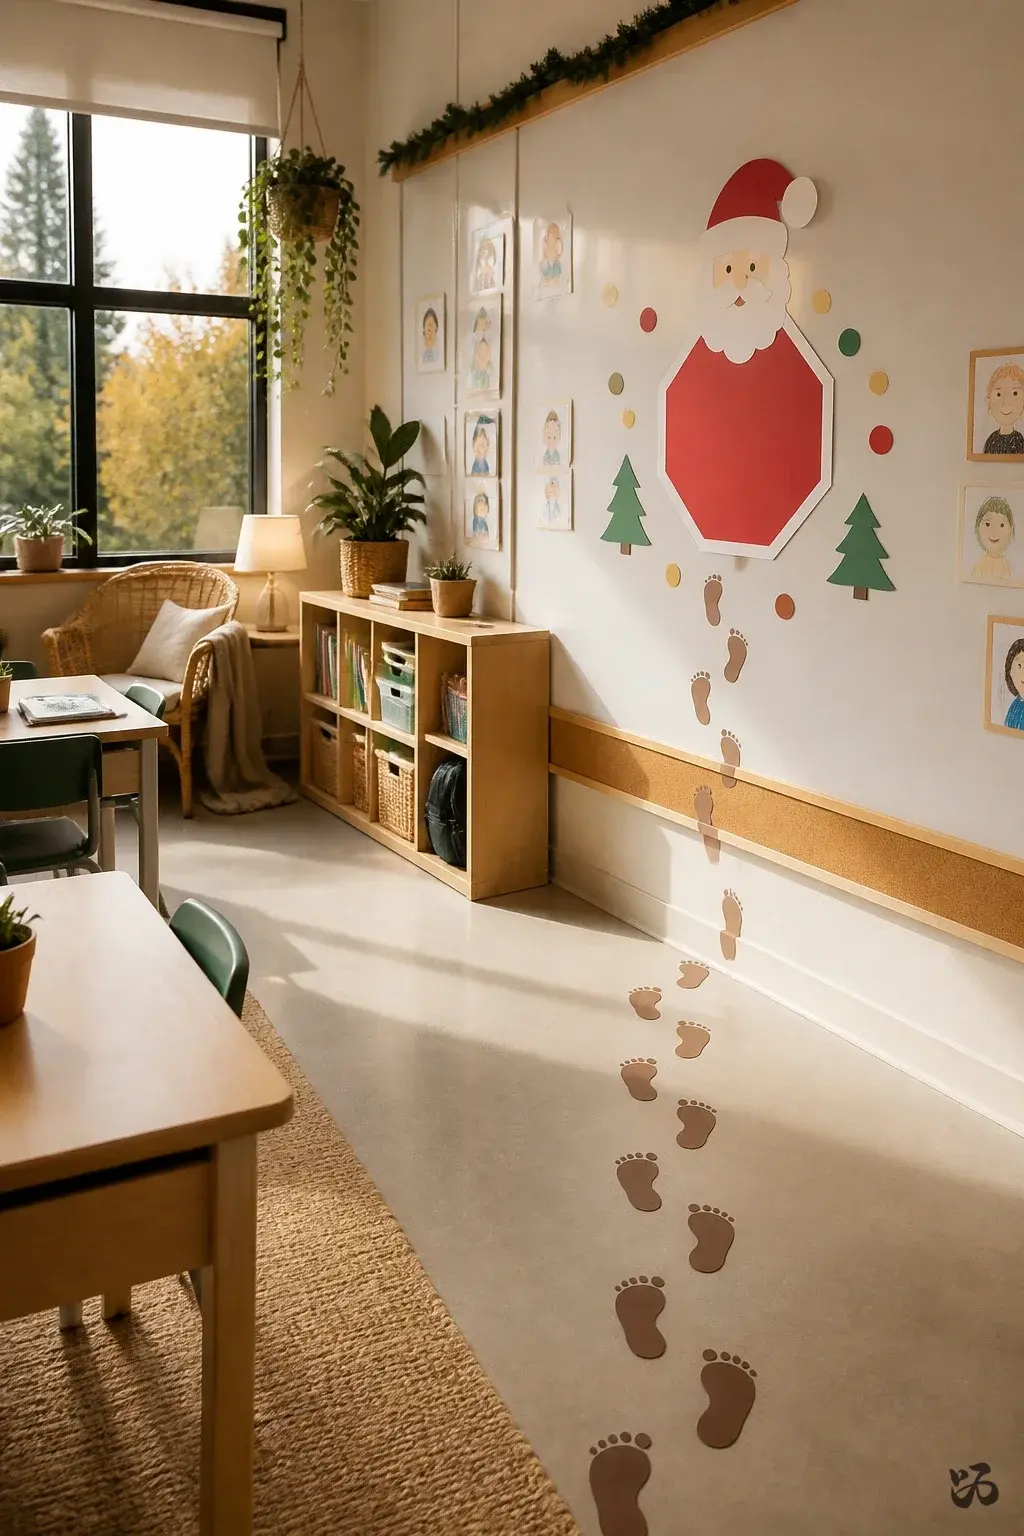 Save
SaveRun a trail of footprints made from brown paper along the bottom of the board and end them at a Santa stop sign. Students can add a small picture of a self-portrait to illustrate their route. Keeps kids engaged as they walk by during transitions.
What you need
- Brown paper for footprints
- Red stop sign cutout
- Glue sticks
- Double-sided tape
Simple, robust and safe for foot traffic; good for pre-K through first grade.
21. Winter Weather Huddle
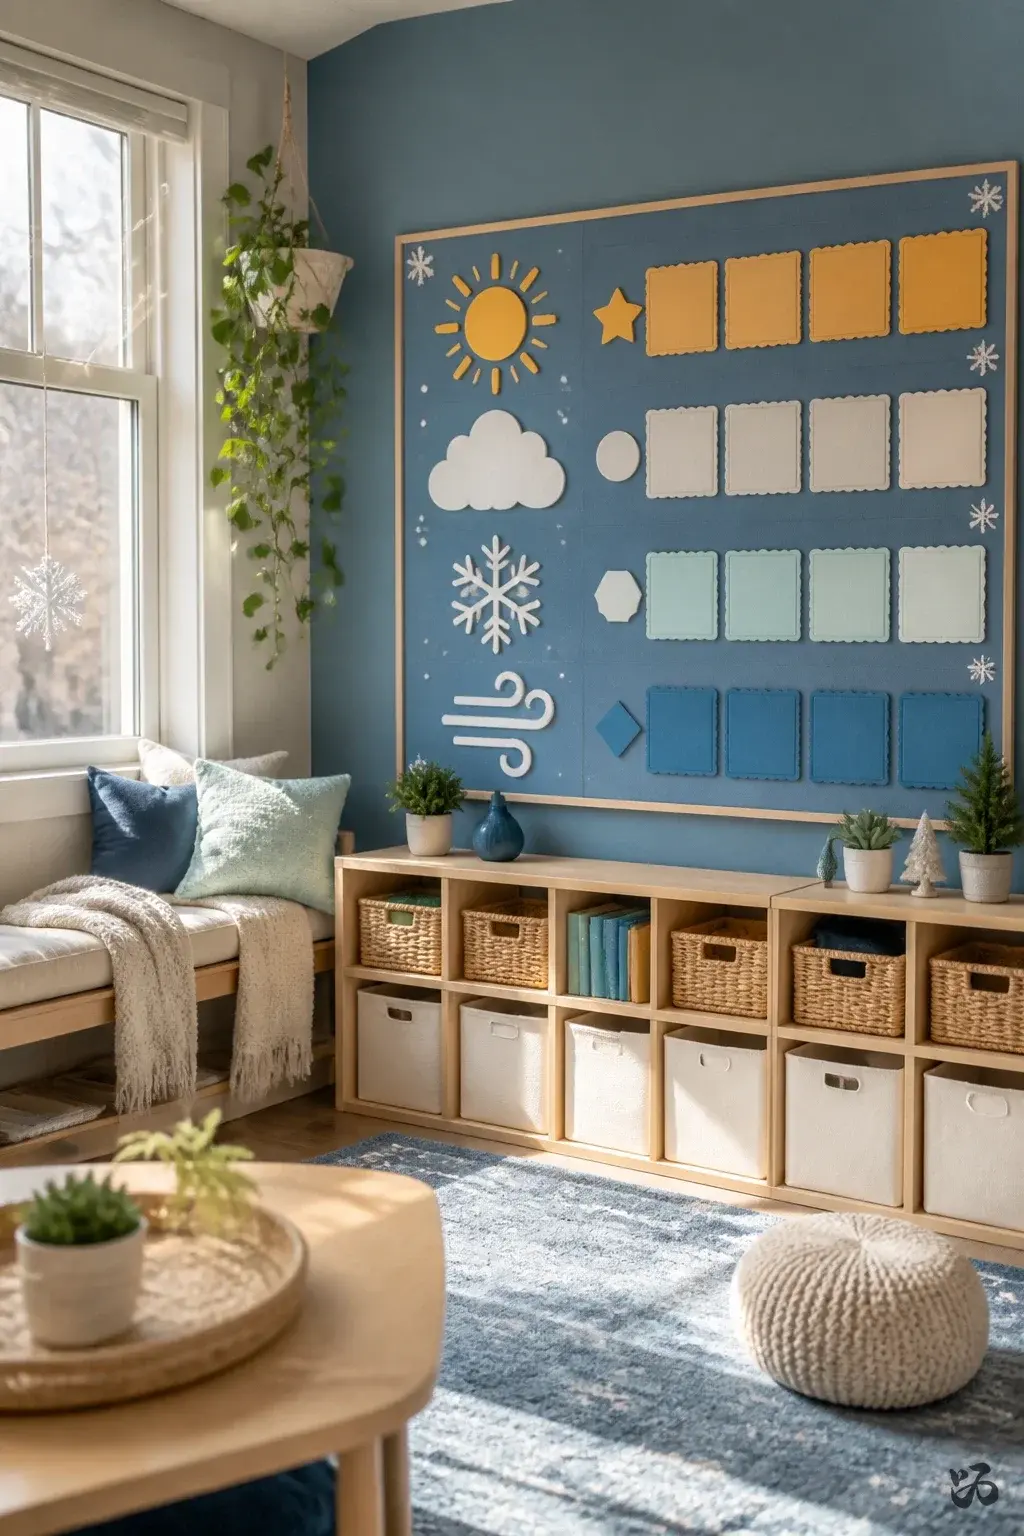 Save
SaveUse a blue background and create a weather chart with simple icons for sunny, cloudy, snowy, and windy. Each student adds their mood or a short sentence about how they feel that day.
What you need
- Blue background paper
- Icon cutouts for weather
- Student name cards
- Glue sticks
Low-maintenance, great for math integration and routine checks.
22. Holiday Helpers Board
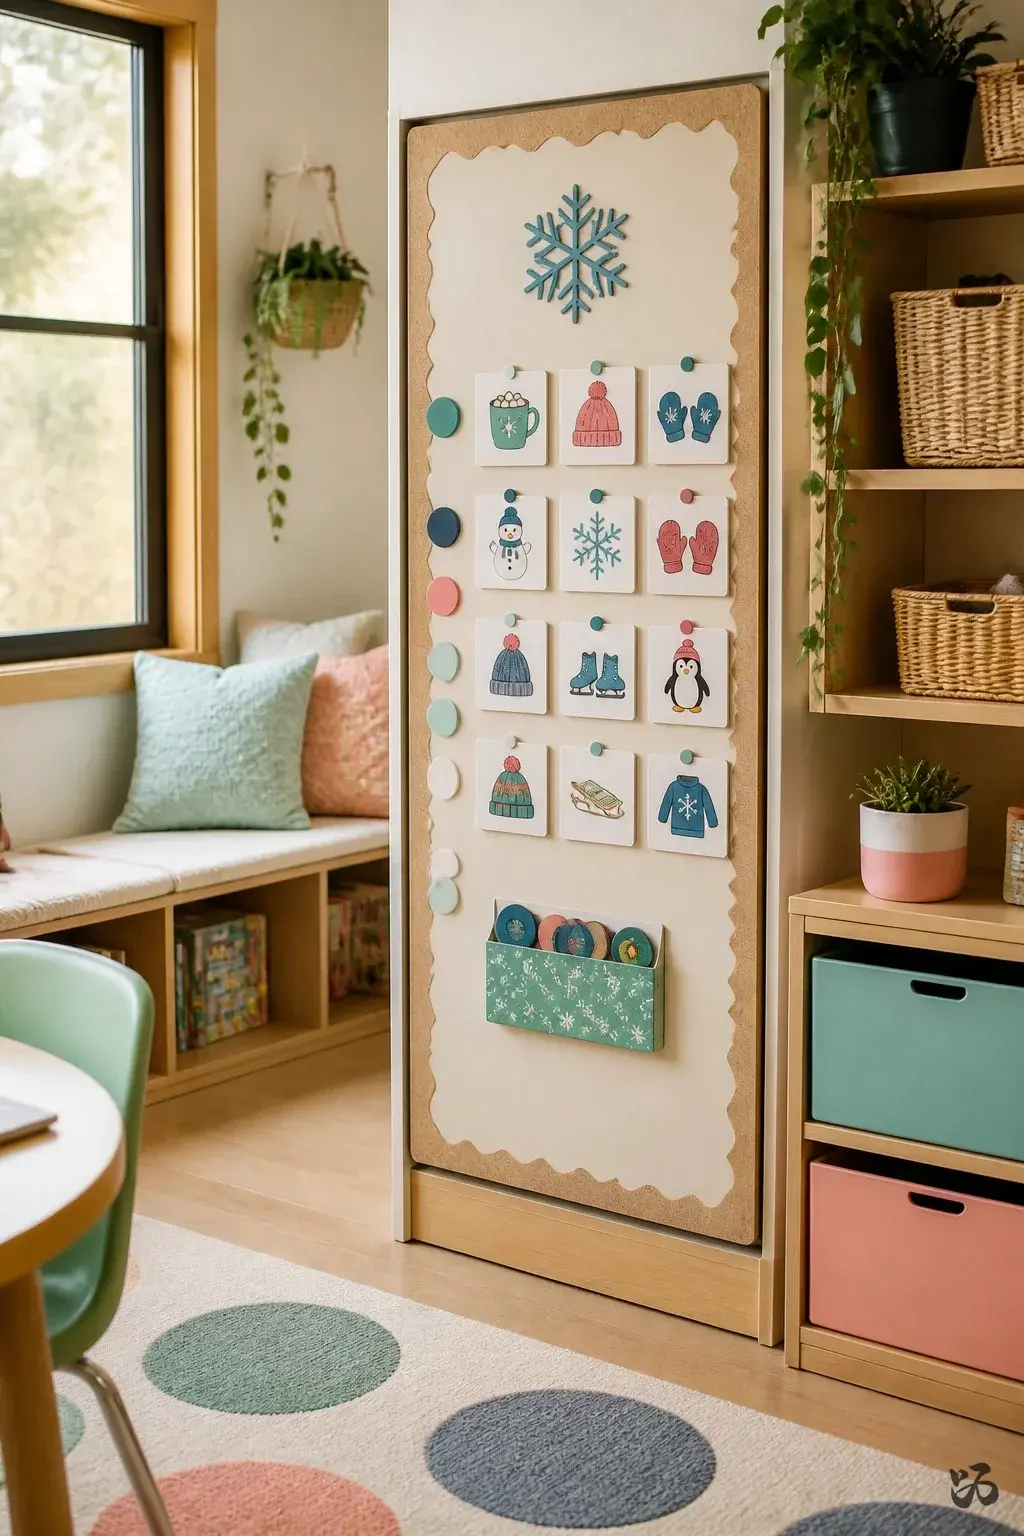 Save
SaveCreate a small version of the classroom job board with winter-themed icons. Rotate responsibilities weekly and post a short, friendly note about each helper’s task. This keeps expectations clear and visible to students and visiting families.
What you need
- Mini job cards
- Magnets or tape for attachment
- Border trim
Minimal laminating; easy to adjust as classroom roles change.
23. Stargazer Night Sky
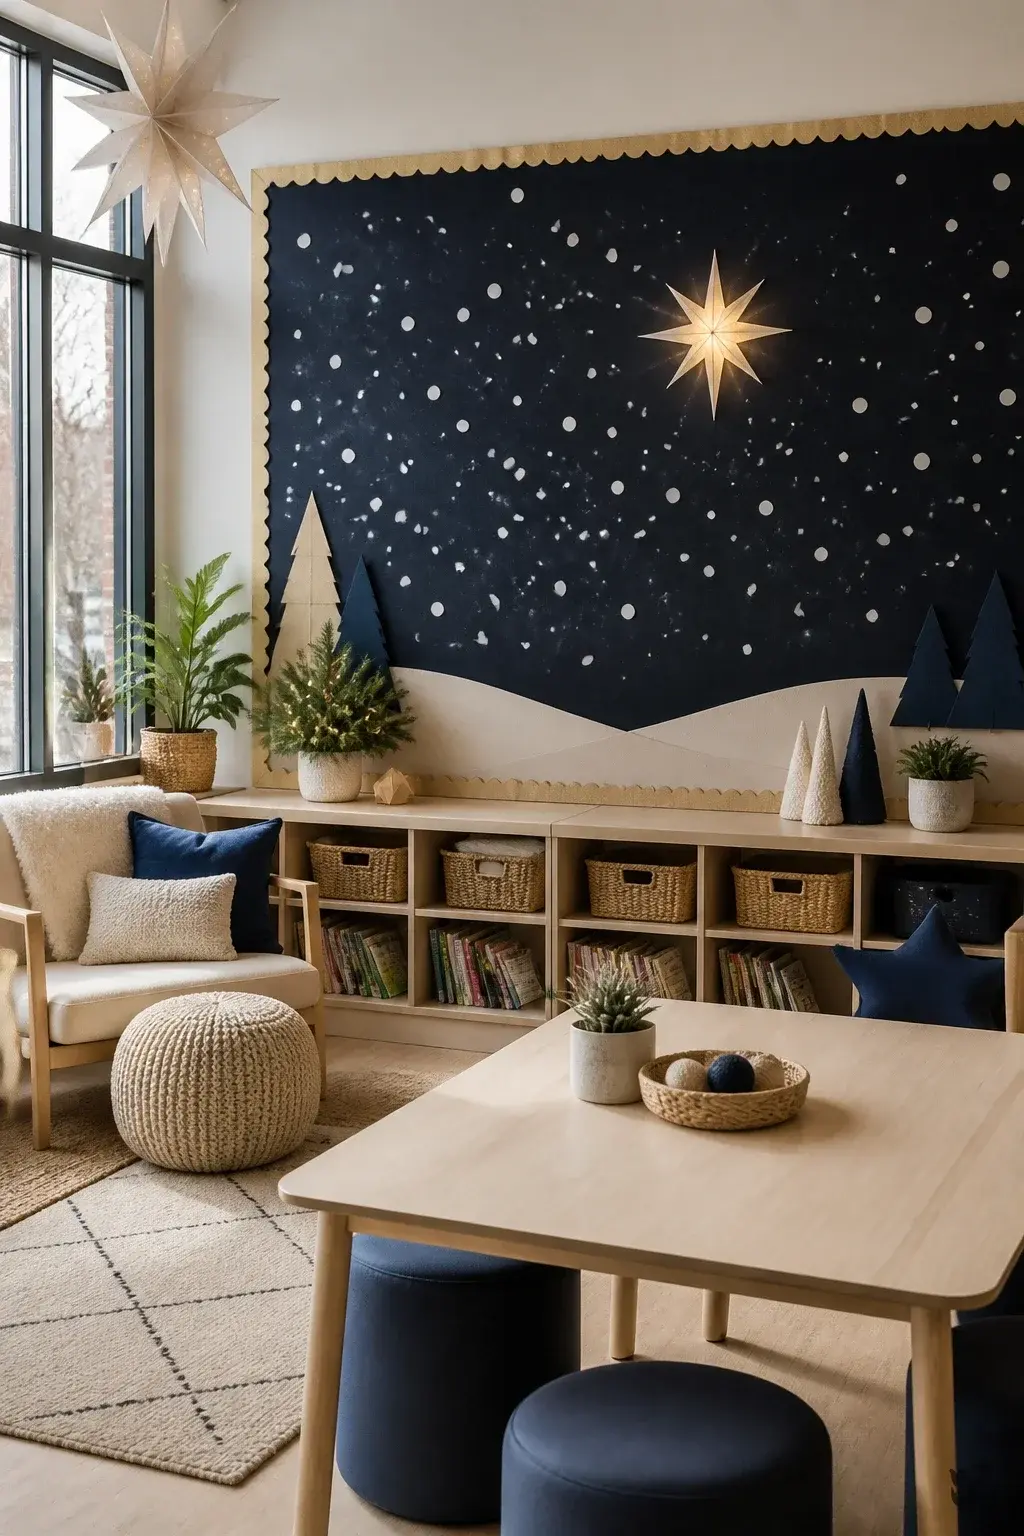 Save
SaveCover the board with dark paper and scatter small white circles to mimic stars. Add one bright star for the focal point and a simple caption like “Open House Night.” This creates a calm, festive feel without clutter.
What you need
- Dark paper or navy fabric
- White circle cutouts
- Border trim
- Lettering for a simple caption
Easy to mount and remove at year-end; works with any grade level.
24. Holiday Traditions Map
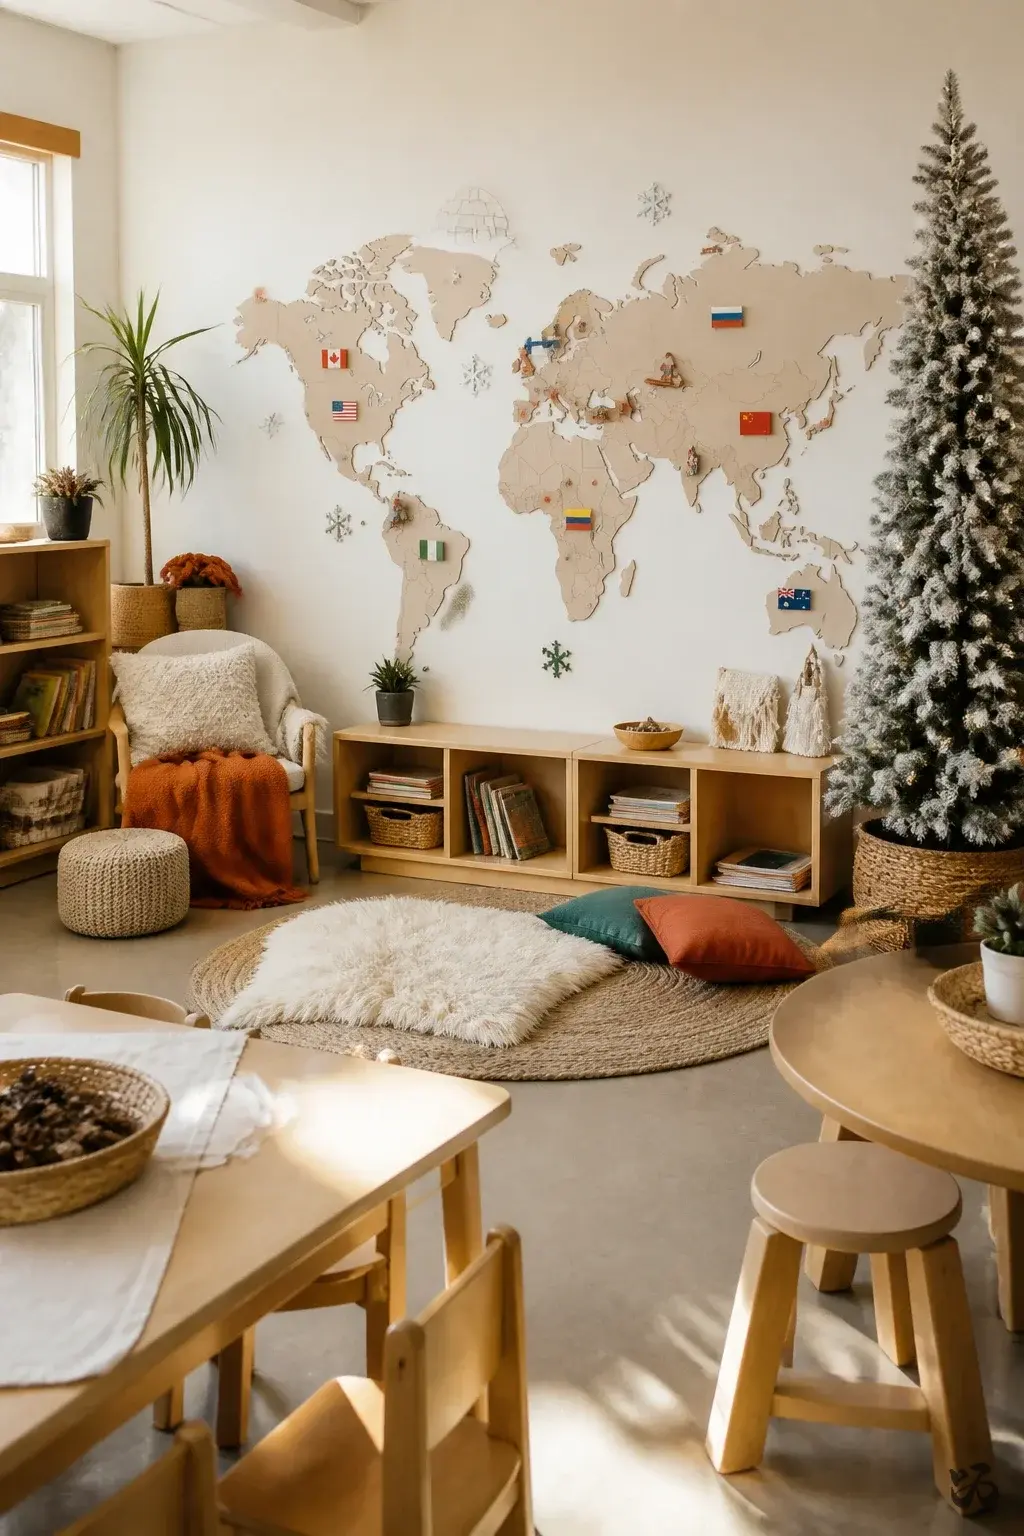 Save
SaveDraw a simple world map or neighborhood map and place small flags or icons at locations that reflect different winter traditions from your students’ families. This promotes cultural awareness and a shareable Open House moment without heavy text.
What you need
- Map backdrop
- Flag or icon cutouts
- Glue sticks
- Pushpins for secure placement
Best for second grade and up; avoid overloading the map with tiny pieces that might fall during school routines.
Conclusion
Focus on one or two ideas that fit your space and your class size. Start with a simple countdown or a kindness tree, then adapt as needed for parent night or Open House. These ideas are designed for quick setup, kid-safe handling, and easy removal when the school year ends.