
Some links in this post are affiliate links. If you buy through one, I may earn a small commission at no extra cost to you. As an Amazon Associate I earn from qualifying purchases.
This post collects practical Christmas bulletin board ideas you can implement in a single prep period. It’s written for kindergarten, pre-K, first grade, and second grade teachers, with an eye toward comfort, durability, and easy removal in June. Each idea can adapt to your classroom setup and wall space.
Four things that make any board faster
Most of these come down to paper, a border, and somewhere to pin. These are the pieces worth having ready, especially if your walls do not take pins.
- Self adhesive felt boards for walls that will not take pins They stick to painted block, take pins straight away, and cut down to fit an awkward gap. This is the fix for a room with no cork anywhere.
- Battery powered fairy lights with a remote Thin silver wire that disappears against paper, so what the room sees is glow rather than cable. Battery packs mean the display can go anywhere, not just near a socket.
- Plug in string lights for a longer run For the window or the back wall where there is an outlet and you want more light than battery wire gives. Eight modes, including a slow fade calm enough to leave on during lessons.
- A warm neon sign for the corner One soft focal point that stays up long after the paper comes down. USB powered with adjustable brightness so it is not glaring mid lesson.
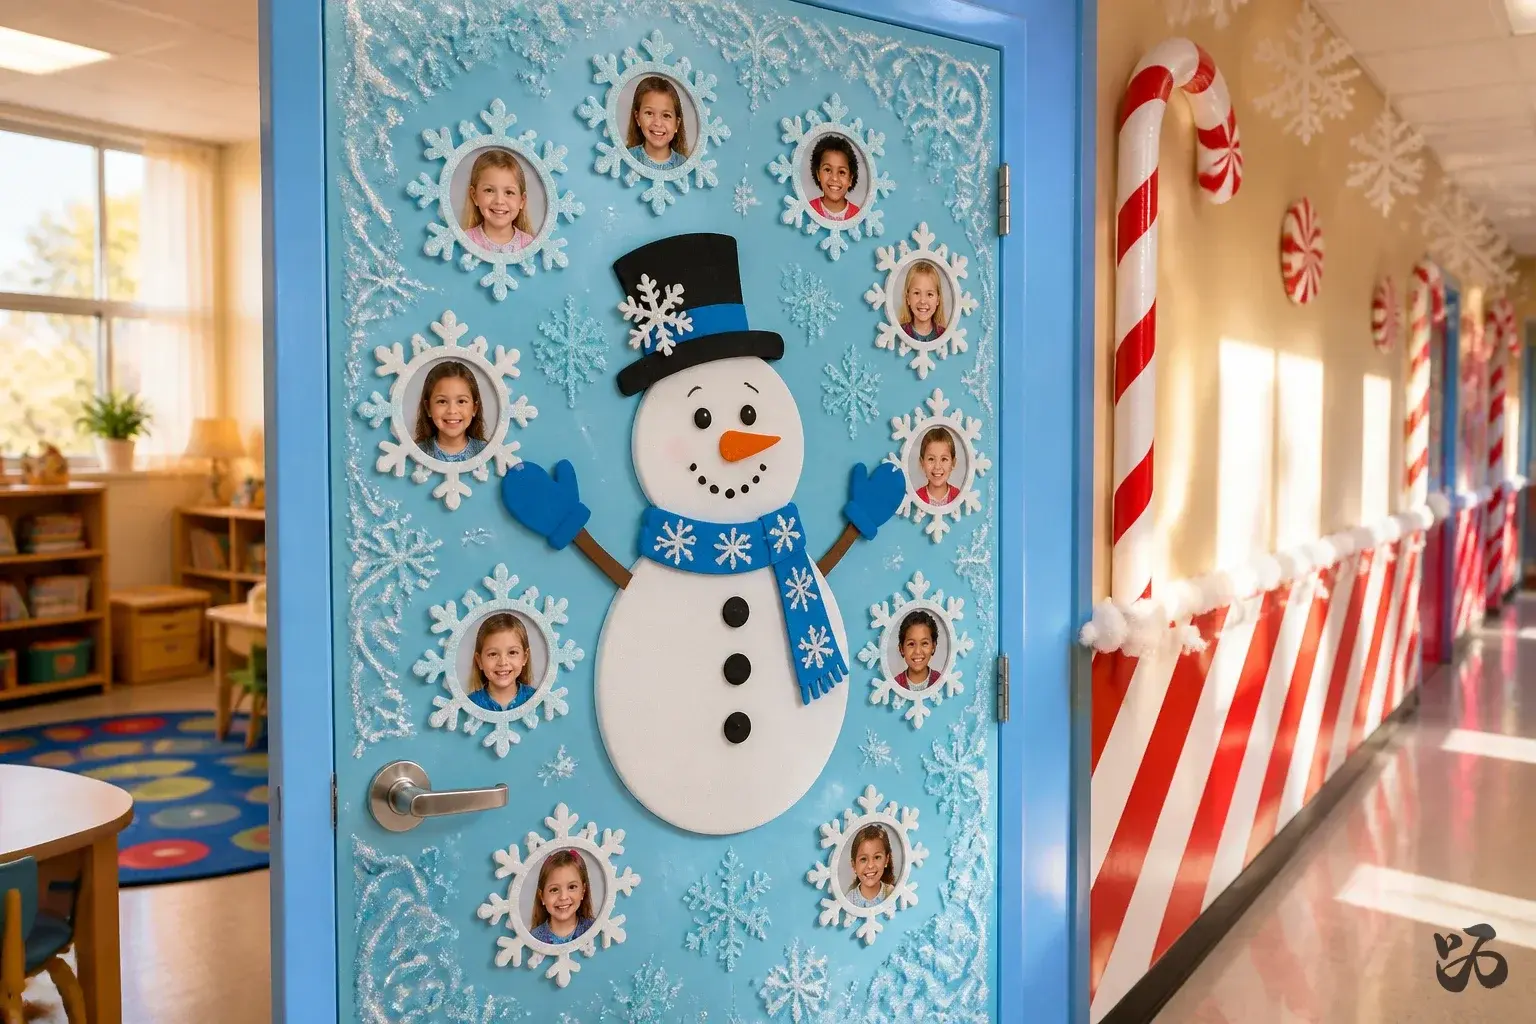
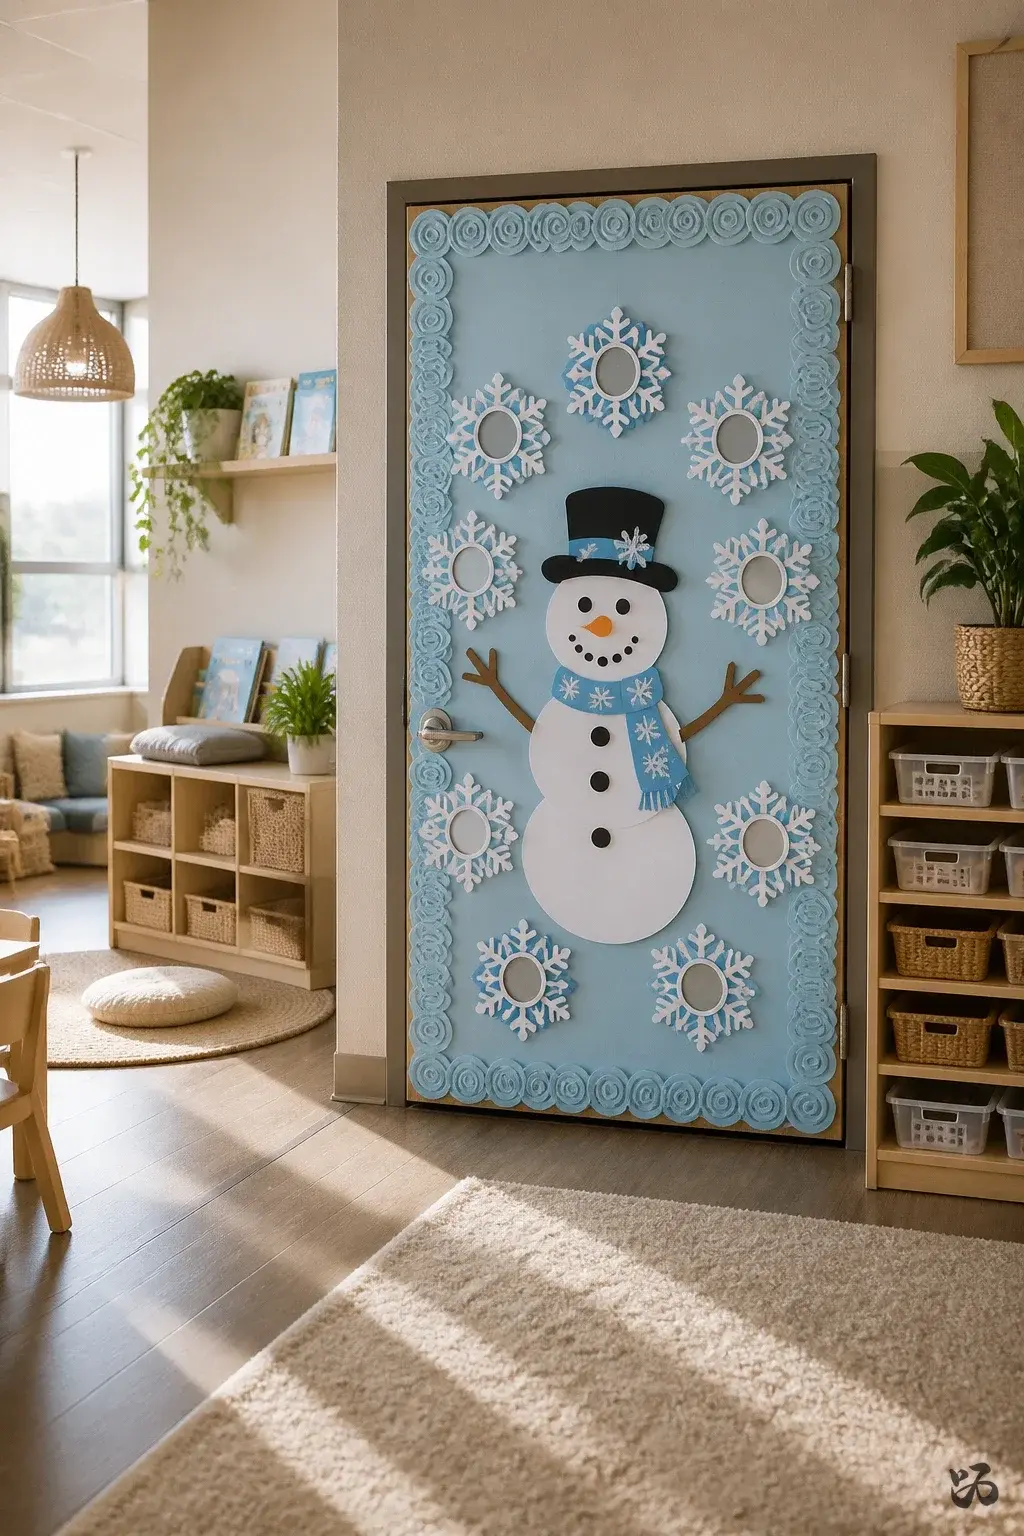
1. Frosty Welcome to Our Classroom Door
 Save
SaveSwirl light blue construction paper across the door to create a frosty border. A friendly Frosty the Snowman stands in the center with student photos arranged like snowflakes around him. Keep the design simple so it survives a few hallway openings and close contact from students during arrival and dismissal.
What you need
- Blue construction paper for a large door border
- White butcher paper for Frosty’s beard and background snow
- Photo mats or blank spaces for student pictures
- Student photos or name tags on cardstock
- Markers and a few charcoal pencils
Works best with a simple Frosty cutout and minimal lamination; it stays put with light tape and is easy to wipe clean after the month.
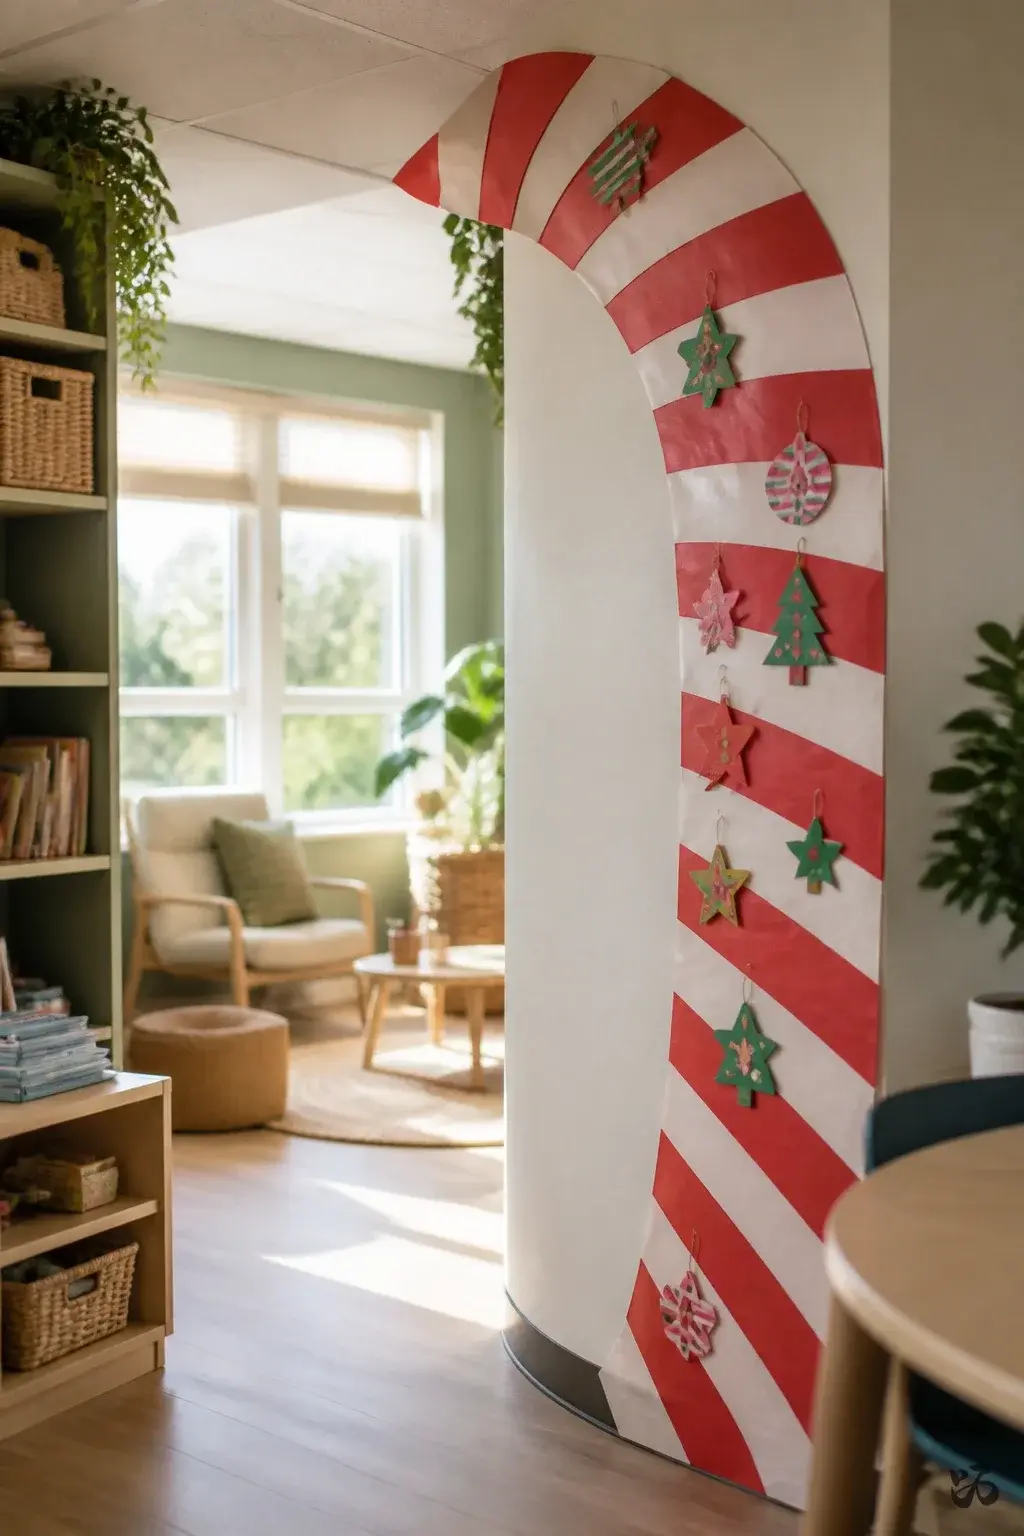
2. Candy Cane Corridor Cutouts
 Save
SaveLine a curved candy cane border along the hallway leading to your door or into the room. Alternate red and white stripes and place a few small student-made ornaments along the curve. It’s bright but not overwhelming and can be refreshed weekly with new student work.
What you need
- Red and white striped border or red and white butcher paper
- Cardstock shapes for ornaments
- Glue sticks and tape
- Student craft shapes like stars or trees
Placement works well on a corridor wall or along a classroom wall near the door. Takes about 60 minutes total for prep across a couple of days.
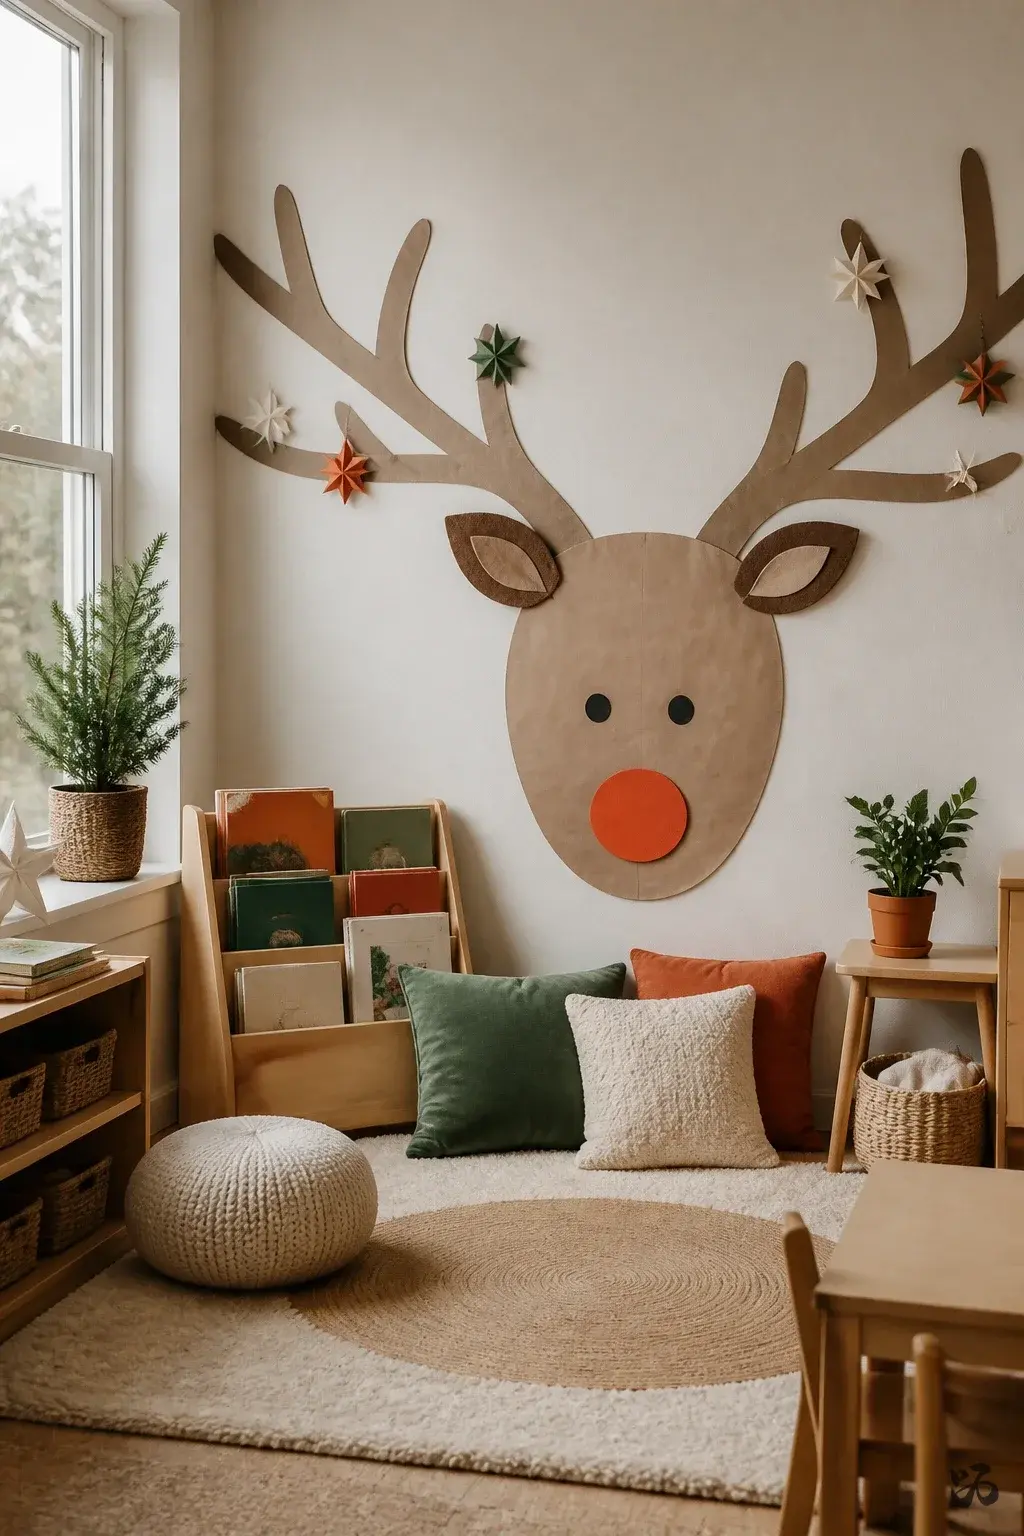
3. Reindeer Headboard Wall
 Save
SaveA friendly reindeer face made with brown butcher paper and felt accents sits above a reading corner. The antlers stretch across a section of wall, giving a cozy, festive look without covering a large area. Durable and kid-friendly, it’s a good “stay up” piece for December.
What you need
- Brown butcher paper for the head
- Felt or construction paper for ears and antlers
- Googly eyes or markers
- Orange cartouche or cardstock nose
Place above the reading rug, secured with painter’s tape. It can stay up for several weeks with gentle handling.
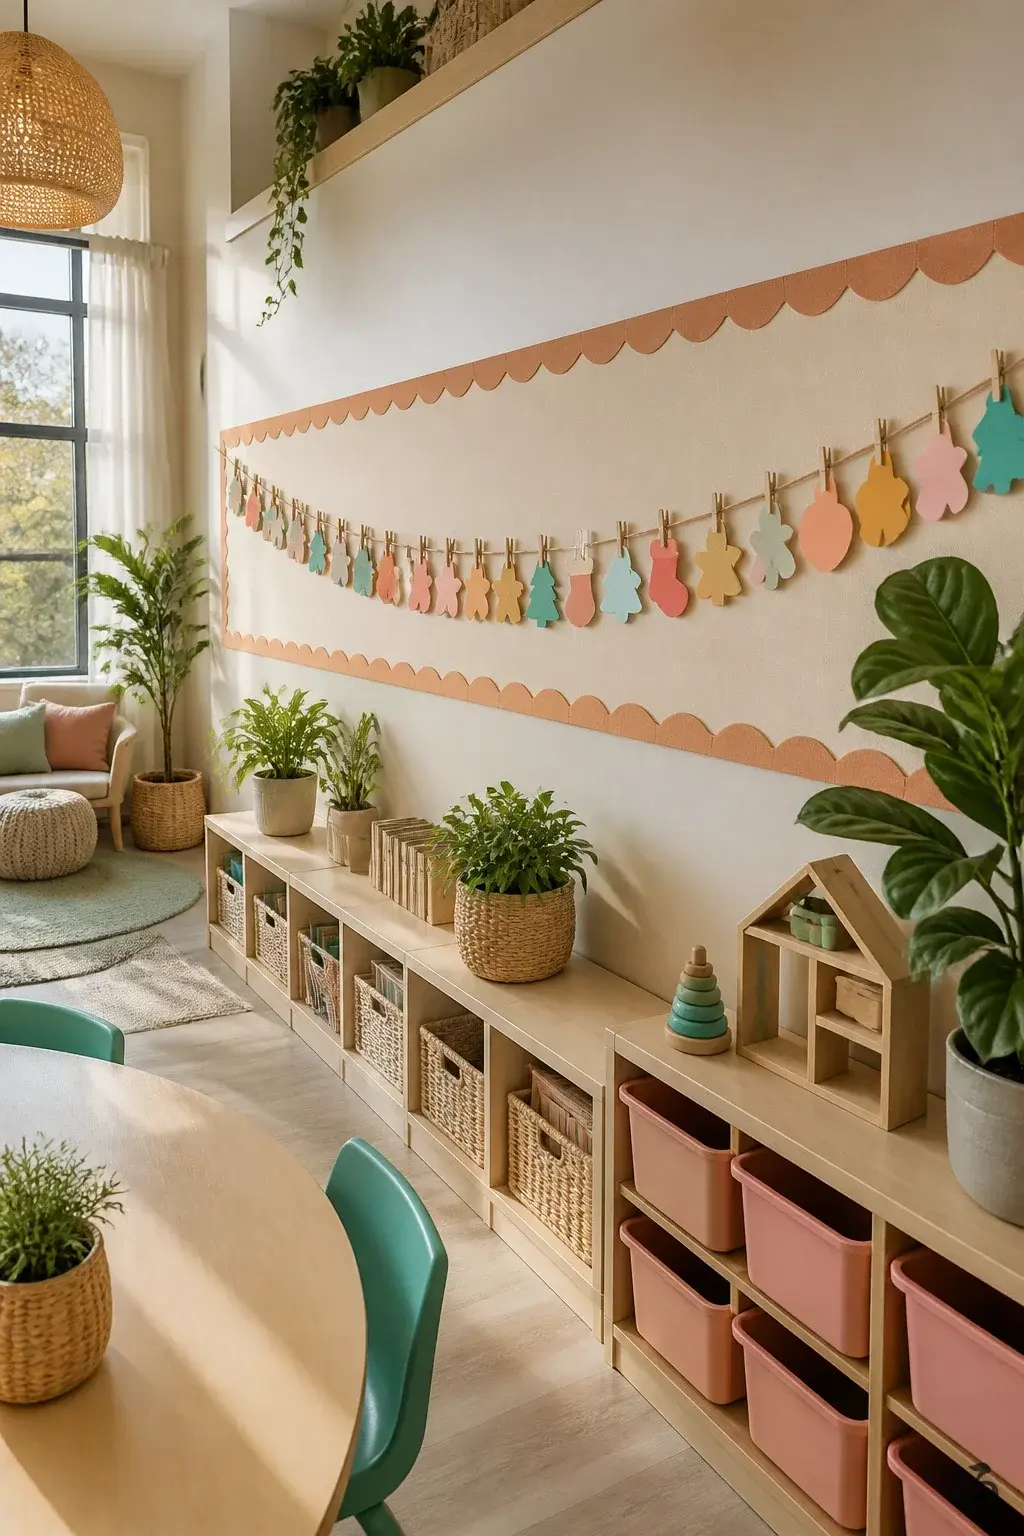
4. 25 Days of Kindness Countdown
 Save
SaveA numbered strip runs from 1 to 25, with a small removable ornament for each day. Students place a clip or magnet on the number and read a short message about a kind act. Use a durable border and a low-profile calendar design so it doesn’t block wall space or door traffic.
What you need
- Cardstock numbers 1–25
- Mini clothespins or magnets
- Ribbon or string to create a hanging line
- Cardstock ornaments for each day
- Low-tack tape to secure
Keep it at a height students can reach. It’s easy to update daily and requires minimal lamination.
What I’d Buy First for a Pre-K Christmas Board


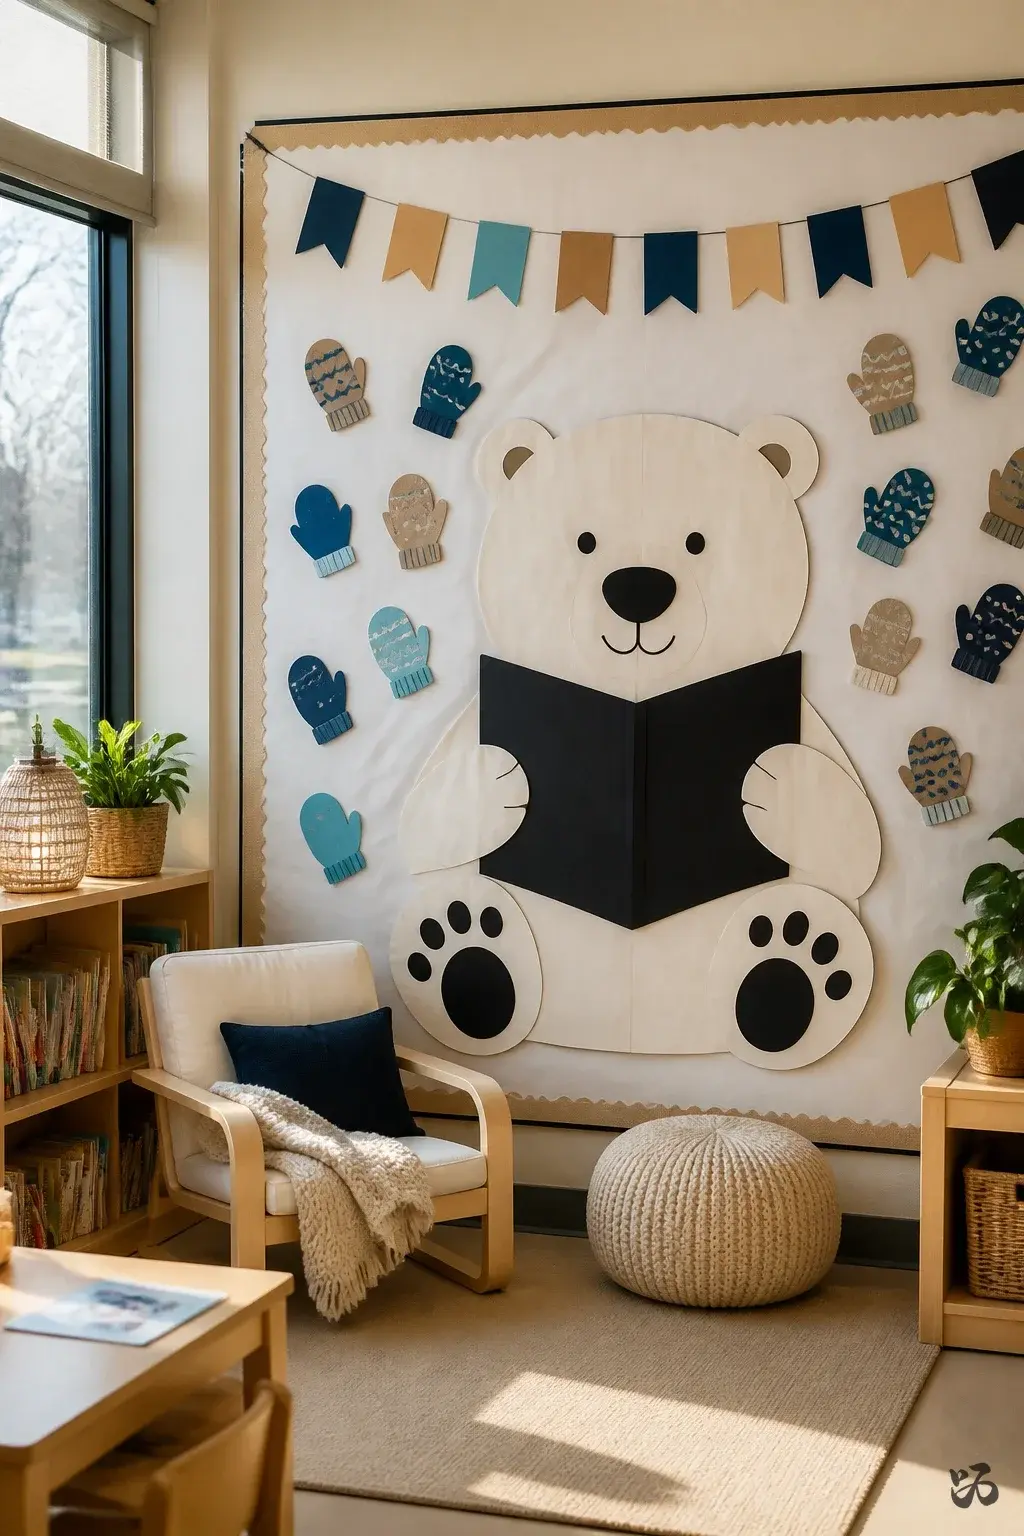
5. Polar Bear Reading Nook Banner
 Save
SaveCreate a cozy reading corner with a large polar bear cutout on white butcher paper. Surround him with student-crafted mittens and a banner that reads “Warm Up with a Good Book.” Recycle old bulletin board borders to frame the space without crowding the wall.
What you need
- White butcher paper for the background
- Brown and black construction paper for the bear
- Colored cardstock for mittens
- Printed title on cardstock
Laminate only if you plan to reuse the banner next year; otherwise skip lamination for faster removal.
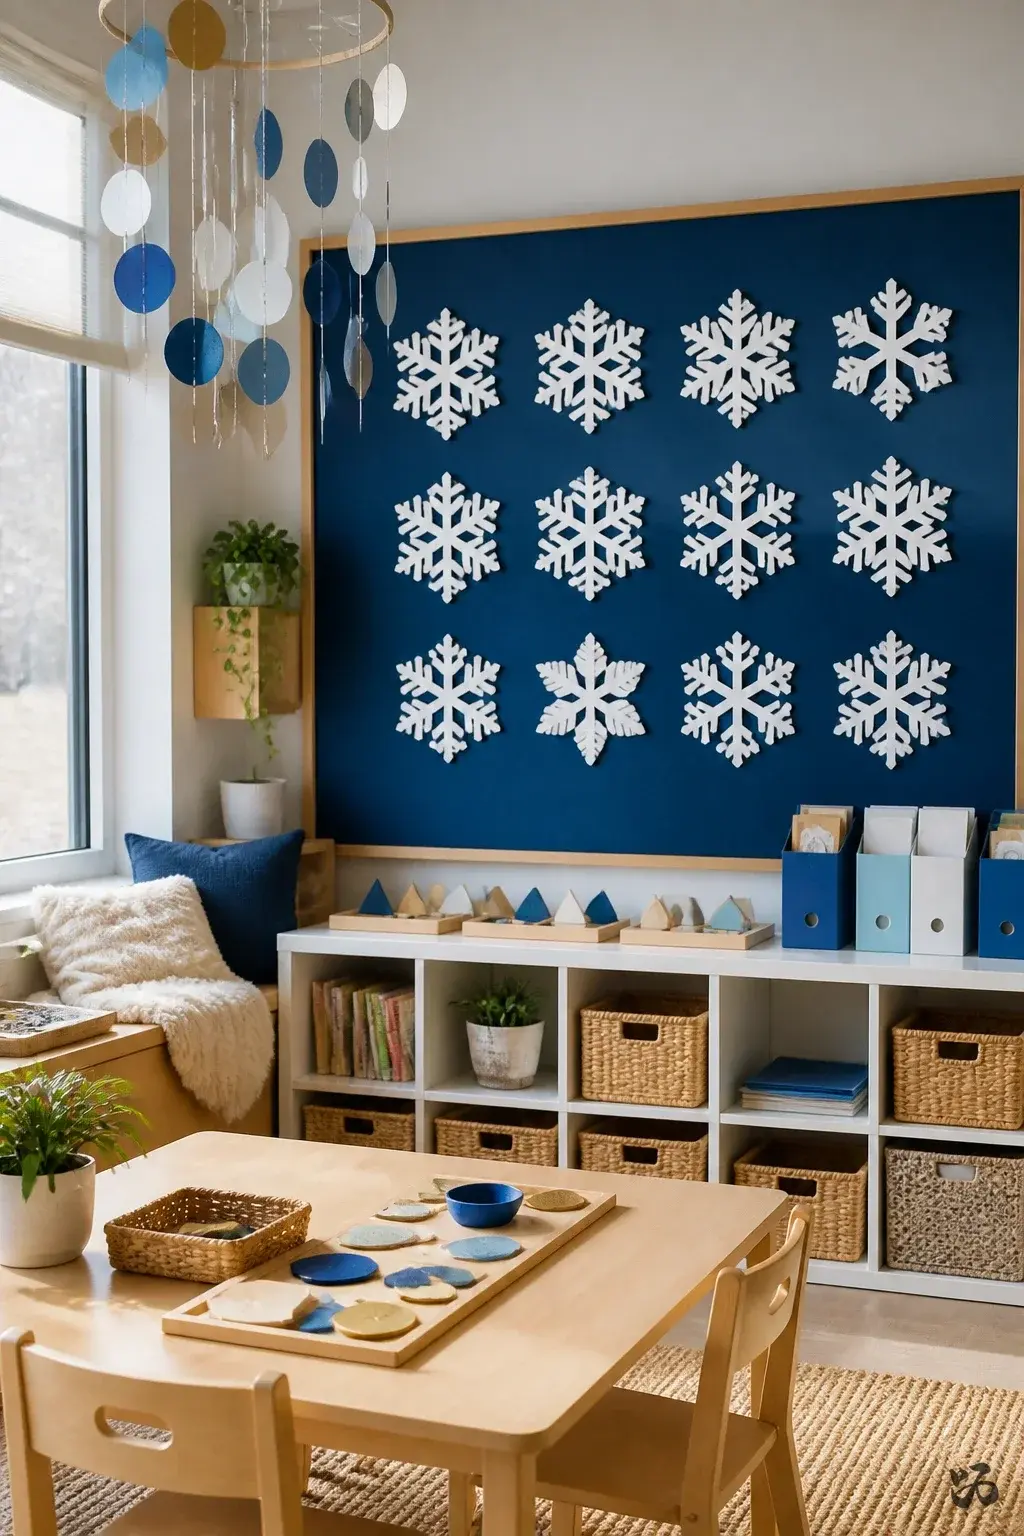
6. Snowflake Math Wall
 Save
SaveSymmetrical snowflakes cut from white paper adorn a deep blue bulletin board. Each snowflake features a simple number or tally marks, reinforcing early math concepts. It’s scalable for pre-K to first grade with basic counting activities visible to students during small group time.
What you need
- Blue bulletin board backing
- White paper snowflakes cut in simple shapes
- Marker or sticker numbers
- Mini pocket folders for math cards
Use removable adhesive; it’s easy to update after a field trip or parent night.
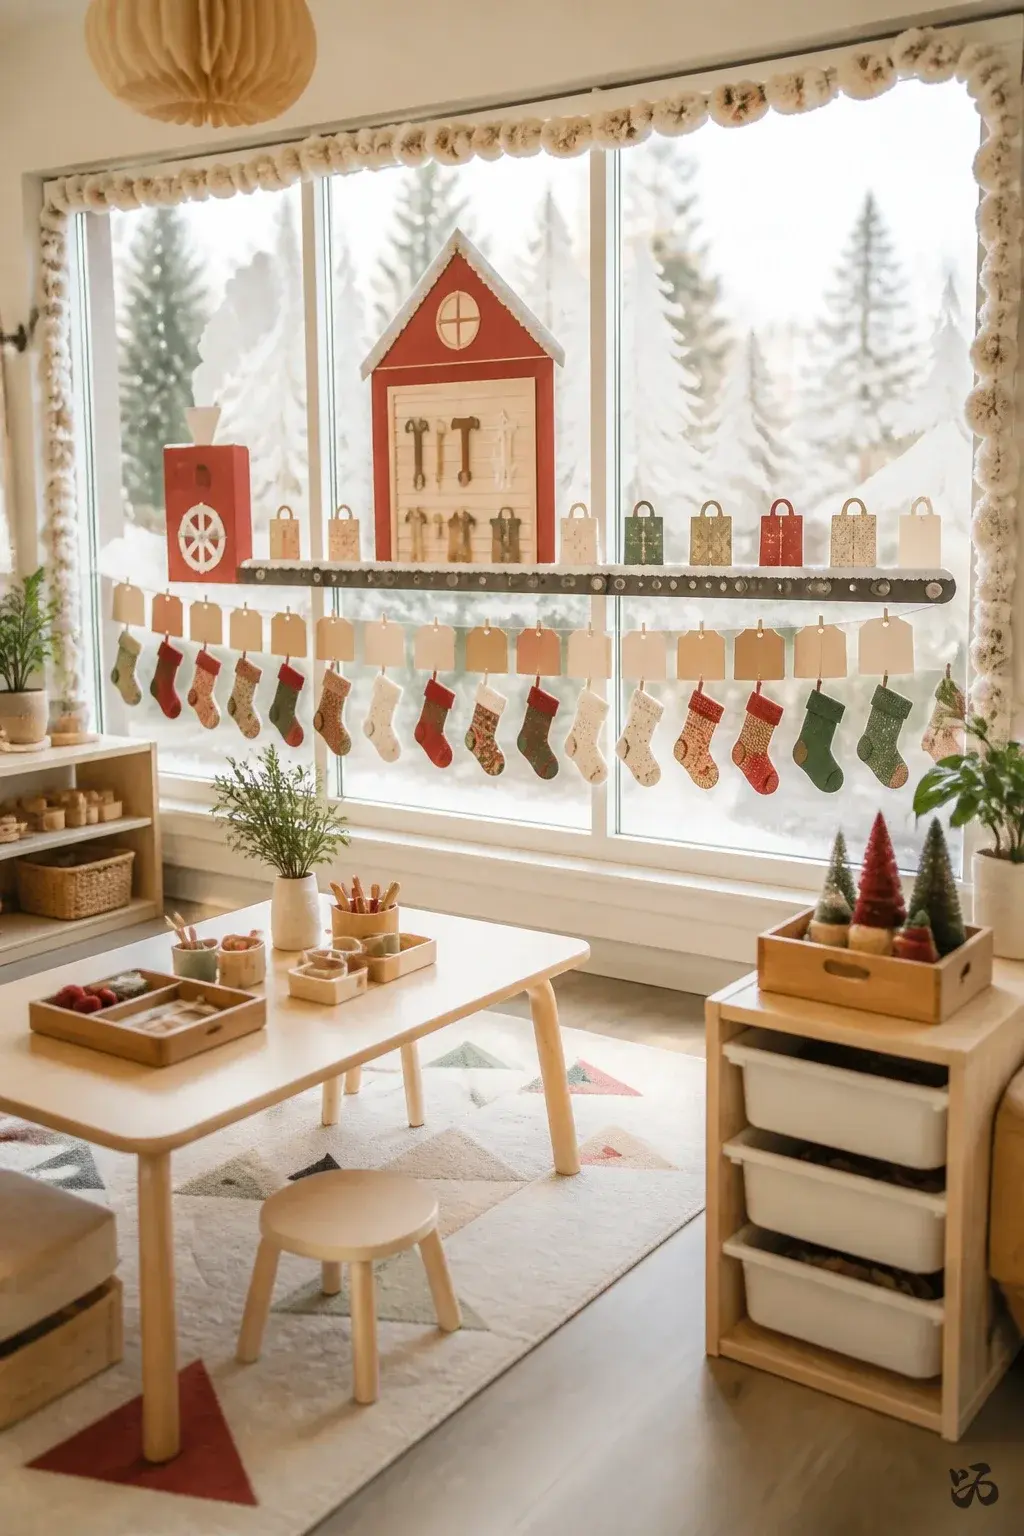
7. Santa’s Workshop Window Gallery
 Save
SaveMount a window or wall display featuring a snowy storefront. Children’s names sit on tiny stockings or gift tags along a conveyor belt of classroom jobs or daily routines. Easy to assemble and fun to look at, it engages students while they observe a clean, bright backdrop.
What you need
- Glass-safe border or border rolls
- Red, green, and white cardstock for stockings and gift tags
- Clear tape or removable putty
- Printed job cards for classroom routines
Place at student eye level near the period’s morning routine, easy to remove after the holidays.
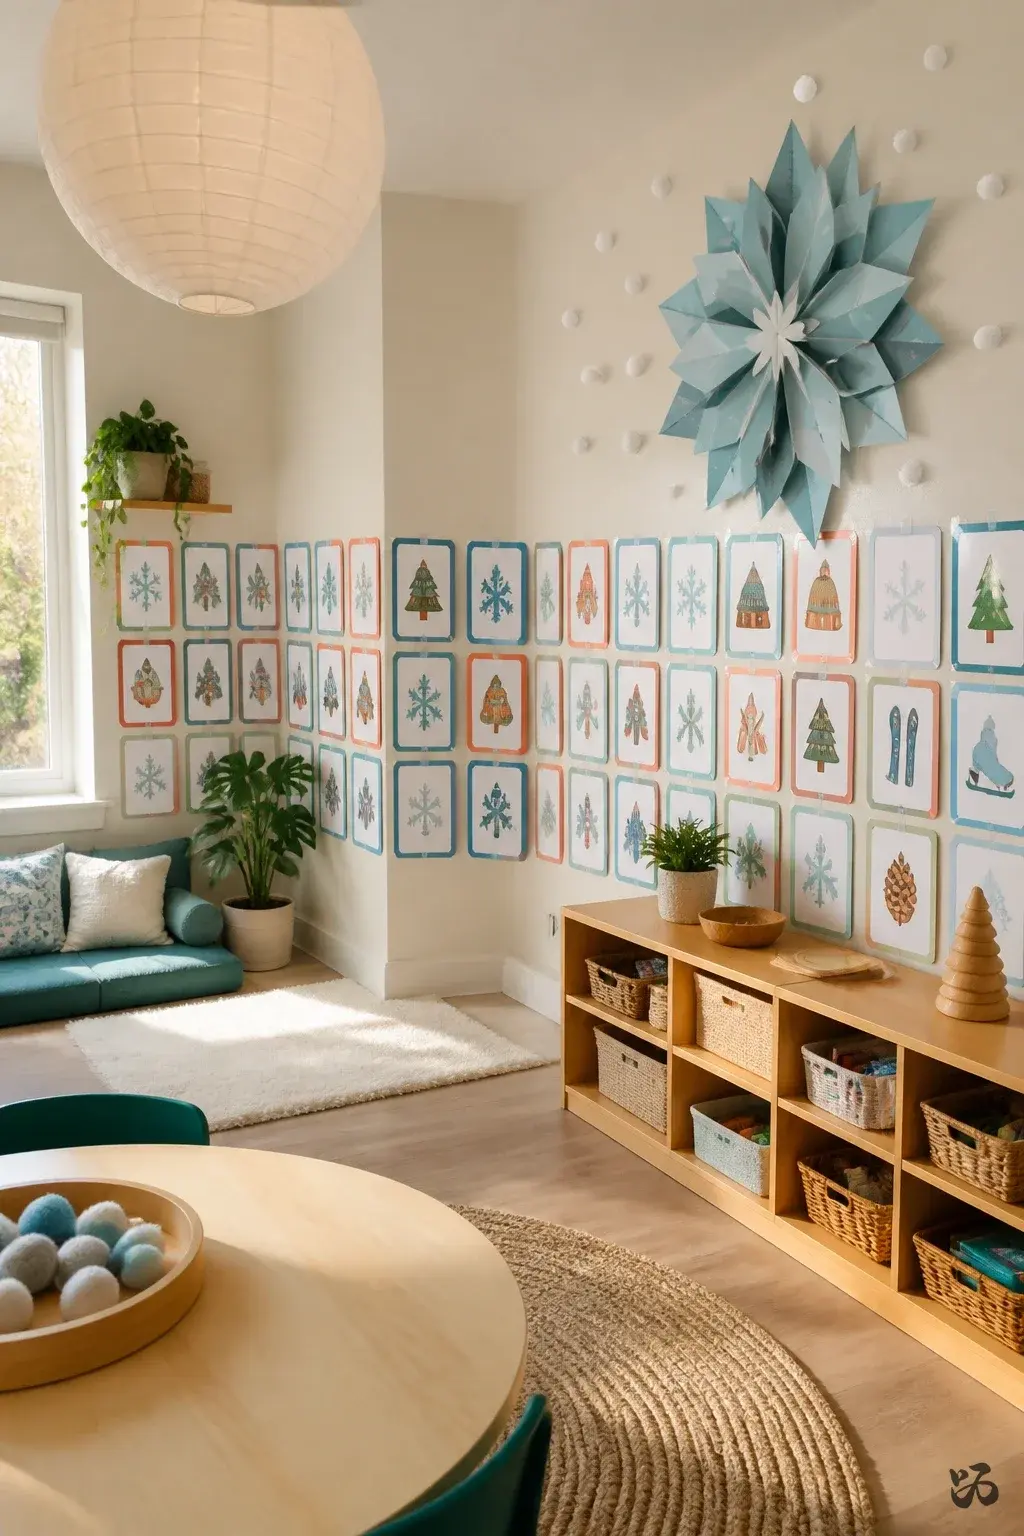
8. Winter Words Collaborative Board
 Save
SaveStream a long line of winter-themed sight words with corresponding illustrations created by students. Each child adds a word card and a small drawing. The board grows gradually and can wrap around a corner to maximize wall space.
What you need
- Index card weight paper for words
- Markers or colored pencils
- Illustration borders for each card
- Low-tack tape
Laminate only the word cards you plan to keep; otherwise skip laminating for easier removal.
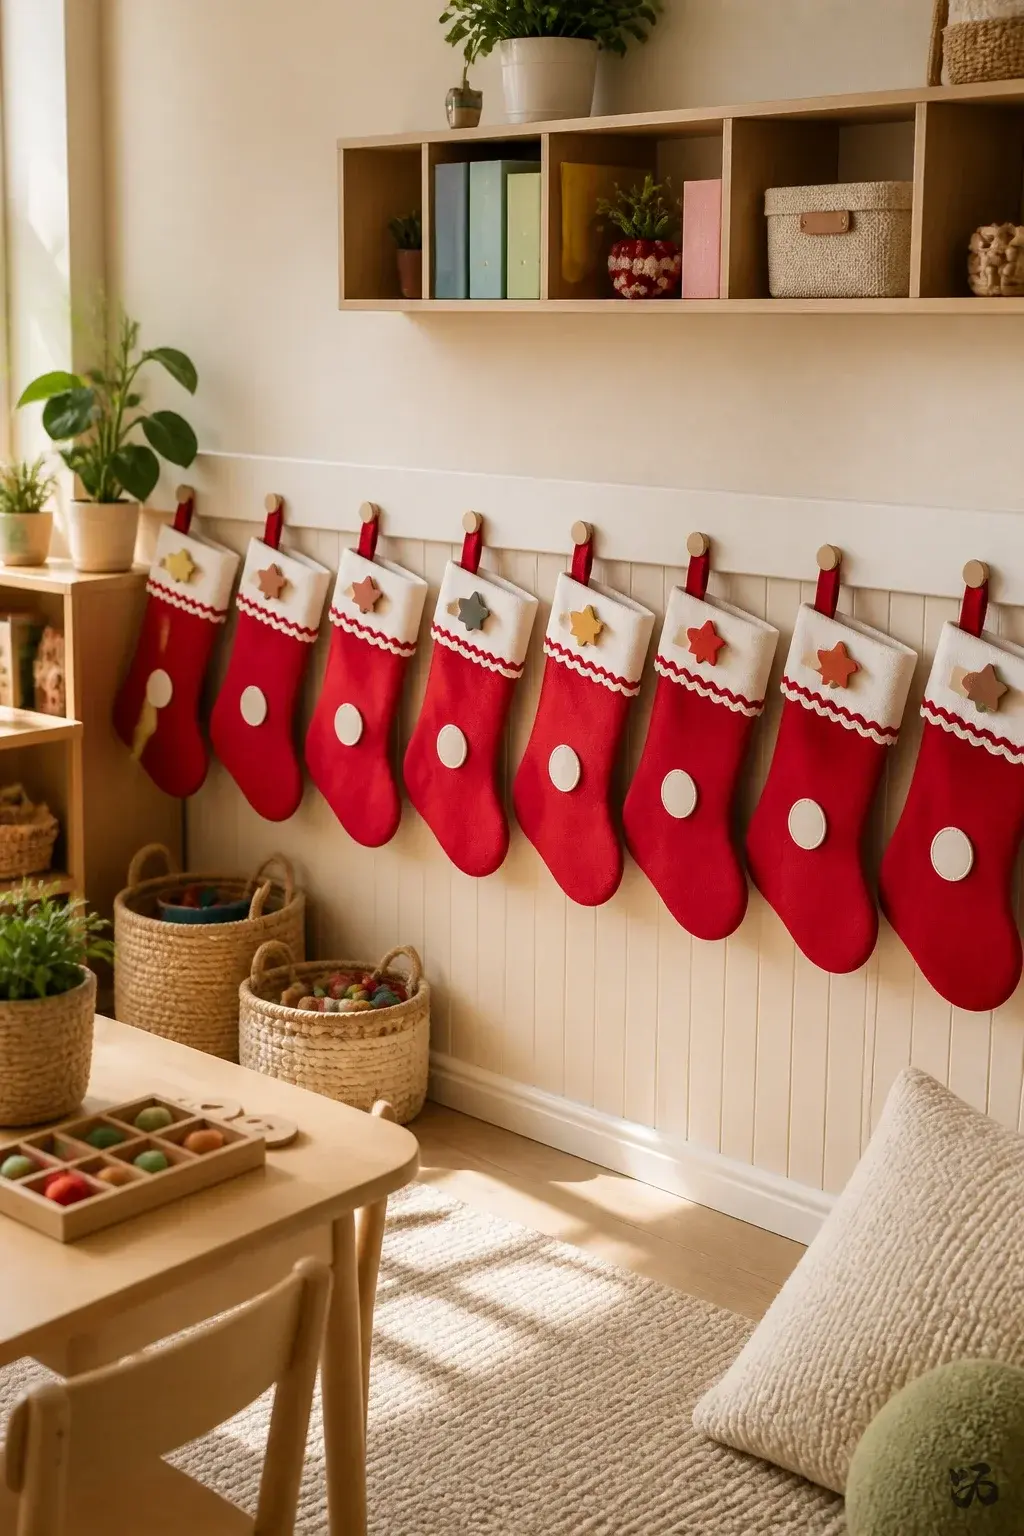
9. Santa Stockings with Student Names
 Save
SaveA row of red felt or paper stockings spans the board, each labeled with a student name. When a student earns a small desk sticker, they add a token to their stocking. It’s bright, organized, and almost impossible to knock down during recess.
What you need
- Red felt or red cardstock for stockings
- White ric-rac or trim for cuffs
- Student name tags
- Small Velcro dots to secure tokens
Place along a wall with minimal traffic; students can add tokens during homeroom or centers. No lamination needed for the stockings themselves.
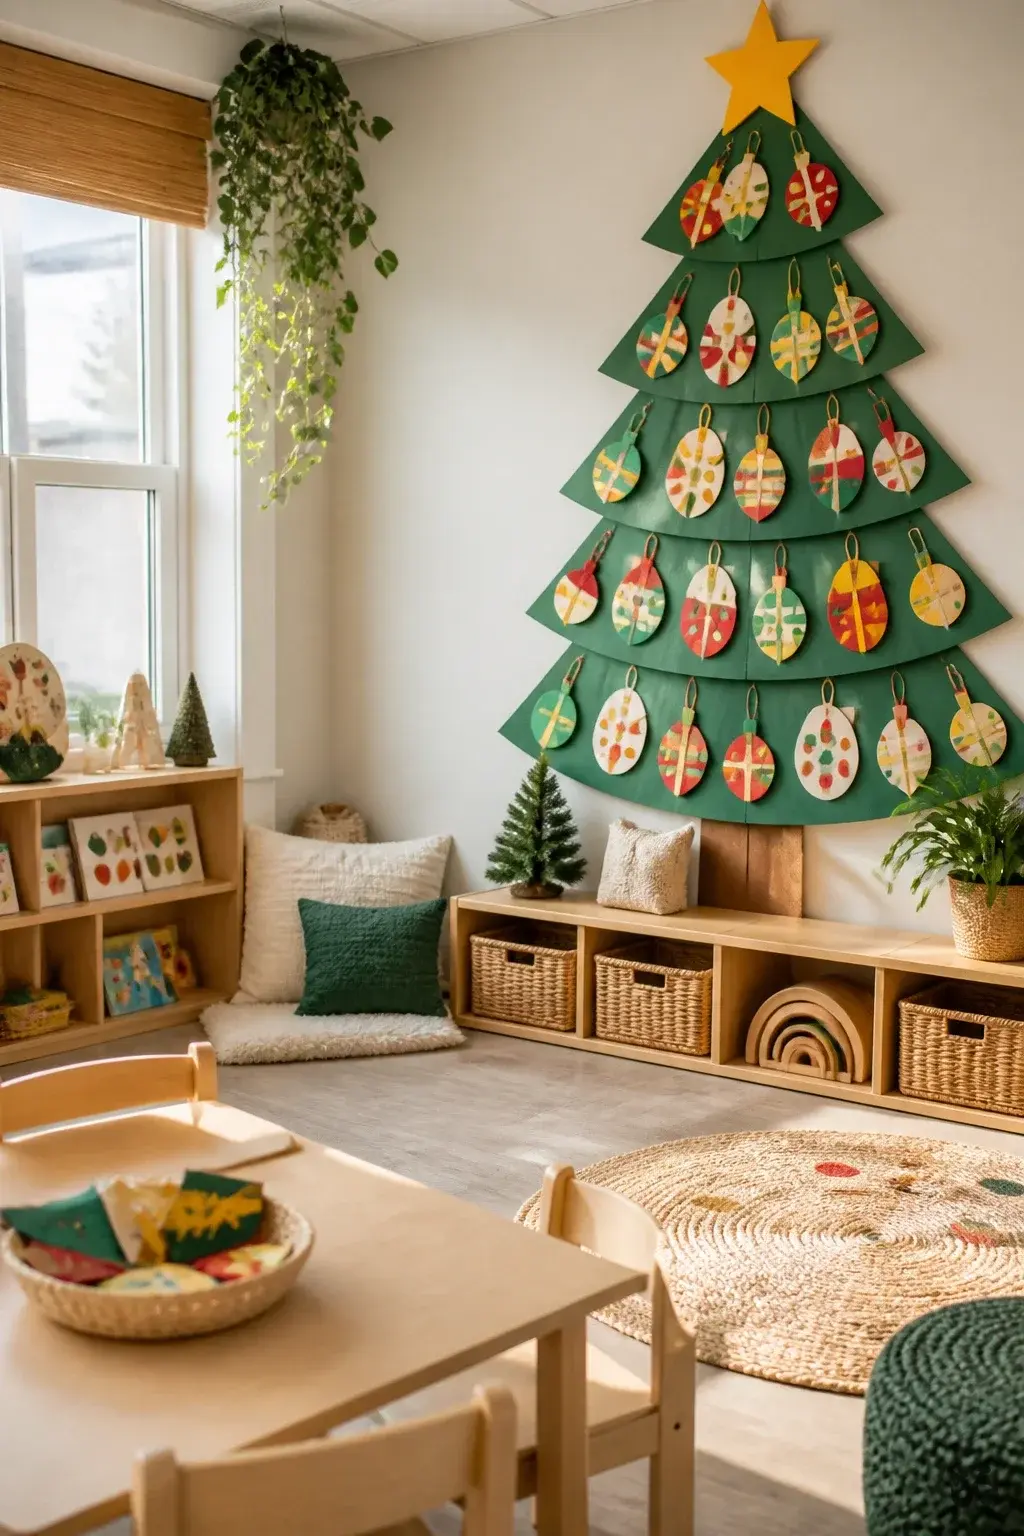
10. Christmas Tree Trim Tree
 Save
SaveConstruct a multi-tiered Christmas tree using green construction paper or butcher paper. Decorate with student-made ornaments that feature color words, shapes, or numbers. The tree can be modular, built over several days as a class craft project.
What you need
- Green construction paper or butcher paper
- Ornament shapes cut from colored cardstock
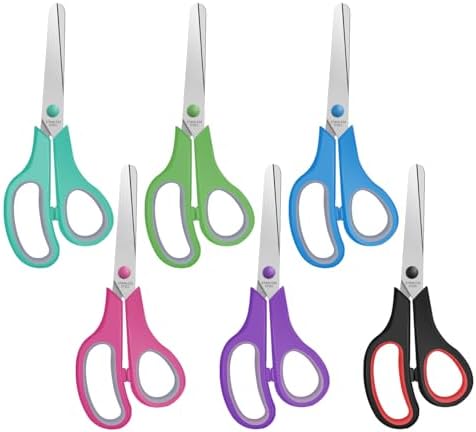
- Glue sticks and scissors
- Label strips for color words or numbers
It’s a good project for the prep period with teacher assistance, but you may skip lamination on the ornaments for faster removal.
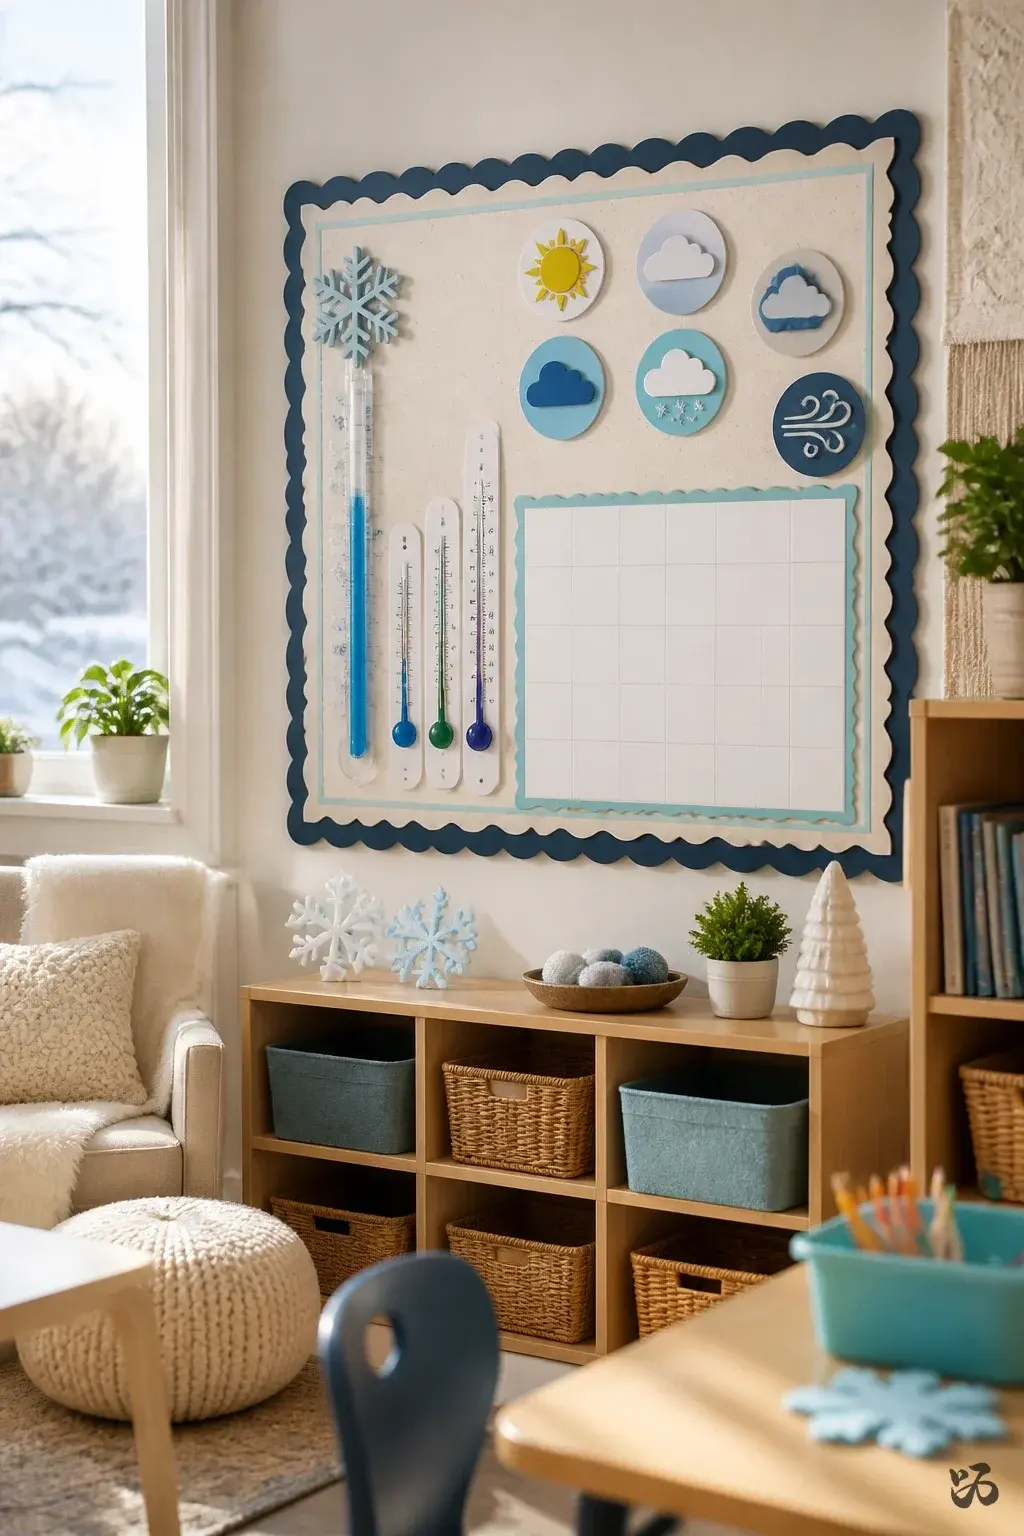
11. Winter Weather Graph
 Save
SaveCreate a small weather station on the wall with a snowflake rain gauge and a few thermometers. Students add a magnet representing the day’s weather. It doubles as a class data collection piece for simple graphs later in the year.
What you need
- Blue and white card stock for weather icons
- Magnets or Velcro
- Printed weather symbols
- Graph border for showing data
Choose Velcro so items remove cleanly during June tidy-up.
Border, Letters and Labels Worth Reusing


12. Nutcracker Ballet Silhouette
 Save
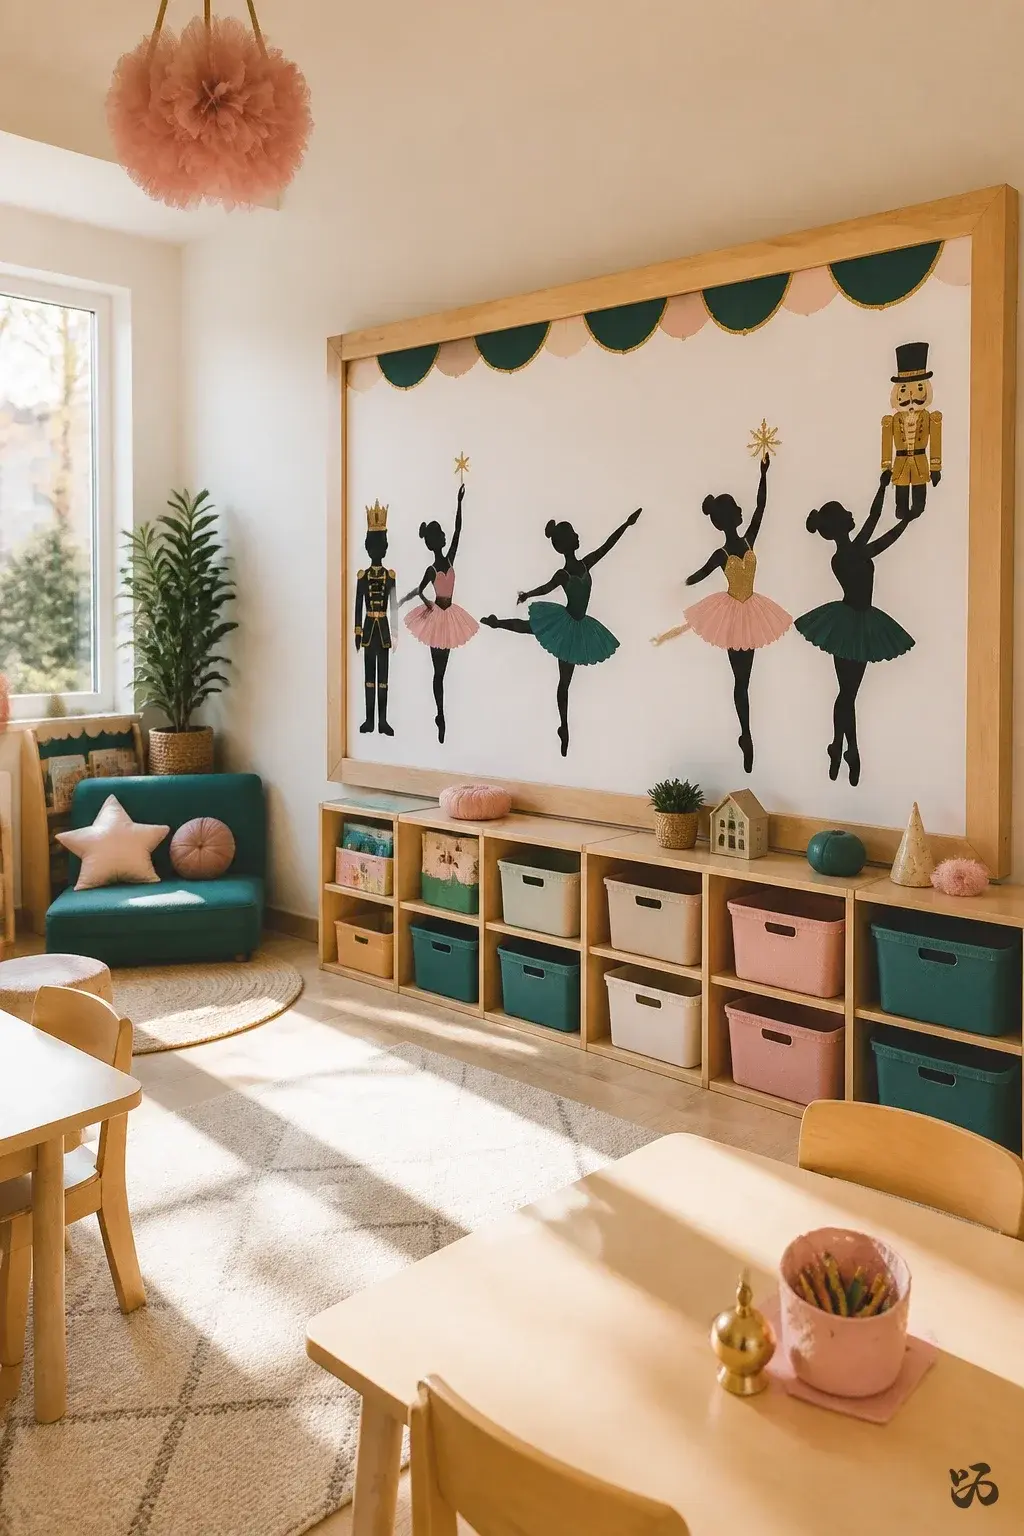
SaveSilhouettes of dancers in black paper with a splash of color from their tutus and props line a border. It’s an elegant, low-traffic display that remains sturdy with light staples along the edges and a single piece of backing.
What you need
- Black construction paper for silhouettes
- Colored paper accents for tutus
- Removable tape
- Lightweight border to frame the display
Skips lamination; it’s quick to assemble and easy to remove.
13. North Pole Train of Kindness
 Save
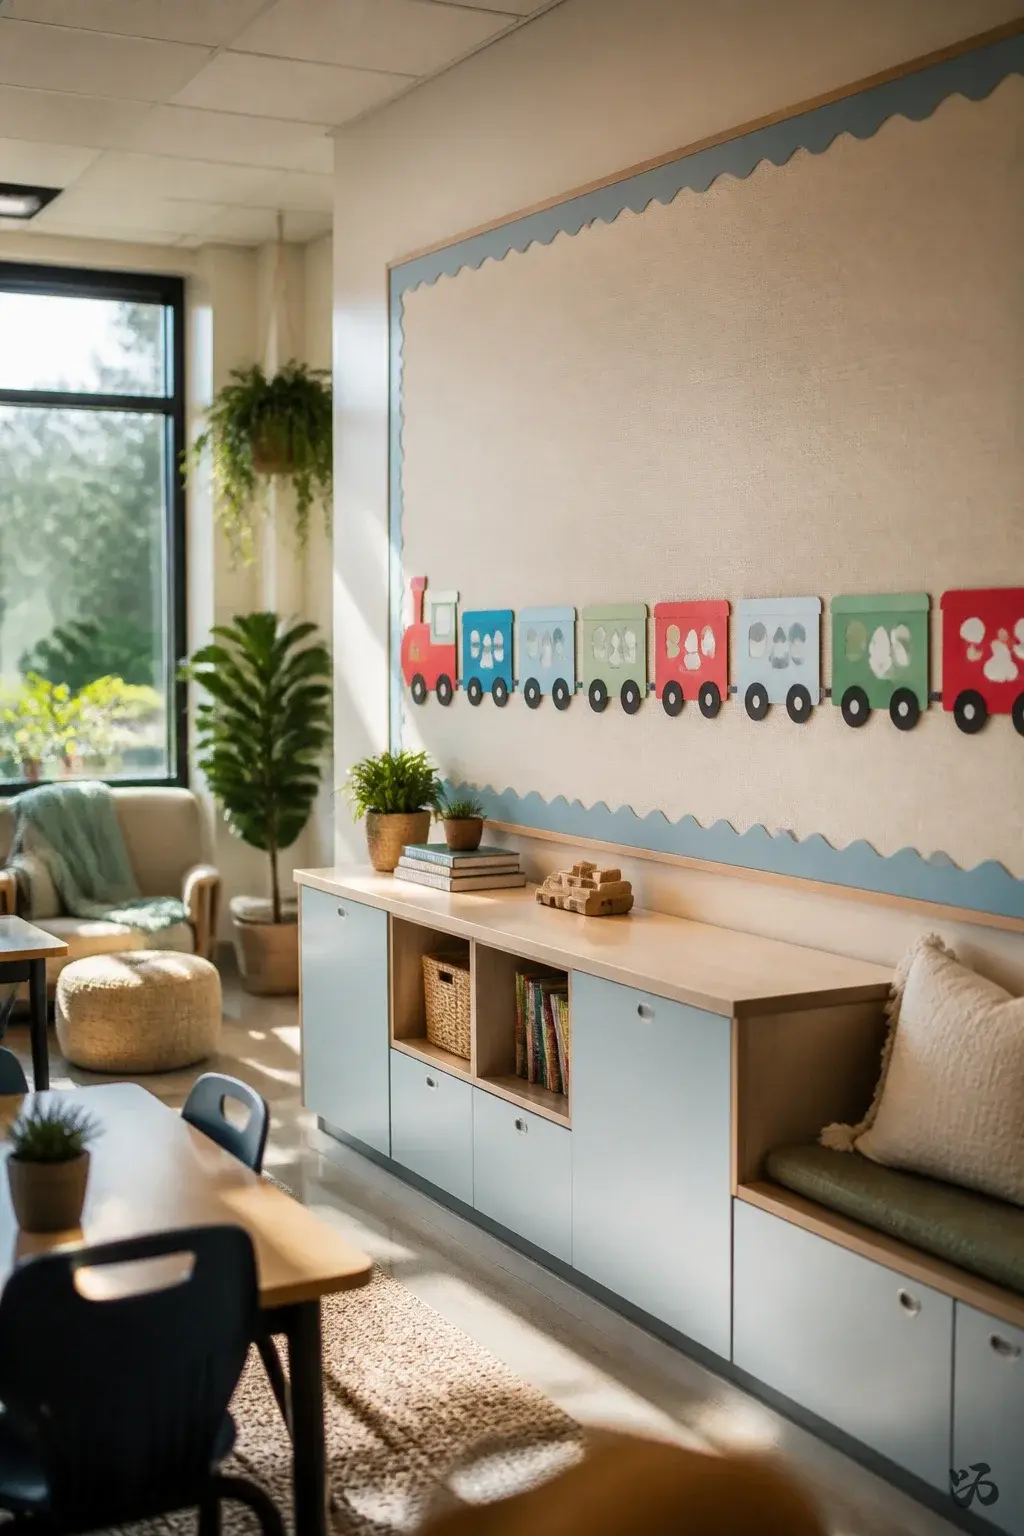
SaveA string of small train cars runs along a bulletin board edge. Each car holds a short kindness note written by a student. It’s a gentle, continuous reminder of good behavior and community spirit.
What you need
- Colored cardstock cards for train cars
- Markers for writing
- String or garland to connect cars
- Tape or push pins
Attach at student eye level; small words stay readable and durable with light tape.
14. Winter Portrait Gallery
 Save
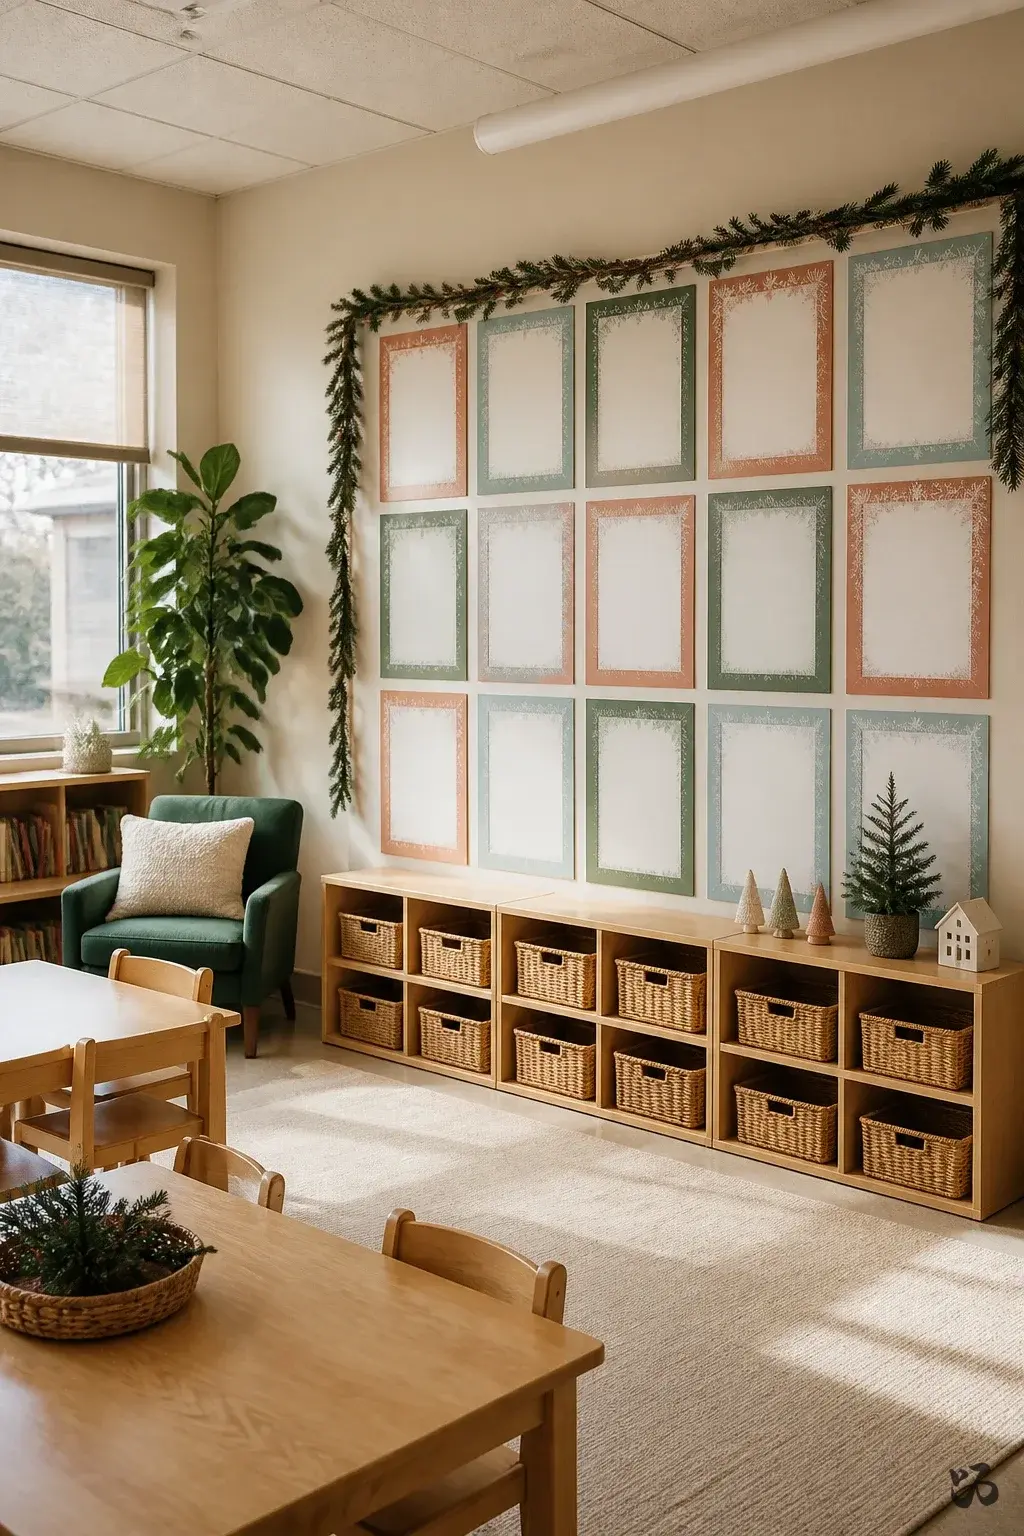
SaveCapture student smiles in black and white photos or simple color portraits mounted on frosted acetate or laminated cards. Create a frame around each portrait with a winter-themed mat. The look is clean and educational without clutter.
What you need
- Portrait photos or student drawings
- Frosted acetate or laminated card stock
- Winter-themed mats for each portrait
- Push pins or double-sided tape
Laminate portraits if you want more durability; mats help protect faces and keep the display neat.
15. Tree of Gratitude
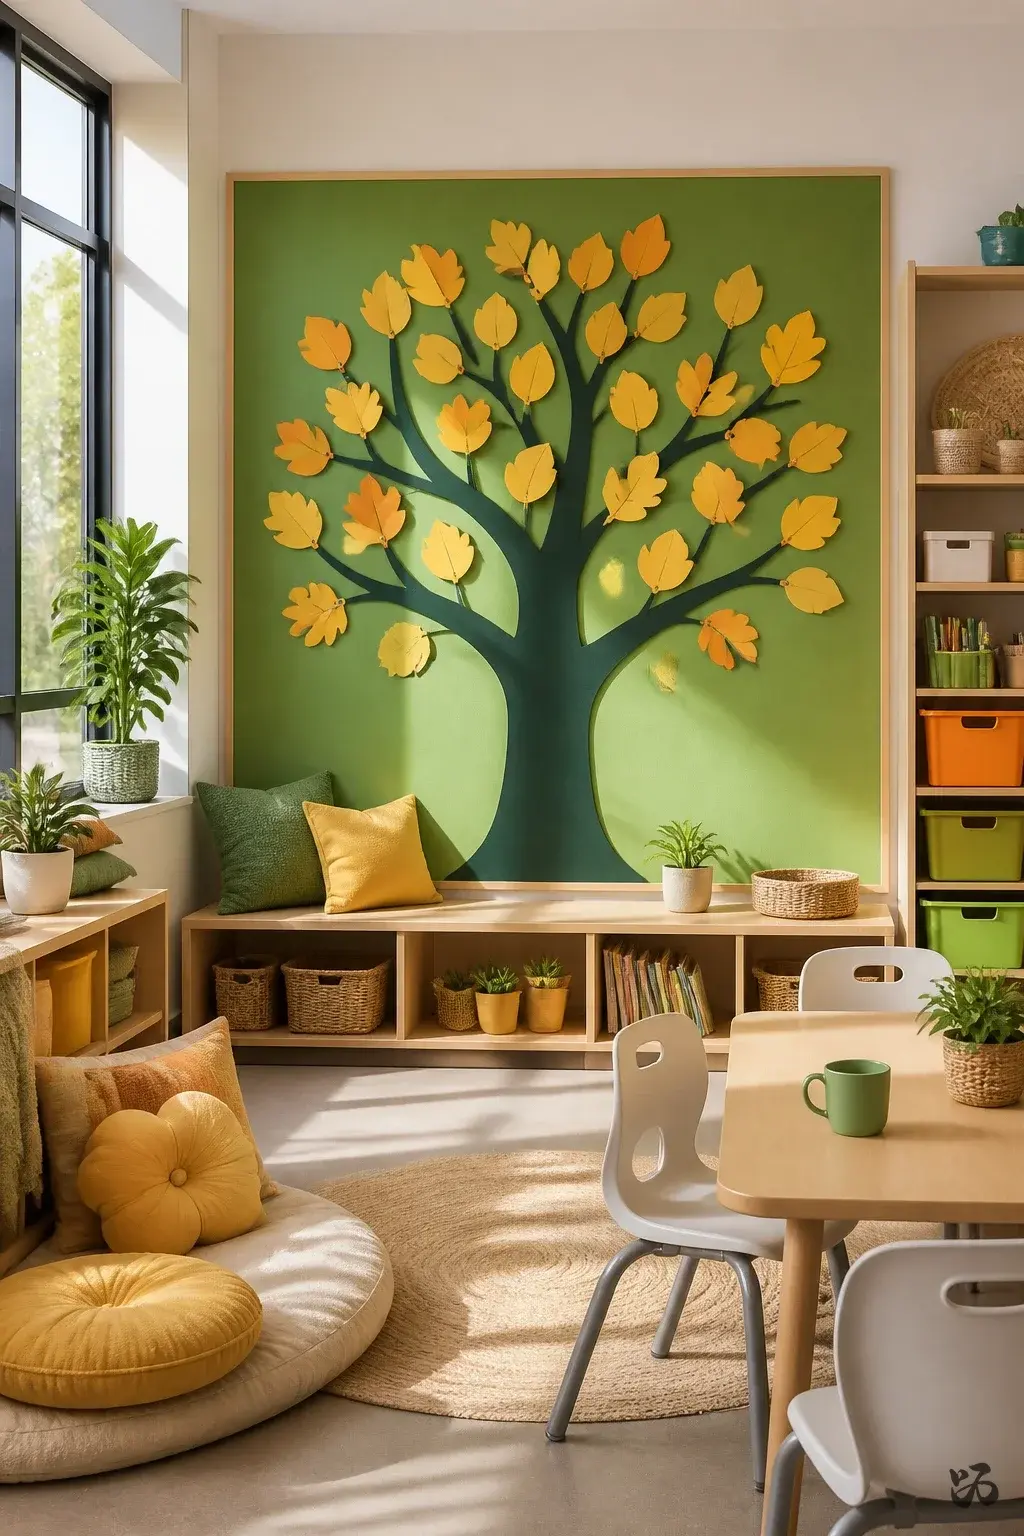 Save
SaveA large tree silhouette in dark green stands in a central location. Students add leaf-shaped notes with things they are grateful for. This is a reflective piece that can stay up through early January with minimal maintenance.
What you need
- Tree silhouette on green paper
- Leaf notes in yellow or orange
- Marker or pen for writing
- Brads or magnets to attach leaves
Use light tape so leaves can be removed at the end of the month without damage to the board.
16. Snow Globe Centerpiece
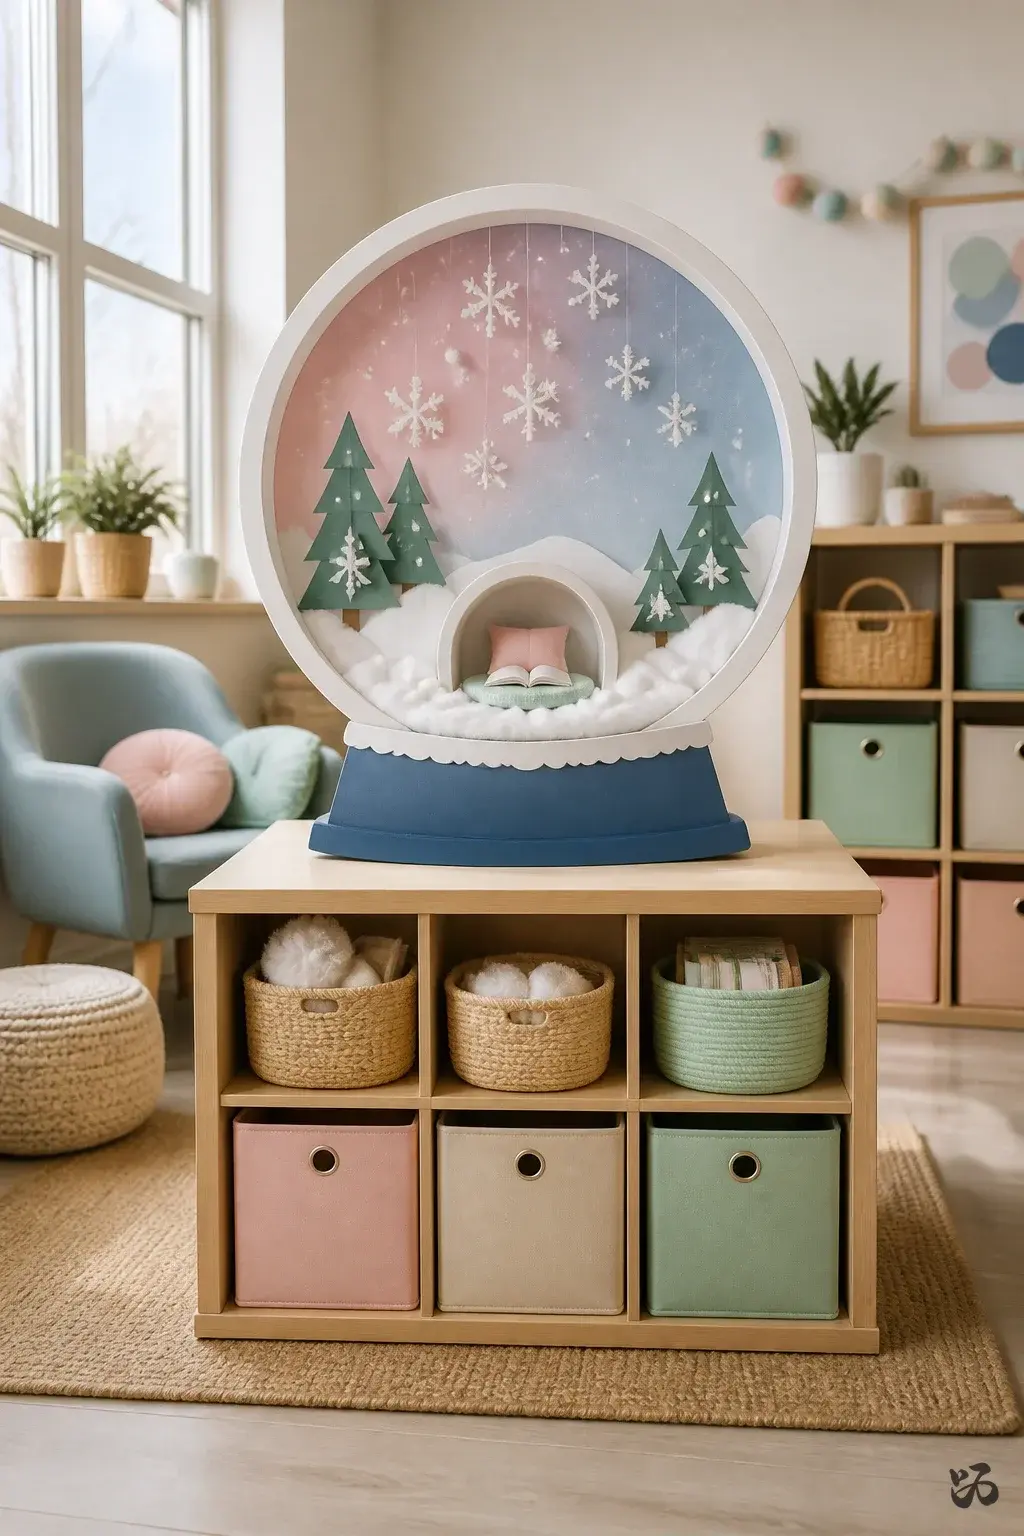 Save
SaveMount a large circular cutout to resemble a snow globe. Inside, place a simple winter scene created by students with cotton, paper cutouts, and a pastel background. It’s a calm focal point for a reading corner or small-group area.
What you need
- Cardstock circle for the globe
- Cotton batting for snow
- Colored paper cutouts for scenery
- Glue sticks and scissors
Skip lamination unless you want the globe to travel between classrooms for a holiday unit.
17. Santa’s Sleigh—Student Helpers
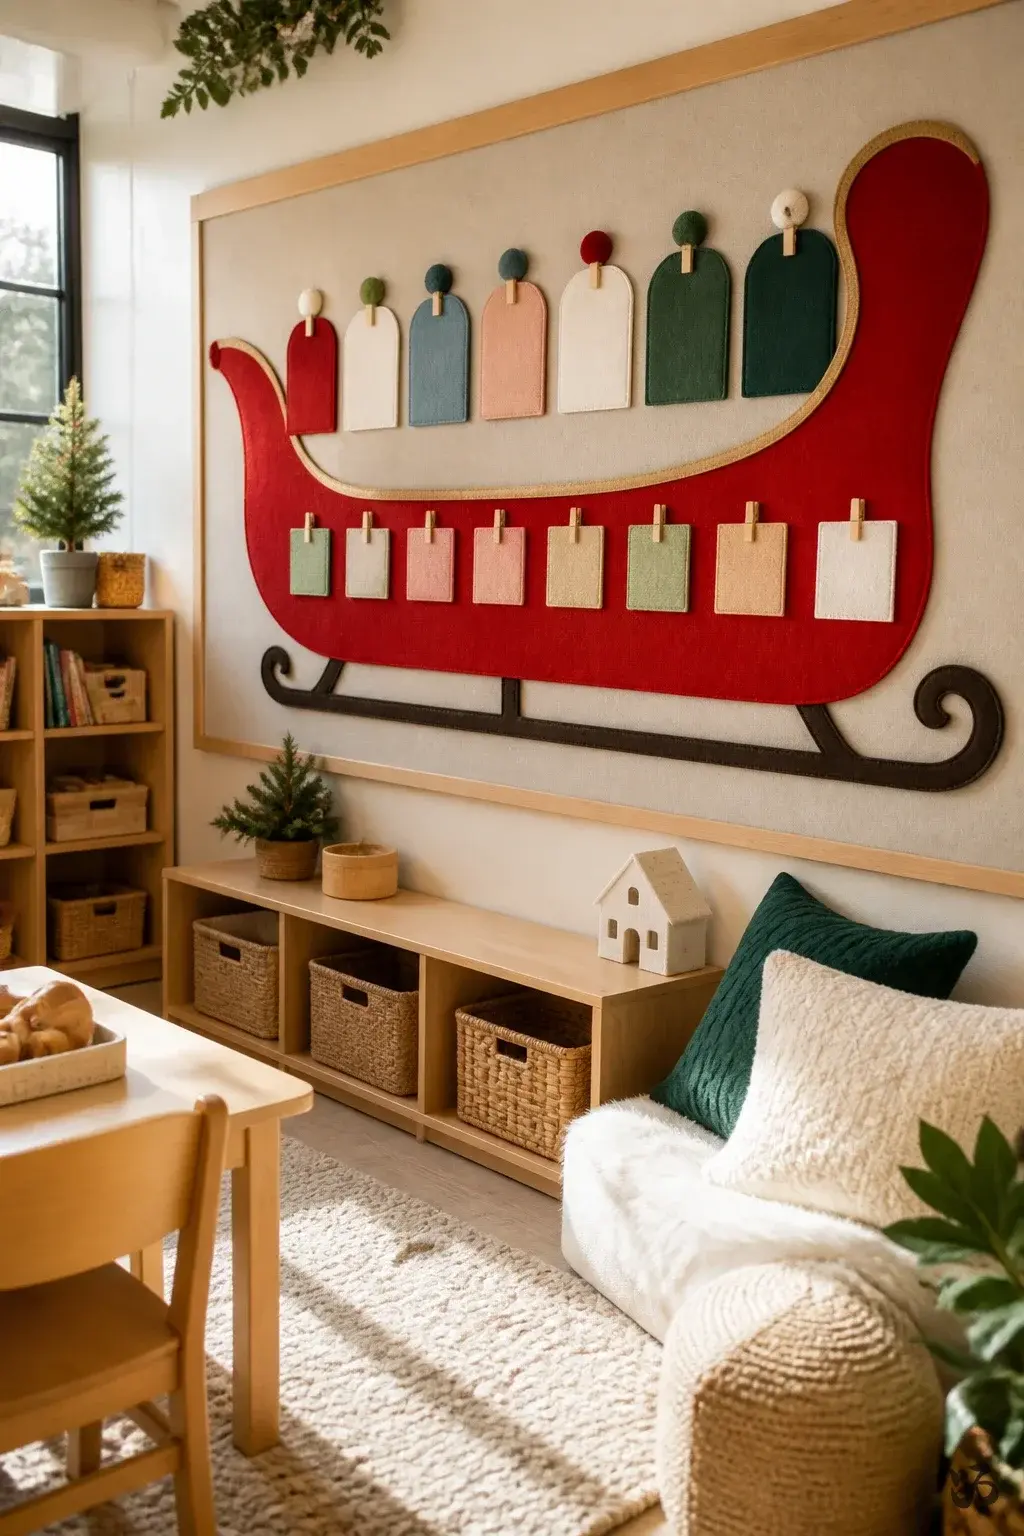 Save
SaveA red sleigh border carries student names along its length. Each child adds a small card describing a helper role they can perform around the classroom. It’s a nice way to celebrate shared responsibilities during December.
What you need
- Red border or red ribbon
- Name cards for each student
- Small cards for helper descriptions
- Double-sided tape
Best kept at a low height and not too wide to avoid blocking door movement.
18. Winter Animals Habitat
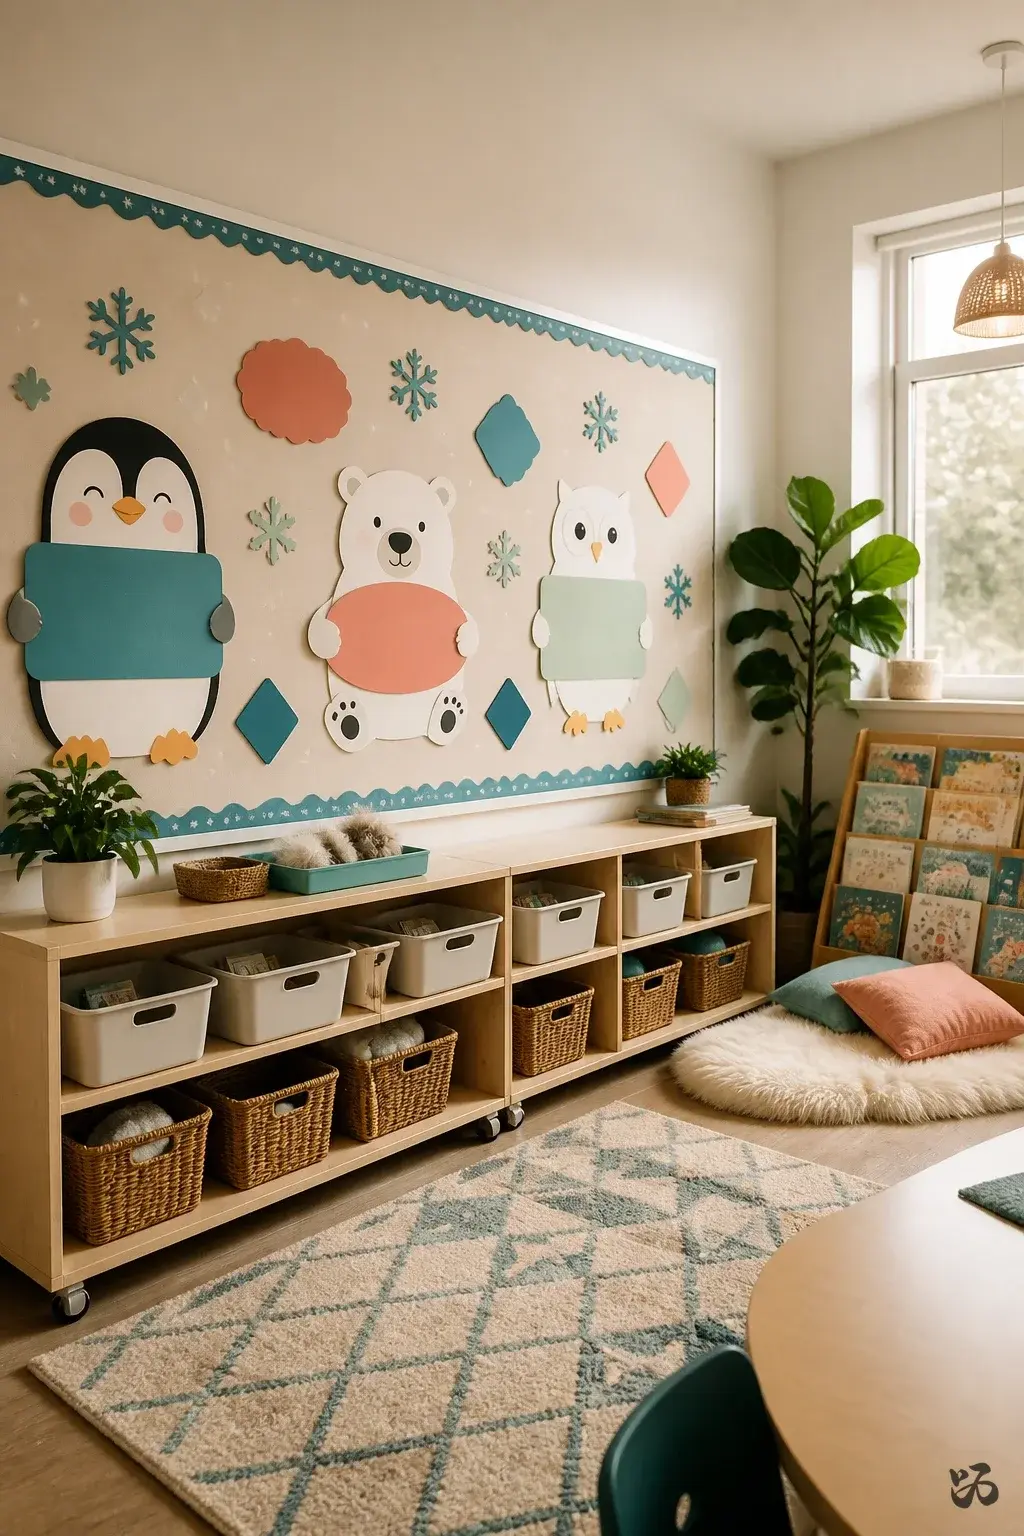 Save
SaveDisplay a border of winter animals: penguins, polar bears, and owls. Each animal holds a small sign with a question for students to answer, like a quick turn-and-talk prompt. Durable cutouts with multiple colors hold up well under classroom activity.
What you need
- Animal cutouts in various colors
- Question cards mounted on a strip
- Border tape
- Push pins or tape
Great for a quick turn-and-talk during read-aloud time and easy to update after field trips.
Little Hands Supplies That Survive December

19. Holiday Colors Word Wall
 Save
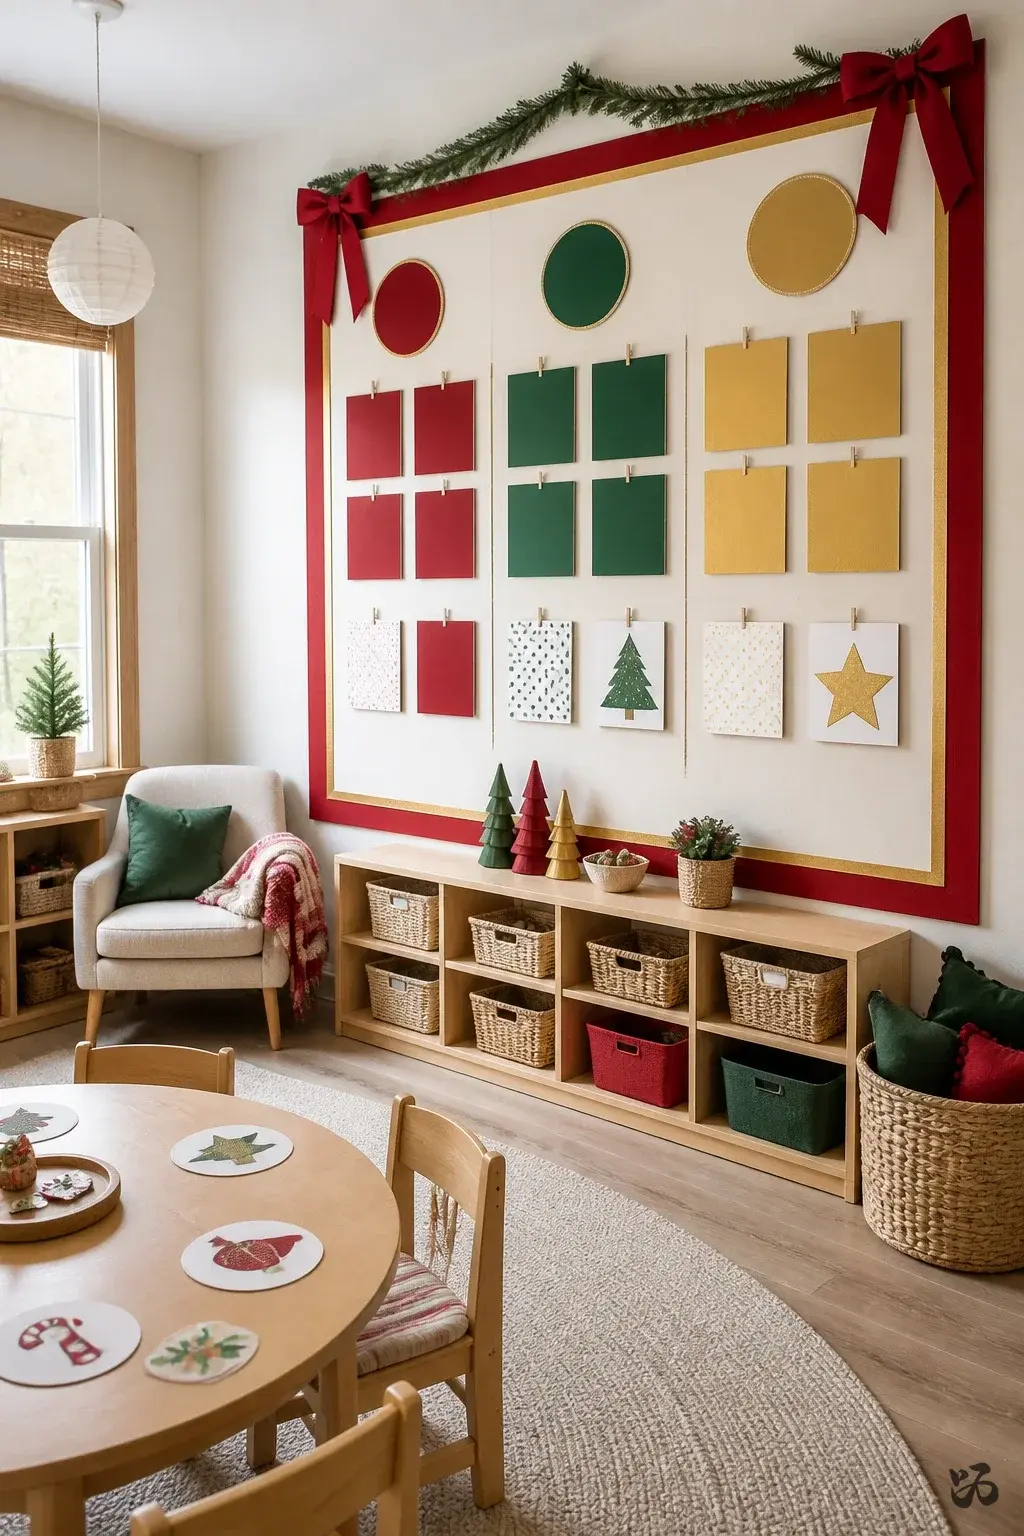
SaveChoose a small, bright color theme for December and build a word wall. Each color section hosts simple sight words and matching pictures. It’s cohesive, easy to read, and doesn’t overwhelm the room.
What you need
- Cardstock in holiday colors
- Sight word cards
- Picture cards for matching
- Ribbon or border to separate colors
Laminate essential word cards to withstand daily handling or skip lamination if you’re short on time.
20. Icicle Light Strip
 Save
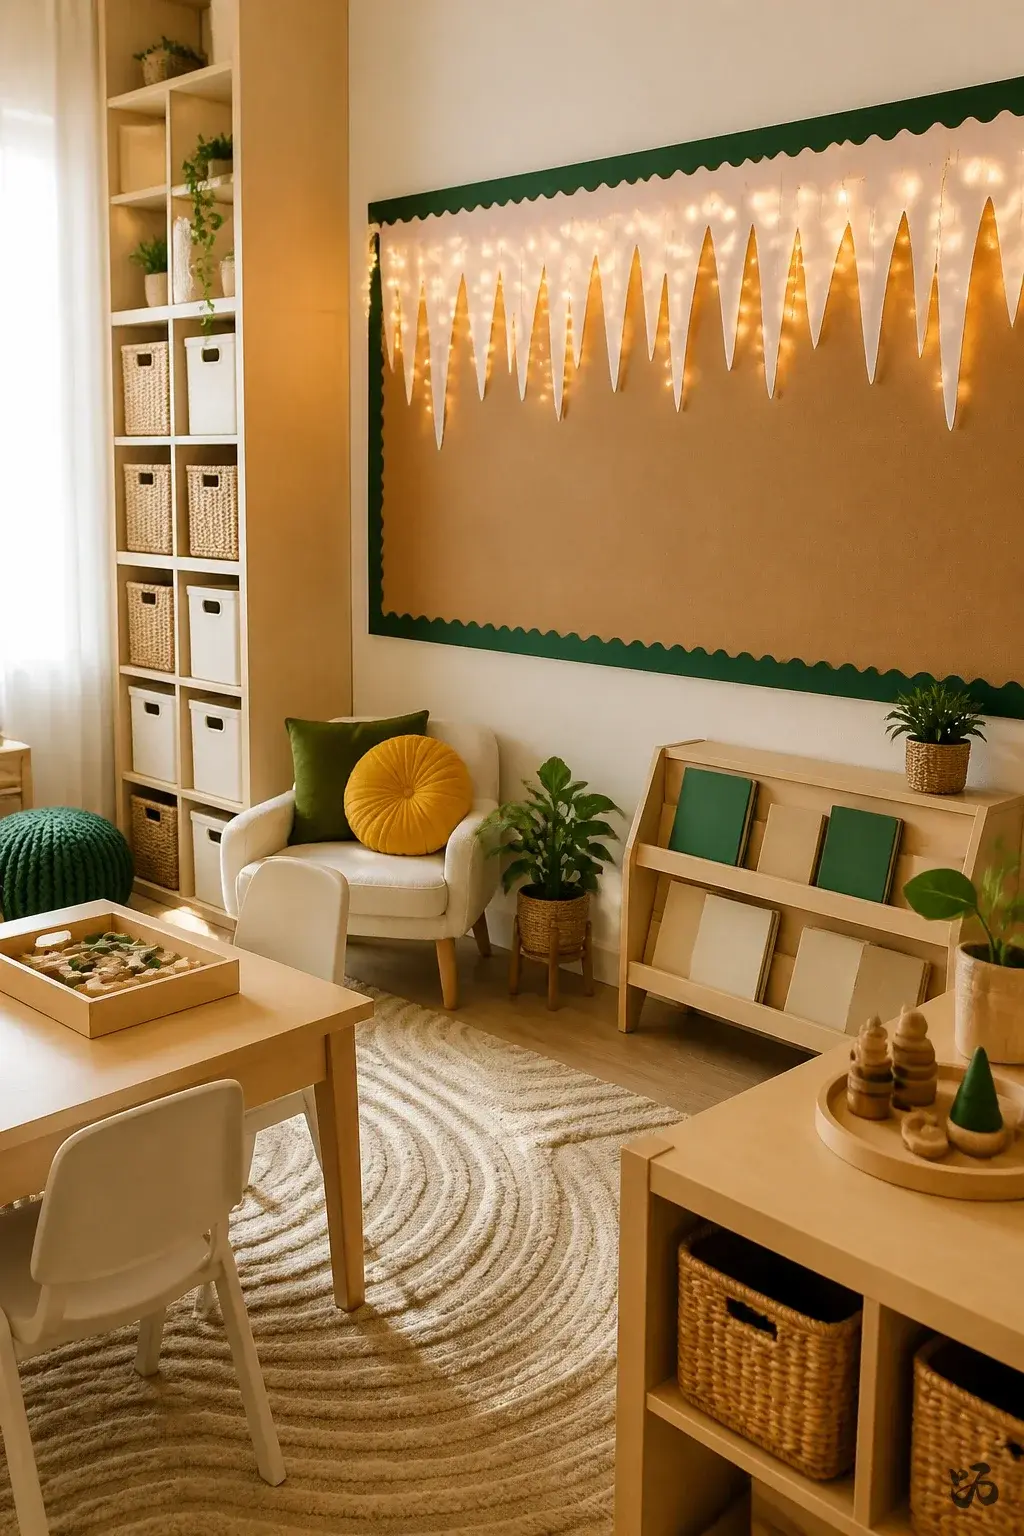
SaveTiny icicle shapes hang from a border strip and are illuminated with battery-operated string lights. The glow creates a warm mood without needing much wall space. Keep cords secured and out of student reach for safety.
What you need
- Icicle shapes cut from white paper or vellum
- Battery-operated string lights
- Border strip to anchor
- Double-sided tape
Consider placing the lights along the top edge where students cannot reach them; cords run behind the board if possible.
21. Winter Shapes Collage
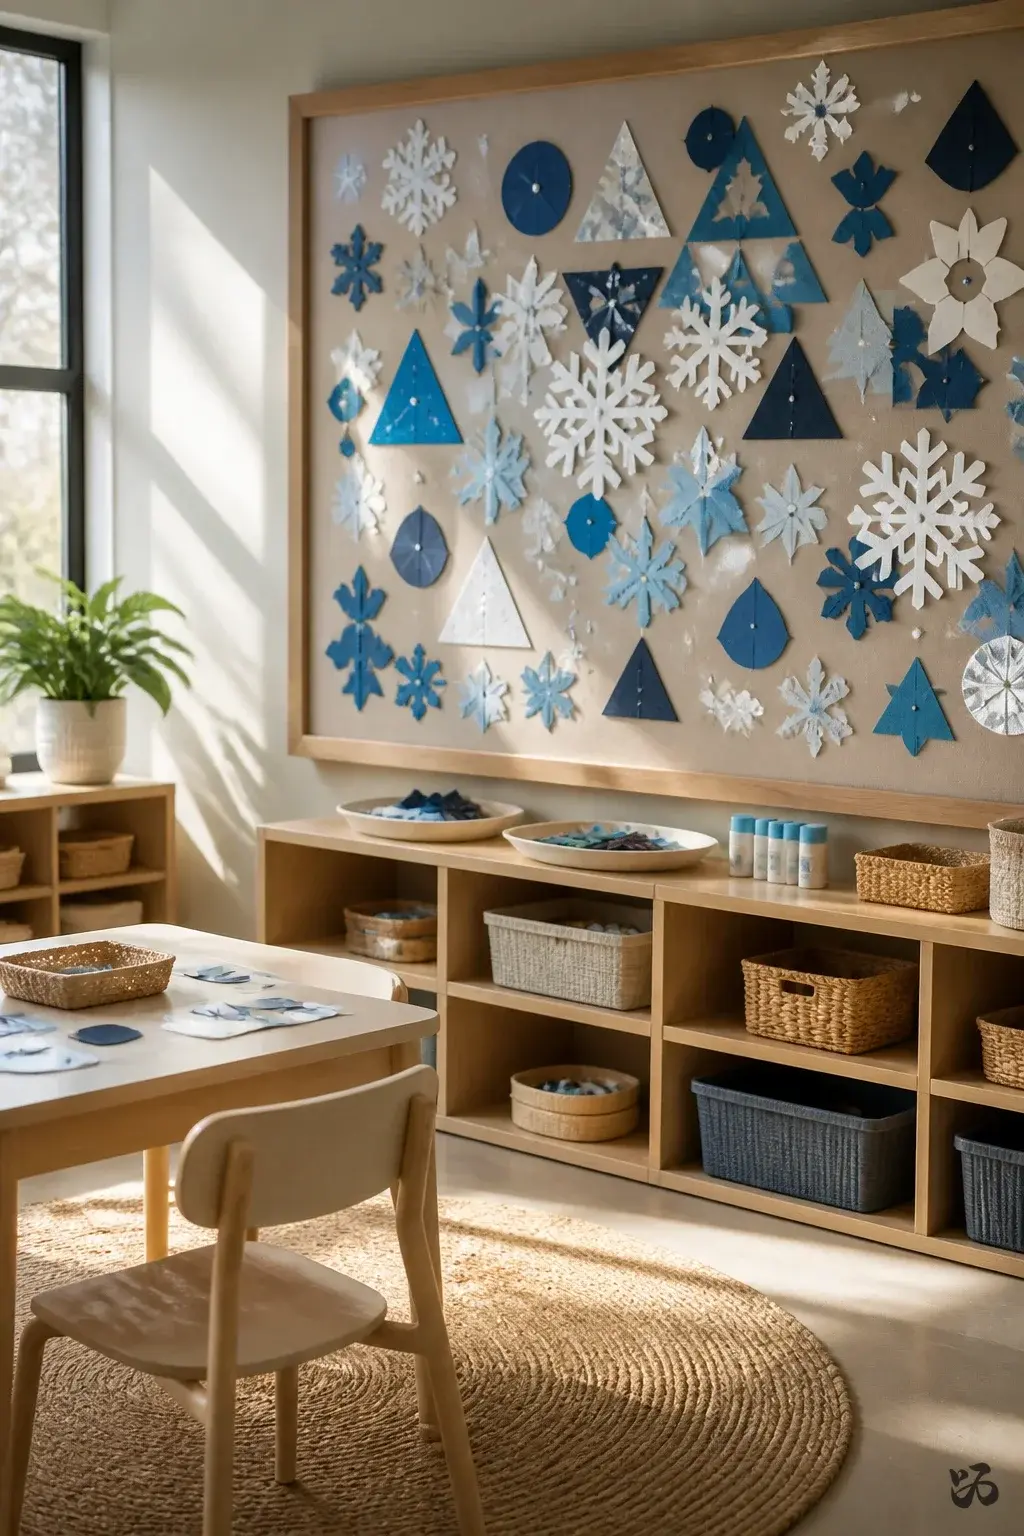 Save
SaveA board full of cut snowflakes, stars, circles, and triangles creates a tactile, kid-friendly collage. Students help by adding shapes with glue and small magnets. The result is a busy, colorful board that’s still easy to refresh.
What you need
- Assorted shape cutouts in winter colors
- Glue sticks
- Removable magnets or tape
- Large backing board
Laminate only some shapes if you’ll reuse the pieces; otherwise skip laminate for speed.
22. Santa’s Cookie Jar Countdown
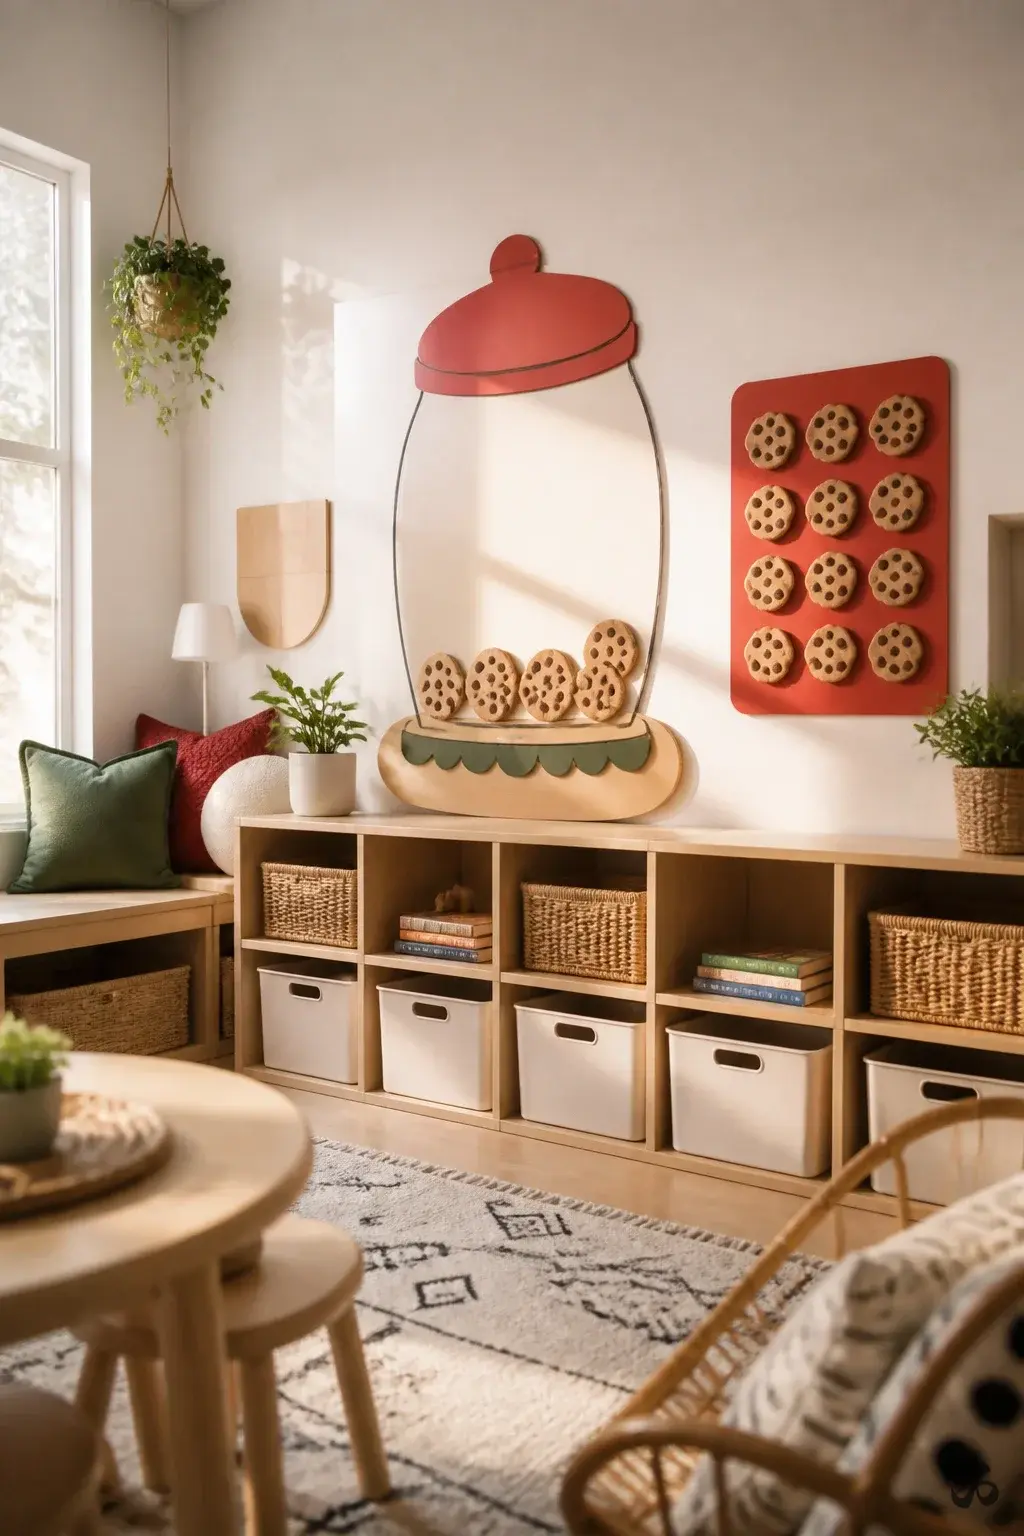 Save
SaveA large jar cutout sits on the board, with cookies representing days left before break. Students replace the cookies with new ones as days pass. It’s simple, interactive, and keeps the wall tidy.
What you need
- Jar cutout on cardstock
- Cookie shapes to place in the jar
- Magnets or Velcro for the cookies
- Labels for the numbers
Skip lamination if you want to reuse the same cookies yearly; you can cut new cookies each December.
23. North Star Open House Theme
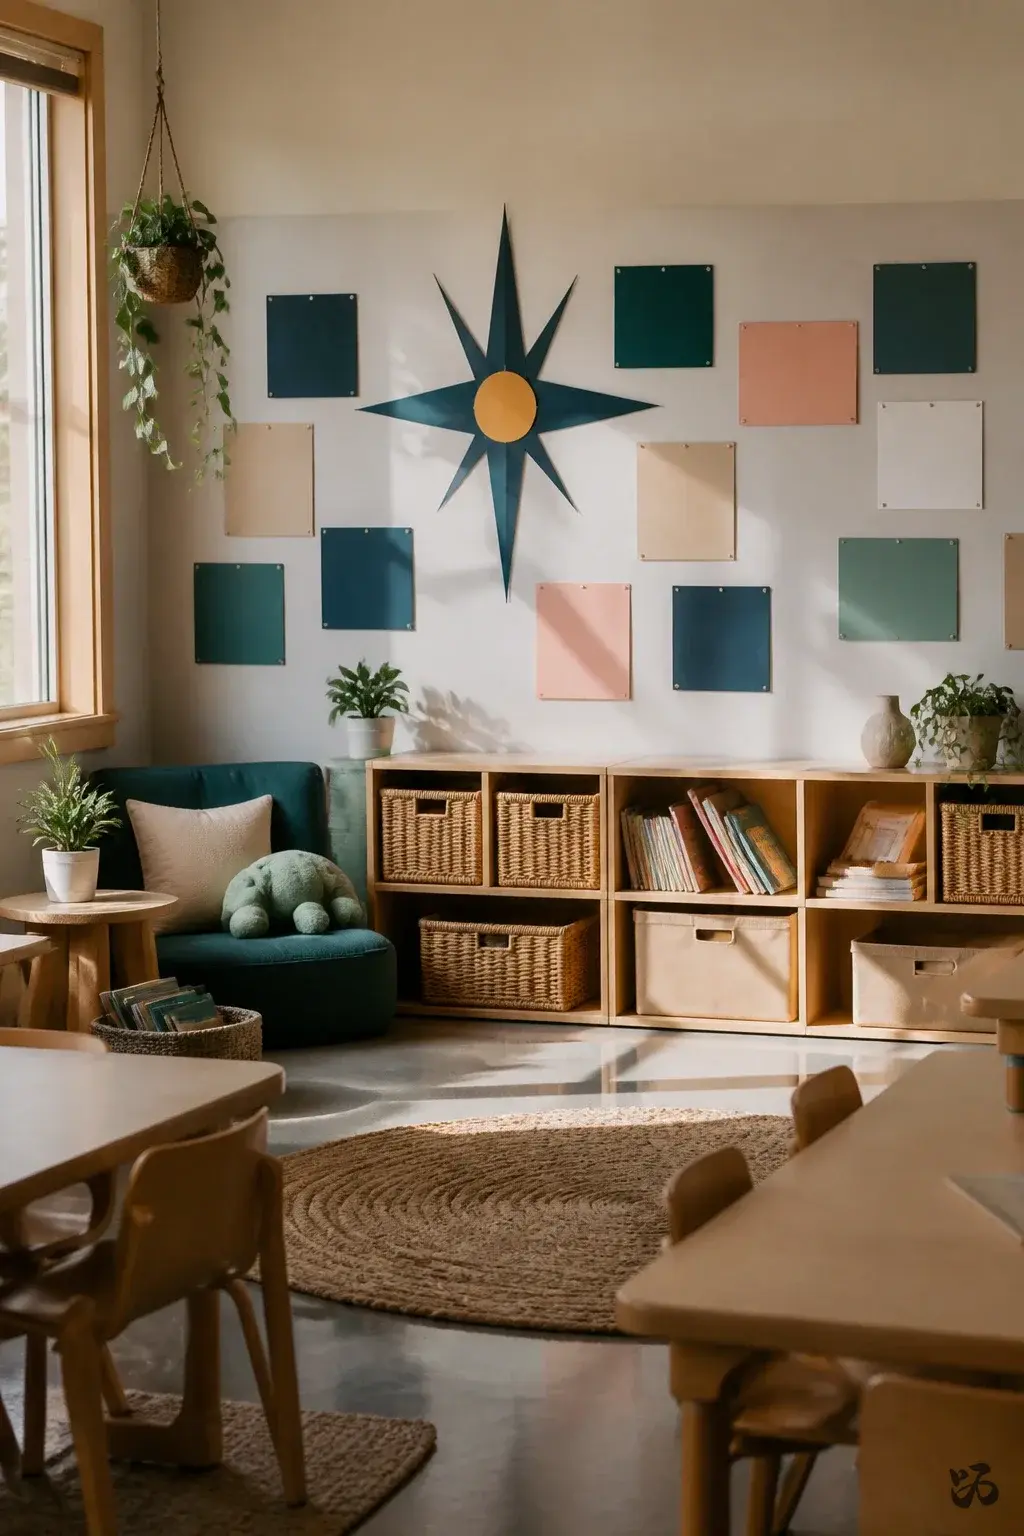 Save
SaveAnchor a section with a large North Star and show student work around it. Use a simple, non-scary star with a bright yellow center to draw attention. It’s a unifying focal point for Open House evenings and parent night visits.
What you need
- Large star cutout on yellow or golden cardstock
- Student work panels for surrounding
- Border roll in a coordinating color
- Push pins or tape
Keep the work protected by mats or light laminate during parents’ visits if possible.
24. Peppermint Pathway
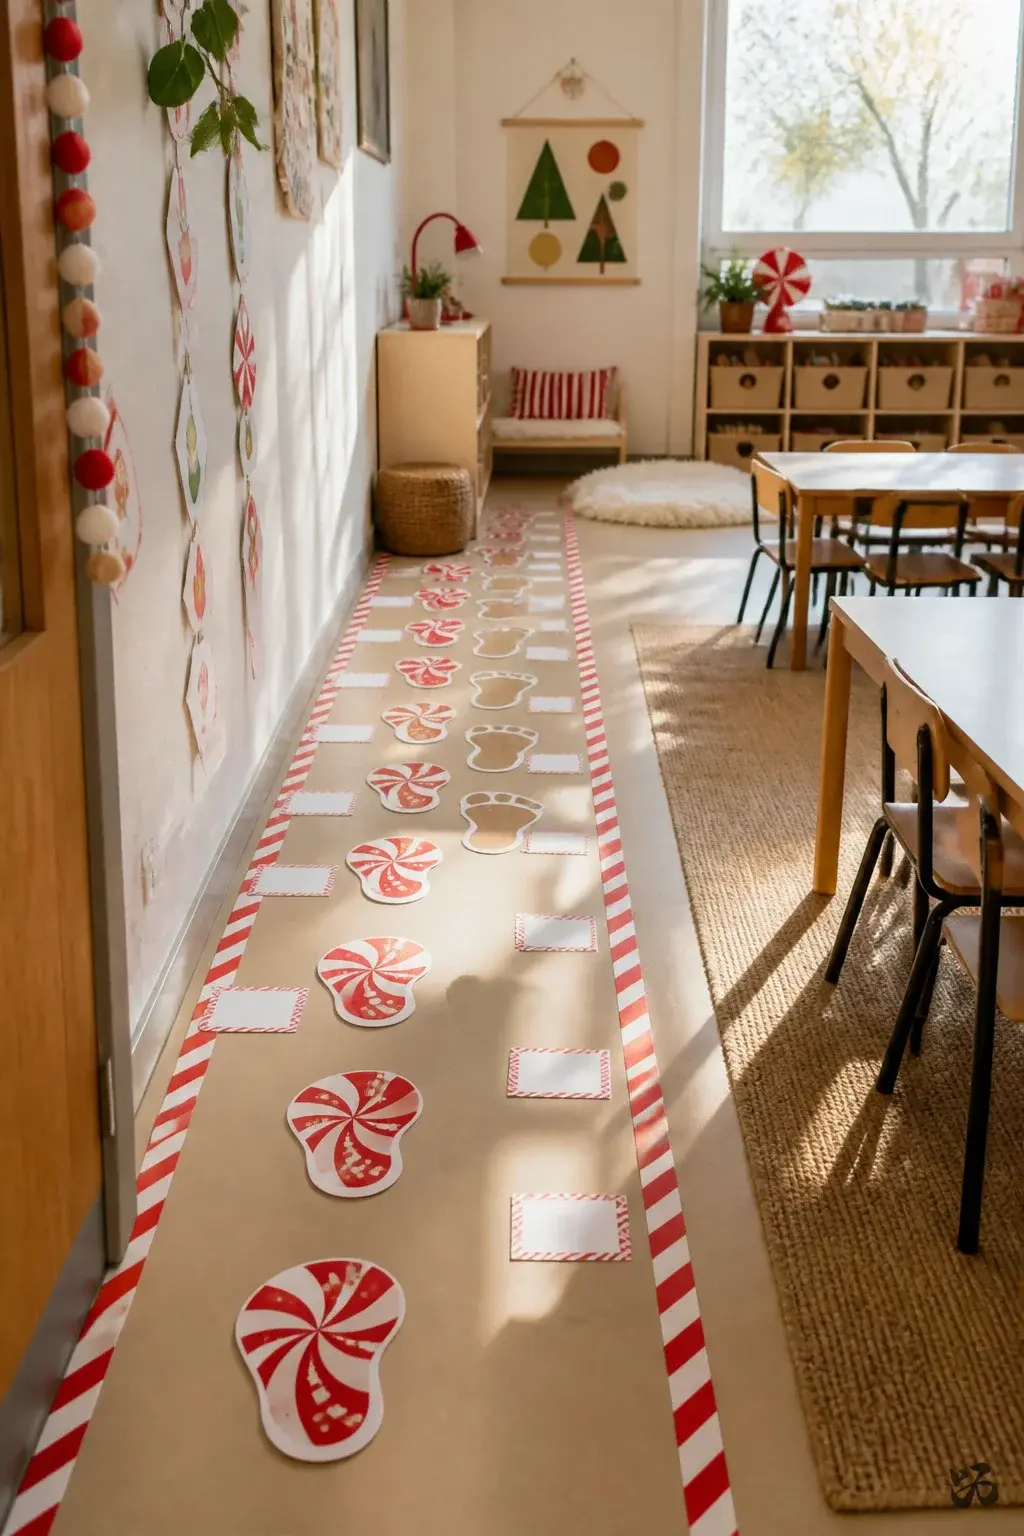 Save
SaveA path of peppermint-striped footprints runs from the door into the room. Each footprint has a quick-thinking prompt or a math fact for students to read and respond to as they pass by. It creates movement and a gentle rhythm in the space.
What you need
- Red and white striped border
- Footprint cutouts in brown or white
- Index cards with questions or facts
- Tape for the path
Put the path along a wall with bumper room for kids to move safely as they pass by during a quick transition.
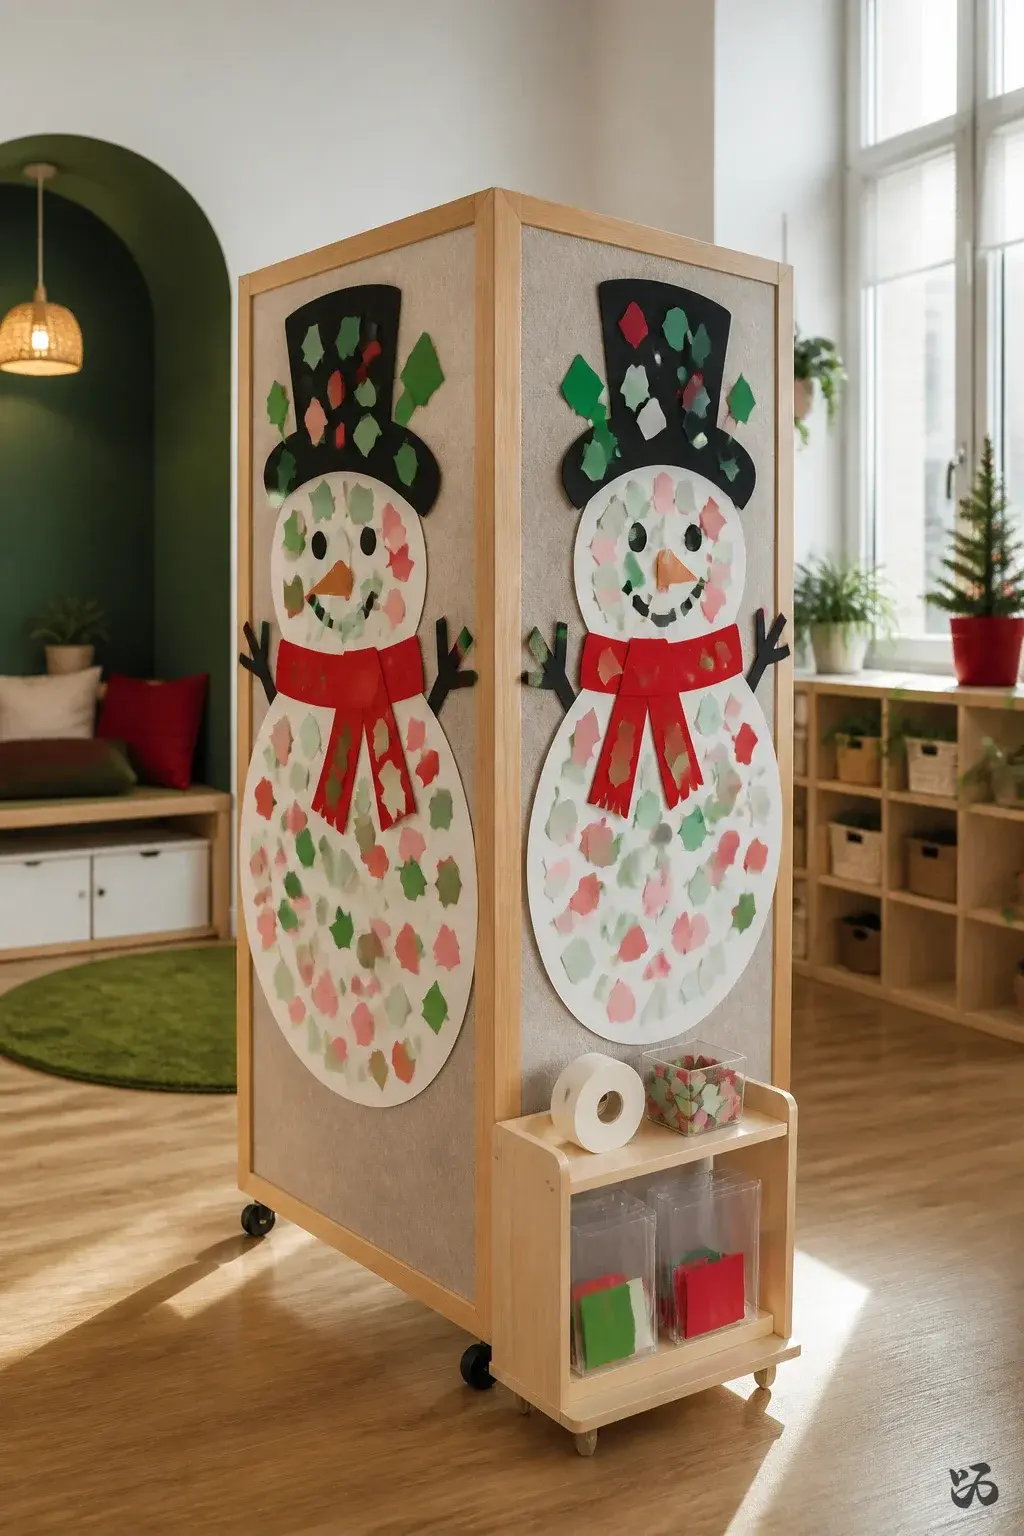
25. Two-Sided Snowman Confetti Board
 Save
SaveA sturdy snowman cutout on a double-sided bulletin board holds student confetti notes on both sides. Students add tiny paper scraps with compliments or small wins. It’s a positive, low-pressure display that invites quiet participation and can be updated in class during prep and centers.
What you need
- Snowman cutout on sturdy board
- Colored paper confetti for compliments
- Double-sided tape
- Clear pockets for added notes
Remove confetti at the end of December and save any memorable notes for a class memory book.
Conclusion: Start with a simple, low-maintenance idea that fits your wall space and your schedule. A single, sturdy centerpiece like the Frosty Welcome or the Polar Bear Reading Nook can set a friendly tone, while smaller, daily-friendly pieces like the 25 Days of Kindness Countdown or the Snowflake Math Wall keep students engaged without overwhelming your prep period. Choose one or two ideas to pilot this December and adapt as needed for next year.