
Some links in this post are affiliate links. If you buy through one, I may earn a small commission at no extra cost to you. As an Amazon Associate I earn from qualifying purchases.
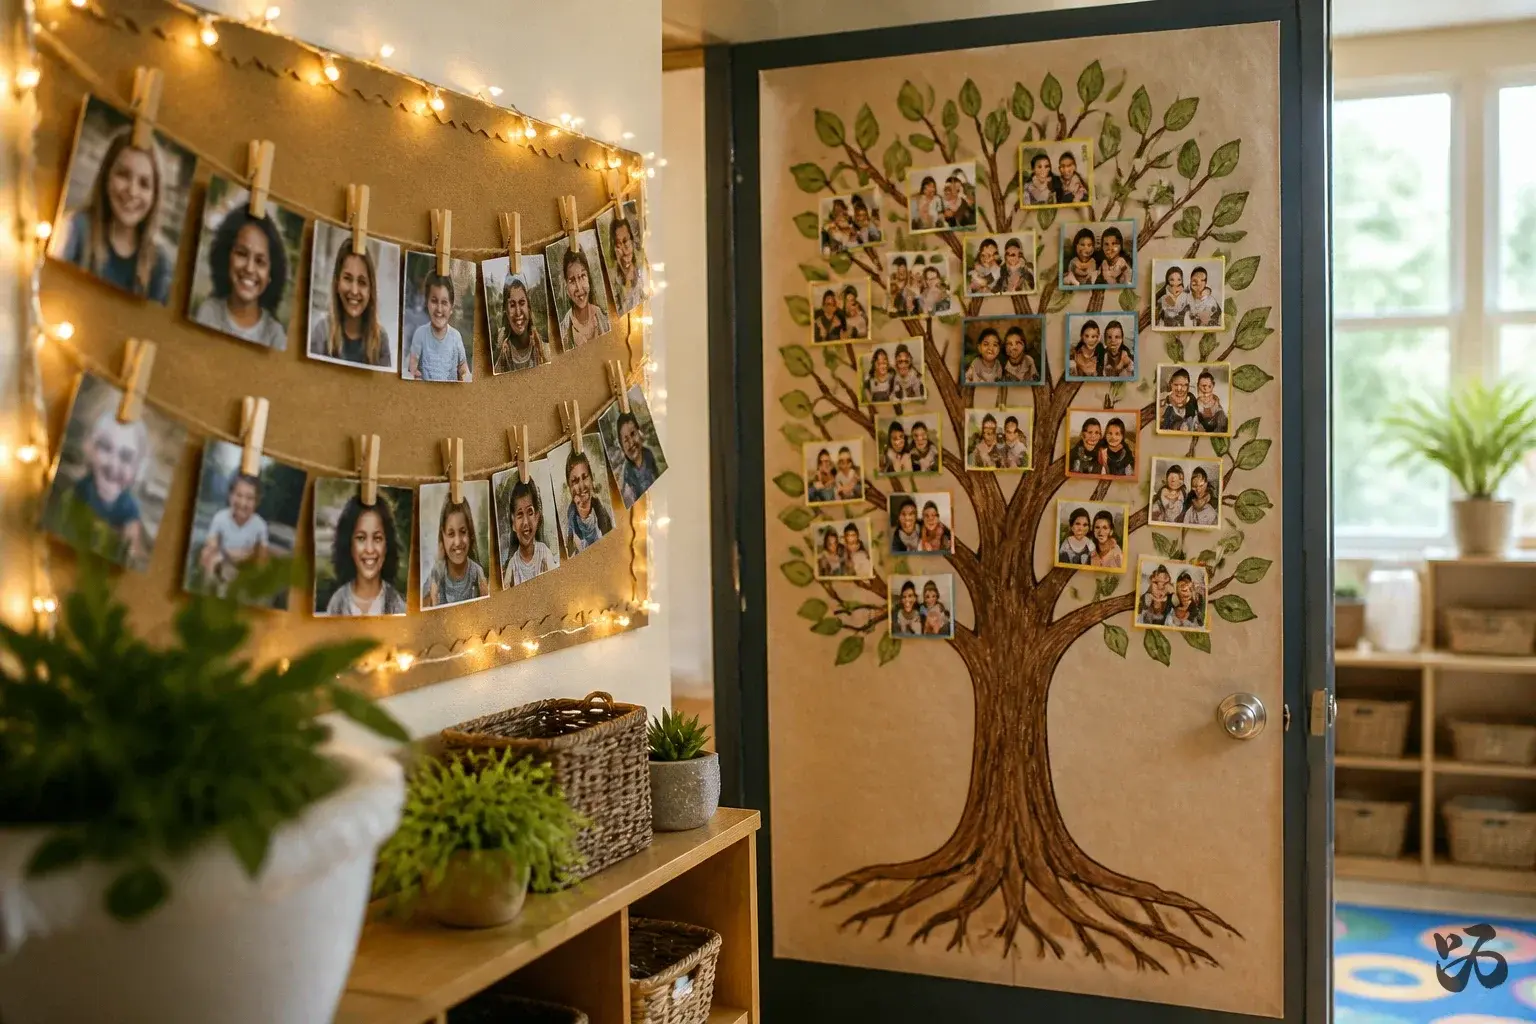
December is when families come through the classroom most: holiday concerts, parent nights and the last-day party. A display with their child’s photo, handprint or words in it is the one they stop to look at.
These 20 Christmas classroom displays put students and families at the center. Several turn into keepsakes you can send home before winter break.
 Save
SaveFree printable
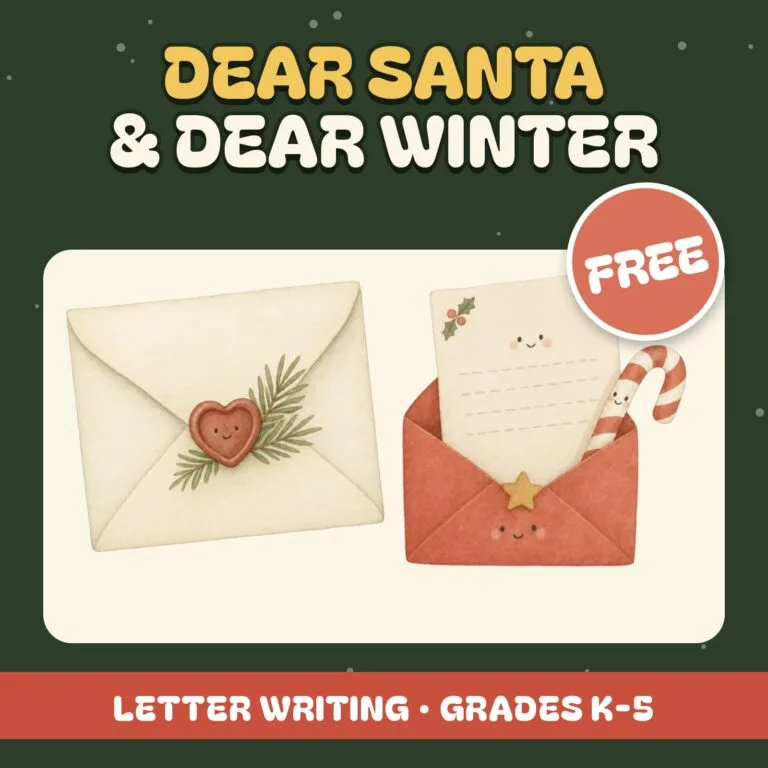
Free Dear Santa and Dear Winter Letters
Letter pages at two levels (K to 1 and 2 to 5), fold-up envelopes and a 2 minute calm moment to start. A cozy December writing lesson.
Free download. You will also get a couple of follow-up emails with classroom ideas. Unsubscribe anytime.
Four supplies for family-friendly displays
- Battery fairy lights: Clip photos to a string of lights for an instant photo garland.
- Mini wooden clothespins: For hanging photos, cards and notes without tape.
- Astrobrights cardstock: Sturdy card for photo frames, ornaments and gift tags.
- Clear contact paper: Protects handprint ornaments so they survive the trip home.
1. Personal Photo Garland on Bulletin Board Corners
 Save
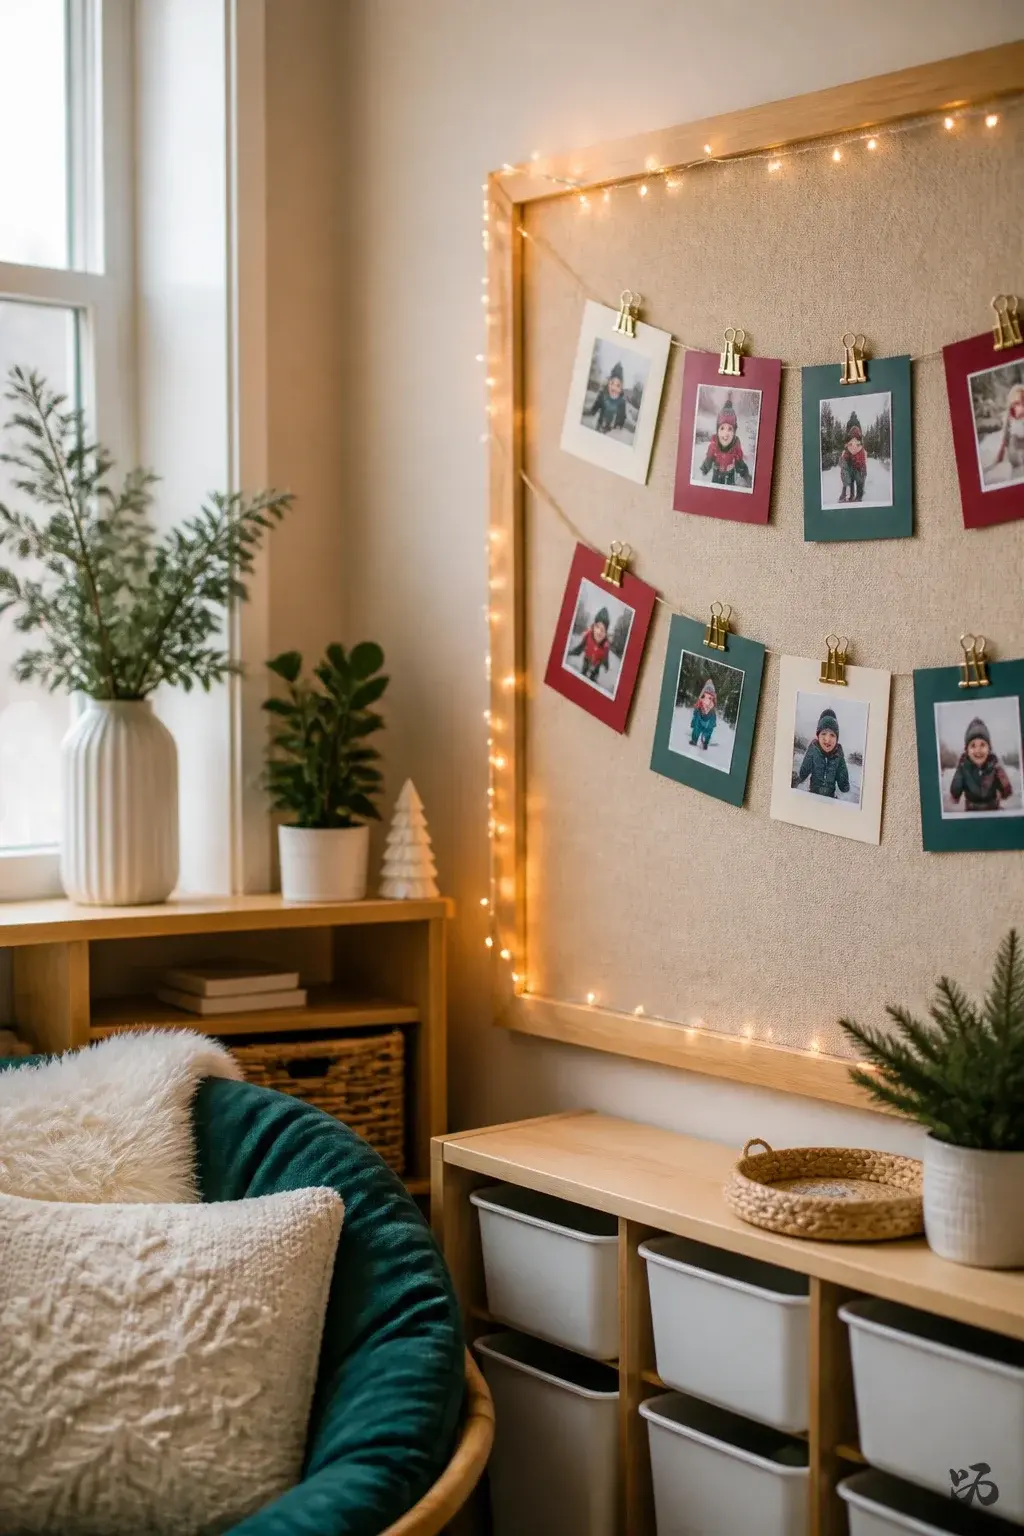
SaveString a few inches of white or warm white lights along the edge of a bulletin board and clip small classroom photos of students with a simple cardstock frame. When parents see it at Open House or parent night, they’ll recognize their child’s smile without creating clutter on shelves.
What you need
- Bulldog clip photo holders or small binder clips
- Cardstock in skin tones or colors
- Warm white string lights
- Photos printed on project paper or standard school photo print
- Masking tape or removable wall-safe tape
Take about 20 minutes during prep period to assemble; works well for first grade and up, and it’s easy to update after field trips.
2. Family Tree Door Card Display
 Save
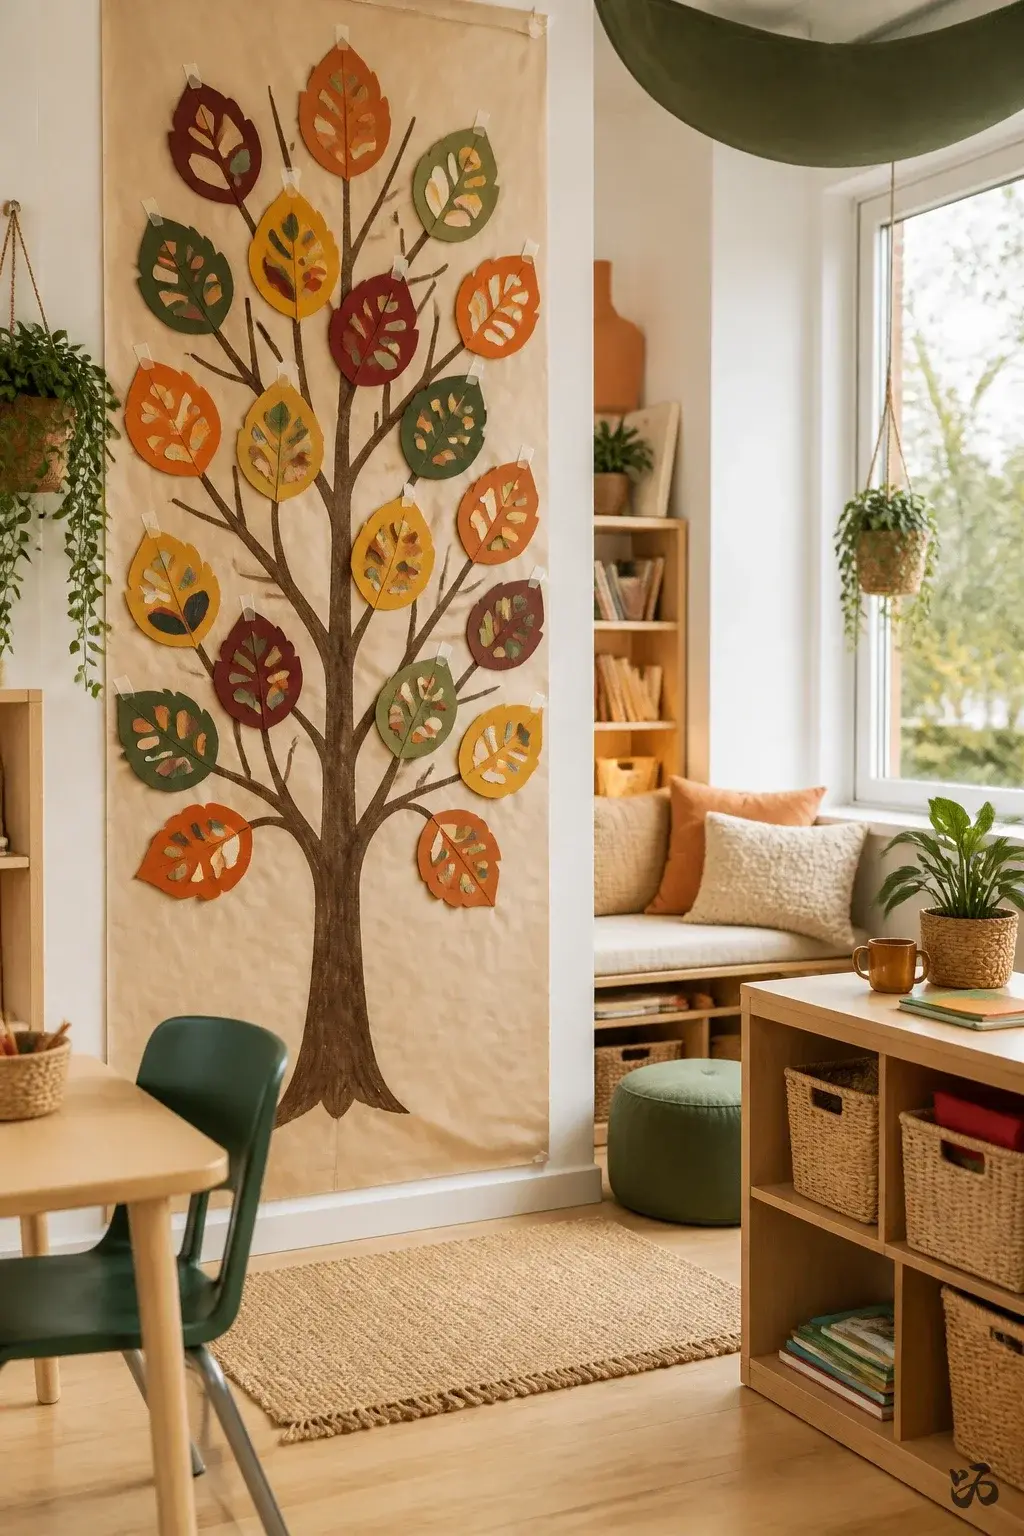
SaveA door-length family tree drawn on butcher paper creates a warm welcome. Each leaf is a child’s family gift tag with a name and a short message from a parent. It stays visually busy but not overwhelming, and it can stay up through winter break if your custodian agrees.
What you need
- Butcher paper or large craft paper
- Construction paper leaves in fall colors
- Markers for writing messages
- Double-sided tape or poster tape
- Scissors for teachers or aides
Plan 30 minutes for setup; great for K, 2 or primary grades who enjoy family engagement pieces.
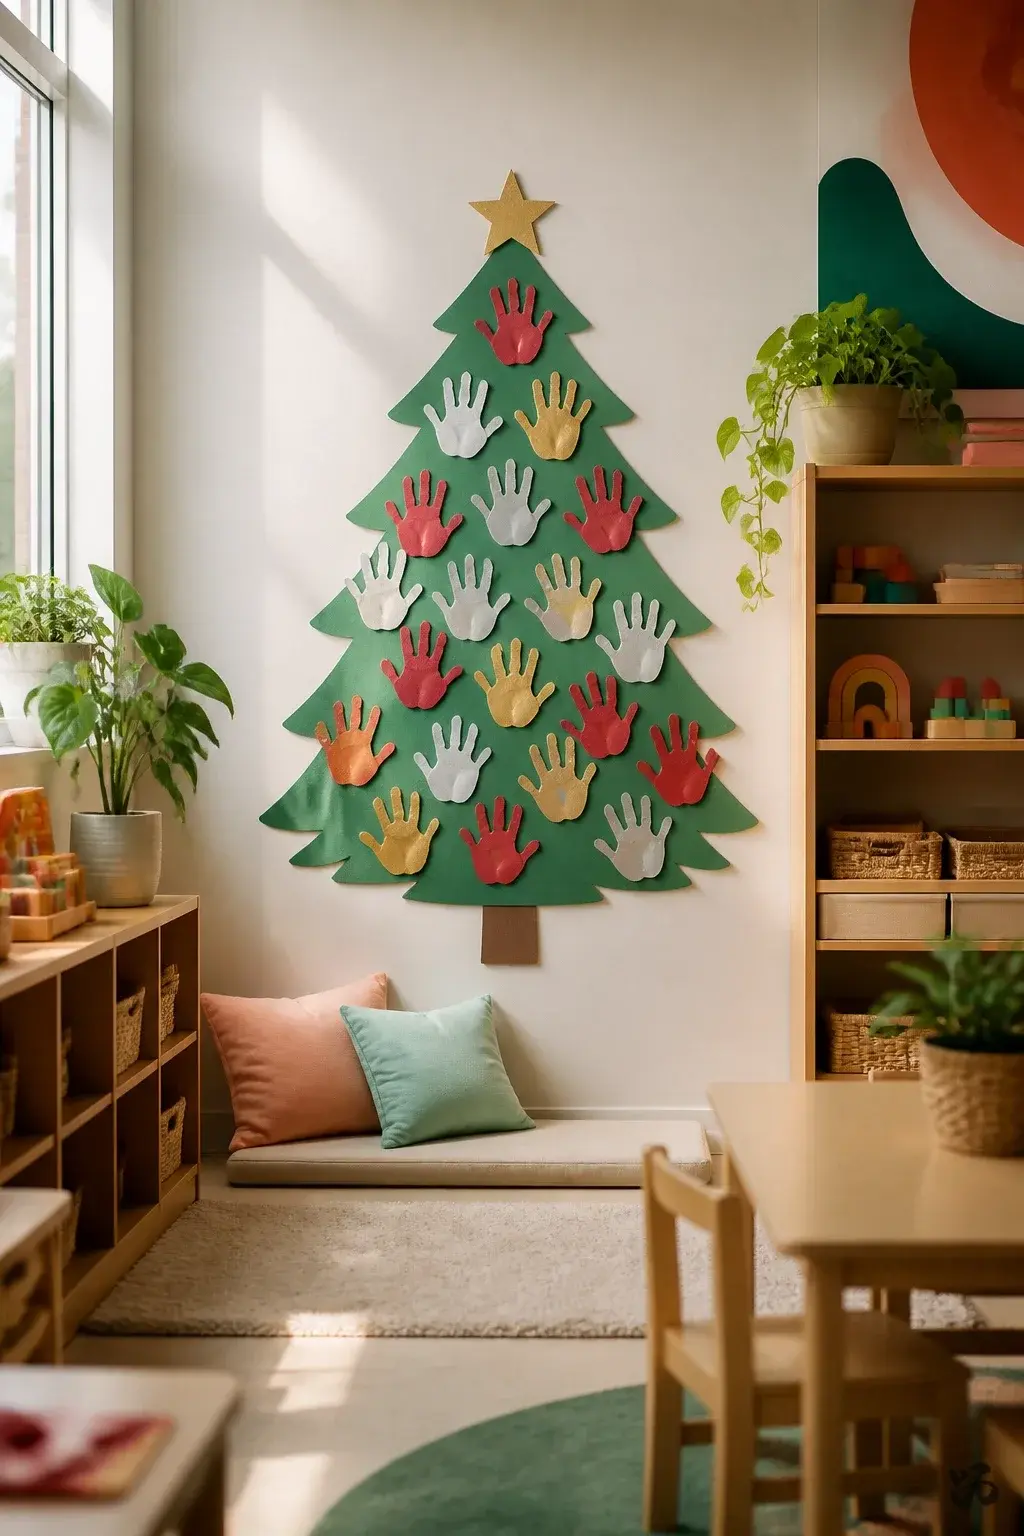
3. Handprint Ornaments on a Shared Christmas Tree
 Save
SaveCut a paper tree from butcher paper or cardstock and hang it on a wall or door. Each student adds a handprint ornament in their color as a keepsake. It’s sturdy, uses minimal space, and repurposes standard classroom materials.
What you need
- Cardstock in green
- Red, gold, and silver construction paper for ornaments
- Non-permanent markers to sign names
- Double-sided tape for mounting
- Clear contact paper for laminate-like finish (optional)
About 25 minutes to assemble; handles up to early elementary sizes well; avoid fragile ornaments on doors with high traffic.
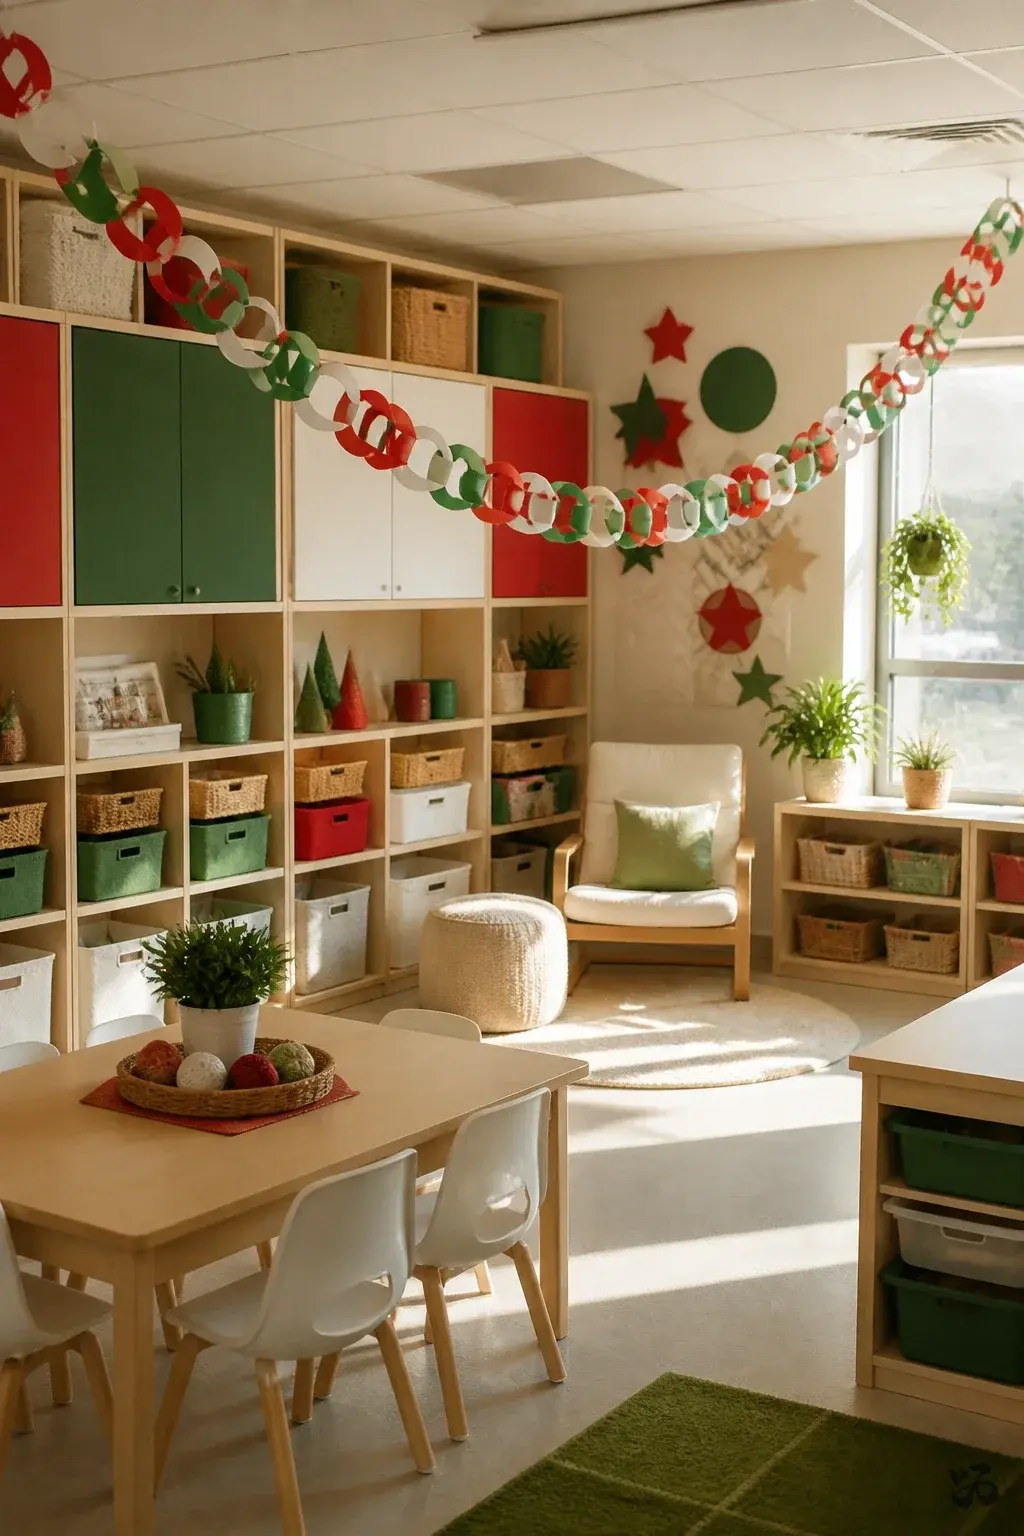
4. Paper Chain Countdown to Winter Break
 Save
SaveA classic classroom countdown chain made from construction paper links. Each day reveals a new color or a short note from a student to a family member. It travels well between homerooms if needed and teaches sequence as well as holiday cheer.
What you need
- Construction paper in red, green, white
- Scissors for students under supervision
- Ruler and pencil for clean cuts
- Adhesive tape or glue sticks
- Marker to number links
Block out about 40 minutes of prep time; designed for kindergarten through second grade and easy to adjust for longer or shorter breaks.
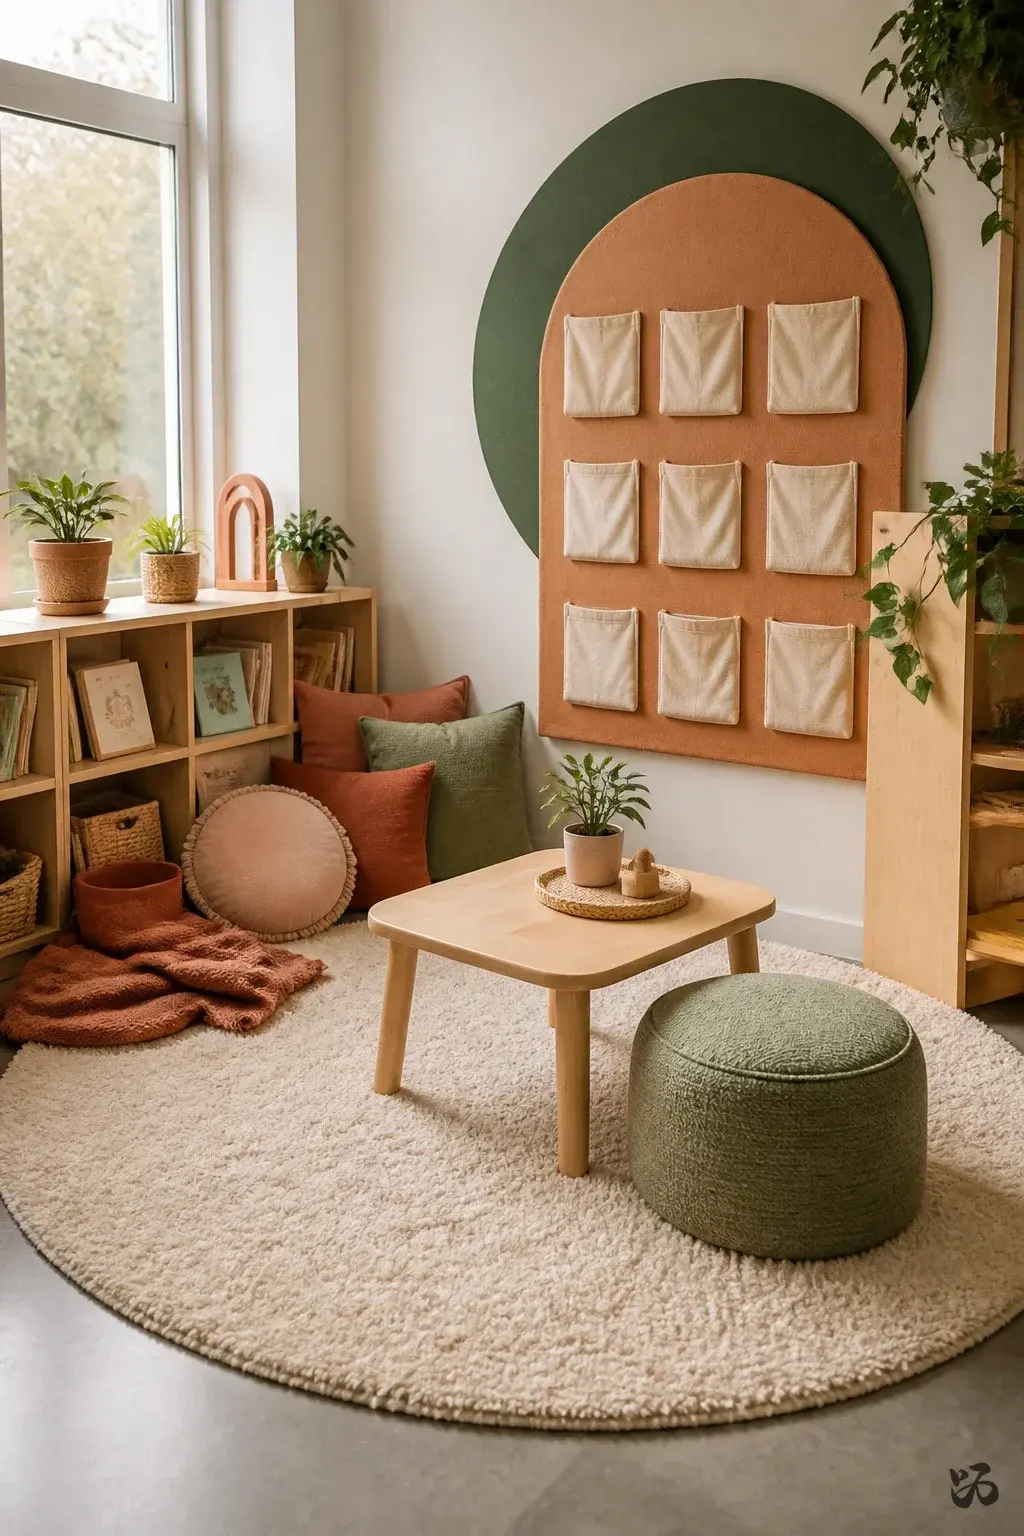
5. Cozy Reading Nook Sign with Student Messages
 Save
SaveTransform a corner of the classroom into a winter reading nook using a plush rug, a small table, and a handmade sign. Each student writes a brief holiday message on a card that sits in a pocket of the sign. It’s mellow, low maintenance, and decorative.
What you need
- Cardstock for the sign
- Warm colored markers for writing
- Binder pockets or DIY fabric pockets
- Rug remnant or small soft mat for the floor space
- Low-profile shelving for book storage nearby
Approximately one hour of setup, best for first grade and up; keep watch for kids tugging on pockets near the edges.
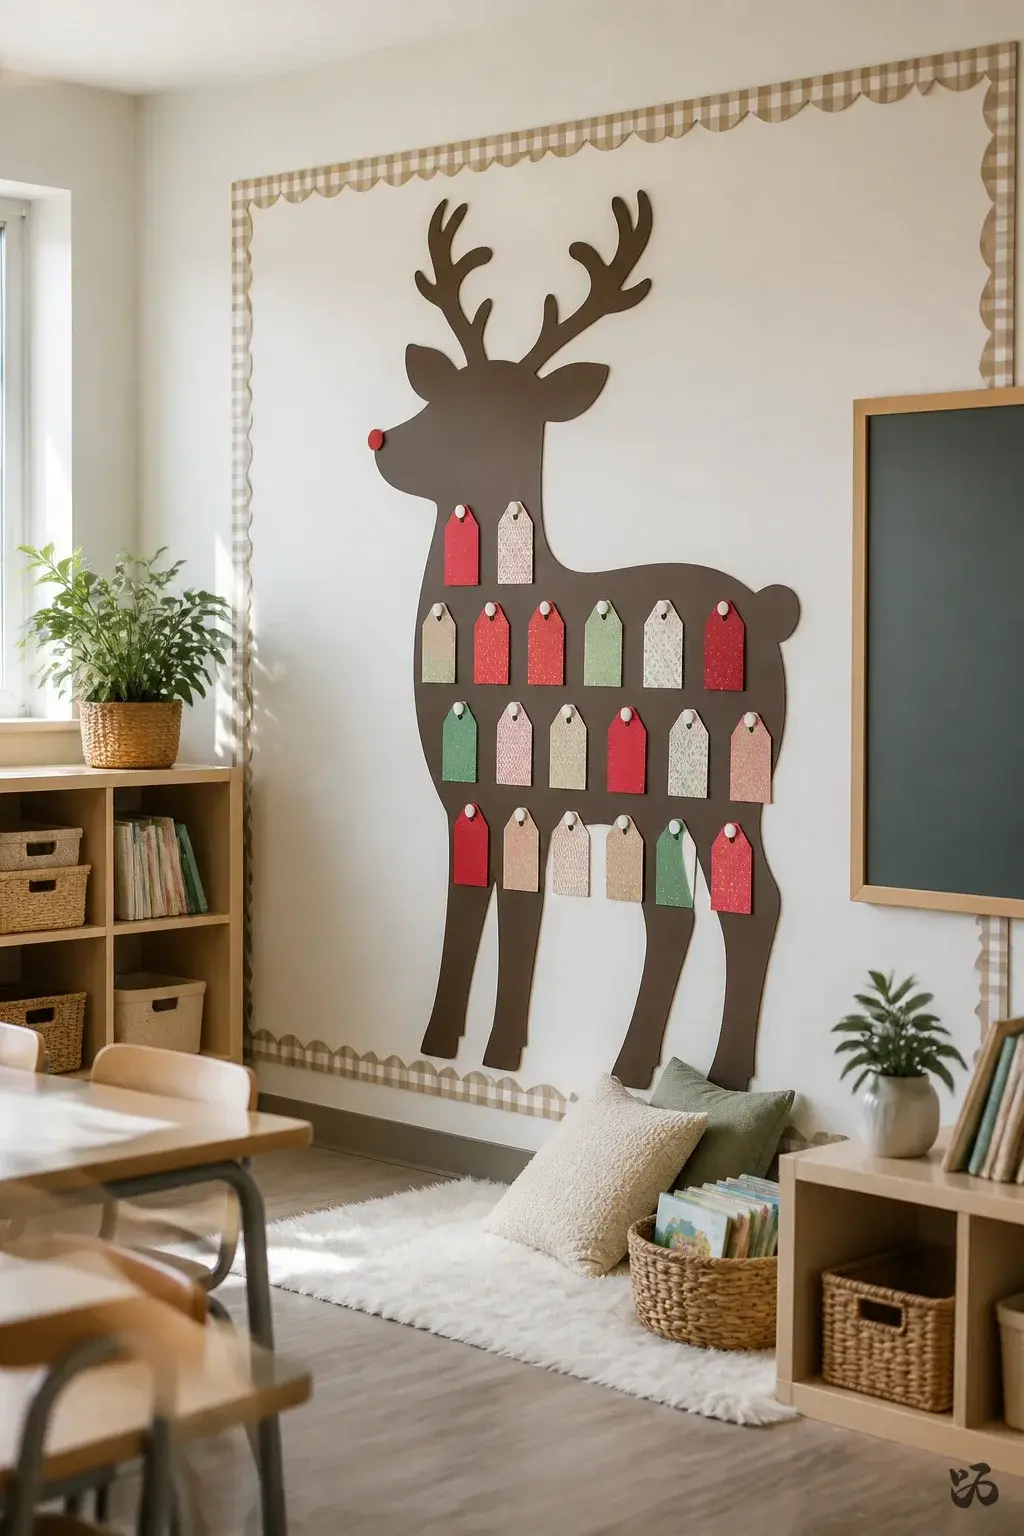
6. Reusable Gift Tags on a Reindeer Wall
 Save
SaveDecorate a wall with a large reindeer silhouette and use velcro-backed gift tags. Students can write simple messages or names on tags to swap among classmates as a simple, durable exchange activity. It remains visible but not intrusive.
What you need
- Reindeer silhouette cut from butcher paper
- Velcro dots or circle magnets
- Cardstock gift tags
- Dry erase marker for revision
- Patterned border trim for edges
About 30 minutes to assemble; suitable for preschool through second grade with adult supervision for velcro.
7. Peppermint Photo Booth Frame
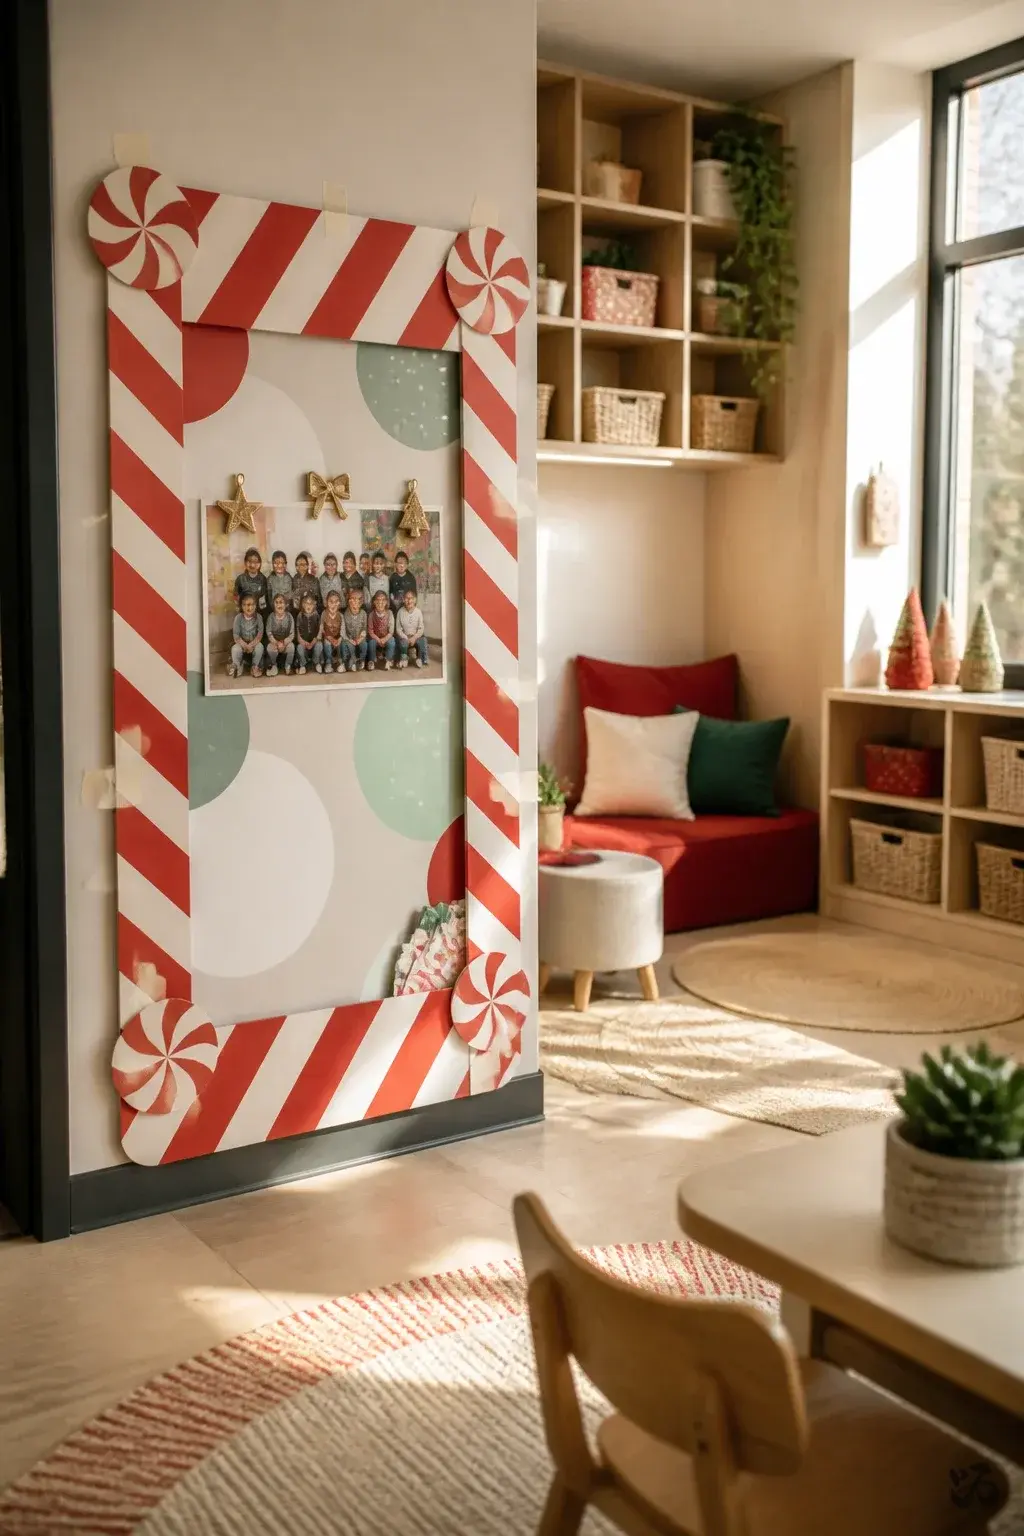 Save
SaveA large frame made from red and white striped cardstock or butcher paper sits by the doorway. Students pose with a holiday backdrop and a class photo printed for a quick keepsake that families actually keep. It is robust if taped to a wall with careful placement.
What you need
- Red and white striped cardstock or used bulletin border
- Large cardboard frame base
- Class photos printed on regular paper
- Masking tape or poster tape
- Small clip-on decorations for the frame
15 to 20 minutes of setup; good for all primary grades; avoid placing on doors that swing or get heavy traffic.
Christmas photo booth props


8. Personalized Bookshelf Plaques
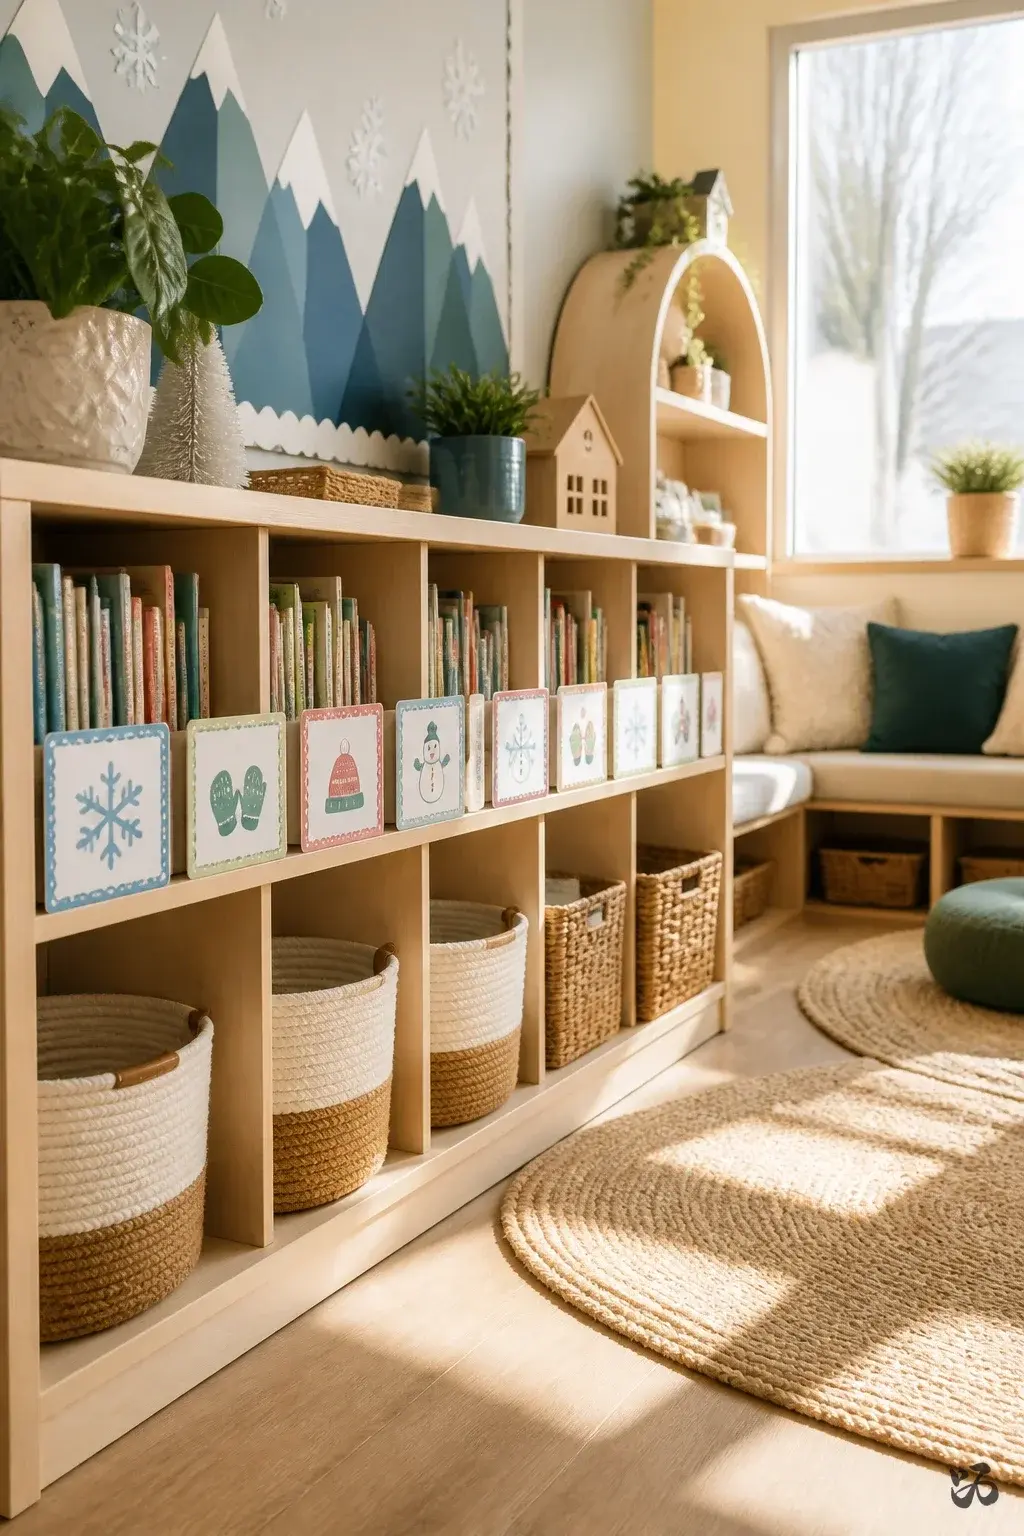 Save
SaveCreate small plaques for students’ spots on the classroom bookshelf. Each plaque has a child’s name and a tiny winter drawing. It elevates their space, feels personal, and can be used year after year with new drawings each December.
What you need
- Cardstock or foam board
- Permanent marker or paint marker
- Decorative border trim
- Adhesive mounting dots or double-sided tape
- Laminating sheets (optional)
30 minutes to assemble; best kept low on the walls near the shelves to avoid frequent bumping during recess.
9. Snowflake Window Cling Wall Art
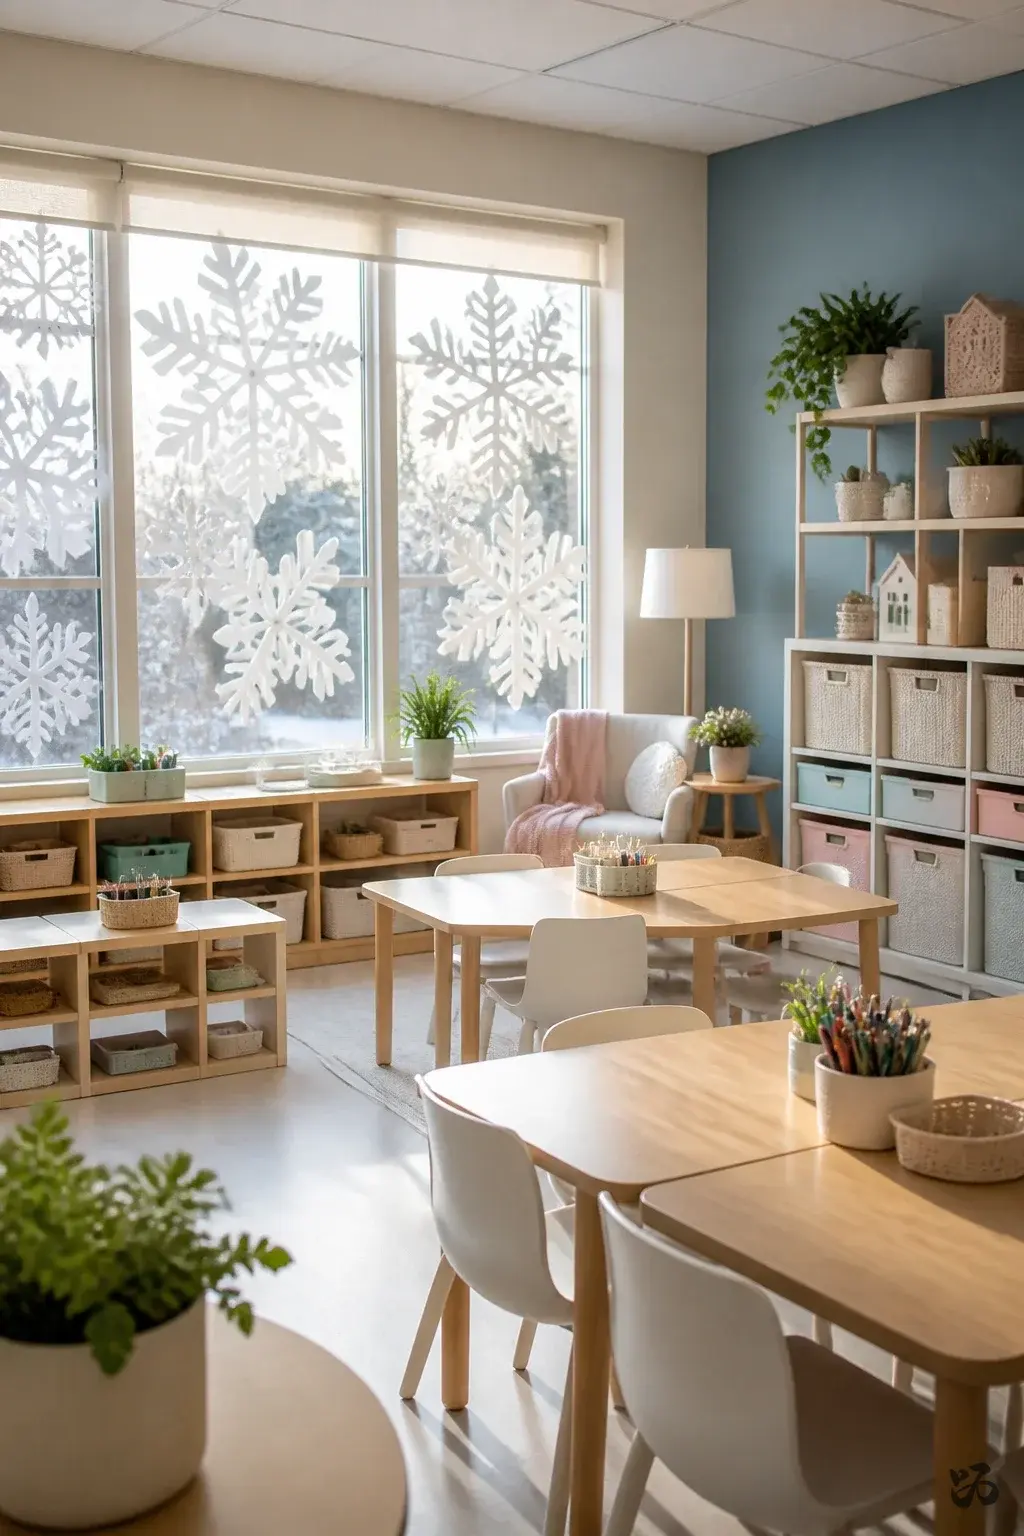 Save
SaveCut out giant snowflakes from white butcher paper and attach with removable window clings or clear tape to window glass. It adds seasonal brightness without heavy wall mounting and cleans easily with a quick wipe during prep period.
What you need
- Butcher paper or white cardstock
- Scissors for students under supervision
- Removable window clings or clear tape
- Markers for inner designs
Set aside 20 minutes for a simple window project; note that not all rooms have windows, so plan an alternative wall piece.
10. Holiday Flags on a Corridor Wall
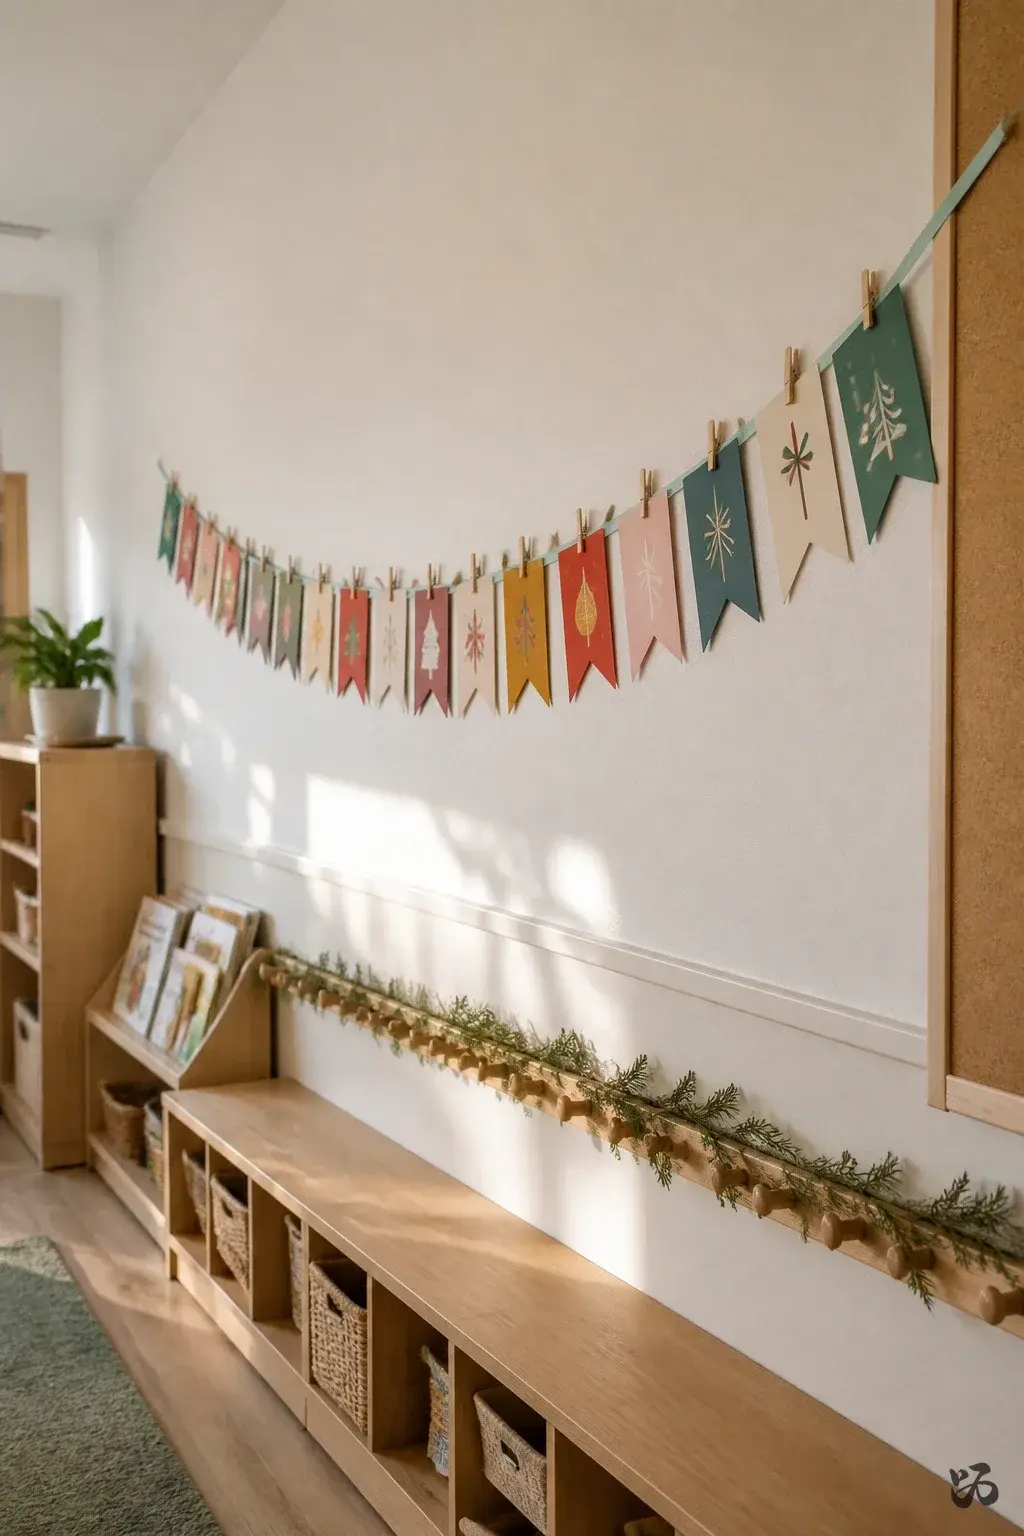 Save
SaveA string of small flag banners hung along a corridor wall or bulletin board edge creates a festive line without crowding a door. Each flag can hold a short family note or a student wish for the season. It’s less fragile than hanging décor from the ceiling and easy to remove in June.
What you need
- Construction paper flags
- String or ribbon
- Mini clothespins or tape
- Markers or crayons
- Scissors for an adult to cut shapes
About 25 minutes of prep; works well in pre-K through second grade; avoid long runs across cinder block walls without adhesive alternatives.
11. Santa’s Sack of Student Wishes
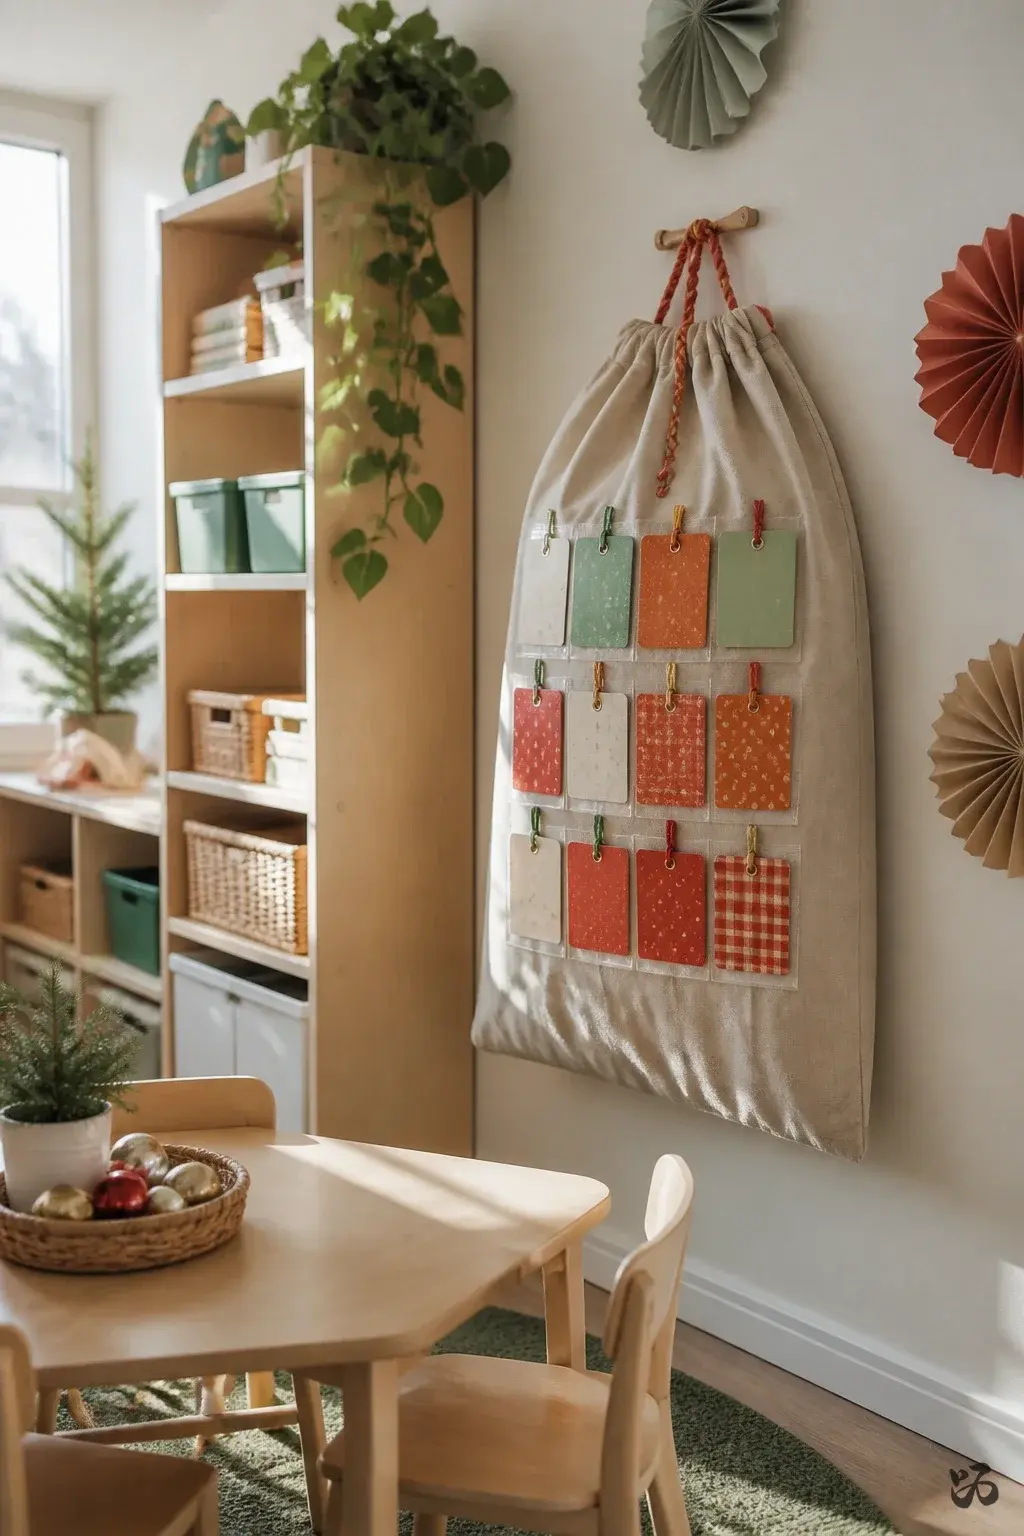 Save
SaveHang a large canvas sack on a classroom wall and fill it with laminated cards that contain short wish notes from families. Students pull one card a day or at a designated meeting. It’s gentle and keeps the atmosphere calm during a busy December.
What you need
- Canvas sack or fabric bag
- Cardstock cards
- Laminate pouches or its alternative
- Hole punch and ribbon
25 minutes to prepare; avoid placing in a high-traffic area where bags could topple or create a tripping hazard.
12. Winter Masking Tape Mosaics
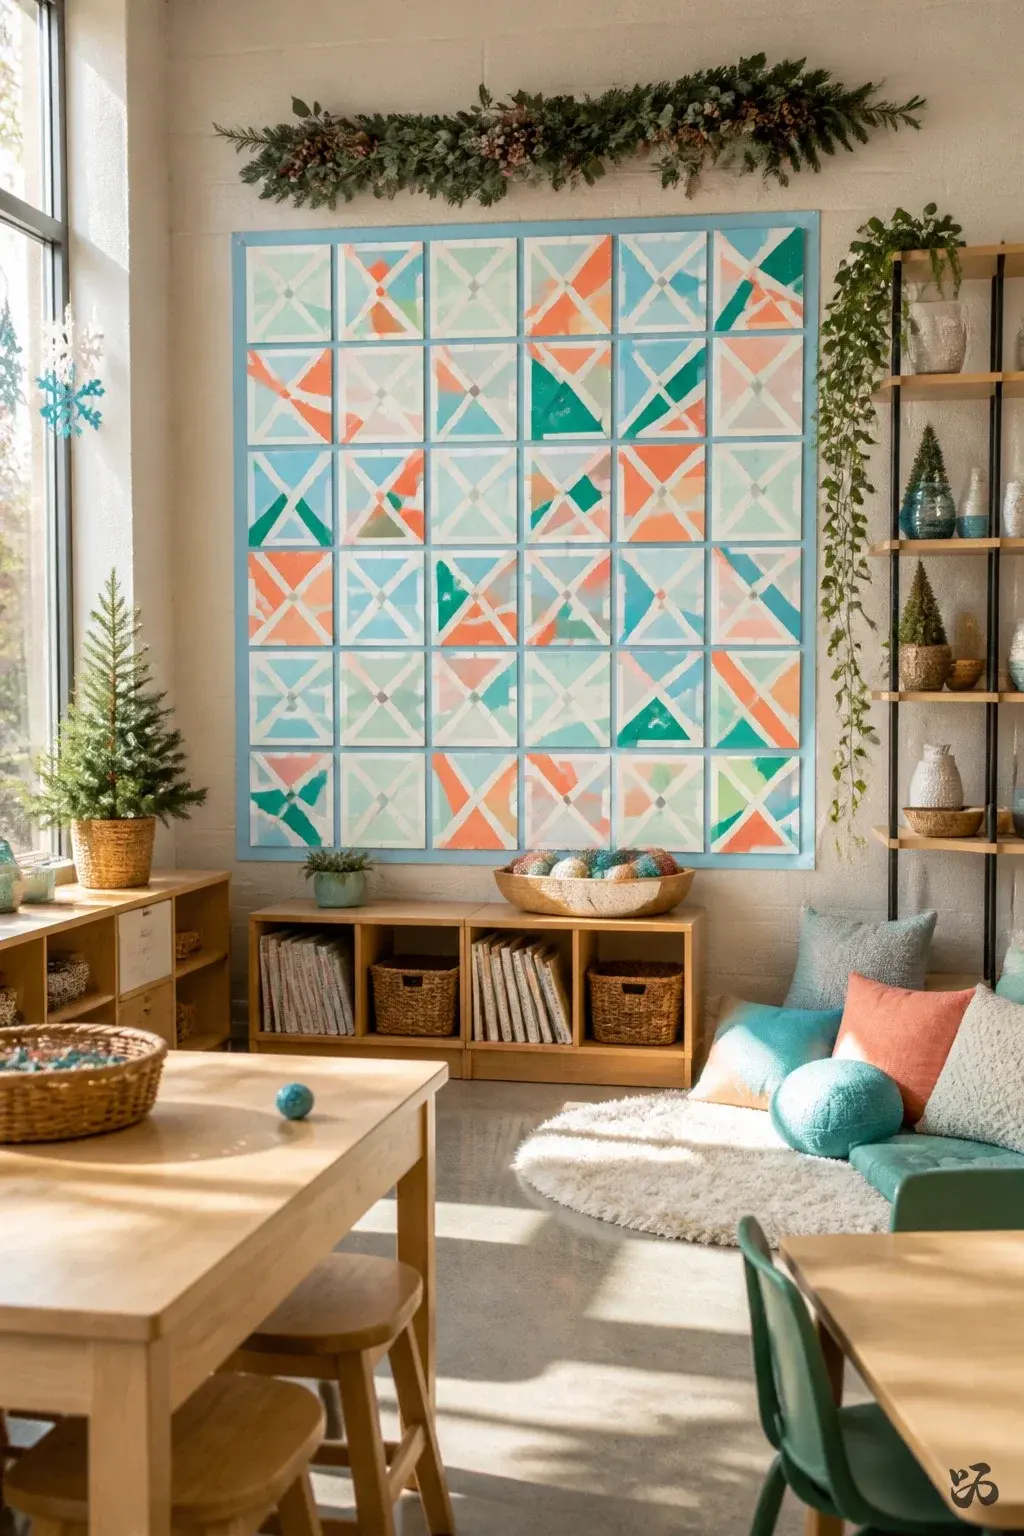 Save
SaveCreate a wall mosaic using pieces of colored masking tape. It’s forgiving if taped to cinder block walls and can be rearranged by students during prep period. It’s simple to update as families arrive with new photos or cards.
What you need
- Masking tape in multiple colors
- Cardstock as backing
- Scissors for adult use
- Ruler for grid lines
- Poster board for the base
40 minutes total, best for kindergarten through second grade; check walls for tape residue after removal.
13. Cookie Cutter Holiday Board
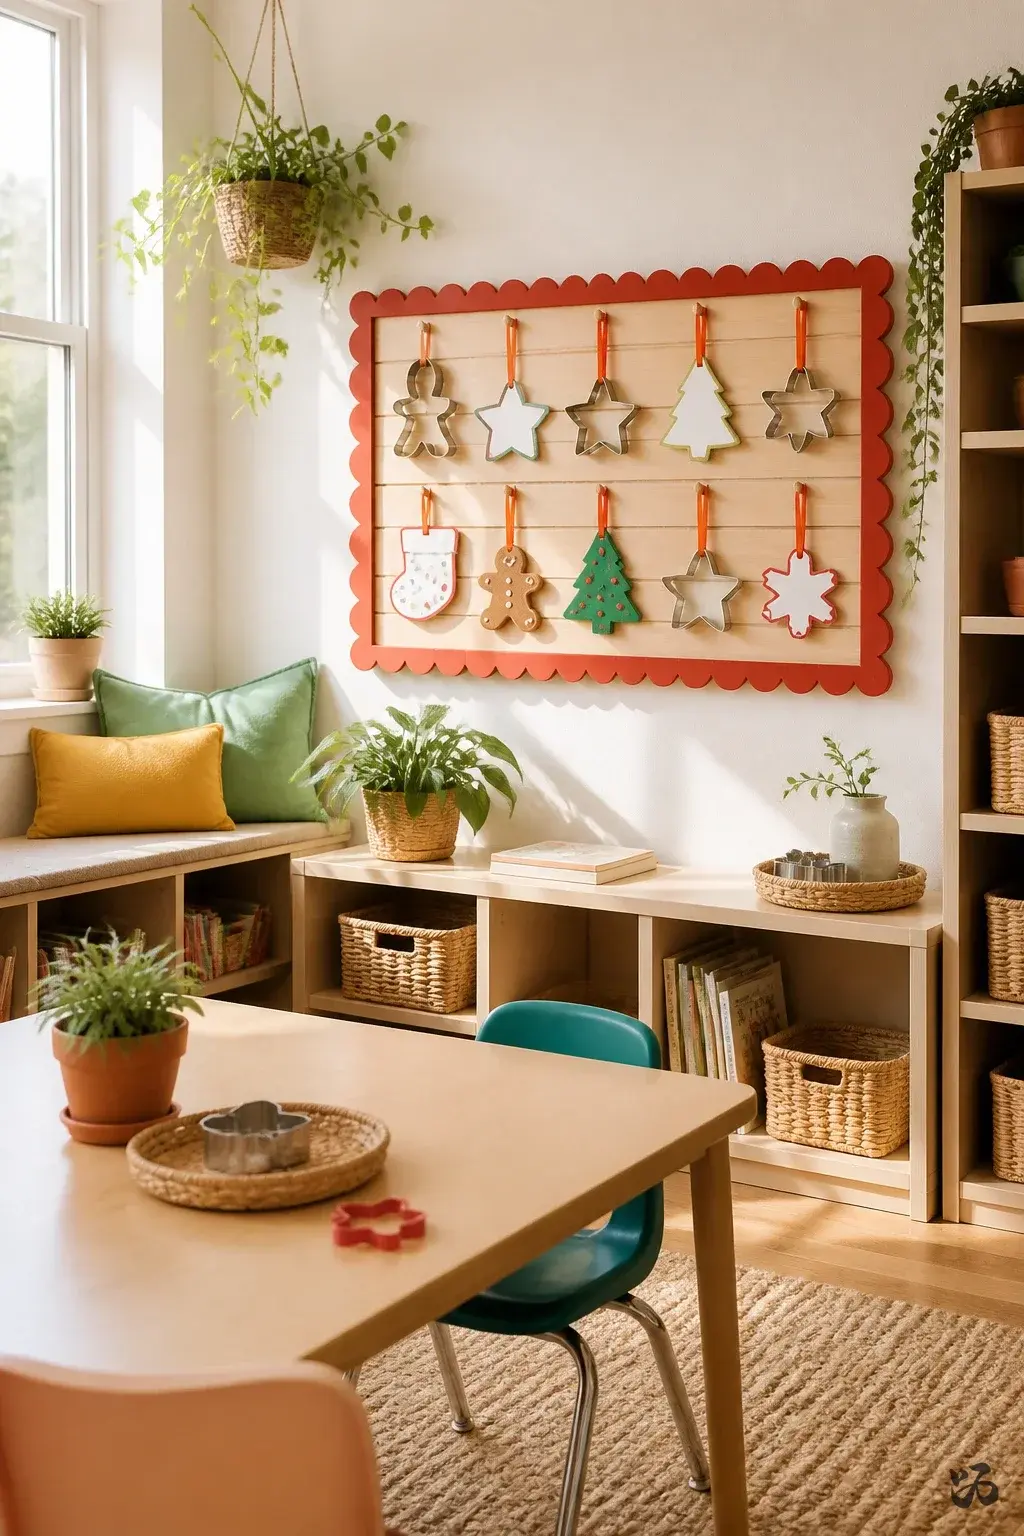 Save
SaveAttach a shallow tray or board with a festive border to a wall. Parents send in simple cutout ornaments or small notes that children can swap using cookie cutters as a playful note exchange. It’s durable and easy to rearrange for year-to-year use.
What you need
- Foam board or thin wood board
- Decorative border
- Cookie cutters as shapes for hanging notes
- Ribbon or string
- Glue sticks and tape
About 30 minutes to set up; suitable for all primary grades; ensure pieces stay within reach and do not require climbing to access.
14. Advent Calendar Pocket Wall
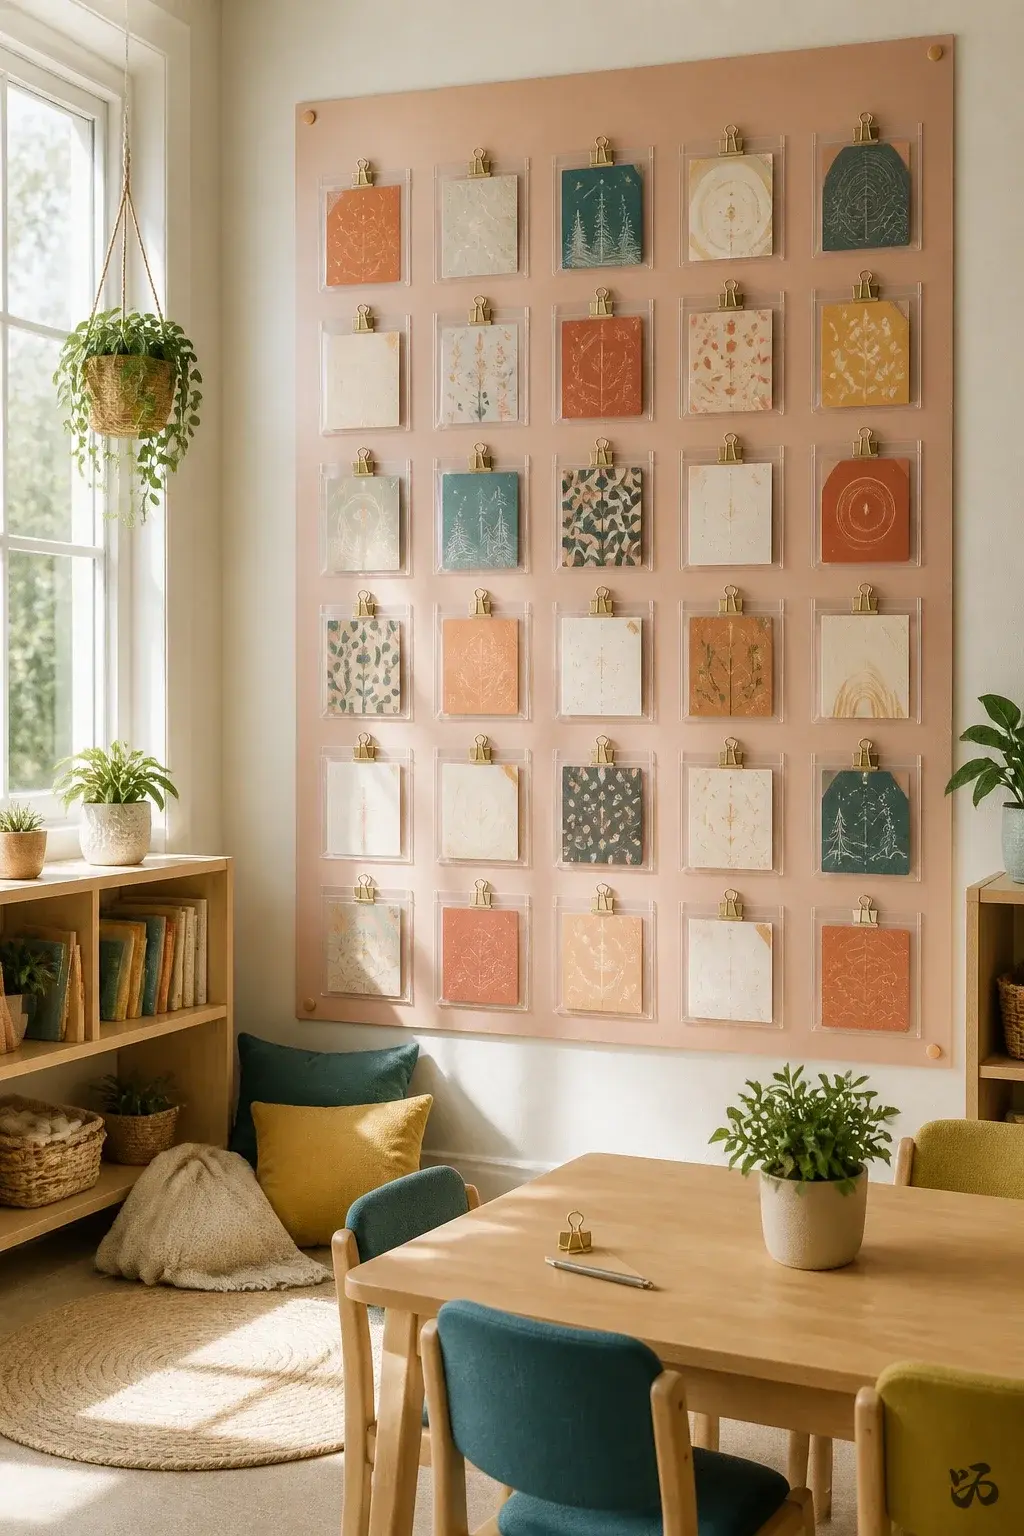 Save
SaveUse a large poster board with small pocket envelopes or clear plastic pockets to hold daily messages or family photos. It acts as a daily reminder of connected families and a way to share seasonal moments without cluttering desks.
What you need
- Poster board or large cardstock
- Plastic pockets or small envelopes
- Markers and stickers
- Adhesive spacers for even spacing
- Binder clips for quick resets
40 minutes of setup; aligns with first grade content on counting days and calendar work; test pockets for durability as students may tug at them.
Christmas bulletin board supplies
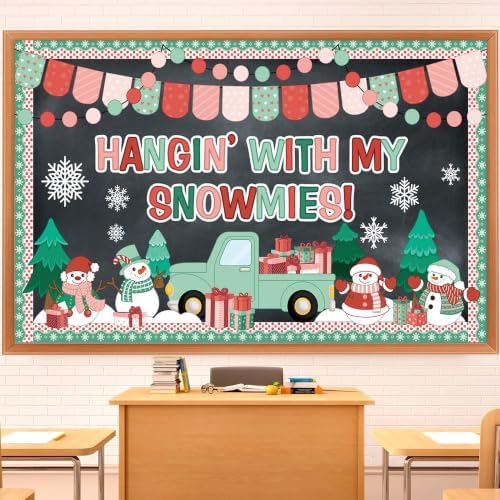


15. Winter Wonder Wall of Quotes
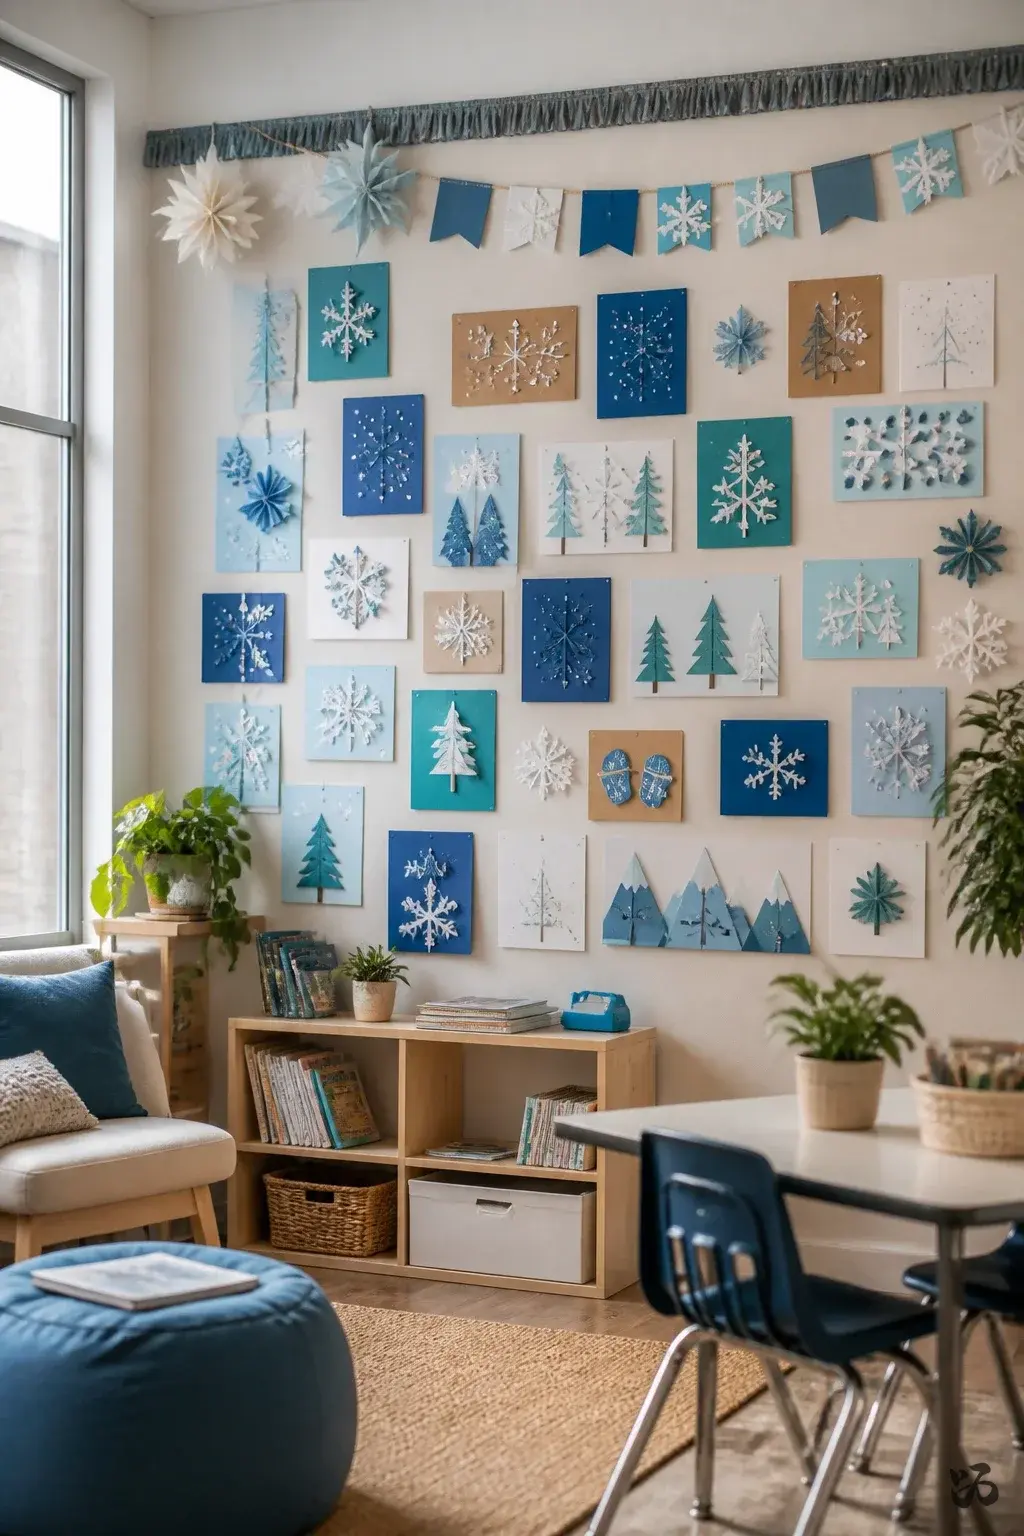 Save
SaveDecorate a section of the wall with winter-themed quotes written by students on colored cardstock. Pair each quote with a small illustration. It’s simple, bright, and easy to maintain in a busy hallway or classroom.
What you need
- Colored cardstock
- Markers or colored pencils
- Black sharpie for outlining
- Lint-free eraser for mistakes
20 to 30 minutes to assemble; works across all elementary grades; laminate only if you want extra longevity.
16. Holiday-Themed Number Wall Cards
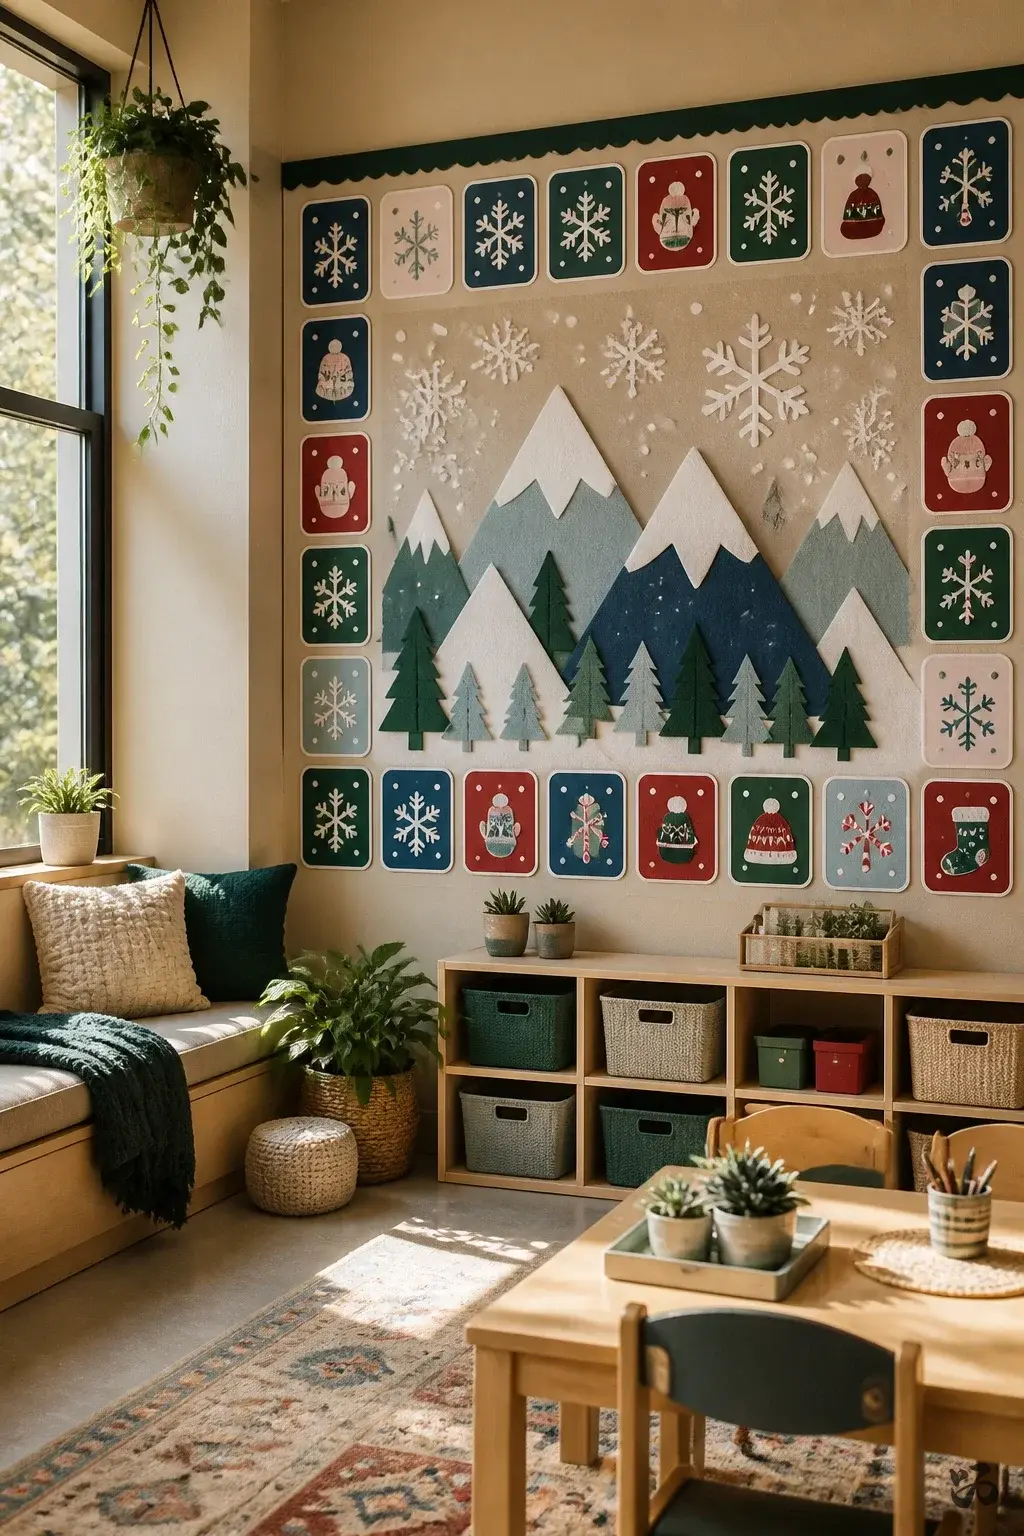 Save
SaveTurn a math corner or bulletin board into a seasonal number wall with small cards featuring numbers 1 to 20 arranged as a winter scene. Students add a small color accent each day, making a light personal contribution to the public display.
What you need
- Index cards or cardstock
- Markers or crayons
- Patterned border or construction paper
- Adhesive putty or low-tack tape
20 to 30 minutes to set up; great for kindergarten and first grade math centers; keep cards within easy reach for changes.
17. Light-Up Cardboard Village
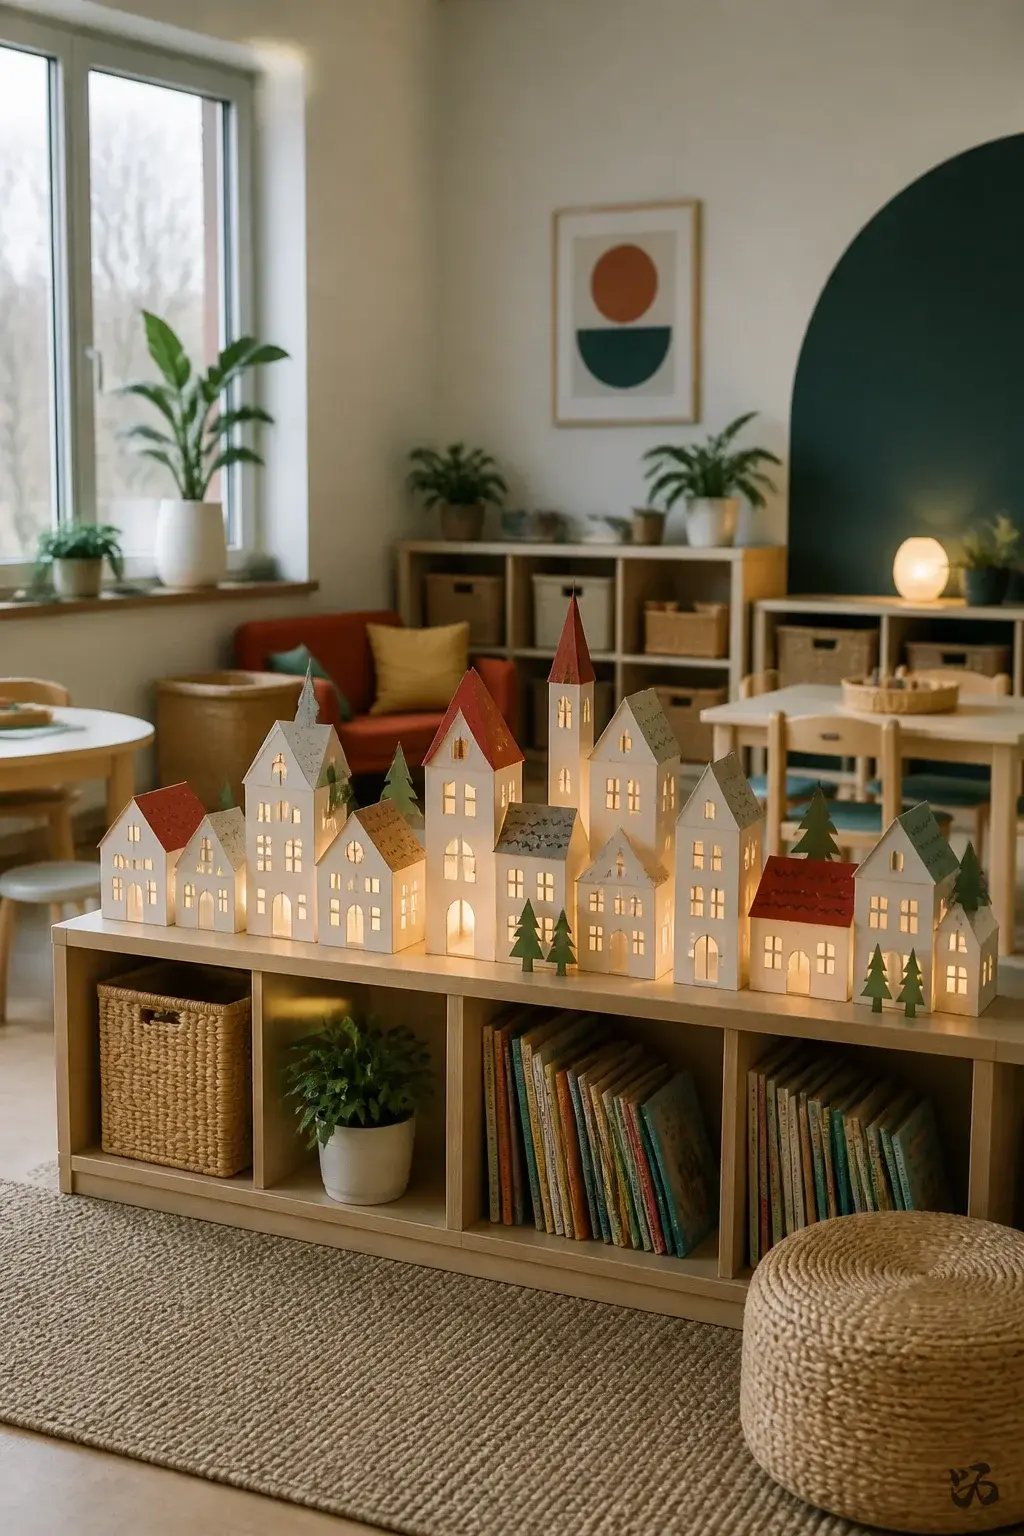 Save
SaveA simple, low-profile village built from cardboard and small LED tea lights tucked behind cutouts. It sits on a low shelf or floor mat edge and can be viewed from the learning area without needing to stand close. Avoids ceiling hangings and keeps lights away from paper clutter near children.
What you need
- Cardboard boxes or foam board
- Battery-operated LED lights
- Colored paper for rooftops
- Glue sticks or masking tape
- Scissors for adult use
60 minutes or more to assemble; best for upper preschool and early elementary; monitor for small pieces that could become choking hazards if left accessible.
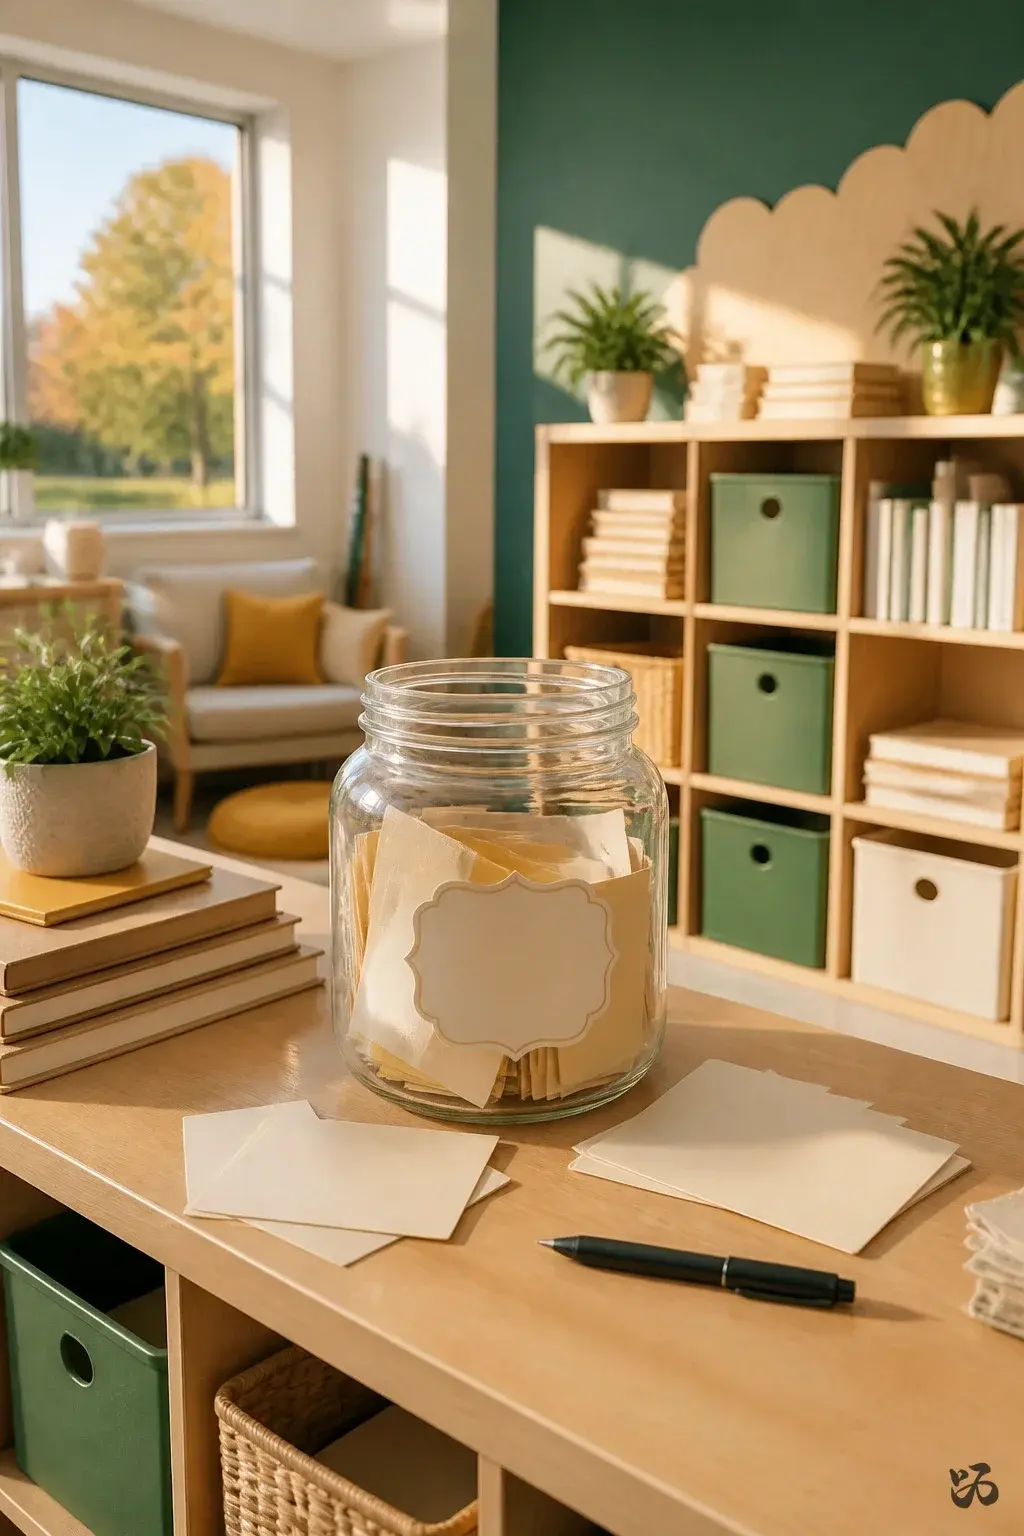
18. Family Gratitude Cards Hidden in a Jar
 Save
SaveFill a jar with blank cards where families can write a brief gratitude message. Students draw one at random during a class meeting and read it aloud. It creates a calm, reflective moment amid busier days and keeps a family connection visible in the room.
What you need
- Jar or container
- Notecards or cardstock
- Marker for writing prompts
- Label for the jar
- Clear tape to secure the lid area
15 to 20 minutes to set up; suitable for all ages; ensure the jar sits above children’s reach to avoid spills.
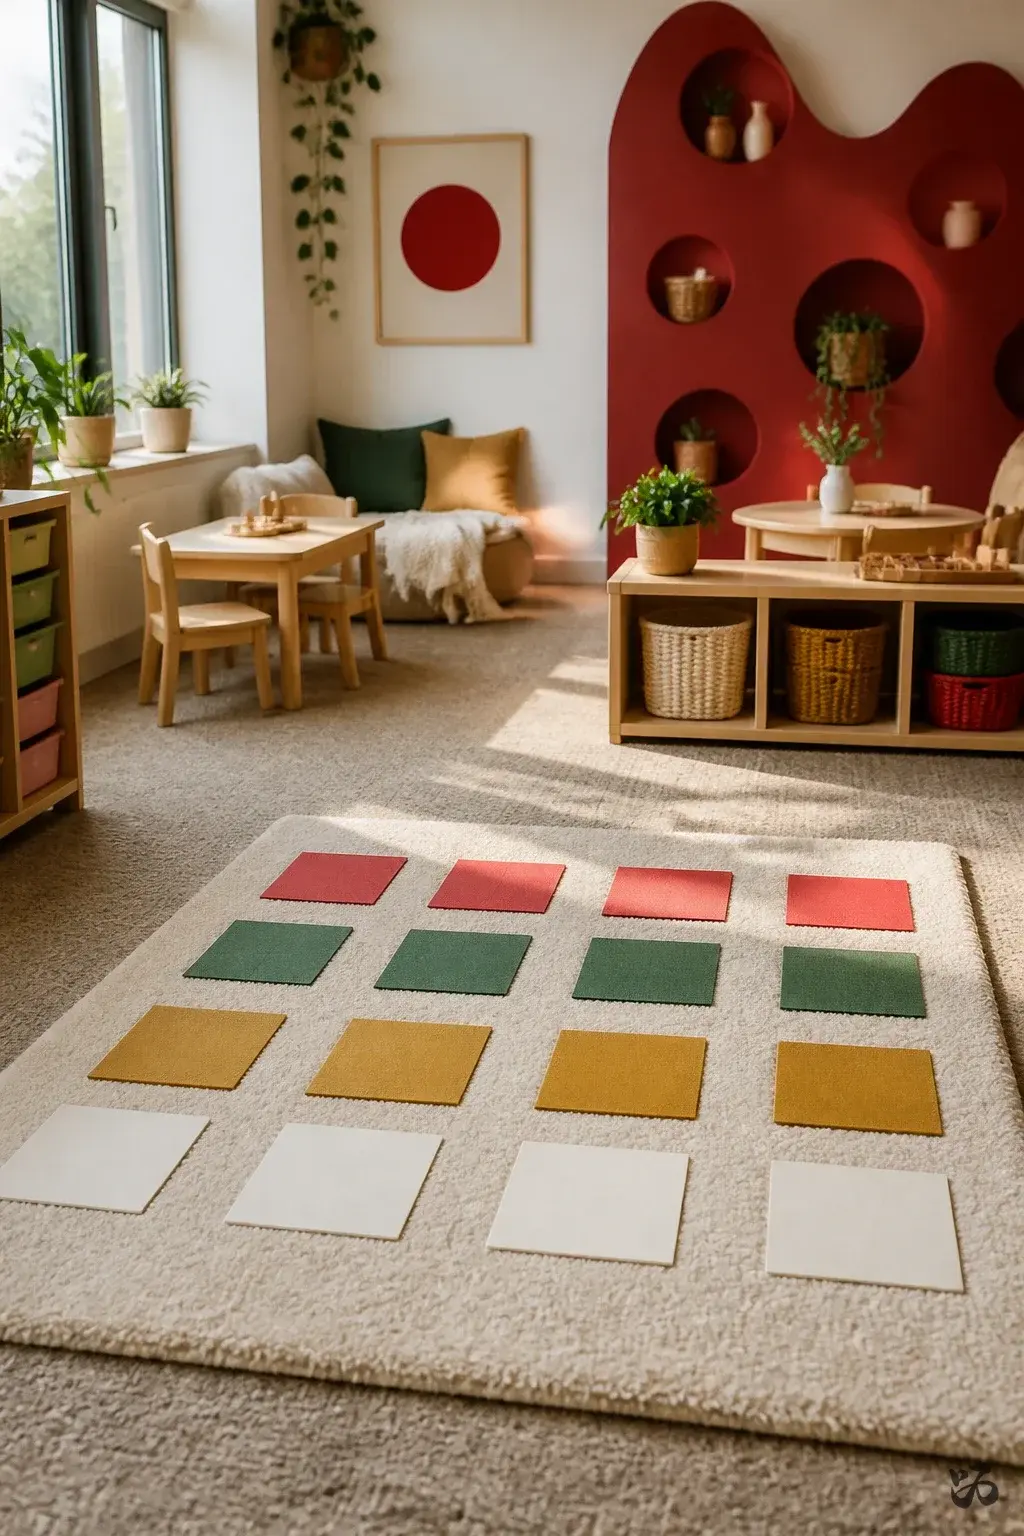
19. Christmas Color-Sort Rug Tiles
 Save
SaveCreate a small rug of color-coded tiles on the floor using colored squares cut from cardstock. It can be a quick color-sorting activity and doubles as a decorative floor piece for the winter season. It’s robust if placed on a rug or carpet and not on hard floor edges where it could slide.
What you need
- Colored cardstock
- Scissors for adult supervision
- Non-slip rug mat or carpet
- Masking tape to secure edges
- Marker for labeling
20 to 25 minutes to create; works in pre-K through second grade, with simple color-game variations for older students.
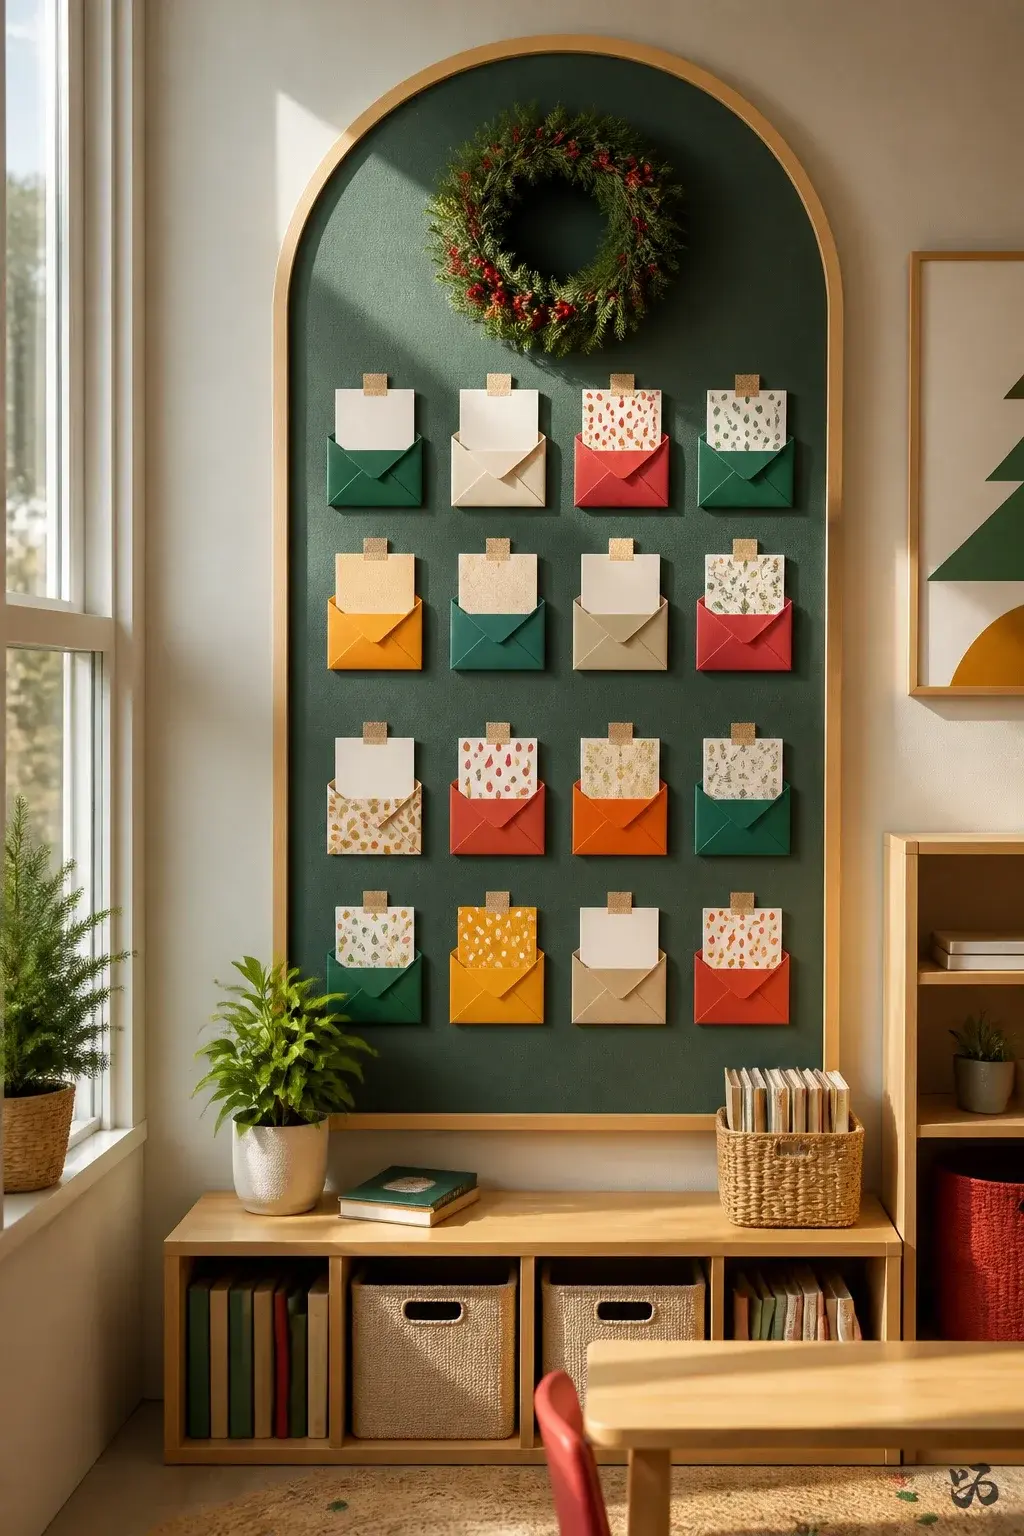
20. Gratitude Wall of Family Notes (Compact Version)
 Save
SaveA compact wall segment featuring small cards left by families sharing a holiday greeting or a short note. It’s a gentle reminder of community and fits into a narrow wall space or a small bulletin board in a hallway outside the classroom. It’s an easy, low-maintenance way to honor families without clutter.
What you need
- Cardstock and markers
- Removable tape or poster putty
- Small envelopes for keeping notes organized
- Label for the wall space
25 minutes to set up; suitable for all primary grades; keep the wall tidy by removing duplicates after Open House.
Conclusion: Start with one or two ideas that fit your space, then layer in a few more as you gather family notes and photos. The simplest, most durable options tend to be the ones families actually keep and pass along, year after year.
Frequently Asked Questions
What Christmas displays do parents like most?
Anything with their child in it: photos, handprints, handwriting or a message. Displays that turn into keepsakes to take home are the biggest hit.
How do you use student photos on a classroom display?
Check your school’s photo permissions first, then print small photos and clip them to lights or string. Avoid full names next to photos on displays in hallways.
Can classroom displays be sent home as gifts?
Yes. Handprint ornaments, photo frames and gratitude cards all work as displays in December and gifts on the last day before break.
Final Thoughts
Choose one display that brings families into the room and plan to send pieces home on the last day. It makes the wall work twice: once for the class and once for the fridge at home.
More classroom ideas
- 30 Classroom Christmas Gifts for Students on a Teacher Budget
- 21 Christmas Bulletin Board Ideas for Elementary Classrooms
- 17 Christmas Classroom Door Ideas That Win the Contest
- 30 Classroom Christmas Decorations You Can Put Up in an Afternoon
All designs featured here are imaginative visual concepts. Every image is original and thoughtfully created by Shinku Studio.