
Some links in this post are affiliate links. If you buy through one, I may earn a small commission at no extra cost to you. As an Amazon Associate I earn from qualifying purchases.
These ideas fit a busy school day. They’re practical for preschool through second grade and friendly to bulletin boards, walls, and doors. They work in real classrooms with typical constraints like a tight prep period and limits from the custodian and school rules.
Before the list: four things worth having on hand
Almost every idea below leans on one of these four. If you are starting from a bare room it is worth getting them in before you begin, because nothing here takes long once you have them.
- Battery powered fairy lights with a remote Two long strands on thin silver wire. Battery packs mean no hunting for a free outlet and no cable taped across a doorway, which is usually what stops a display going up at all.
- Plug in string lights for a longer run For the window or the back wall where you do have a socket and you want something brighter than battery wire. Eight modes, so you can leave it on a slow fade during quiet work.
- Self adhesive felt boards for painted walls These stick straight onto block and painted walls and take pins, which solves the problem of having nowhere to actually pin anything. Good for the rooms with no cork.
- A warm neon sign for the reading corner One soft focal point that stays up long after the tinsel comes down. USB powered with adjustable brightness so it is not glaring during lessons.
1. Paper Chain Countdown to Winter Break
 Save
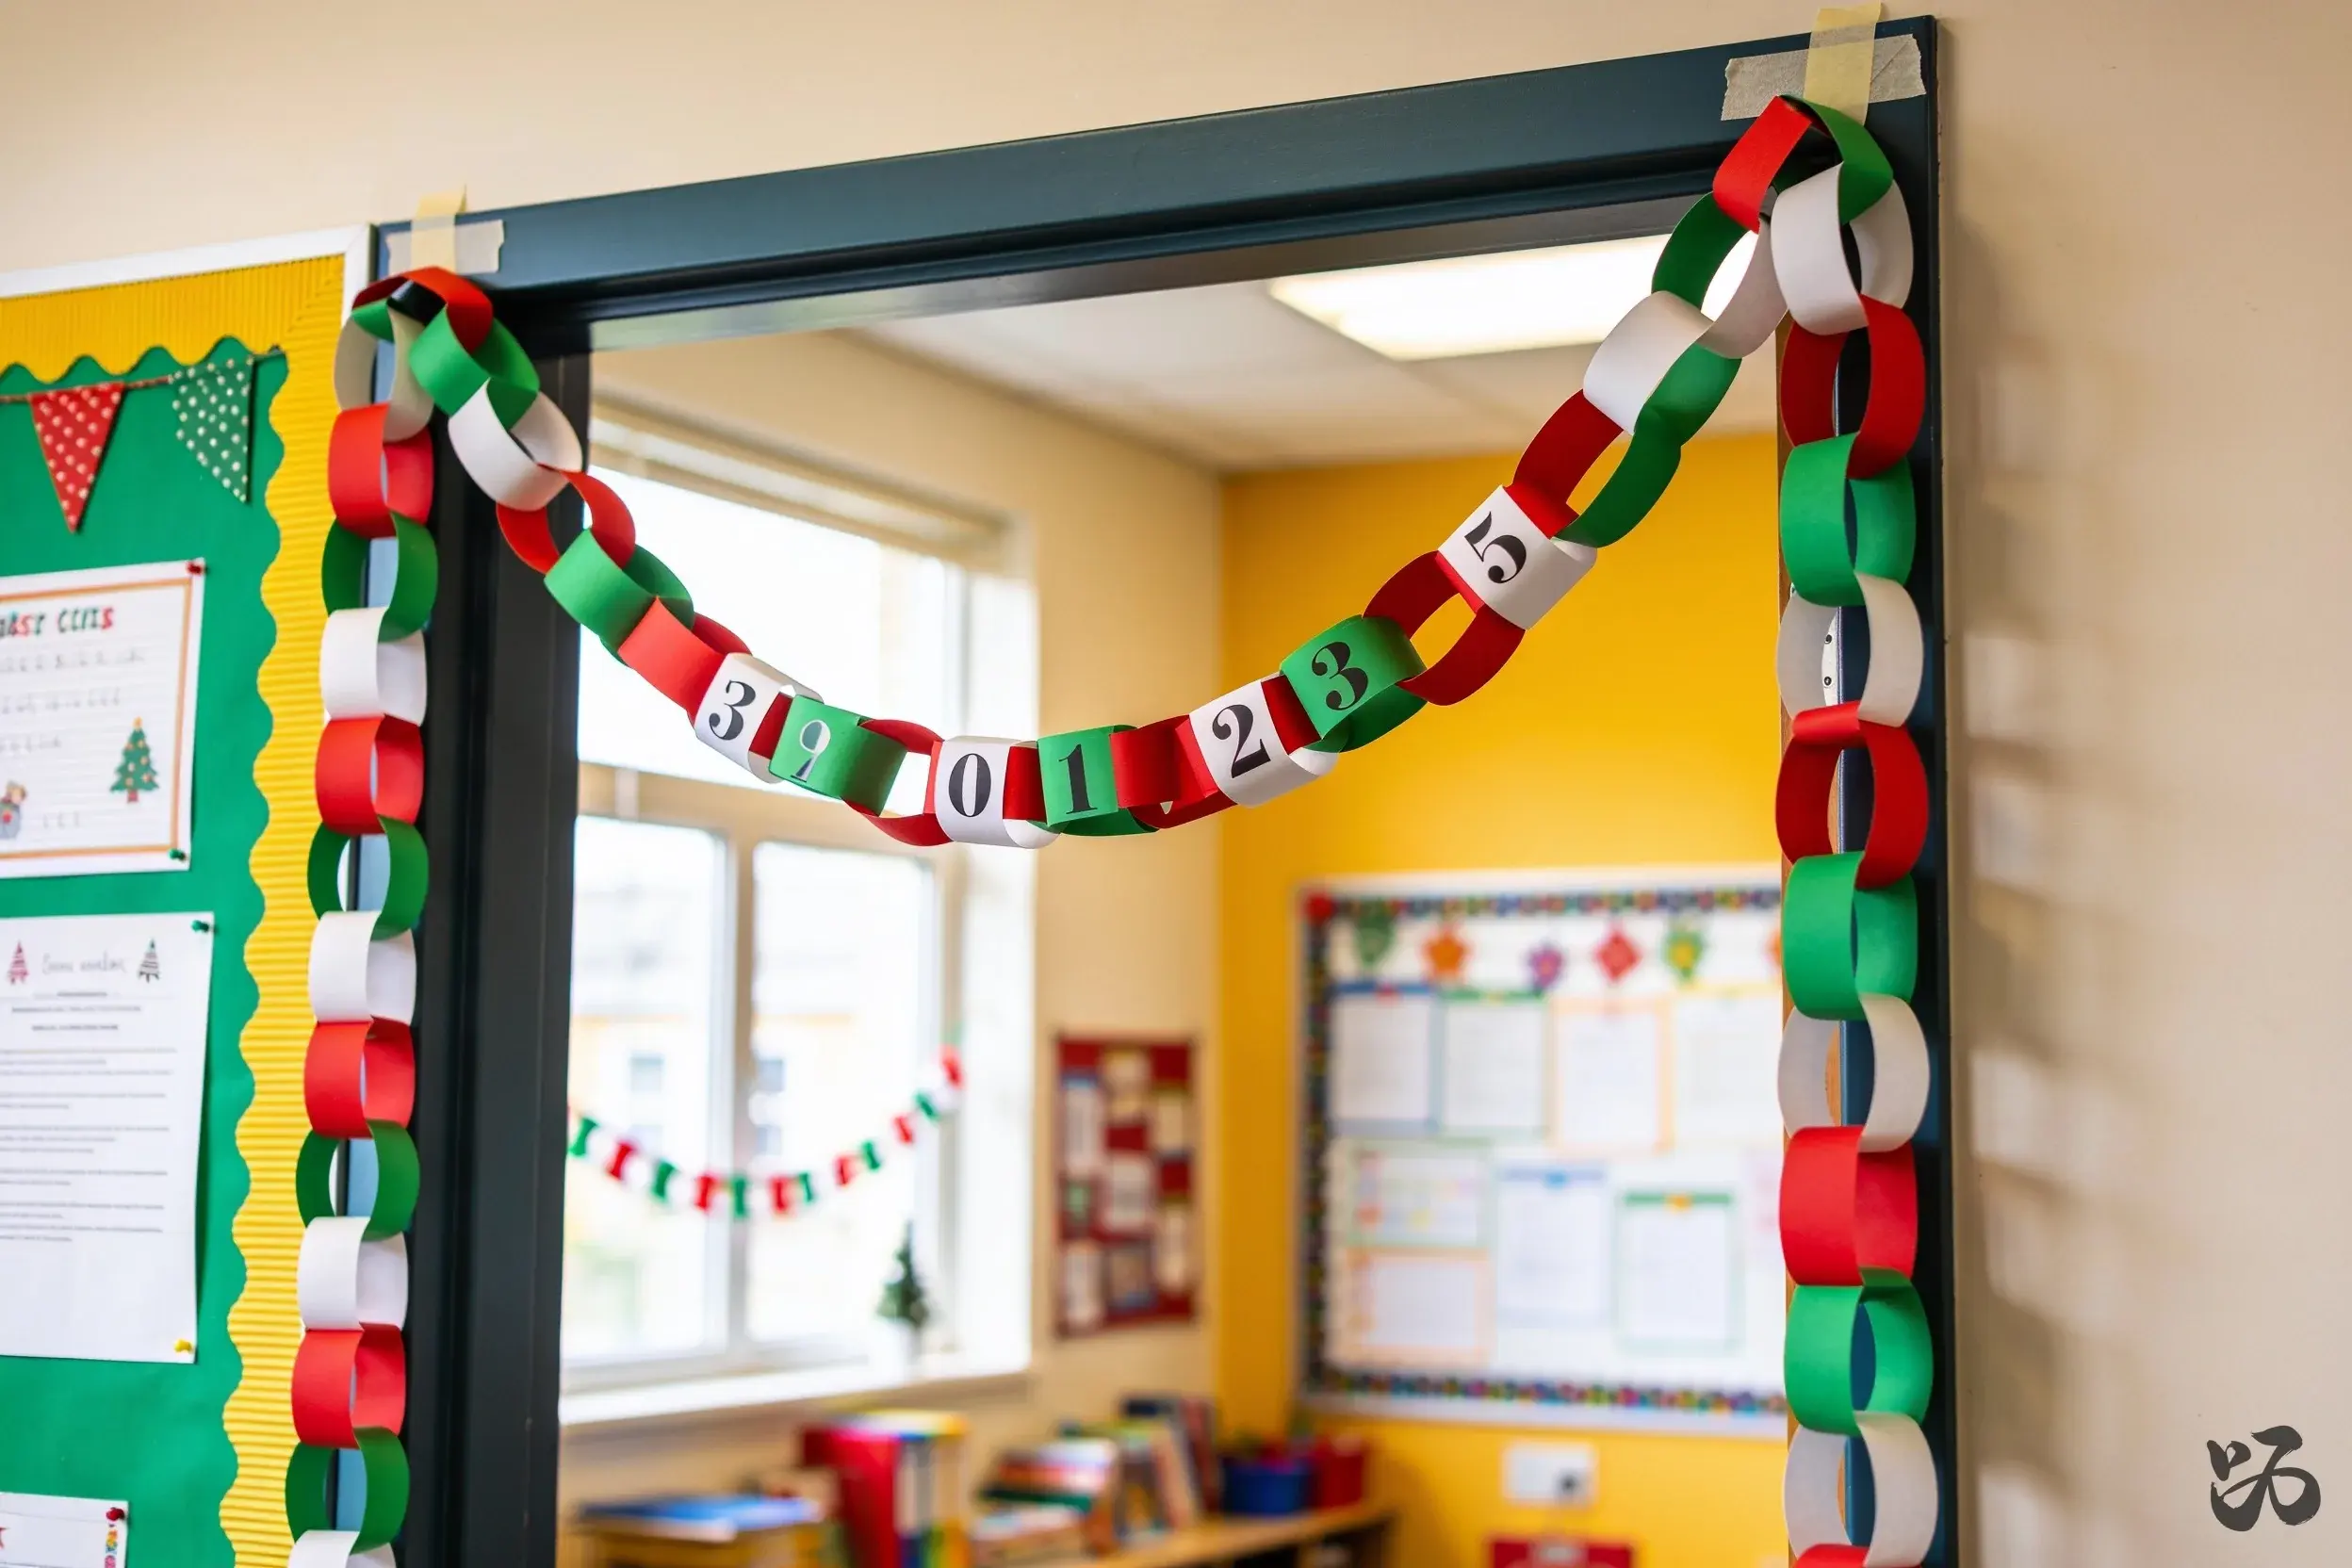
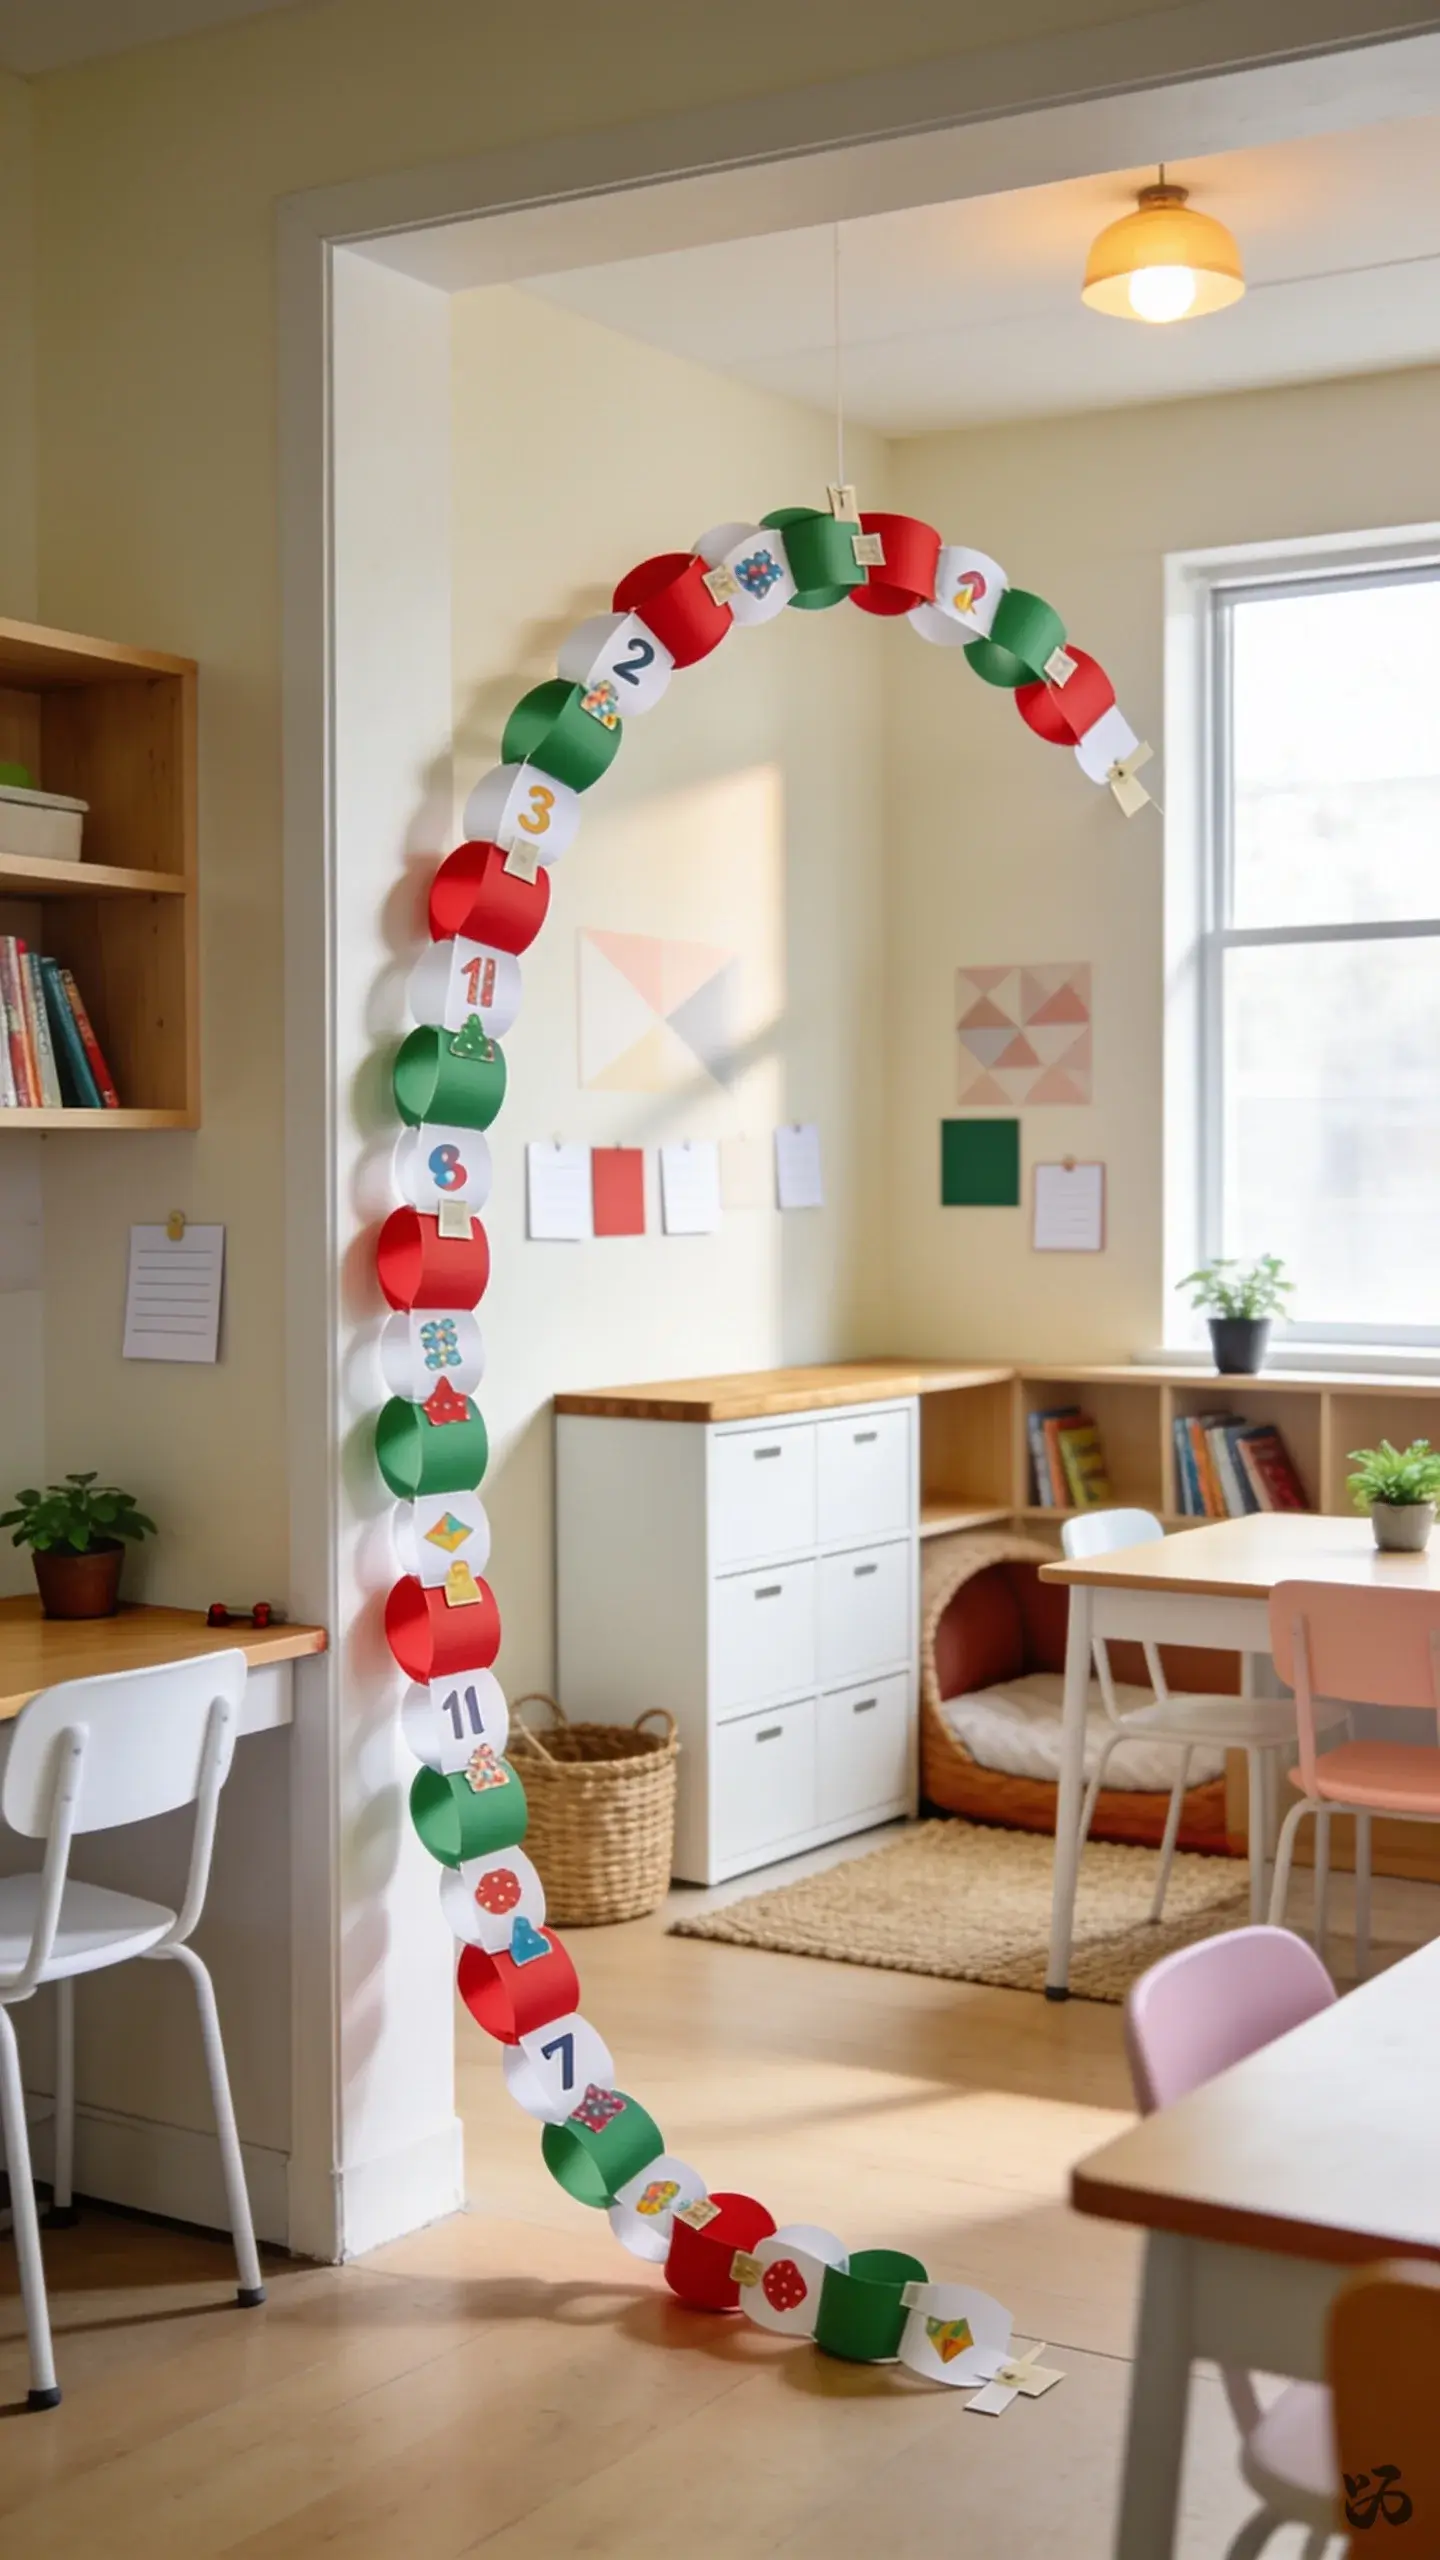
SaveColorful construction paper chains drape across a corner or doorway in a small, bright arc. Each link shows a number and a simple holiday message. The weight is light, so it stays put with light tape or removable clips on a bulletin board edge.
What you need
- Construction paper in red, green, and white
- Scissors
- Tape or removable clips
- Marker for numbers
- Binder clips or push pins if allowed by the custodian
Fast to put up during a prep period; works best on a bulletin board or along a classroom door frame.
2. Neighborhood Snowflake Garlands
 Save
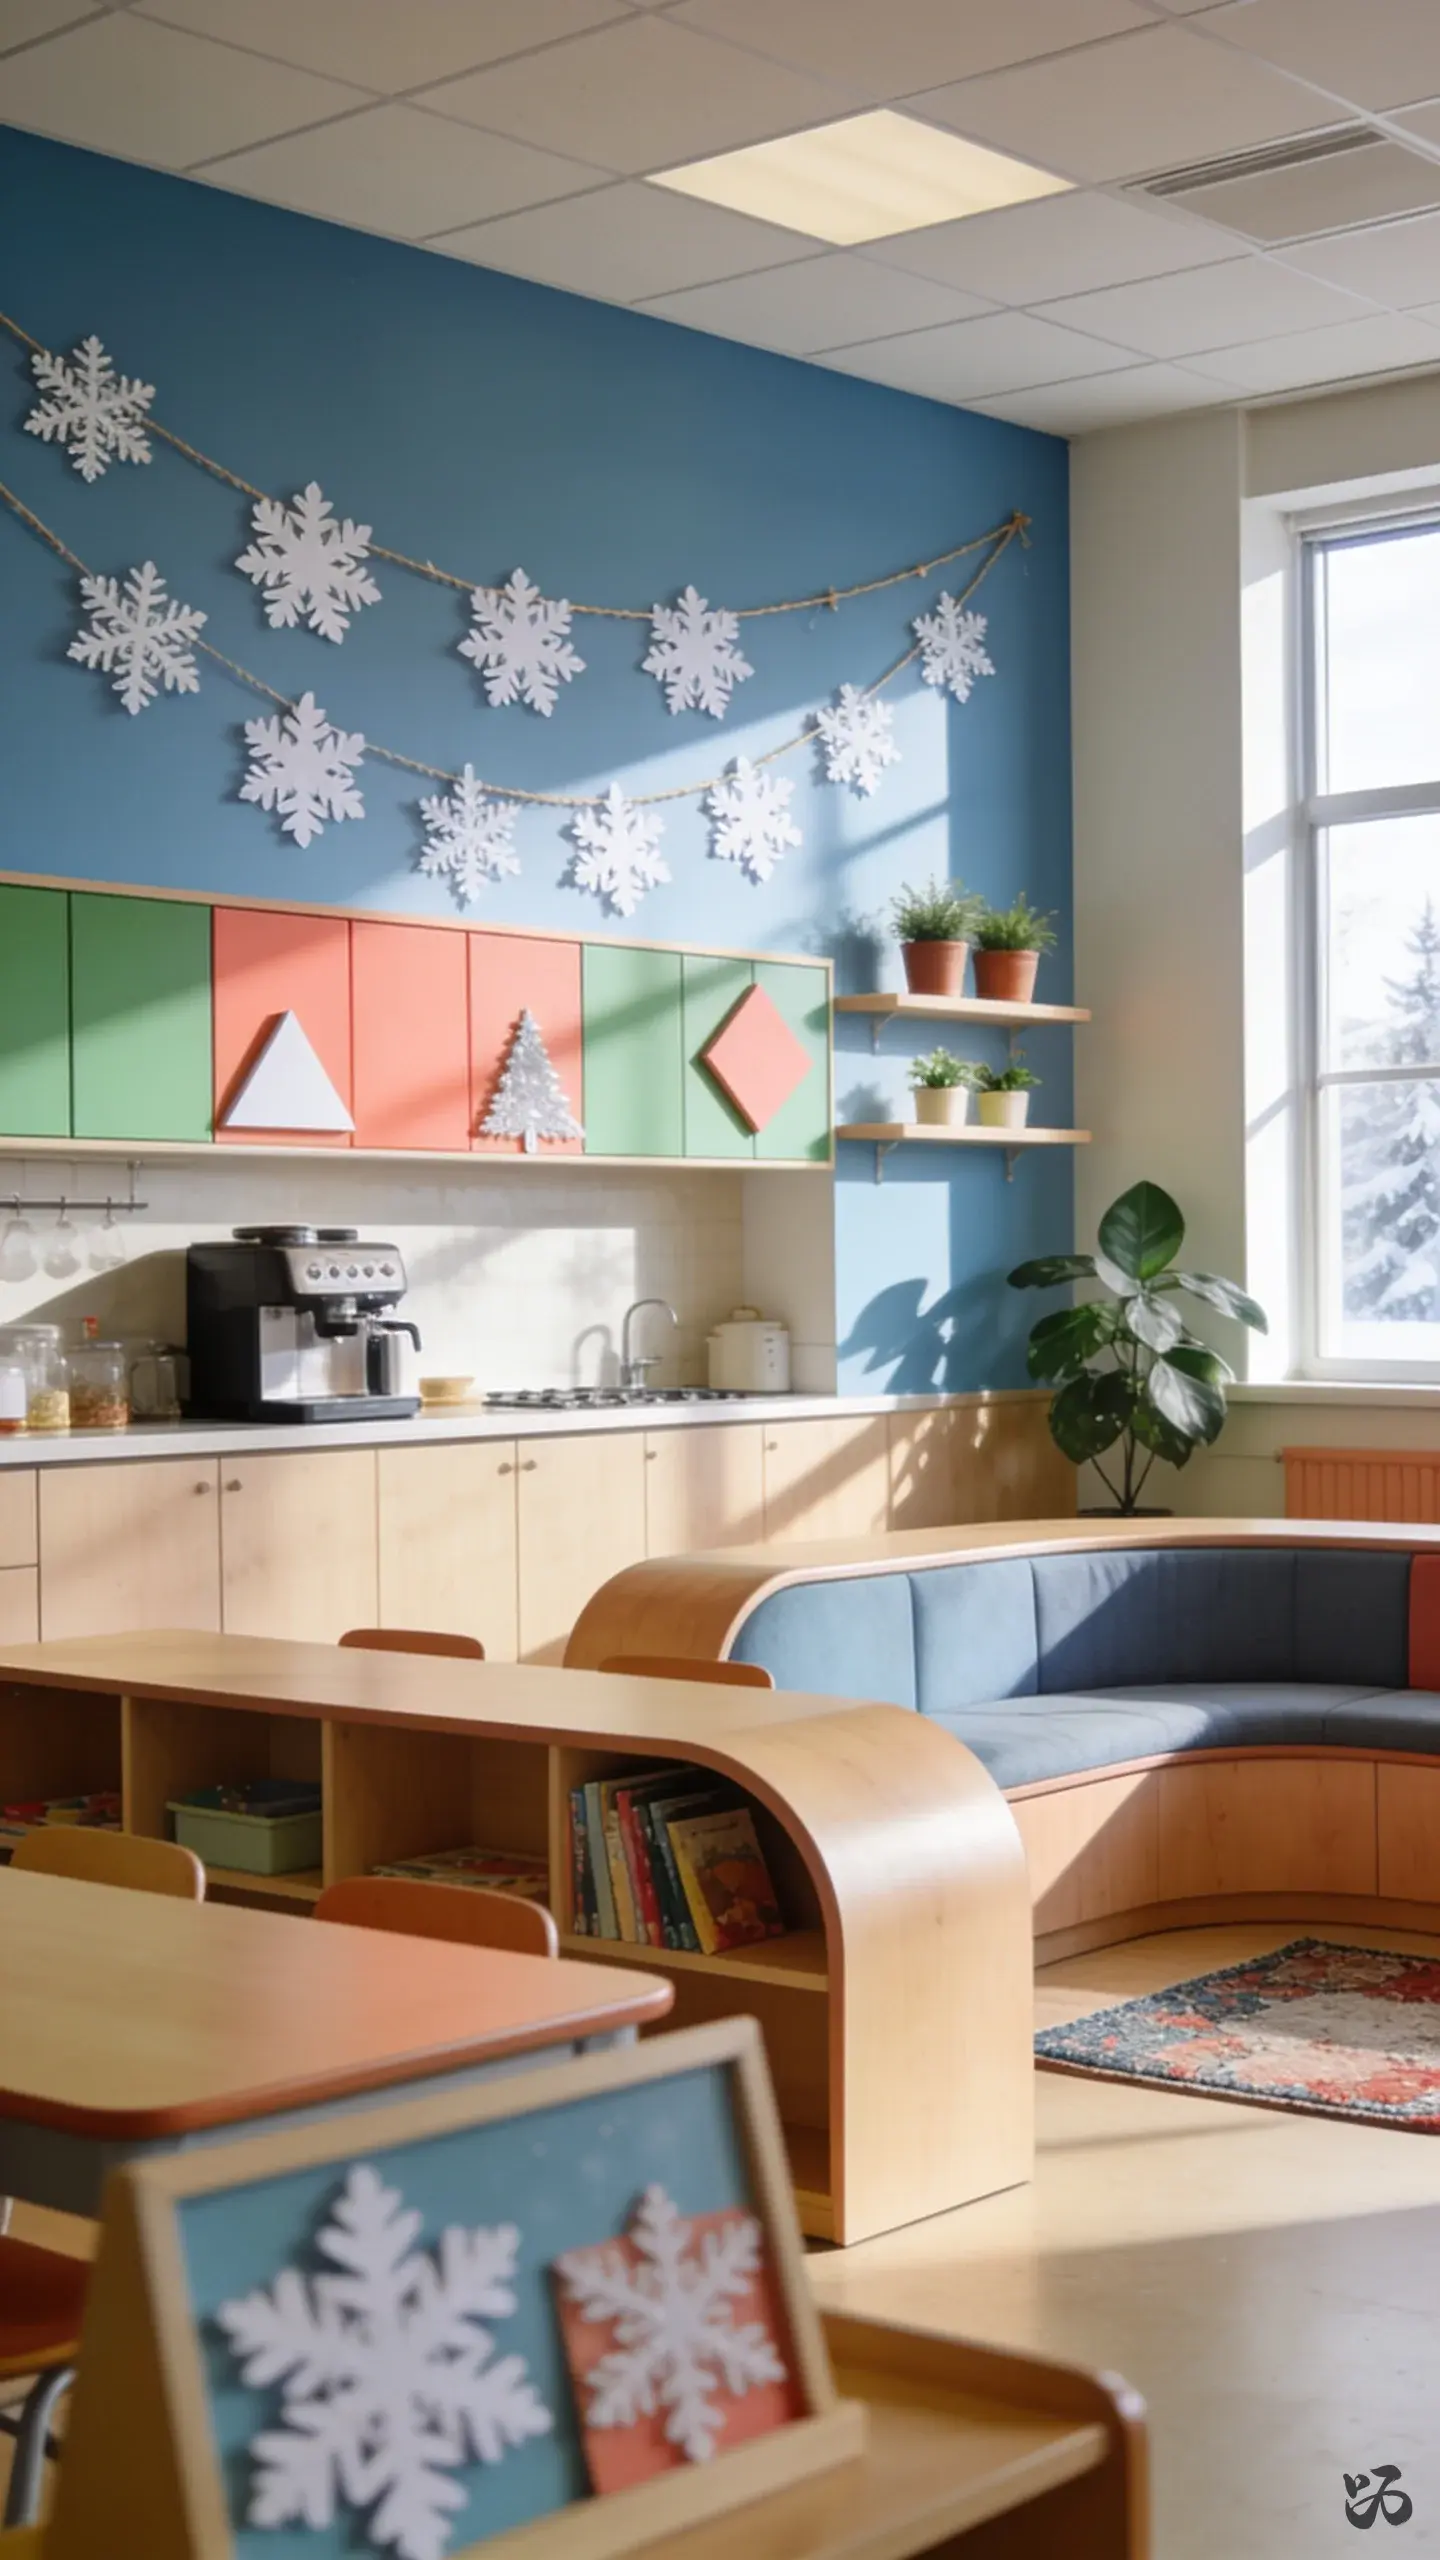
SaveWhite paper snowflakes hung on baker’s twine create a crisp, wintry look around the room. Space them across a wall or above a serving area in the cafeteria line of sight for kids in kindergarten and first grade.
What you need
- Copy paper in white
- Black or color cardstock for contrast
- Baker’s twine
- Scissors
- Masking tape or removable hooks
Takes about 20 minutes to cut several snowflakes; sturdy enough for hallway display but easy to remove.
3. Holiday Reading Nook Backdrop
 Save
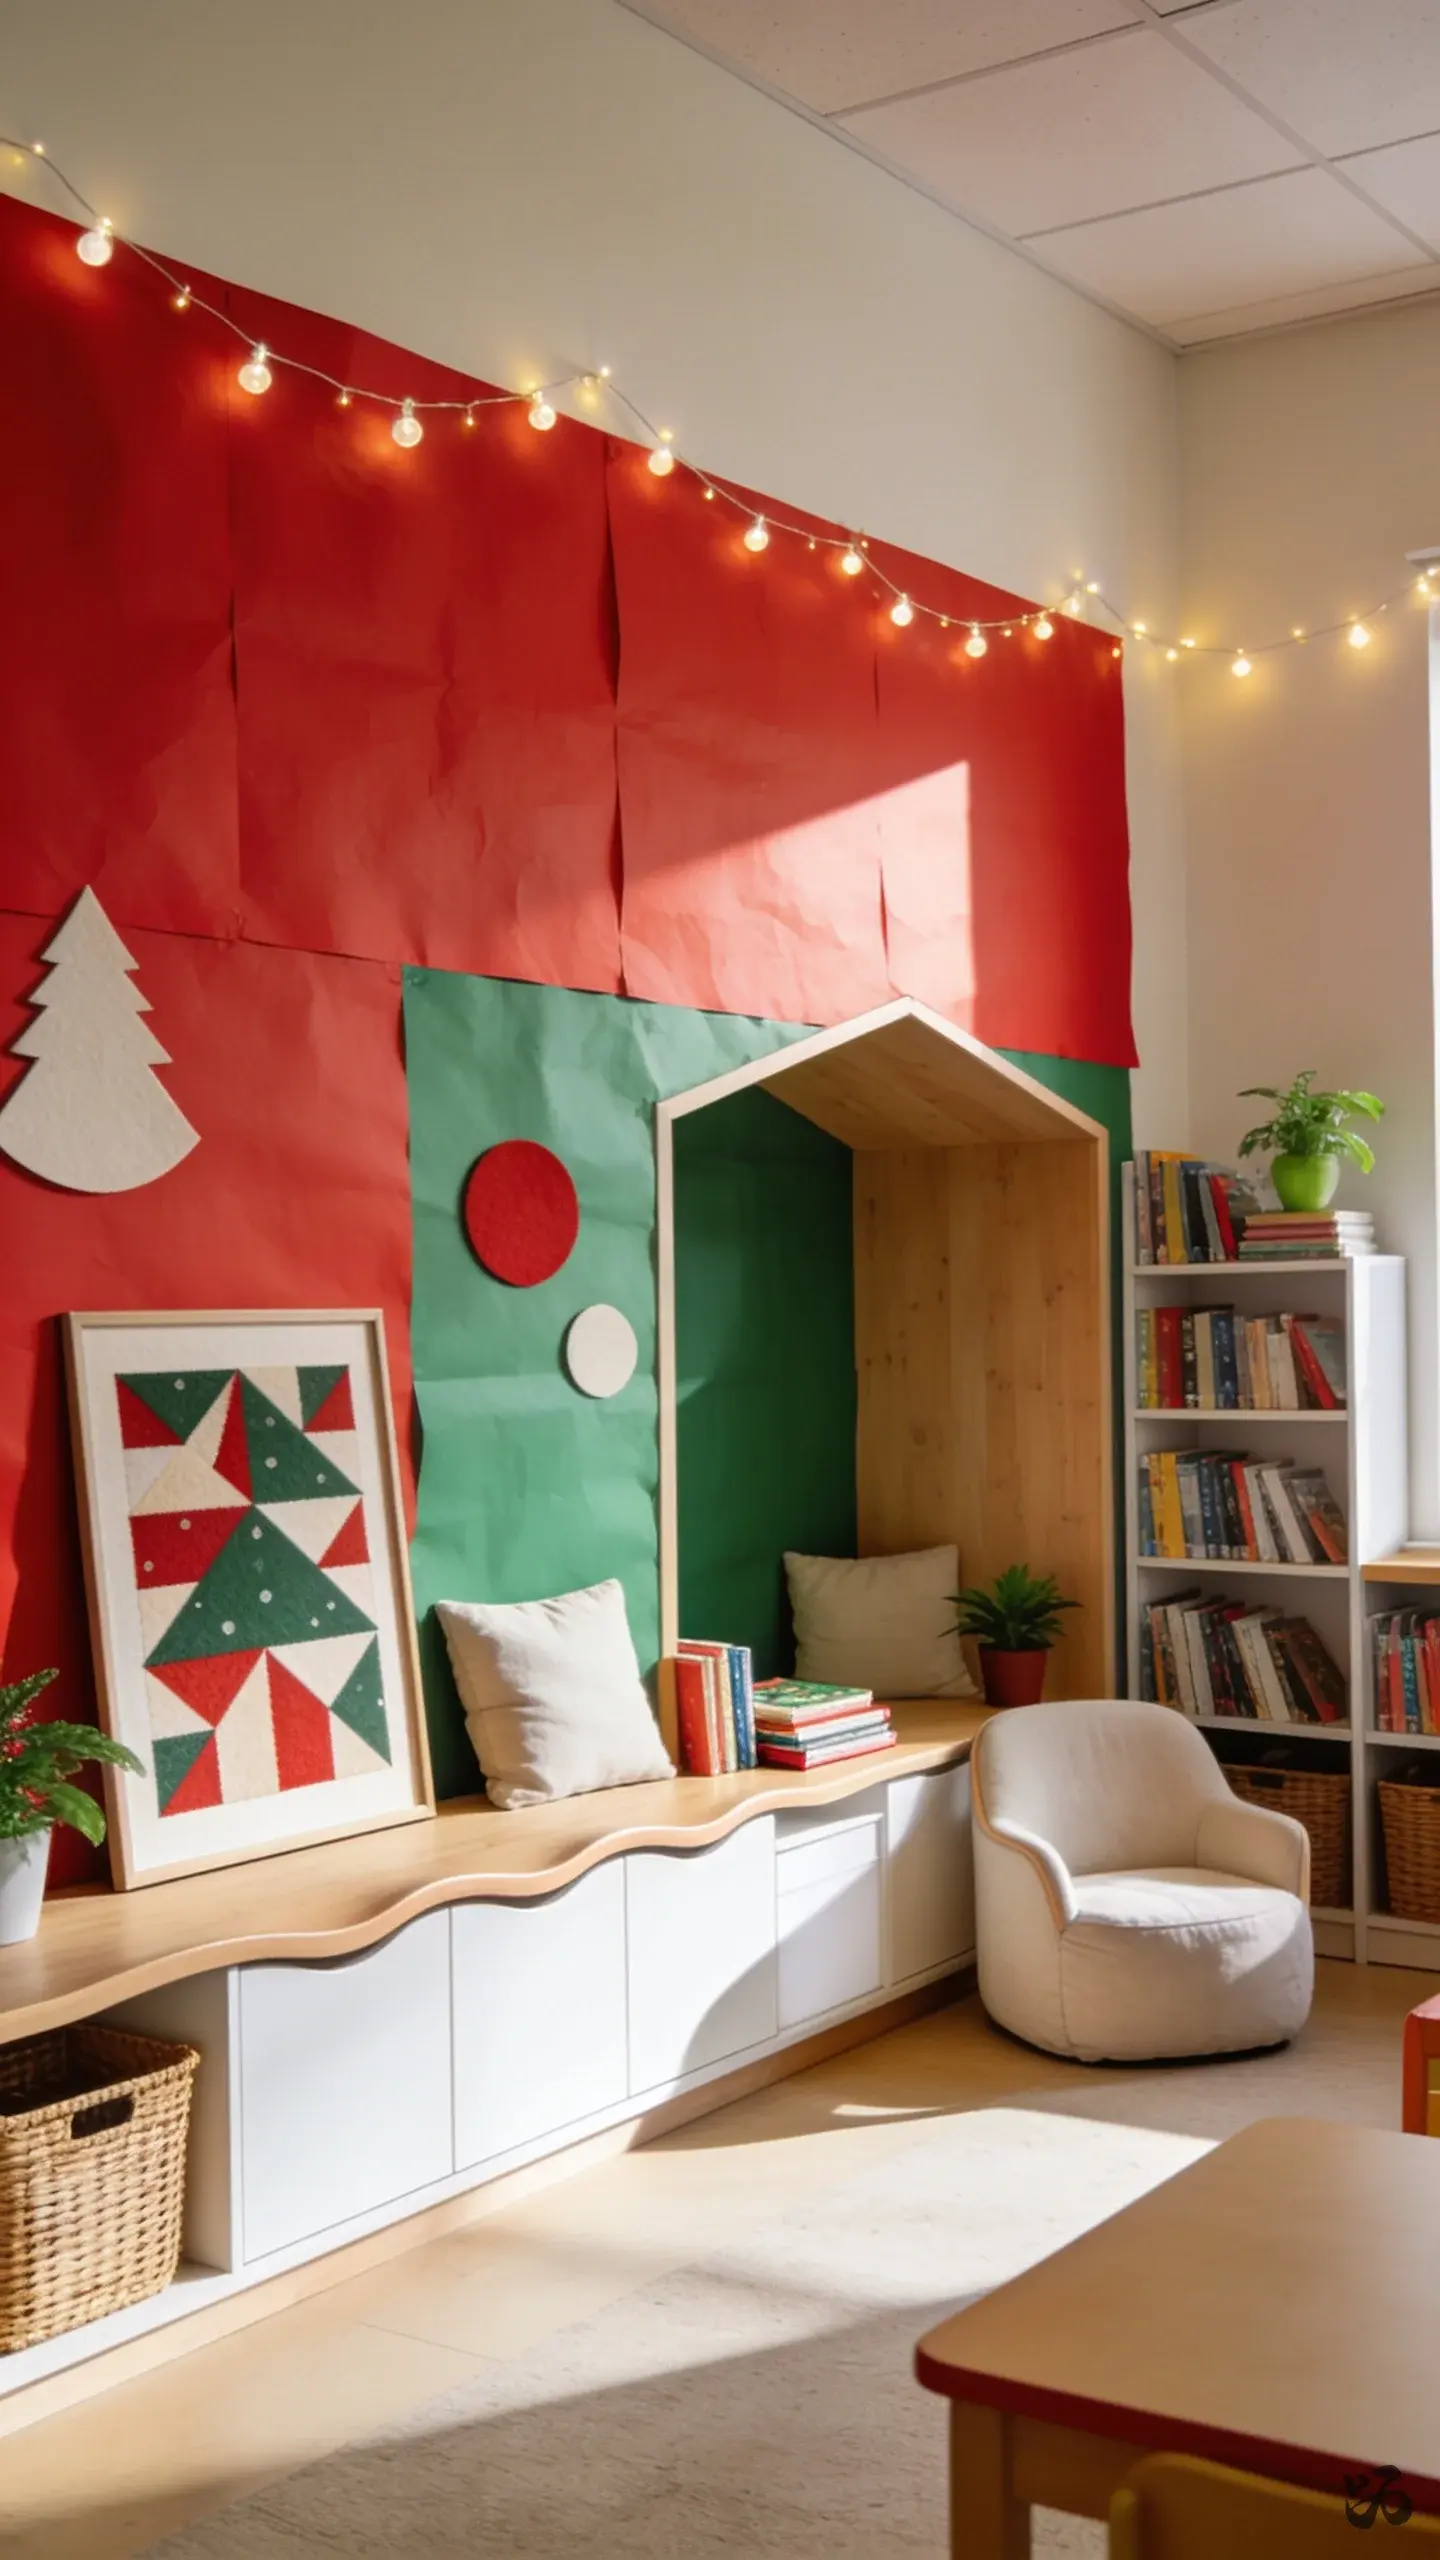
SaveA cozy corner gets a seasonal mood with a backdrop of red and green butcher paper, a string of warm white lights, and a few felt or paper props. It becomes a natural spot for a shared read during December.
What you need
- Red and green butcher paper
- Warm white string lights
- Cardstock cutouts
- Double-sided tape
- Foam board pieces for stability if needed
Skip laminating; this is easy to adjust after field trips or assembly days.
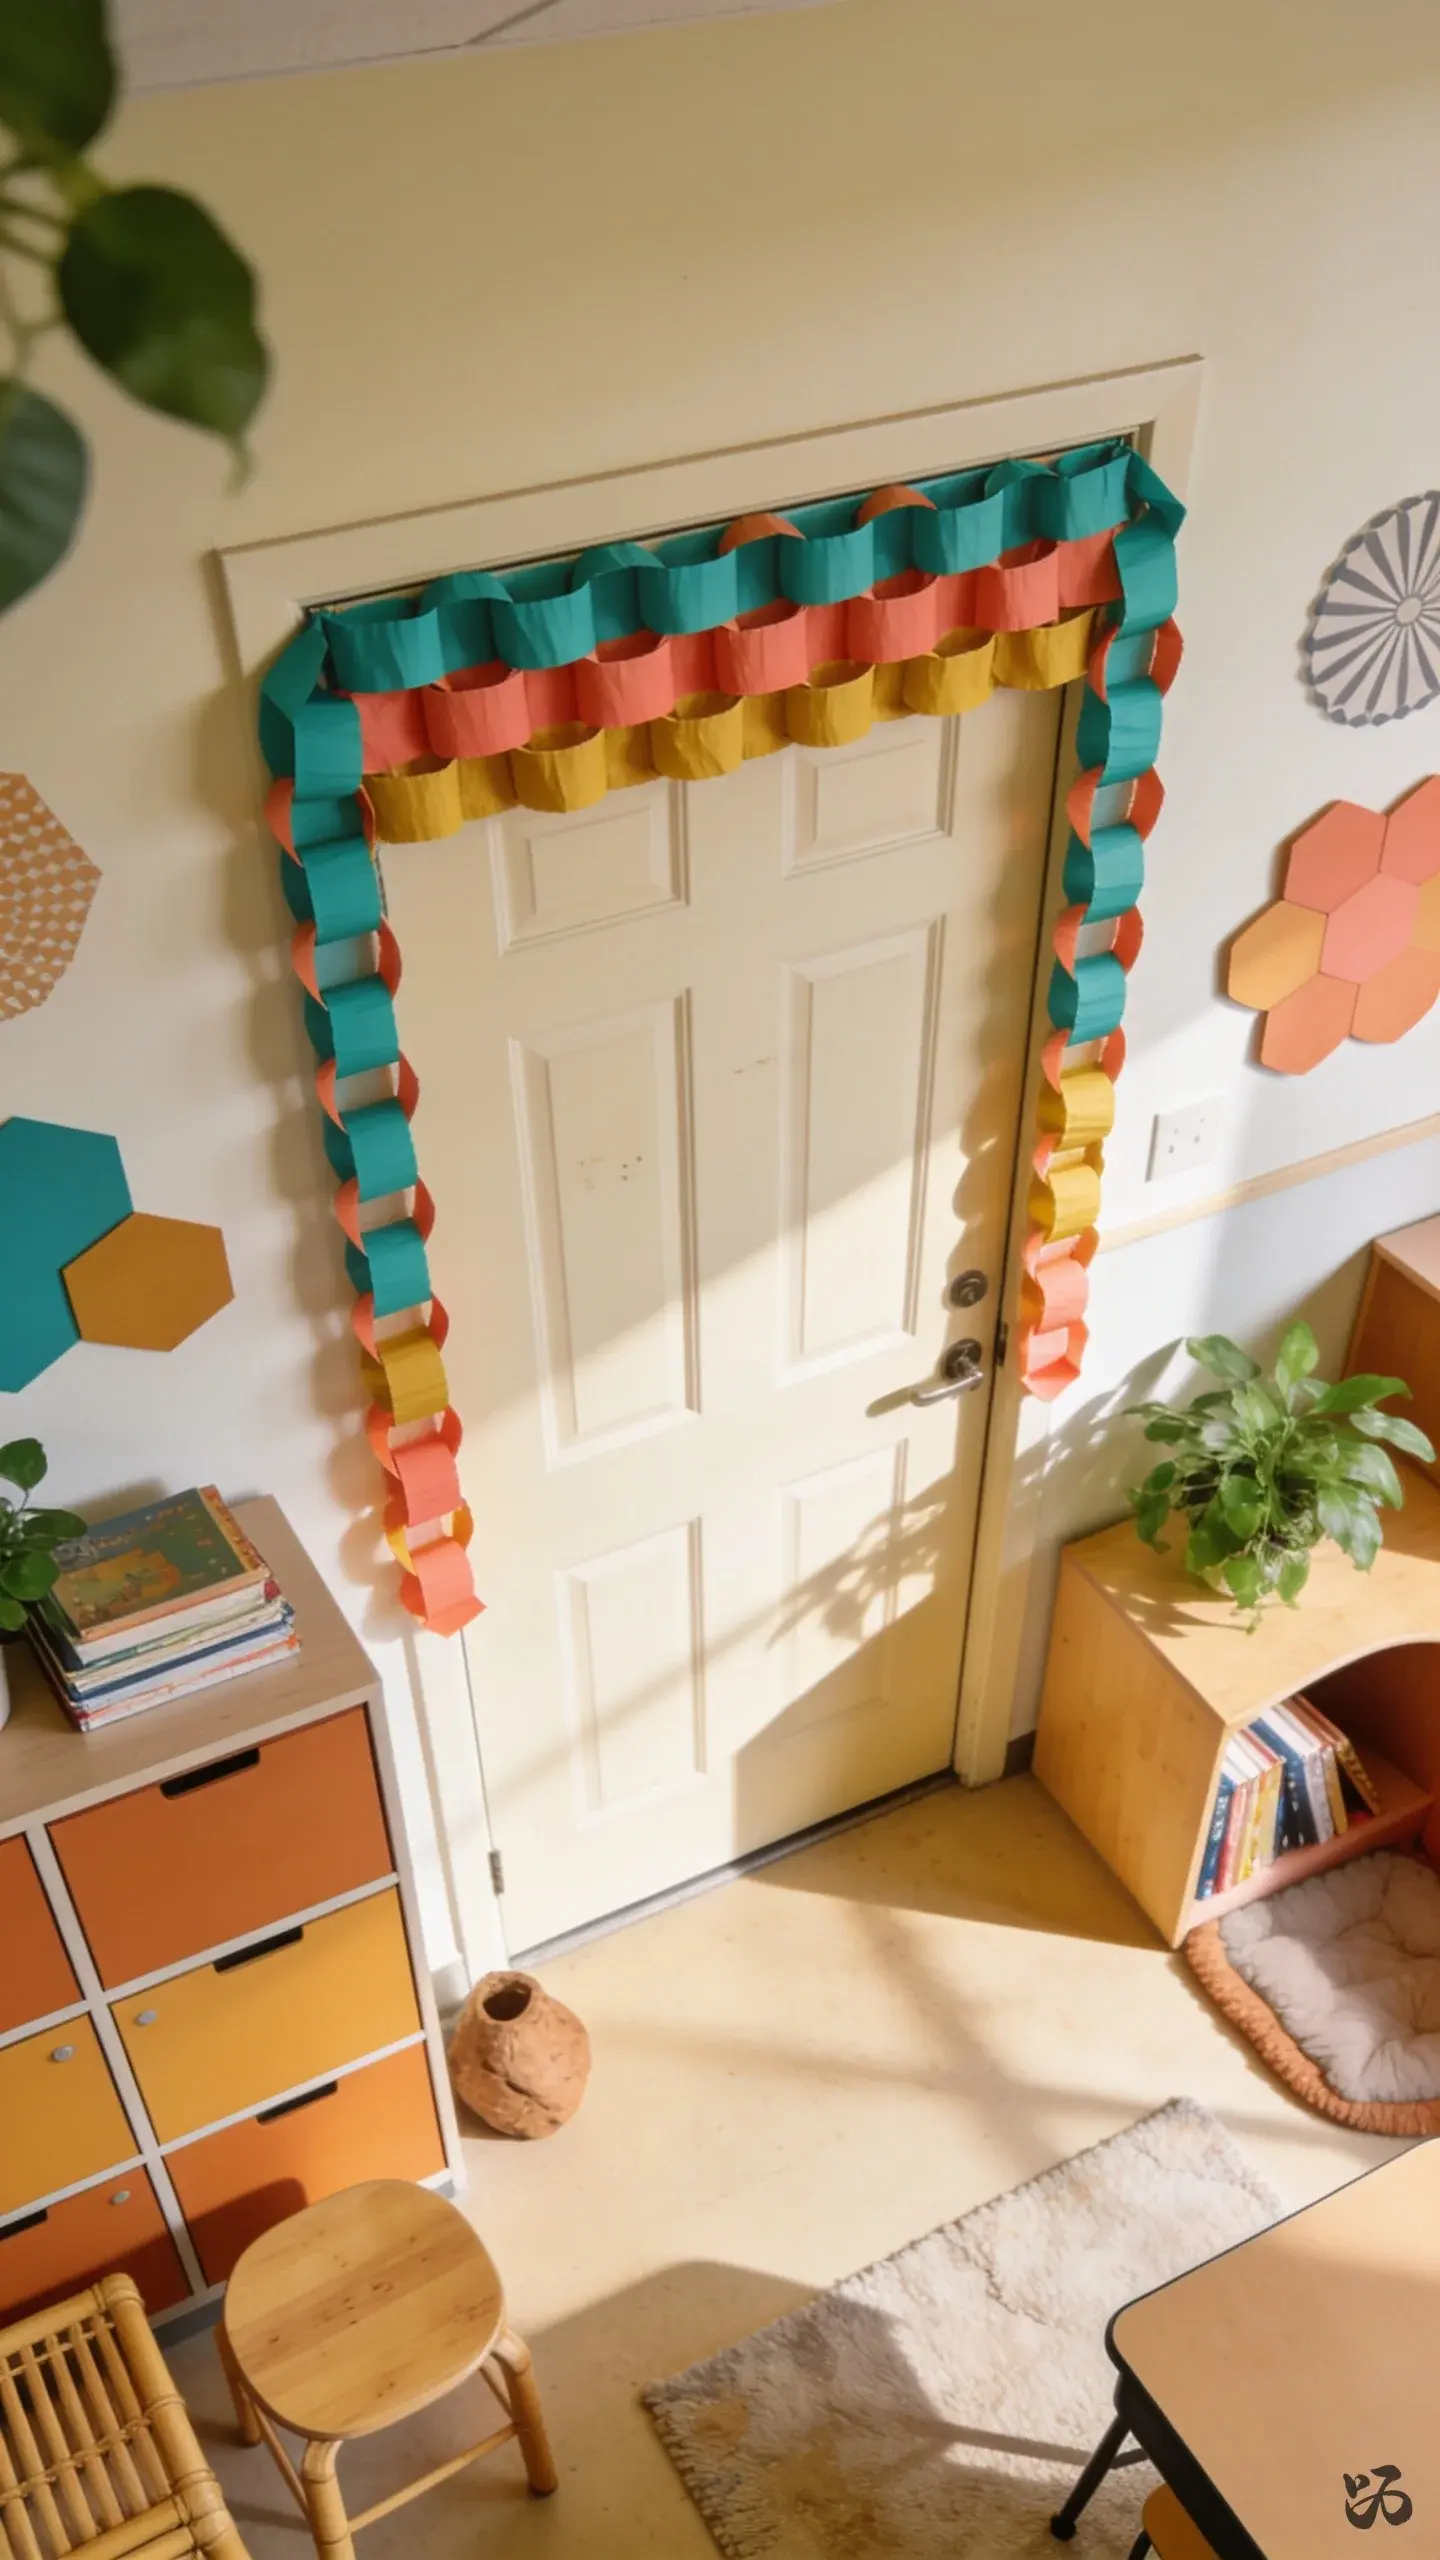
4. Paper Chain Door Wurl
 Save
SaveCreate a decorative band across a classroom door with bold color links. Use only a few inches of space at the top and sides to avoid fire code concerns. The result is festive but compliant with door-decoration limits in many districts.
What you need
- Construction paper
- Hole punch (optional for linking)
- Ribbon or string
- Masking tape
- Scissors
About 30 minutes, best for kindergarten through second grade with some adult help to cut the links.
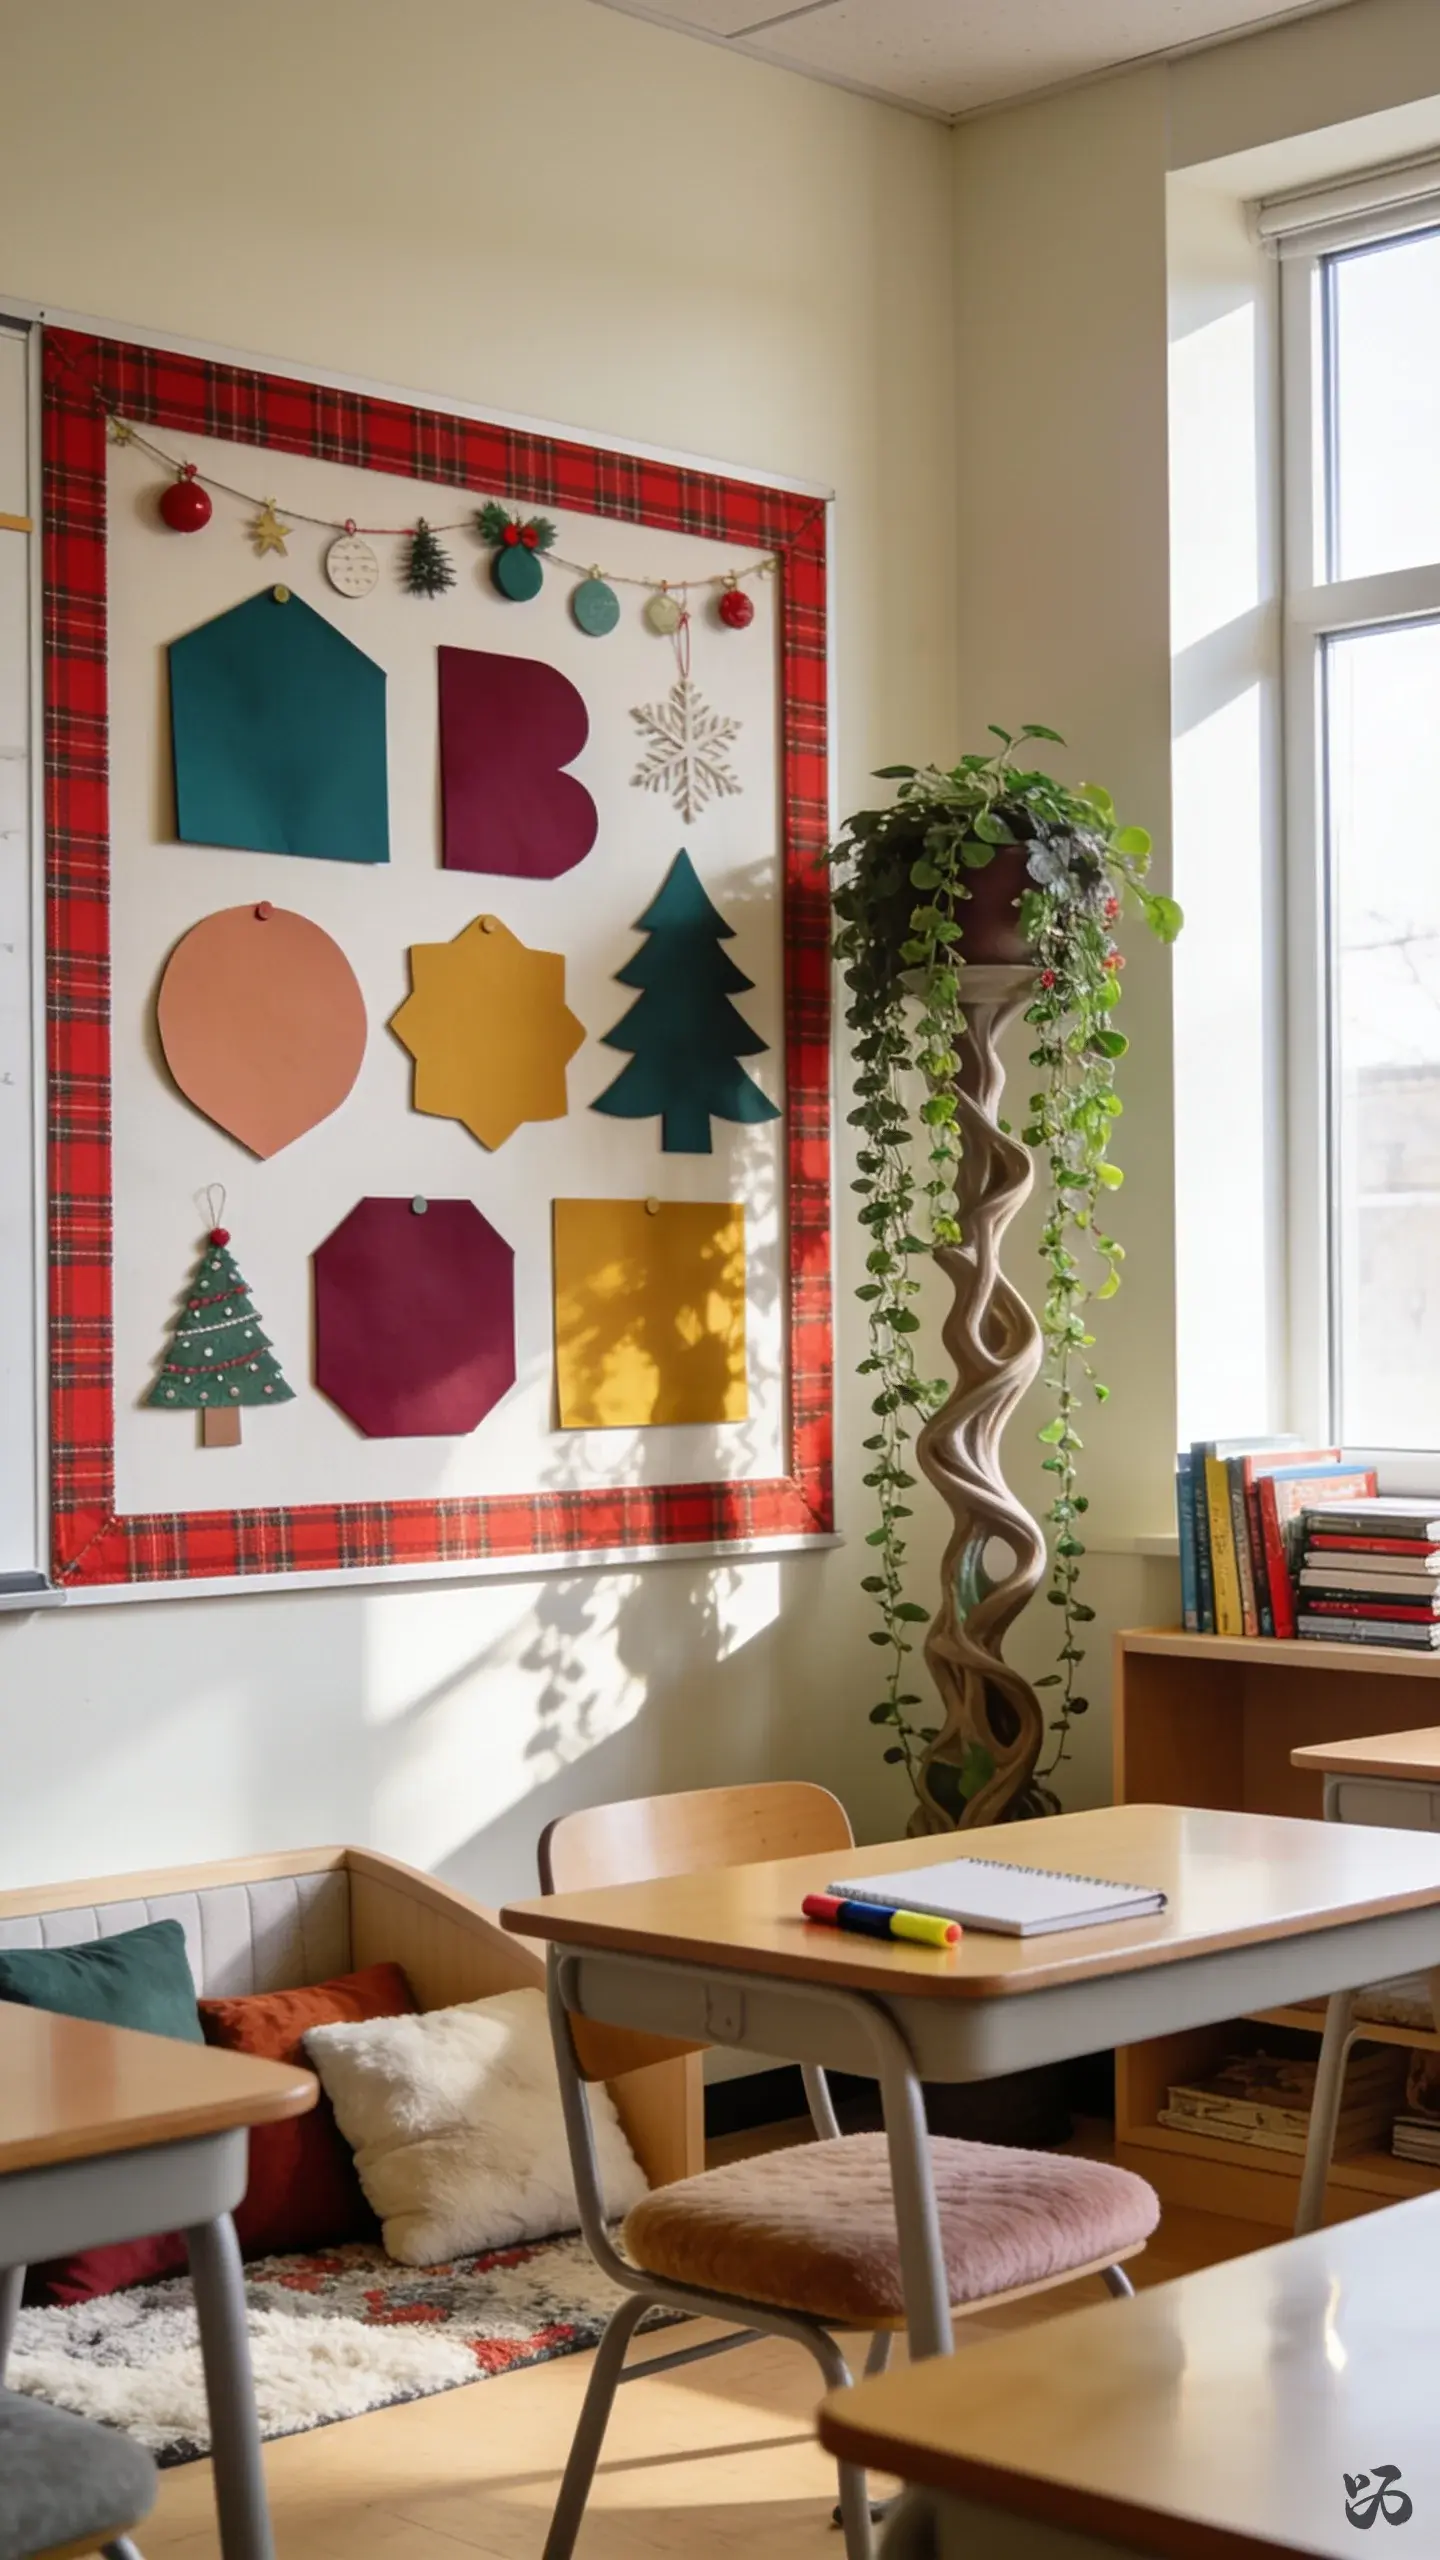
5. Joyful Letter Garland
 Save
SaveSpelling out “JOY” or “PEACE” across the board or wall using large cardstock letters. Border the board with red plaid border trim and add a few holiday-themed accents.
What you need
- Cardstock letters
- Letter stickers or markers
- Border trim
- Double-sided tape
- Red or green paper scraps
Lightly laminated or not at all; easy to adjust between holidays or themes.
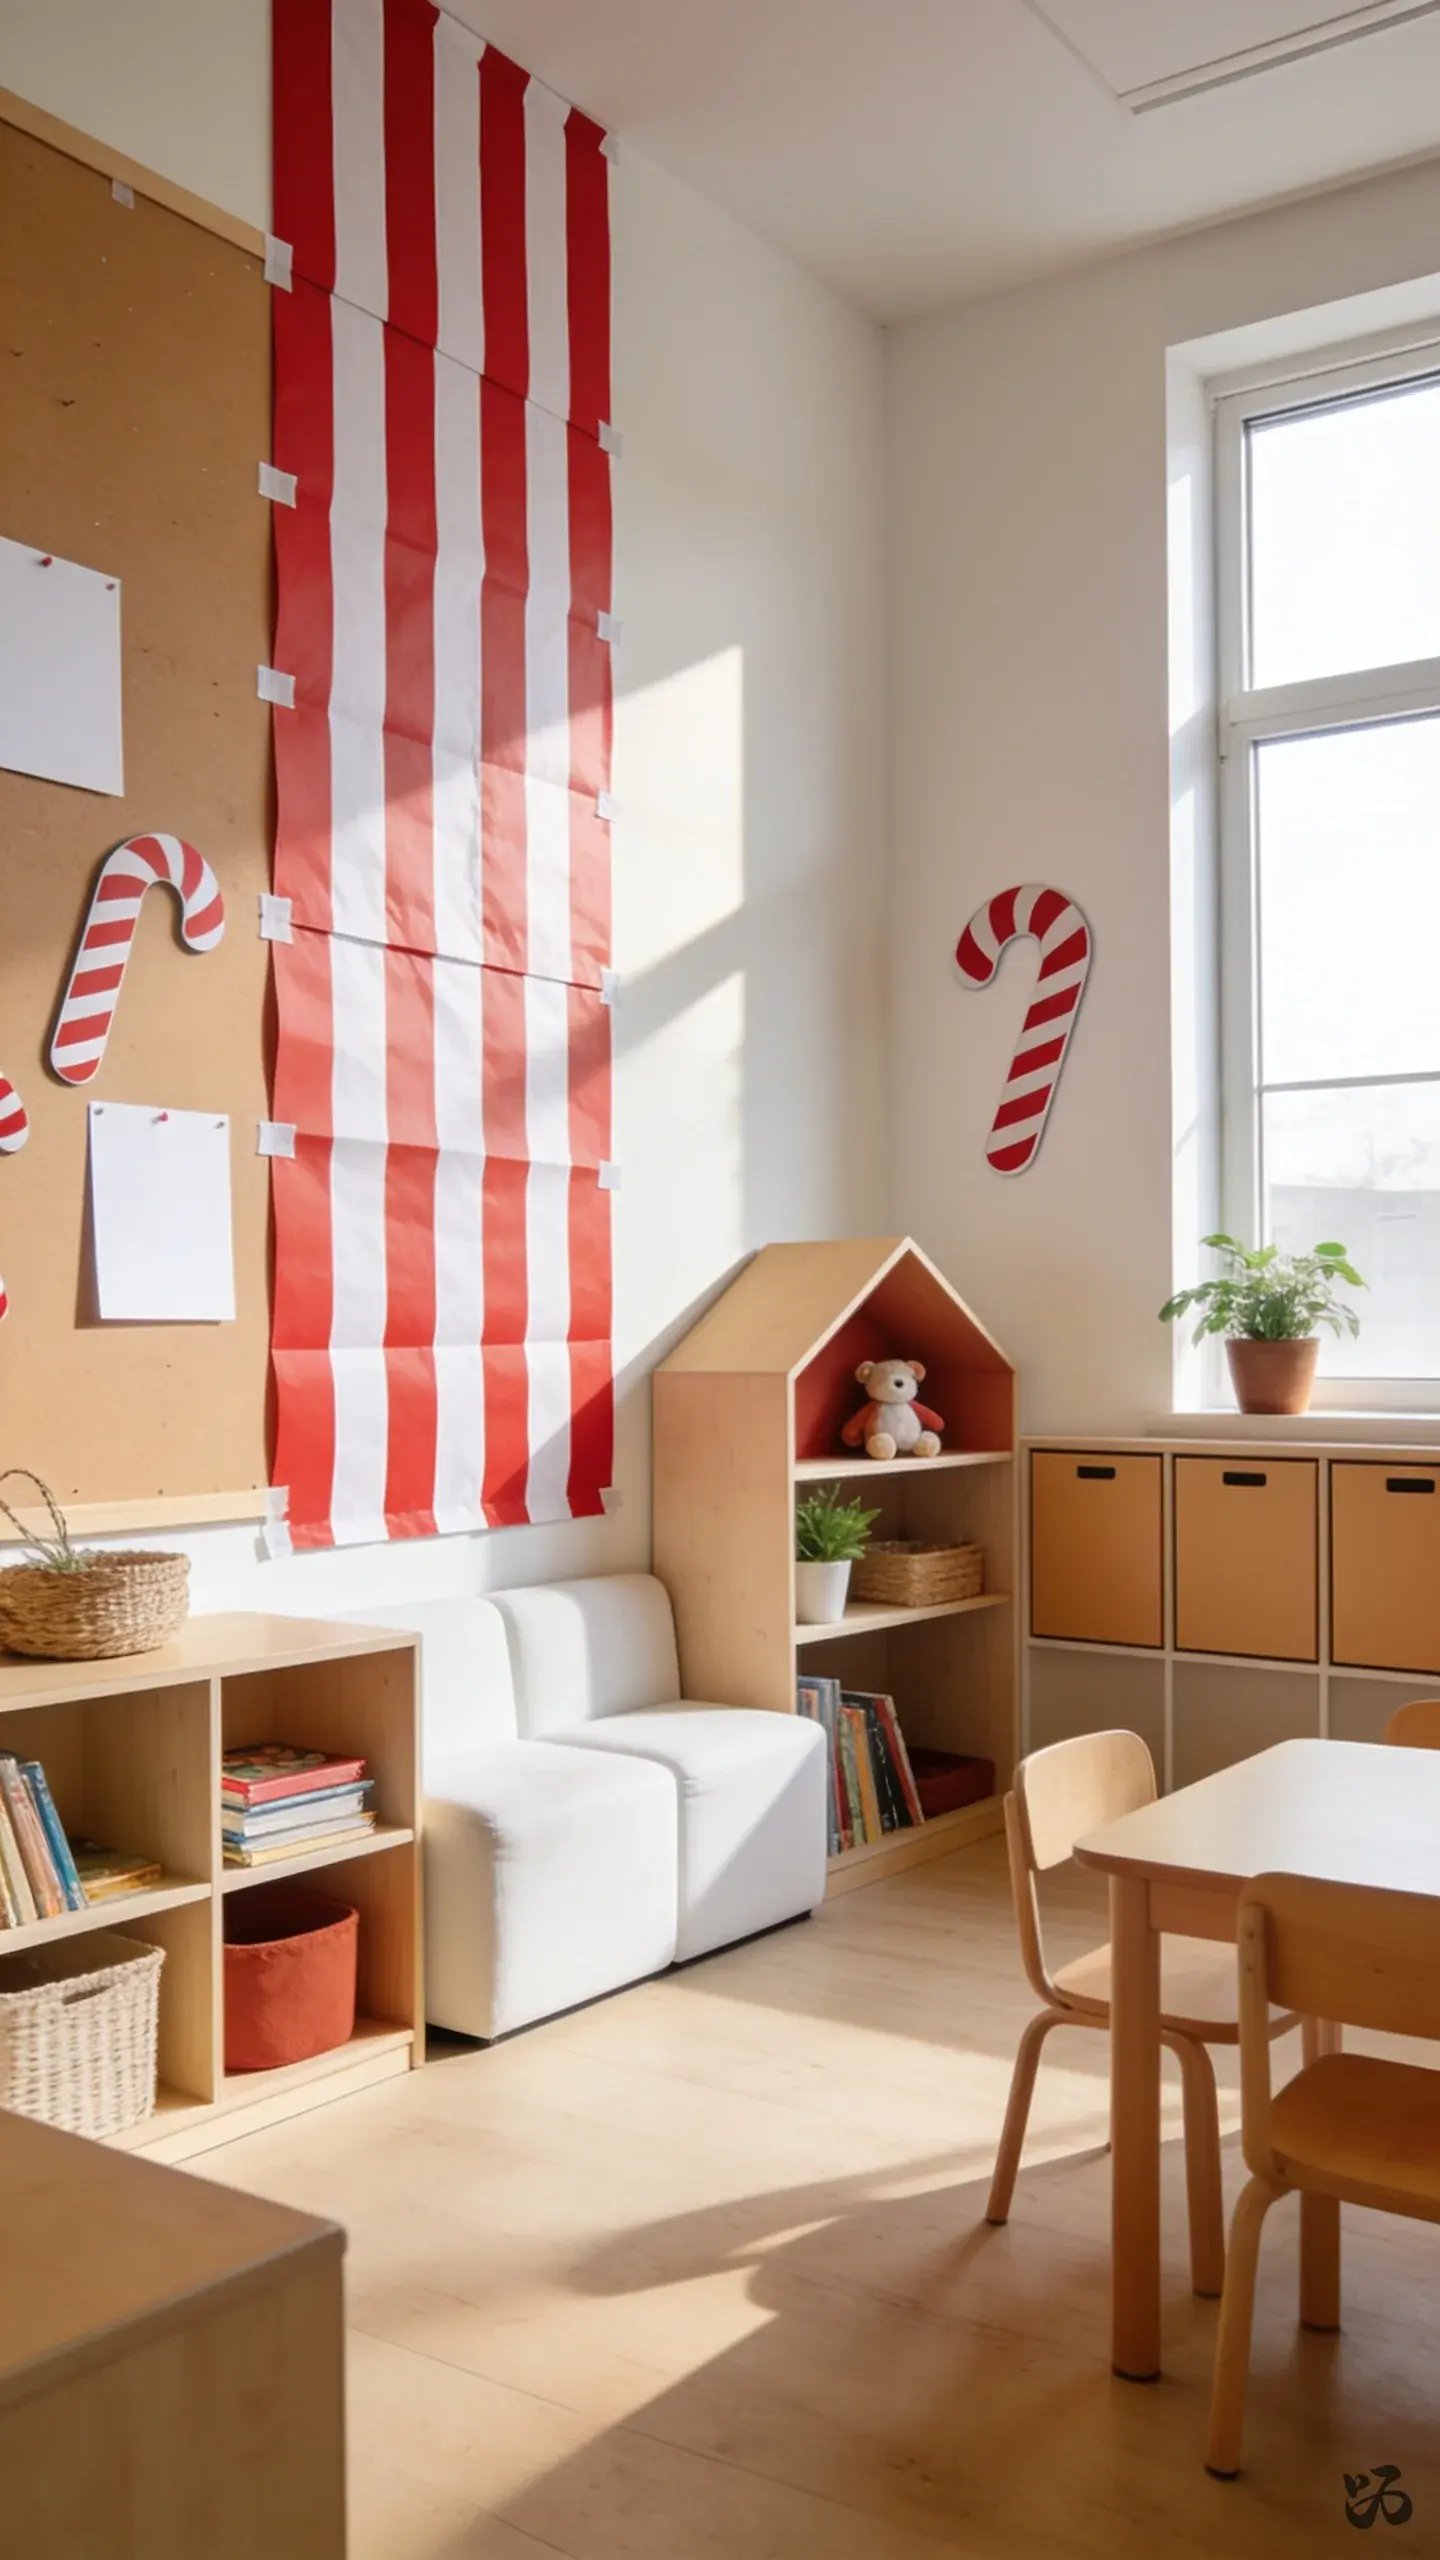
6. Candy Cane Stripe Wall Panels
 Save
SaveMount long strips of red and white butcher paper in a candy cane pattern on a bulletin board or wall. It creates a bold vertical accent that kids can notice from their desks.
What you need
- Red and white butcher paper
- Masking tape
- Ruler
- Scissors
- Paperweights to keep edges flat
One prep period, holds up without lamination, great for early elementary classrooms.
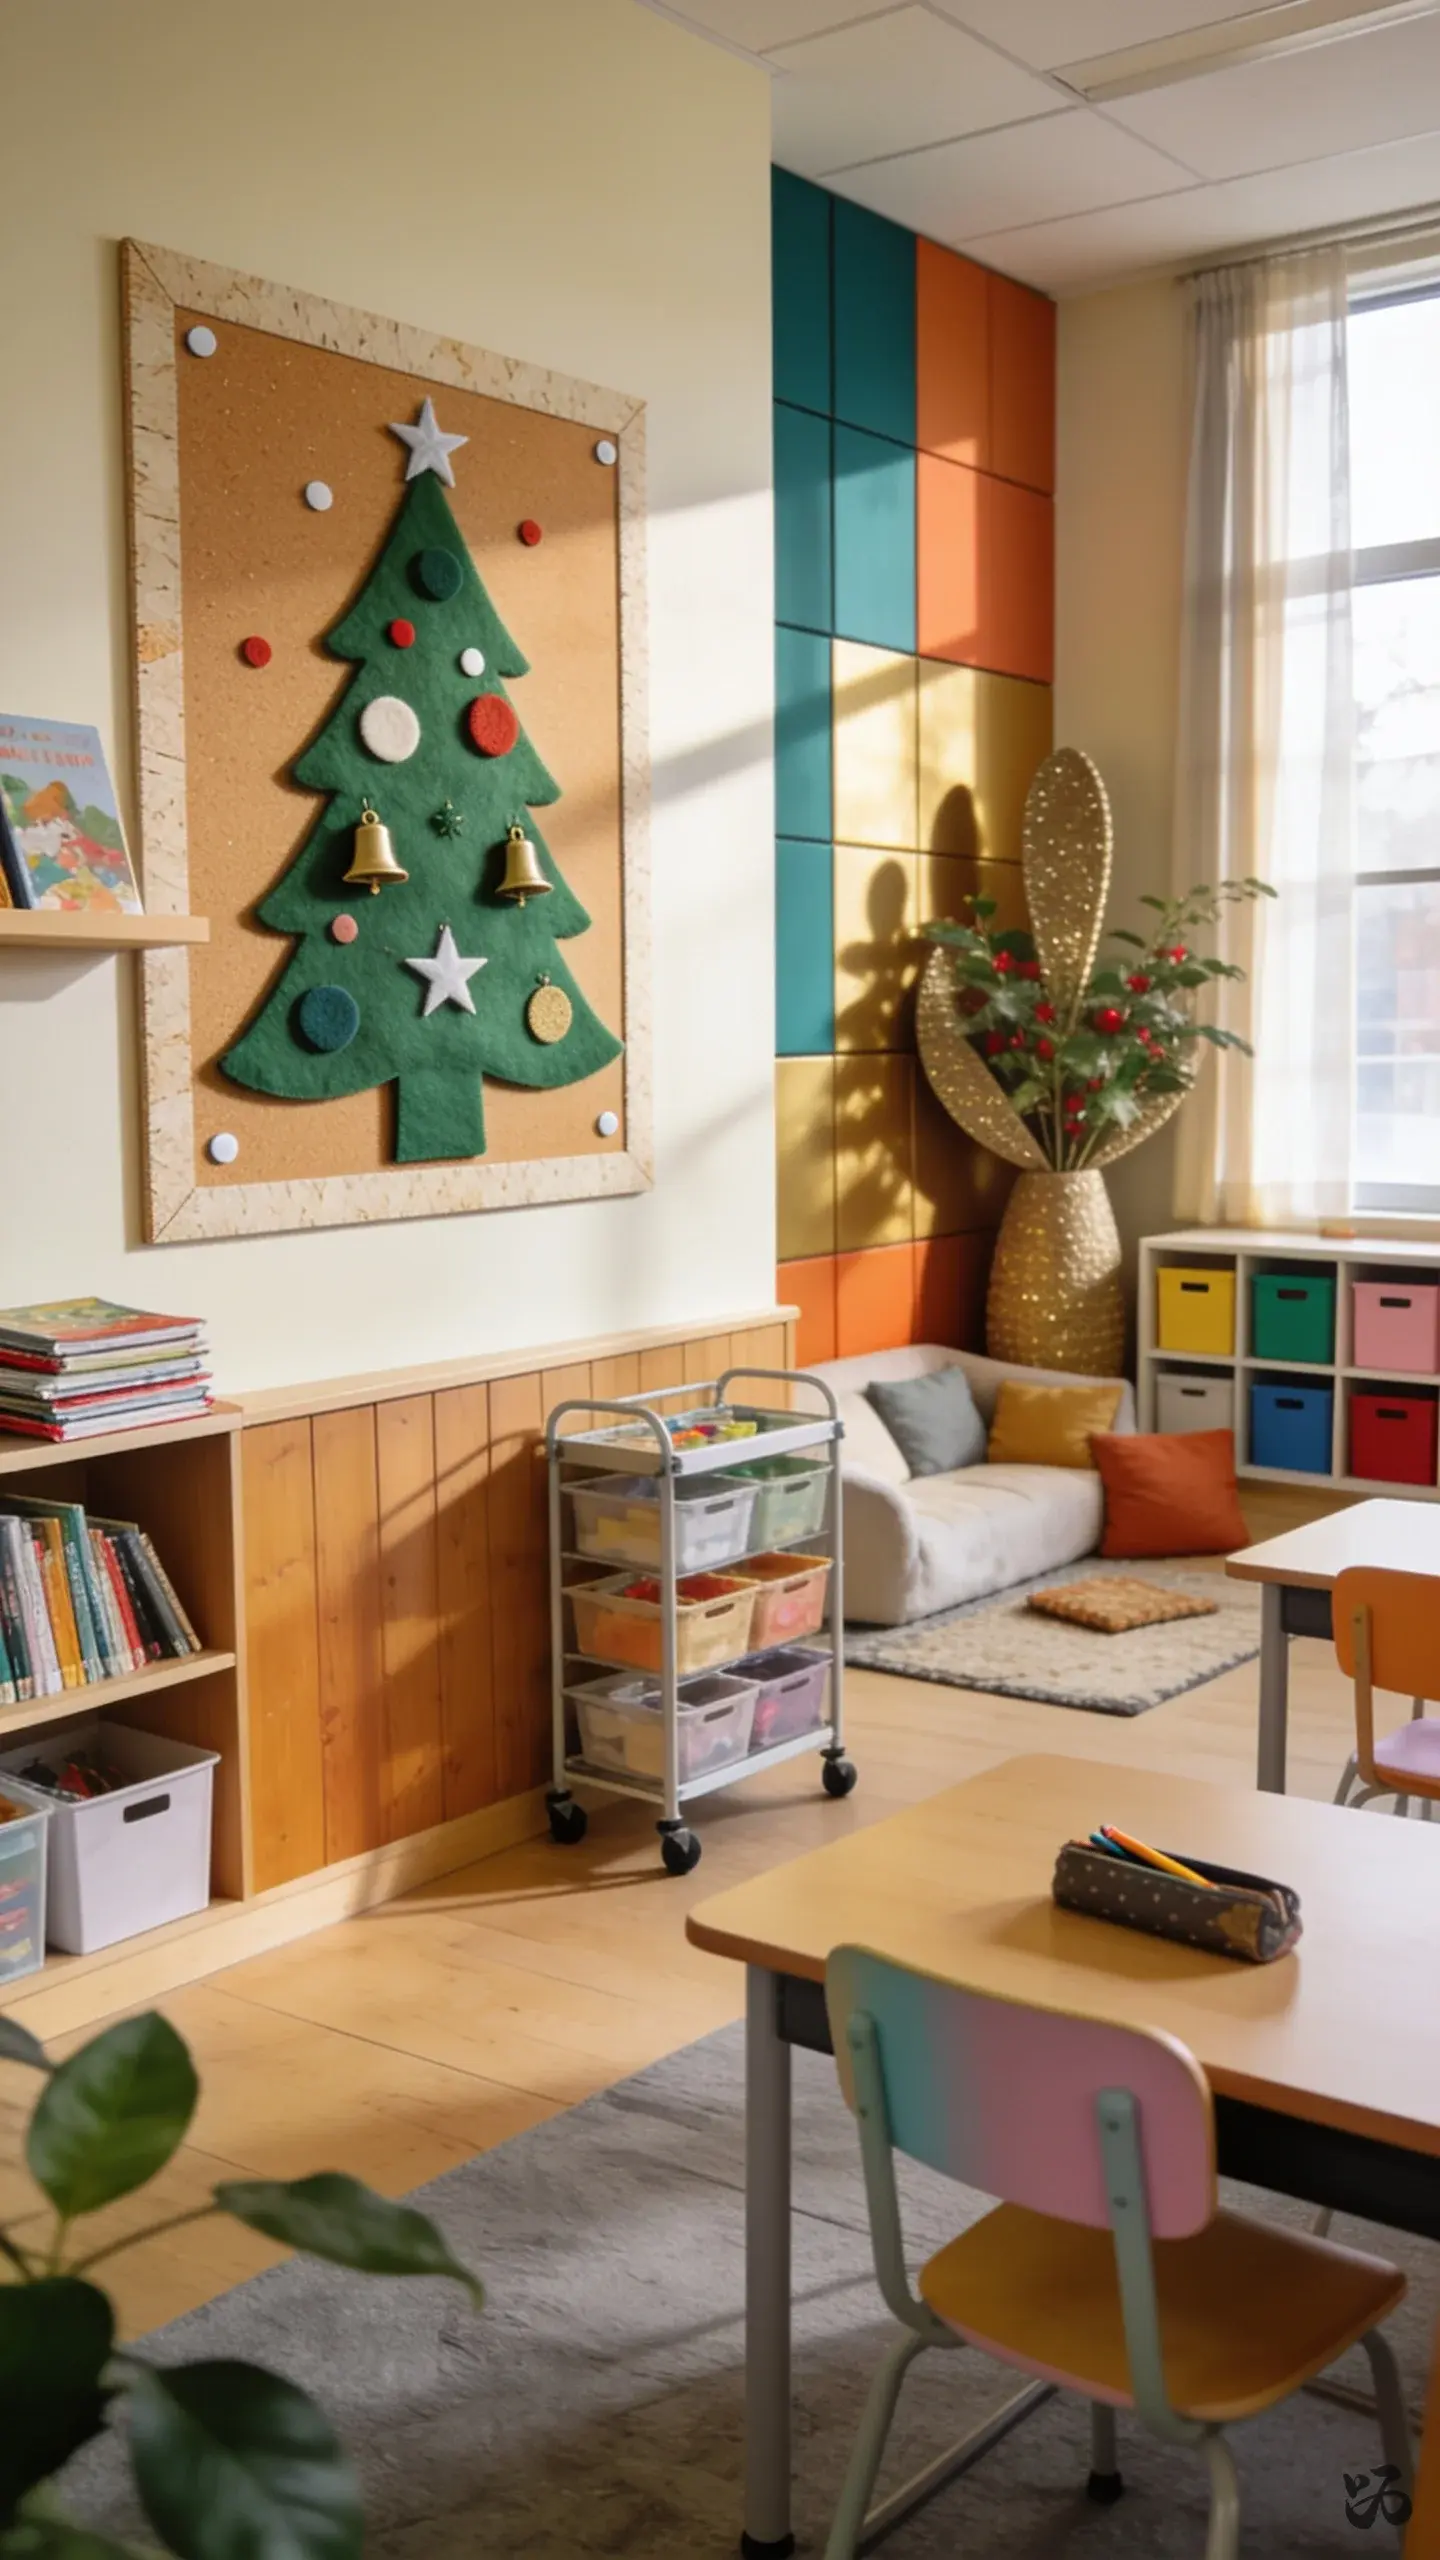
7. Felt Christmas Trees on a Bulletin Board
 Save
SaveA green felt tree with felt ornaments adds texture and depth to a bulletin board. Children can help place the ornaments during a literacy or math activity, reinforcing fine motor practice.
What you need
- Green felt
- Assorted felt shapes for ornaments
- Velcro dots to allow re-arranging
- Adhesive spray or border pins
- Cardstock star
May require a few extra minutes to assemble; robust enough for frequent handling in open areas.
What I’d Order Early

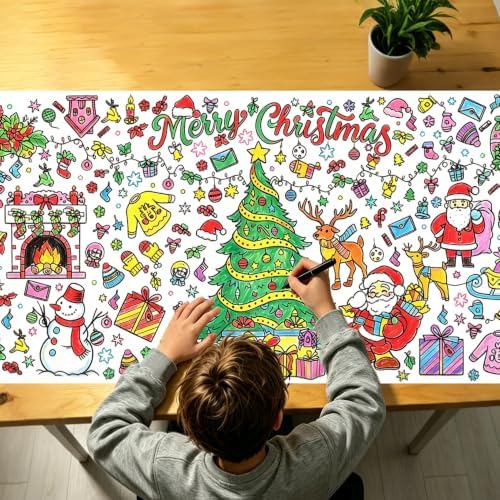
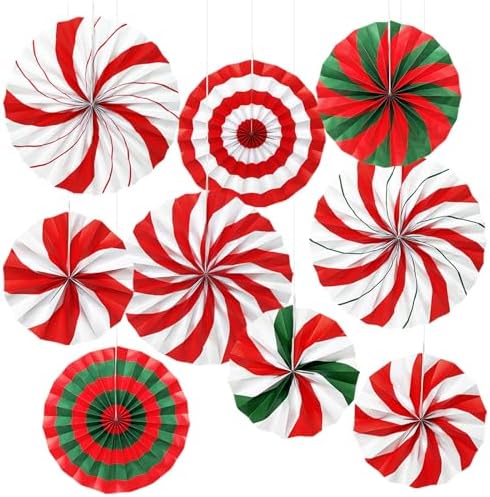
8. Countdown Stocking Stoppage
 Save
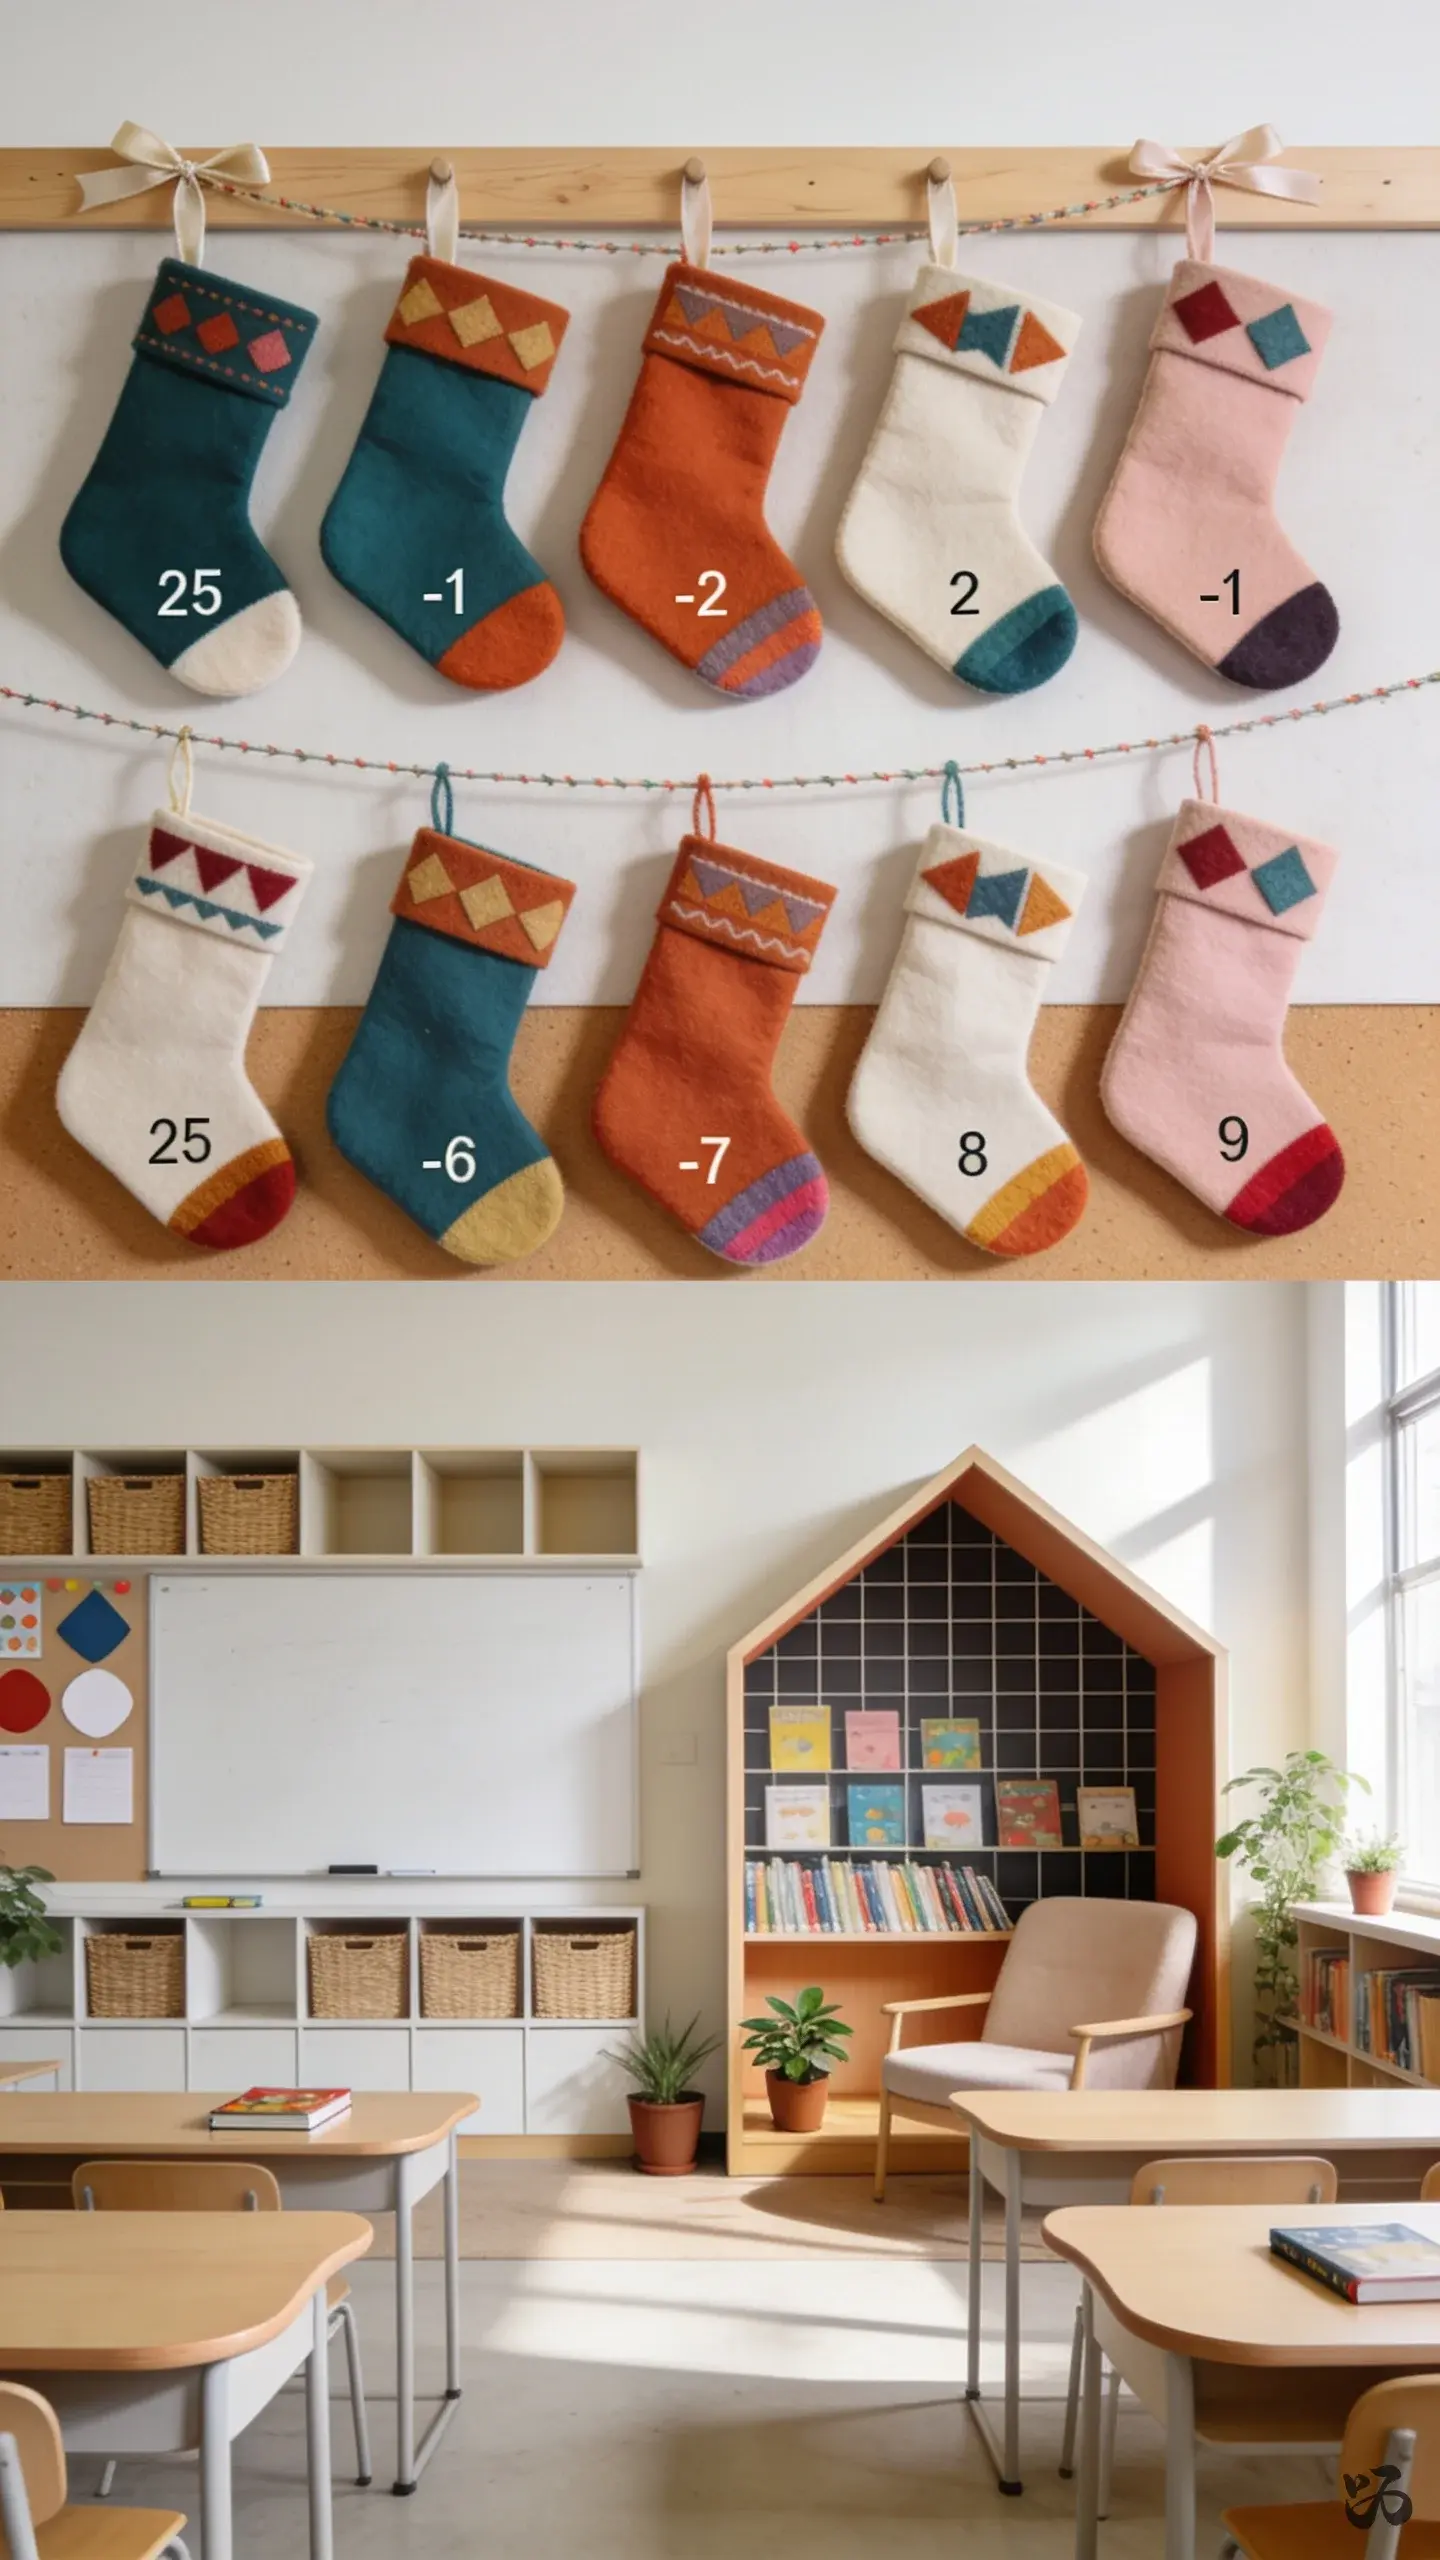
SaveA row of decorative stockings with numbers from 25 down to 1 on the toes. Kids can remove a stocking each day and a small reward can be kept inside for a simple incentive.
What you need
- Felt stockings or craft stockings
- Marker or fabric pen
- Small treats or notes
- String or ribbon
- Push pins or tape
Works well for pre-K through second grade; time is in planning the rewards rather than the display.
9. Santa’s Silhouette Cutouts
 Save
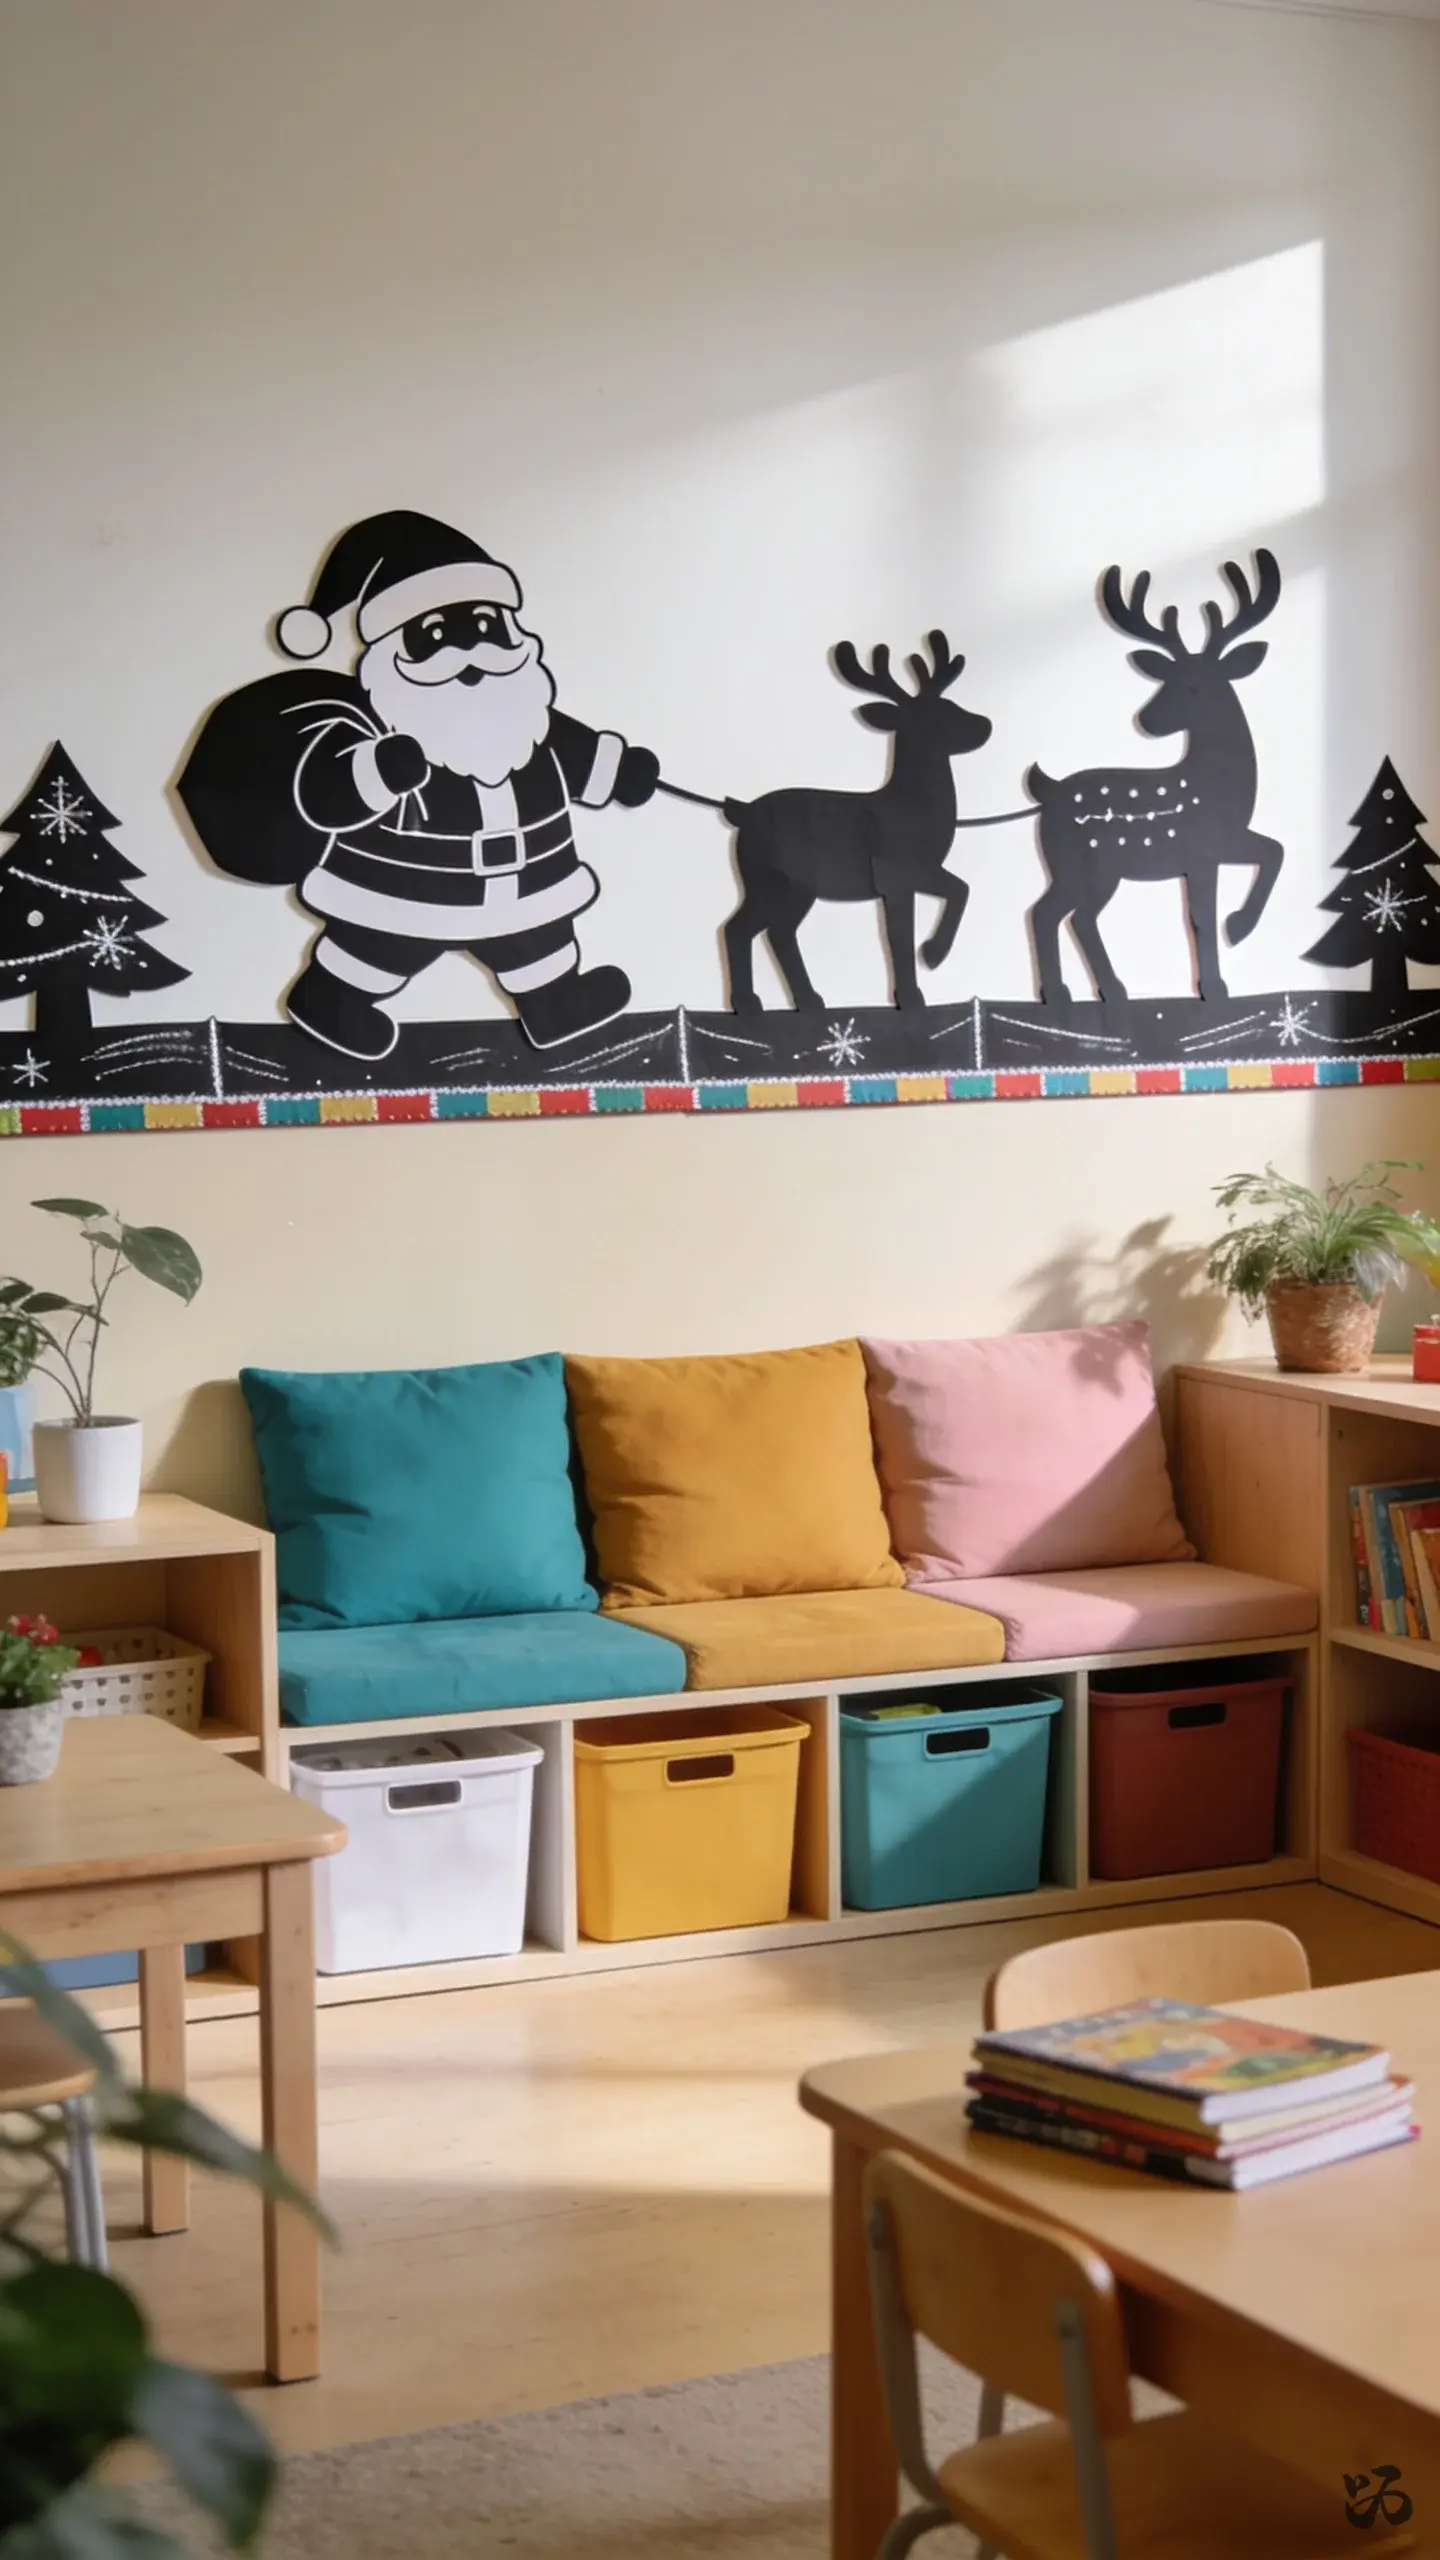
SaveBlack cardstock silhouettes of Santa and reindeer on a bright wall create a classic holiday look without busy detail. Position them at kid height along a seam of wall for easy viewing by all.
What you need
- Black cardstock
- White chalk or gel pen
- Command strips or removable tape
- Colored border trim
- Template shapes
Cutting is the main time saver; this is sturdy and easy to remove.
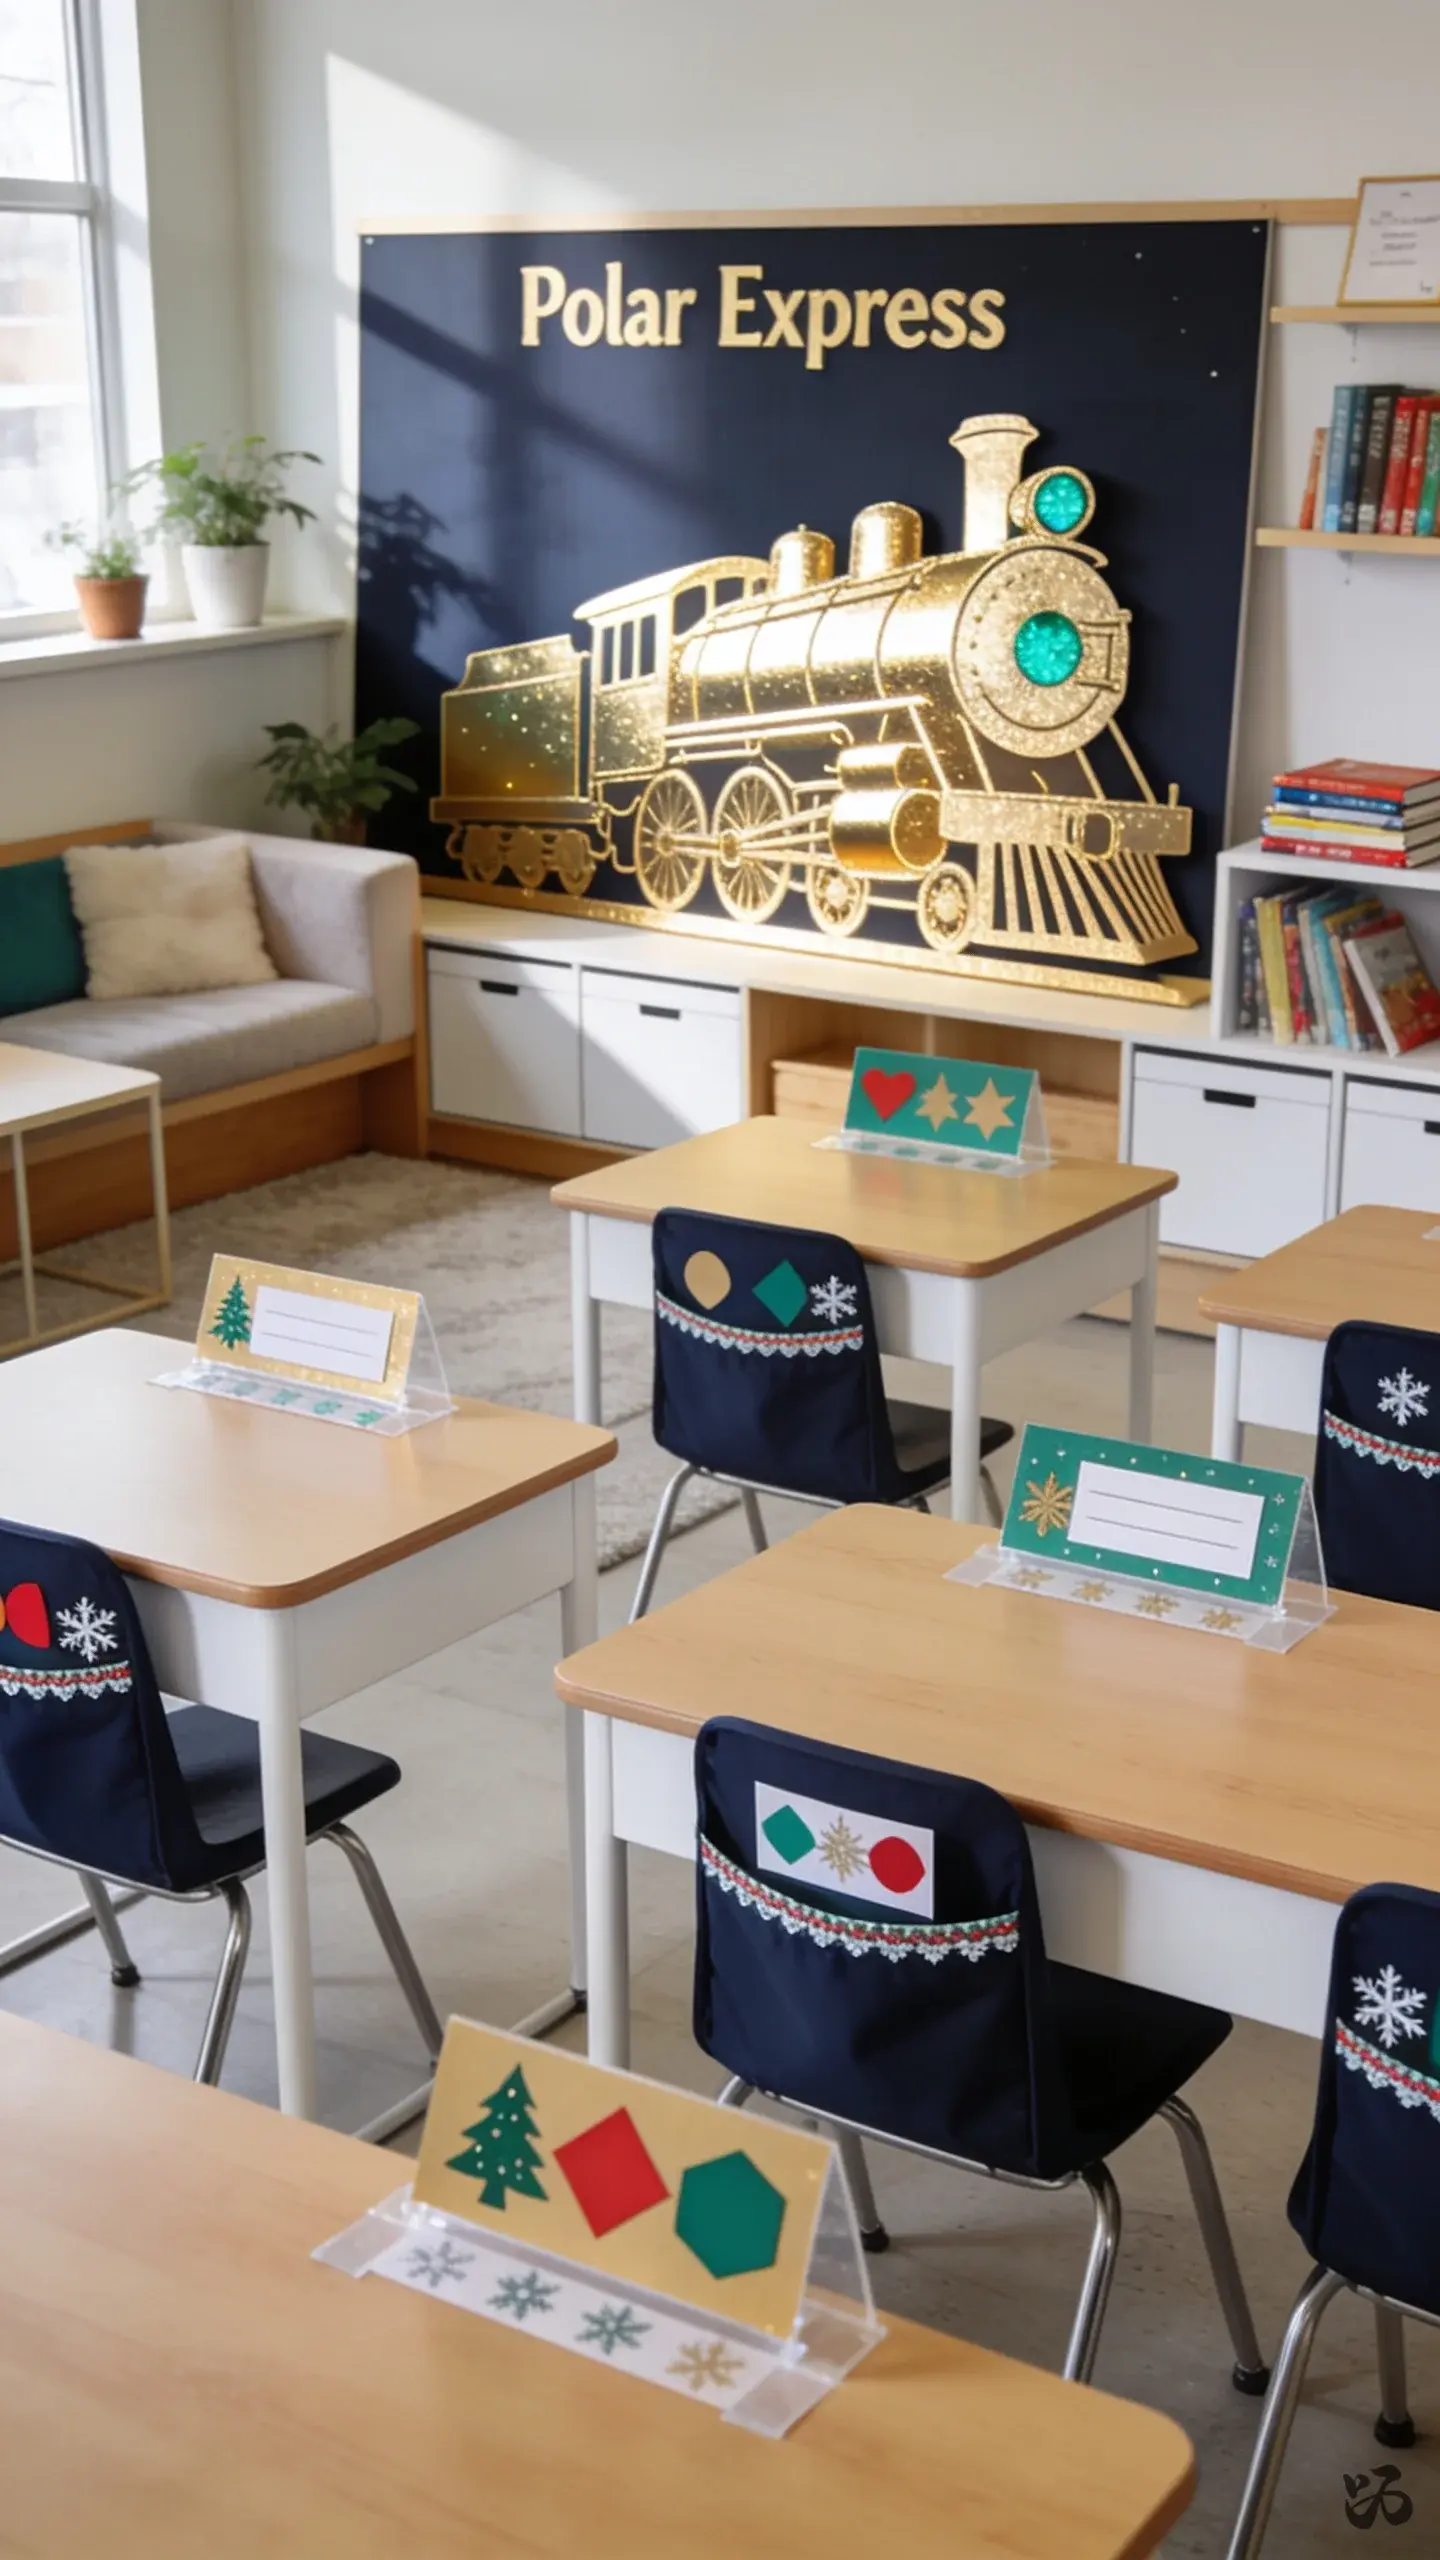
10. Polar Express-Themed Seat Signs
 Save
SaveMake a small border of snowflakes along the edge of chair pockets and label seating with festive characters. It keeps students organized and reinforces color matching and letter recognition.
What you need
- Cardstock signs
- Metallic markers
- Chair pocket labels
- Border trim
- Clear tape
Low-lift project; suits a classroom with movable furniture during field trips or Open House.
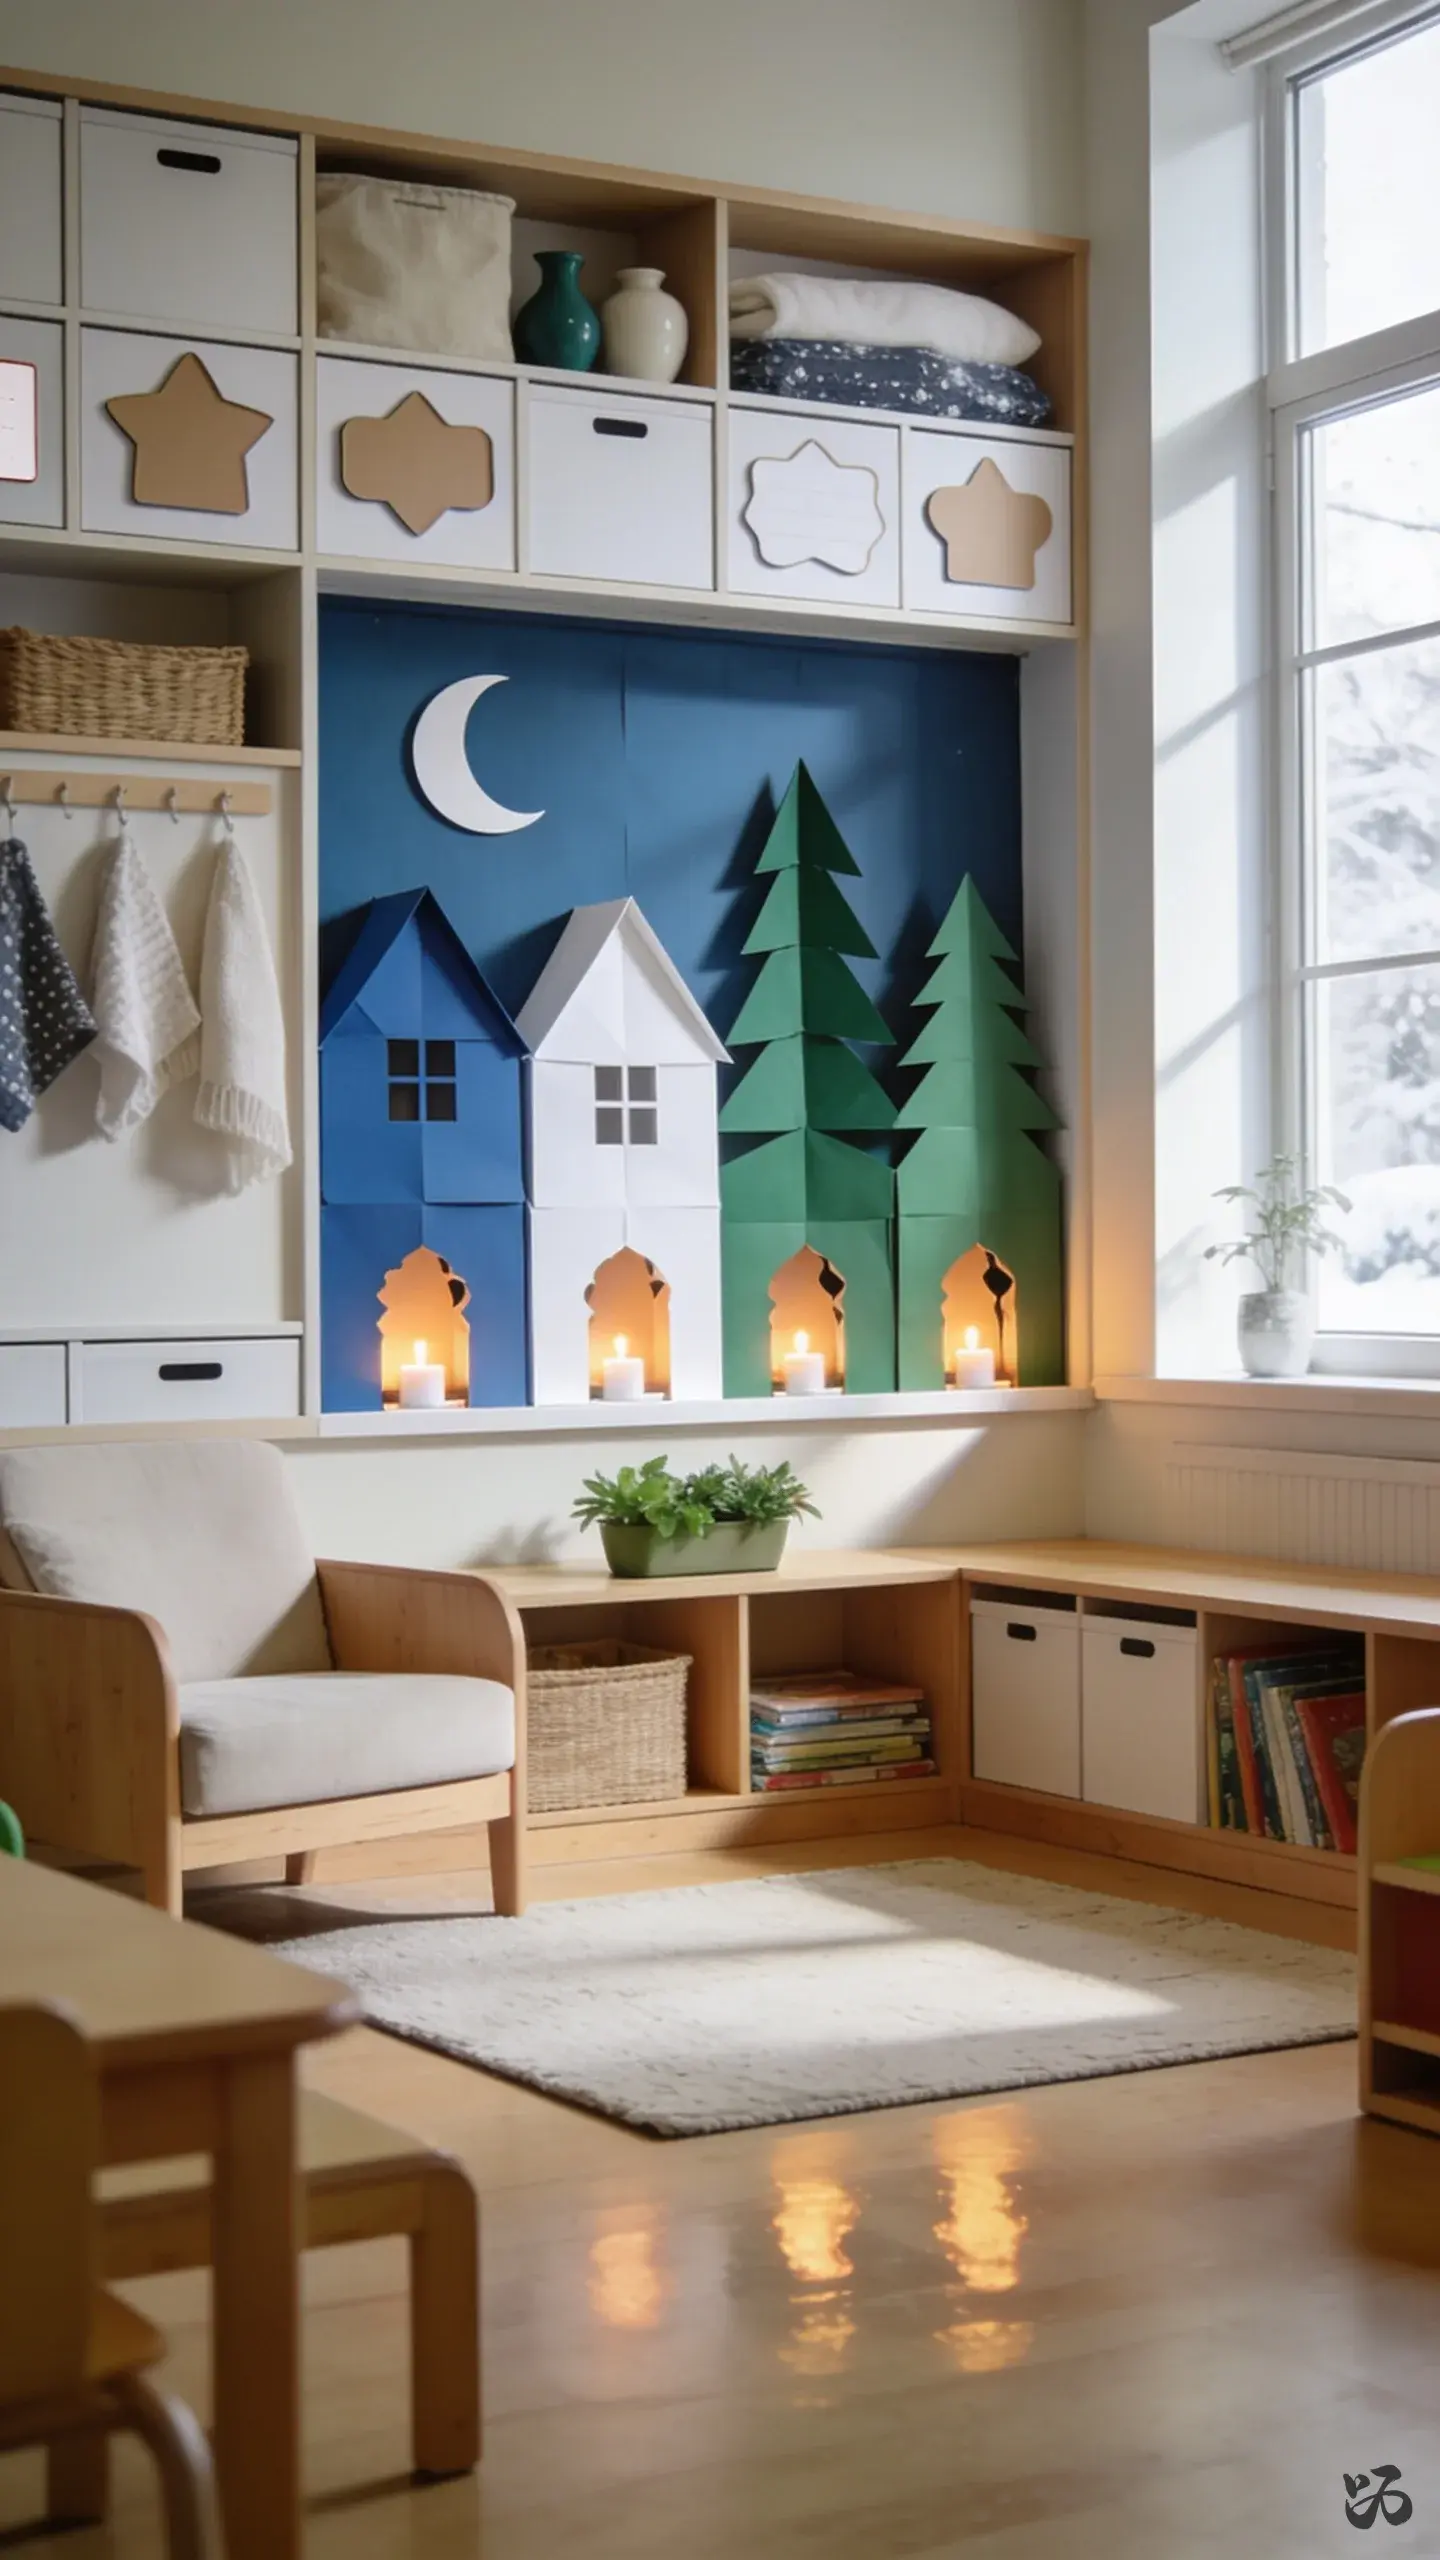
11. Lighted Winter Scene from Cardstock
 Save
SaveA row of simple houses, pine trees, and a moon cut from cardstock creates a calm winter panorama. Place under a window or along the back wall for soft light during reading time.
What you need
- Cardstock in blue, white, and green
- Battery-operated tea lights
- Glue sticks
- Tape
- Scissors
Laminate not required; keep the solar faith by avoiding heat sources in the lights.
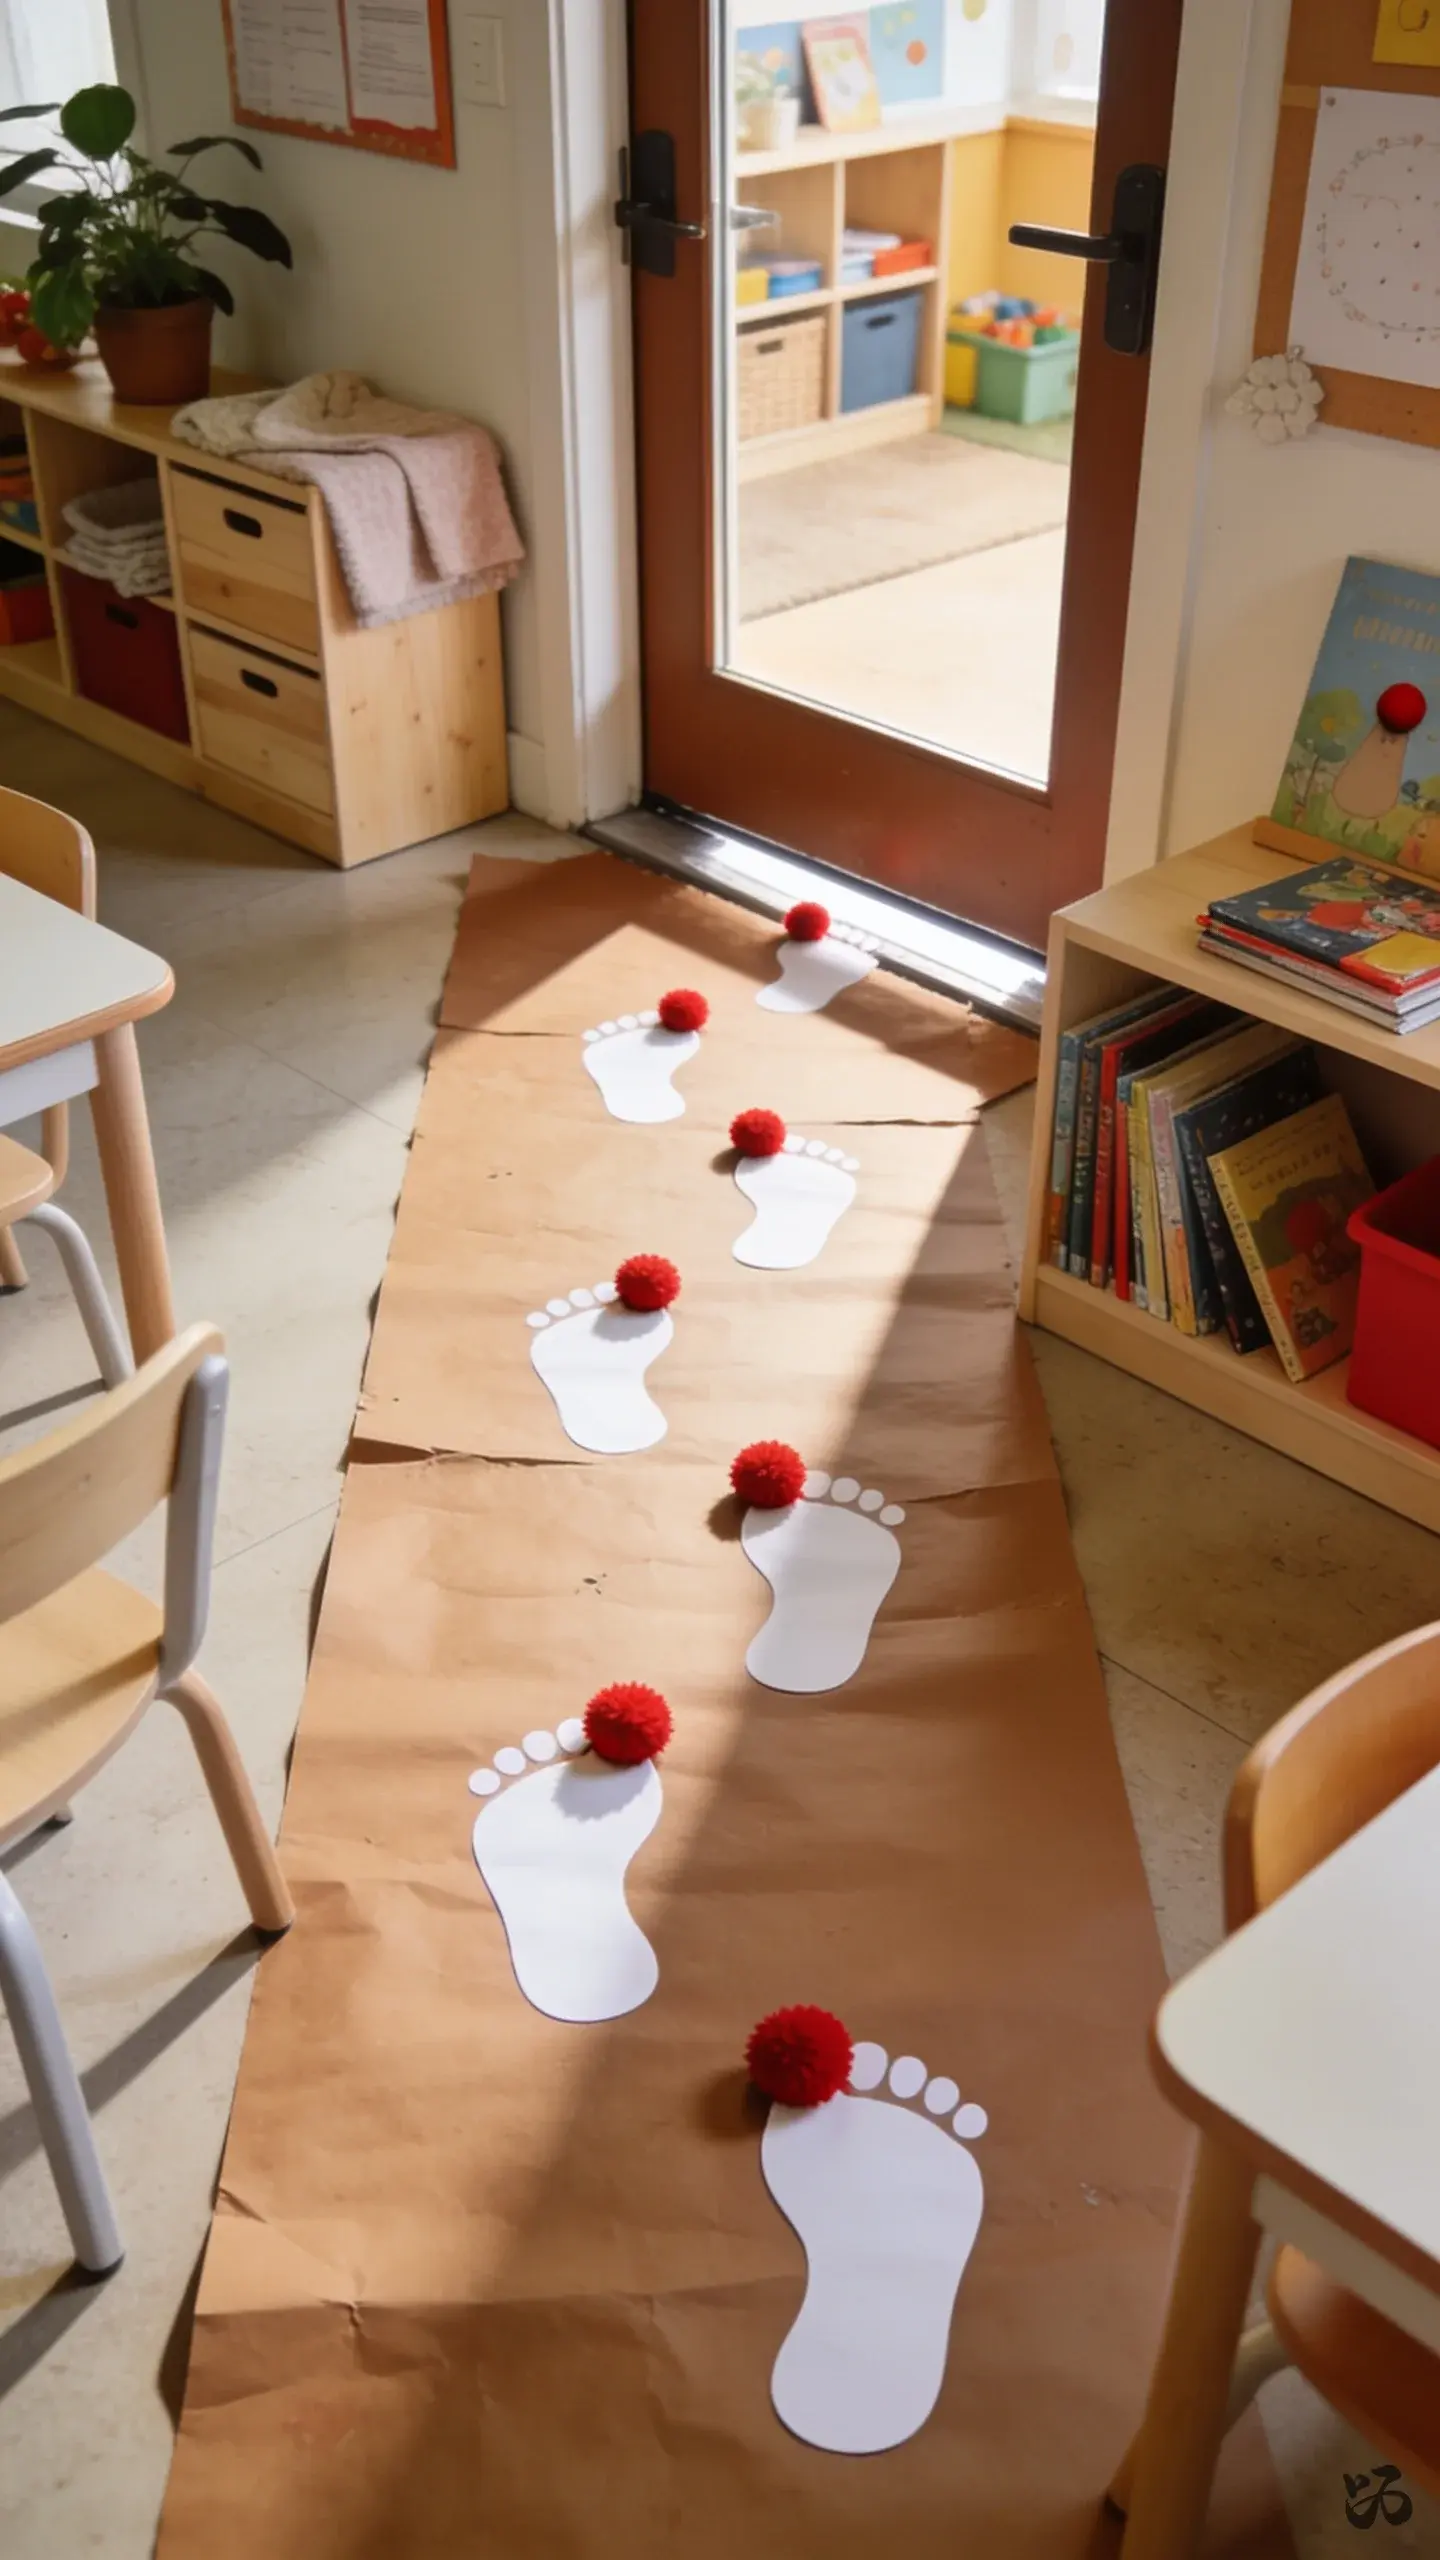
12. Reindeer Footprint Path
 Save
SaveBrown butcher paper on the floor near the door with white footprint markers creates a playful approach to greeting students at Open House. It guides kids in a fun, tactile way to the main entrance.
What you need
- Brown butcher paper
- White printer paper cut into footprints
- Masking tape
- Red pom-poms for noses
- Marker for footprints
Install along the threshold; this is a simple ground display that cleans up easily.
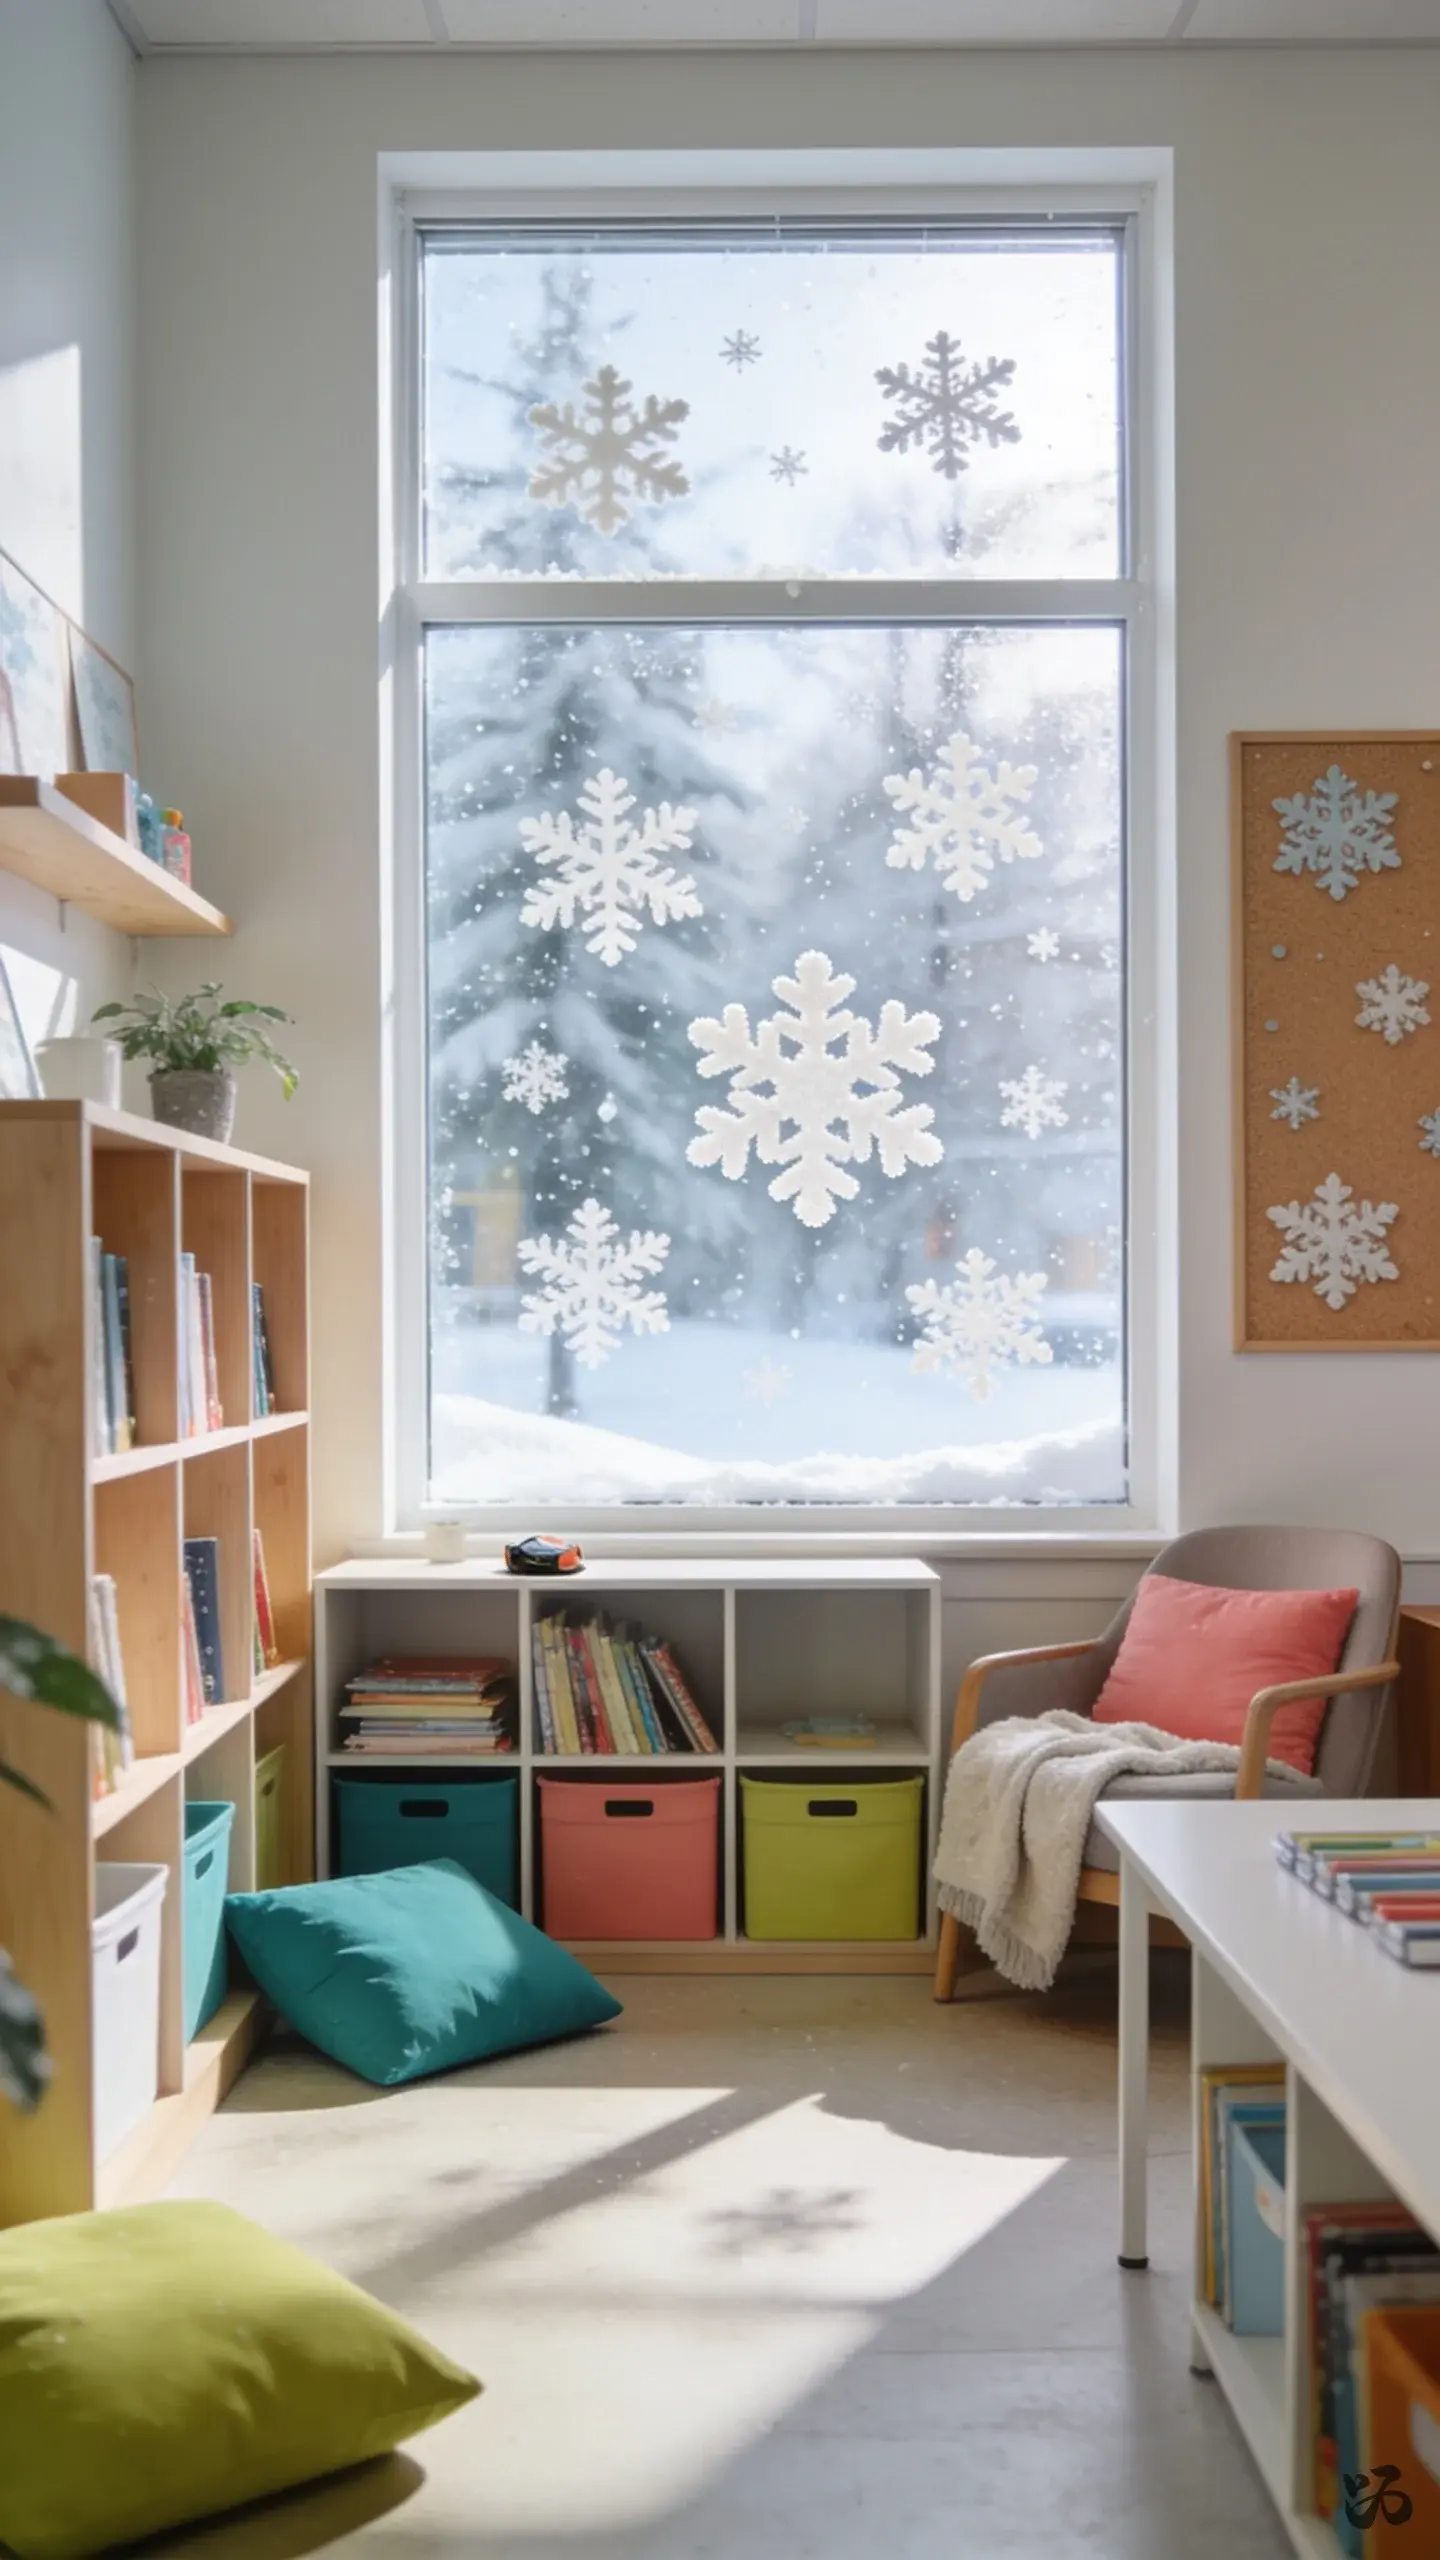
13. Snowy Window Stickers
 Save
SaveCraft foam snowflakes and window clings give a crisp window view without heavy adhesives. They stay visible from the hallway and from inside the classroom during winter months.
What you need
- Foam shapes
- Window-safe cling adhesive
- Silver marker
- Scissors
- Clear tape
Best on dry windows; easy to remove after winter break.
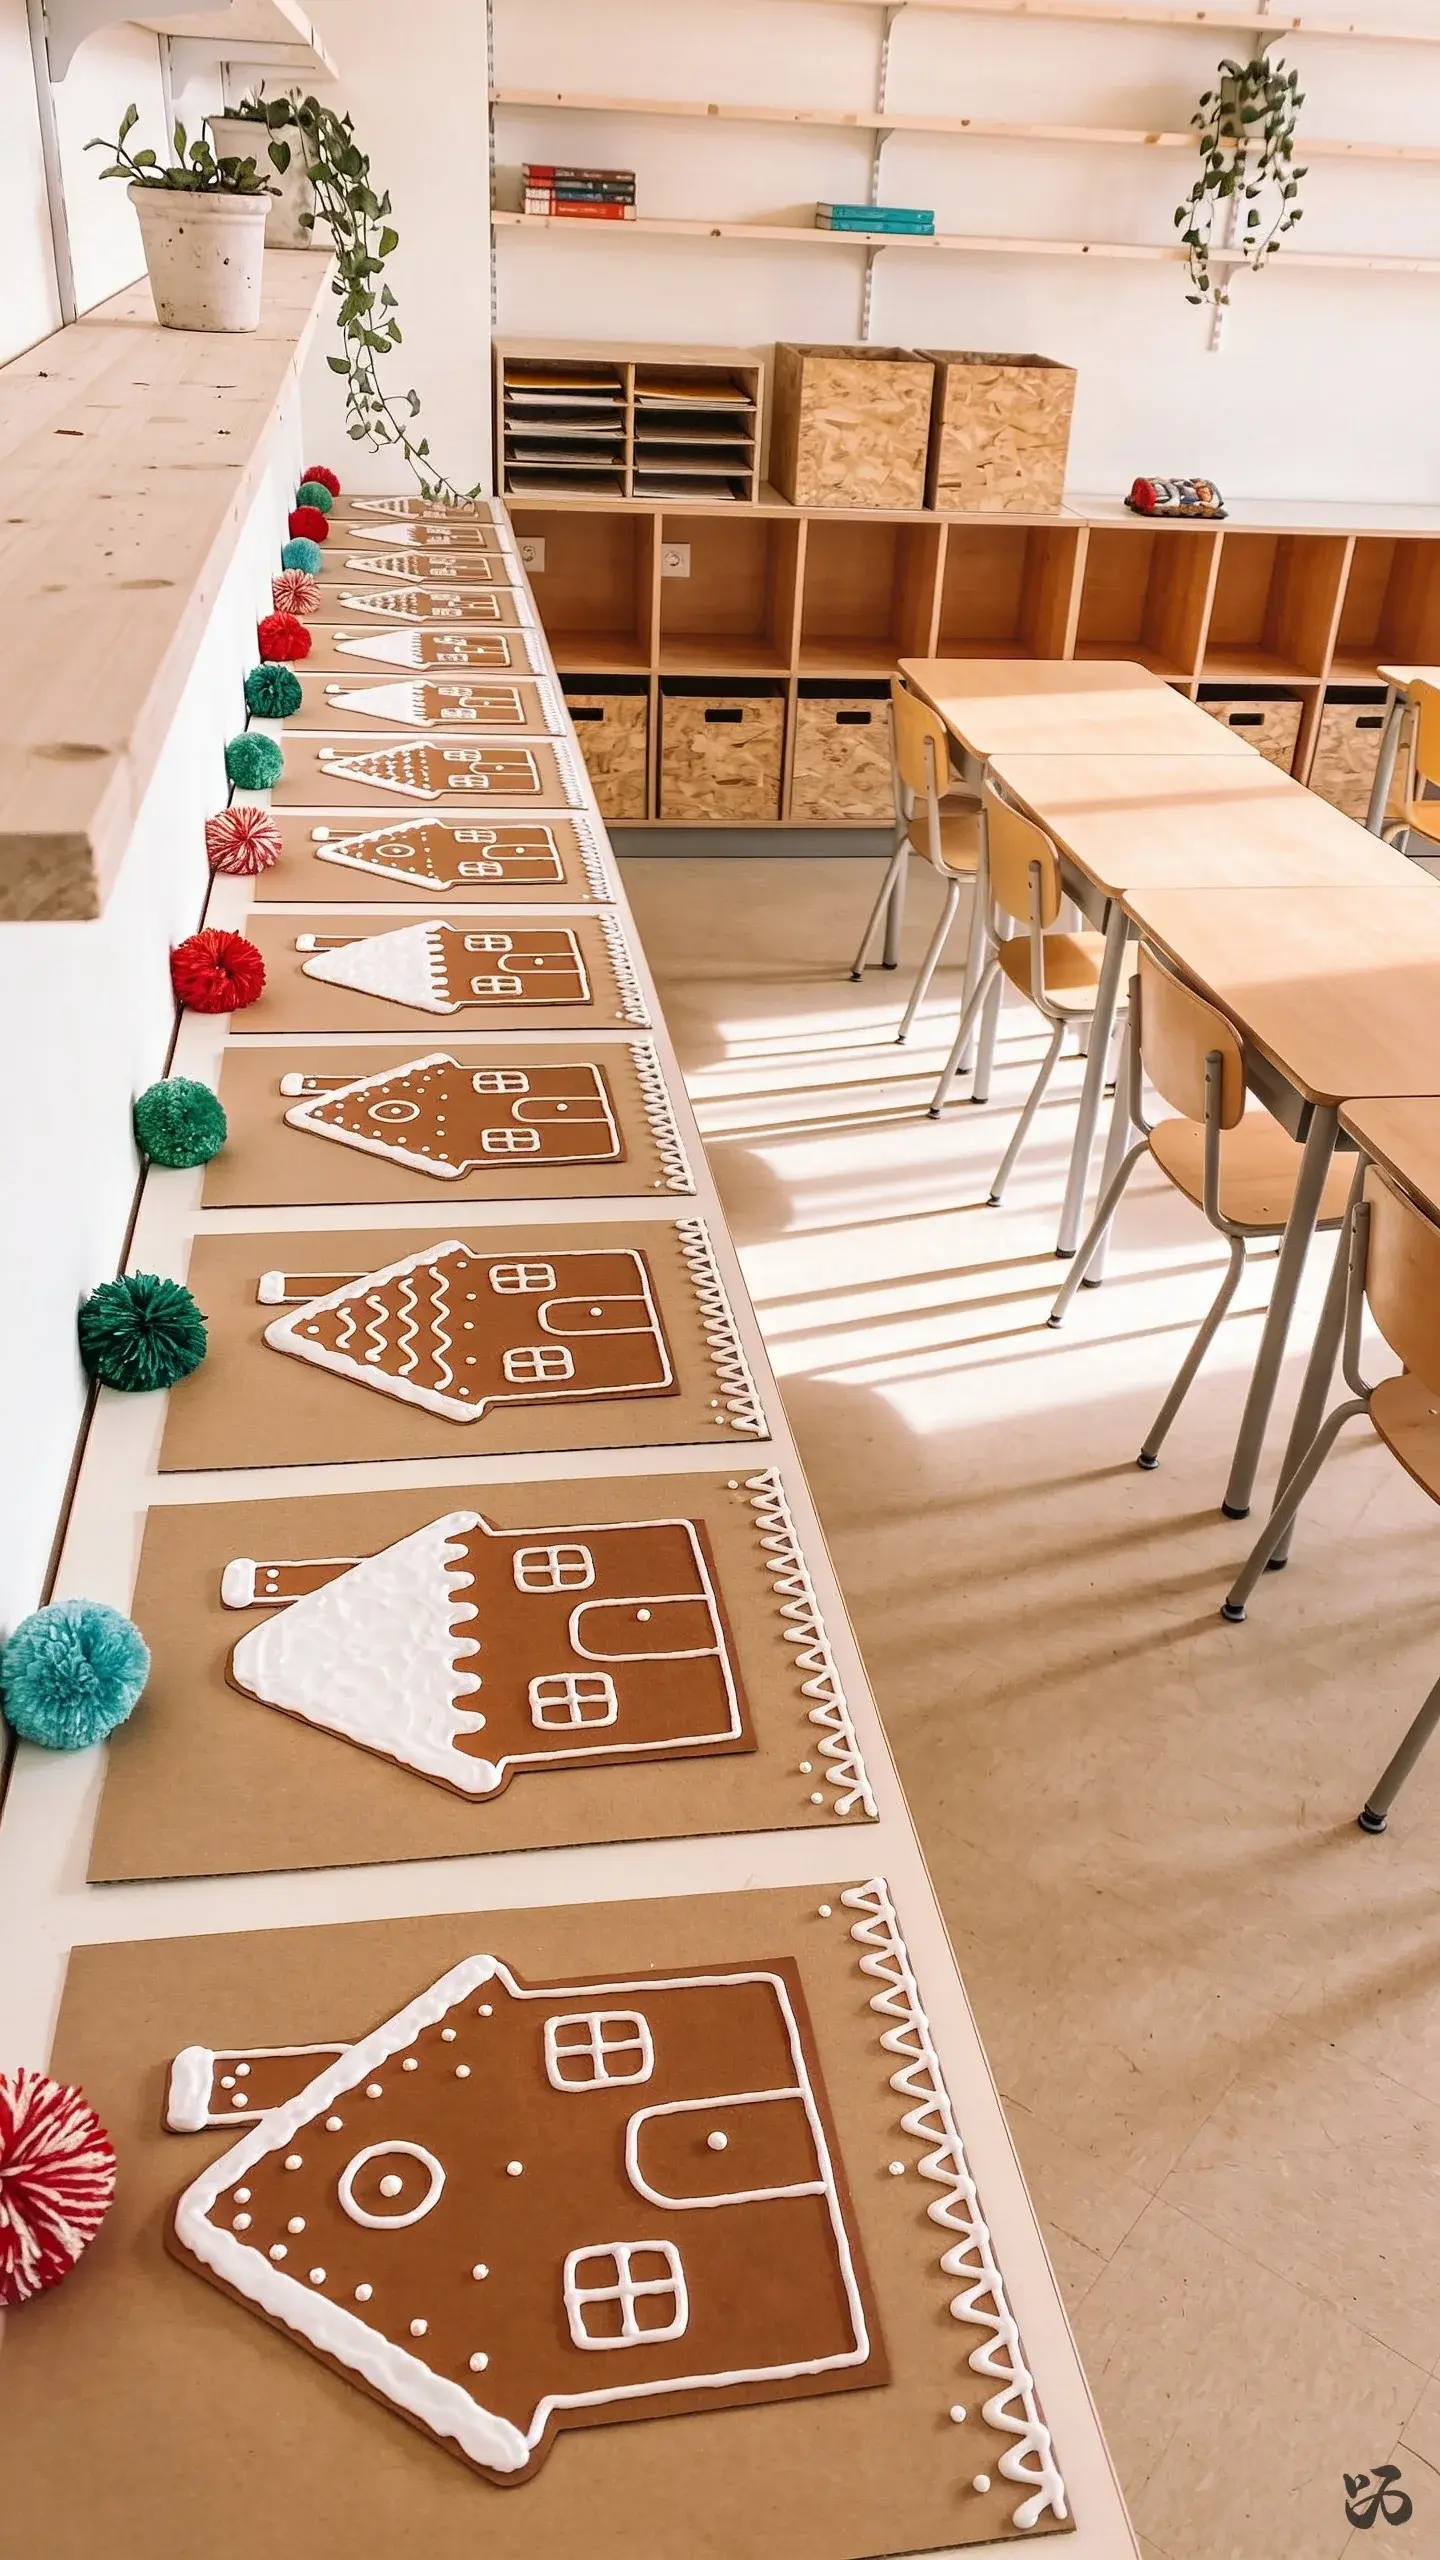
14. Gingerbread Village on a Board
 Save
SaveA row of gingerbread houses made from kraft paper and brown construction paper lines a board or wall. Add white icing lines with marker to simulate frosting for a tasty, kid-friendly visual.
What you need
- Brown kraft paper
- White construction paper and white marker
- Colored pom-poms
- Glue sticks
- Border trim
Great for a fall-to-wall transition and reduces the need for small embellishments.
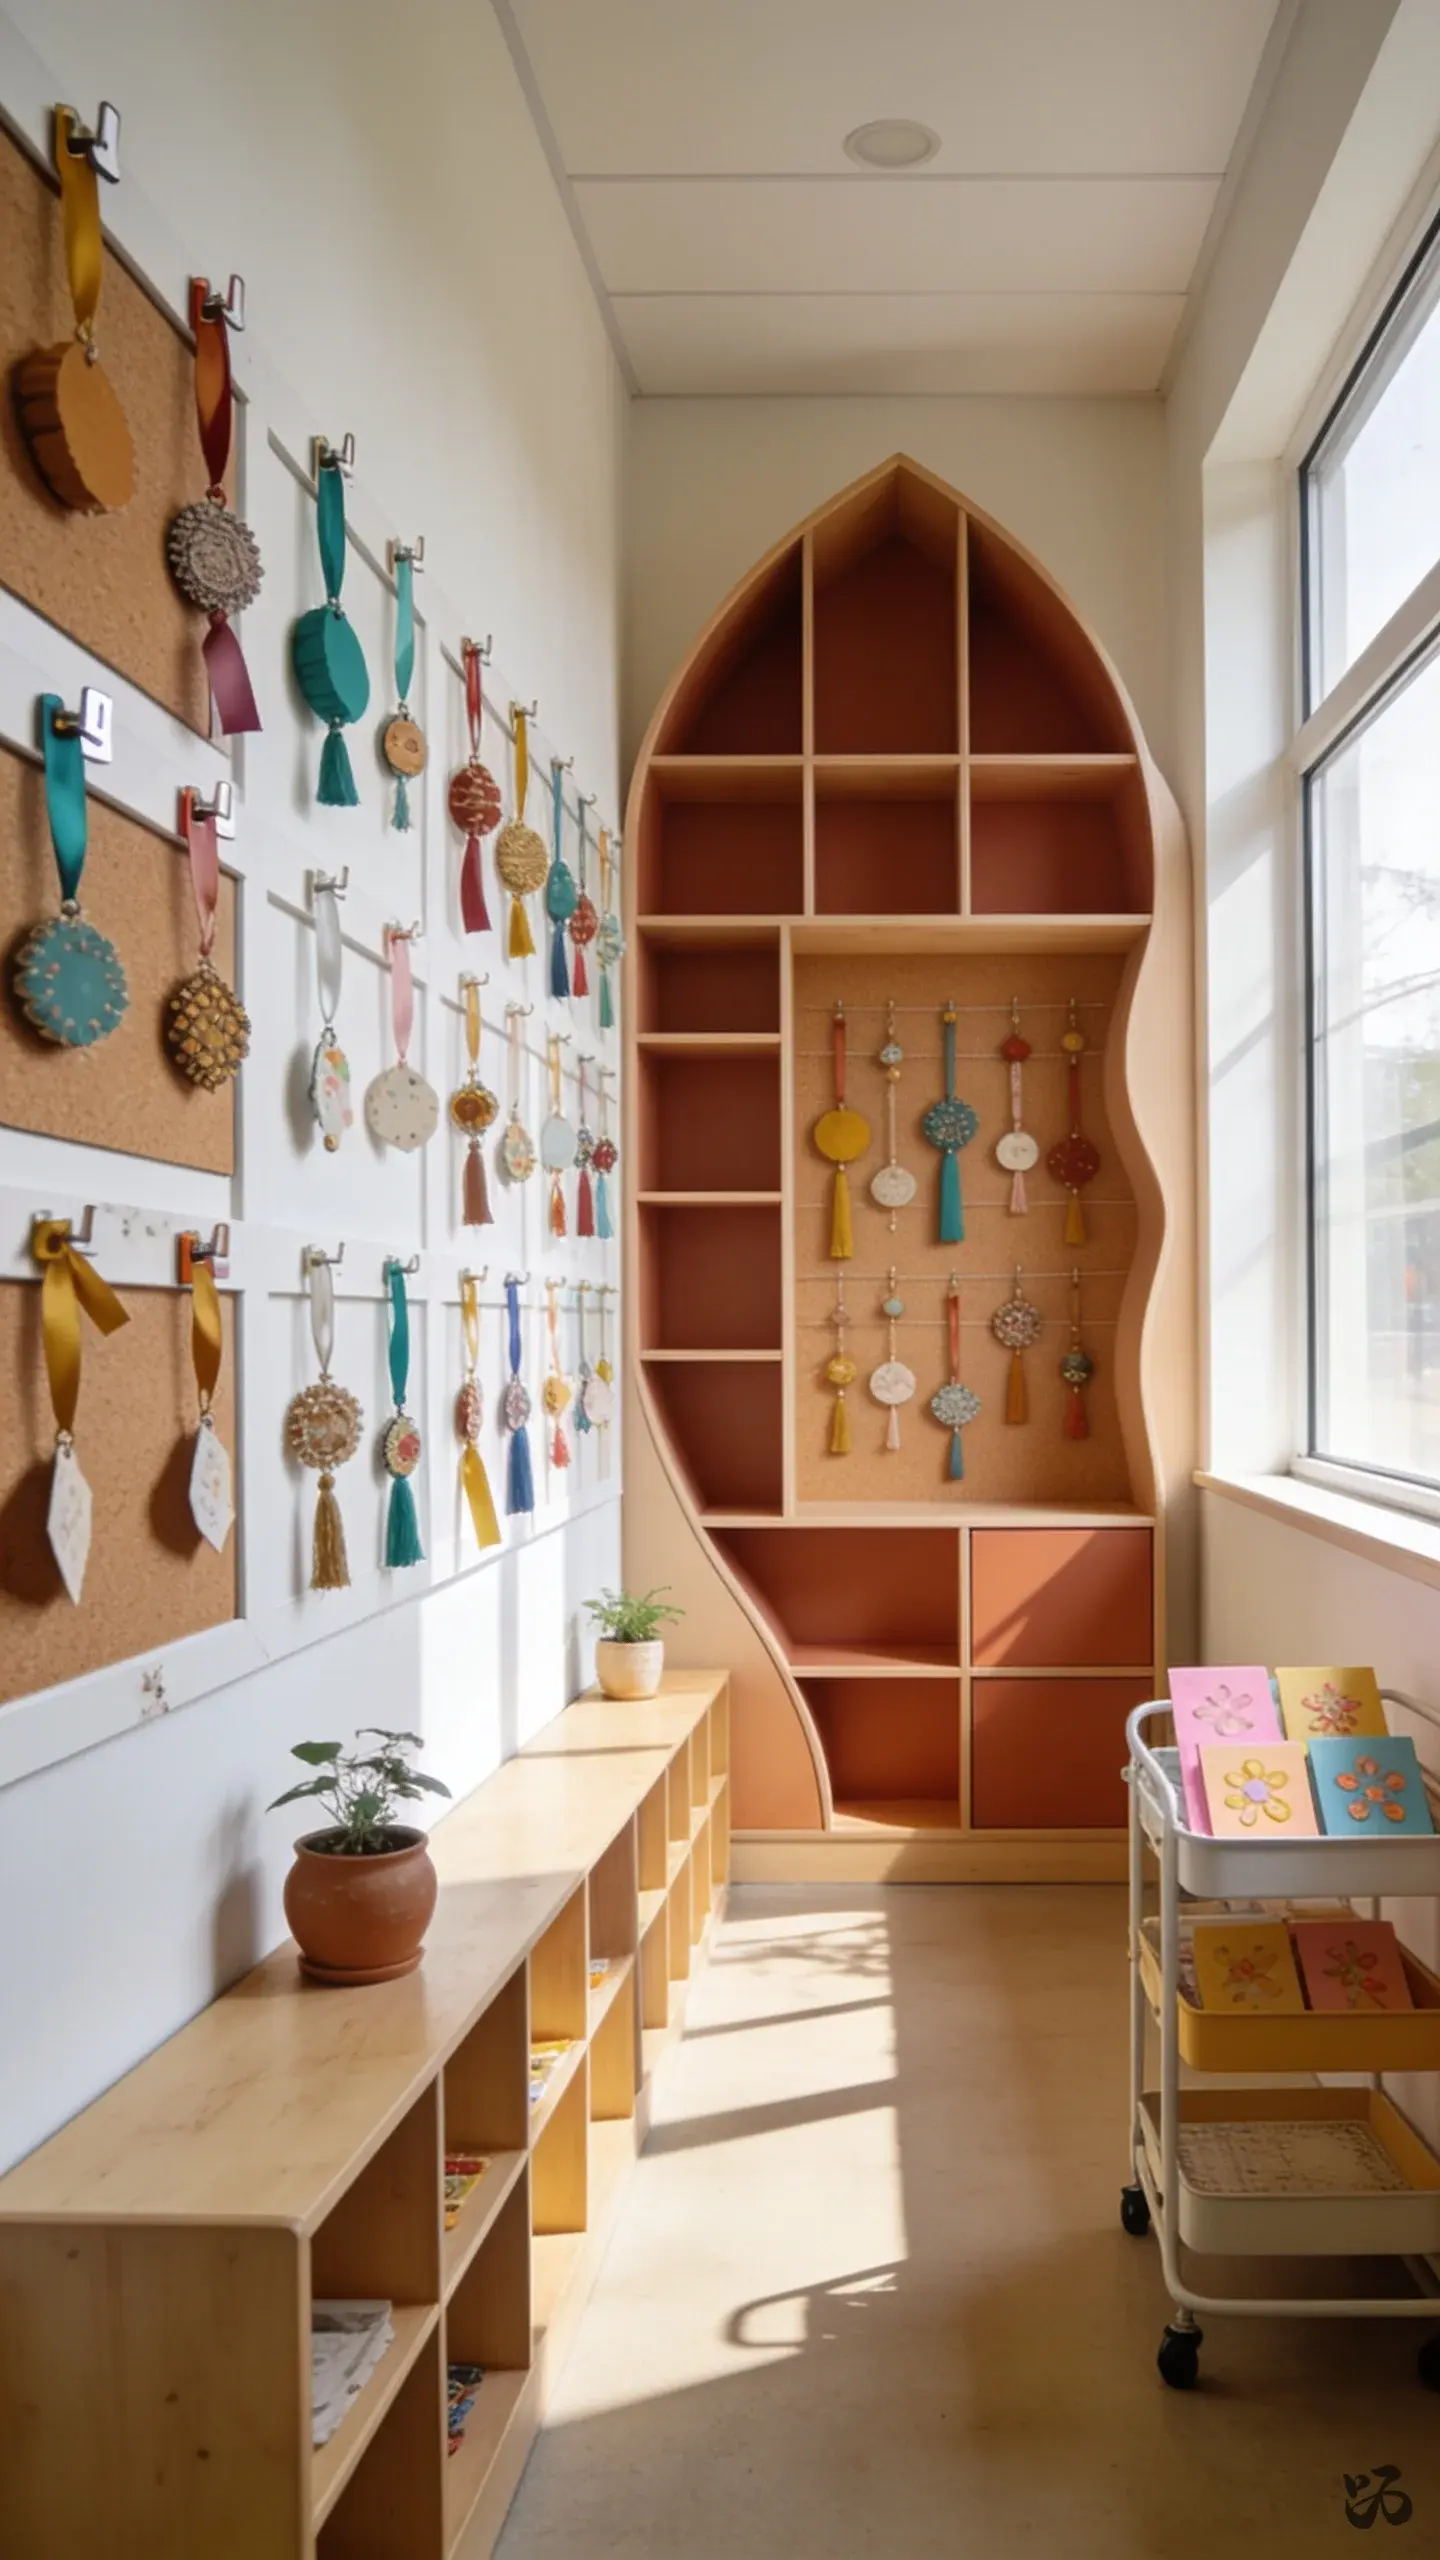
15. Ornament Gallery Walk
 Save
SaveHang student-made ornaments along a short hallway or inside your homeroom. Use a simple color system so kids can find their own or a friend’s ornament during a quick classroom gallery walk.
What you need
- Ornament-shaped cutouts
- Student name labels
- Clear tape or clips
- Colorful ribbon
- Cardstock and markers
Let student work guide the arrangement; you can repurpose this after field trips or Open House.
Paper, Borders and Letters
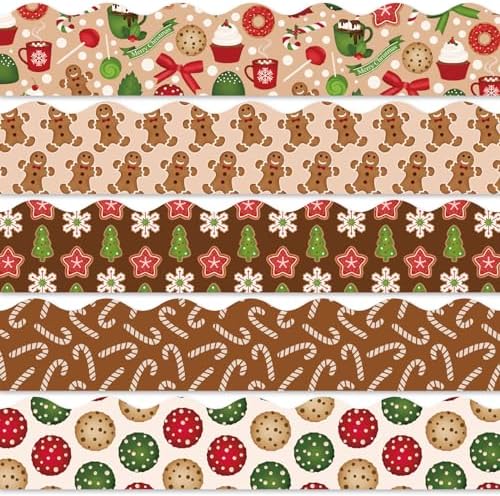

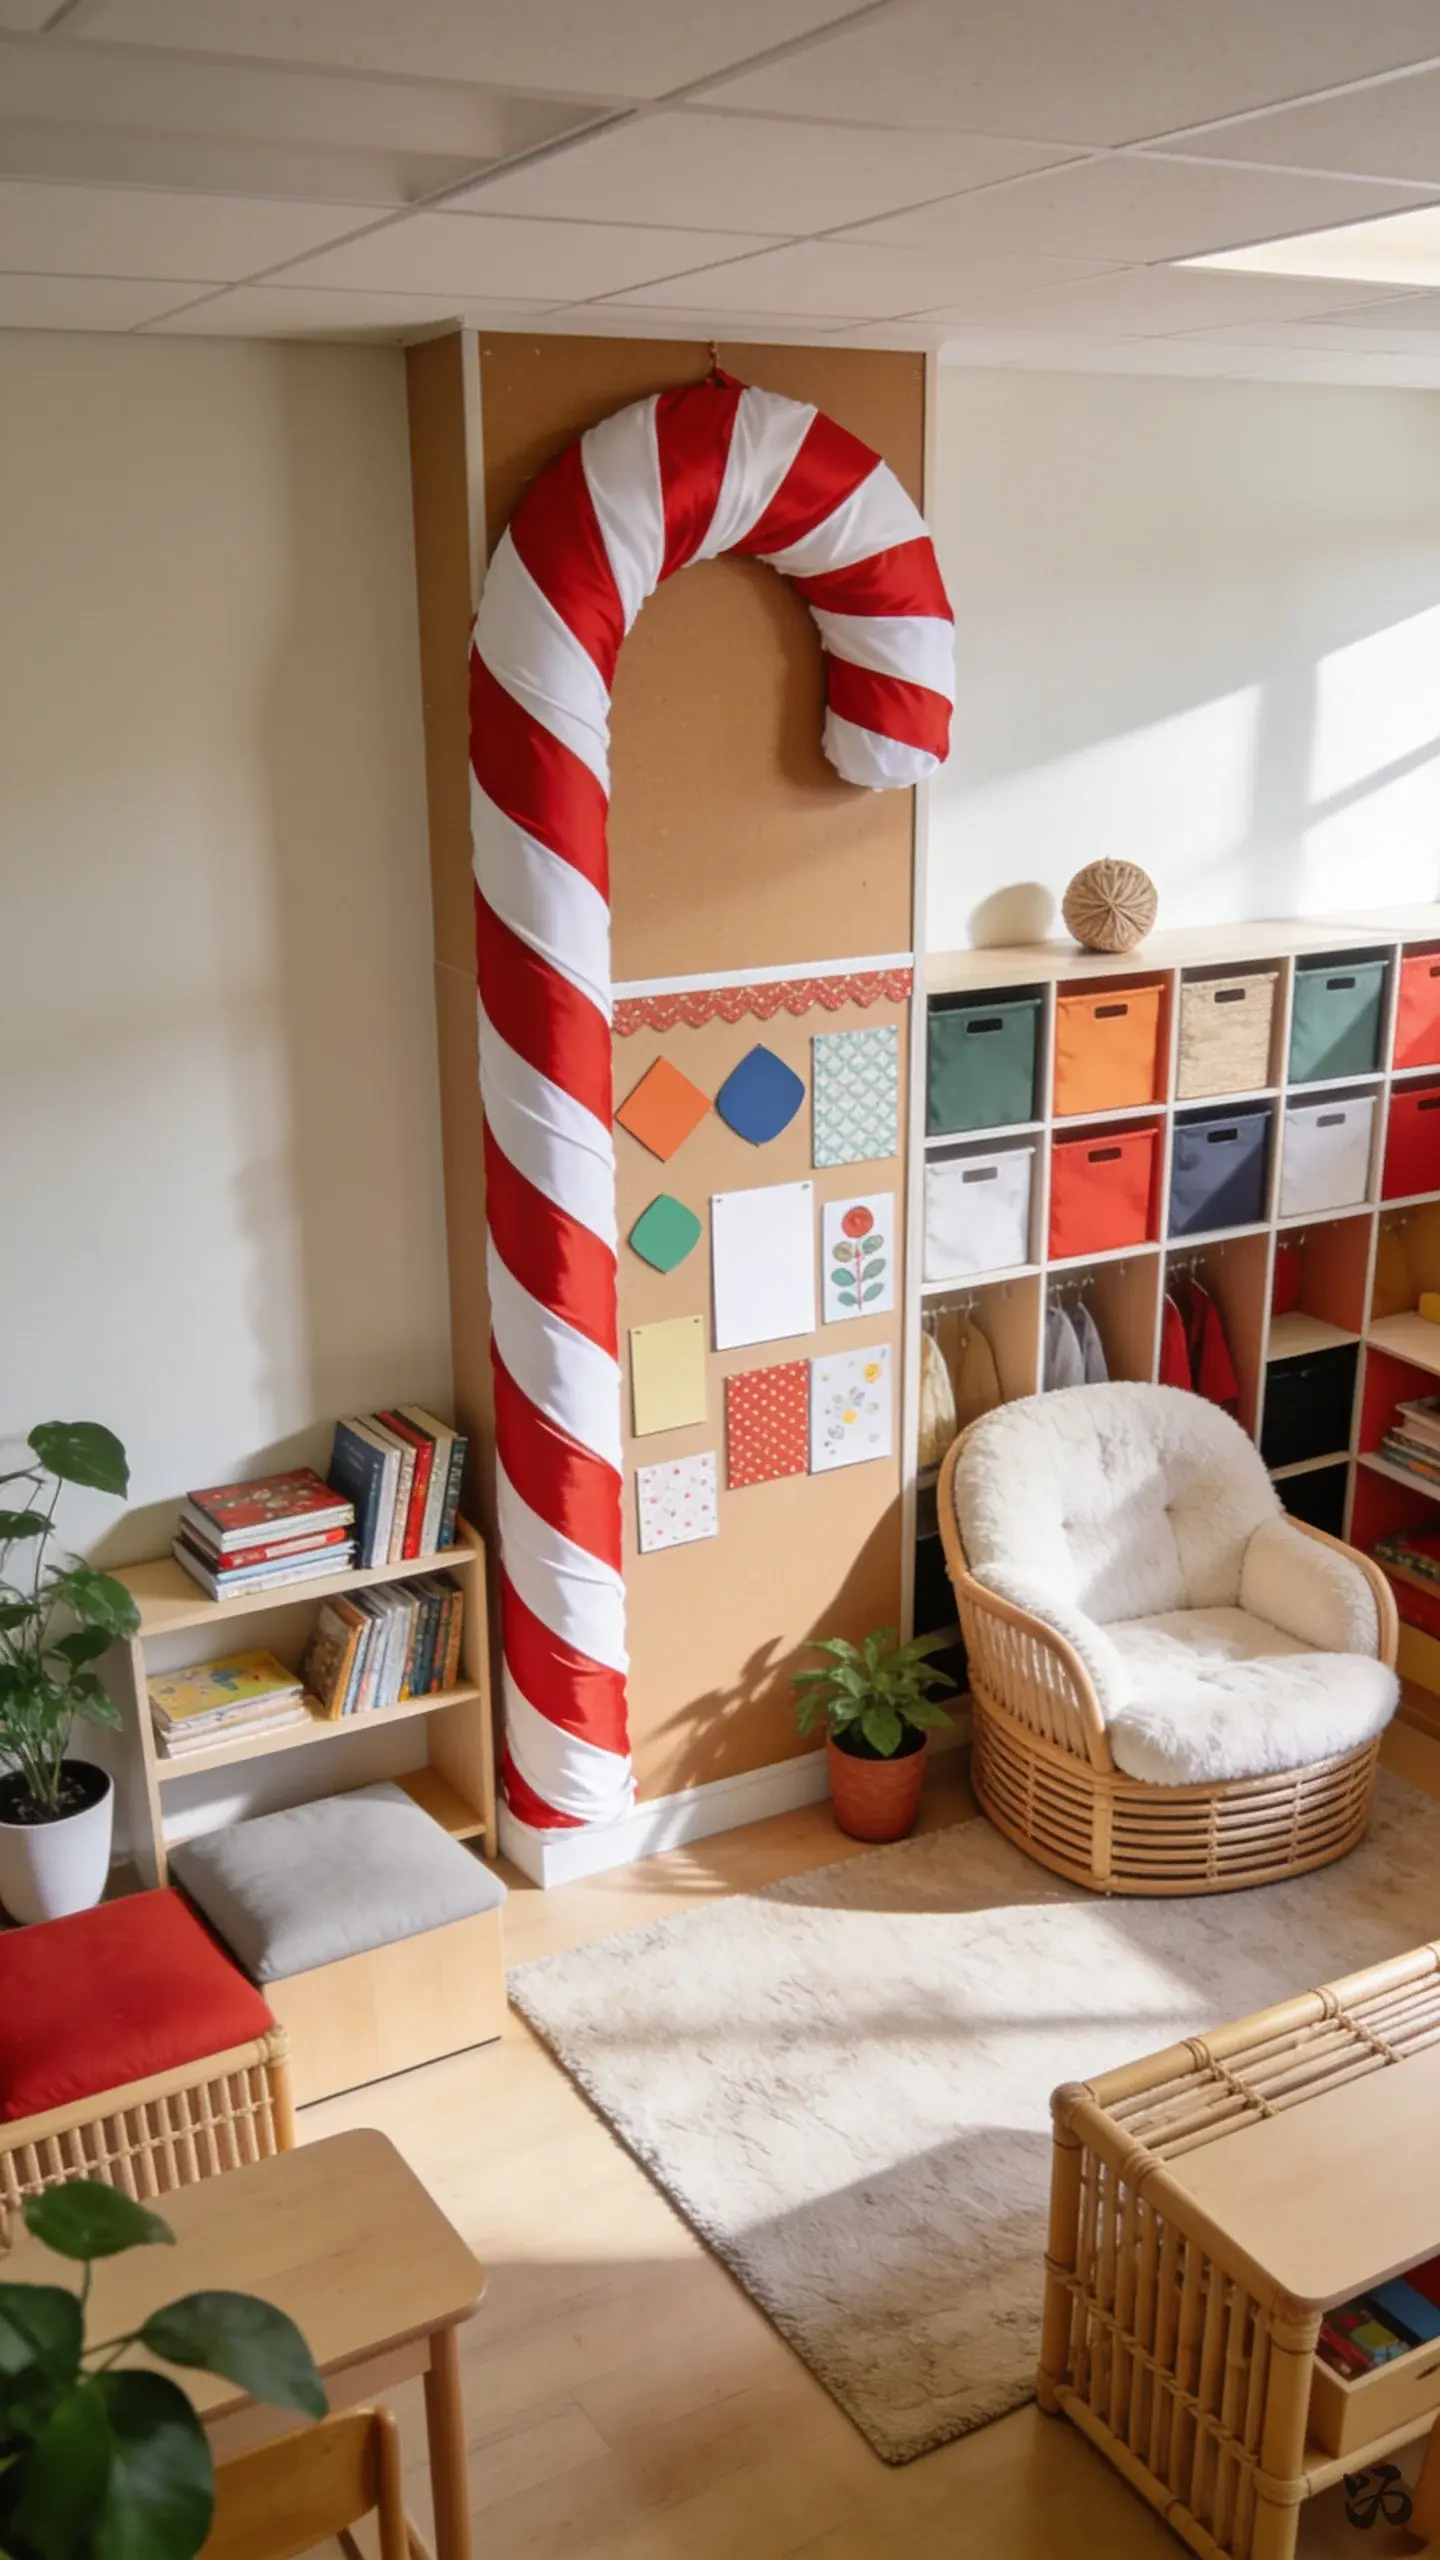
16. Candy-Cainted Center Pillars
 Save
SaveWrap the top of a bulletin board pillar with alternating red and white streamers to give a candy-cane illusion without covering the whole wall. It’s a subtle touch that preserves wall space for reading anchors.
What you need
- Streamers
- Scissors
- Masking tape
- Cardstock cutouts for a small festive touch
- Stapler or tape if permitted by the custodian
One quick setup, suitable for any grade level with supervision during prep period.
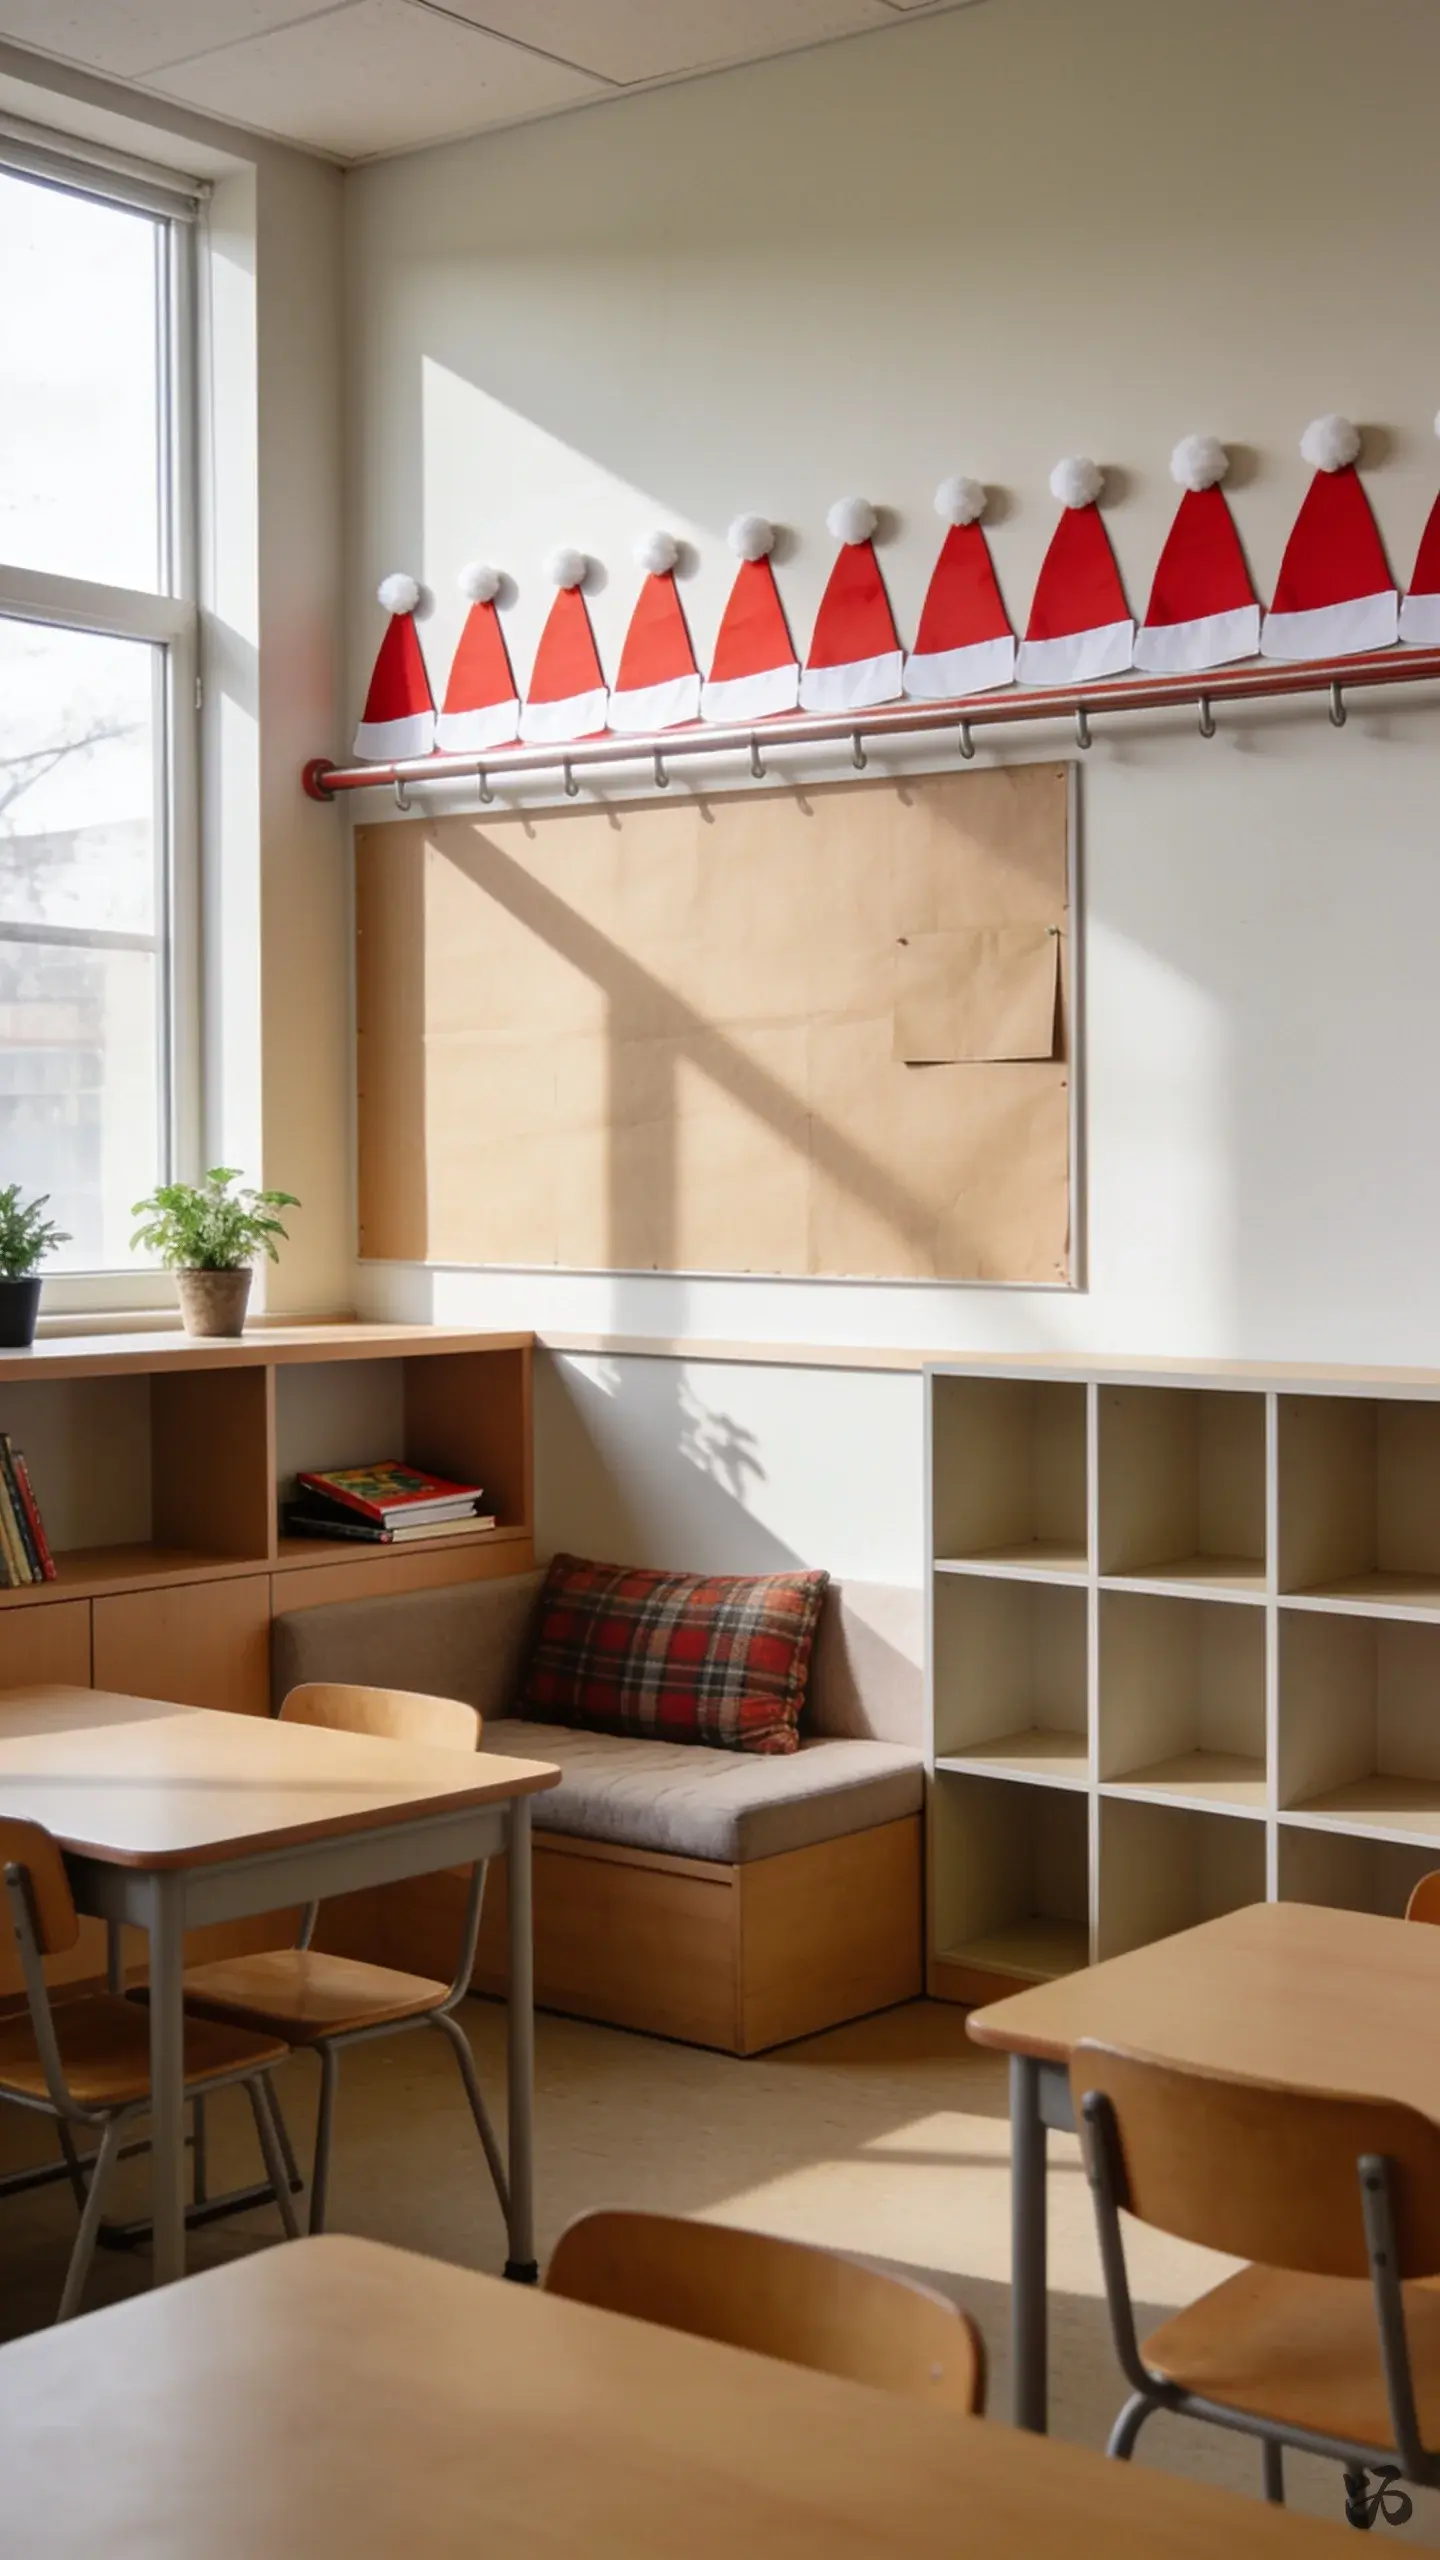
17. Santa Hat Cutouts Along the Rail
 Save
SaveA row of red Santa hats cut from red cardstock, with white trim made from construction paper. Place them along a wall edge to add a cheerful, simple border that kids can point to during circle time.
What you need
- Red cardstock
- White construction paper
- Glue or tape
- Marker
- Cotton balls (optional for fluffy trim)
Low-cost, child-friendly, and easy to adjust for door height or bulletin board width.
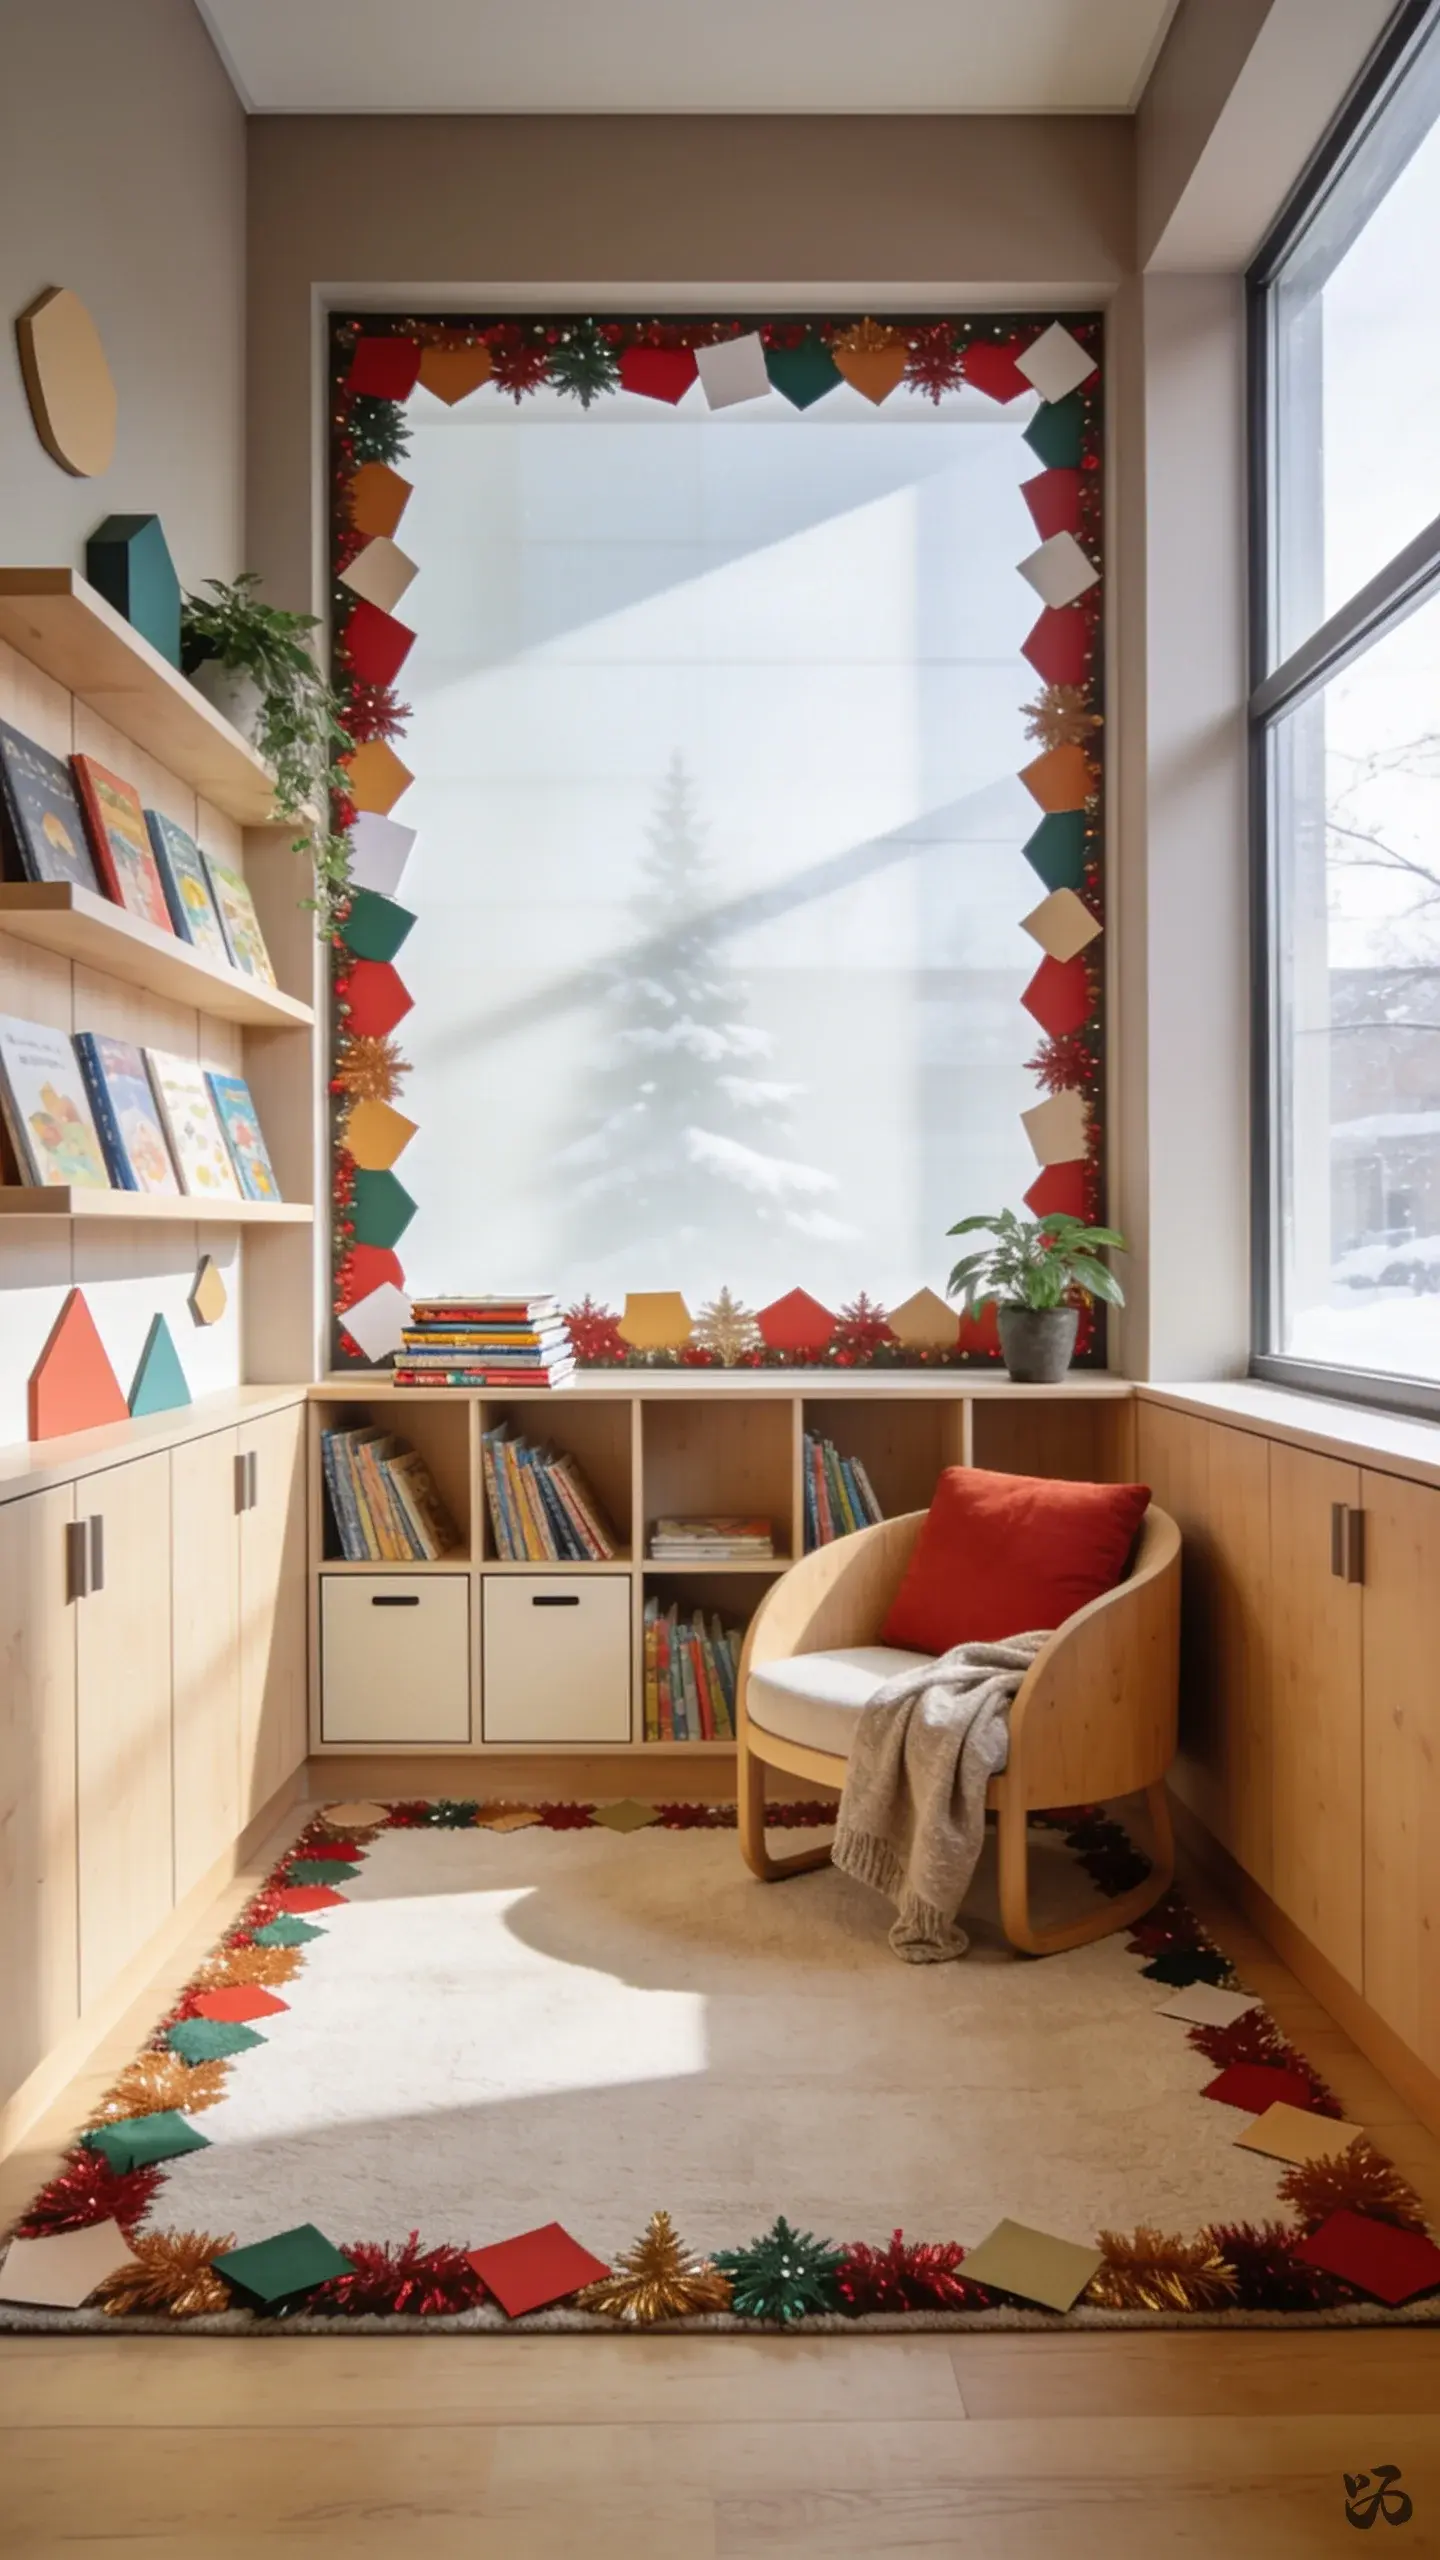
18. Festive Corner Rug Border
 Save
SaveUse a strip of border trim or colored paper to outline a reading rug area with a holiday motif. It clearly marks a cozy learning space for winter read-alouds and picture books.
What you need
- Border trim
- Colored construction paper
- Adhesive
- Ruler
- Scissors
Skip lamination; tape is enough if you’re not reusing the border next year.
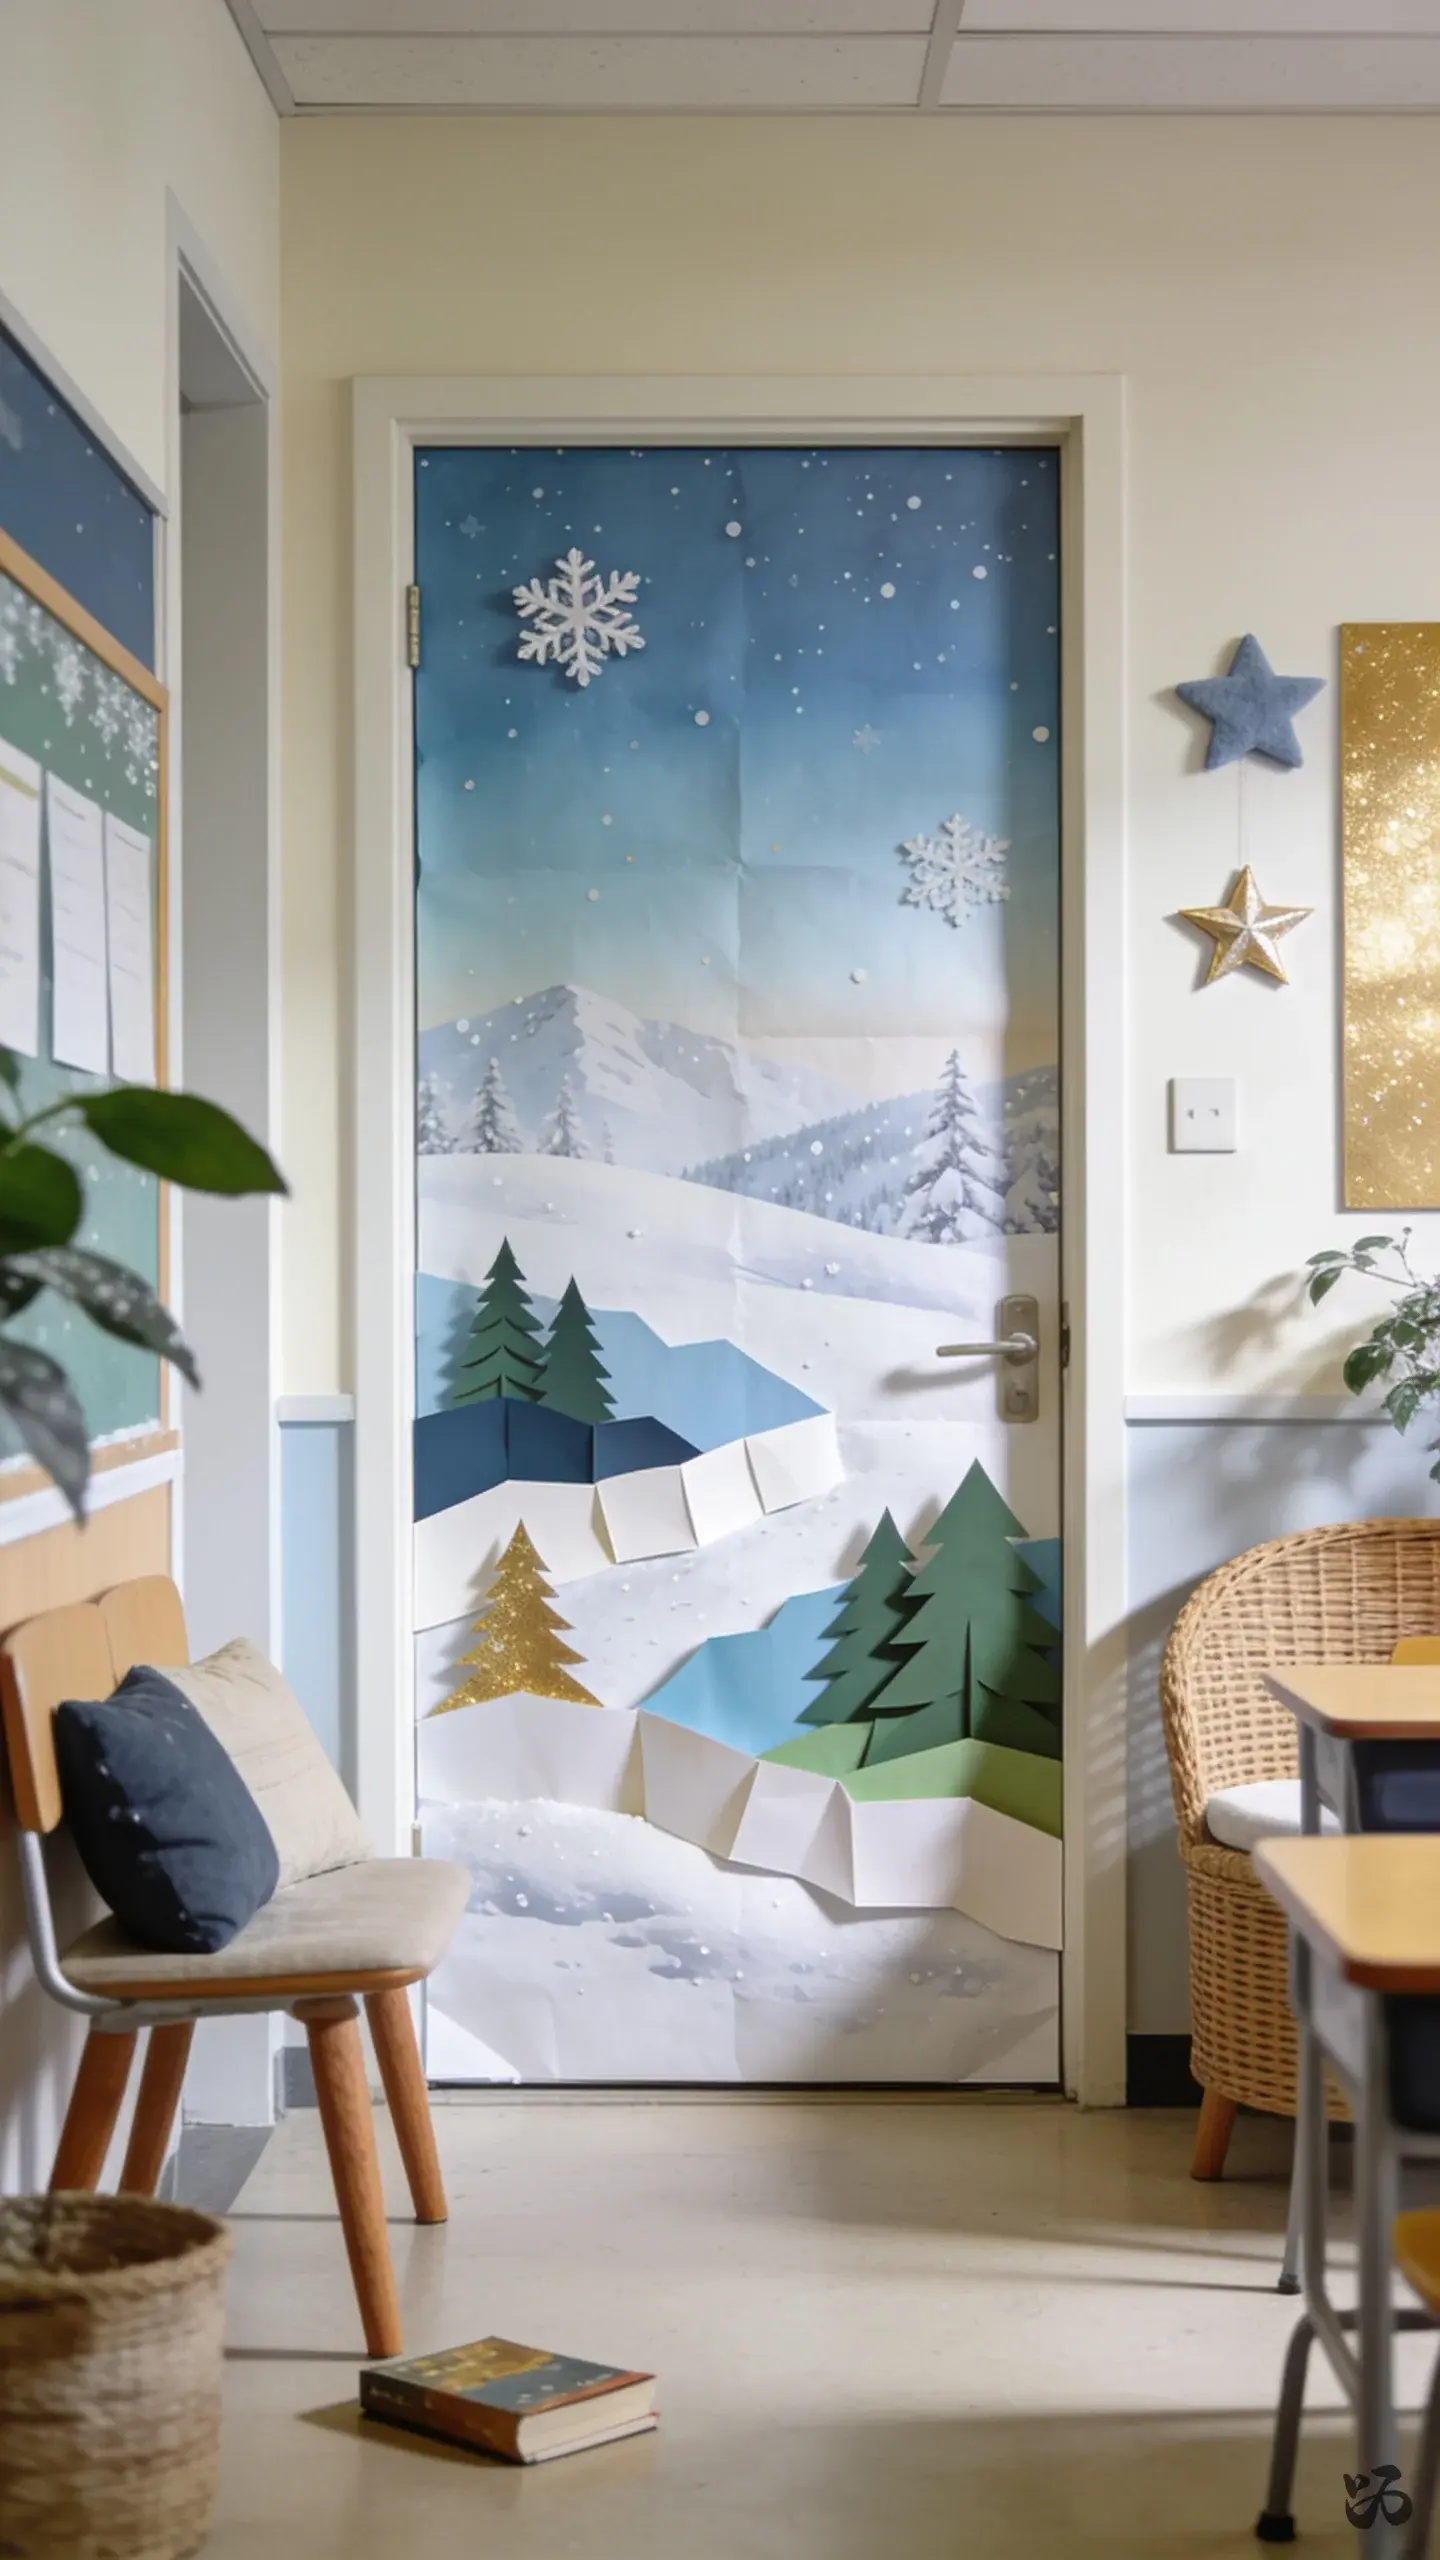
19. Winter Scene Door Cover
 Save
SaveA door cover printed or drawn on butcher paper creates a full-immersion winter scene for Open House or parent night. Include a simple title, a small photo space, and a few 3D accents to catch the eye.
What you need
- Butcher paper
- Construction paper accents
- Glue sticks
- Double-sided tape
- Your own photo space
Be mindful of door clearance and the door’s weight when fully decorated.
Where to go next with this
If the board is the bit you are stuck on, there are 21 Christmas bulletin board ideas for elementary classrooms. For the door specifically, 19 Christmas classroom door ideas covers what actually wins a contest, and 24 Christmas door decorations on a budget keeps the whole thing cheap.
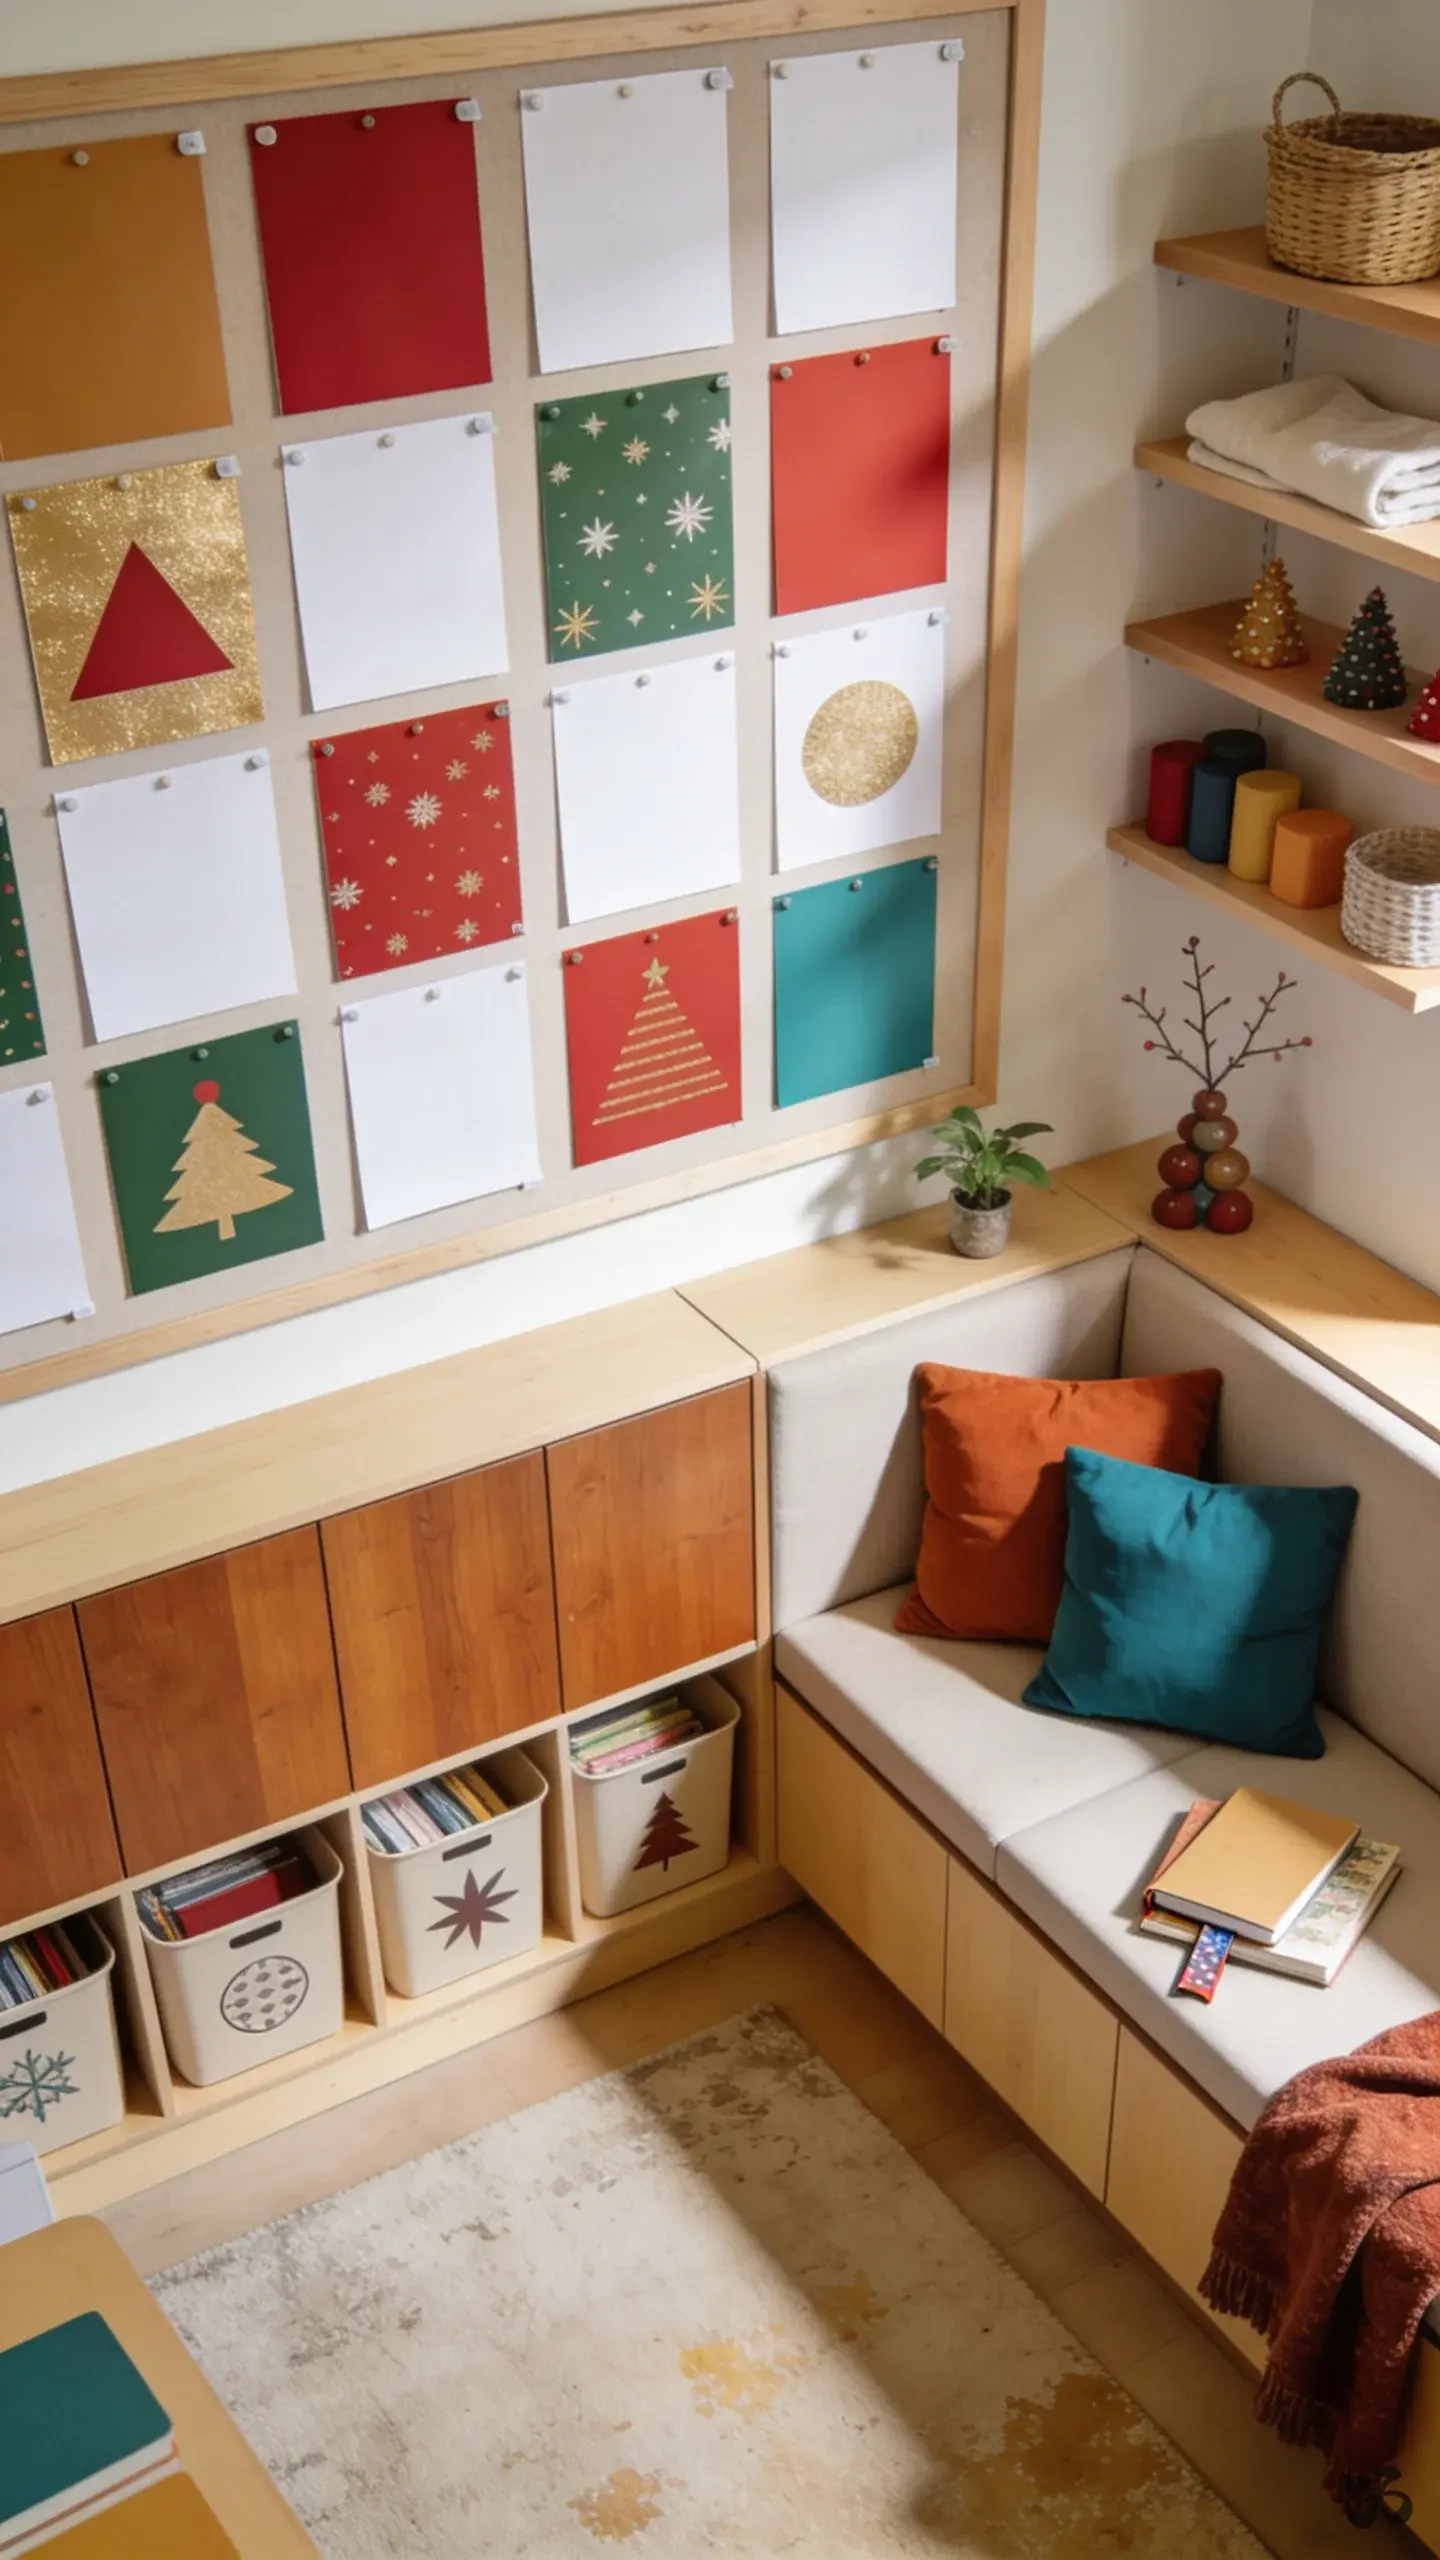
20. Printable Christmas Word Wall
 Save
SavePrint and cut a small set of holiday vocabulary cards, laminate only if you have the time, and attach them in a grid. It helps early readers pick up words like elf, gift, merry, and bright during circle time.
What you need
- Printer printed cards
- Laminate or card stock
- Velcro dots for re-use
- Border trim
- Marker
Laminating is optional; cards can be swapped after the season without reprinting.
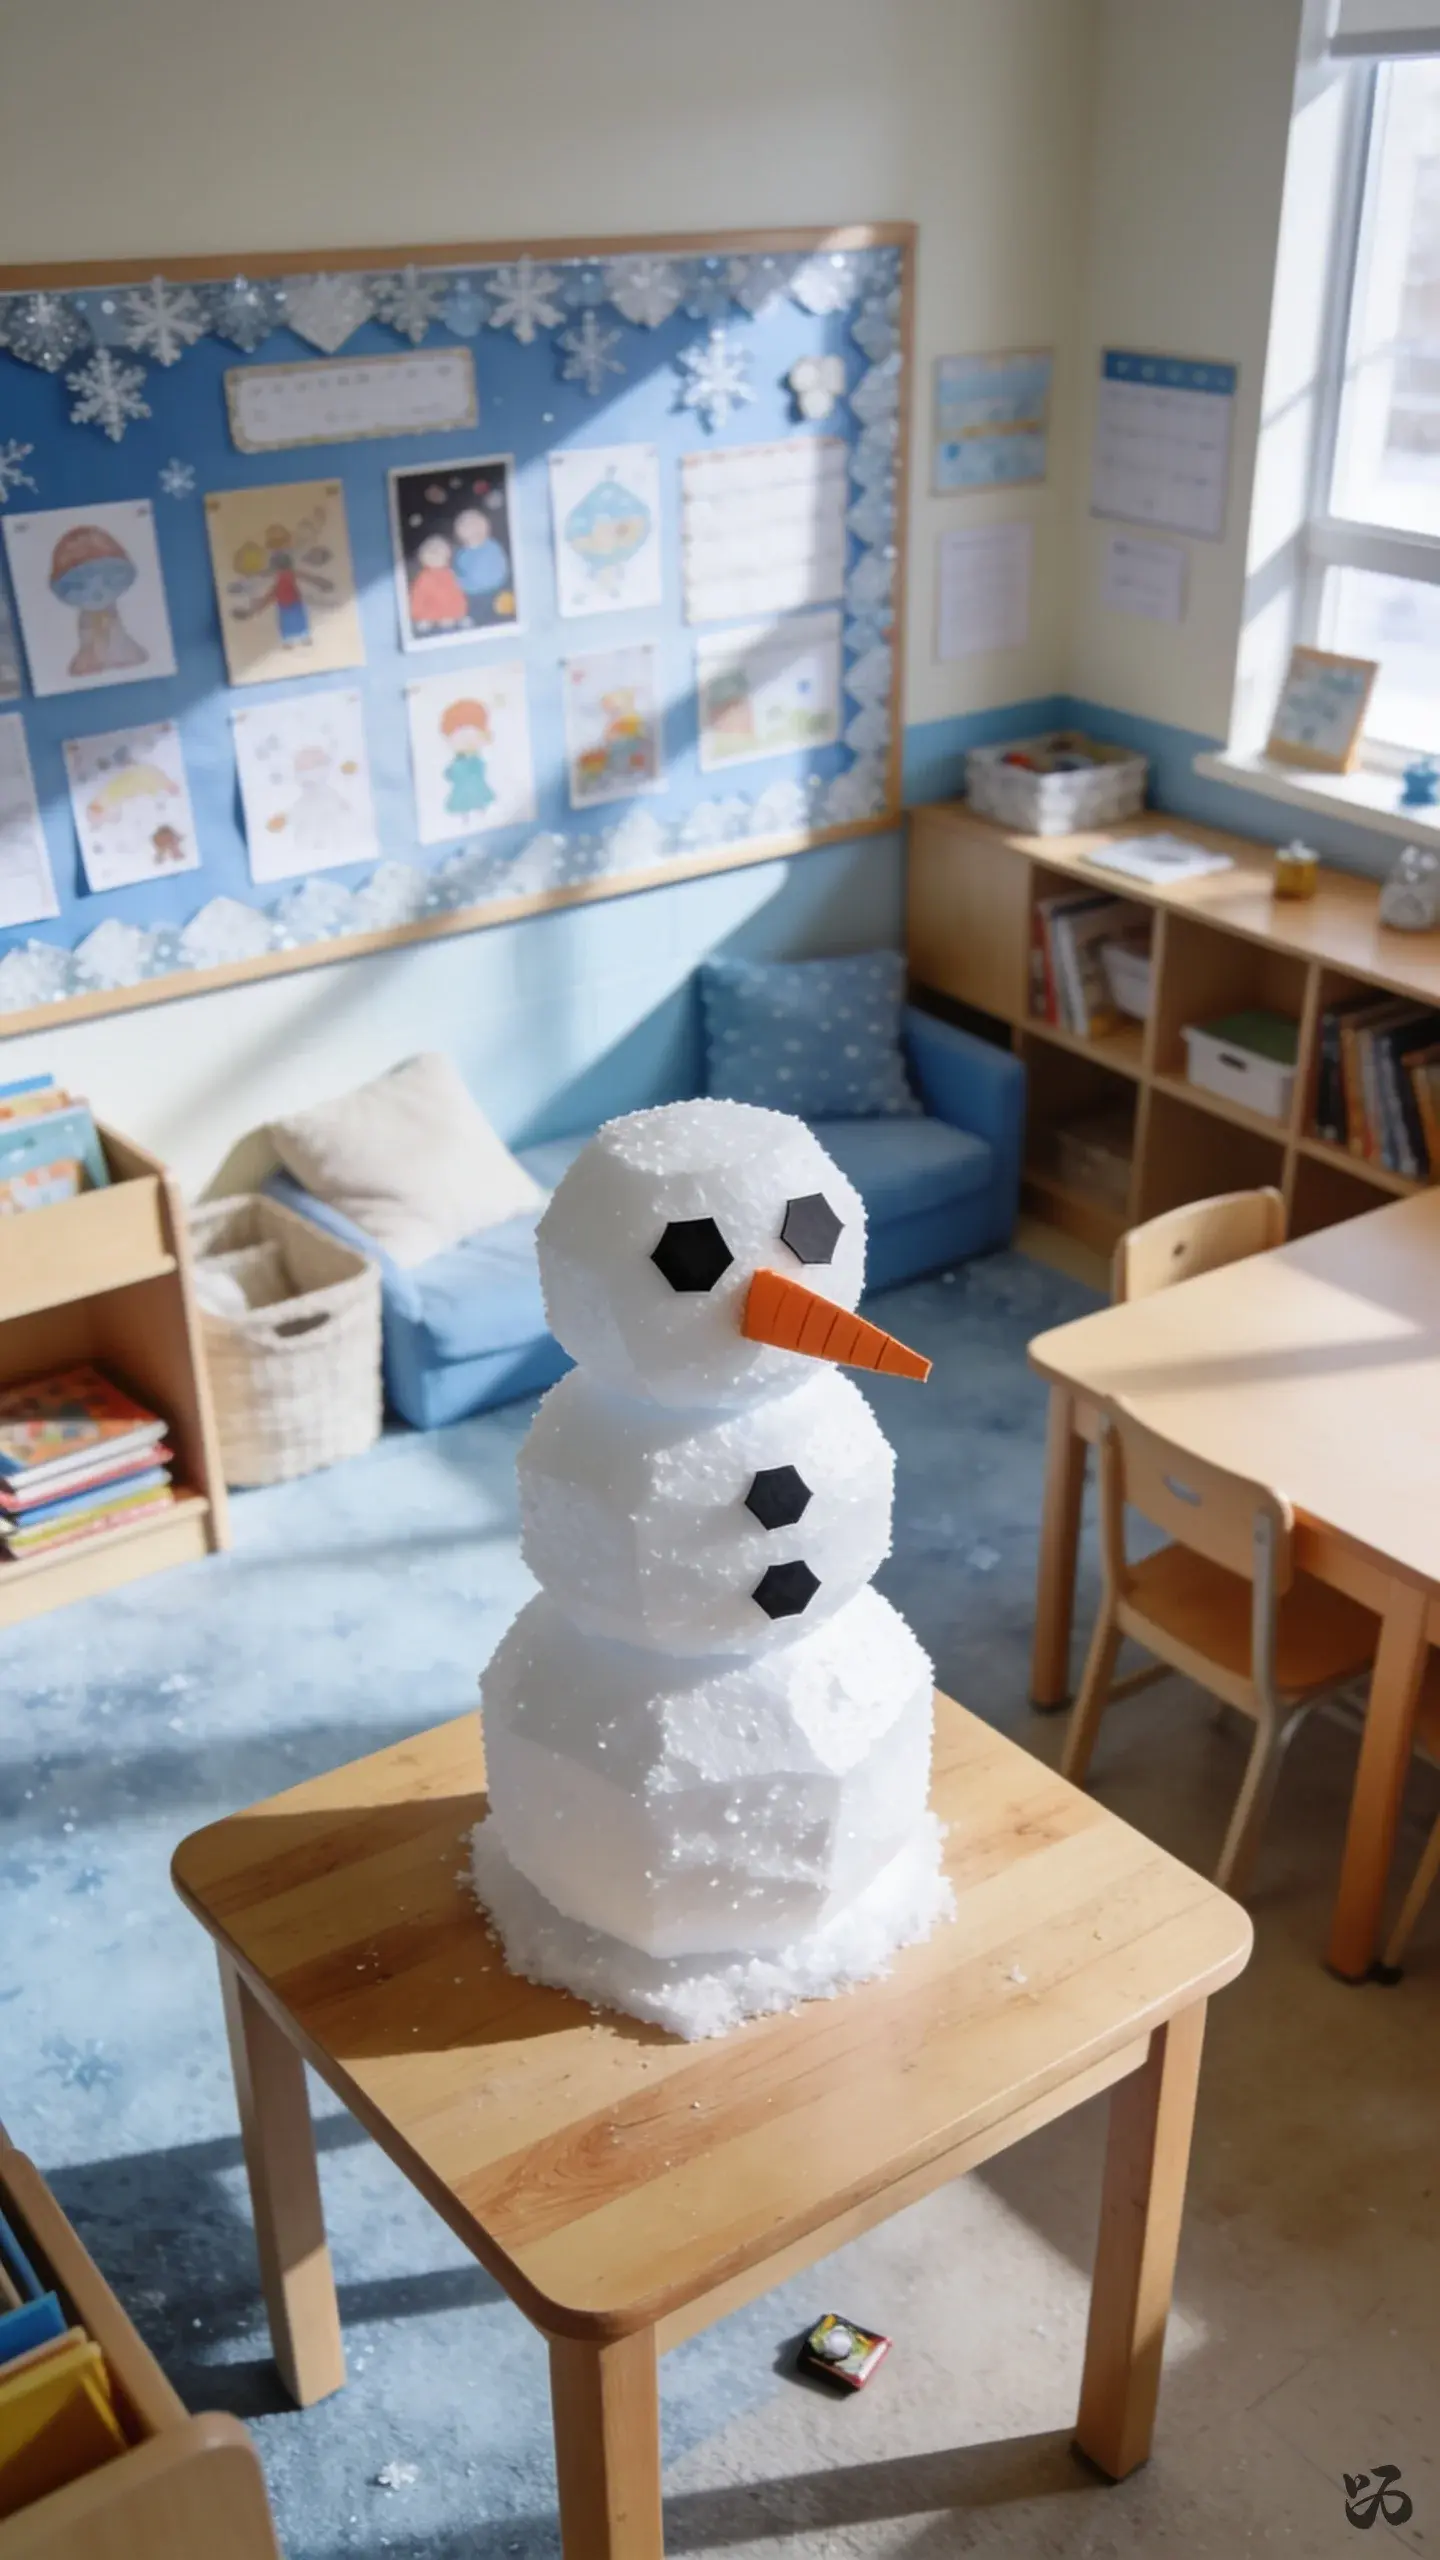
21. Three-Dimensional Snowman Centerpiece
 Save
SaveA snowman crafted from white styrofoam or white construction paper layered on top of a small table or shelf. Add a carrot nose from orange cardstock and coal eyes from black circles of construction paper for a simple, kid-friendly sculpture.
What you need
- White paper or styrofoam snowman pieces
- Orange cardstock
- Black construction paper
- Glue sticks
- Tape
Keep it low and lightweight to prevent tipping in a busy classroom.
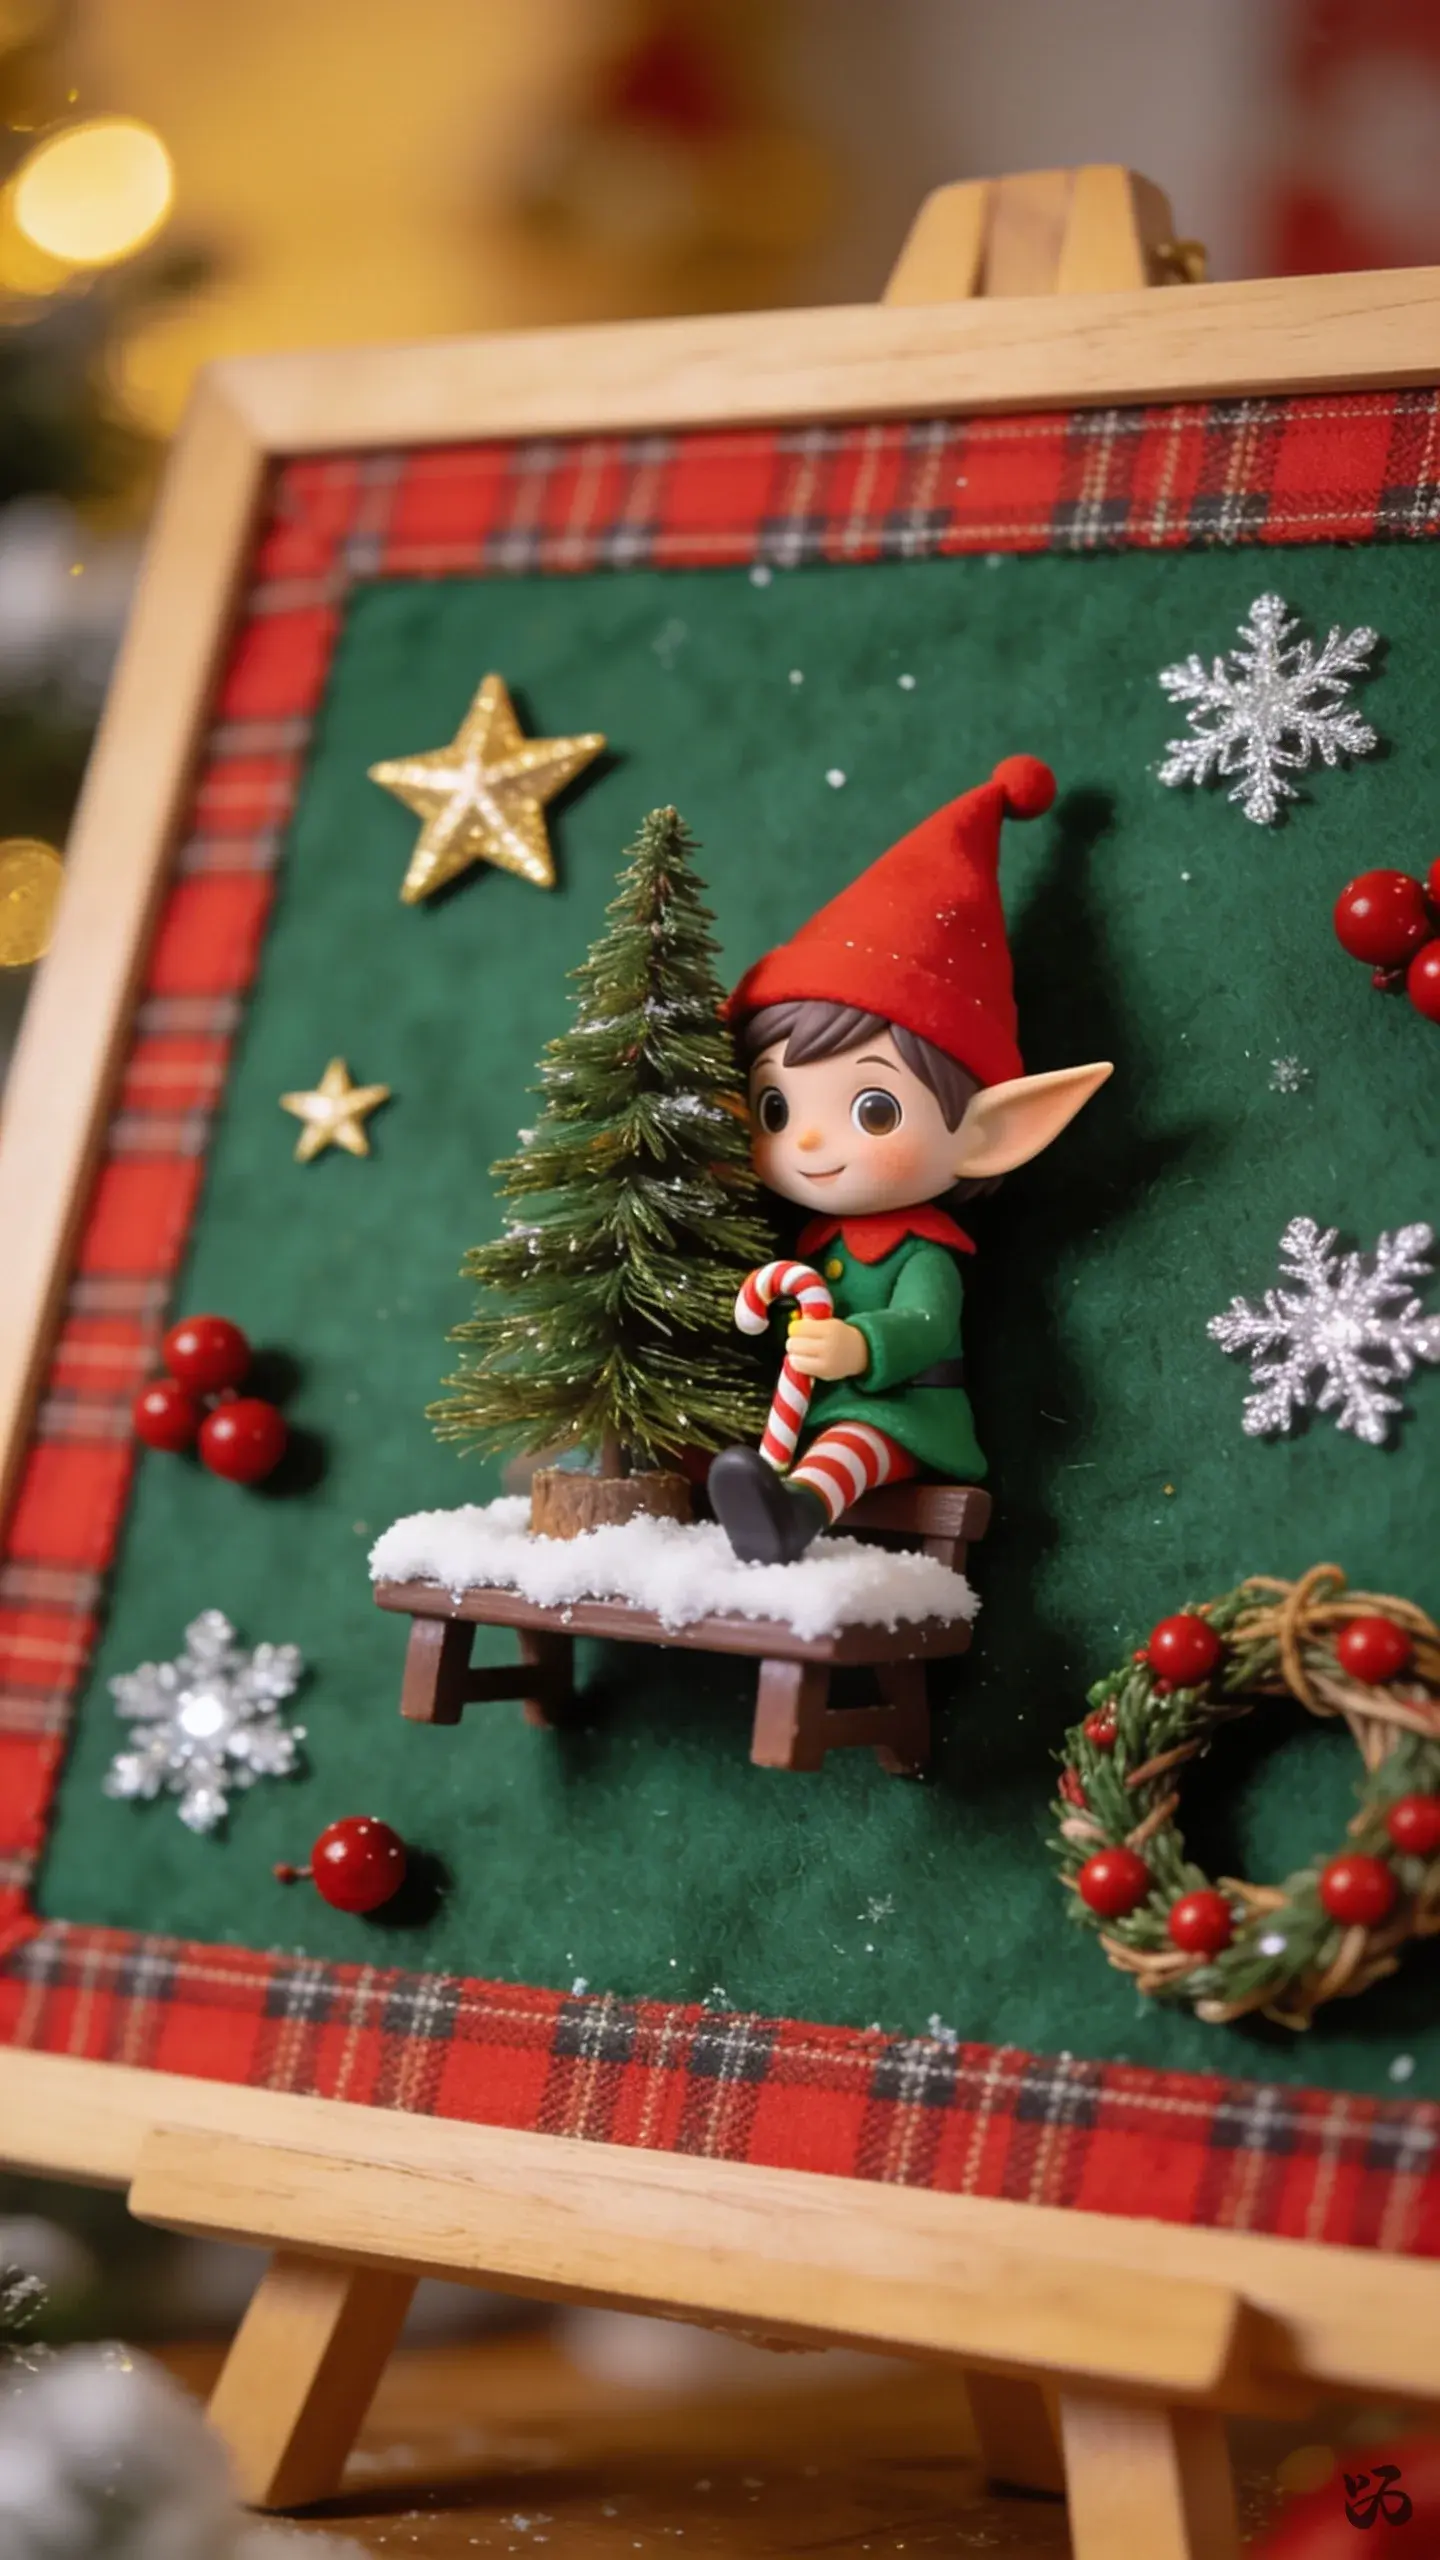
22. Elf on the Shelf Theme Bulletin
 Save
SaveA friendly elf figure made from construction paper perches on a corner of a bulletin board. Change the elf’s pose daily during December as a small, predictable routine for kids to look forward to, while avoiding overstimulation.
What you need
- Construction paper
- Googly eyes (optional)
- Glue
- Tape
- Marker
Simple cutouts are easy for classroom volunteers to help with during prep period.
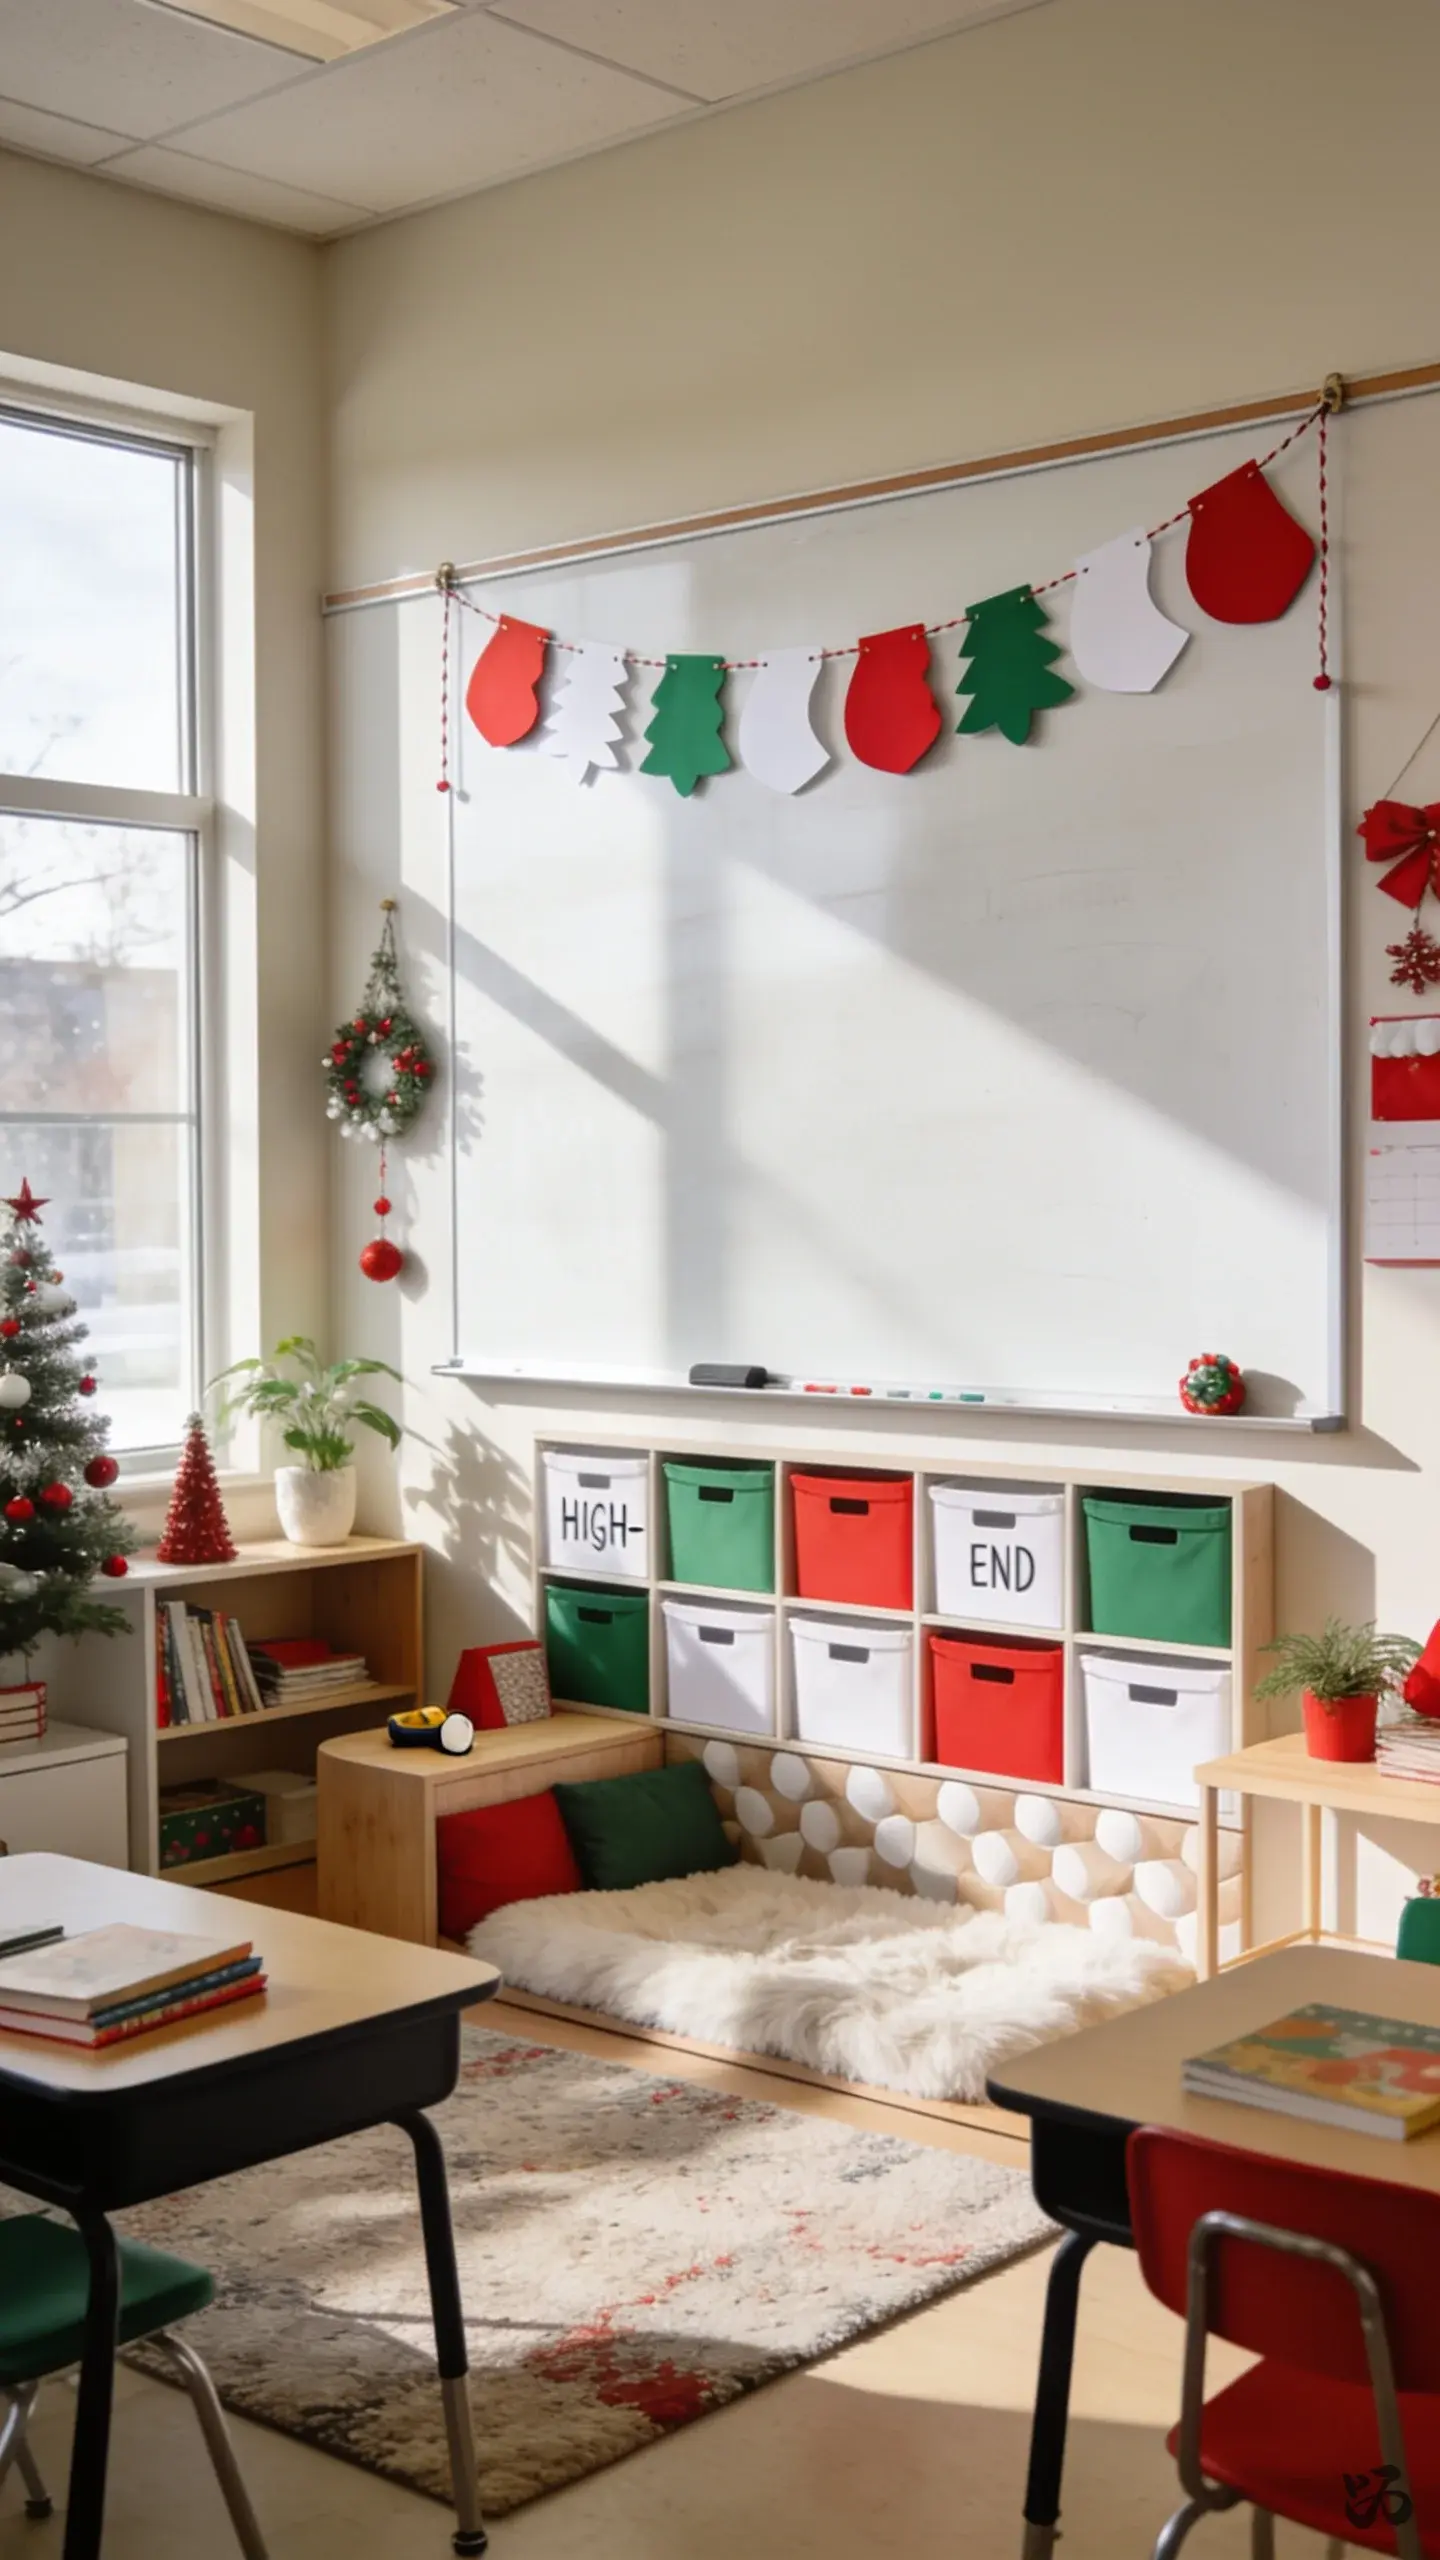
23. Holiday Patterned Welcome Banner
 Save
SaveA banner across the top of the whiteboard that alternates red, green, and white shapes or letters. It creates a festive cue for students as they enter homeroom or attend parent night.
What you need
- Cardstock
- String or ribbon
- Glue or tape
- Markers or stickers
- Scissors
Best as a lightweight banner that is easy to remove at the end of December.
Lights and Finishing Touches


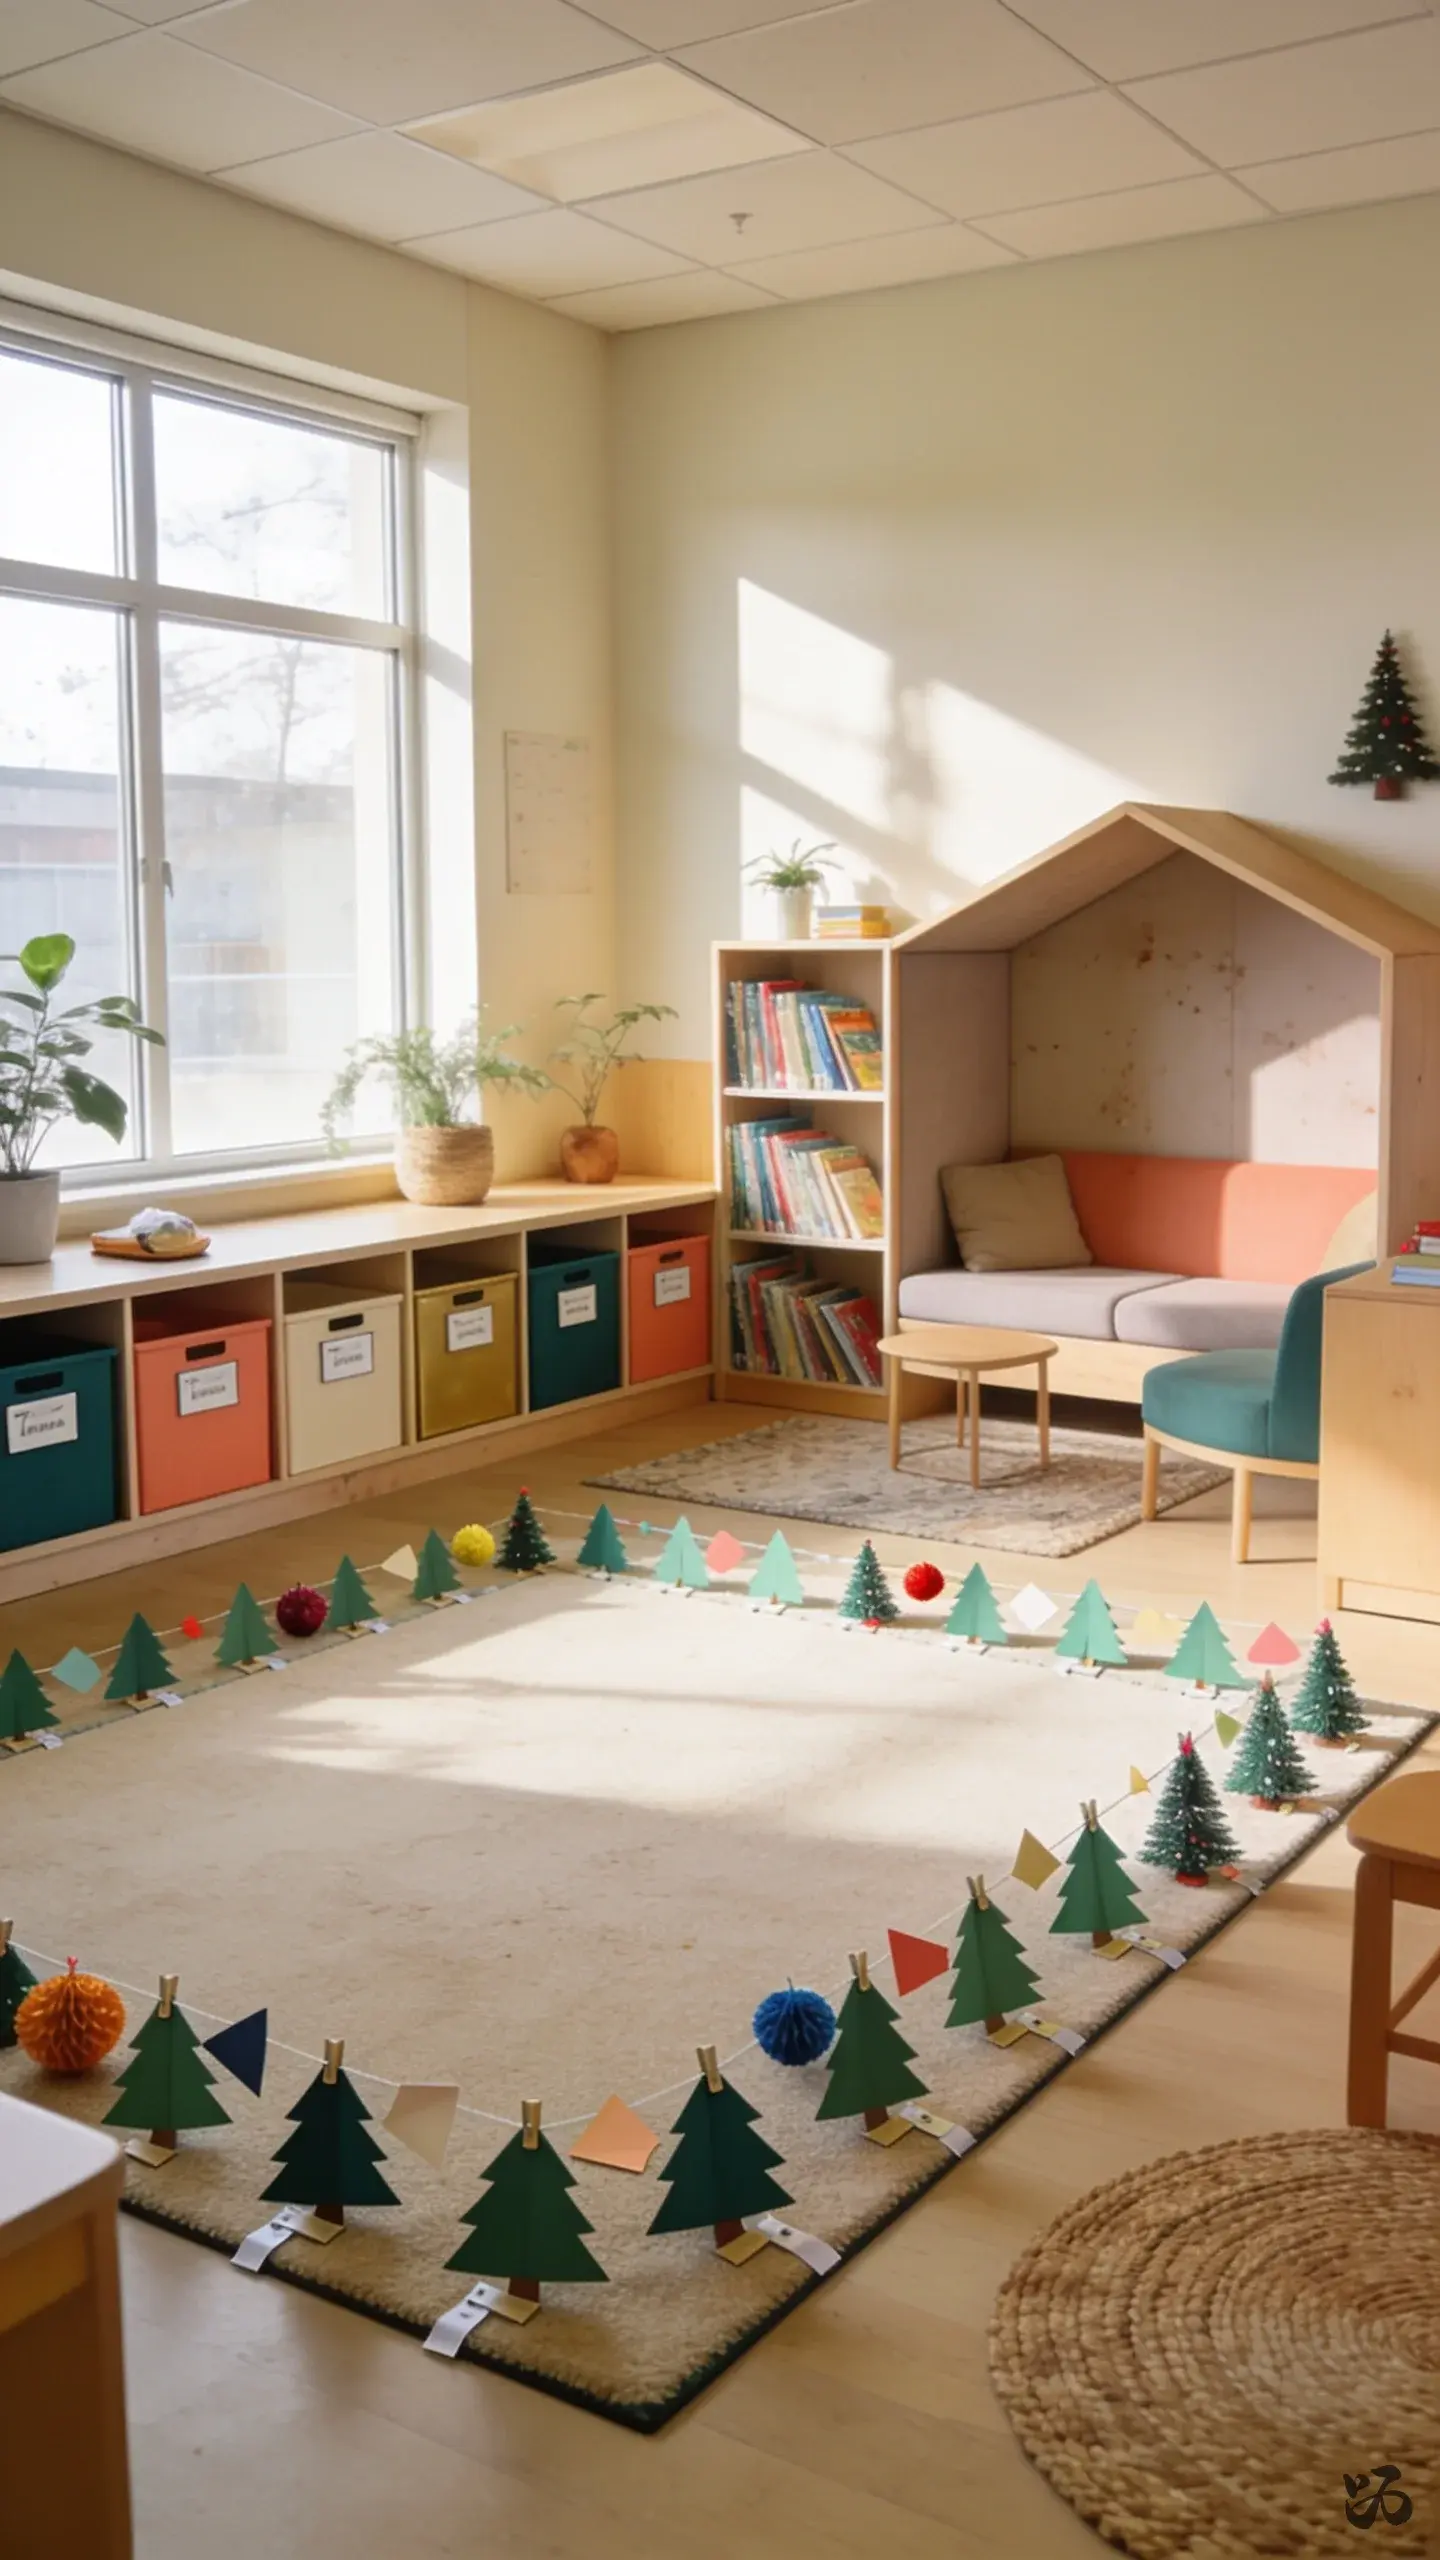
24. Christmas Tree Border on the Floor
 Save
SaveA carpet-safe border that runs along the edge of the classroom rug or the main reading area with small trees cut from green paper. Add a few colorful ornaments to complete the look.
What you need
- Green construction paper
- Colorful paper scraps
- Tape or removable clips
- Border trim
- Scissors
Works well for a center activity or a reading corner; robust enough for child interaction.
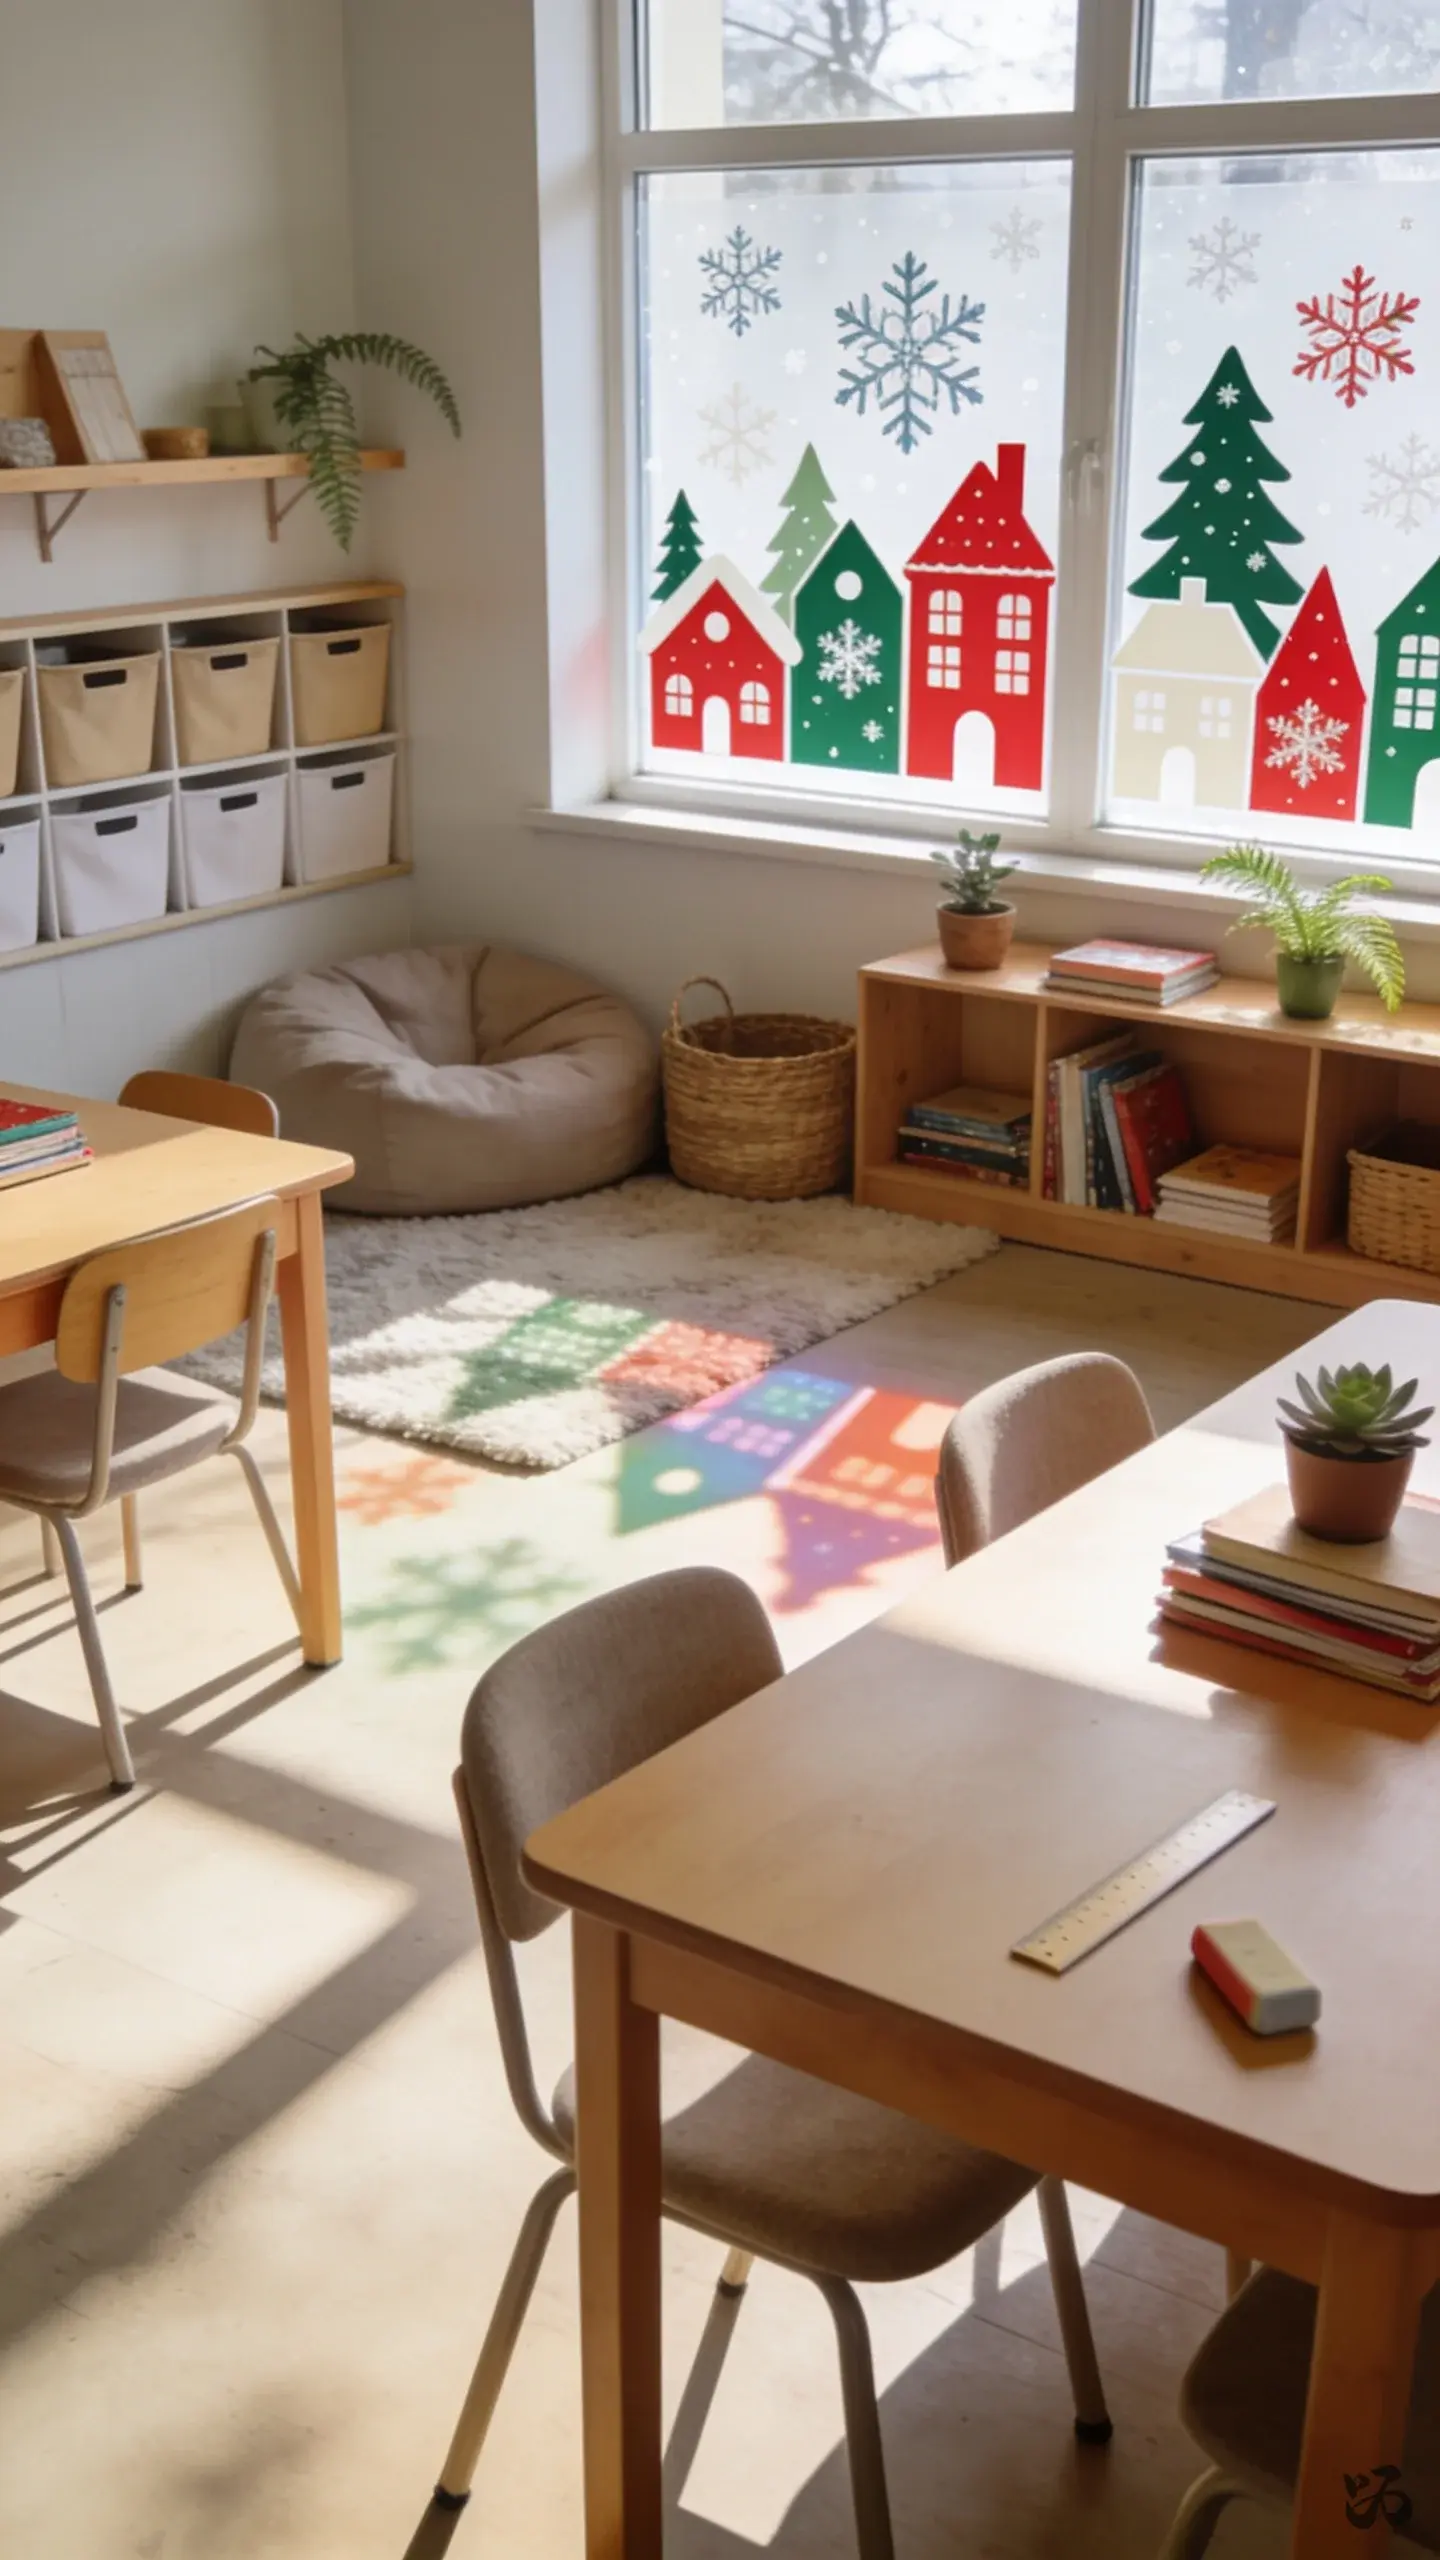
25. Winter Village Window Clings
 Save
SaveUse simple sticky-backed clings on windows that let light shine through during the day. The design can be lightweight so it’s not a hazard for kids reaching for it during recess or indoor play.
What you need
- Window clings or cutouts
- Removable tape
- Marker
- Cardstock shapes
- Scissors
Clings come off cleanly and don’t require thinning adhesives or laminating.
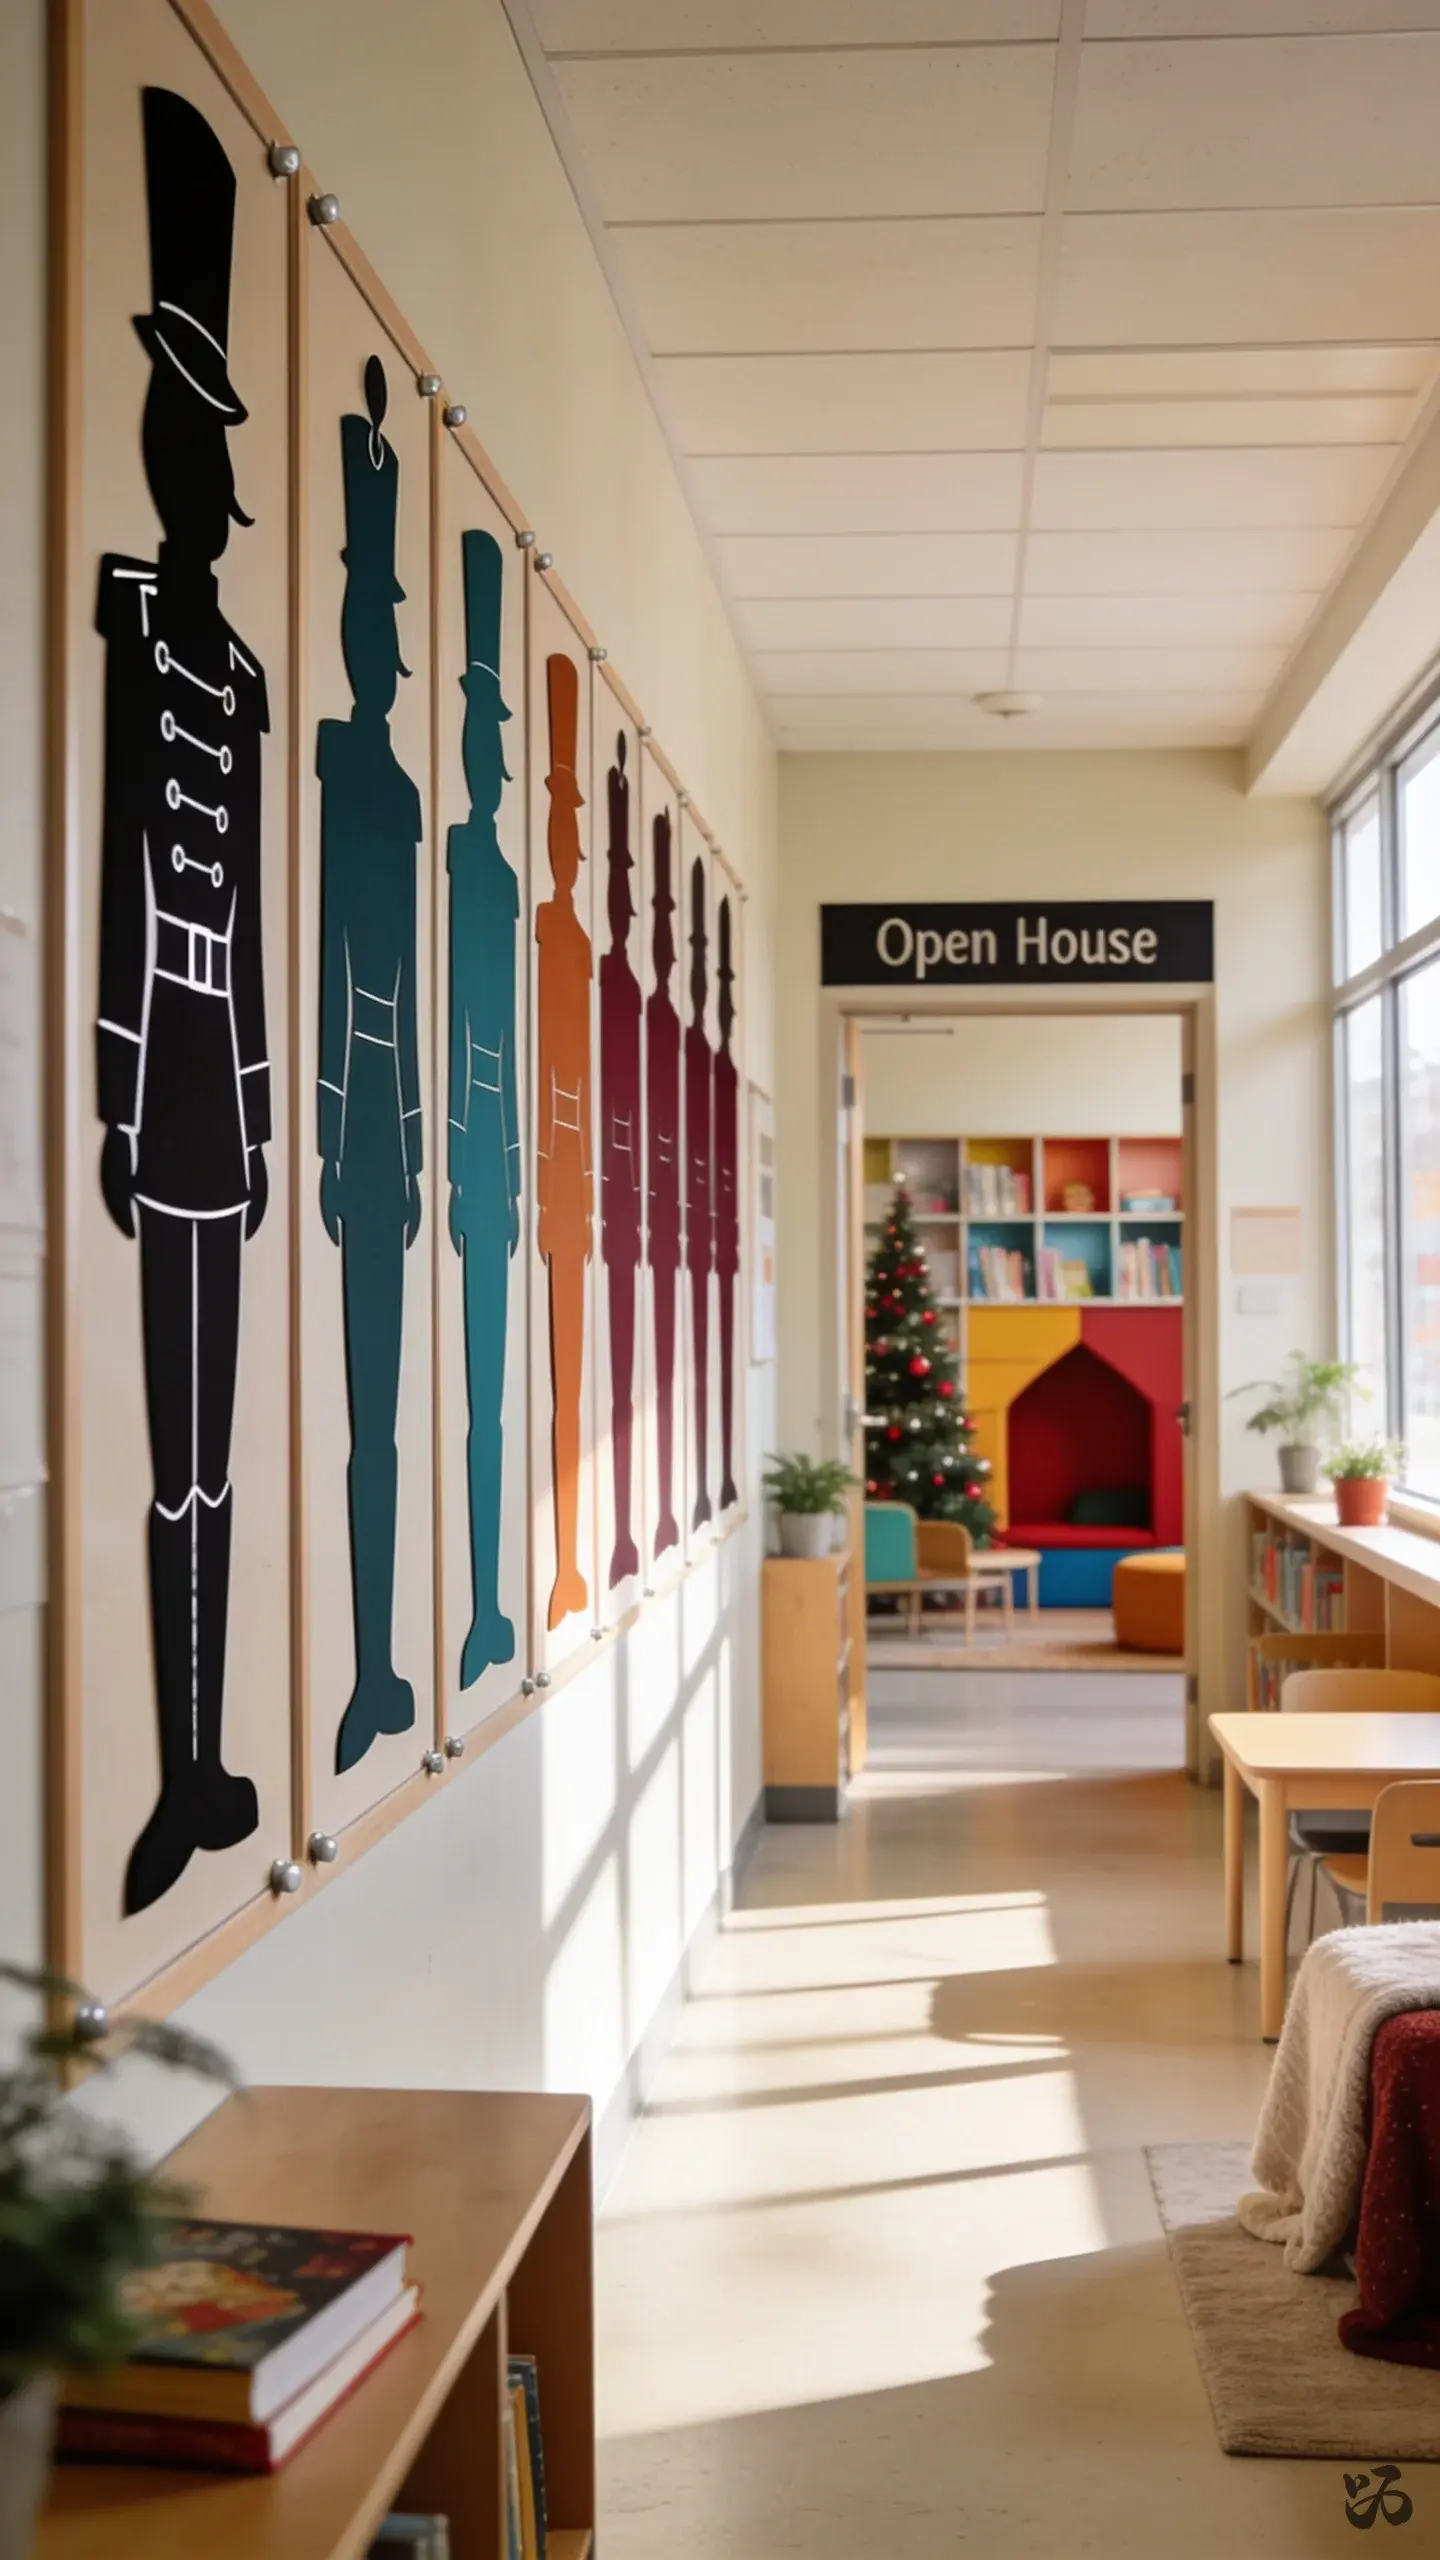
26. Nutcracker Silhouette Corridor Panels
 Save
SaveEight to ten silhouette panels along a corridor wall create a quick theatrical effect, guiding families toward Open House with a formal look that remains simple to assemble and remove.
What you need
- Black cardstock
- White gel pen
- Adhesive
- Border trim
- Push pins
Keep the weight light to avoid wall damage in older buildings or cinder block walls.
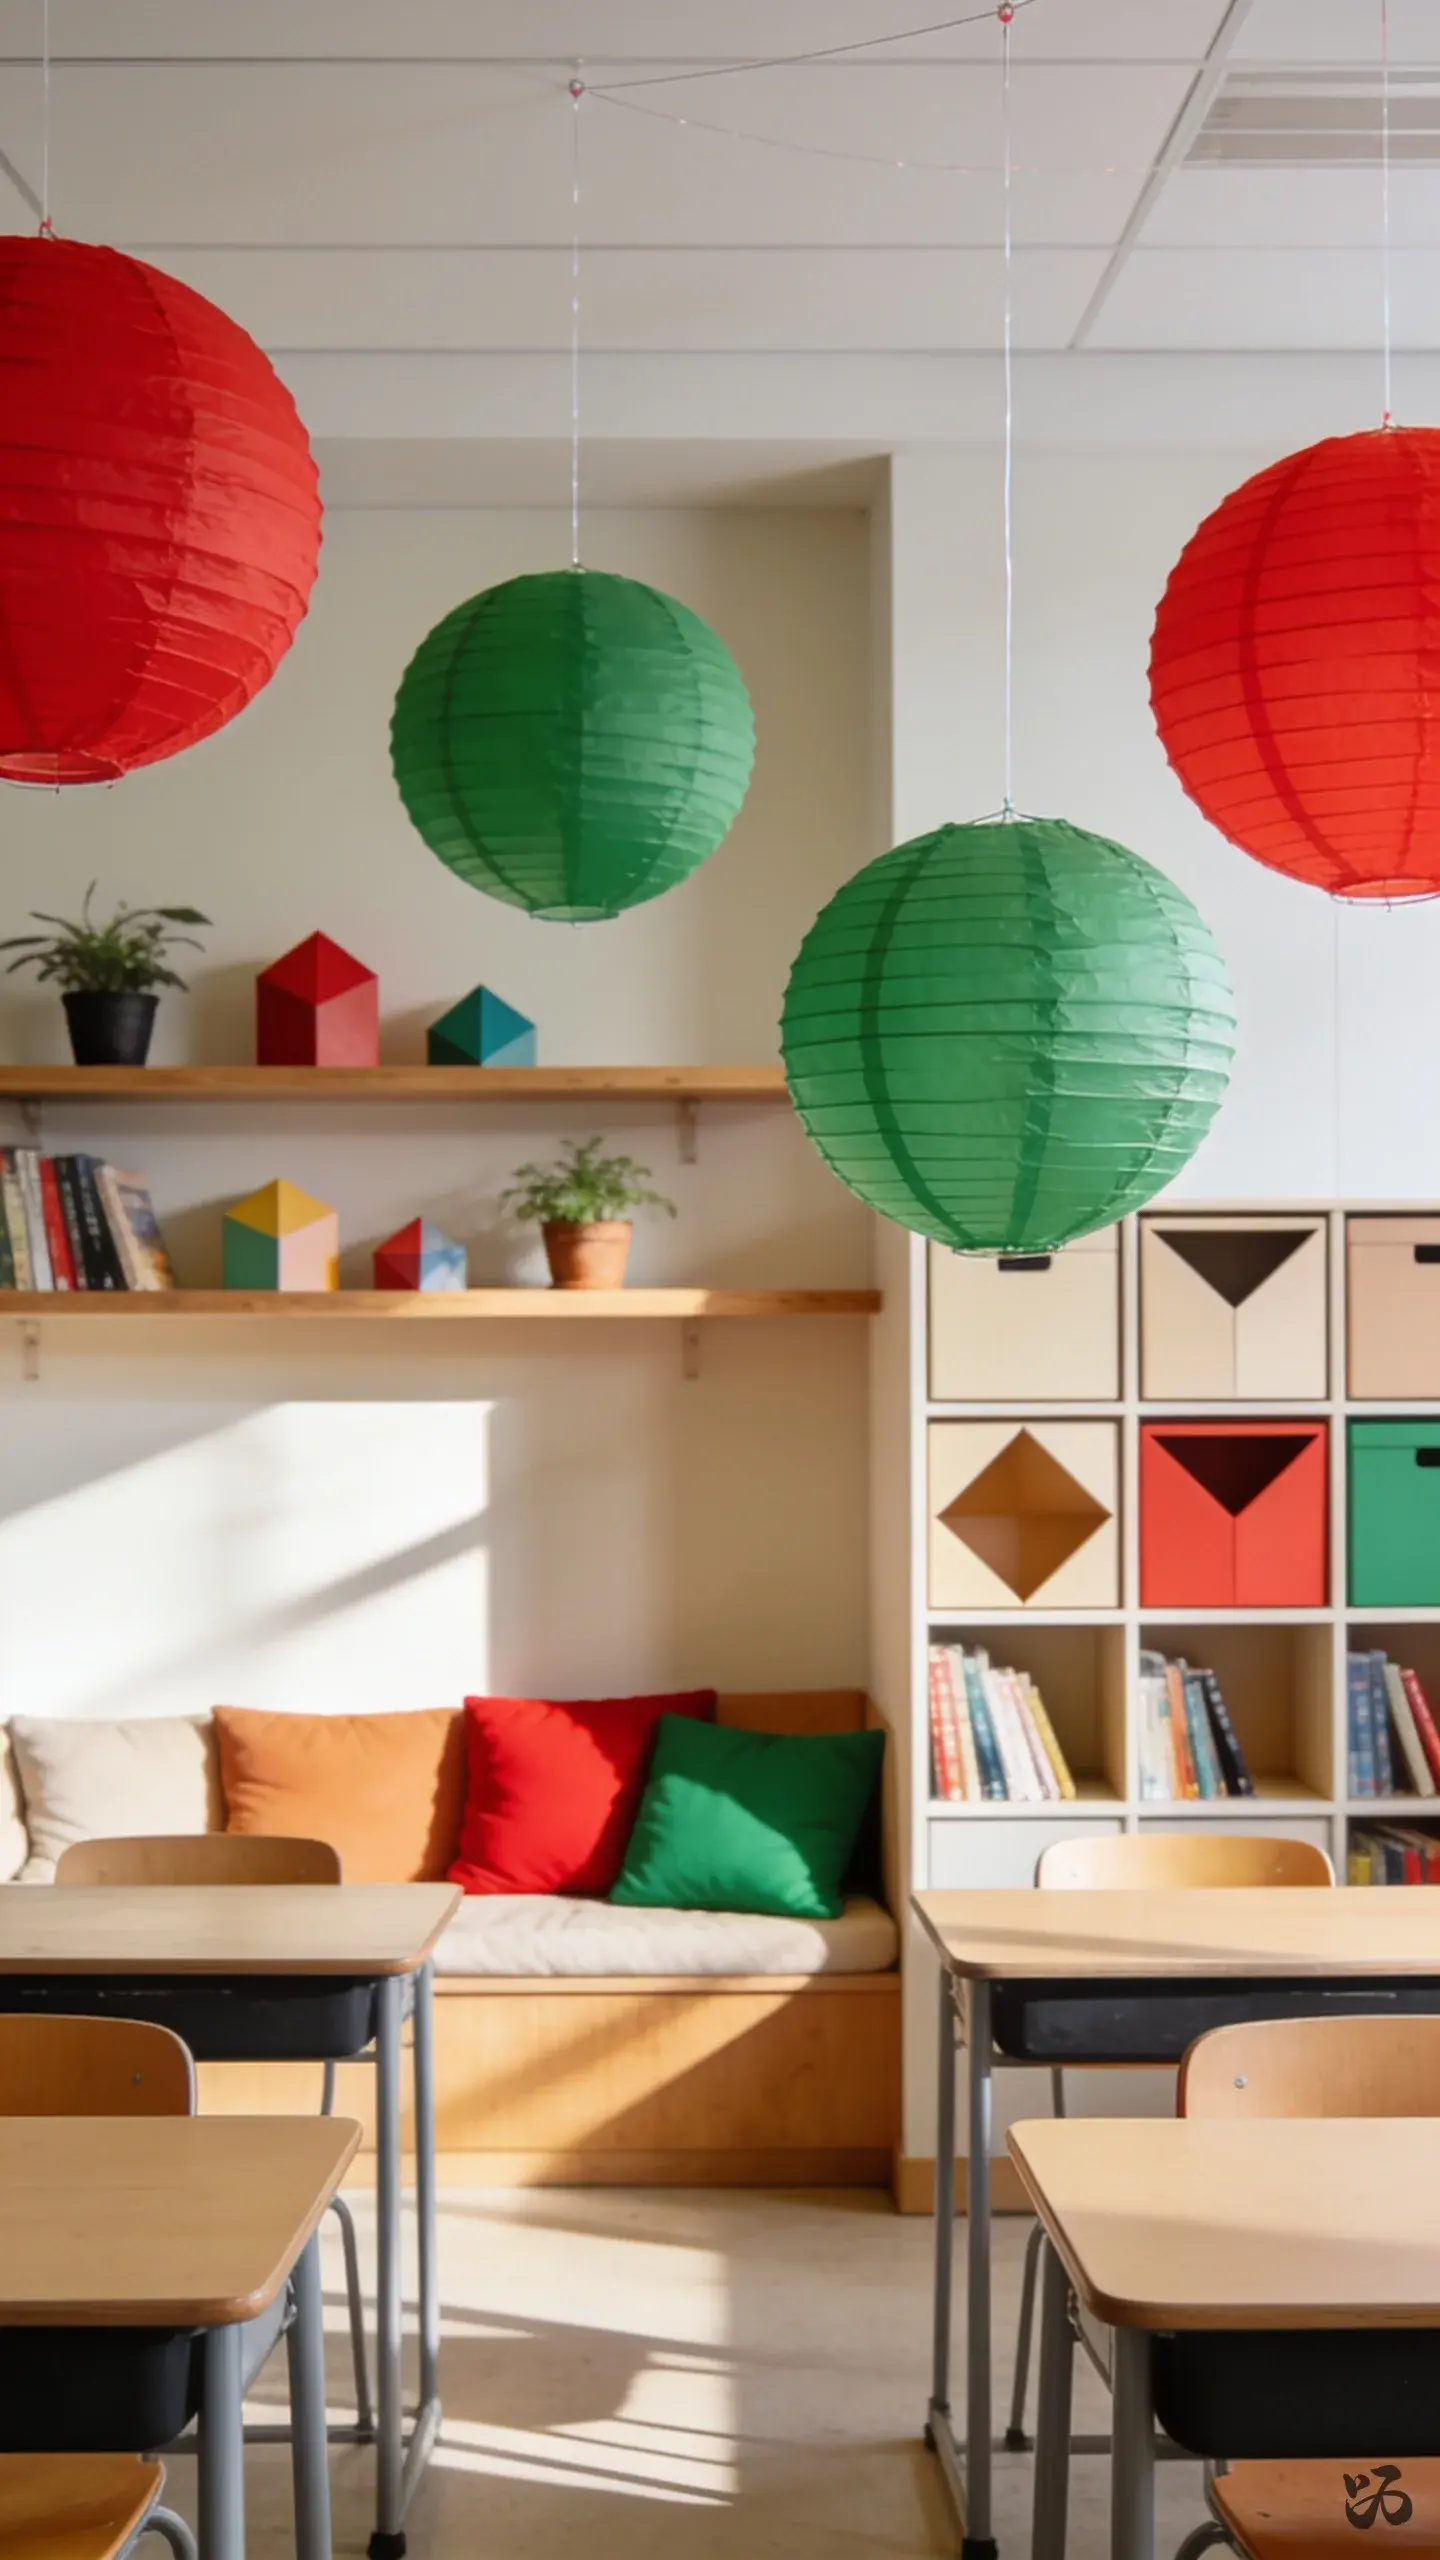
27. Festive Paper Lantern Ornaments
 Save
SaveHang lightweight paper lanterns in red and green from the ceiling using thin fishing line or thread. They float above the students and avoid clutter on walls while still creating a seasonal feel.
What you need
- Paper lanterns
- Fishing line
- Scissors
- Clear tape
- Markers
Check with the custodian about ceiling decorations and ensure nothing is blocking lights or fans.
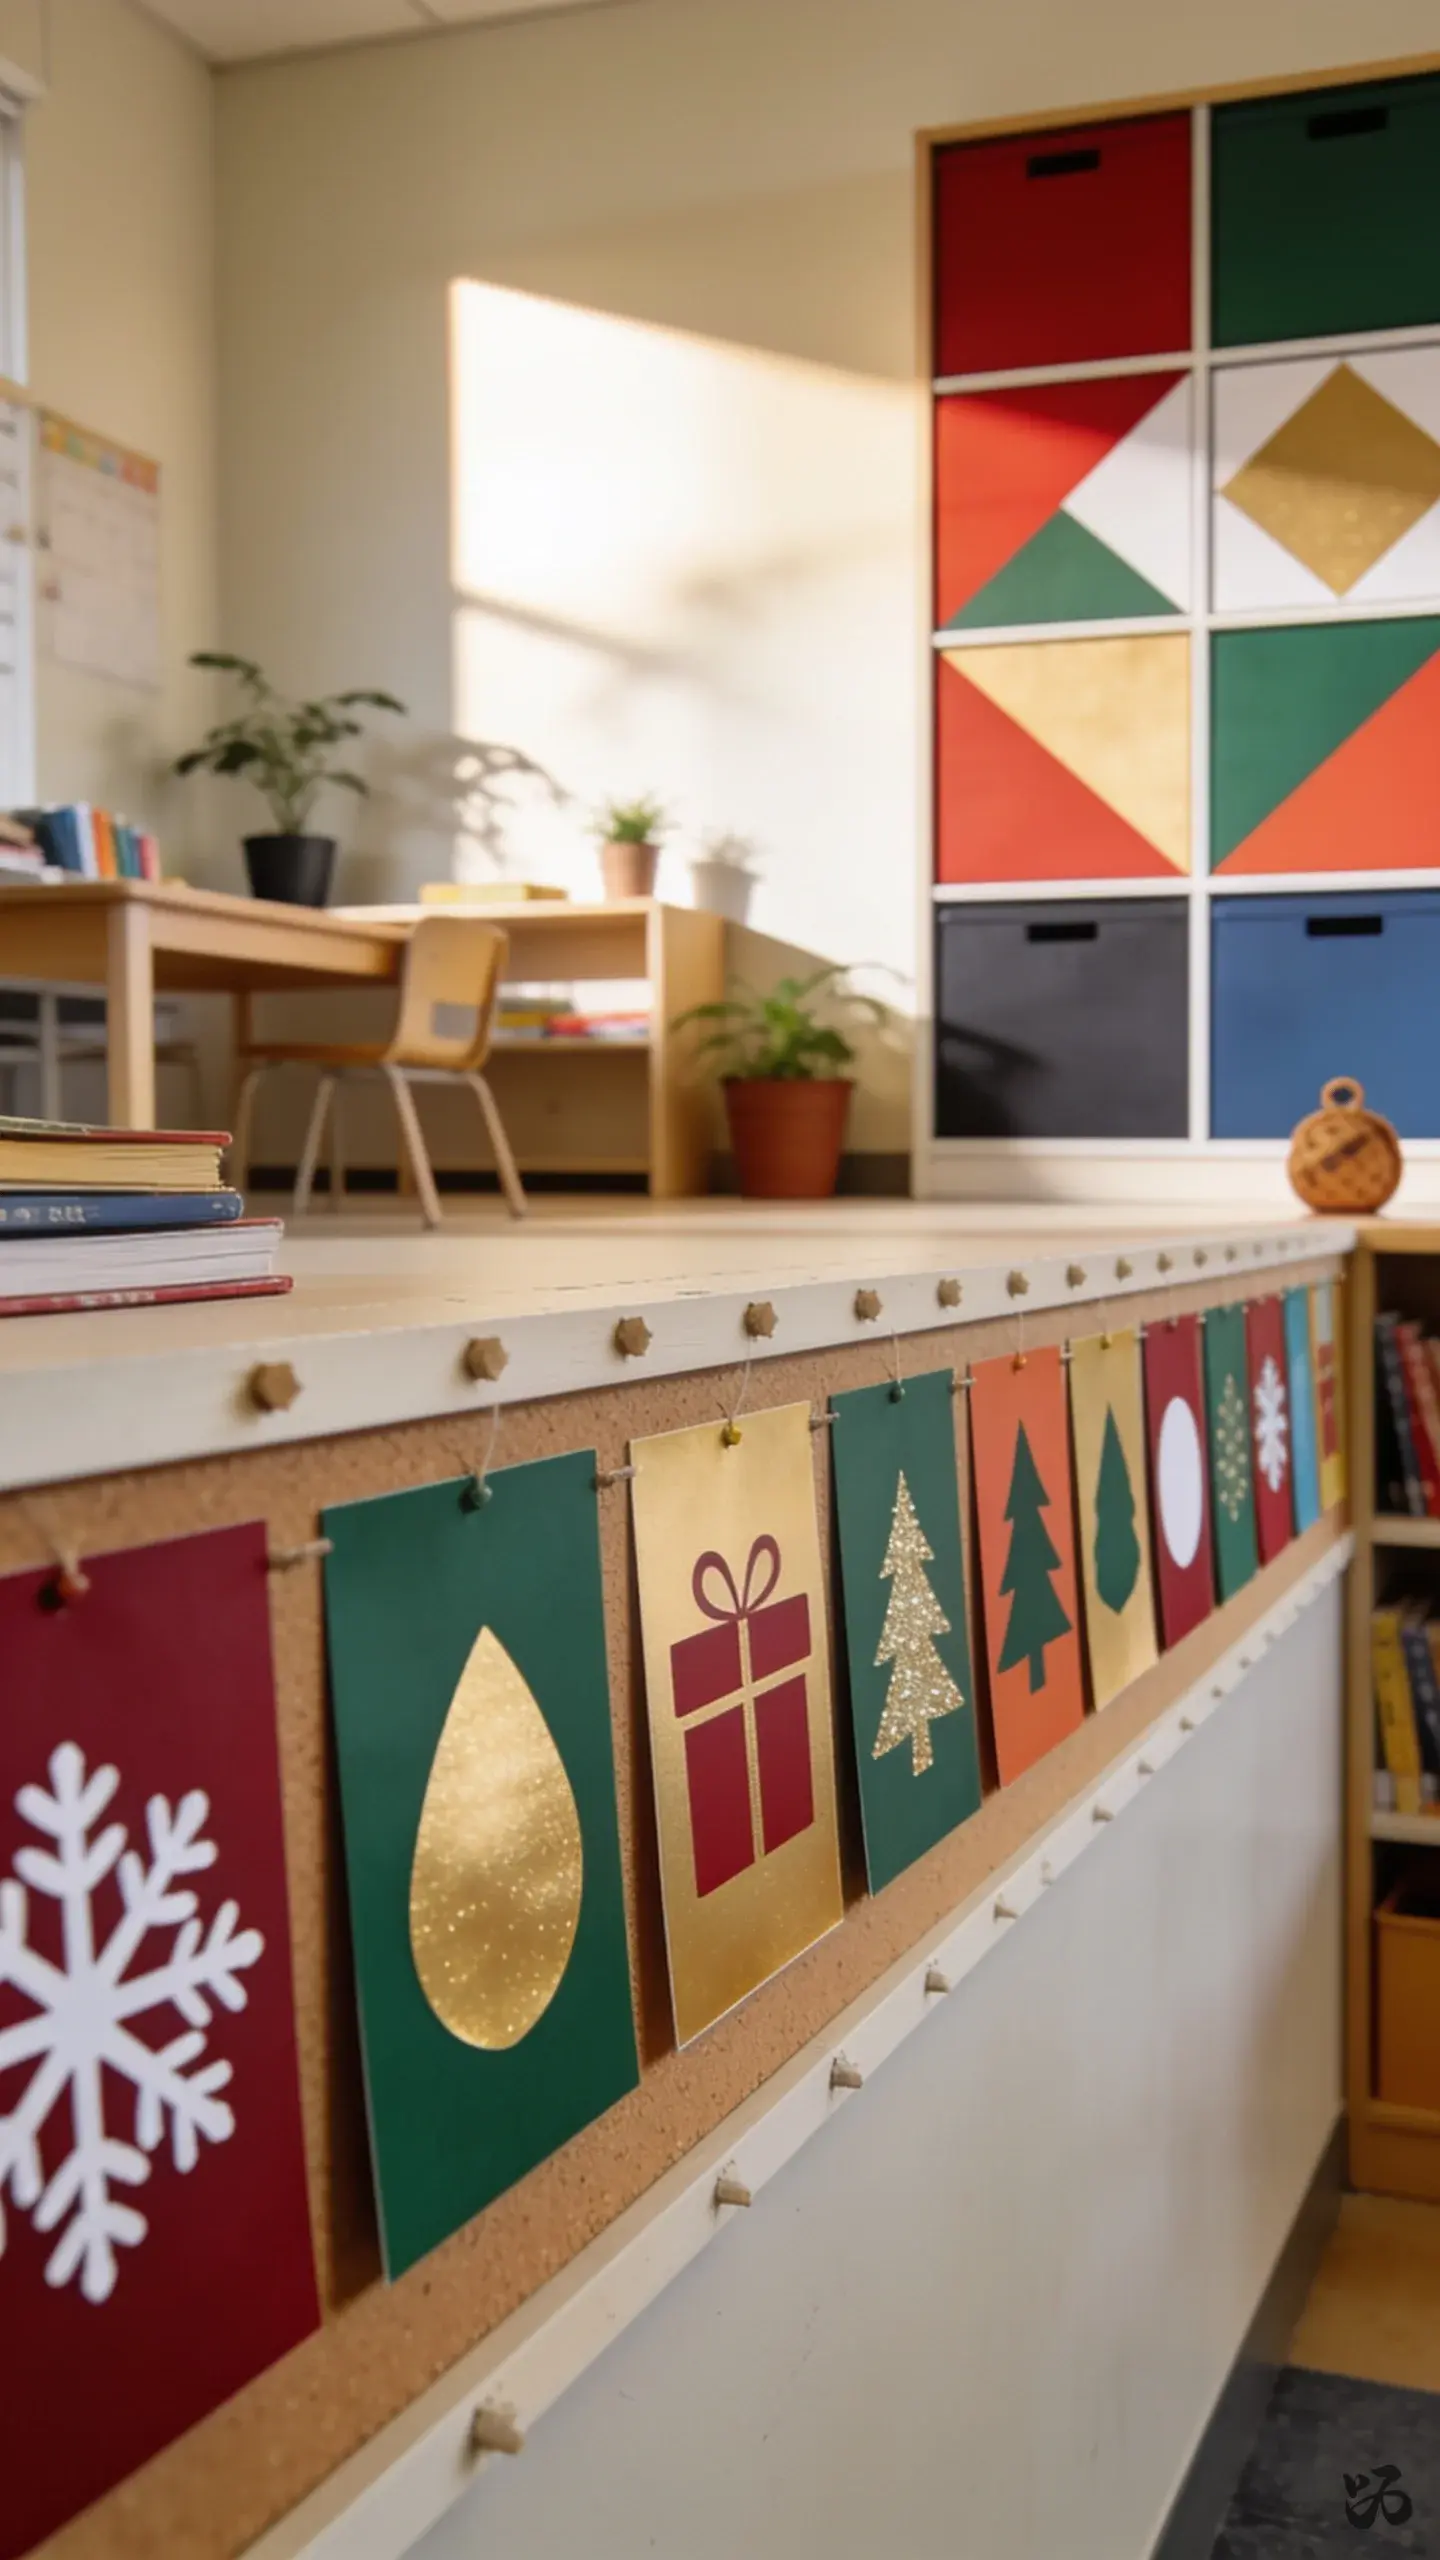
28. Holiday Word Cards Between the Blocks
 Save
SaveA line of word cards placed between wall studs or along a bulletin board row, with simple holiday words like snow, gift, tree. Use parent night or Open House as a quiet literacy invitation for families to read together.
What you need
- Index cards or cardstock
- Marker
- Laminate optional
- Double-sided tape
- Border trim
Simple and adaptable for multiple grades, from pre-K to second grade.
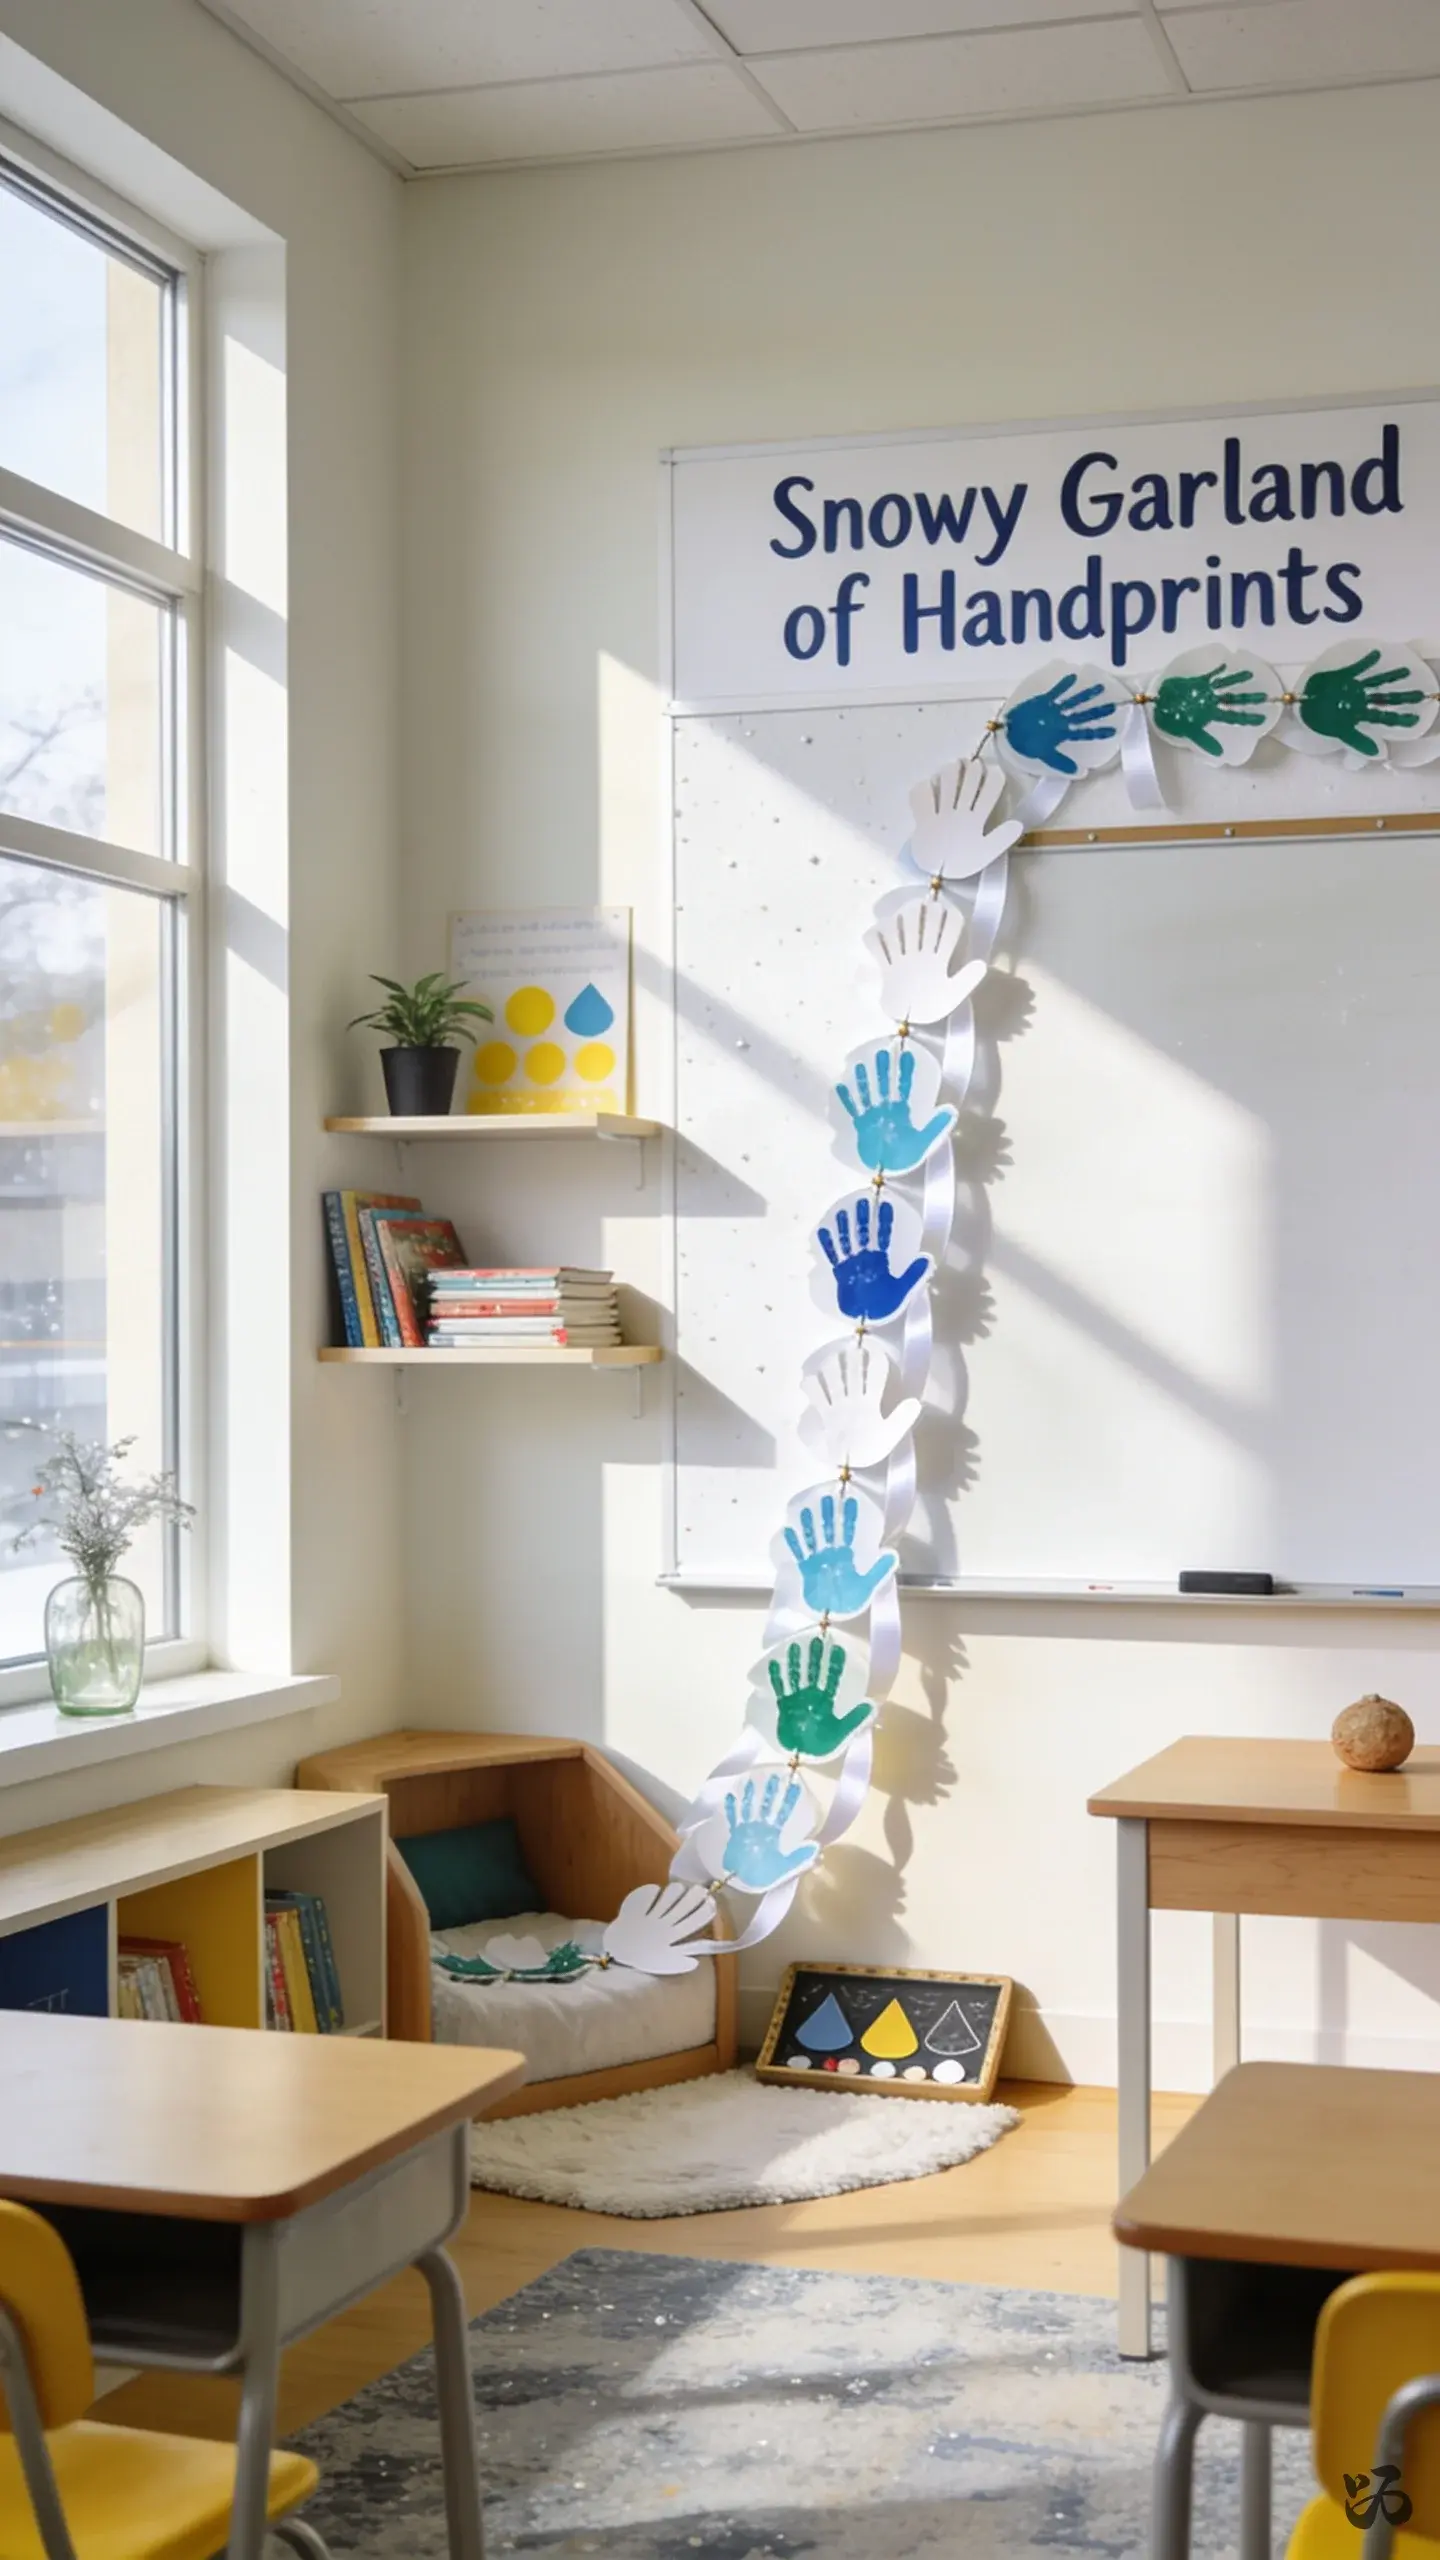
29. Snowy Garland of Handprints
 Save
SaveTrace student hands on white paper, cut out, and layer them to make a snowy handprint garland. It doubles as a keepsake and can be used to practice color recognition as well as fine motor skills during assembly.
What you need
- White paper
- Colored markers
- Hole punch
- Ribbon or string
- Tape
Easy for a prep period and durable enough to stay up through Open House or parent night.
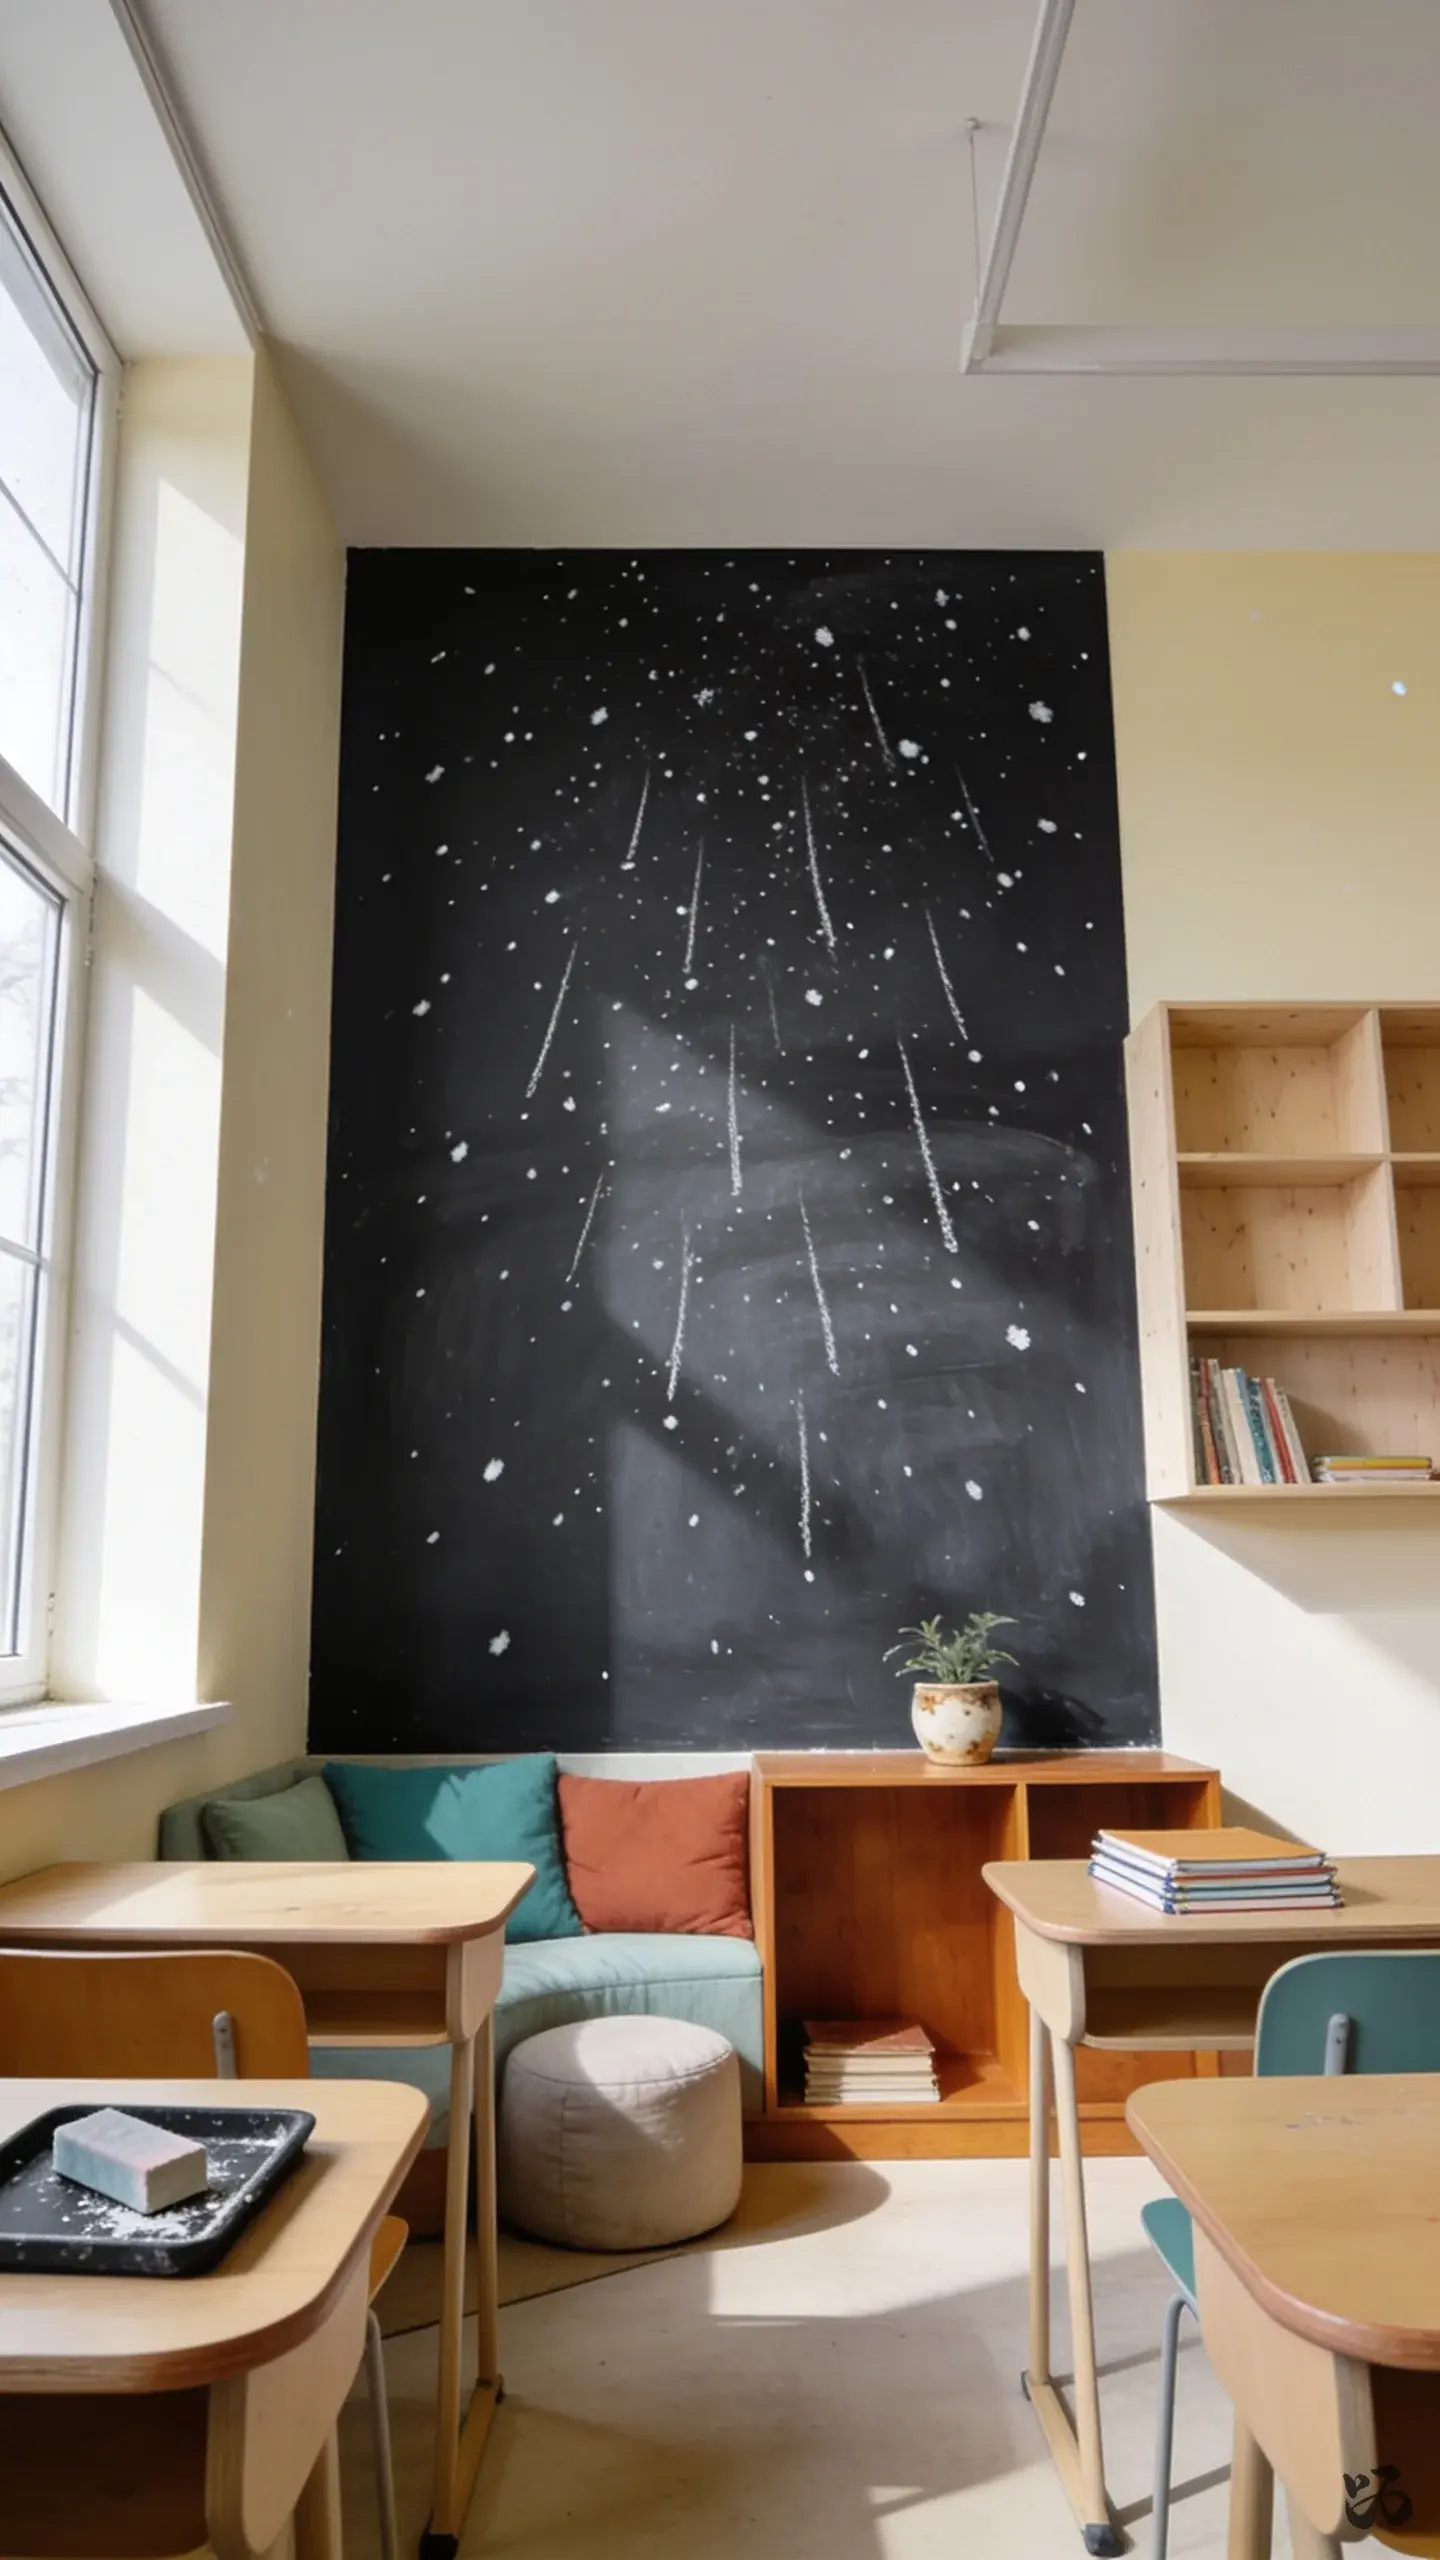
30. Minimalist Snowfall on a Chalkboard
 Save
SaveUsing a white chalk or white chalk marker on a blackboard or chalkboard-painted wall to create a gentle snowfall effect. It’s not a paper display, but it adds seasonal ambiance without wall clutter. It’s also easy to erase after the season.
What you need
- Chalk or chalk markers
- Chalkboard surface or dark bulletin board
- Soft cloth for cleanup
- Ruler for spacing the lines
- Optional stencils
Great when you want a low-setup, low-maintenance option; perfect for any grade level with adult supervision for younger children.
Conclusion
Start with a door or wall that needs a quick lift and choose one of the simple, durable options. Focus on ideas that stay put without a lot of tape or staples, and skip laminating where possible to save prep time. A few well-chosen decorations can create a warm, festive space for Open House, parent night, and everyday winter literacy in a real classroom.