
Some links in this post are affiliate links. If you buy through one, I may earn a small commission at no extra cost to you. As an Amazon Associate I earn from qualifying purchases.
This collection is aimed at kindergarten, pre-K, first grade, and second grade classrooms. It offers practical, ready-to-try ideas that fit typical school rhythms like prep periods and Open House nights. Each idea focuses on a sturdy, kid-friendly bulletin board or door project you can complete with common school materials.
Before you start: four useful things
A gratitude board lives or dies on whether children can actually add to it. These make that easy, and none of them are single use.
- Self adhesive felt boards for walls that will not take pins They stick to painted block, take pins straight away, and cut down to fit an awkward gap. This is the fix for a room with no cork anywhere.
- Battery powered fairy lights with a remote Thin silver wire that disappears against paper, so what the room sees is glow rather than cable. Battery packs mean the display can go anywhere, not just near a socket.
- Plug in string lights for a longer run For the window or the back wall where there is an outlet and you want more light than battery wire gives. Eight modes, including a slow fade calm enough to leave on during lessons.
- A warm neon sign for the corner One soft focal point that stays up long after the paper comes down. USB powered with adjustable brightness so it is not glaring mid lesson.
1. Thankful Doors: Simple Messages on a Wide Door
 Save
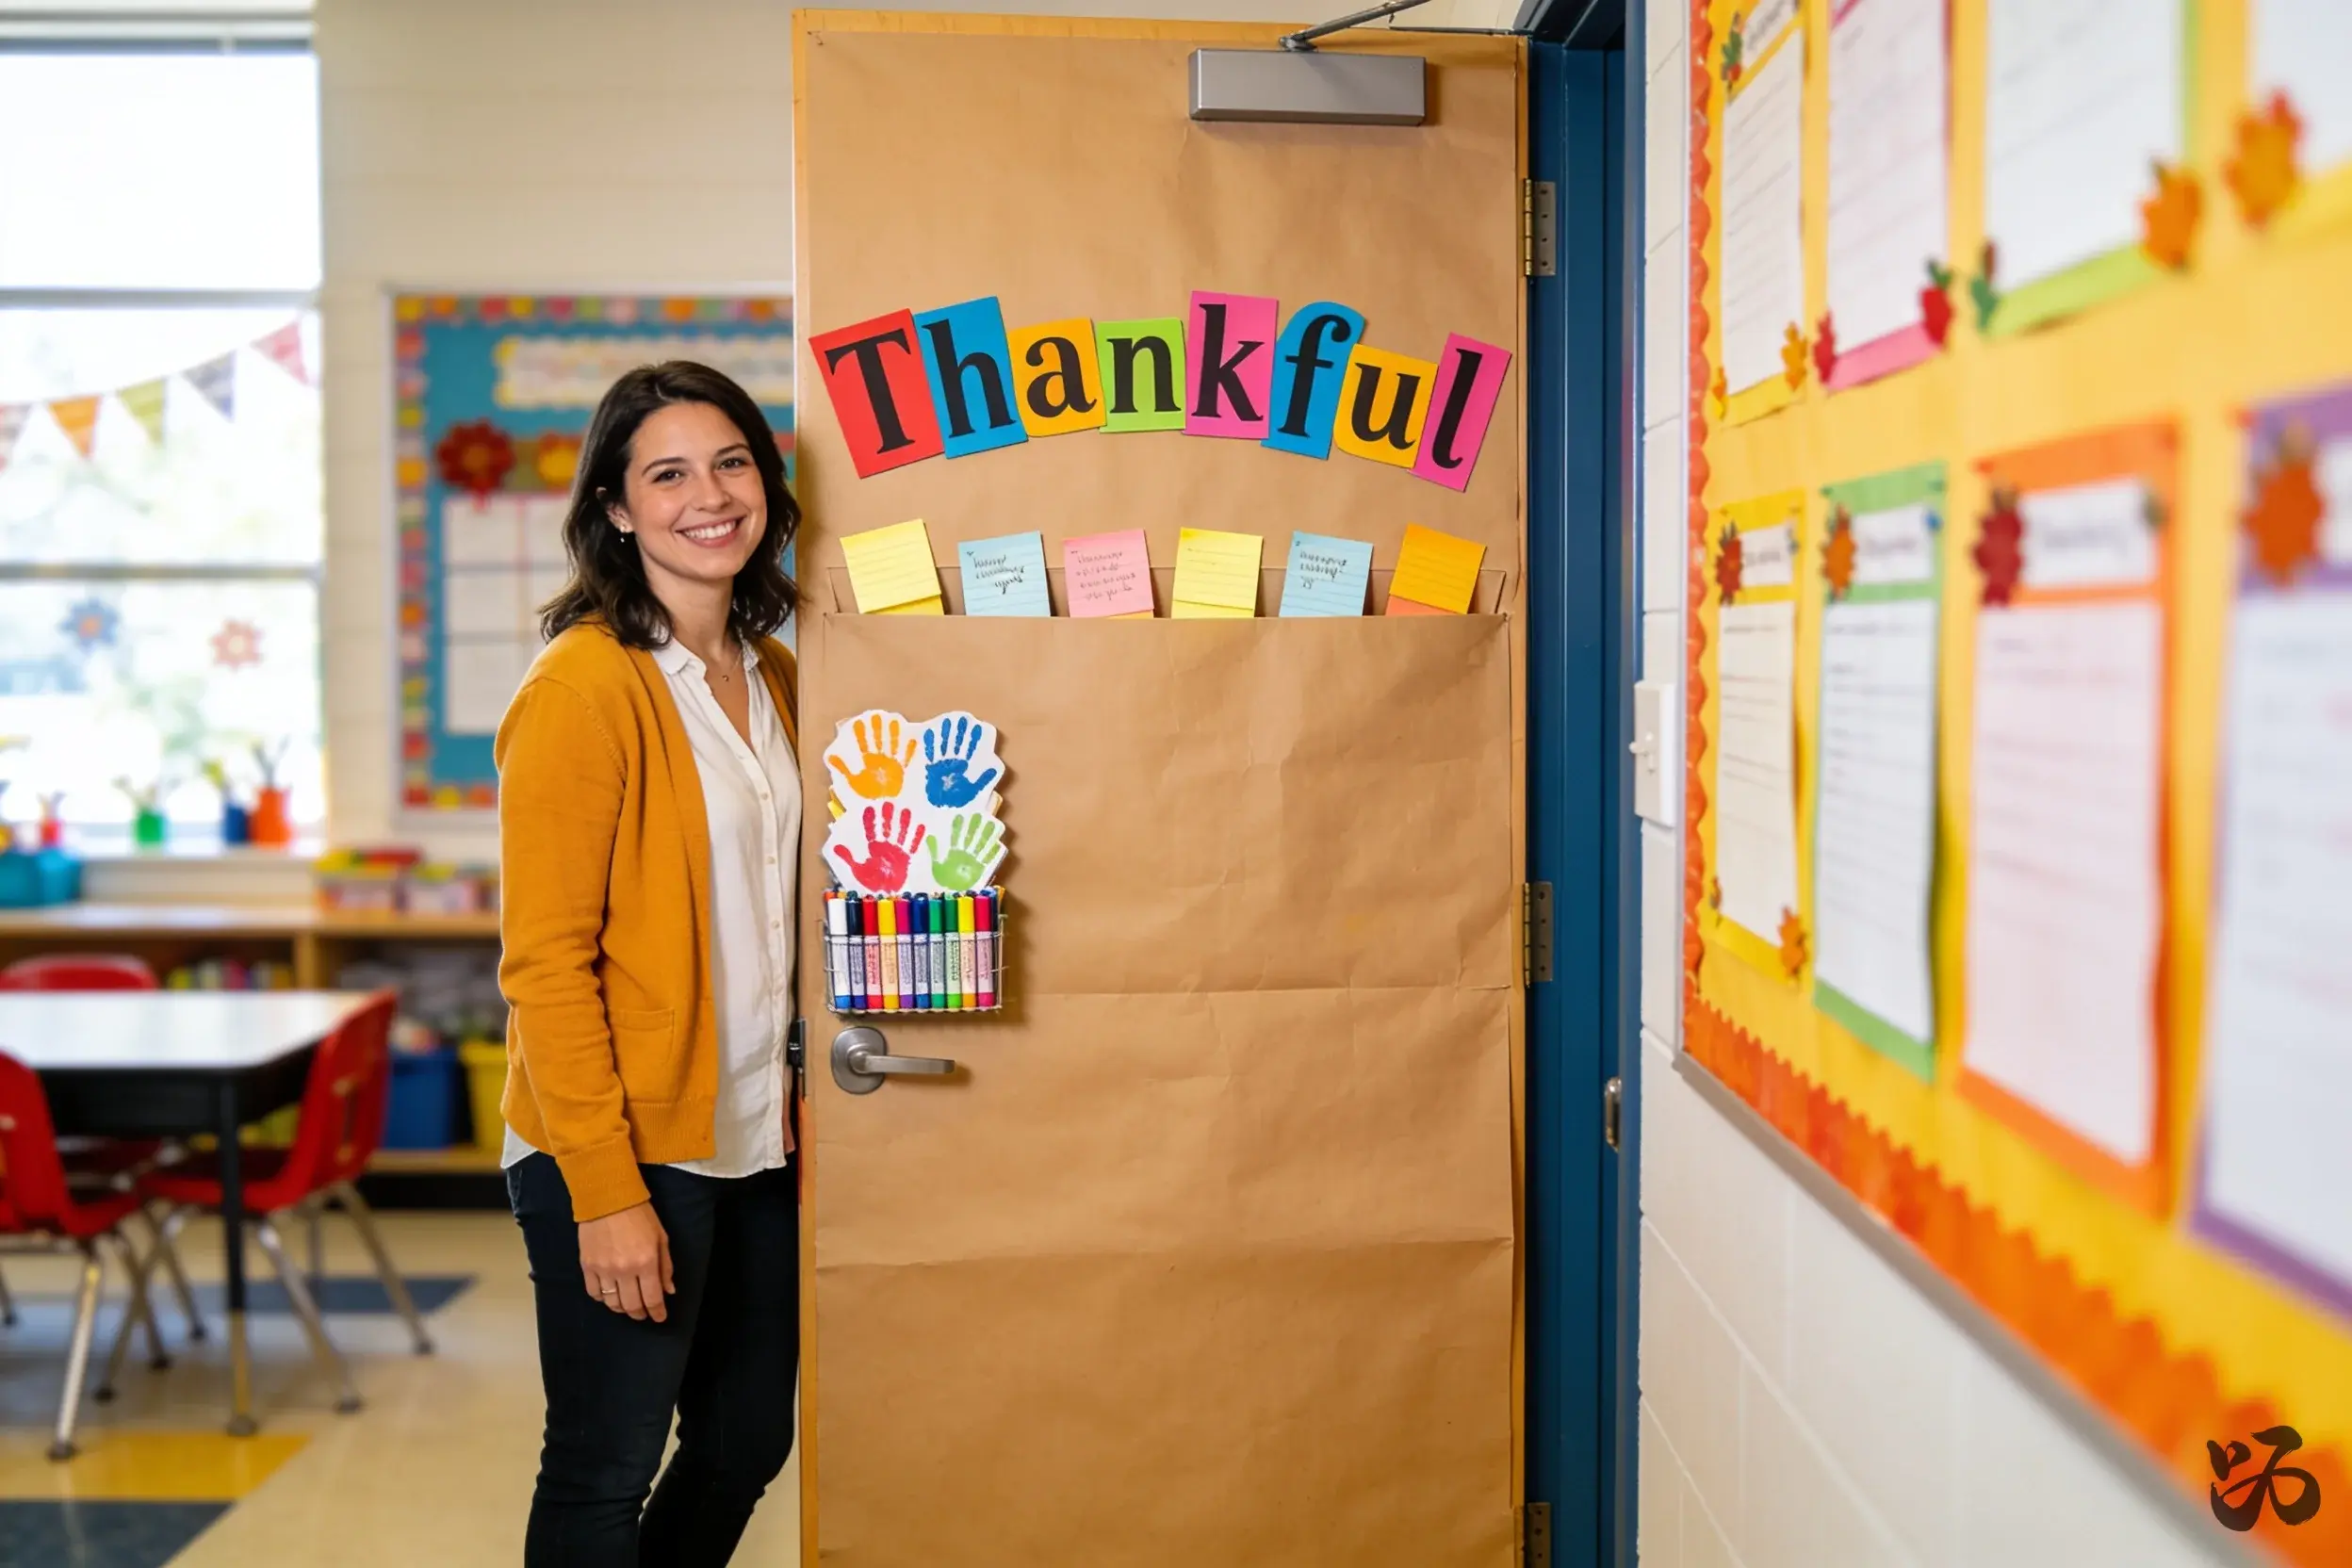
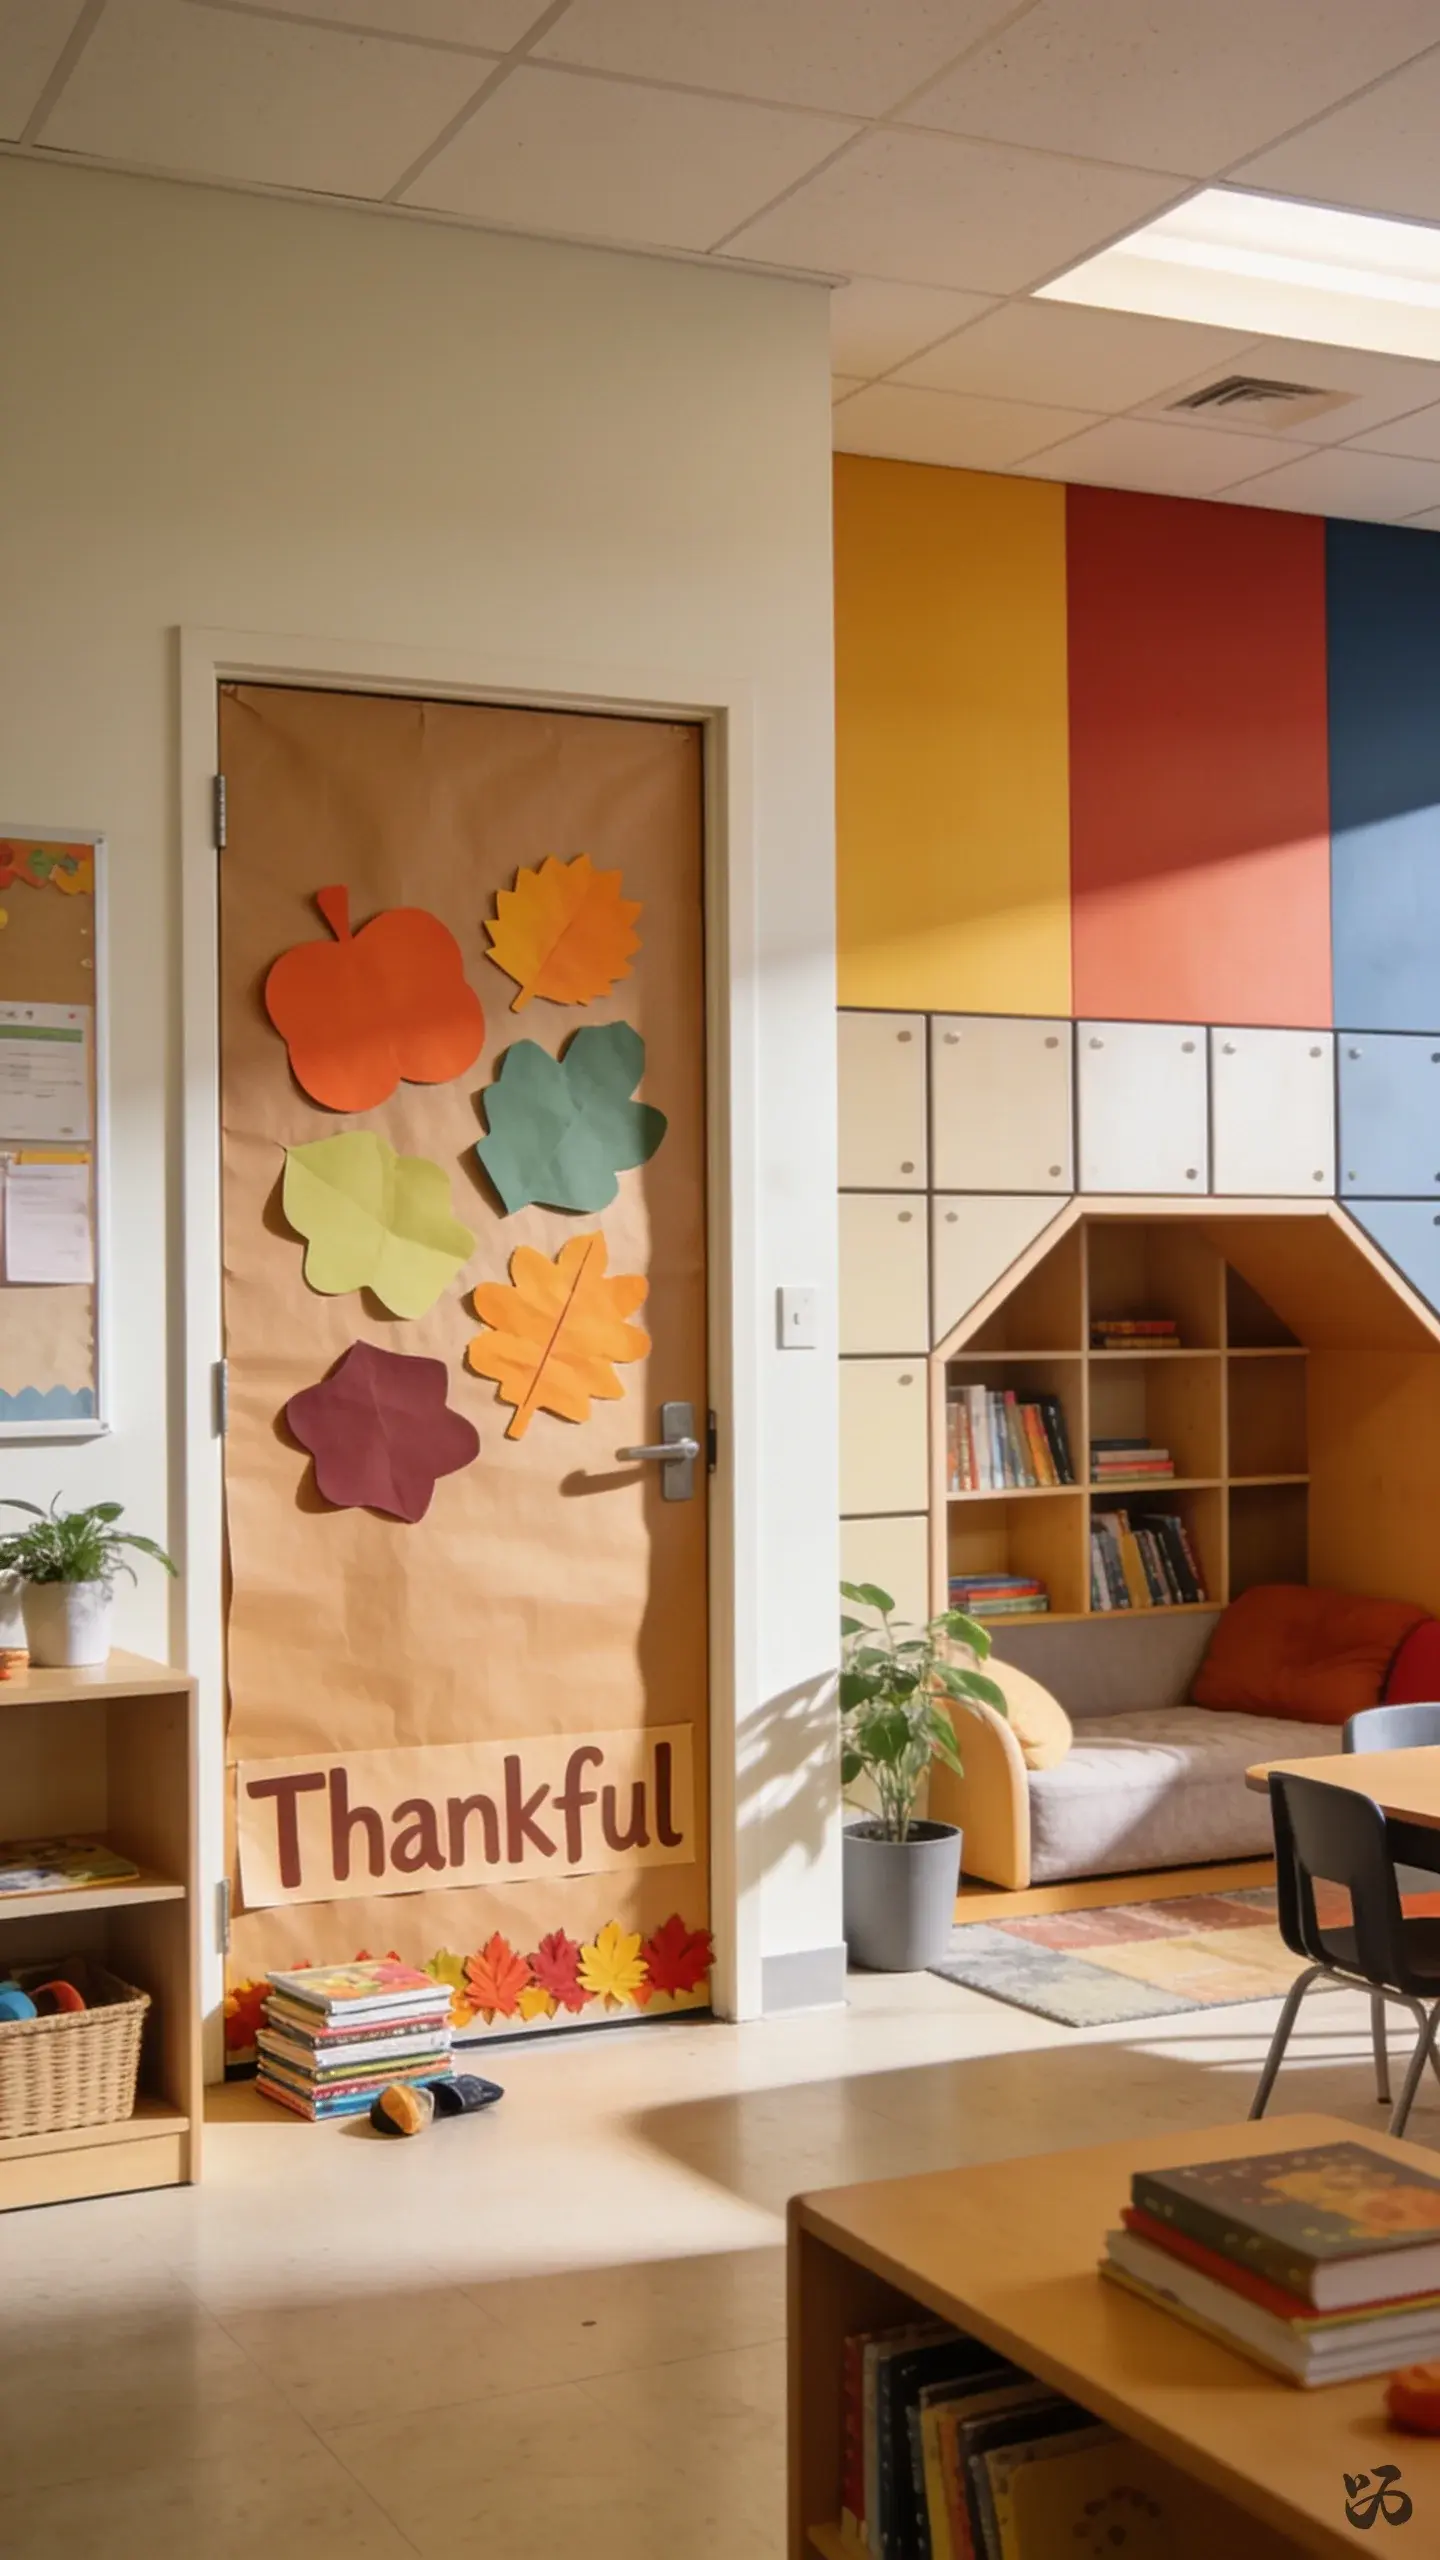
SaveCover a portion of the classroom door with warm brown butcher paper and add a few colorful cutouts that spell out “Thankful.” Kids place small sticky notes with one thing they are grateful for in the week. The lower edge stays at a height where little hands can still reach.
What you need
- Butcher paper in kraft or tan
- Cardstock letter cutouts for “Thankful”
- Post-it notes or small slips of paper for student ideas
- Colored markers or pencils
- Low-tack tape or staples (custodian-approved)
Works well during prep period; keep it light and avoid heavy embellishments that might damage doors.
2. Grateful Garden Wall
 Save
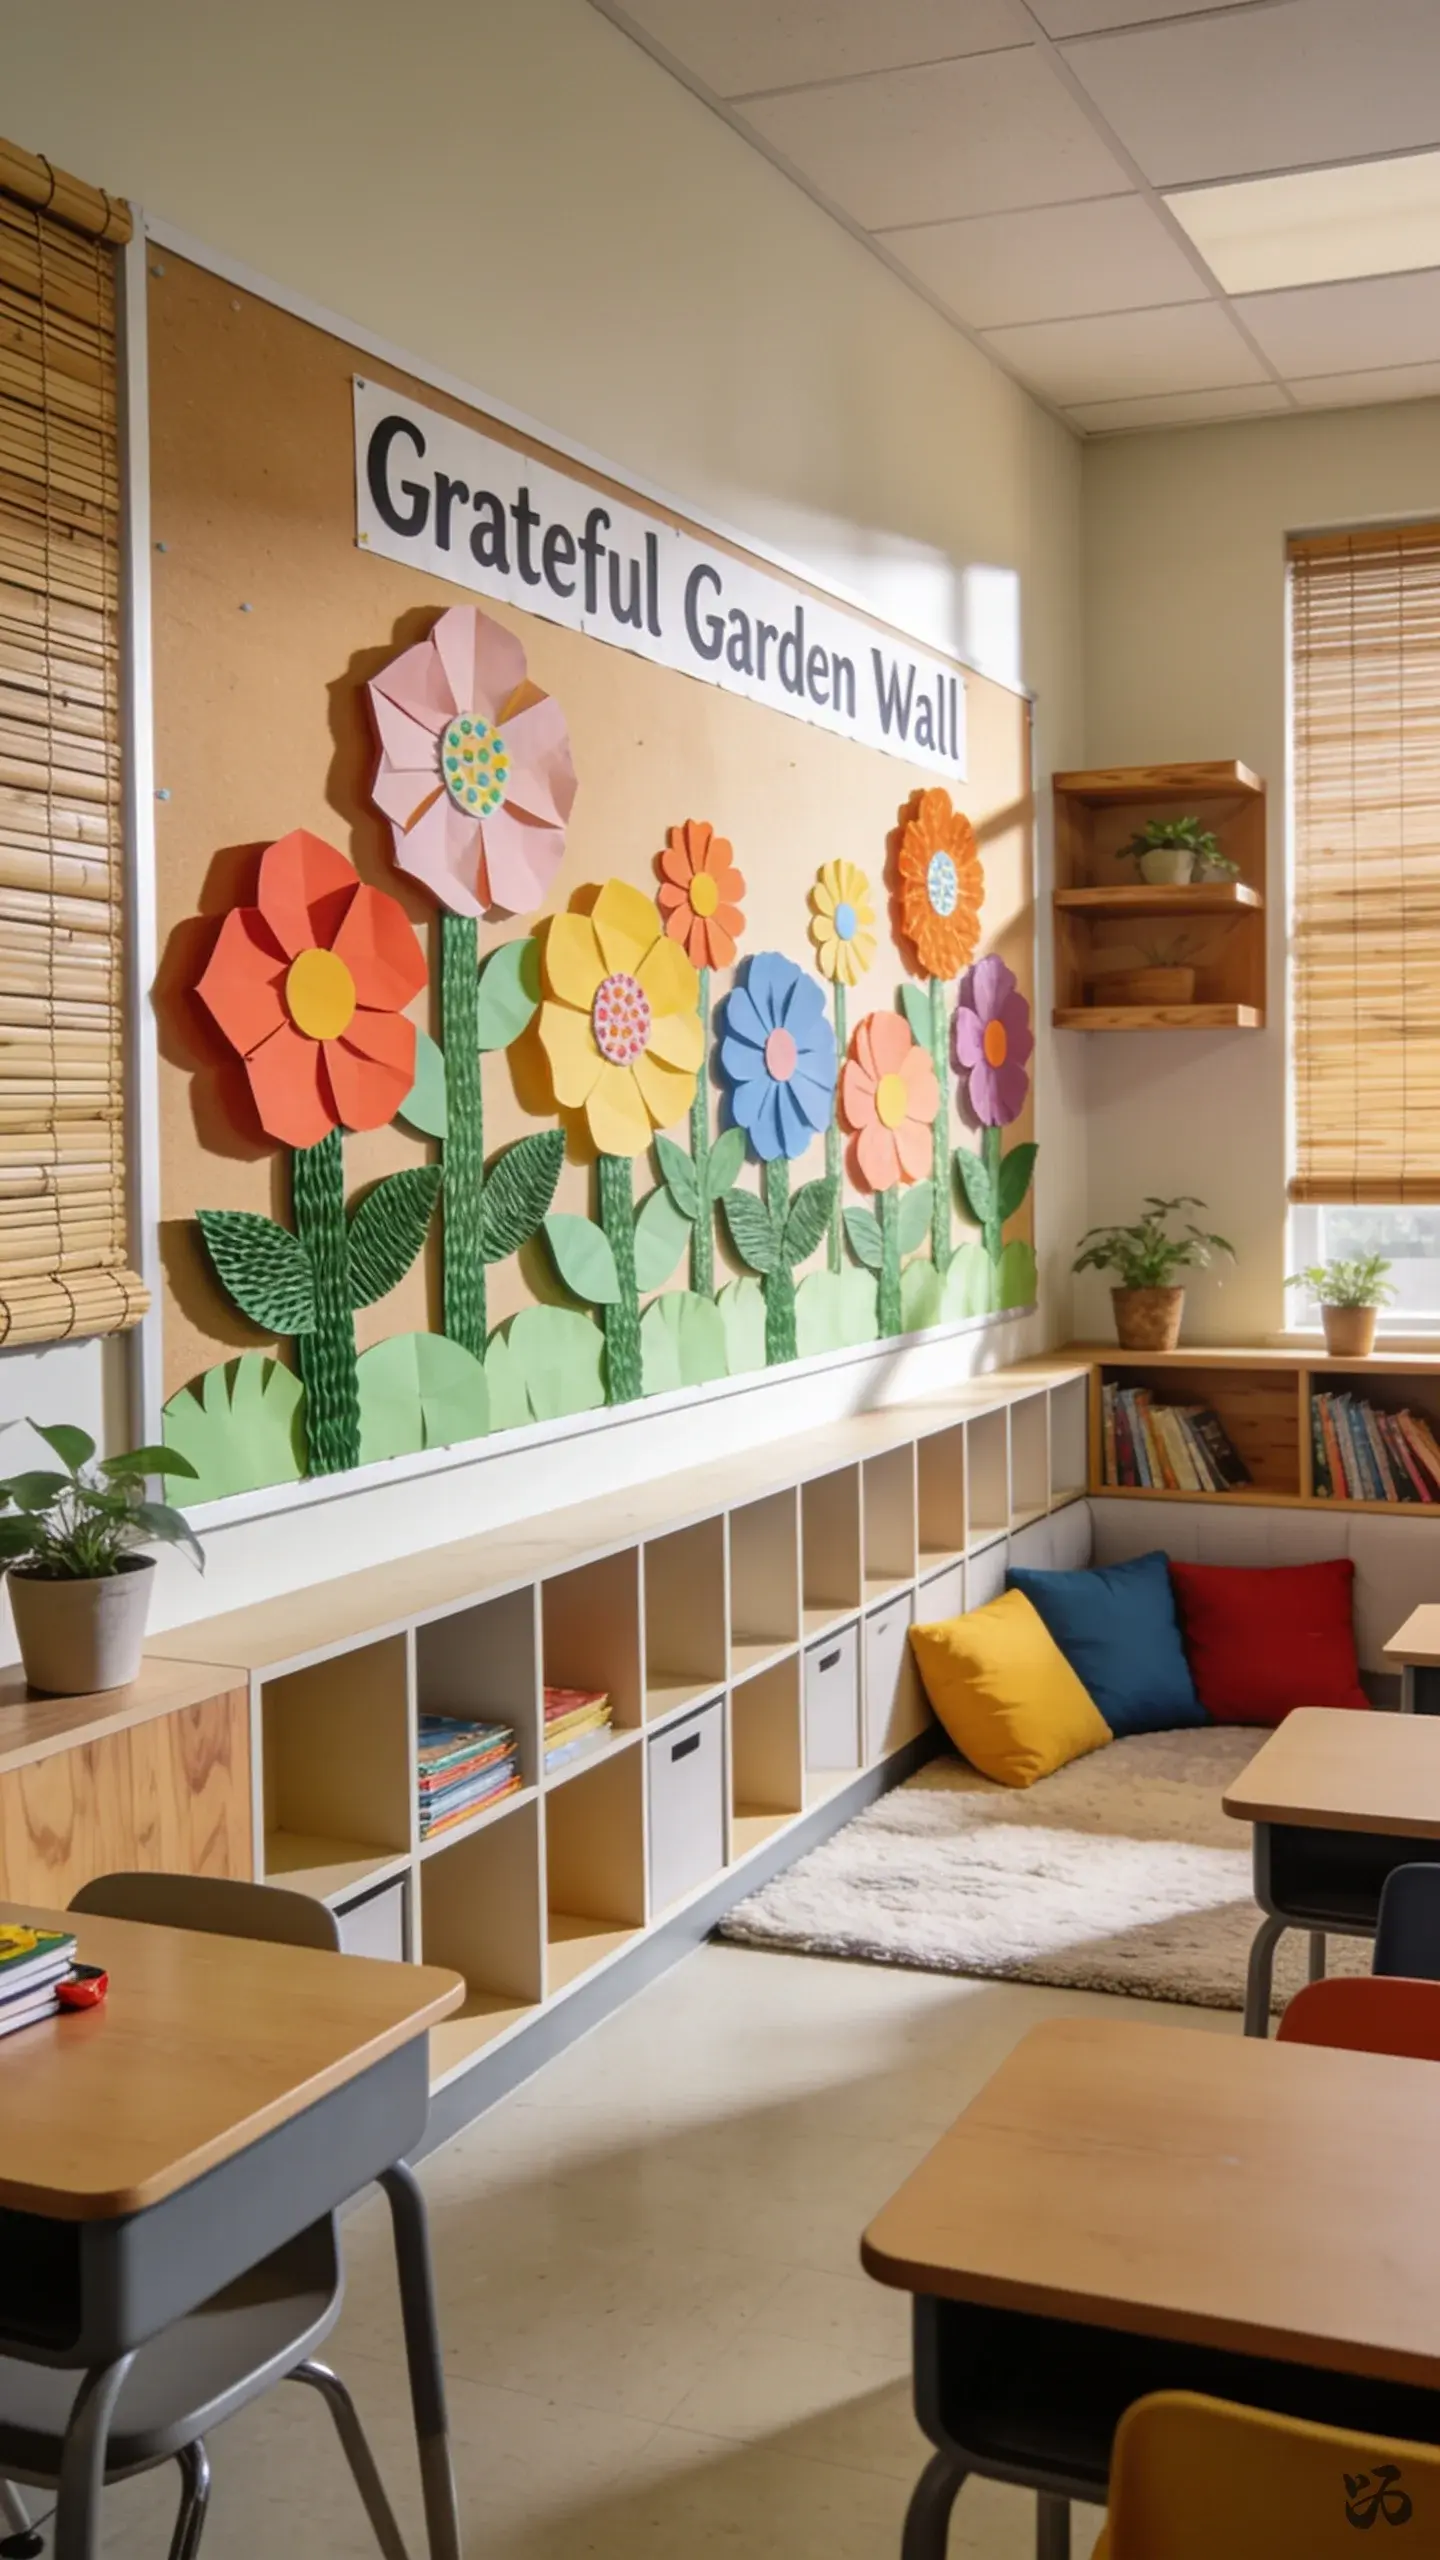
SaveA wall of paper flowers arranged in a garden shape with each bloom labeled by a classmate’s grateful thought. Place the display on a long stretch of bulletin board or a wall with easy-to-reach height for first graders.
What you need
- Construction paper or cardstock for petals
- Green bulletin board border or paper for stems
- Glue sticks and tape
- Labels for student names and ideas
Good for a field trip follow-up idea, and it can stay up through late fall with minimal upkeep.
3. Thankful Timeline on the Wall
 Save
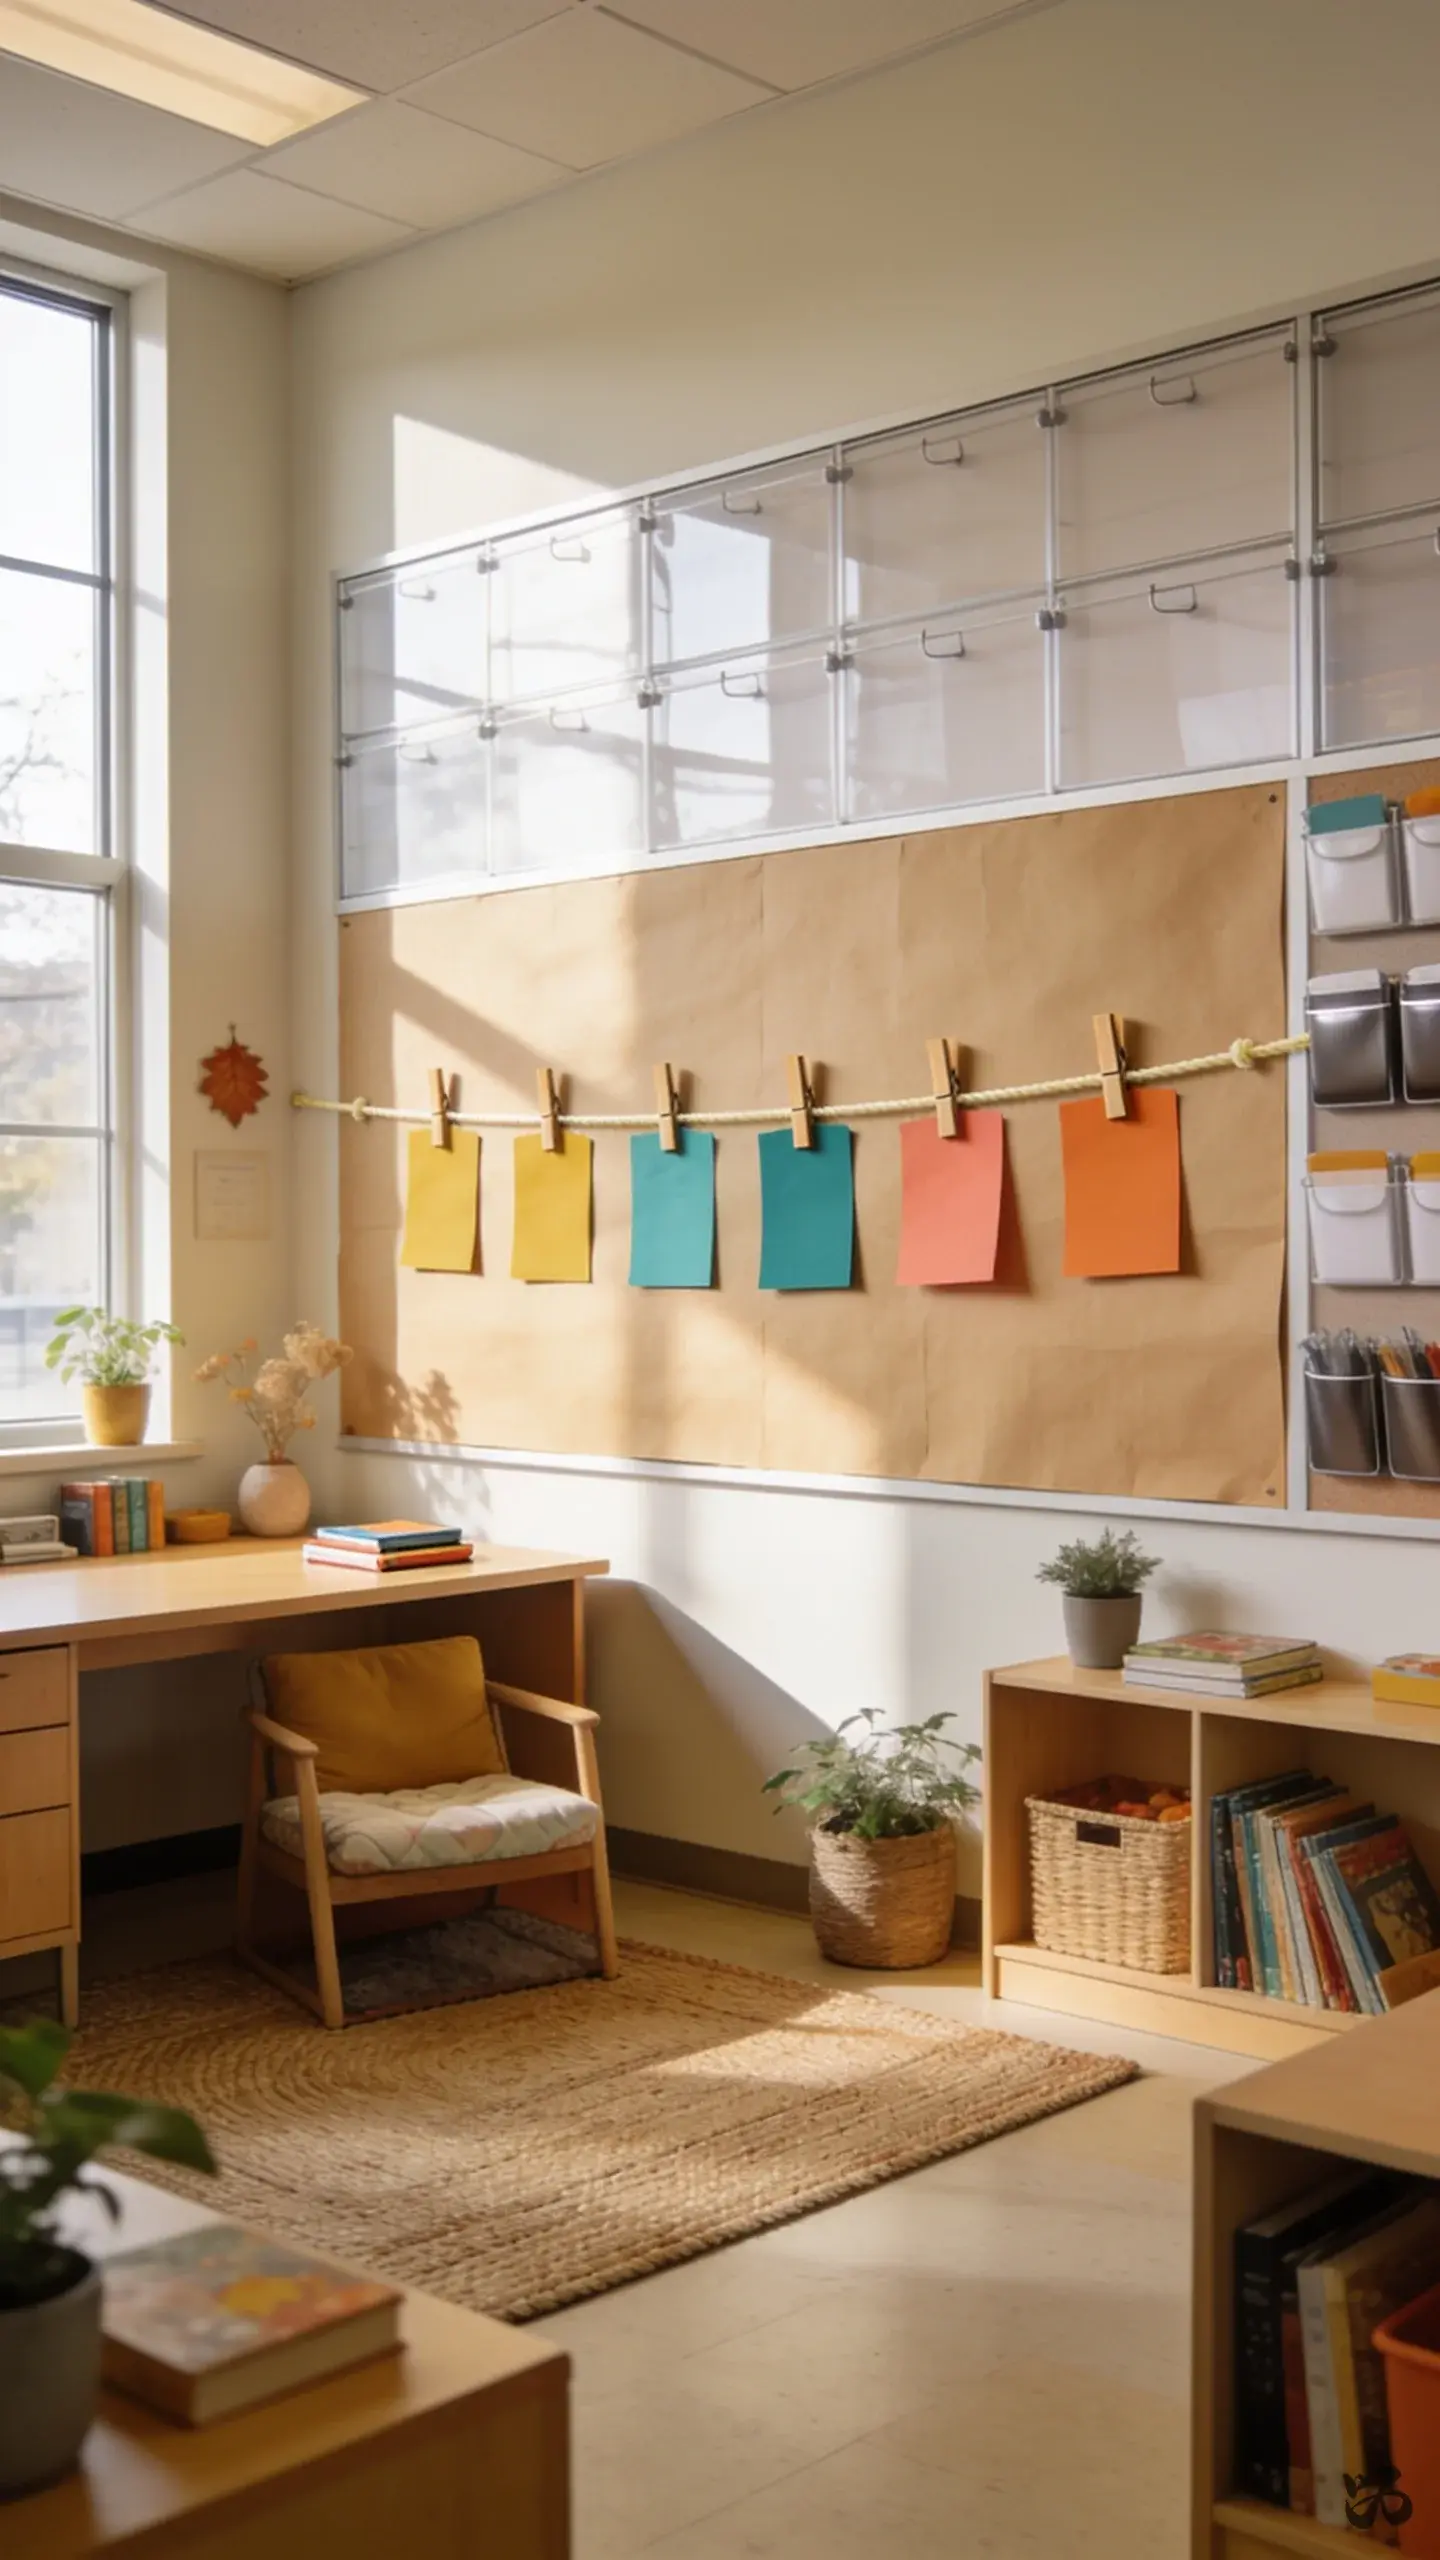
SaveCreate a horizontal timeline across a bulletin board with one month’s worth of “Thankful” slips. Each day adds a new slip with a short note from a student or a quick class reflection. Mount slips on string with clothespins for easy updating.
What you need
- Butcher paper for the base timeline
- Colored string or yarn
- Clothespins
- Index cards or cut cardstock slips
- Markers or pens
Laminate not required for the slips if you use sturdy cardstock; quick to change during prep period.
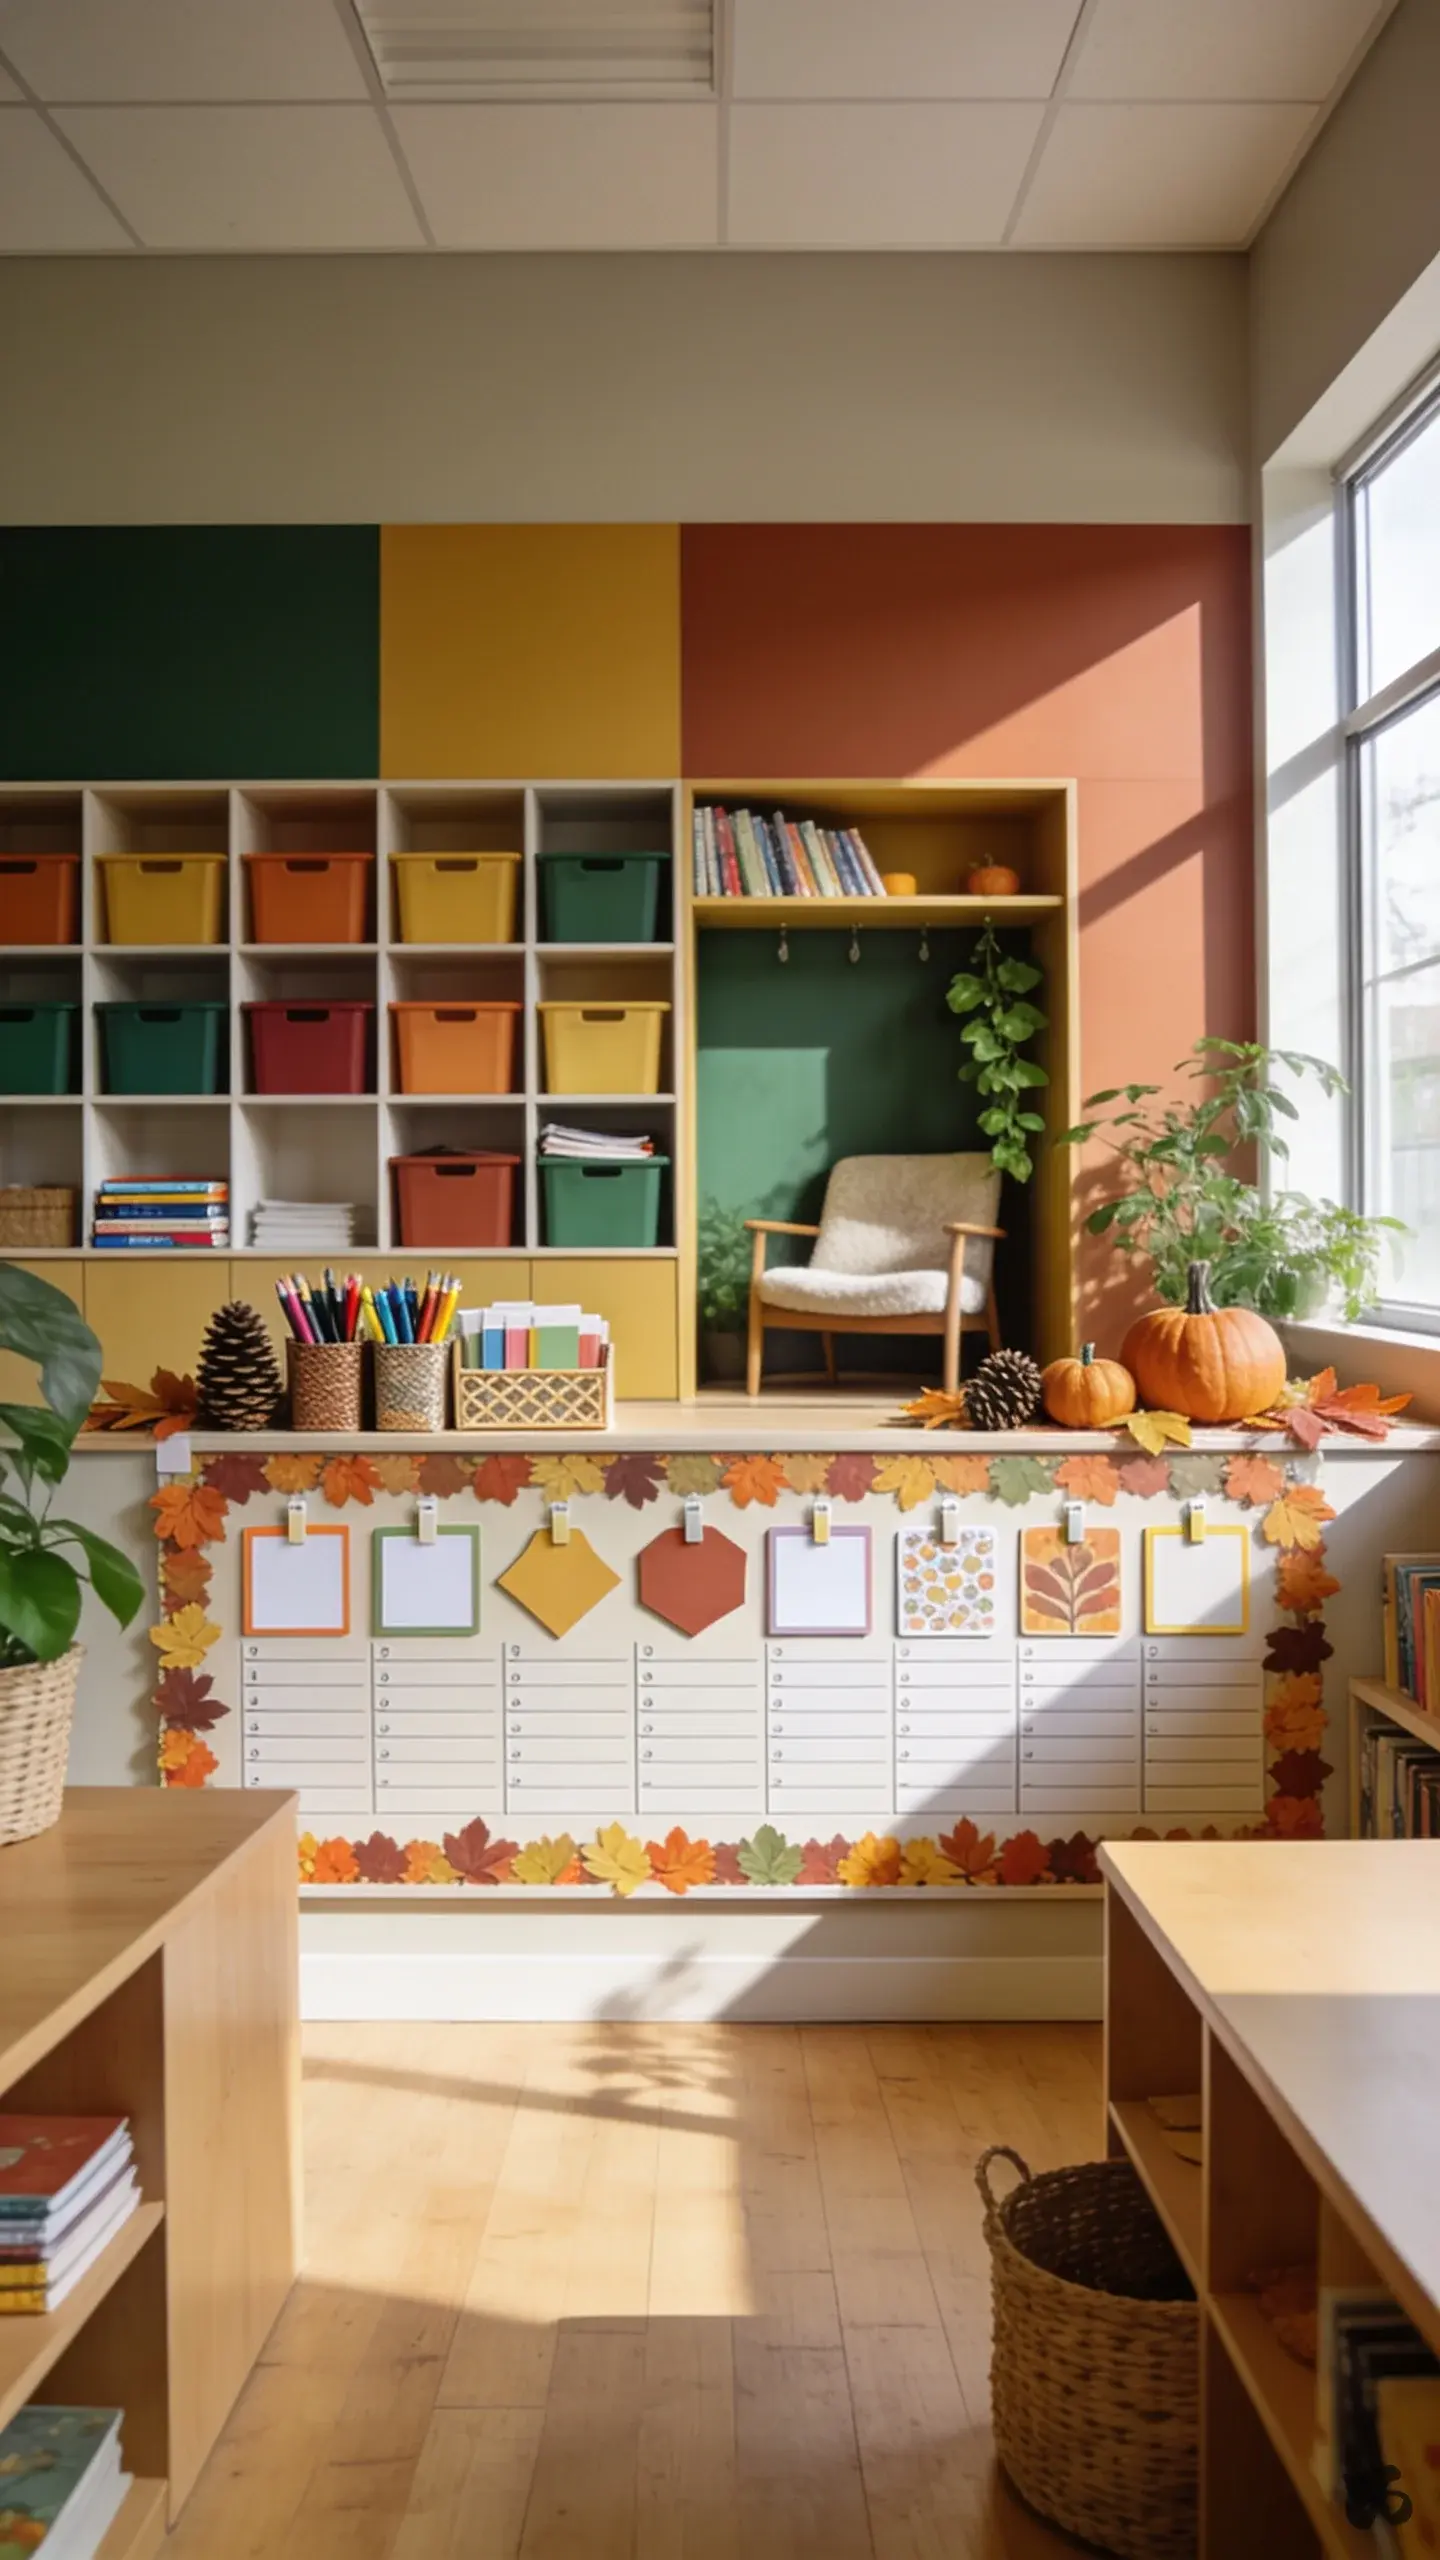
4. 10 Things I Am Thankful For
 Save
SaveA simple list board where each student contributes one item. The teacher writes entries on a class list that runs along the bottom or side of the board. It stays centered and neat, so it’s easy to read during Open House.
What you need
- Cardstock or large paper
- Marker and pencil for ideas
- Low-adhesion mounting options to protect walls
- Decorative border in fall colors
Keep the list current by updating weekly; you can rotate in new entries during prep period.
What I’d Buy First
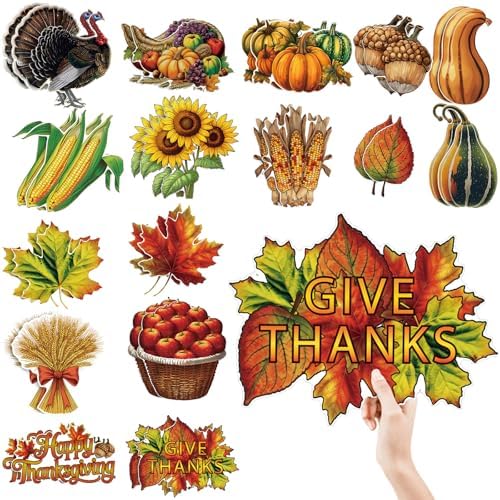


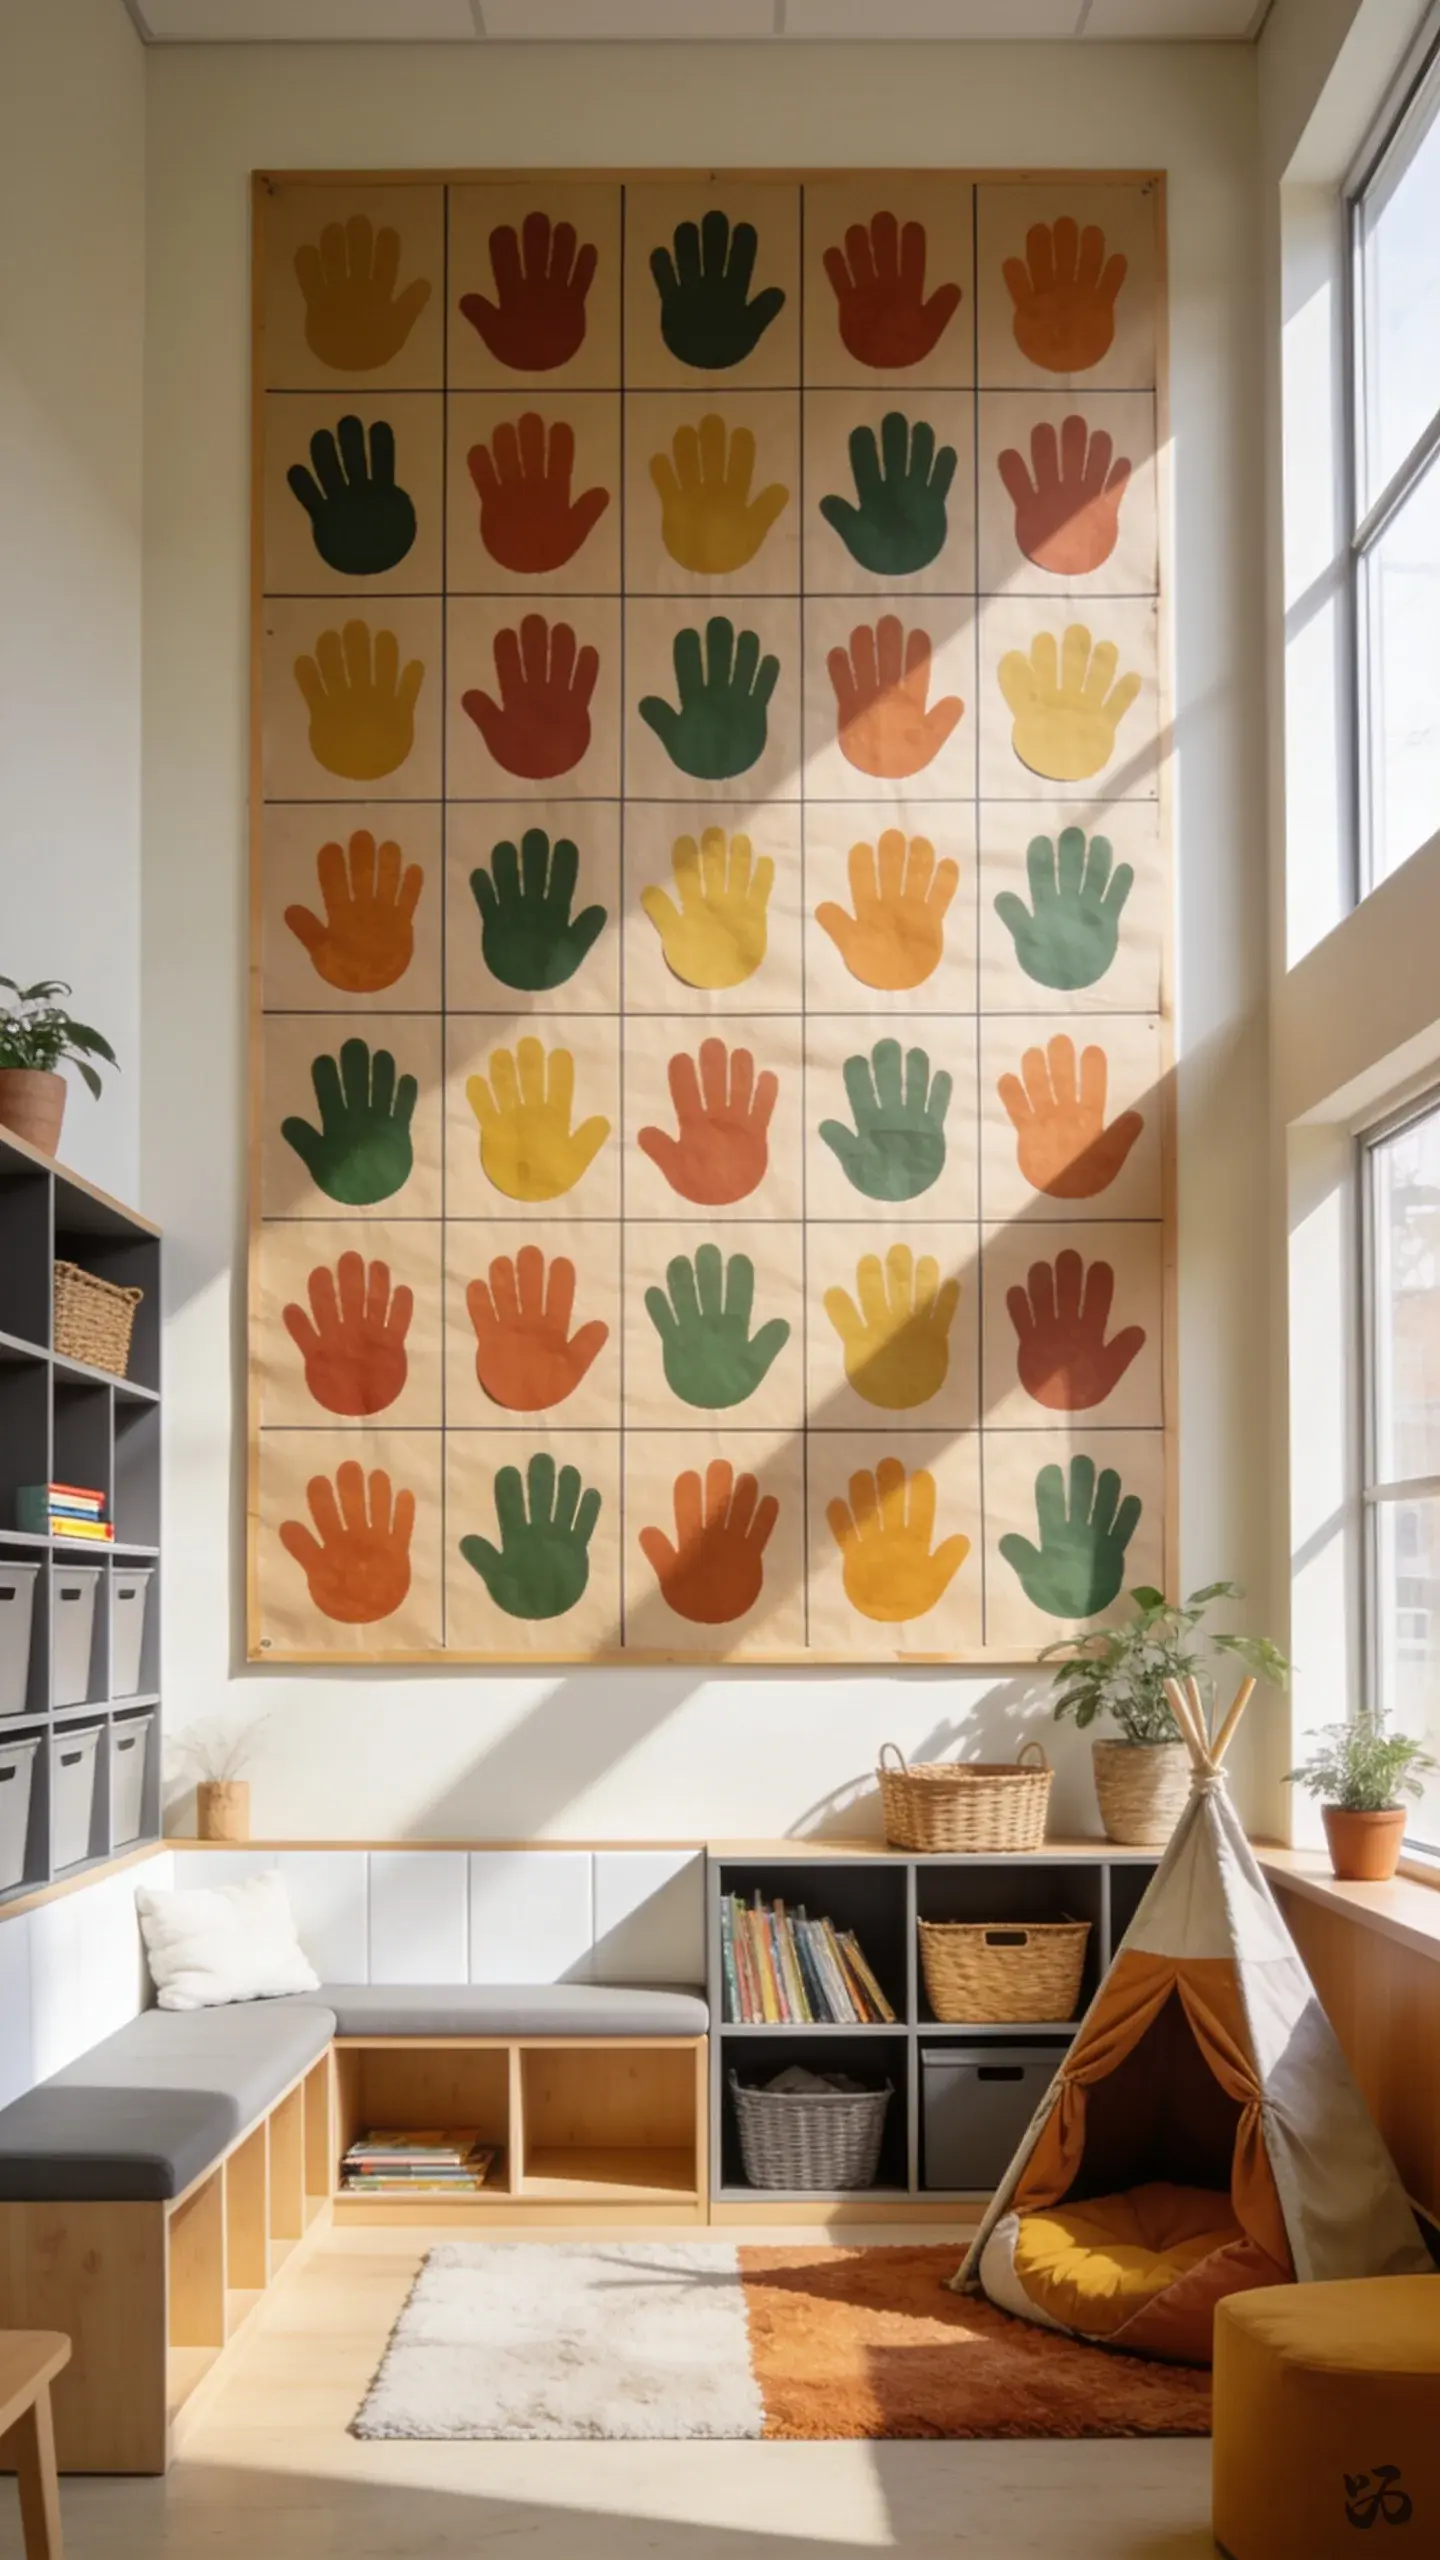
5. Thankful Hands Wall Grid
 Save
SaveTrace each student’s hand on colored paper, write one thing they’re thankful for, and arrange them in a neat grid on a bulletin board. The hands are at eye level, making the display accessible and interactive.
What you need
- Construction paper in varied fall tones
- Scissors and glue sticks
- Large bulletin board pages or a section of neutral butcher paper as the grid base
- Marker for writing on the hand
Best for pre-K through second grade; avoid sharp corners by rounding hand shapes.
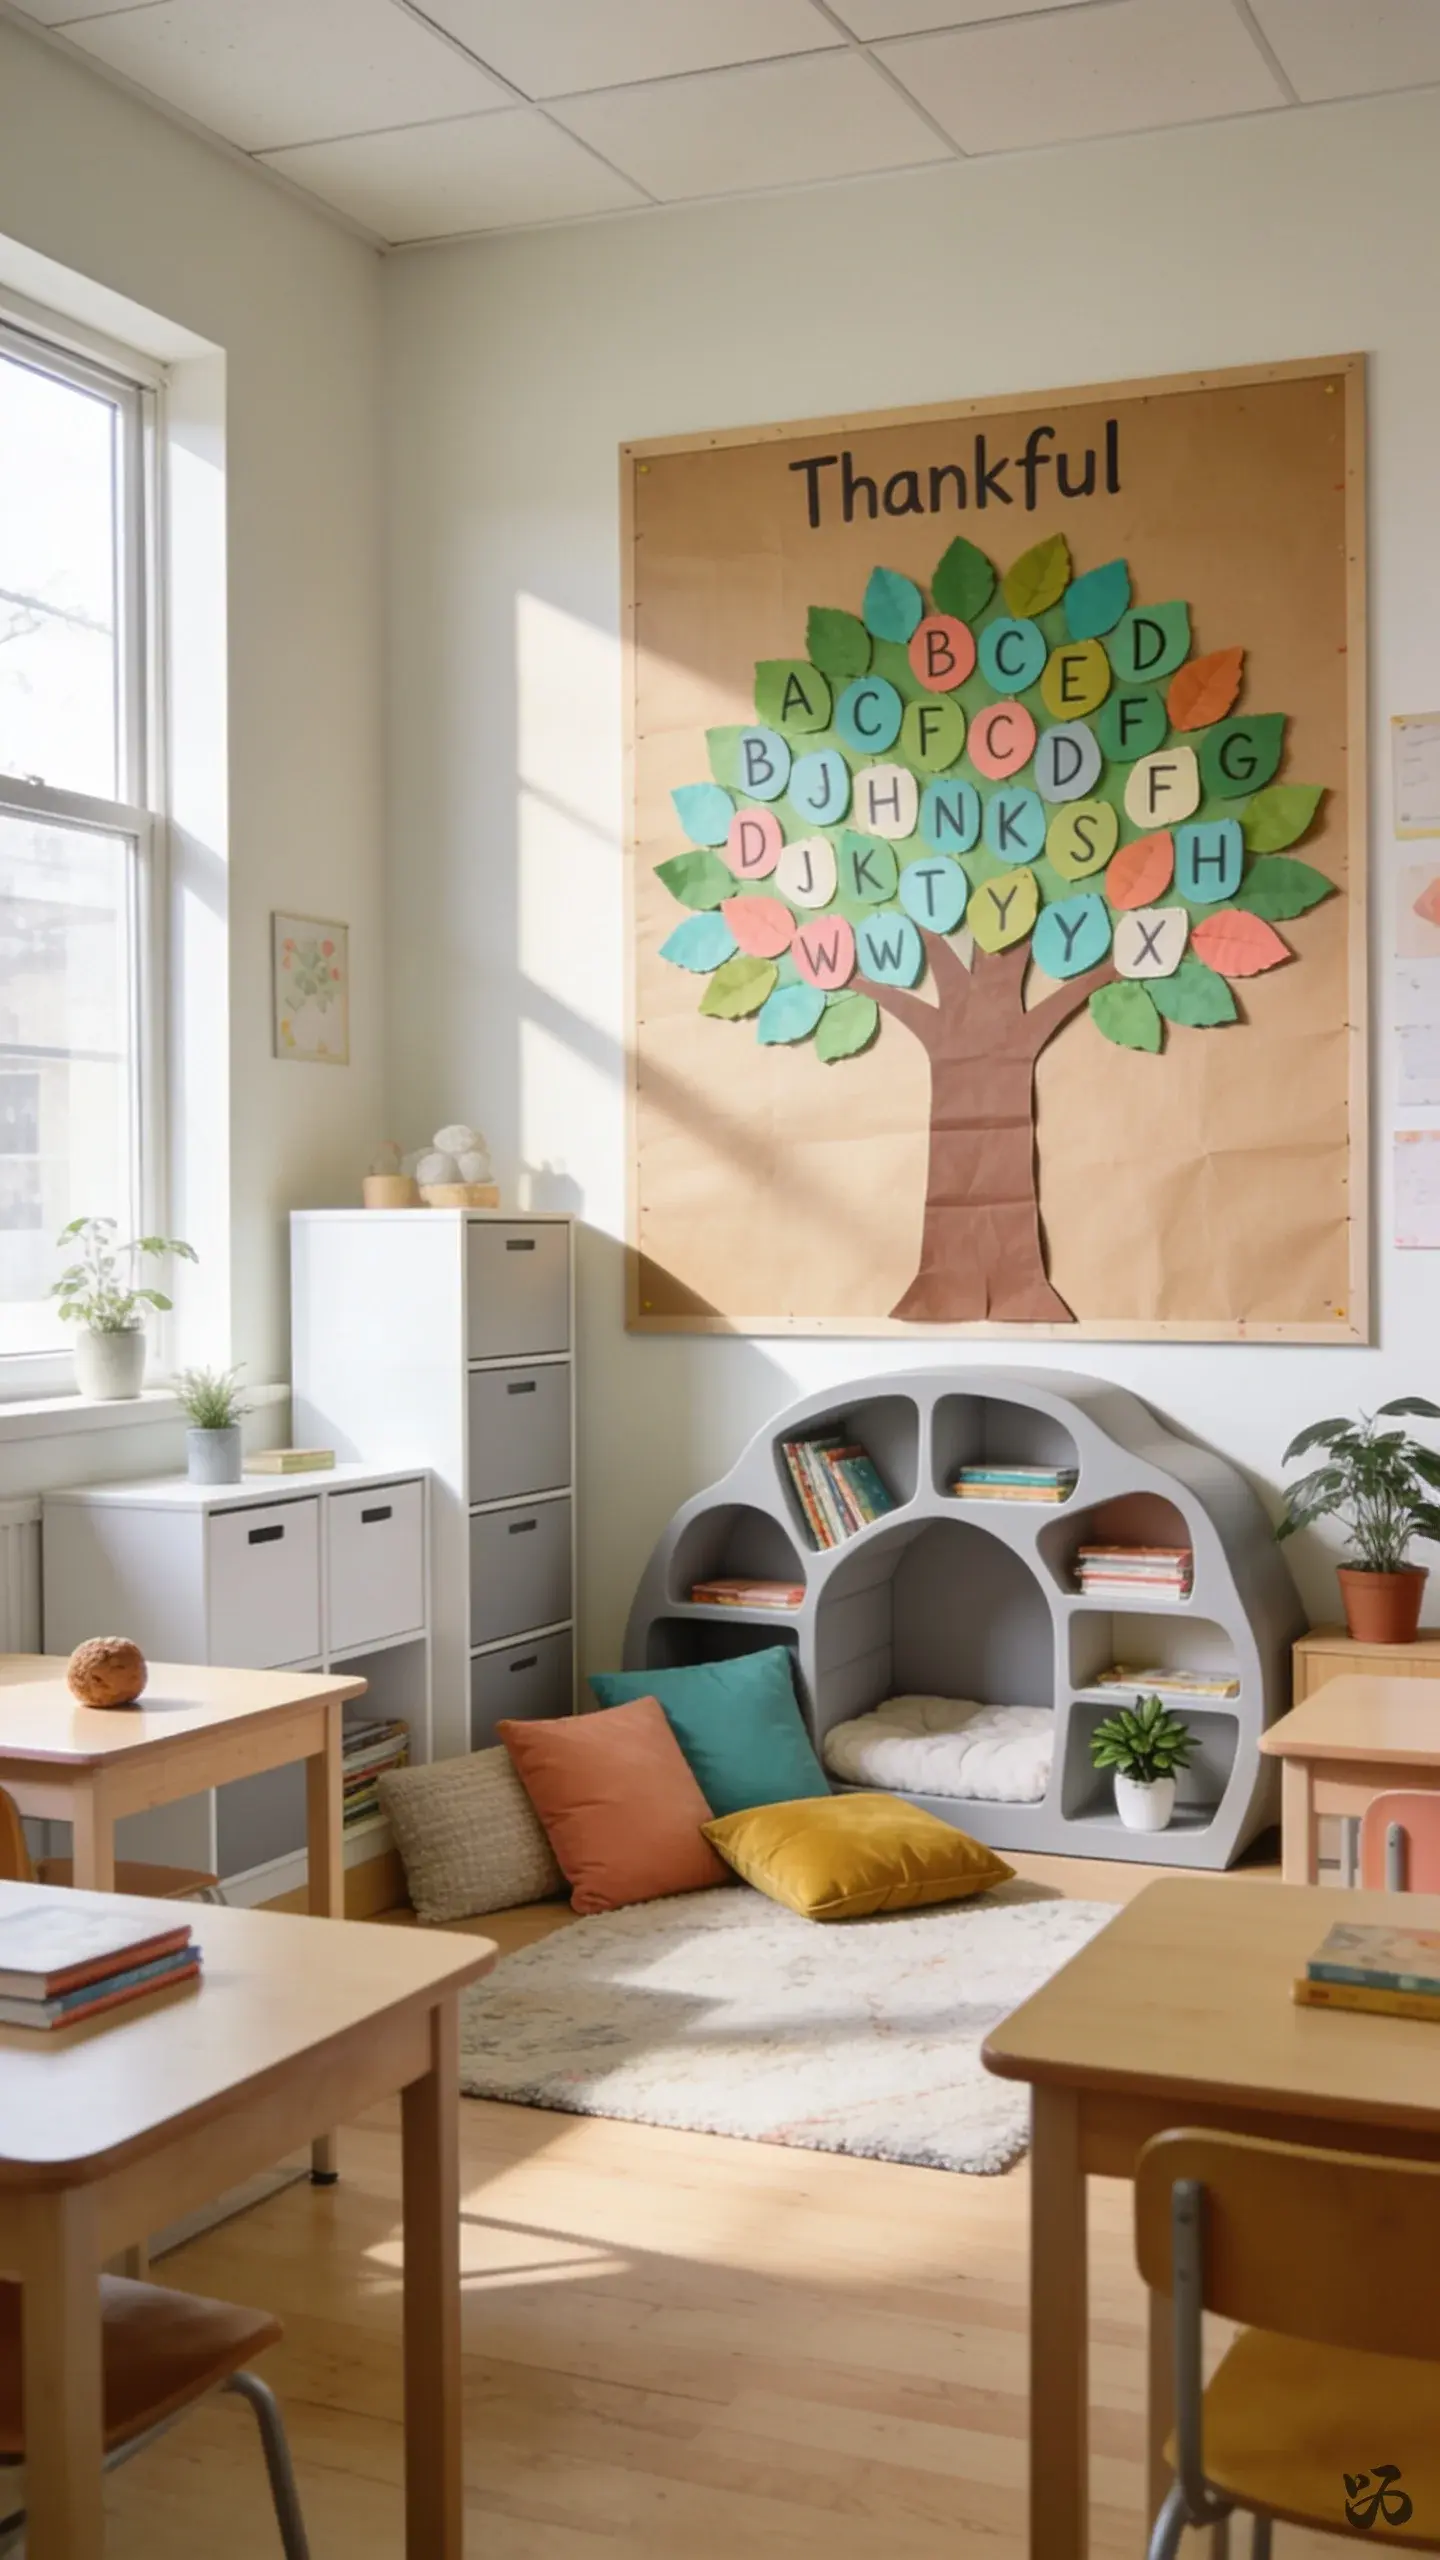
6. Thankful Tree with Alphabet Leaves
 Save
SaveBuild a tree trunk from brown butcher paper on a wall or bulletin board. Add a canopy of leaves labeled with student thanks. The leaves can be alphabetically organized to help with phonics reinforcement.
What you need
- Brown butcher paper for trunk
- Green cardstock or construction paper for leaves
- Adhesive putty or tape
- Marker for writing on leaves
May require a bit of layout planning; do the tree on a prep period and finish the leaves later.
7. Thankful Quilt Wall
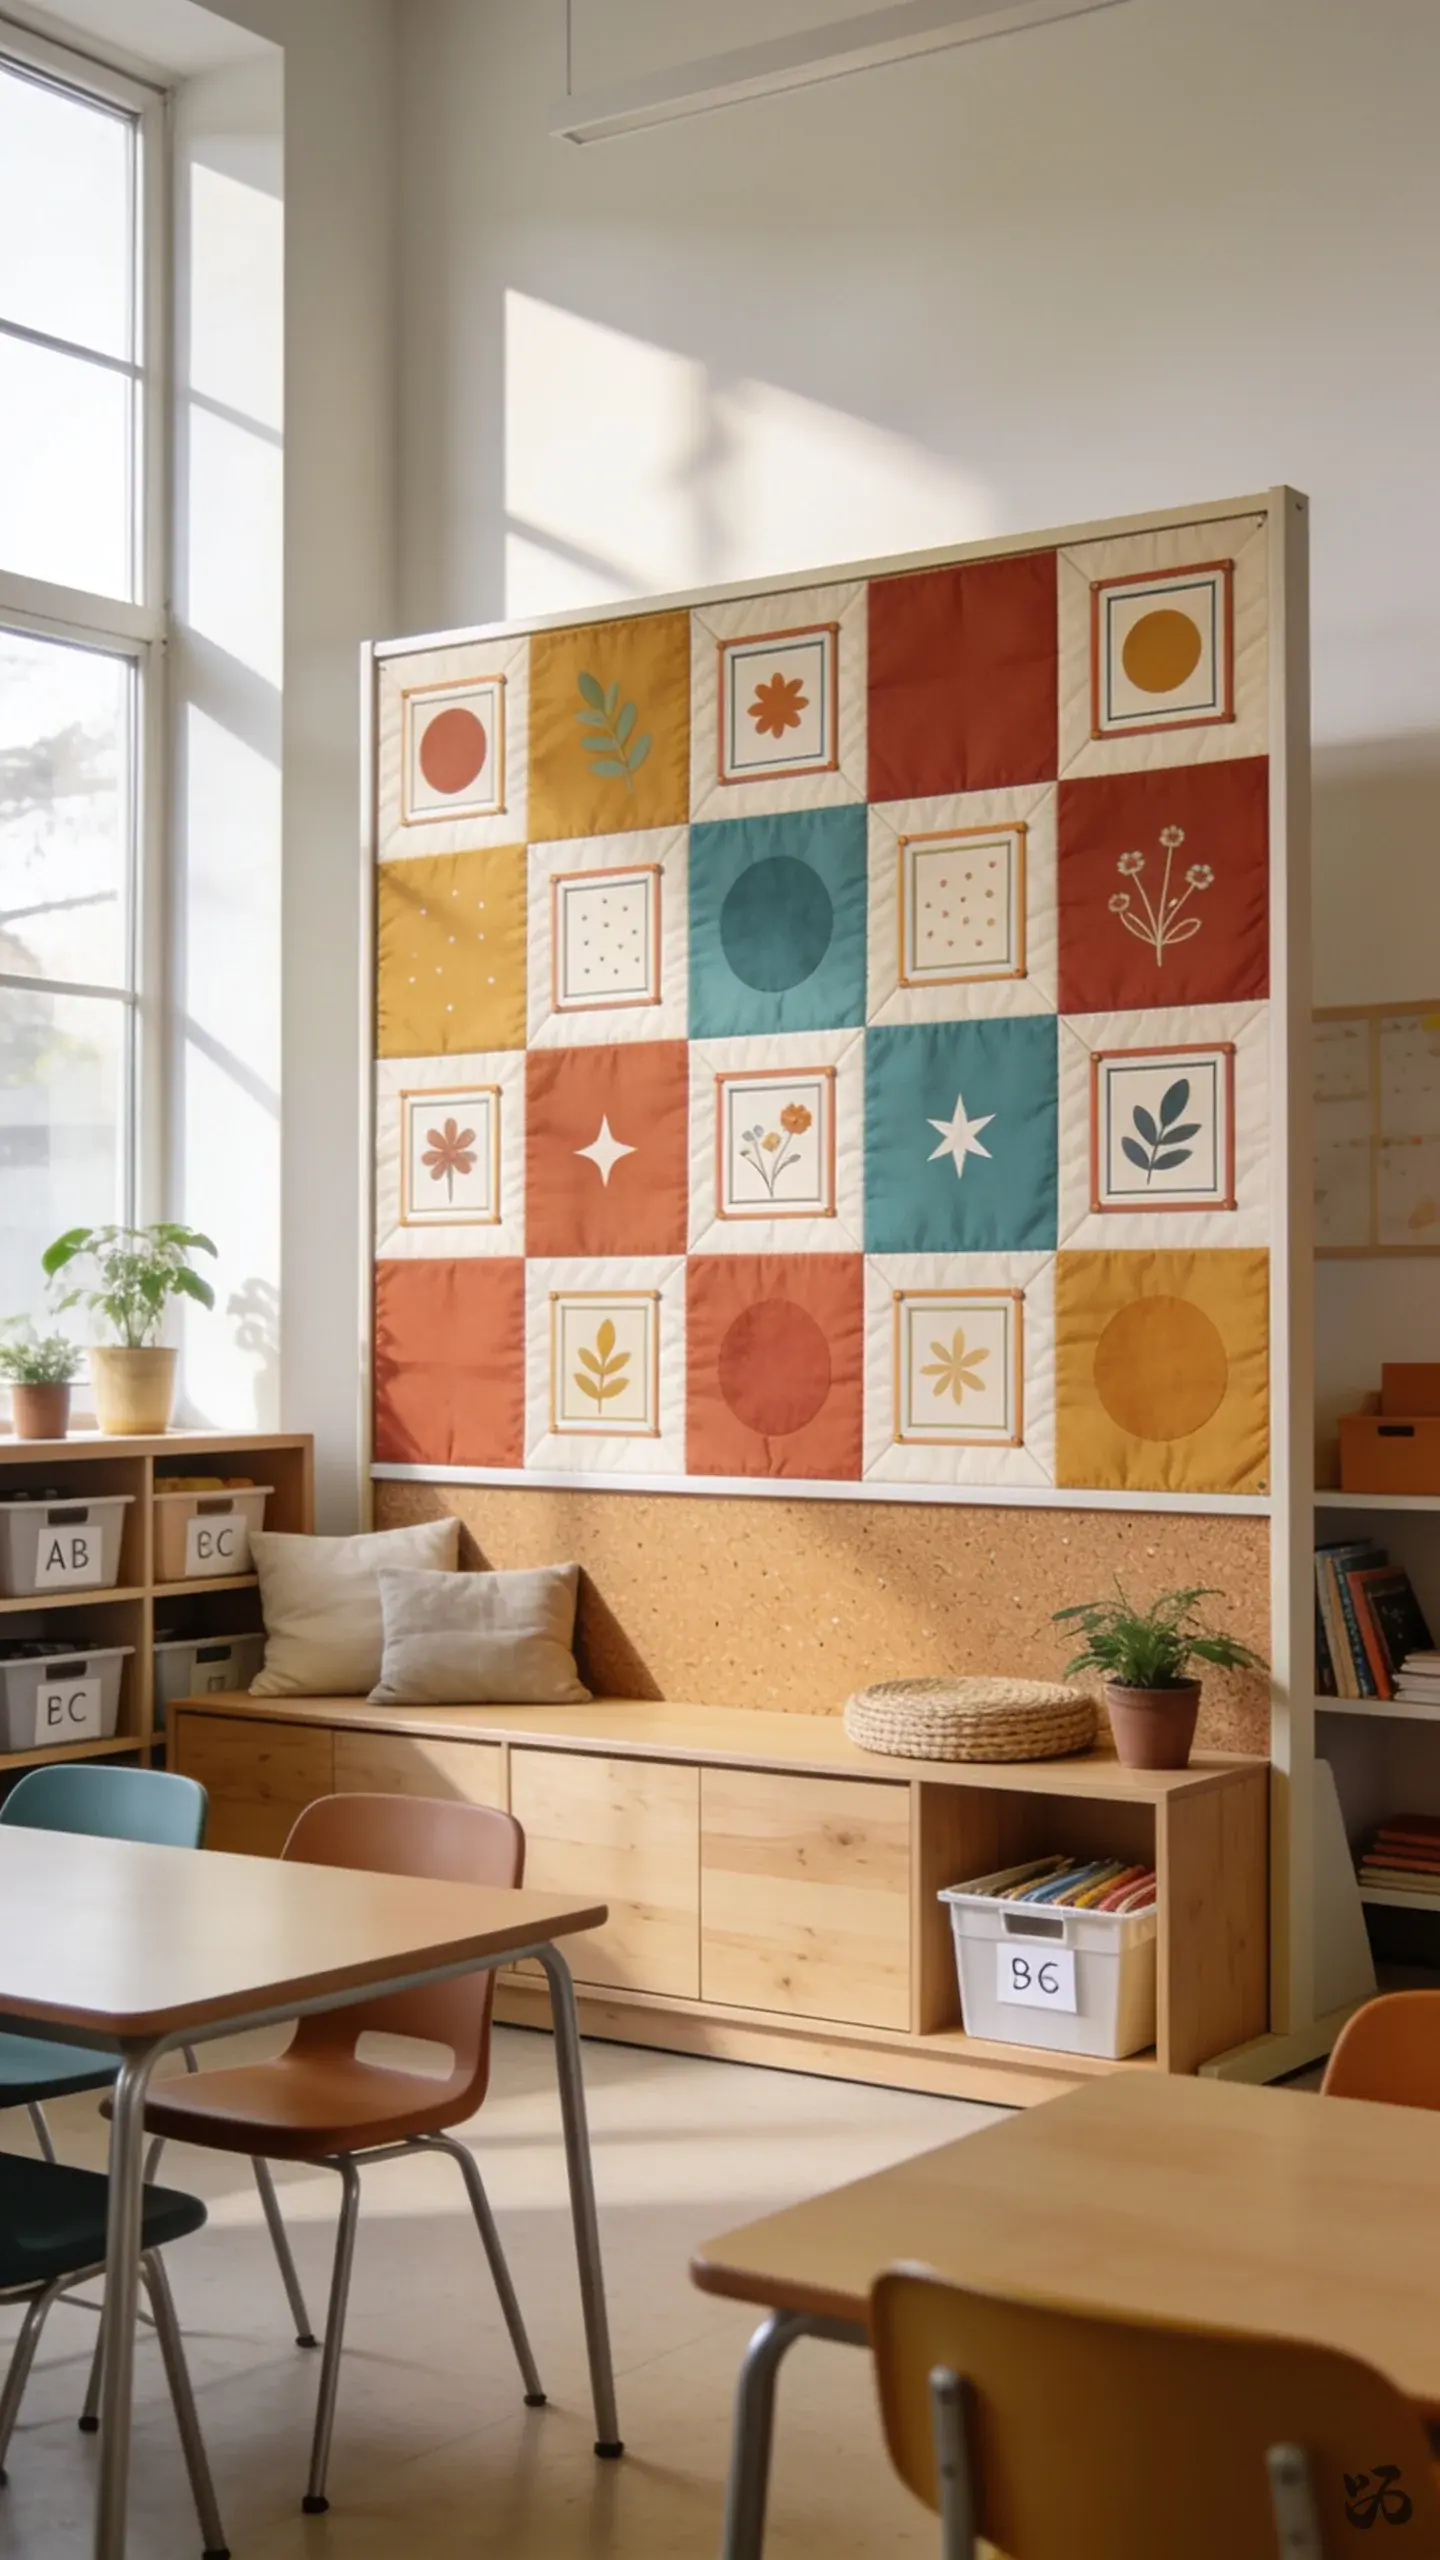 Save
SaveUse a large piece of cardboard or bulletin board paper as a quilt base. Each student contributes a “square” with their name and a thankful note. The squares join to form a cozy classroom quilt piece.
What you need
- Cardstock squares for each student
- Markers and decorative stickers
- Adhesive putty or tape
- Border strips to frame the quilt
Lengthier to assemble but sturdy and easy to maintain during the year.
8. Open House Spotlight Carousel
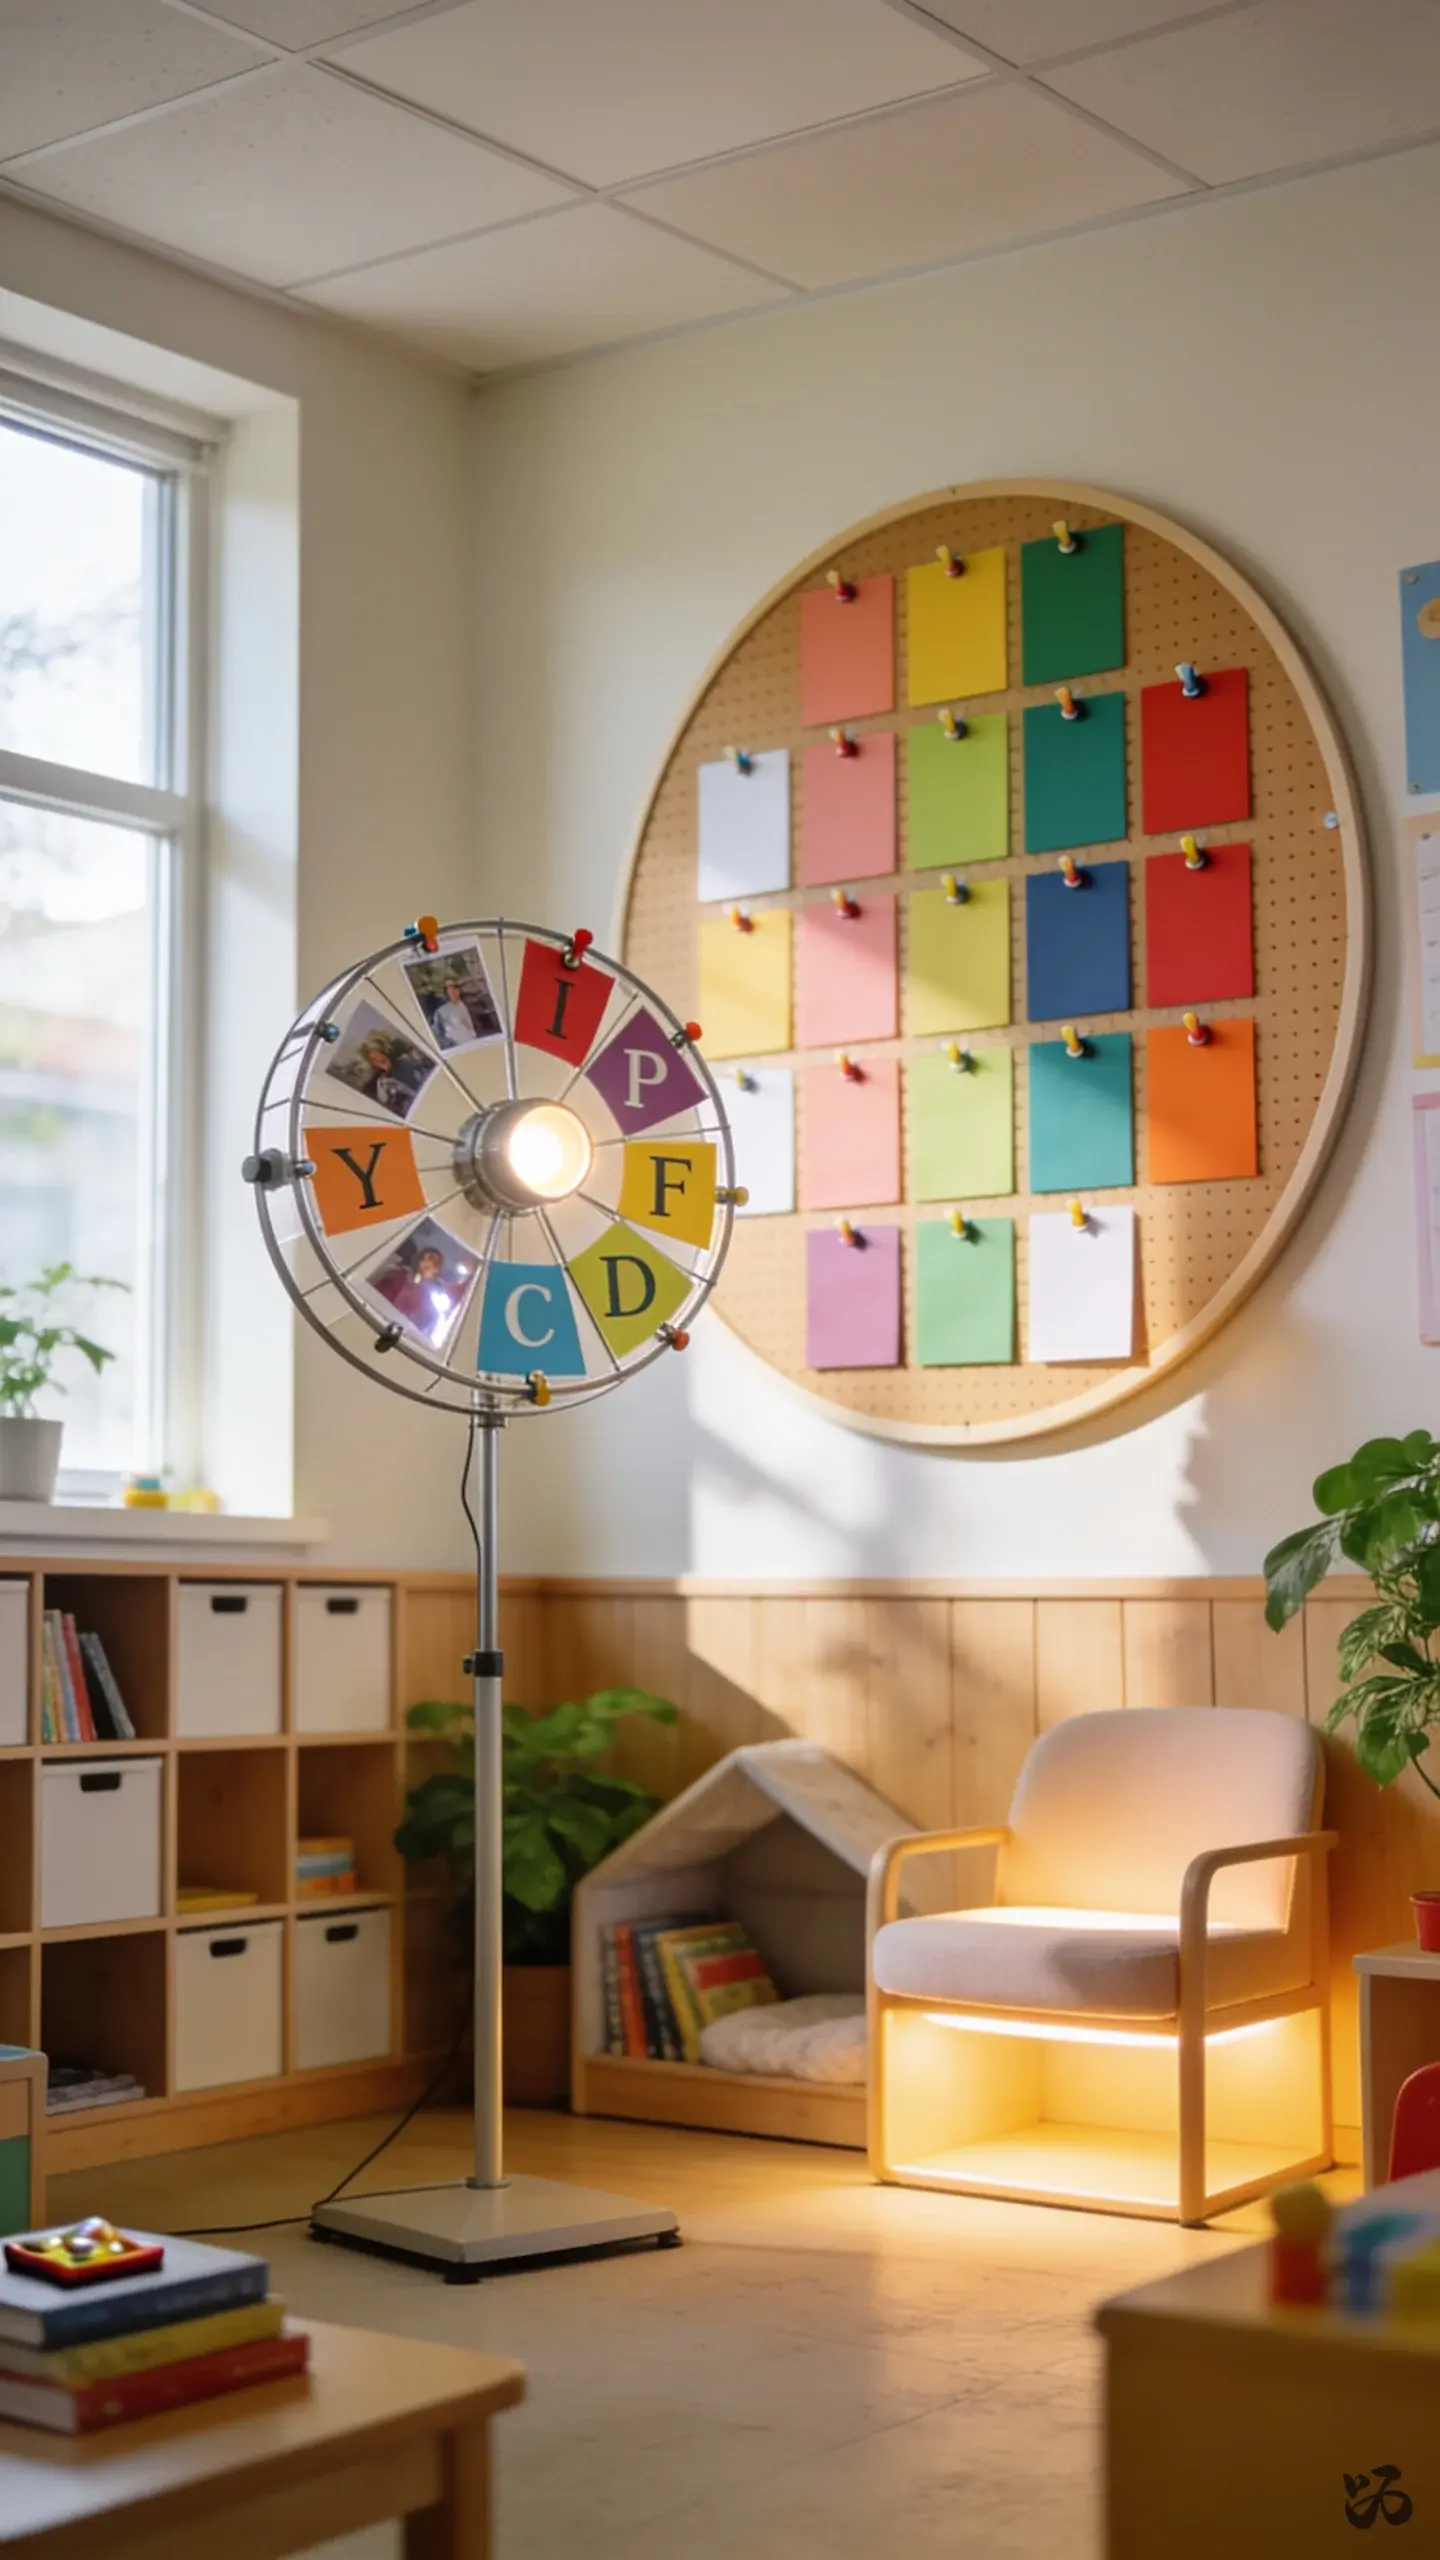 Save
SaveA small bulletin board with rotating “spotlight” cards, each featuring a thankful student thought. Change out weekly or during parent night so families see active participation.
What you need
- Cardstock in a few colors
- Small photos or student initials for quick identification
- Pushpins or staples (with custodian approval)
- Label cards preprinted with dates
Keep it under a single small board to avoid door coverage issues.
9. Thankful Pathway
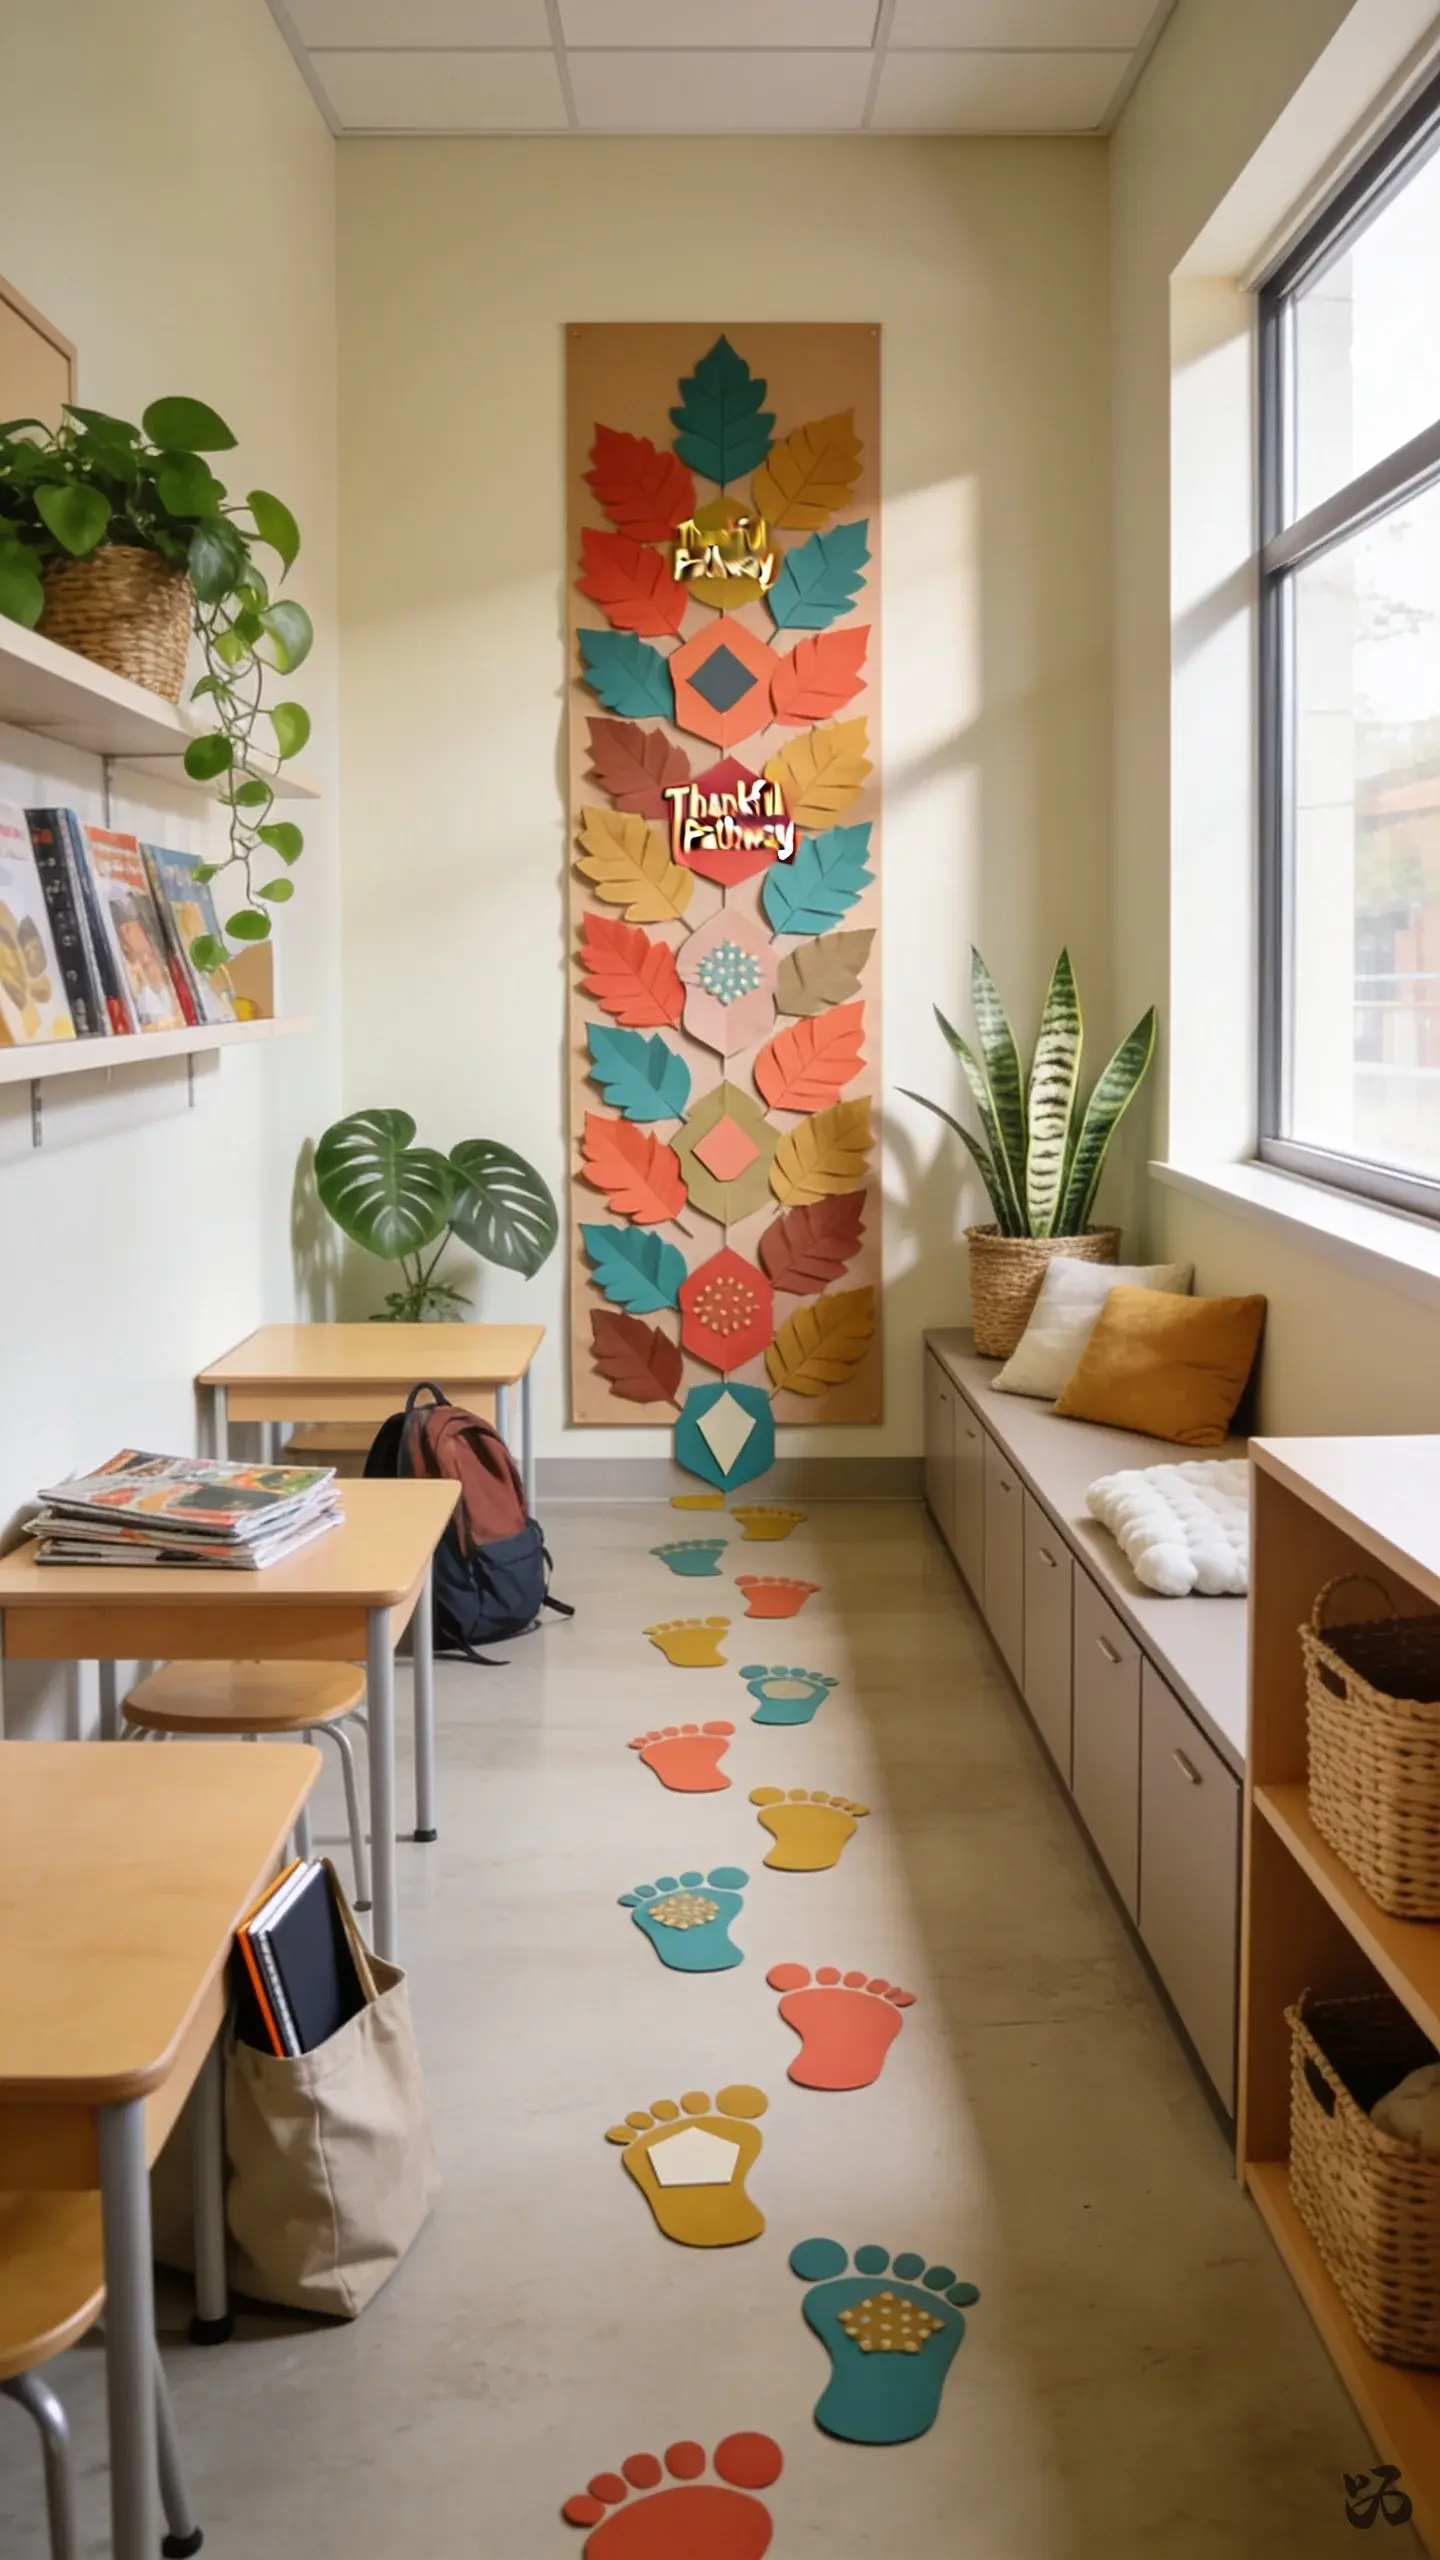 Save
SaveLine a hallway or classroom doorway with a path of leaves or footprints. Each piece has a student name and a thank-you line. It reads as a little journey of gratitude during dismissal or arrival.
What you need
- Colored paper for leaves or prints
- Tape that won’t damage walls
- Printer-friendly labels for names
- Marker for personal notes
Works well if you need a small footprint project that does not bulk up a single wall.
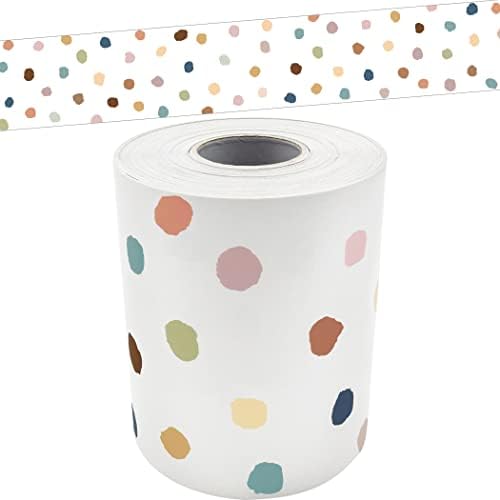
Paper, Borders and Letters


10. Thankful Lanterns
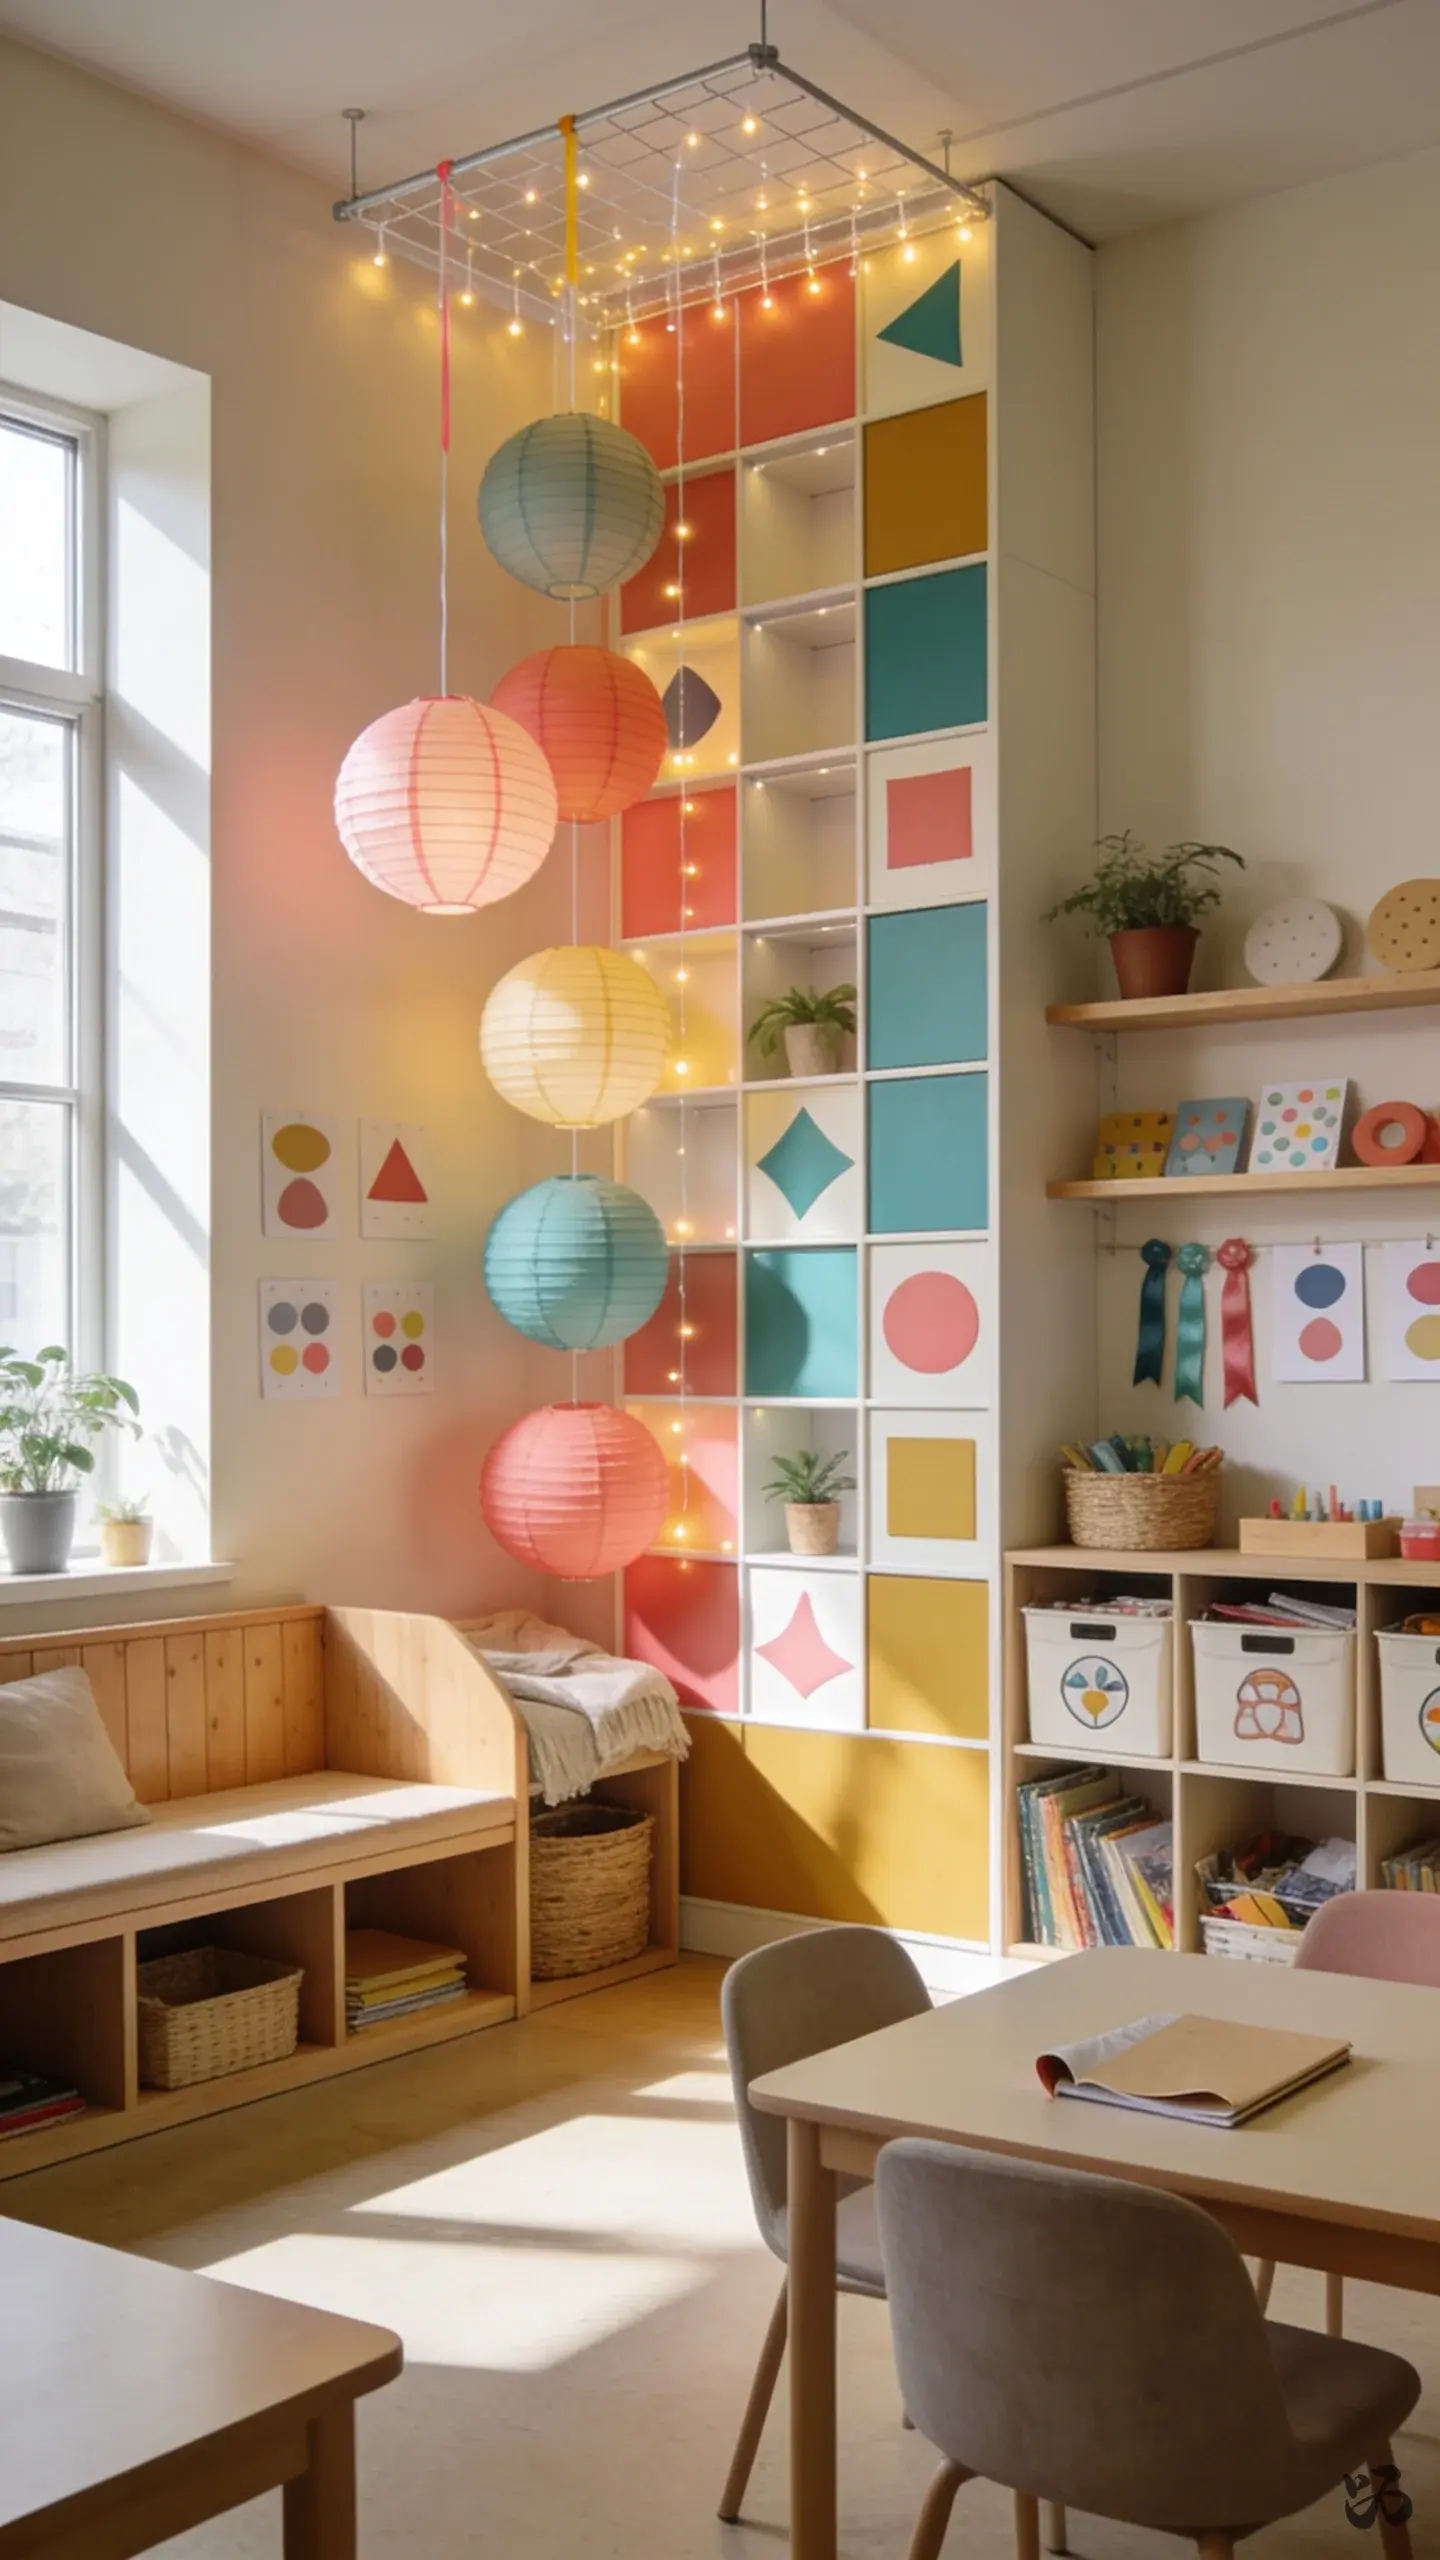 Save
SaveHang paper lantern shapes in a corner of the room, each lantern labeled with a thankful message. Use string lights if allowed, but keep them battery-powered and flame-retardant for safety.
What you need
- Paper lanterns or cutouts shaped like lanterns
- Colored paper for writing messages
- String lights (battery-operated)
- Adhesive or tape
Best on a wall that can handle light weight hanging items; check school policy on lights.
11. Thankful Ribbon Board
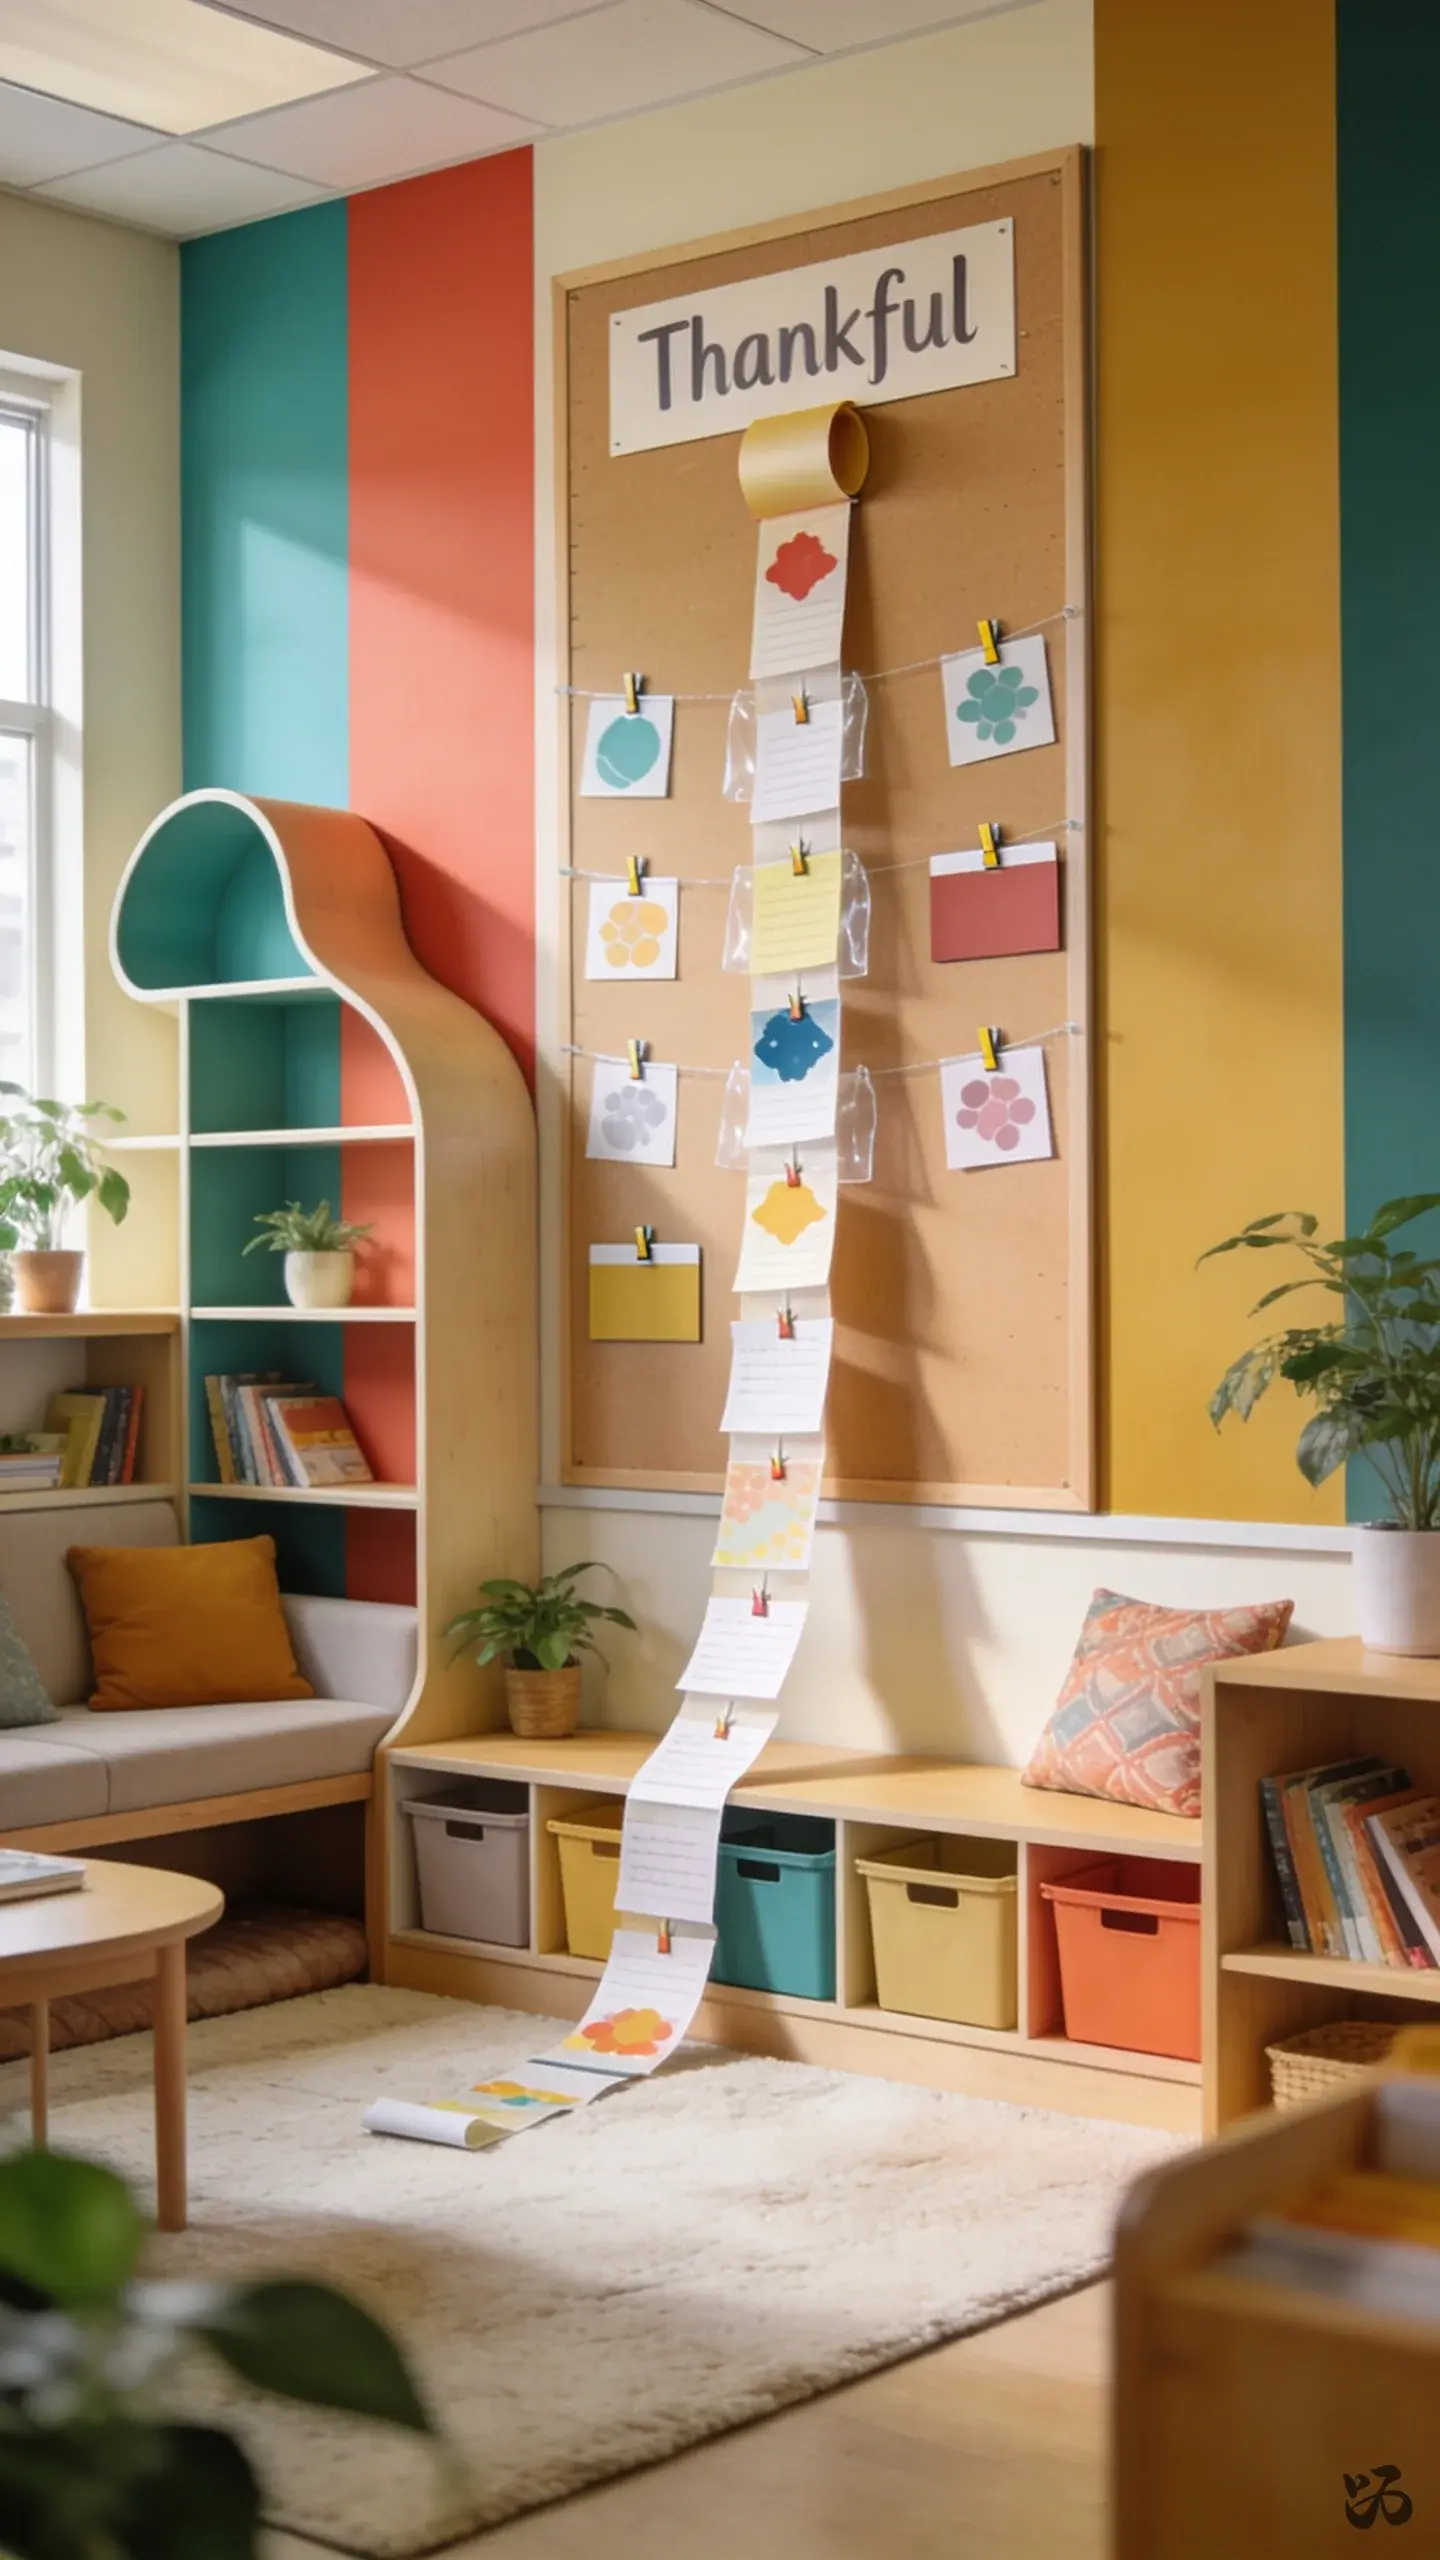 Save
SaveA wide bulletin board base with a long ribbon or paper stream running across it. Each student adds a note on a strip of paper that hangs from the ribbon, creating a collective gratitude chain.
What you need
- Ribbon or butcher paper to create the stream
- Small slips of paper for notes
- Mini clothespins or tape to attach notes
- Labels for sections like “Today I am thankful for”
Very forgiving for late entries; you can add a new strip monthly.
12. Thankful Poster Gallery
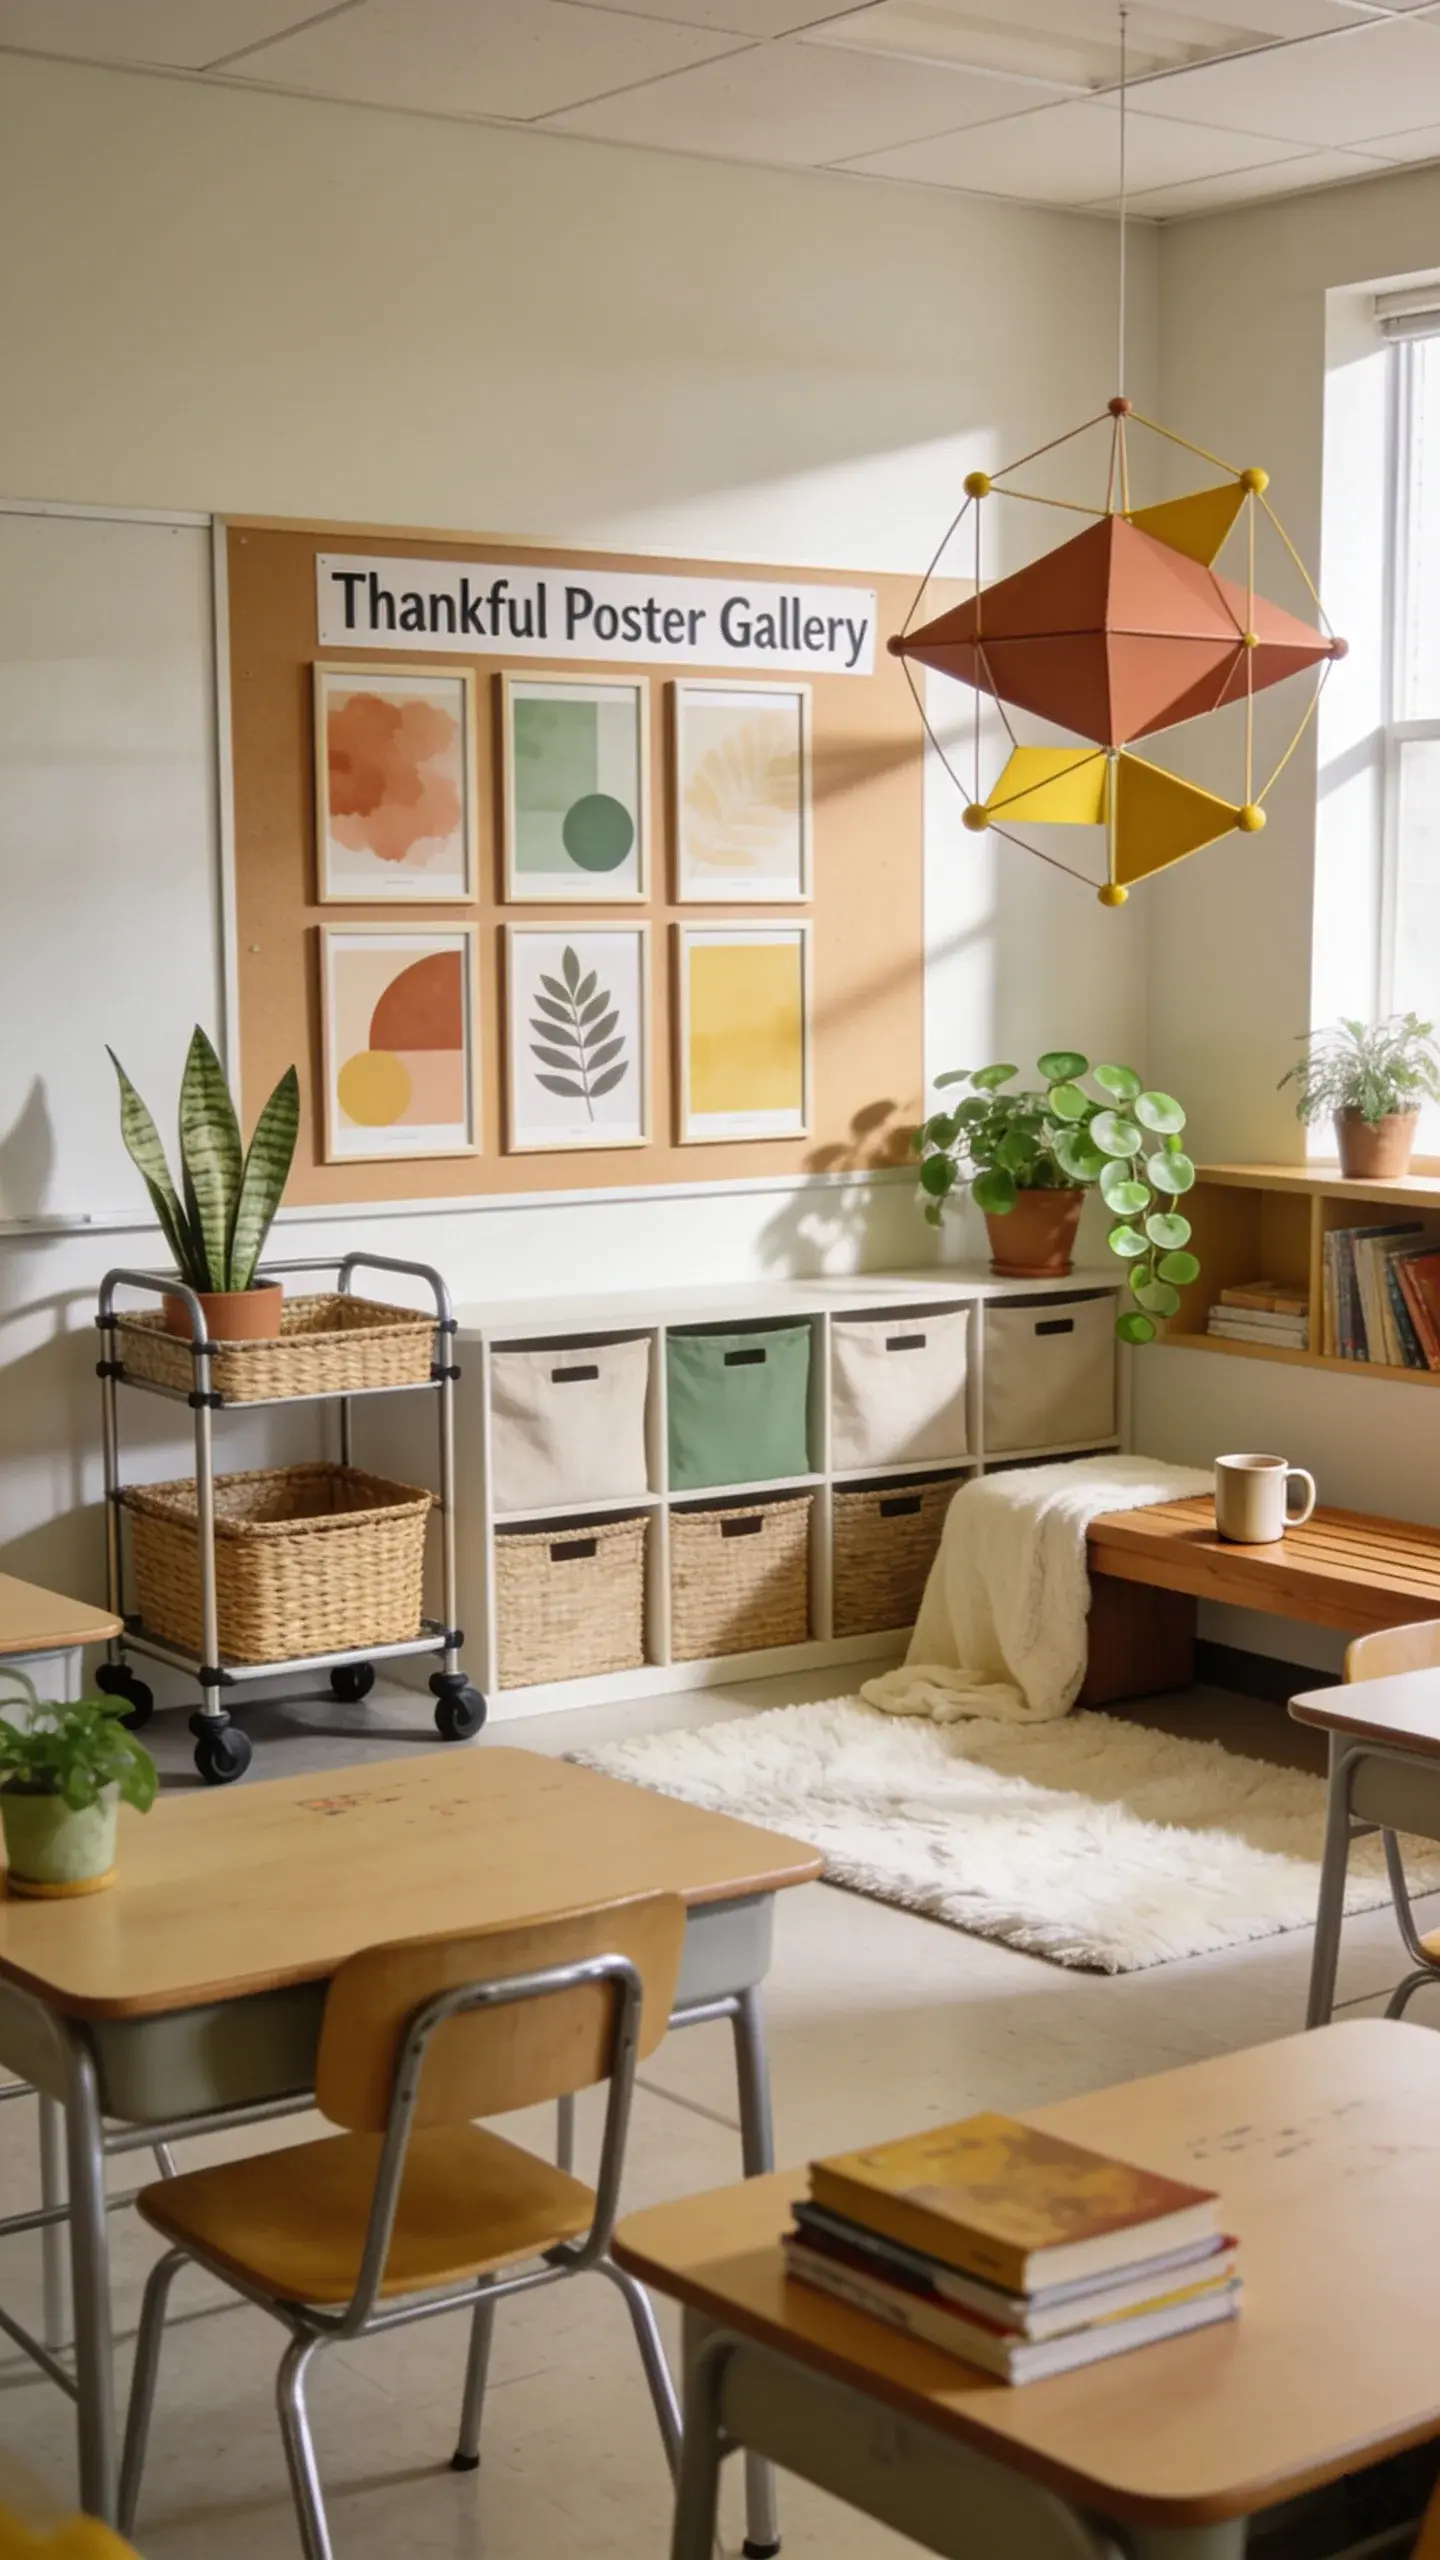 Save
SaveSet up a mini-gallery with several framed-like poster boards, each featuring a student’s thank-you moment. Swap out as the year progresses so the gallery stays fresh.
What you need
- Poster board or cardstock frames
- Printed or handwritten student entries
- Mounting tape or removable adhesive
- Decorative borders
Limit wall space to rooms with enough bulletin boards; some rooms may prefer a small rolling display.
13. Kindness Corner Gratitude Wall
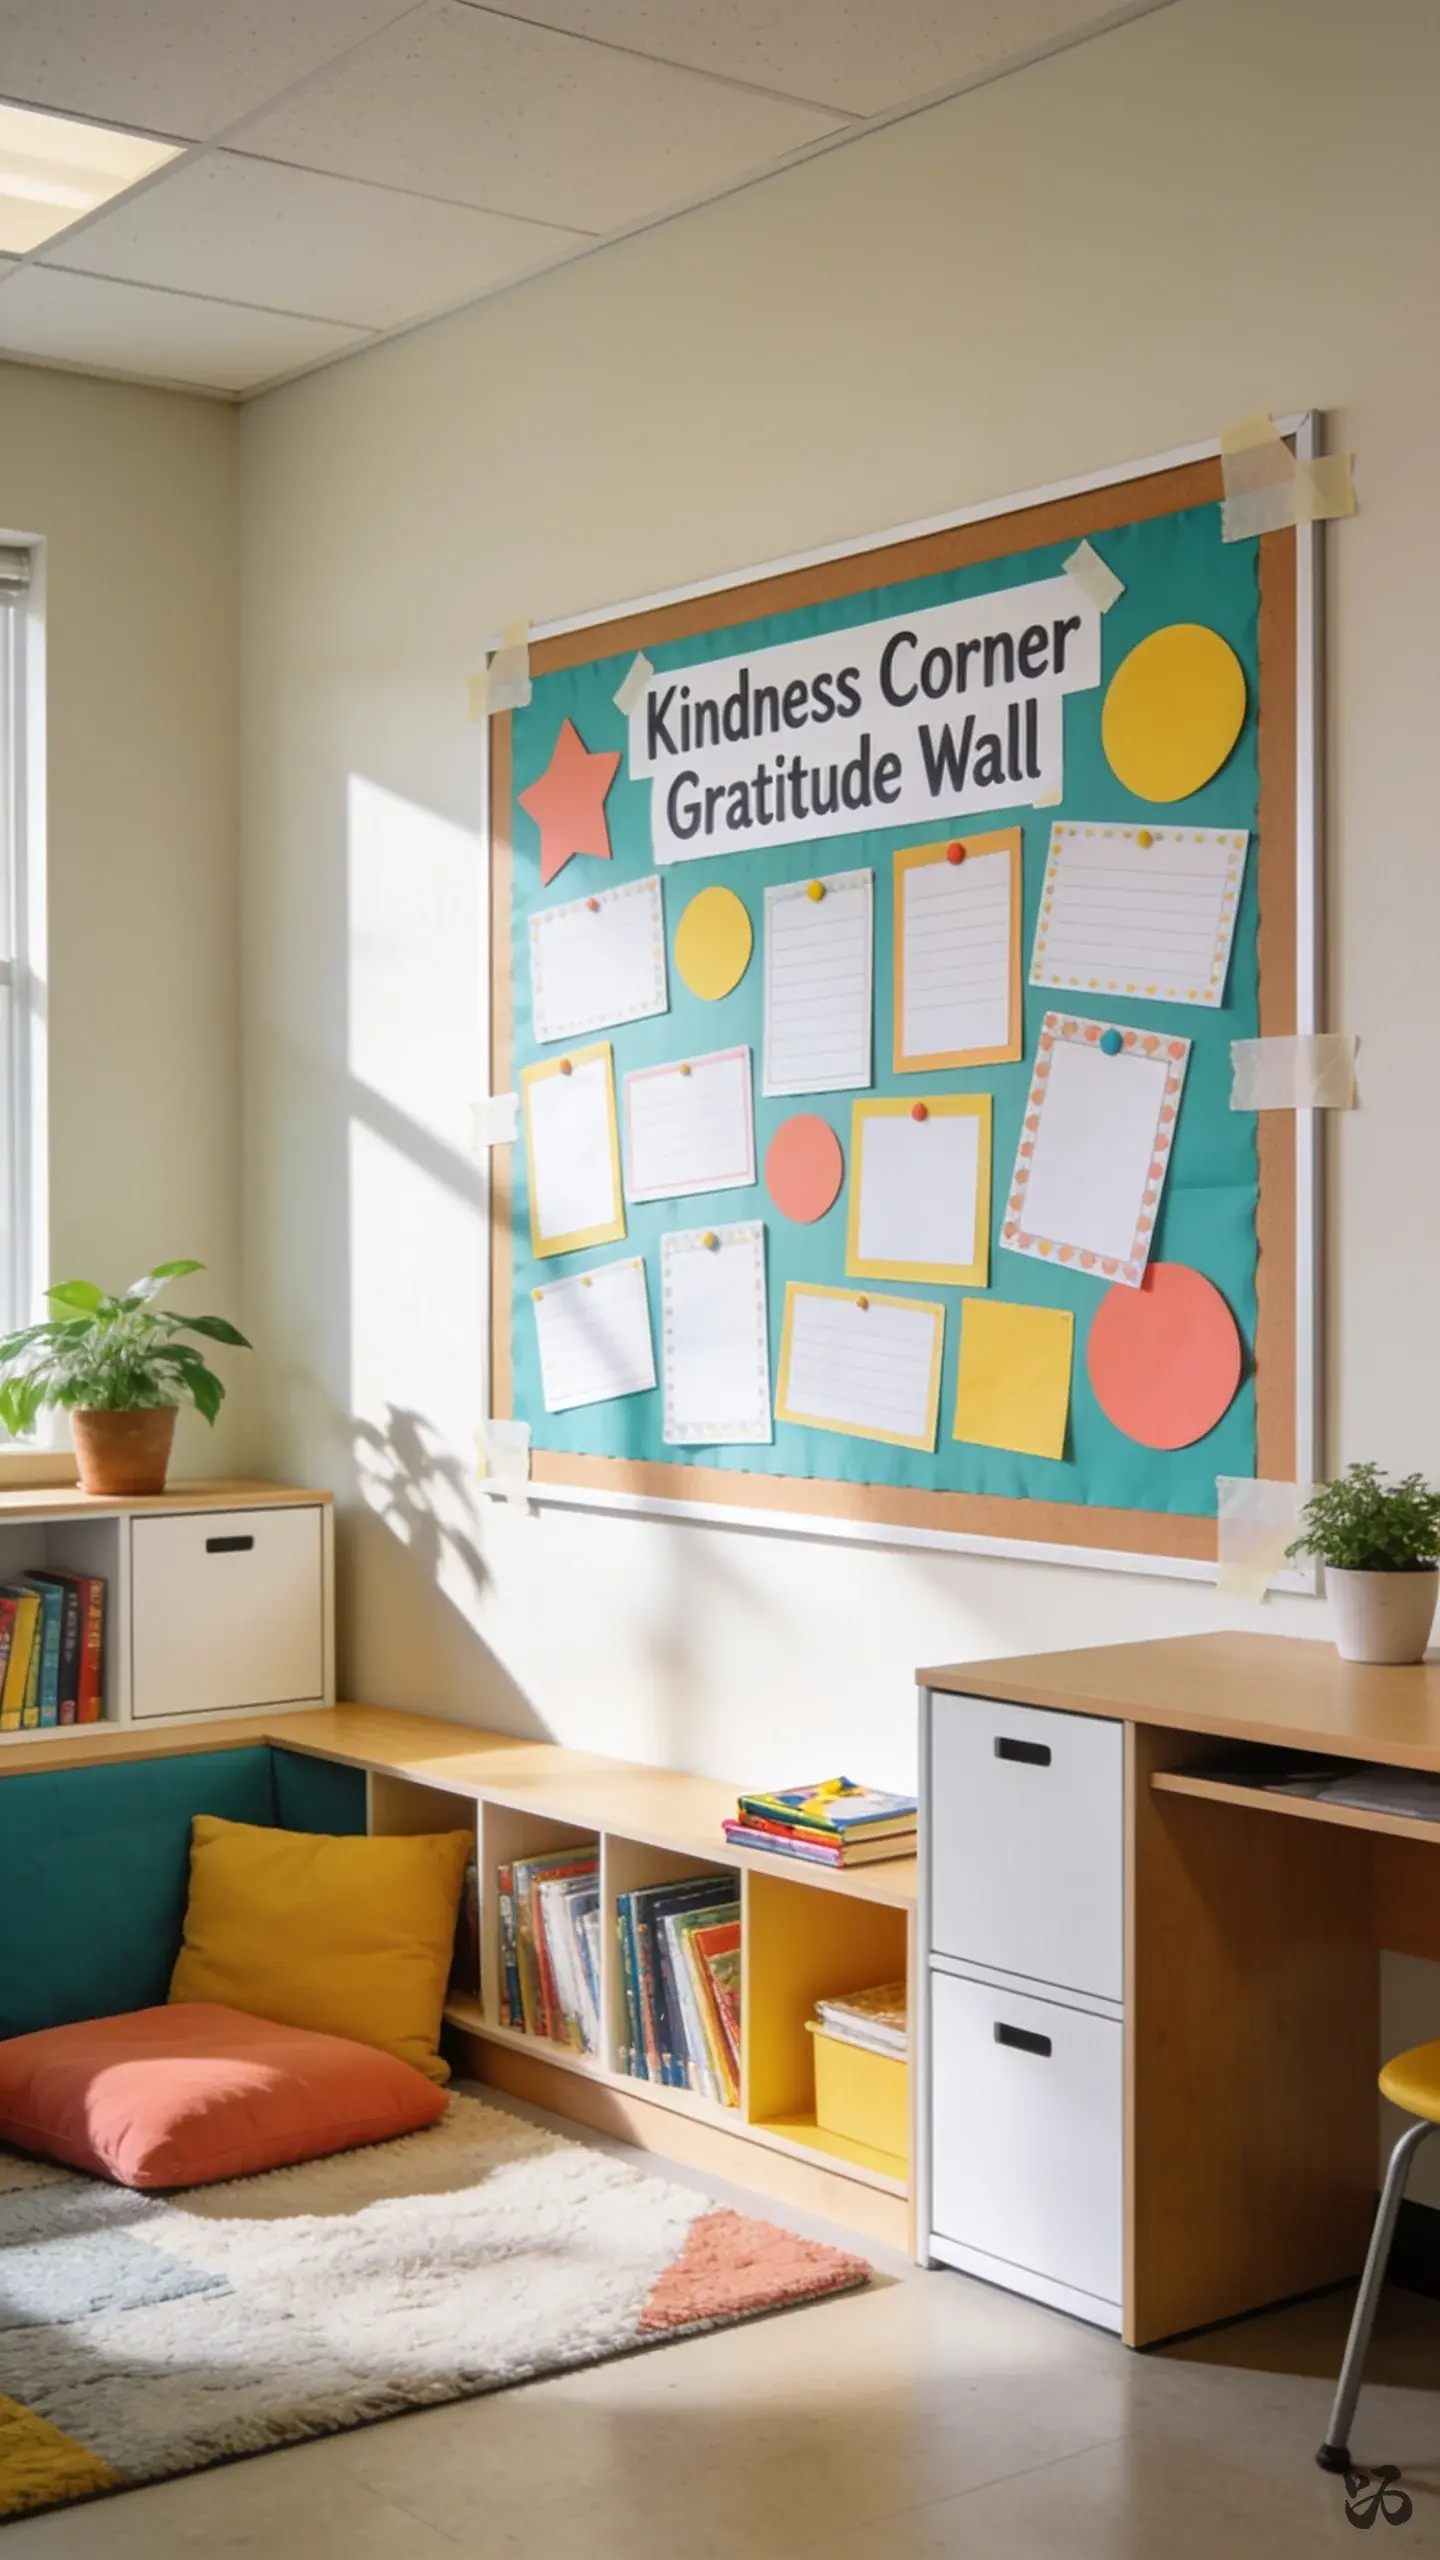 Save
SaveCombine a small kindness accents with gratitude notes. Students write one kind act they observed or performed, and those notes decorate a calm corner on a wall near the reading area.
What you need
- Cardstock or construction paper
- Markers and stickers
- Adhesive putty or tape
- Low-profile border trim
Keep it near the rug area so kids can participate after transitions.
14. Thankful Field Trip Keepsake Board
 Save
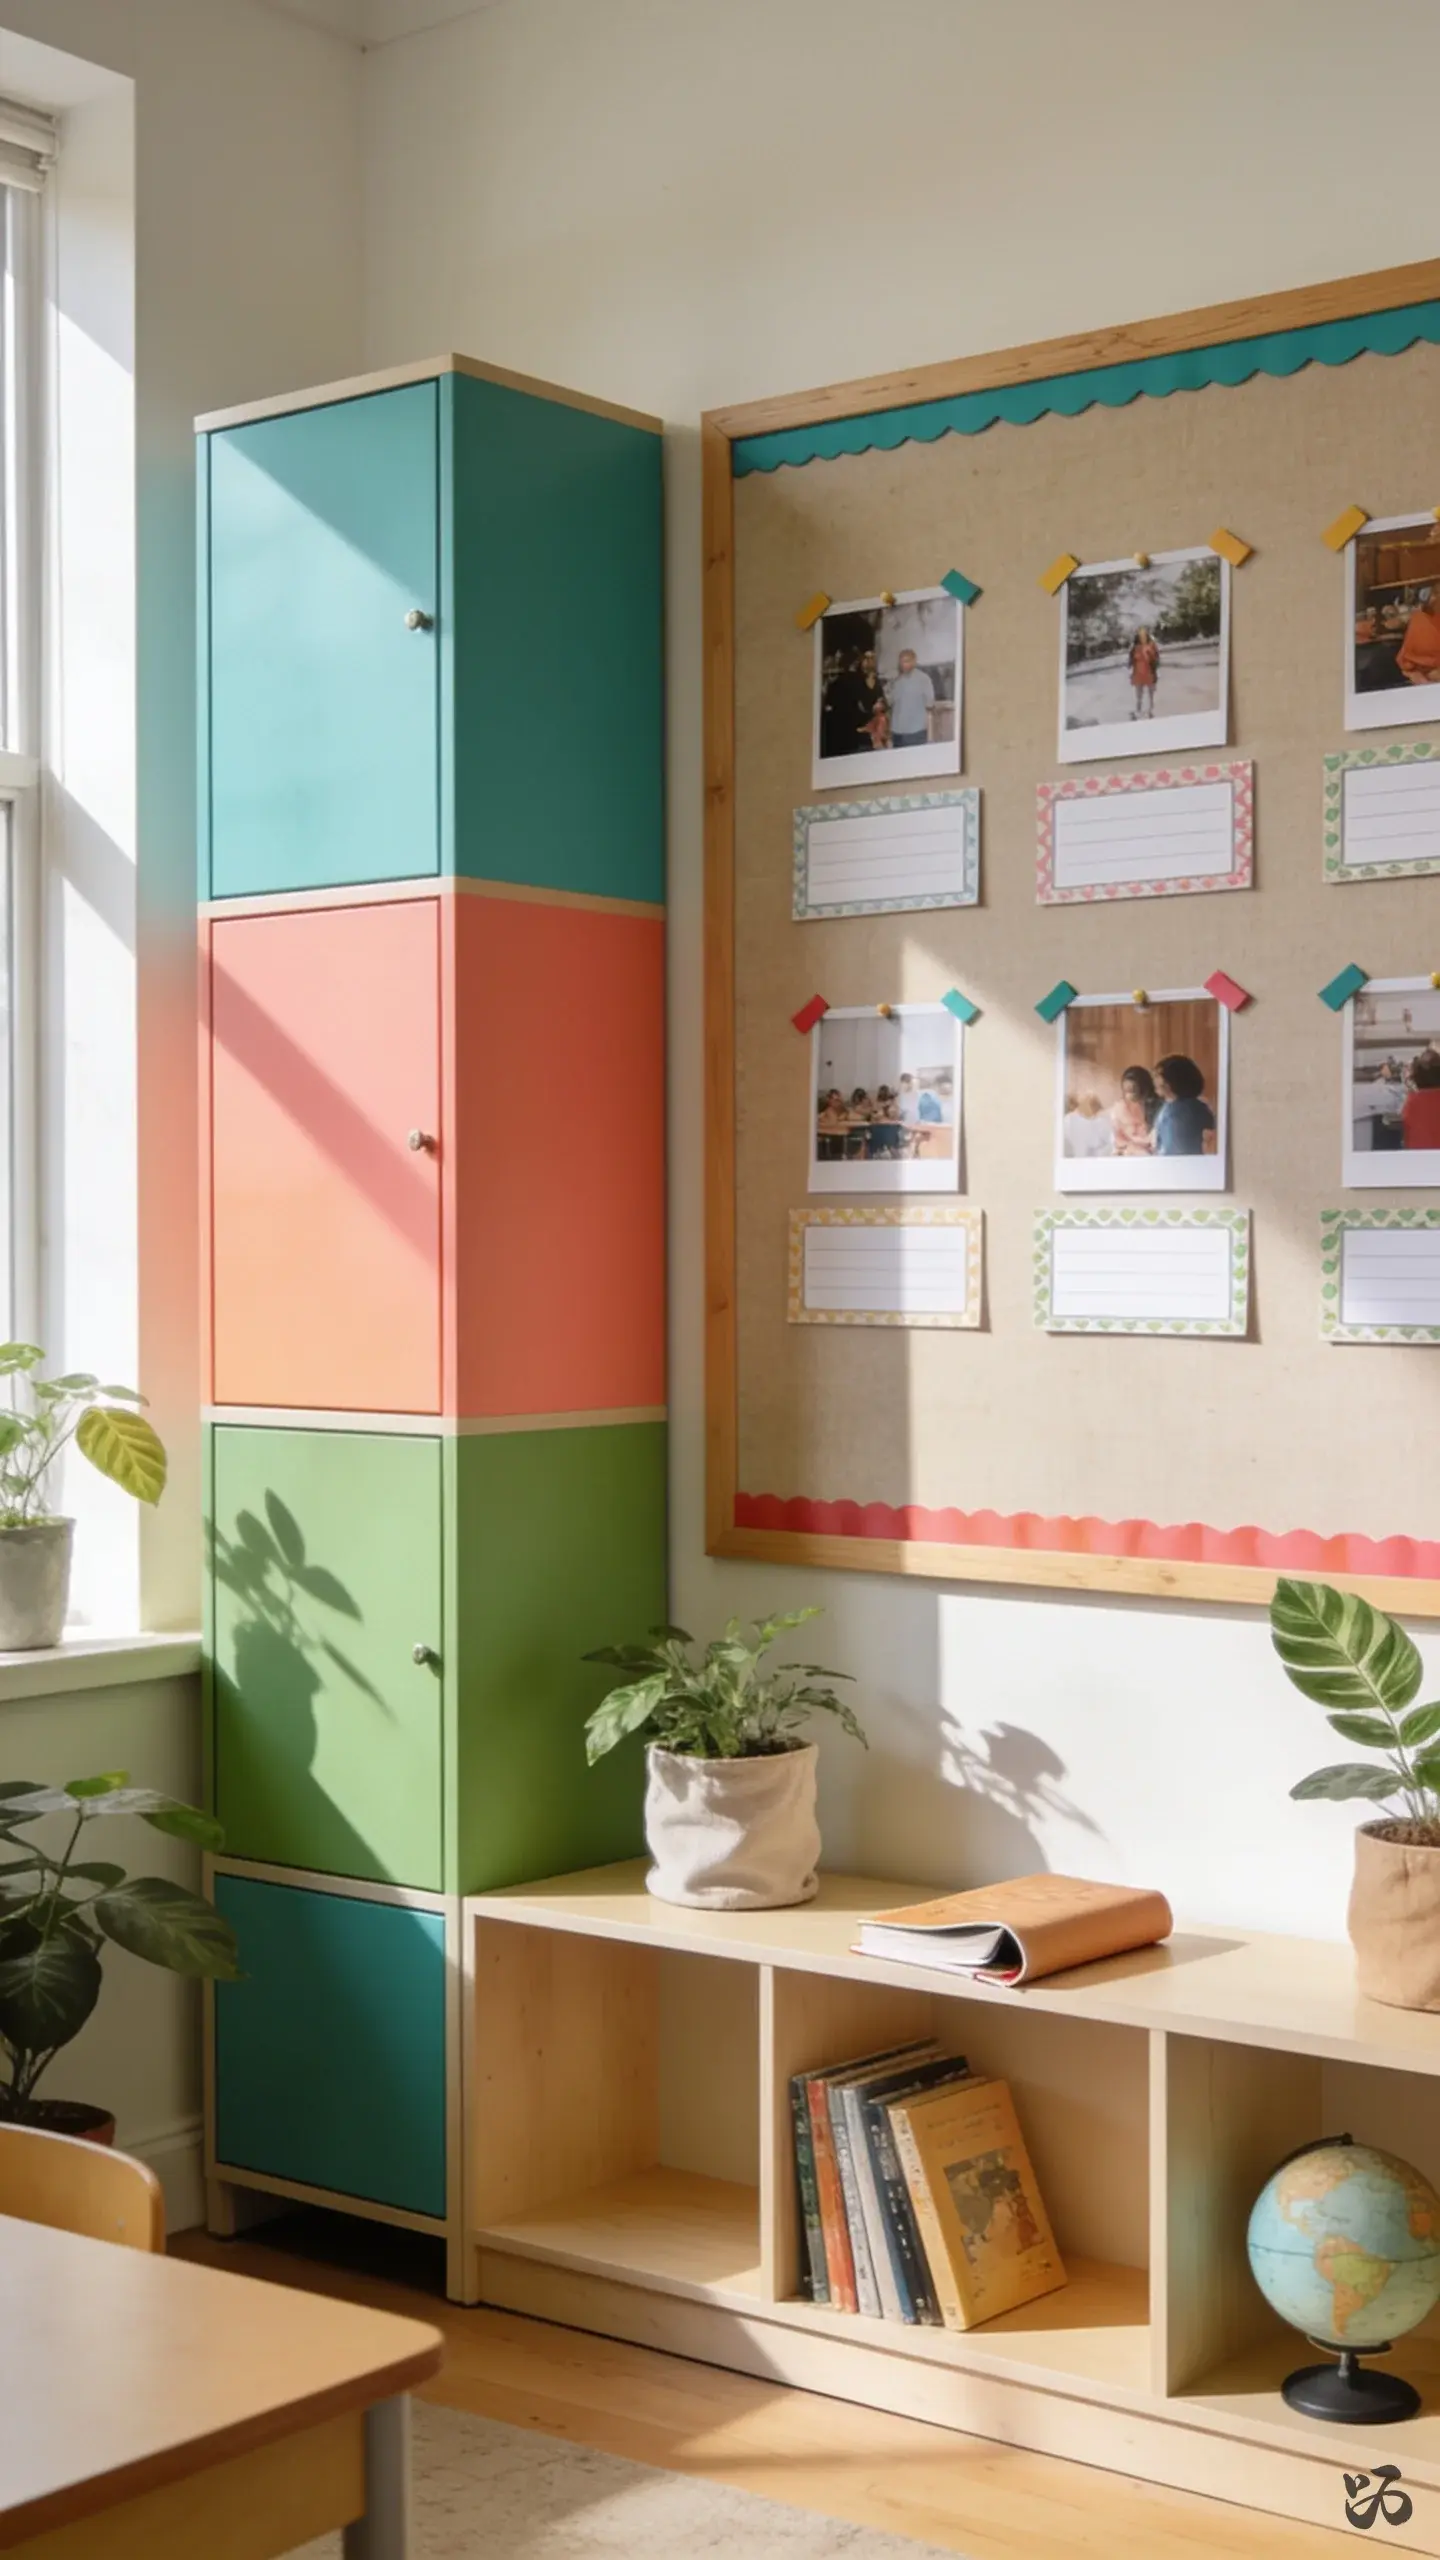
SaveAfter a field trip, create a small display with a few photos and a corresponding thankful moment from each student. Mount photos on a bulletin board with a short caption beneath each.
What you need
- Photo corners or small removable adhesives
- Printed captions or student handwriting
- Cardstock for caption cards
- Simple border trim to tie colors together
Great for Open House night to show learning moments without a lot of clutter.
The Bits the Kids Make


15. Gratitude Wreath
 Save
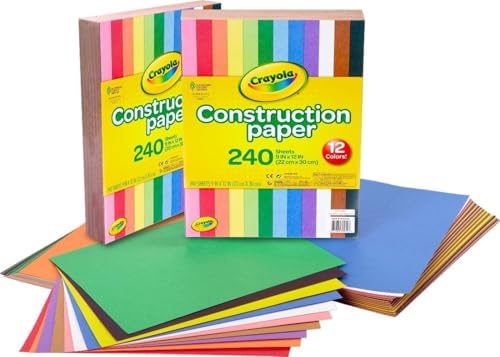
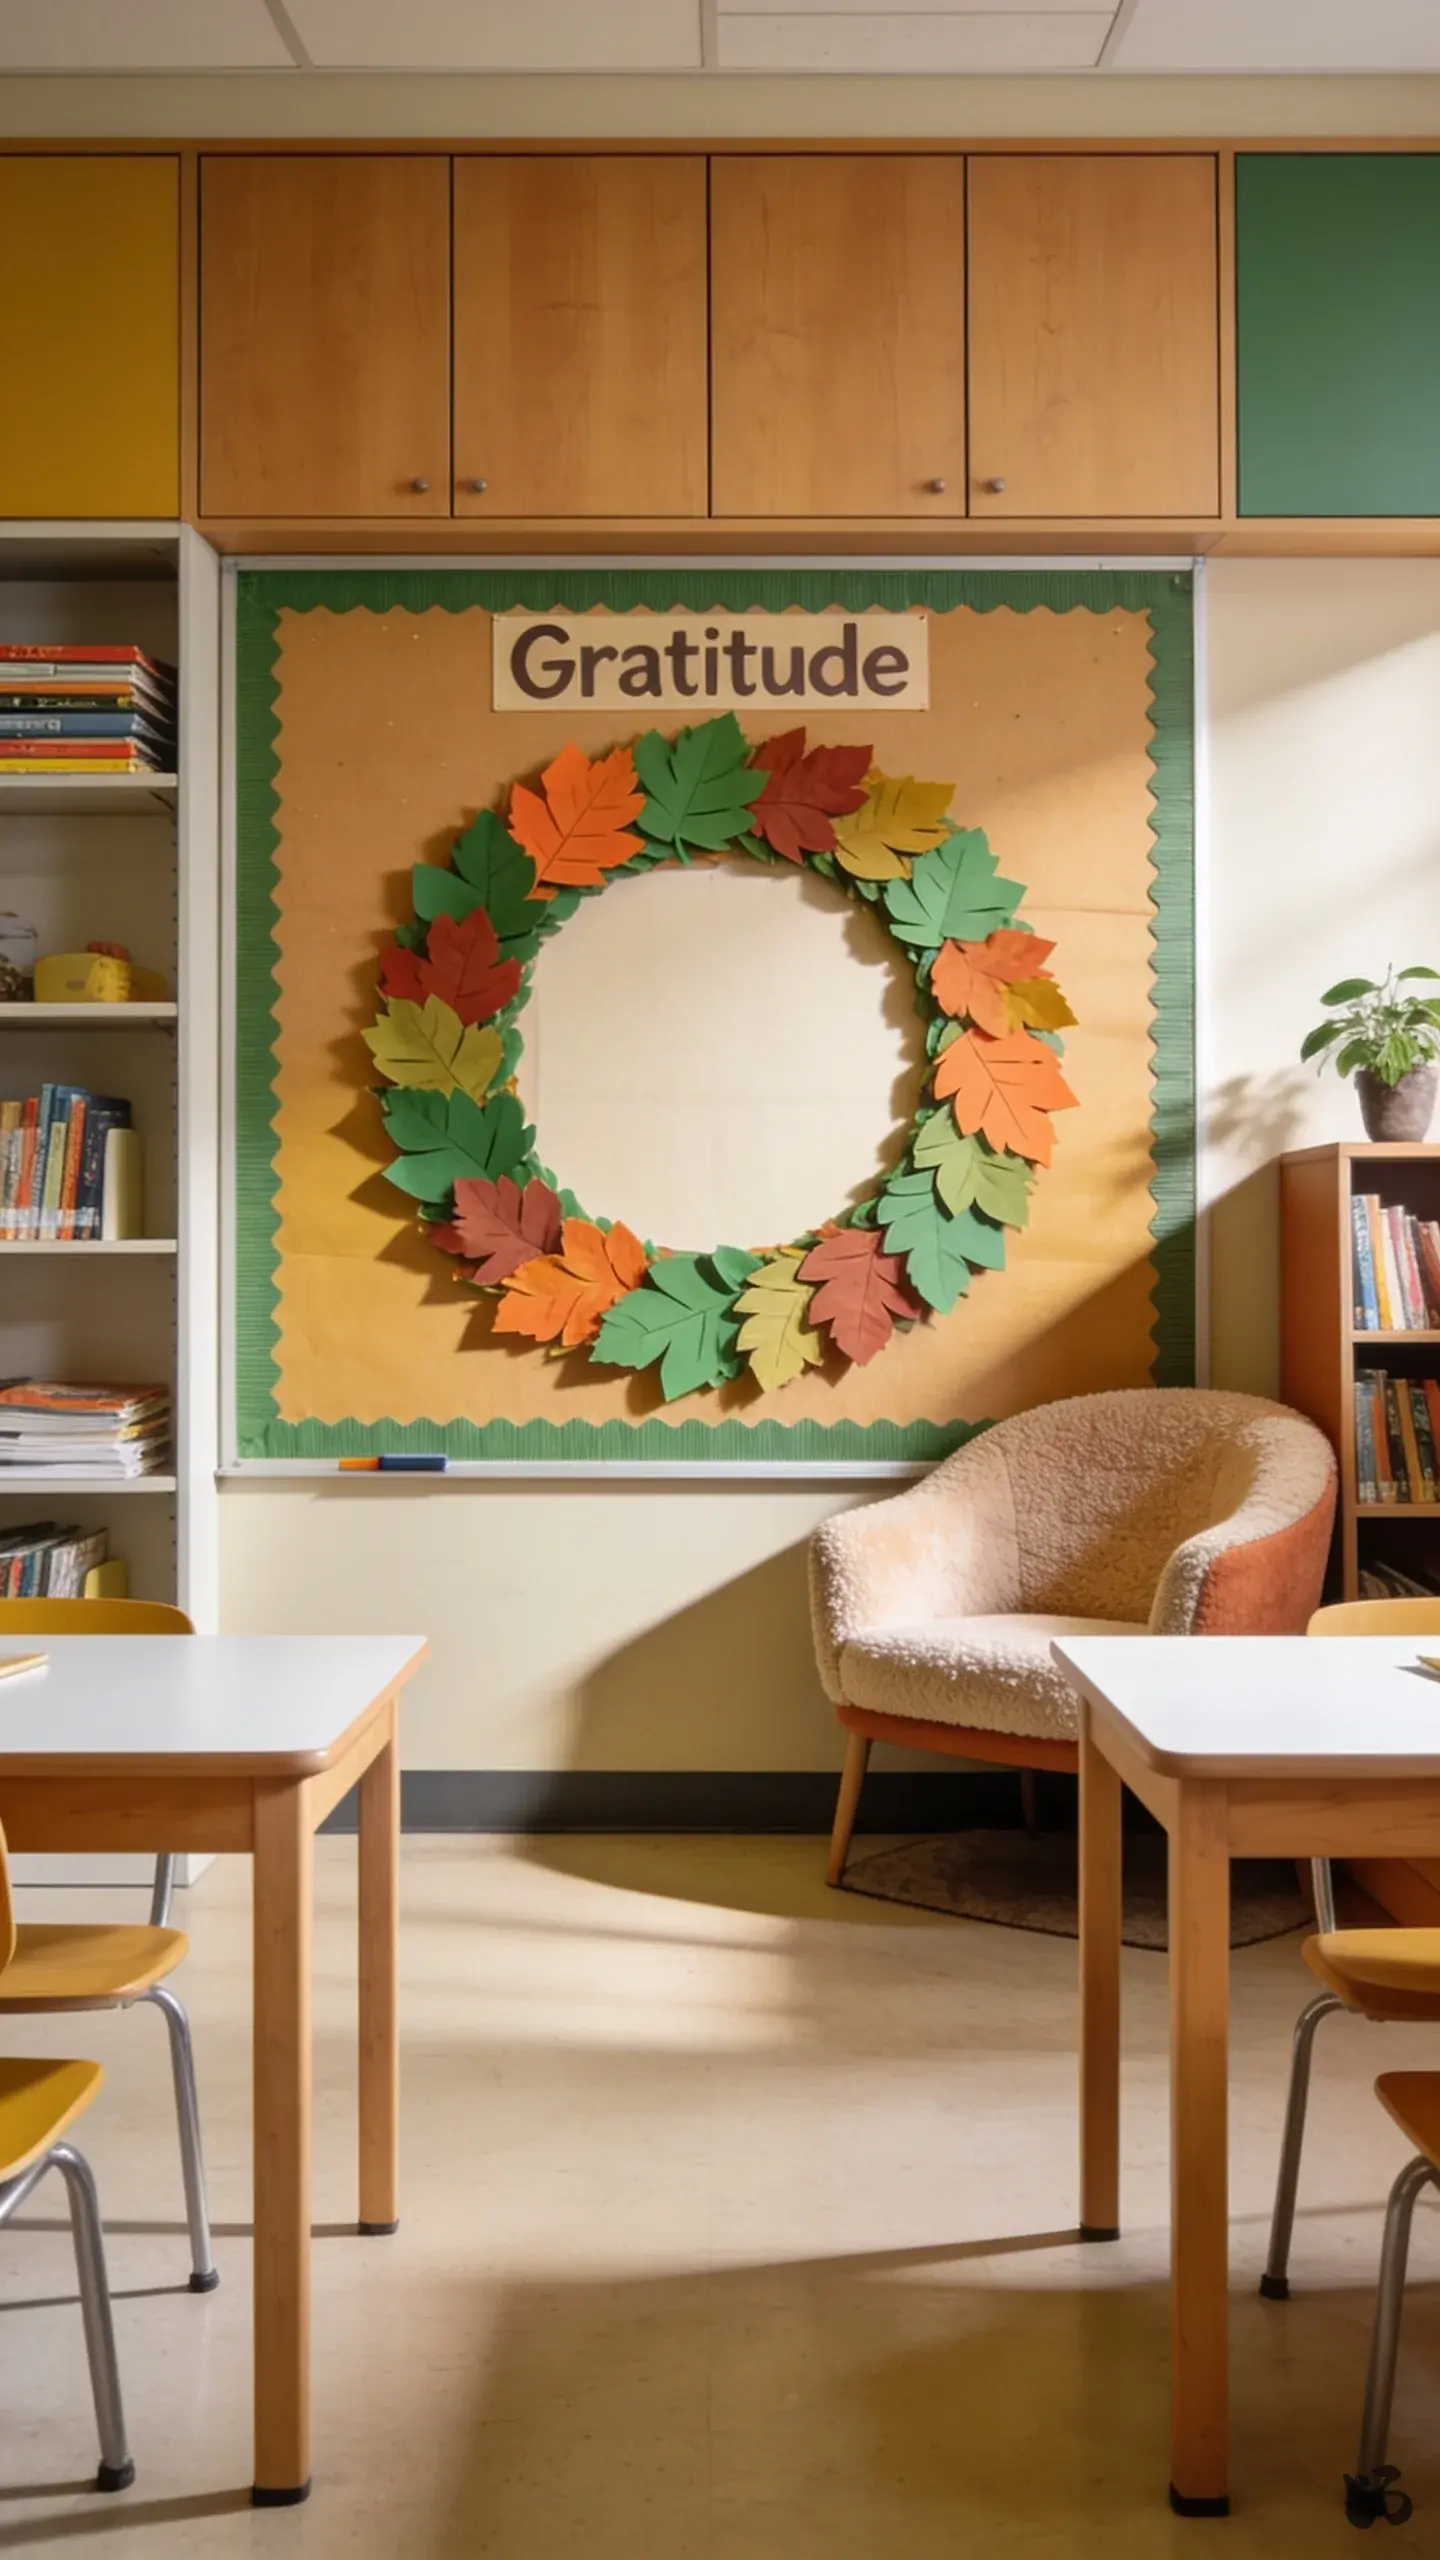
SaveForm a circular wreath on a bulletin board by placing leaves in a ring around a center message. Each leaf carries a student’s grateful thought. Keep it tight so you don’t cover too much wall space.
What you need
- Green and fall-colored leaves cut from construction paper
- Center cutout with a message like “We Are Grateful”
- Adhesive or tape
- Border trim to finish the circle
Laminate if possible to preserve the leaves through the year; otherwise rely on sturdy cardstock.
16. Daily Gratitude Slips by the Door
 Save
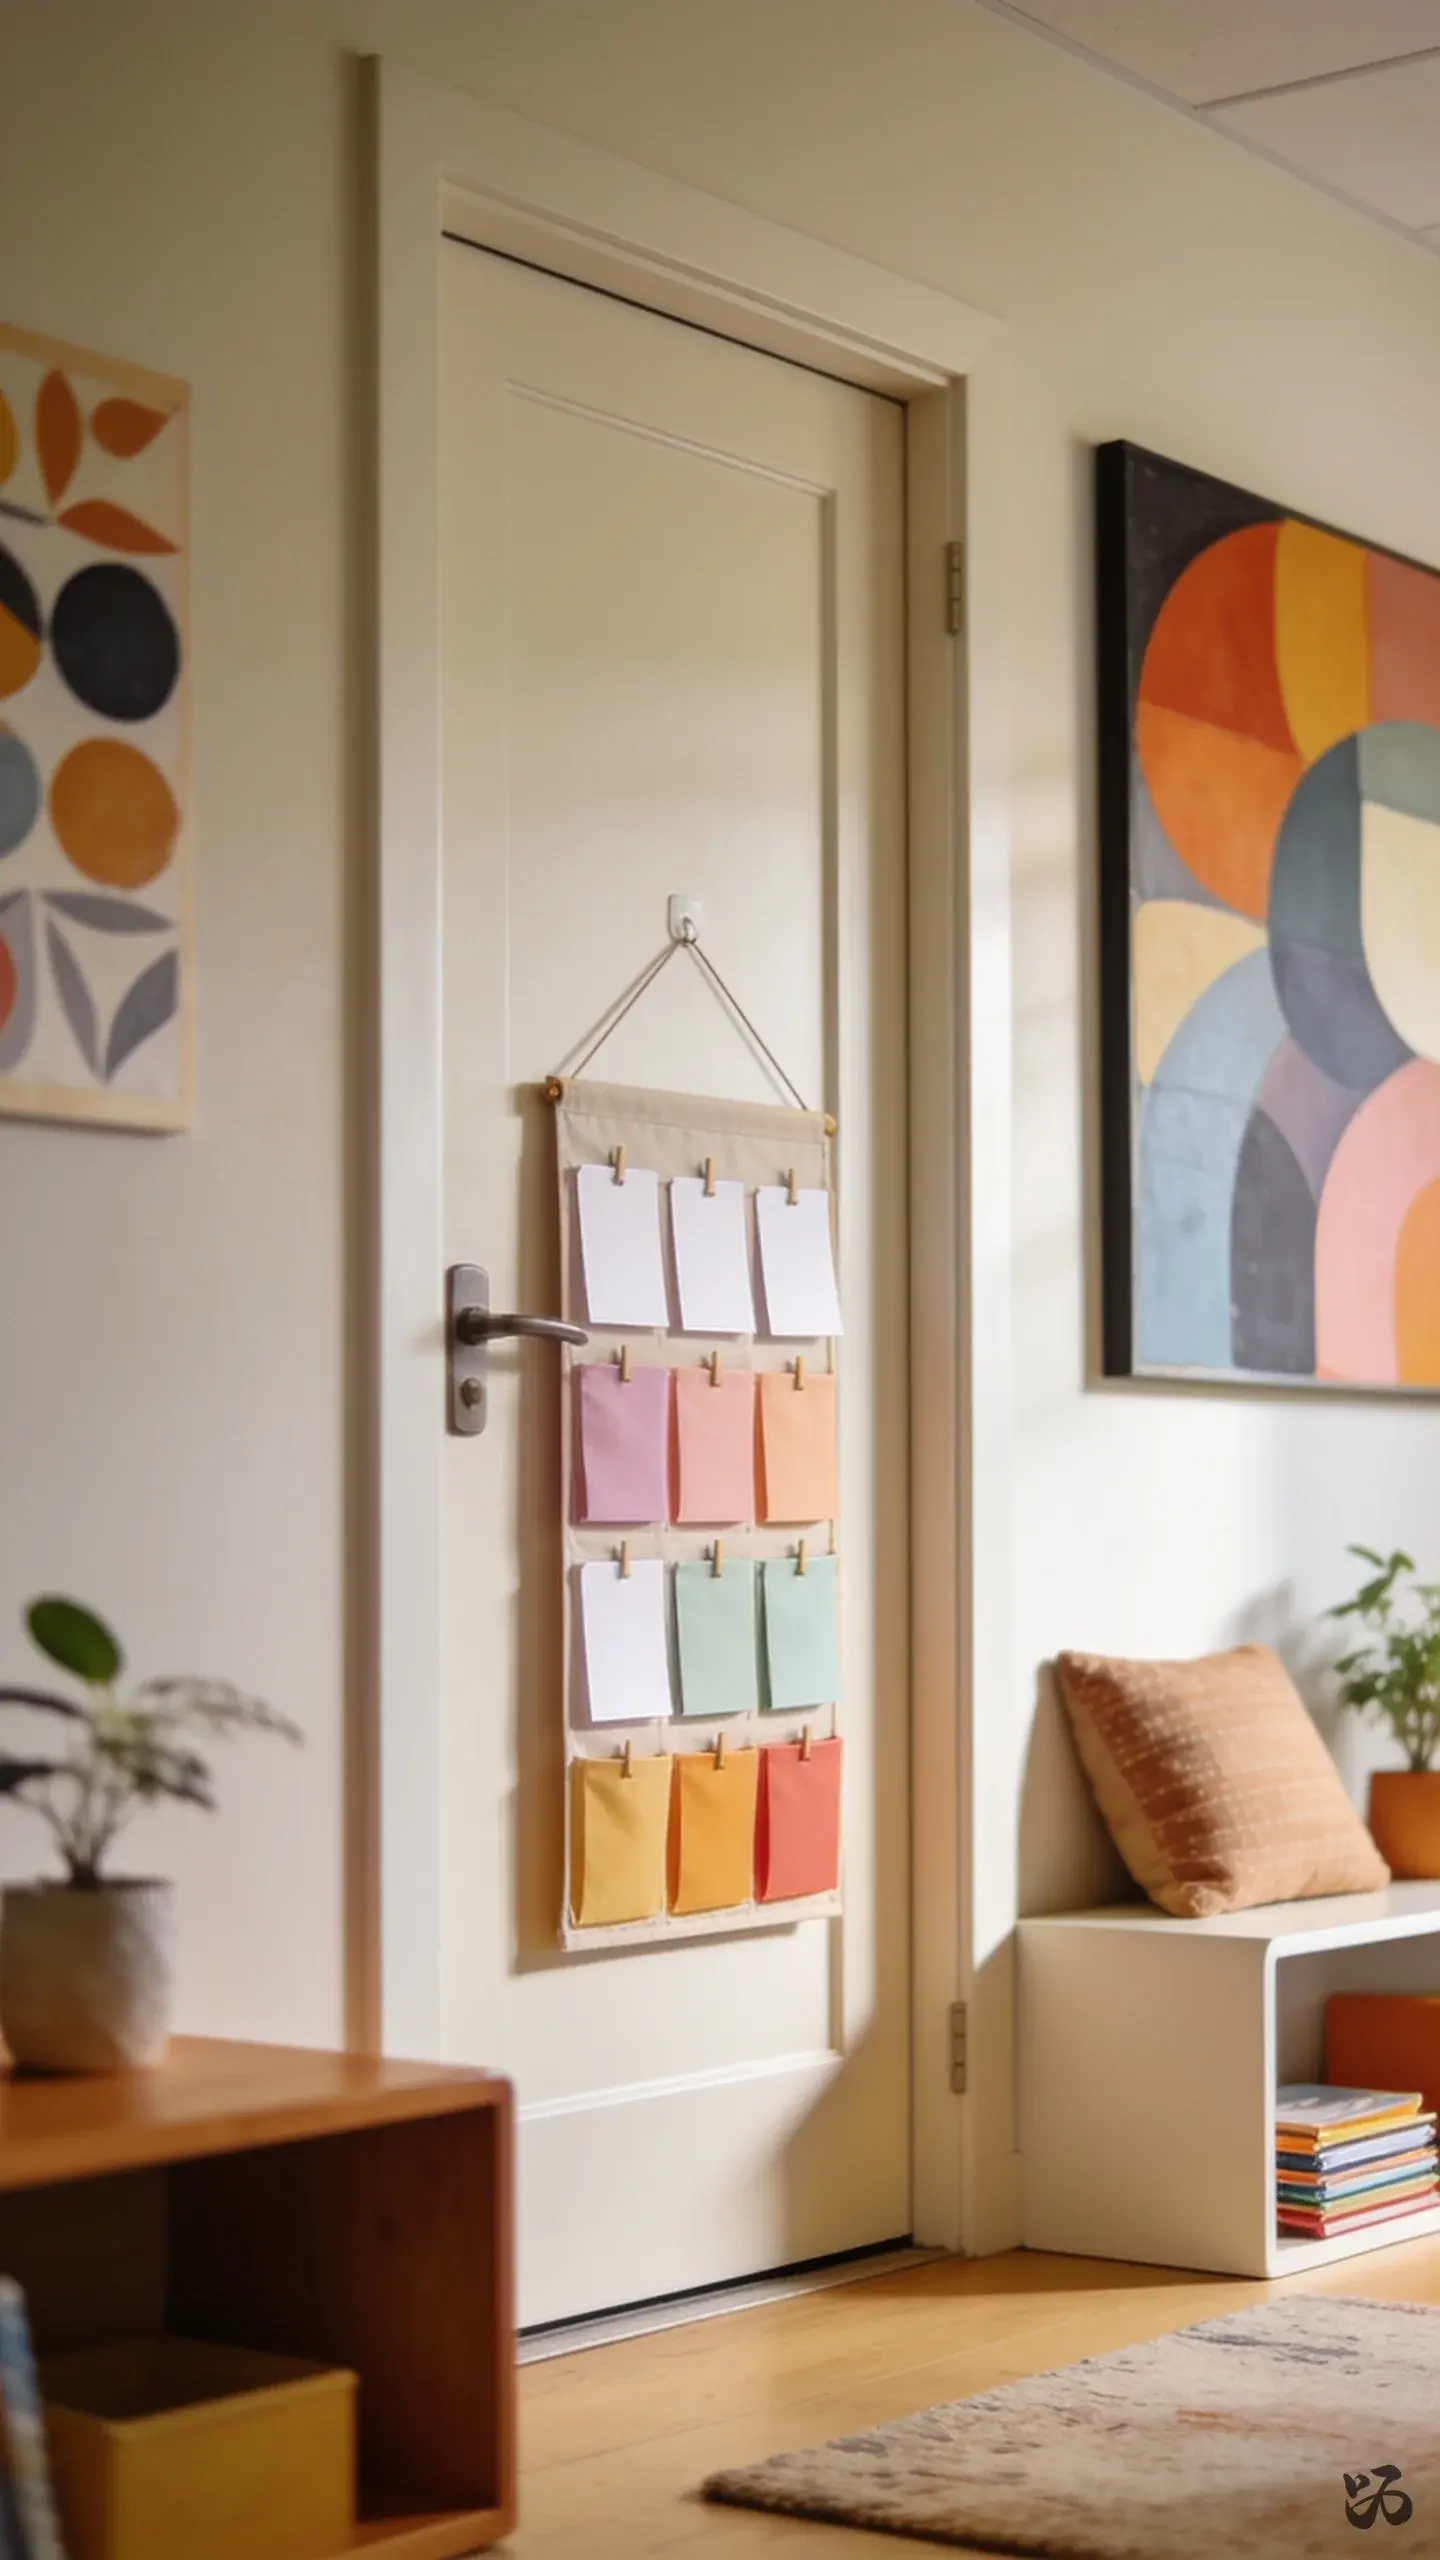
SaveA small pocket or pocket chart by the classroom door that holds a gratitude slip for each day. Students sponsor a slip with their name and a note, and the class reads a few aloud during morning meeting.
What you need
- Cardstock slips or prepared slips
- Pocket chart or small folder
- Marker for student names
- Clear label for the pocket’s purpose
Door displays need to be compact; don’t overfill pockets that block the door’s clearance.
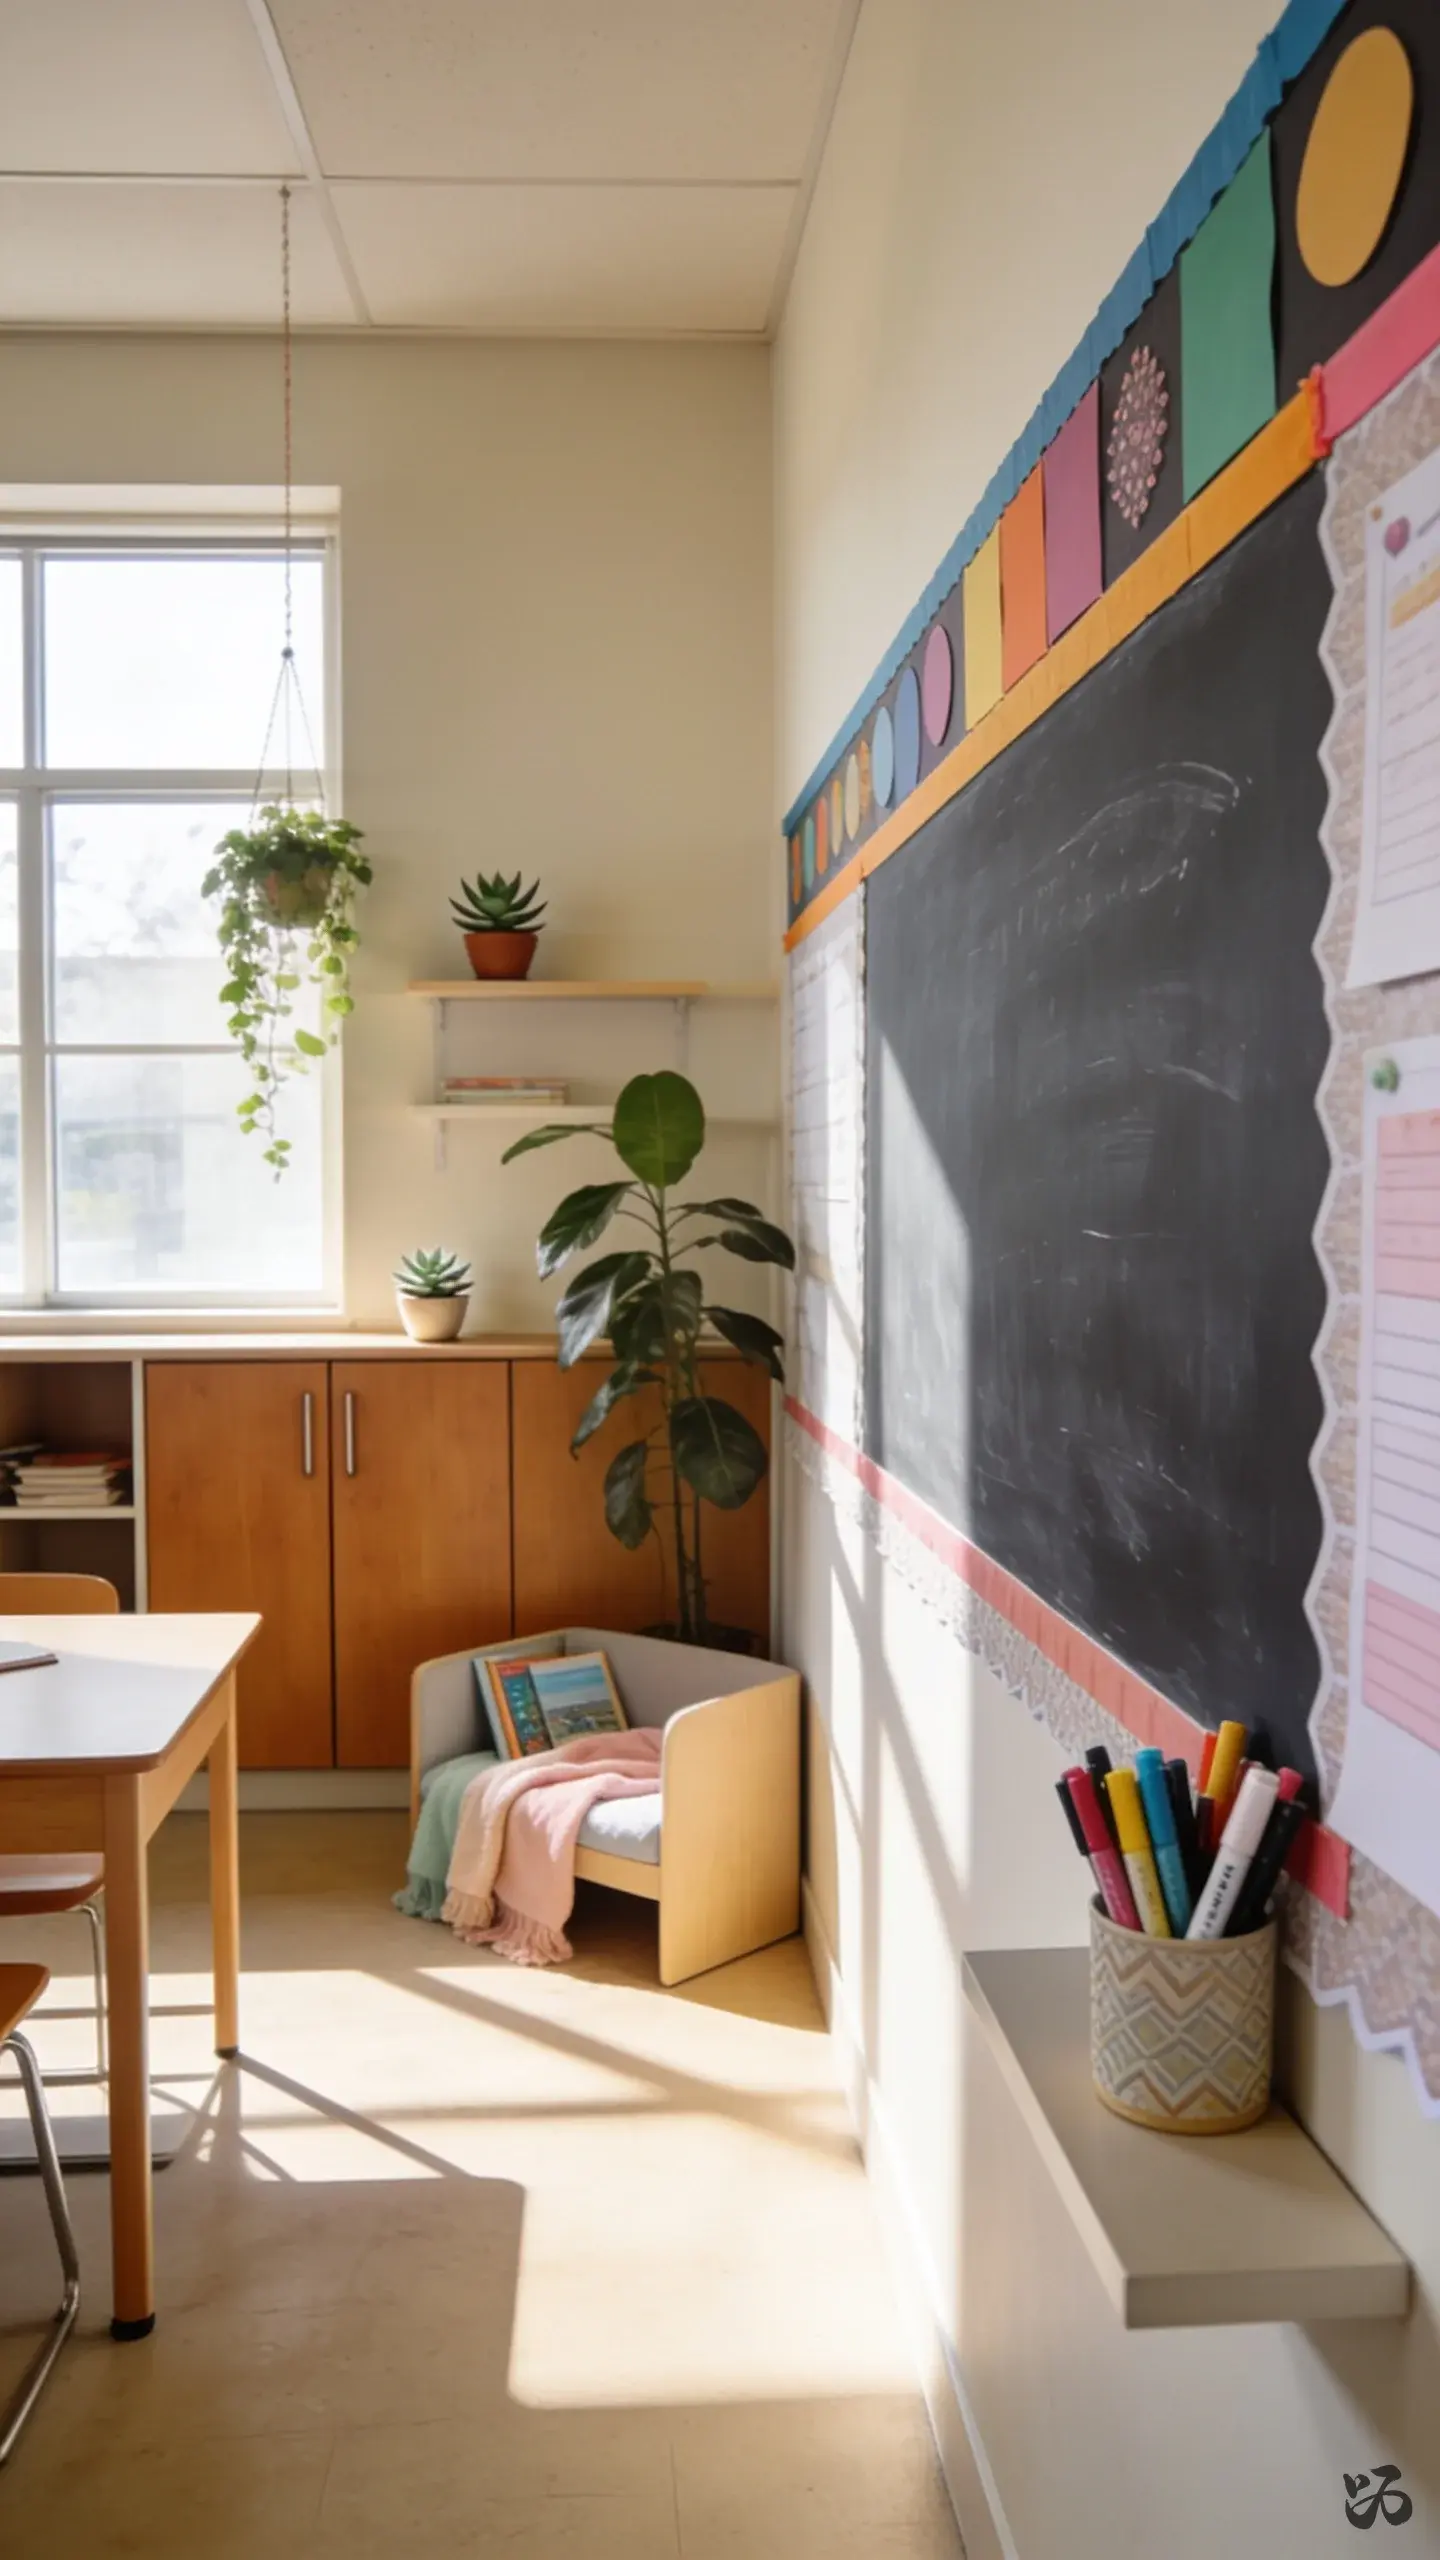
17. Thankful Chalkboard Strip (Low-Prep)
 Save
SaveIf you have a chalkboard or dry-erase board, reserve a strip to write a new thankful thought each week. Use color-coded chalk or markers to separate grades or groups.
What you need
- Chalk or dry-erase markers
- Colored tape to outline the strip
- Lightweight poster border for a finished look
- Preprinted labels for weeks or dates
For rooms with limited bulletin boards, this is a great substitute that still engages students daily.
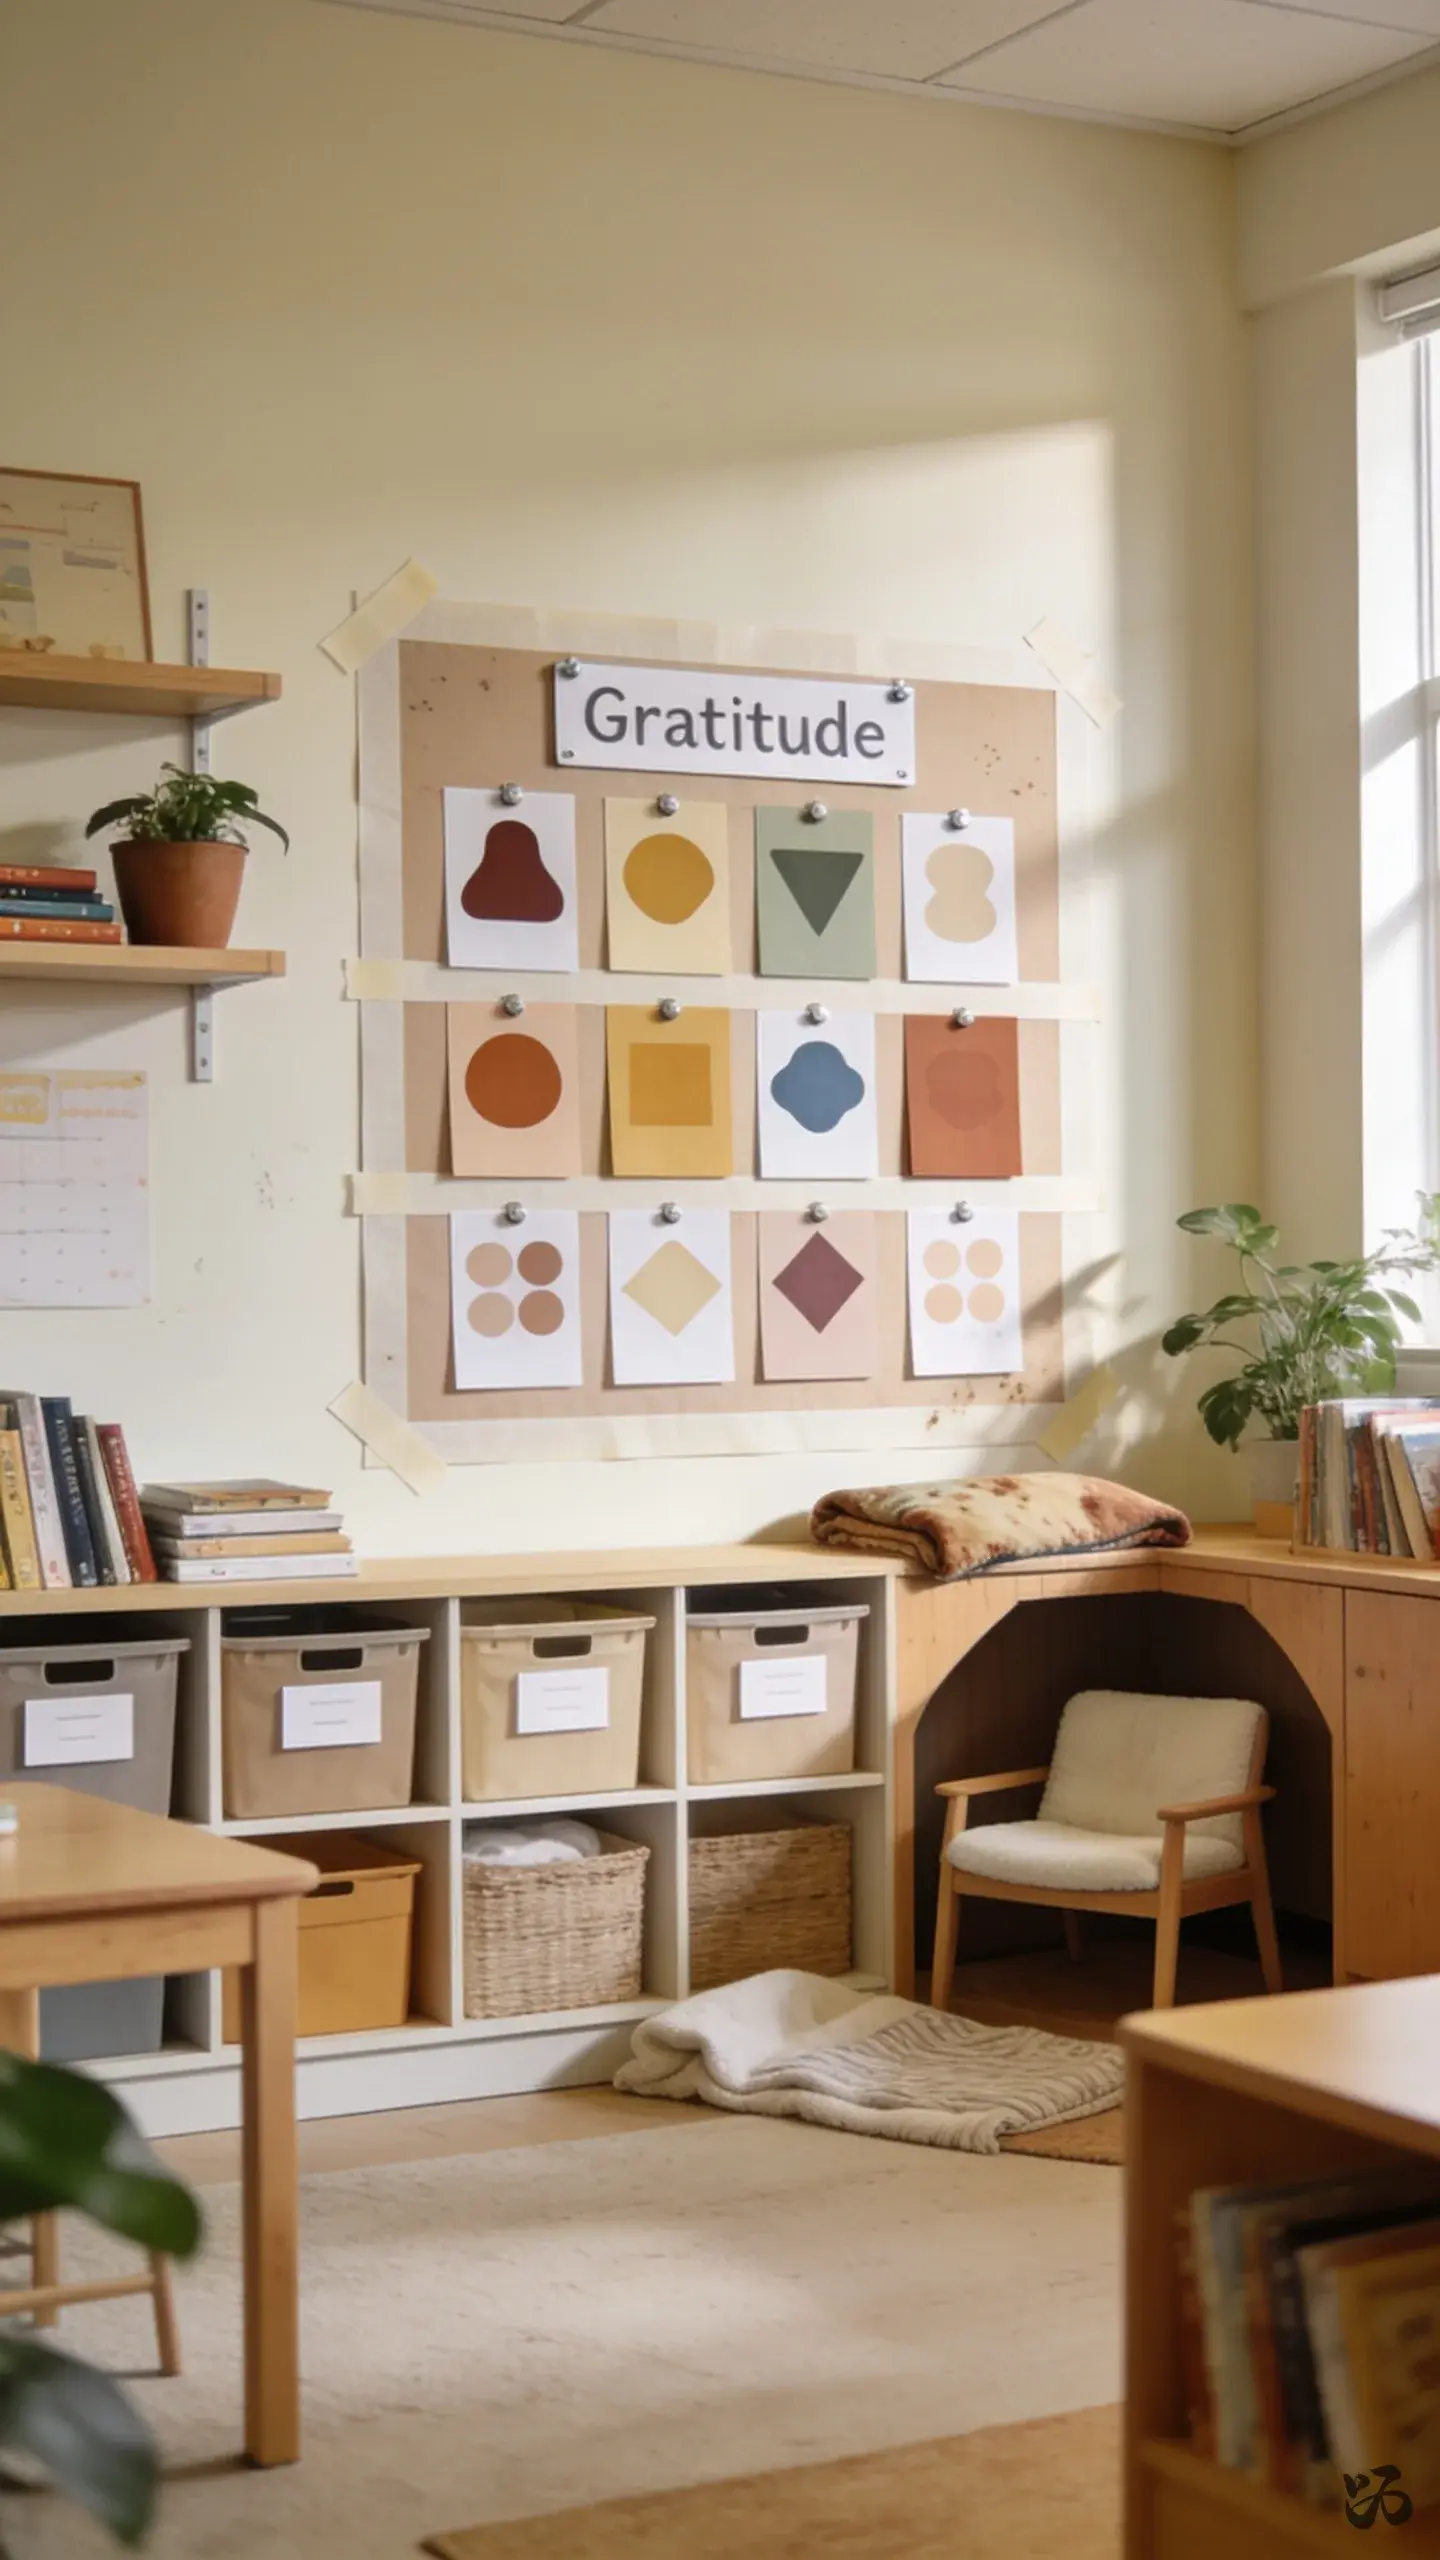
18. Gratitude Wall of Names
 Save
SaveCreate a calm, simple wall where every student’s name is displayed with one word that describes what they’re thankful for. Keeps the focus on each child and reduces clutter while still giving a sense of ceremony.
What you need
- Magnetic or adhesive name tags or small cutouts
- One-word labels written by students
- Border strips to separate sections
- Masking or painter’s tape for clean borders
Easy to update during prep period and stays kid-friendly for the full year.
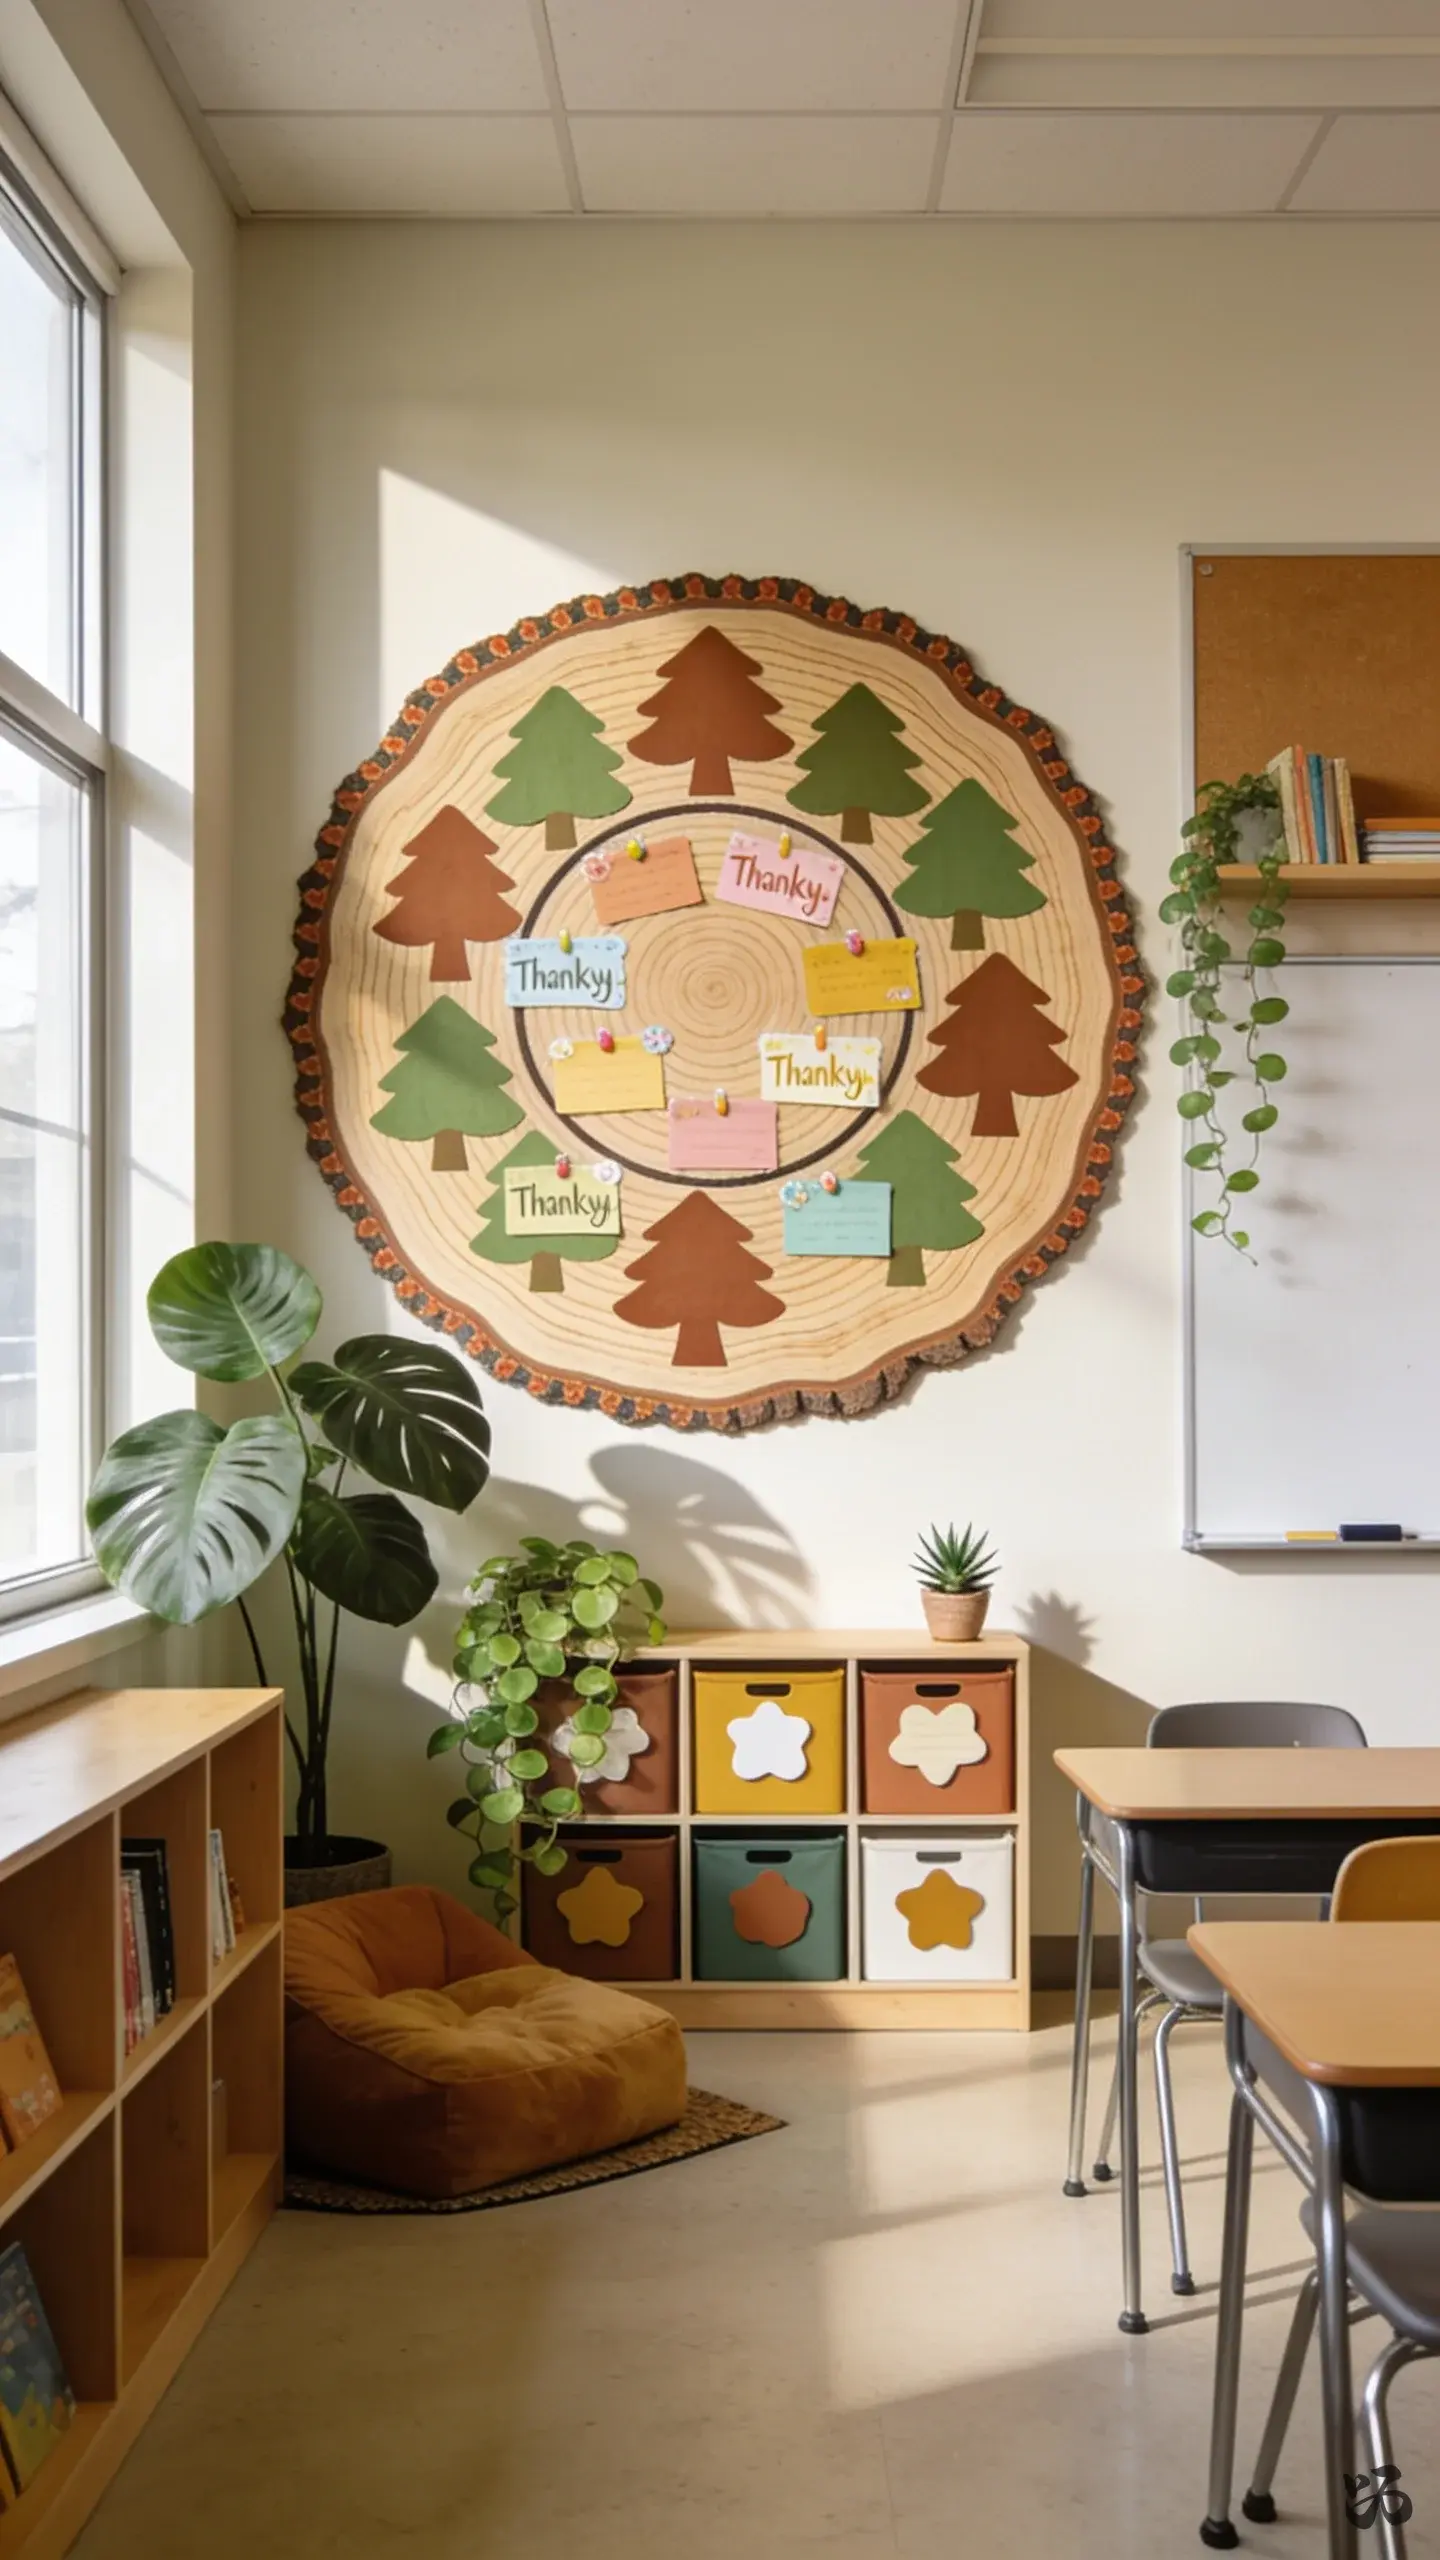
19. Thankful Tree Ring
 Save
SaveCreate a tree ring on the wall with concentric circles, and place student thankful notes on the inner rings. The outer ring remains as a decorative edge. It’s a calm, circular display that’s sturdy and readable from a distance.
What you need
- Brown and green paper for tree and rings
- Markers for writing on notes
- Adhesive putty or tape
- Border trim to finish the look
Limit heavy paper layers to avoid damage on cinder block walls; opt for fewer layers if wall anchors are an issue.
Conclusion
Start with one or two ideas that fit your space and daily routine. Choose projects that stay up through Open House and into December, so you get maximum return without extra stress. The key is durability, kid accessibility, and a calm, grateful tone that suits your homeroom and fall pace.