
Some links in this post are affiliate links. If you buy through one, I may earn a small commission at no extra cost to you. As an Amazon Associate I earn from qualifying purchases.
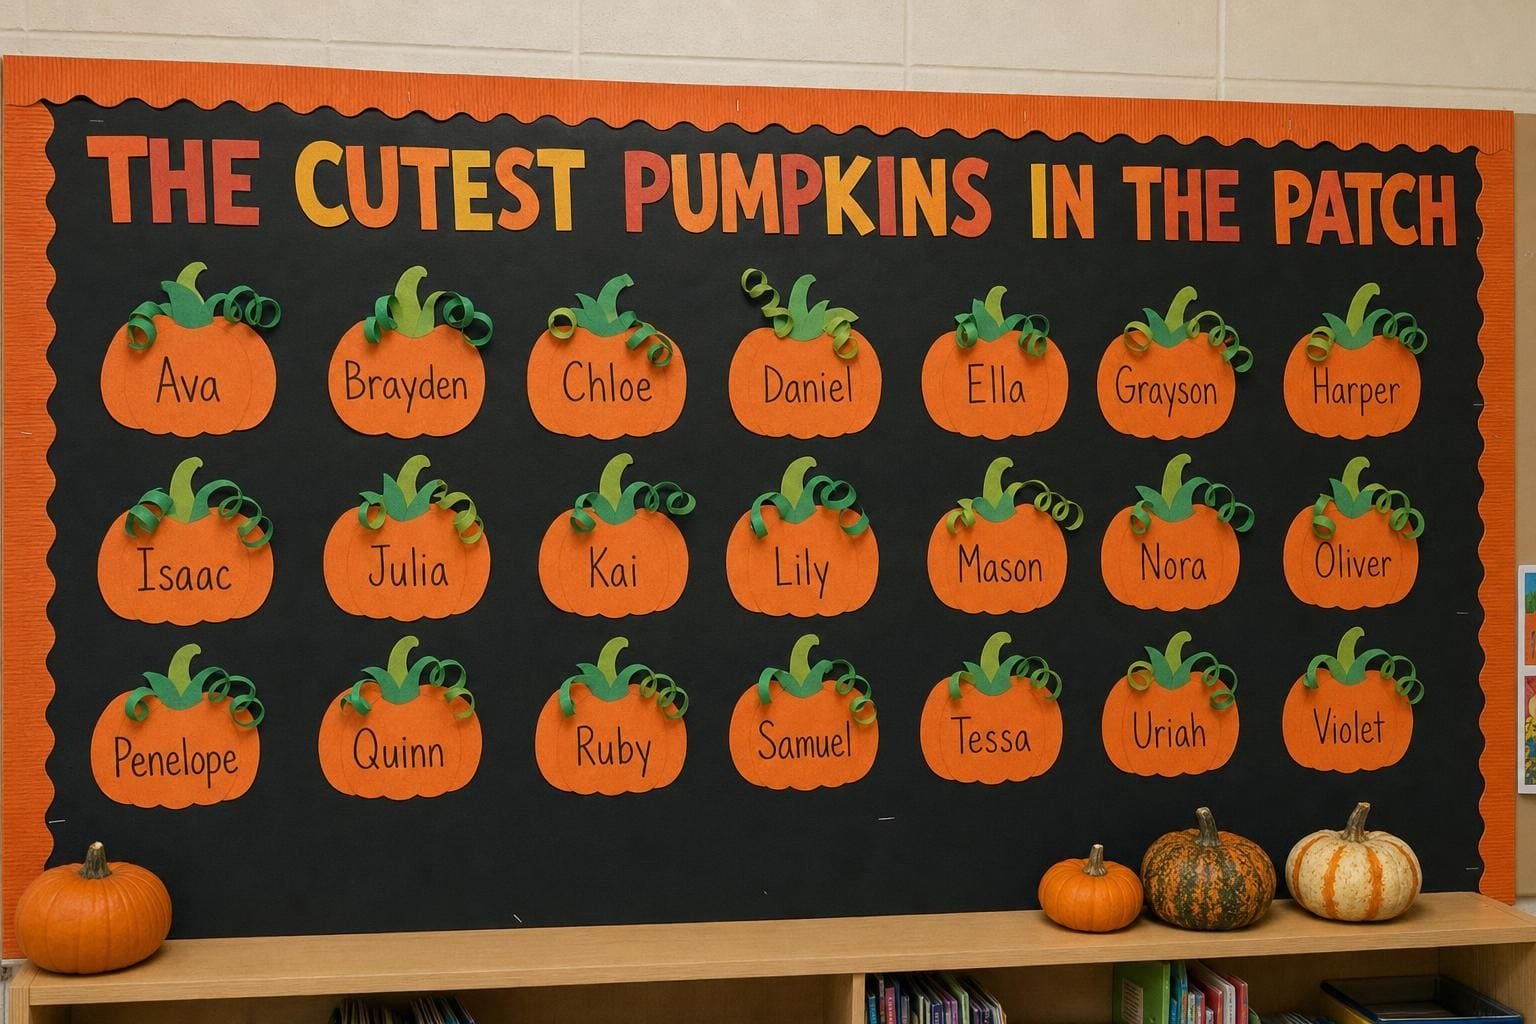
The best October bulletin boards for elementary classrooms are simple paper displays with a punny headline and one piece of work from every child: name pumpkins, leaf piles with self portraits, owls holding fall writing, or a kindness tree that grows all month. Below are 13 I would happily put up in my own classroom, each with what you need and how to put it up in an afternoon.
 Save
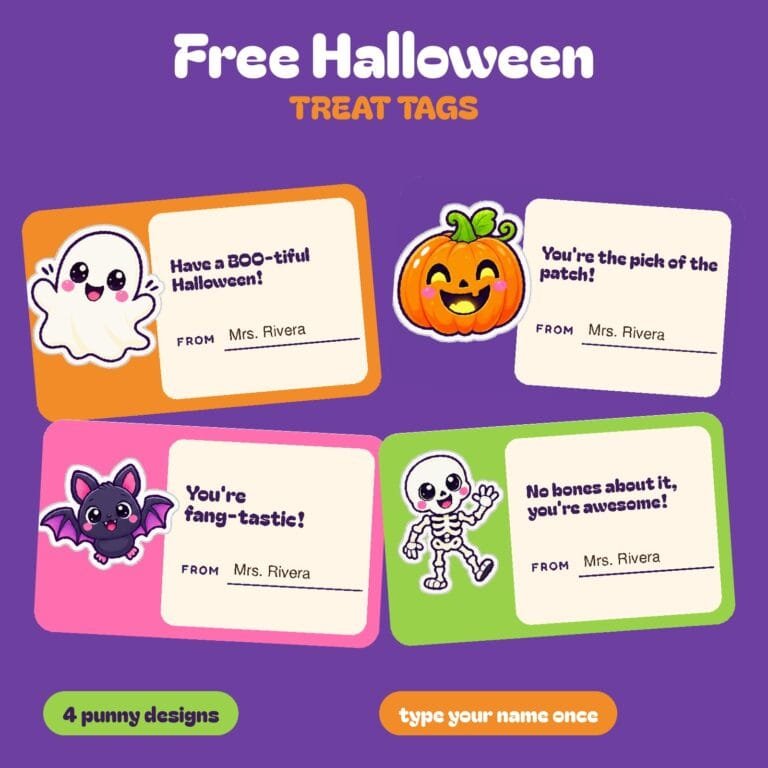
Free printable
Free Halloween Treat Tags
4 punny treat tags plus mini pencil tags. Type your name once and it fills every tag. Print, cut, done in 10 minutes.
Free download. You will also get a couple of follow-up emails with classroom ideas. Unsubscribe anytime.
Four things that make any board faster
Most of these come down to paper, a border, and somewhere to pin. These are the pieces worth having ready, especially if your walls do not take pins.
- Self adhesive felt boards for walls that will not take pins They stick to painted block, take pins straight away, and cut down to fit an awkward gap. This is the fix for a room with no cork anywhere.
- Battery powered fairy lights with a remote Thin silver wire that disappears against paper, so what the room sees is glow rather than cable. Battery packs mean the display can go anywhere, not just near a socket.
- Plug in string lights for a longer run For the window or the back wall where there is an outlet and you want more light than battery wire gives. Eight modes, including a slow fade calm enough to leave on during lessons.
- A warm neon sign for the corner One soft focal point that stays up long after the paper comes down. USB powered with adjustable brightness so it is not glaring mid lesson.
1. Look Who’s Hiding in the Leaves
 Save
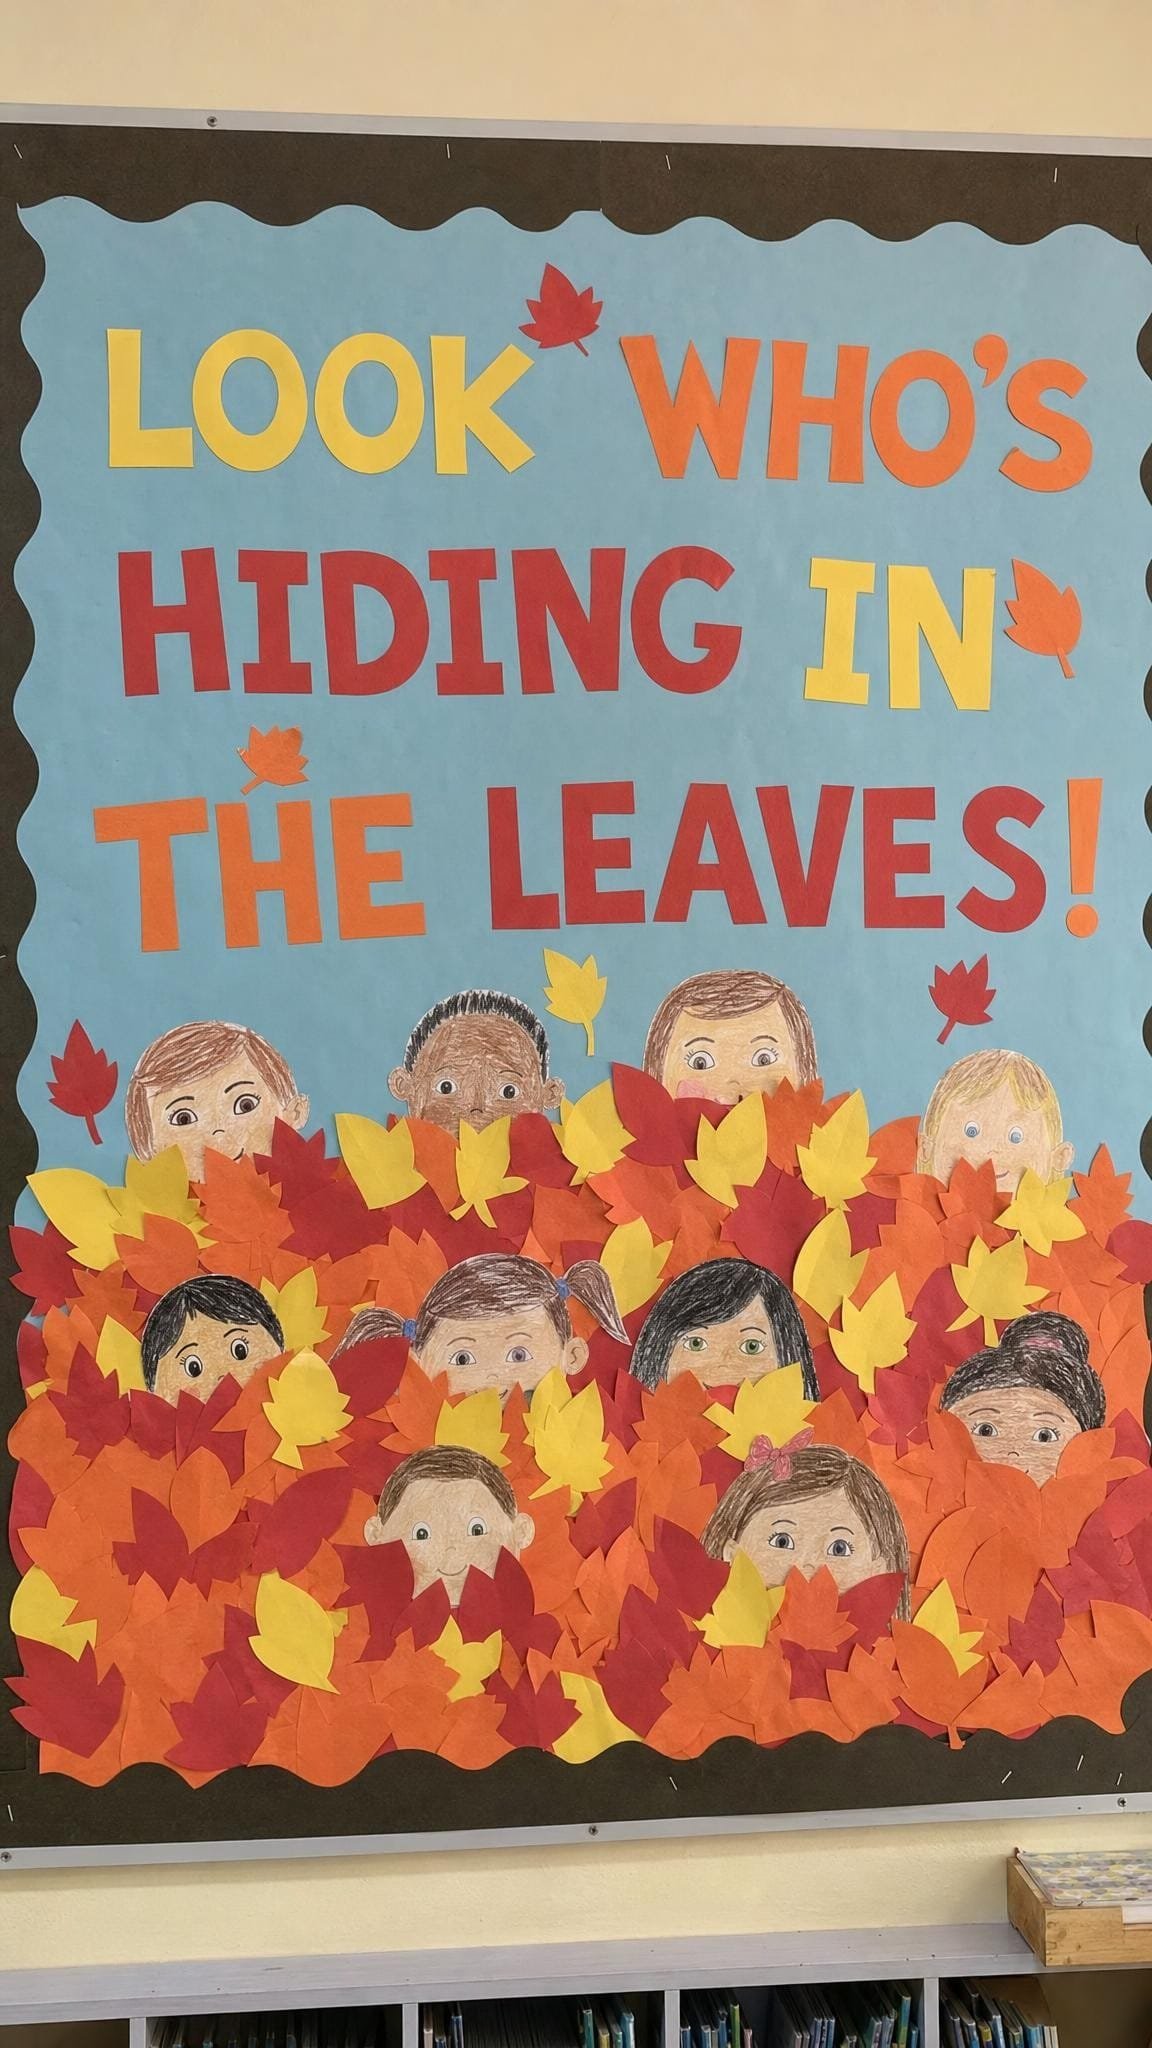
This is the board that gets the most comments from parents in the hallway. Every child draws a self portrait, then it gets tucked into a big pile of paper leaves so only the face peeks out.
What you need
- Light blue butcher paper for the sky
- Red, orange and yellow construction paper for the leaf pile
- A pack of leaf cutouts to bulk it out fast
- Crayons or markers for the self portraits
How to put it up
- Cover the board and add the headline across the top.
- Have children draw their faces on a half sheet, then cut them out.
- Staple the leaves in layers from the bottom up, tucking each face in as you go so it looks like they are buried.
Teacher tip: Crumple a few leaves slightly before stapling. The texture makes the pile look deep from across the room.
2. The Cutest Pumpkins in the Patch
 Save
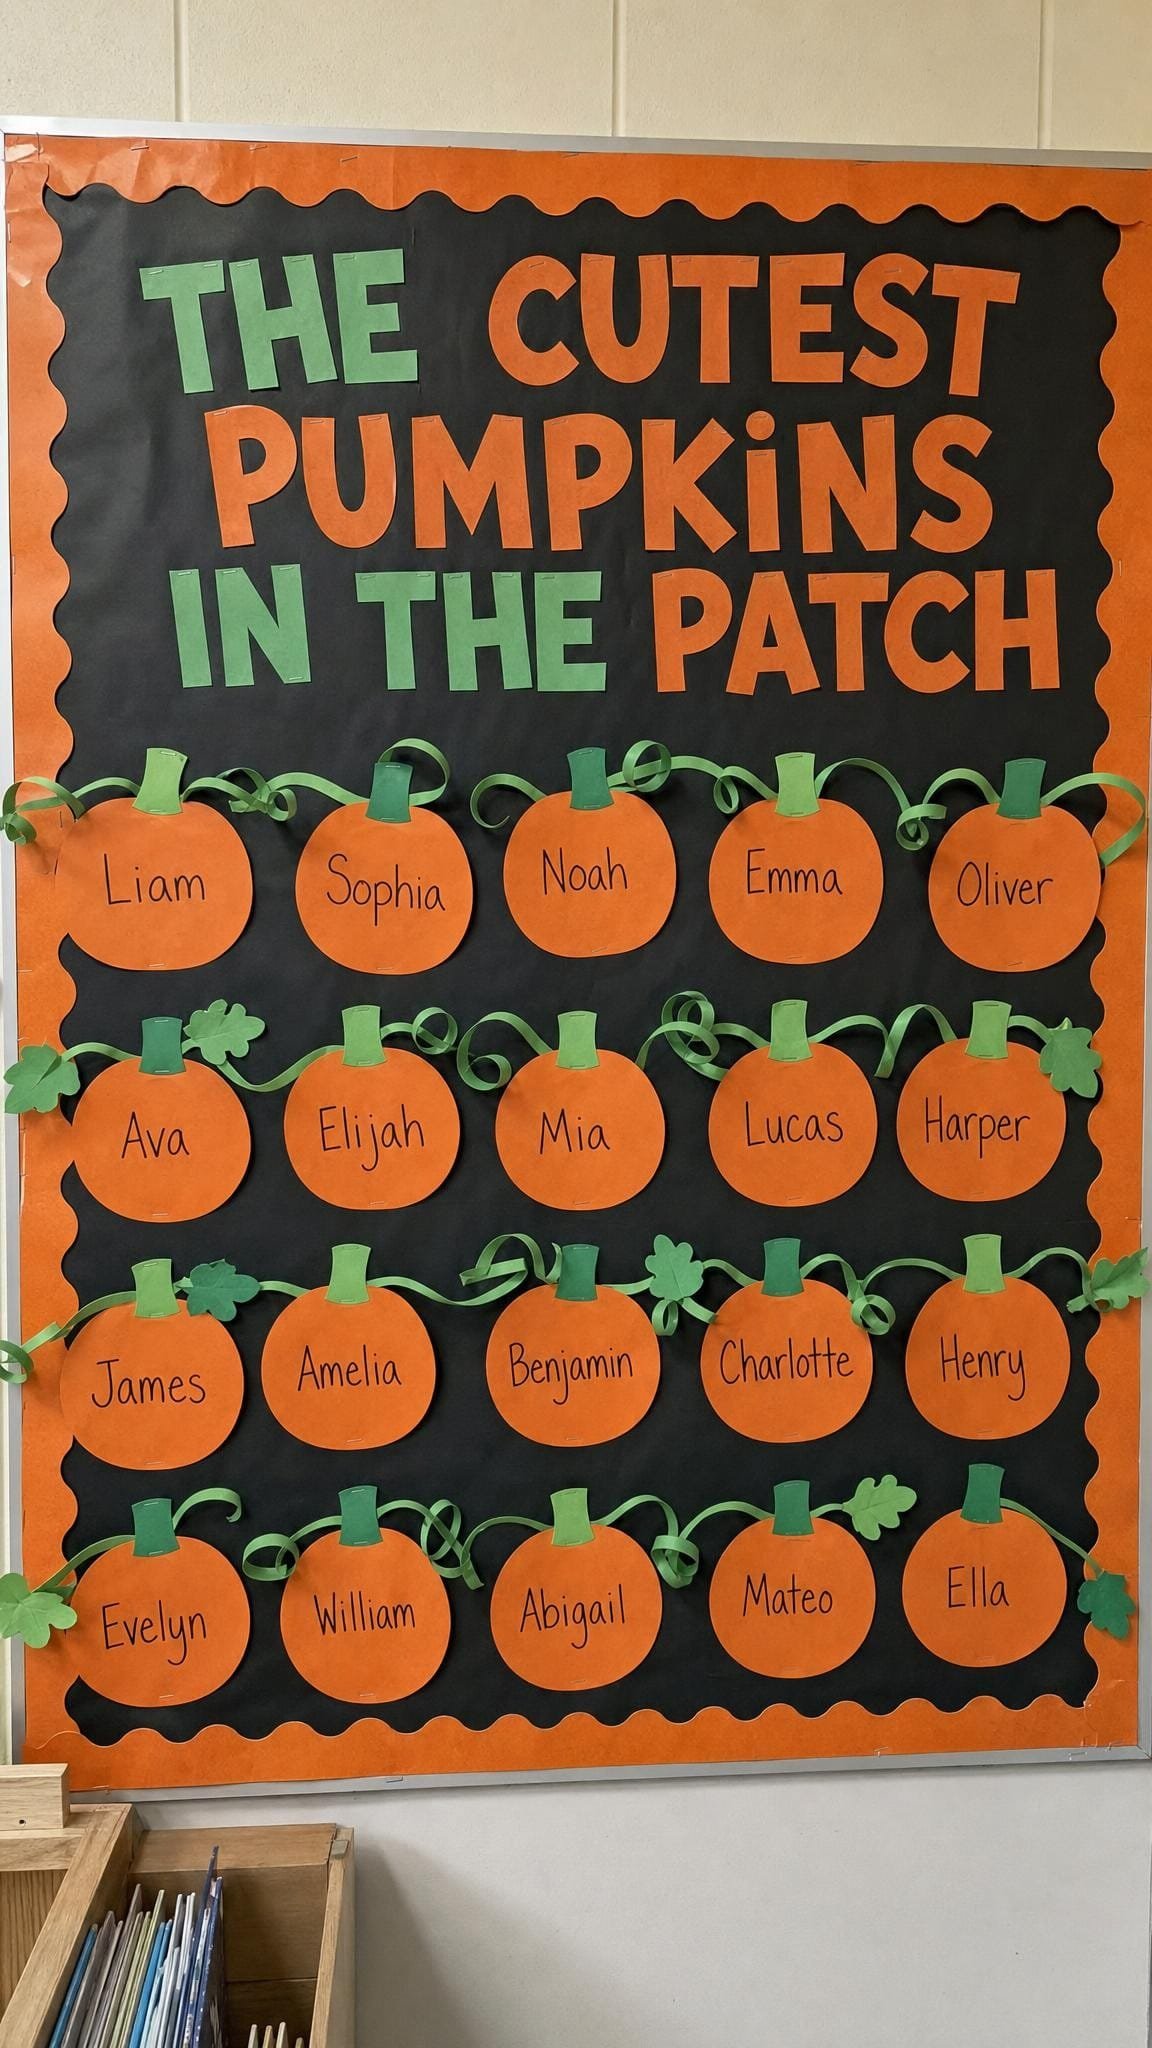
A classic for a reason. One pumpkin per child, a name on each, and curly vines linking them all together. It works for a door too if your board is already full.
What you need
- Black cardstock or paper for the background
- Orange and green construction paper
- Paint pens or white markers for the names
How to put it up
- Cut pumpkins from a template so they are roughly the same size.
- Let each child decorate their pumpkin and write their name on it.
- Arrange them in rows and twist strips of green paper around a pencil to make the curly vines.
Teacher tip: Swap in a “Thankful Pumpkins” headline in November and keep every pumpkin up for another month.
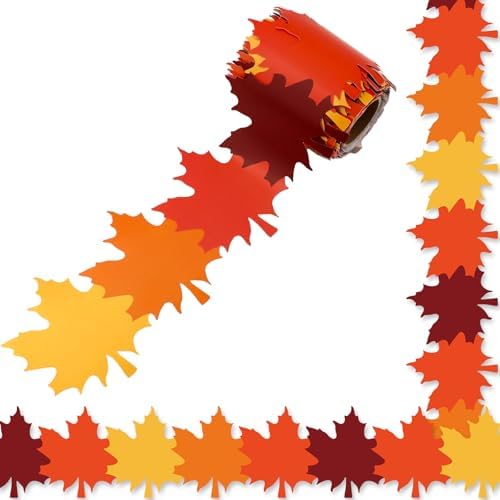
The paper and borders I would stock up on


3. Fall Into a Good Book
 Save
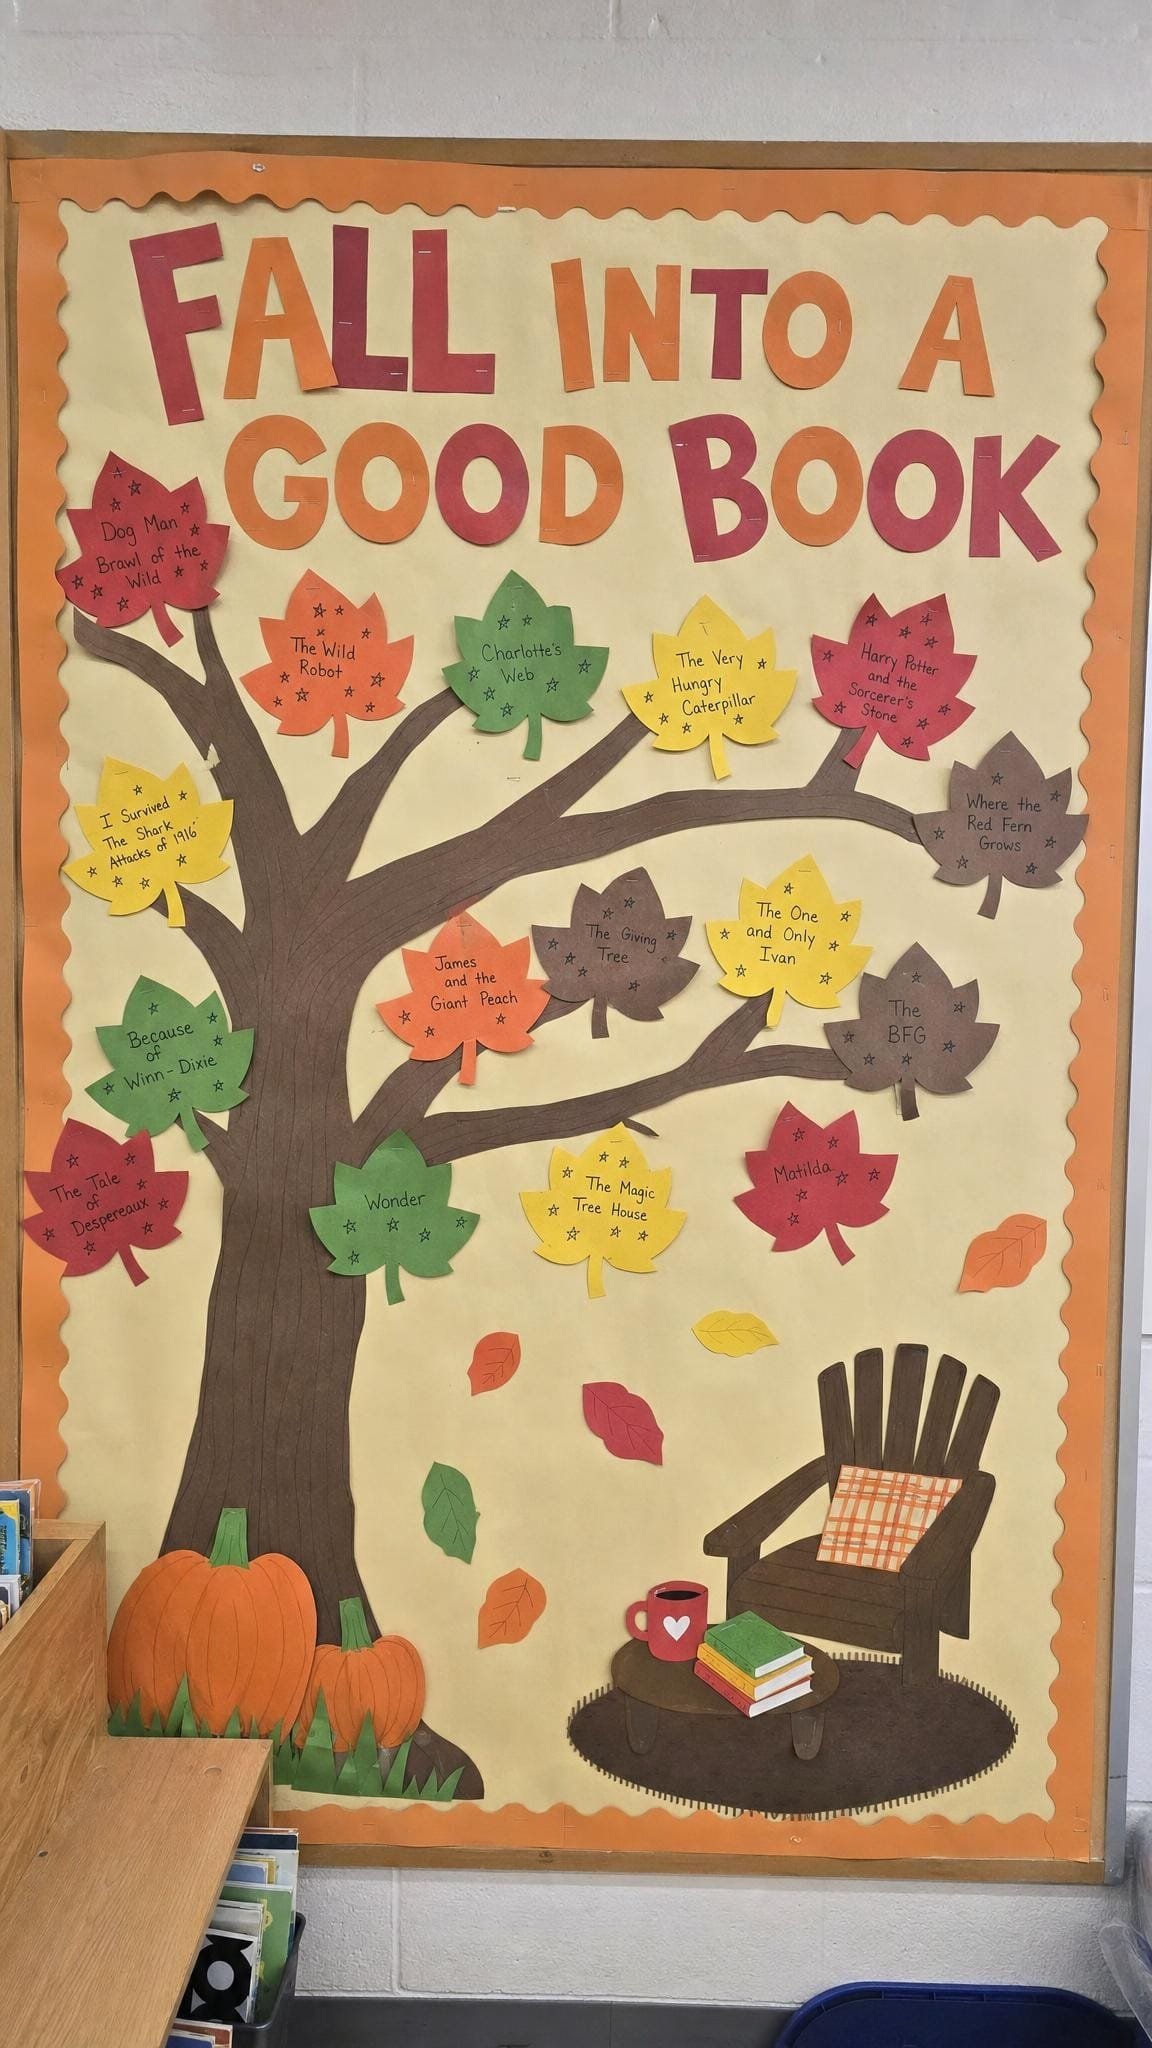
A reading board that fills itself. Every time a child finishes a book, they write the title and a star rating on a leaf and add it to the tree.
What you need
- Brown butcher paper for the trunk
- Autumn colored leaf cutouts
- Markers for titles and stars
- Adhesive putty so children can add leaves themselves
Free for your classroom
 Save
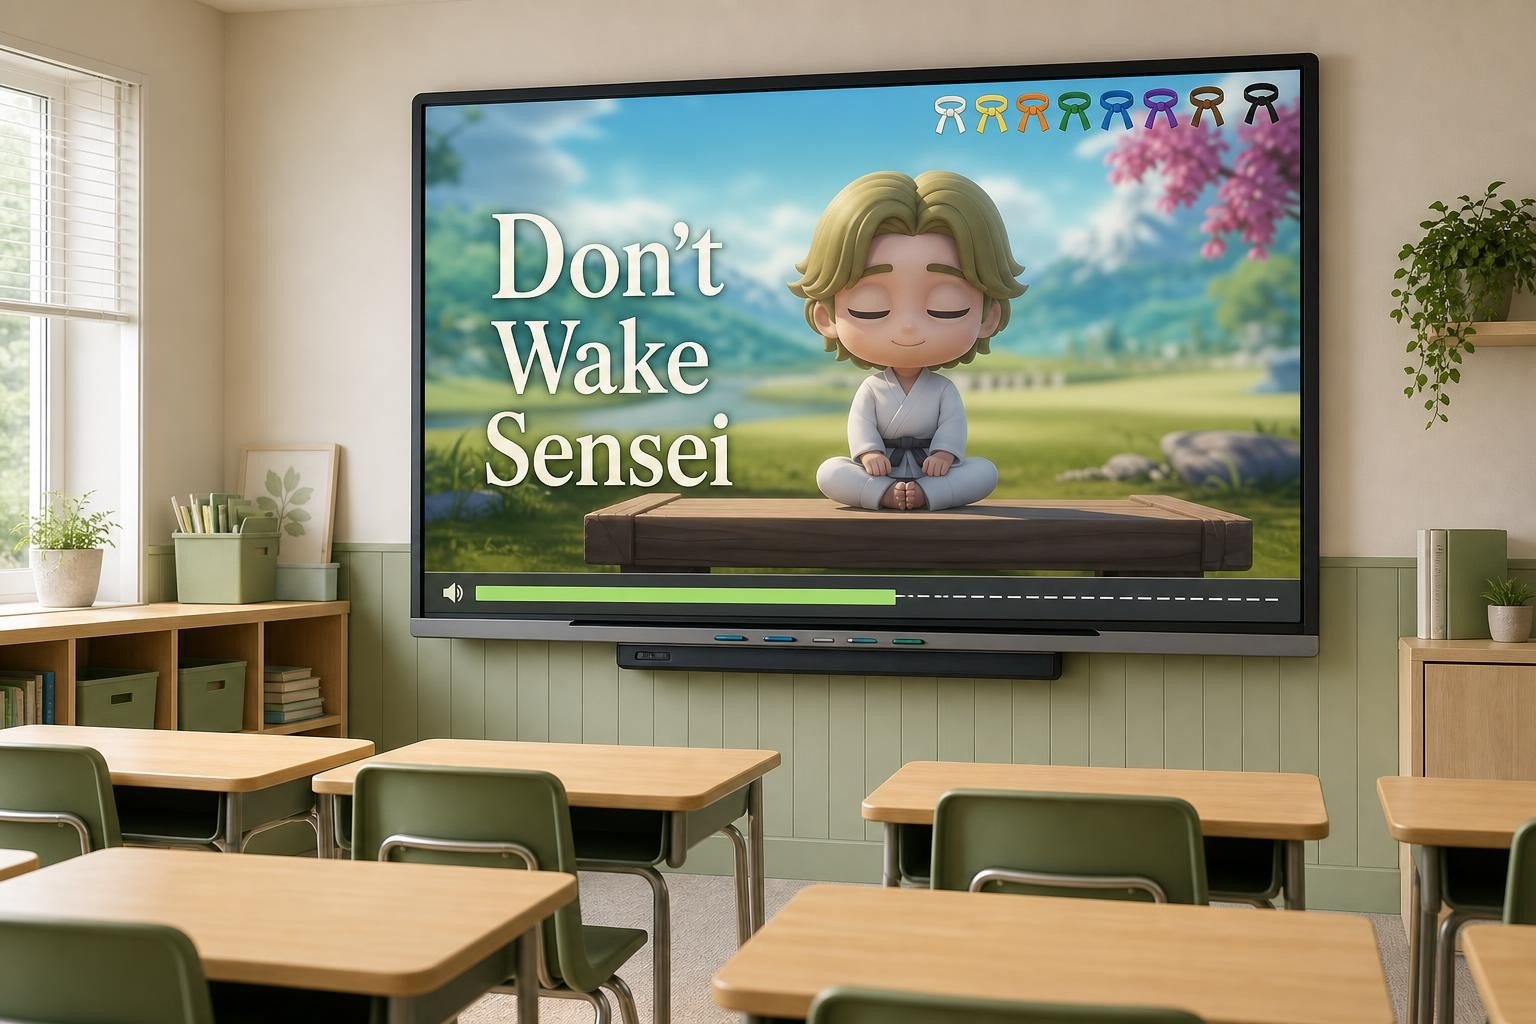
Don’t Wake Sensei is a free classroom noise monitor that works like a game. Put it on your board, keep the room under the quiet line, and your class earns karate belts together while Sensei meditates. Nothing to install and nothing is recorded. Get Don’t Wake Sensei free.
How to put it up
- Twist and crumple brown paper into a trunk and branches.
- Keep a basket of blank leaves next to your reading corner.
- Add a few “falling” leaves near the bottom so new ones have somewhere to go.
Teacher tip: Count the leaves on the last day of October. It turns into a lovely class reading total.
4. We’re Nuts About Learning
 Save
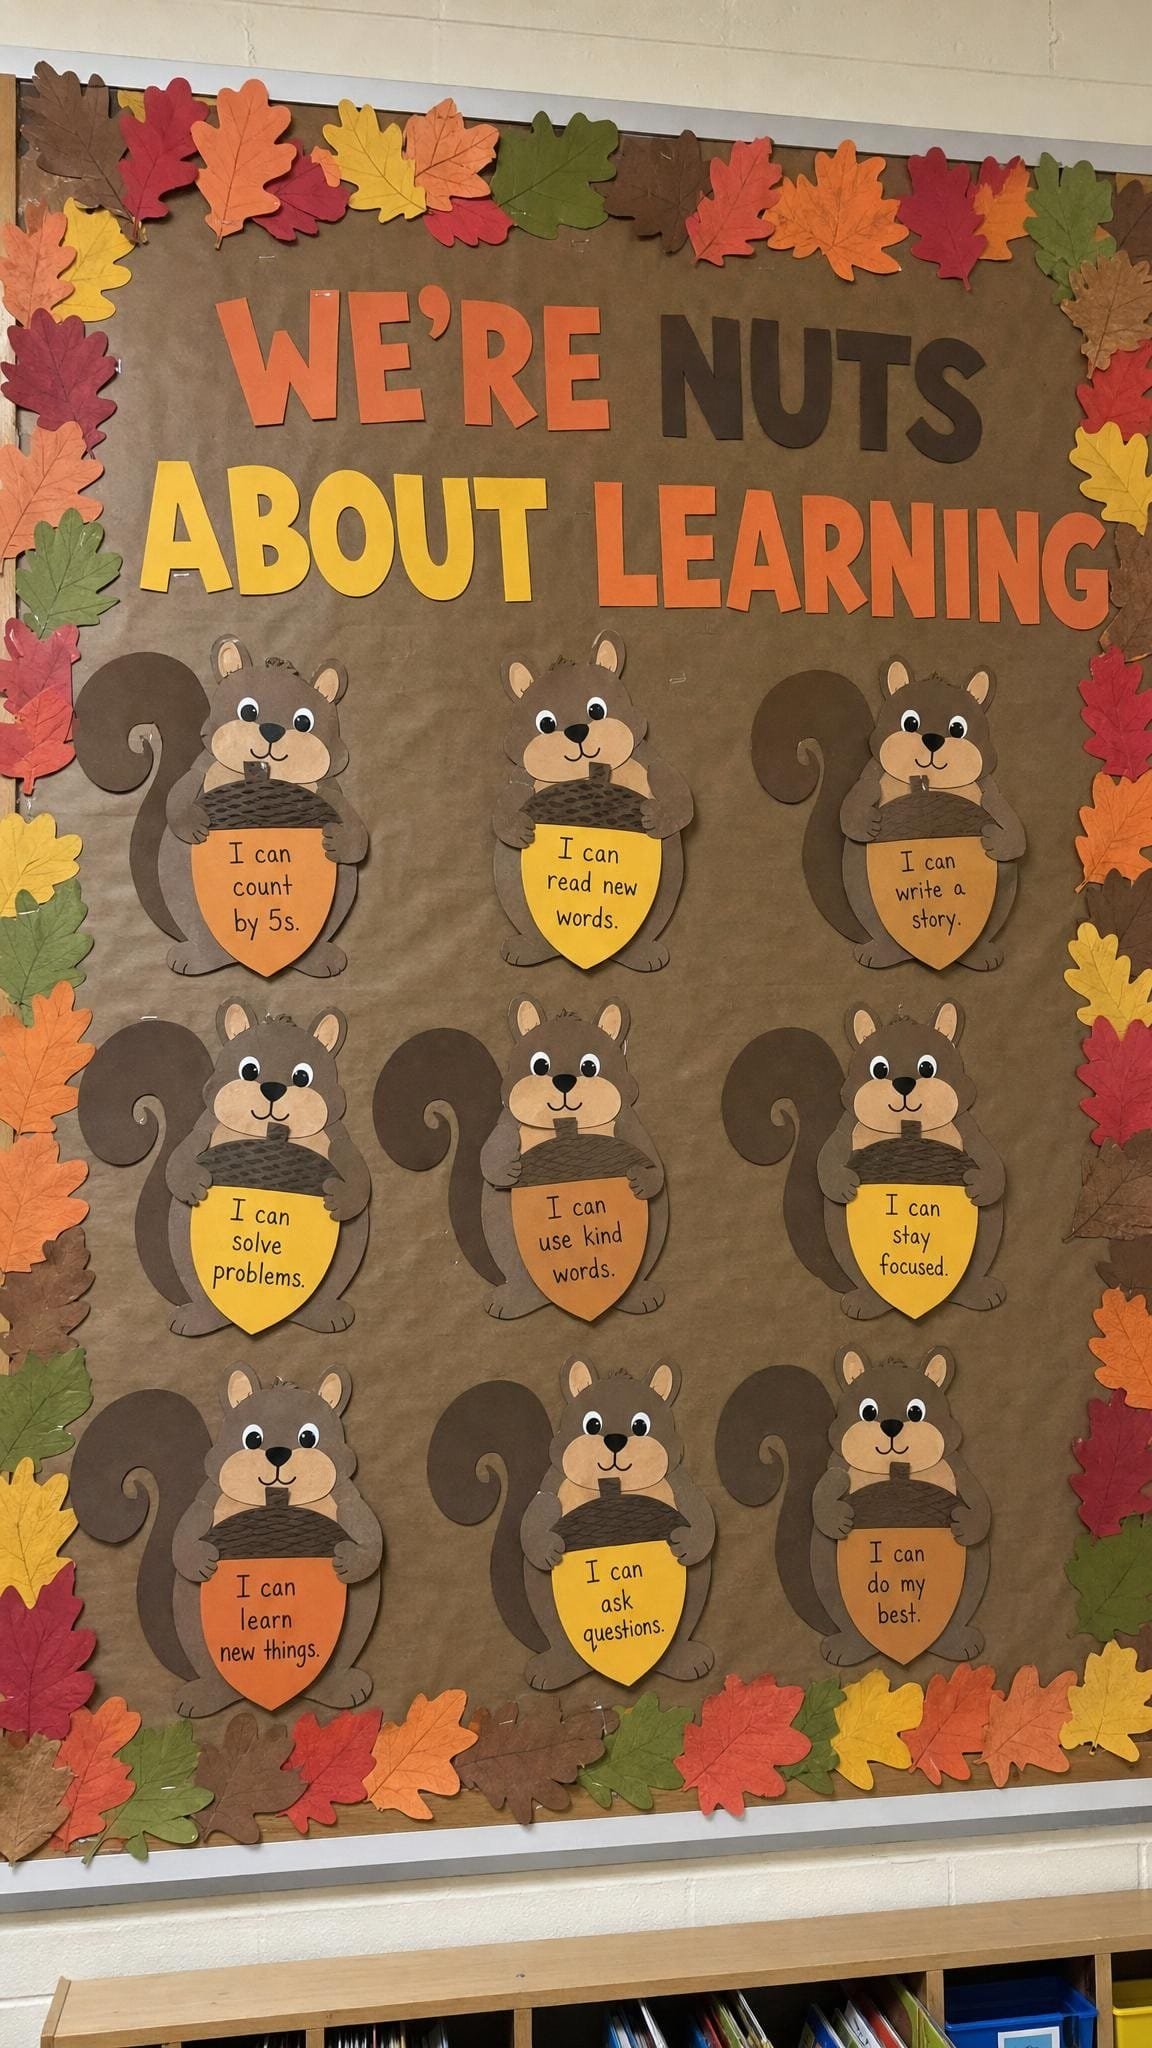
Each squirrel holds an acorn with one learning goal on it. It is a gentle way to put goal setting on the wall without a big chart.
What you need
- Brown butcher paper
- Brown, tan and orange construction paper
- Index cards for writing goals before they go on the acorns
How to put it up
- Talk through one small goal each, like counting by 5s or reading a new word list.
- Children write their goal on a paper acorn and decorate their squirrel.
- When a goal is met, add a little paper star to that acorn.
Teacher tip: Use a short sentence frame such as “I can…” so younger children can write their own goal.
Halloween party sorted
 Save
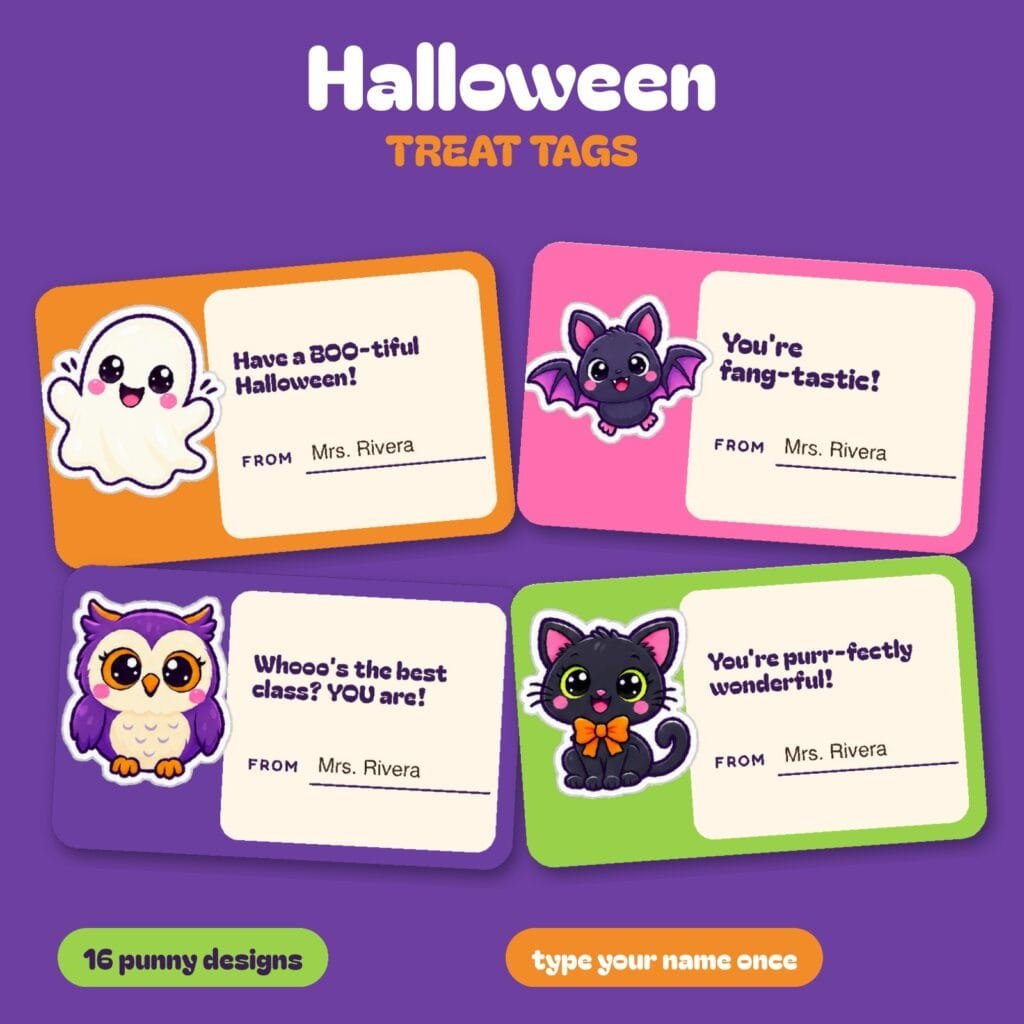
Handing out treats this month? The Spooktacular Halloween Treat Tags are printable tags in cute, not scary designs, ready to tie onto a treat bag for every child in the class. See the treat tags or grab the free Halloween treat tags.
5. Our Class Is Fab-BOO-lous
 Save
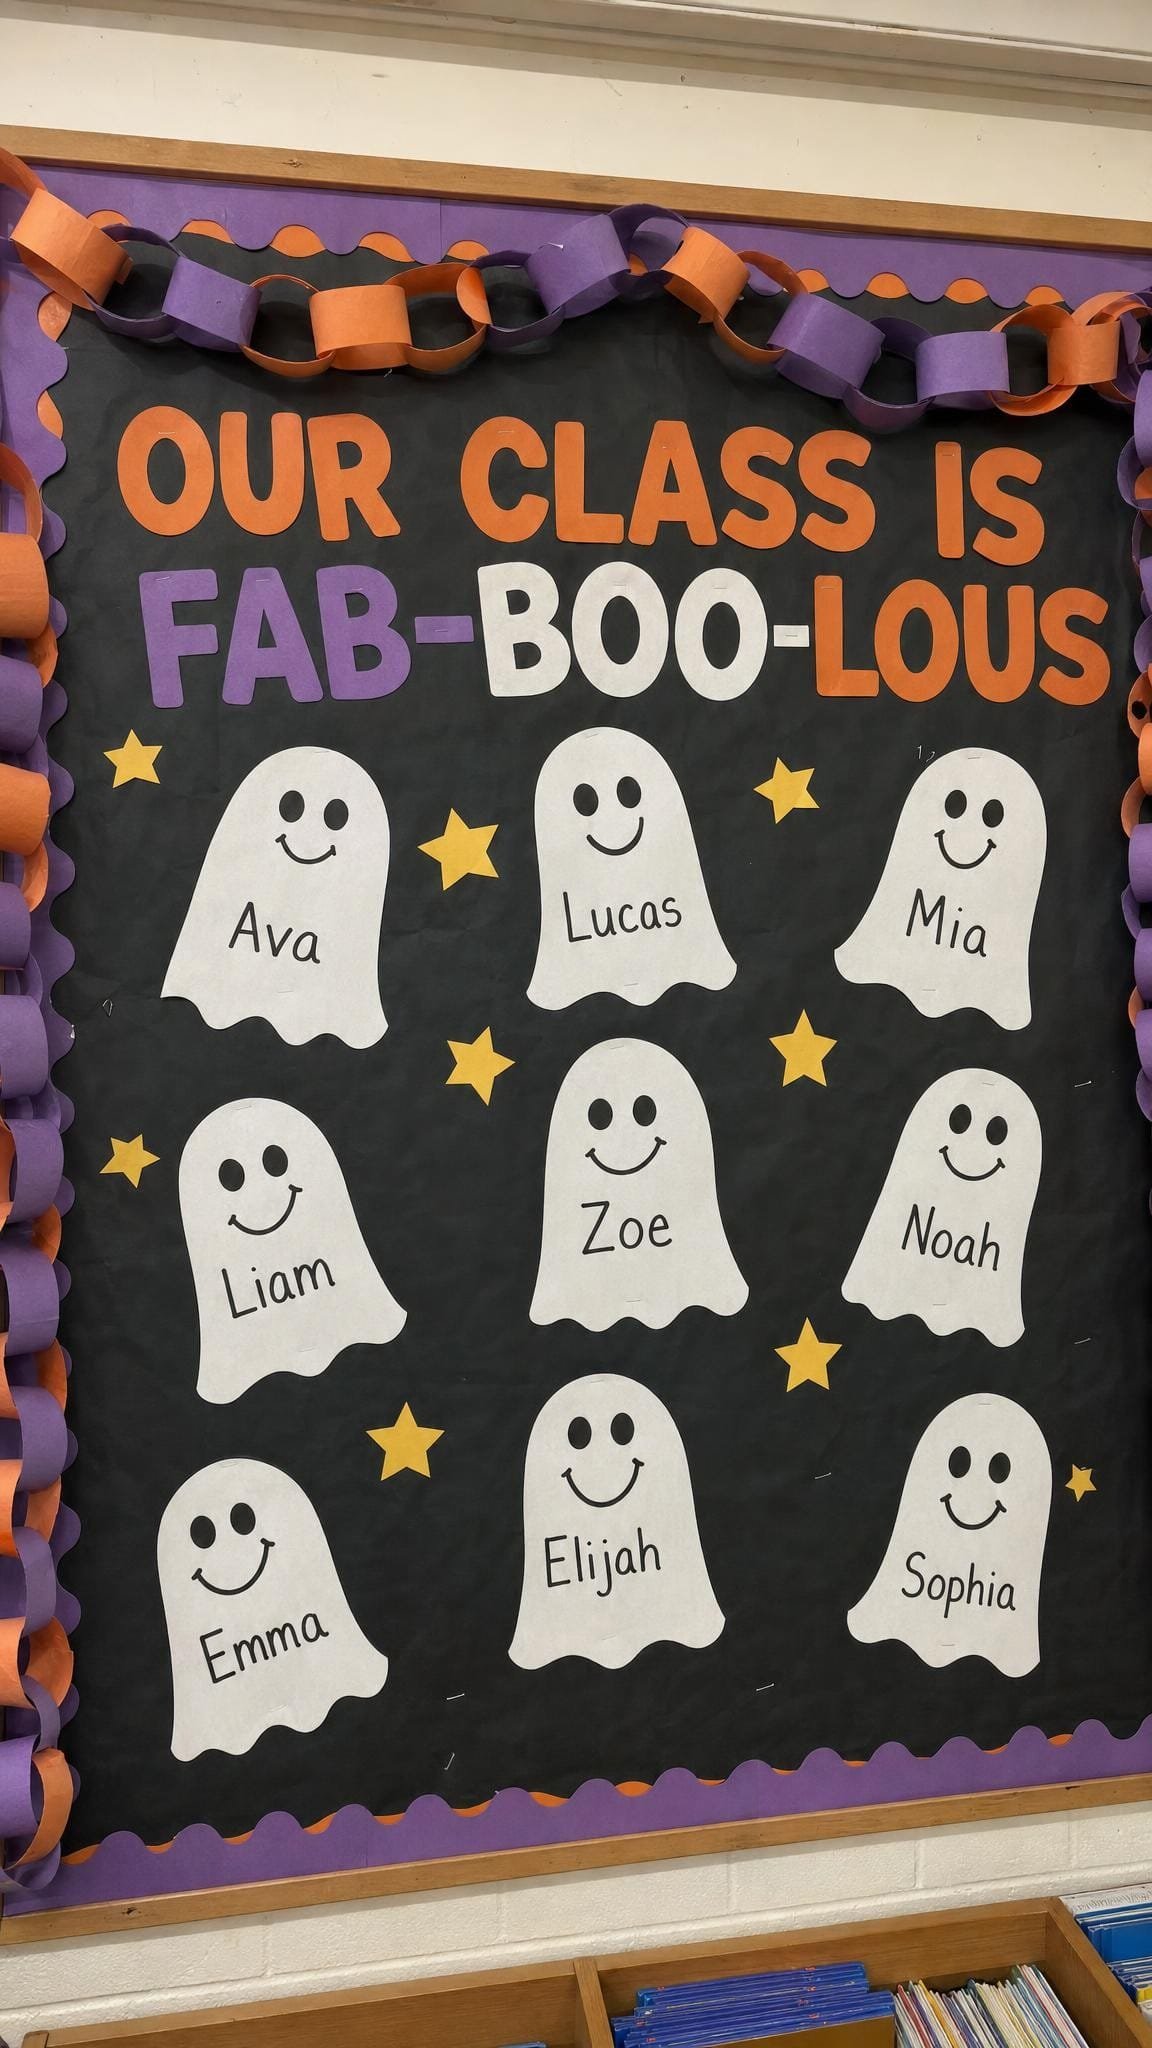
A friendly Halloween board that is cute rather than spooky. Each child gets a smiling ghost with their name on it.
What you need
- Black cardstock or paper
- White ghost cutouts or white paper
- Orange and purple construction paper for a paper chain border
How to put it up
- Hand out ghosts and let children draw a face and write their name.
- Make the paper chain border as a class, one link each.
- Stagger the ghosts at different heights so they look like they are floating.
Teacher tip: Keep it inclusive by calling it a fall friends board for any families who do not mark Halloween.
6. Whoo’s Ready for Fall?
 Save
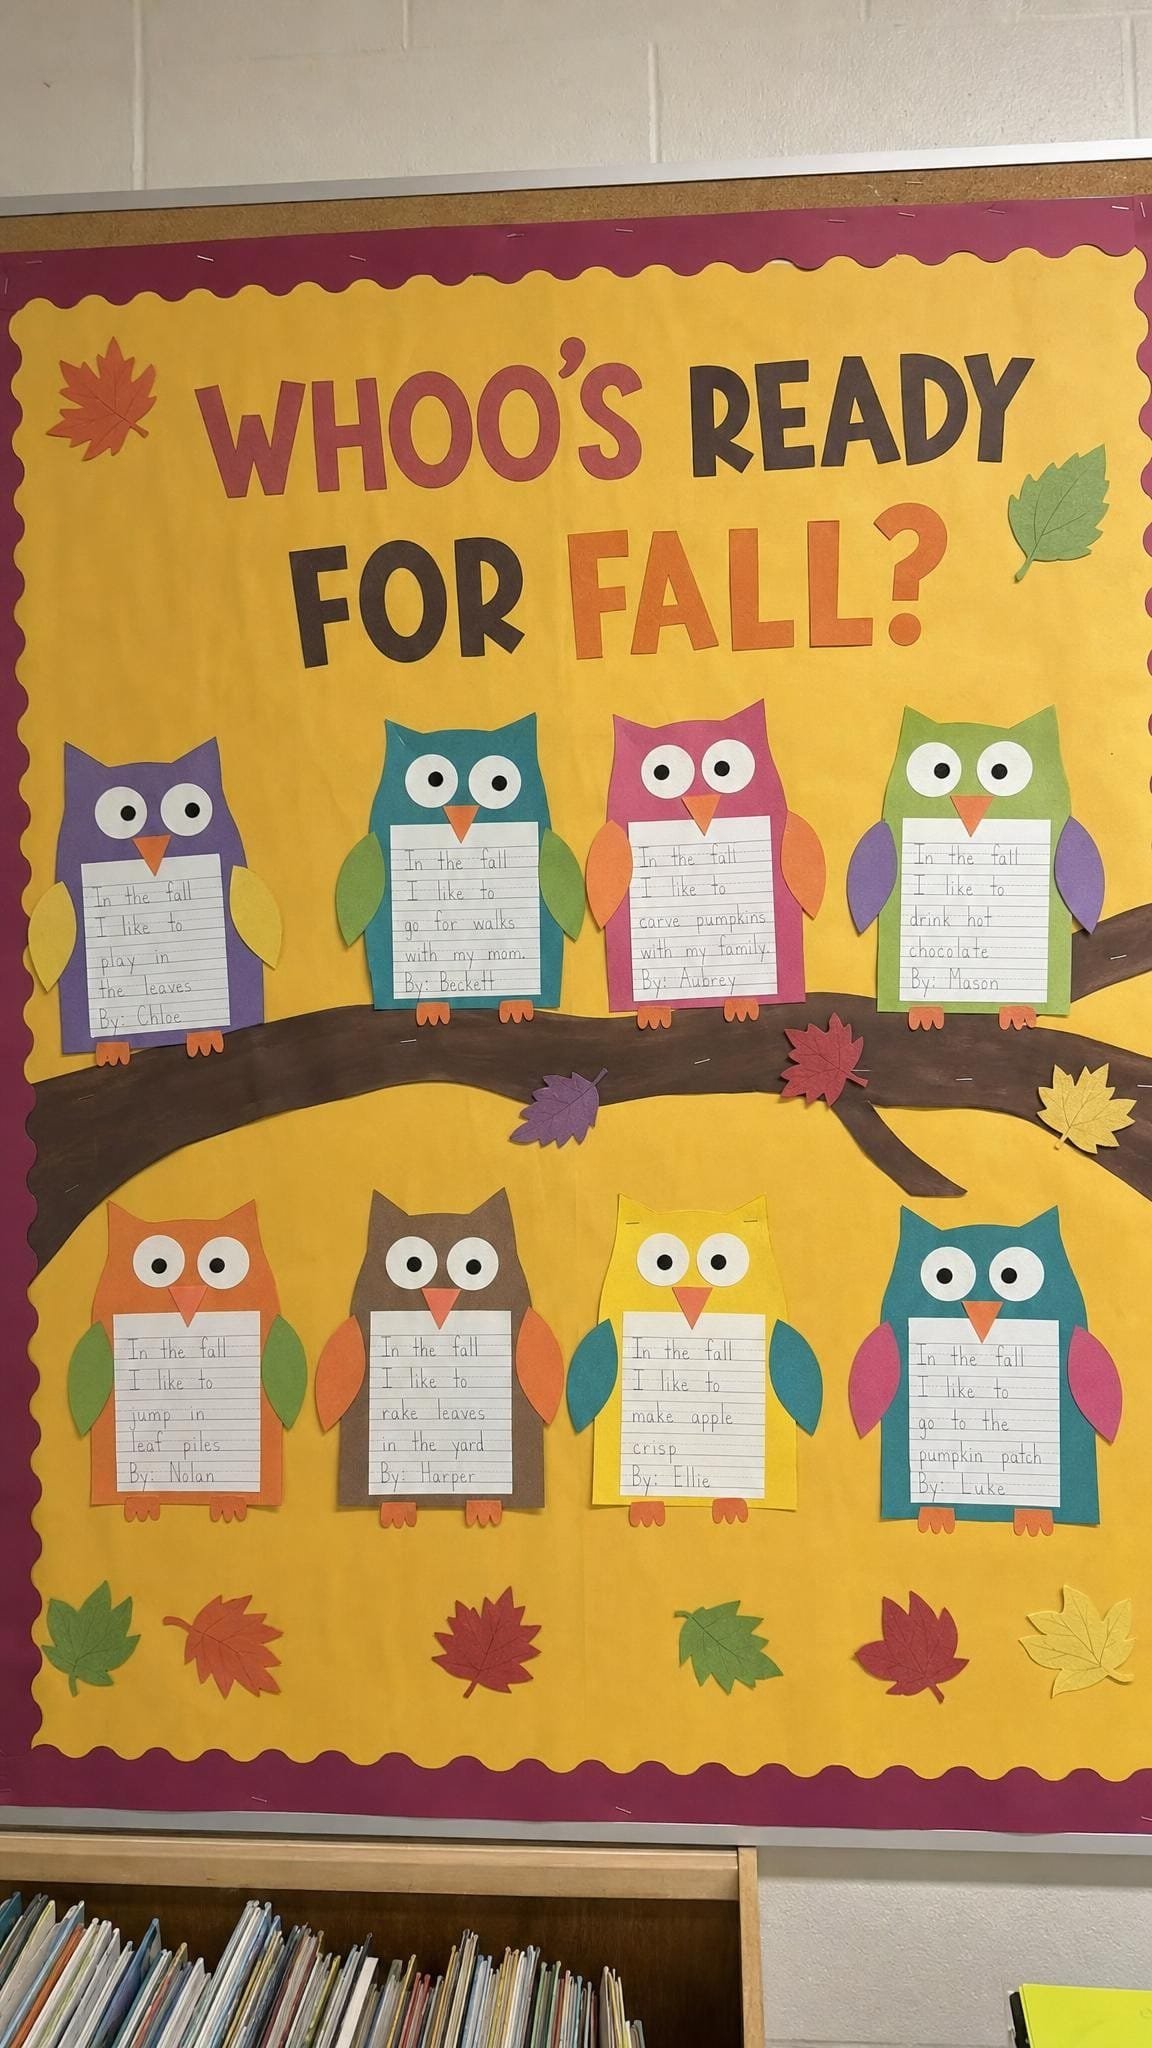
A writing display with personality. Paper owls sit along a branch, and each one holds a short piece of fall writing.
What you need
- Mustard or yellow butcher paper
- Brown construction paper for the branch and owls
- Leaf cutouts to scatter around
How to put it up
- Give children a simple prompt like “My favorite thing about fall is…”.
- Glue each finished piece of writing onto an owl’s wings.
- Run one long twisted branch across the board and perch the owls on it.
Teacher tip: Use googly eyes on the owls. Children love finding their own owl from across the room.
Fall cutouts that save hours


7. Dippin’ Into Fall
 Save
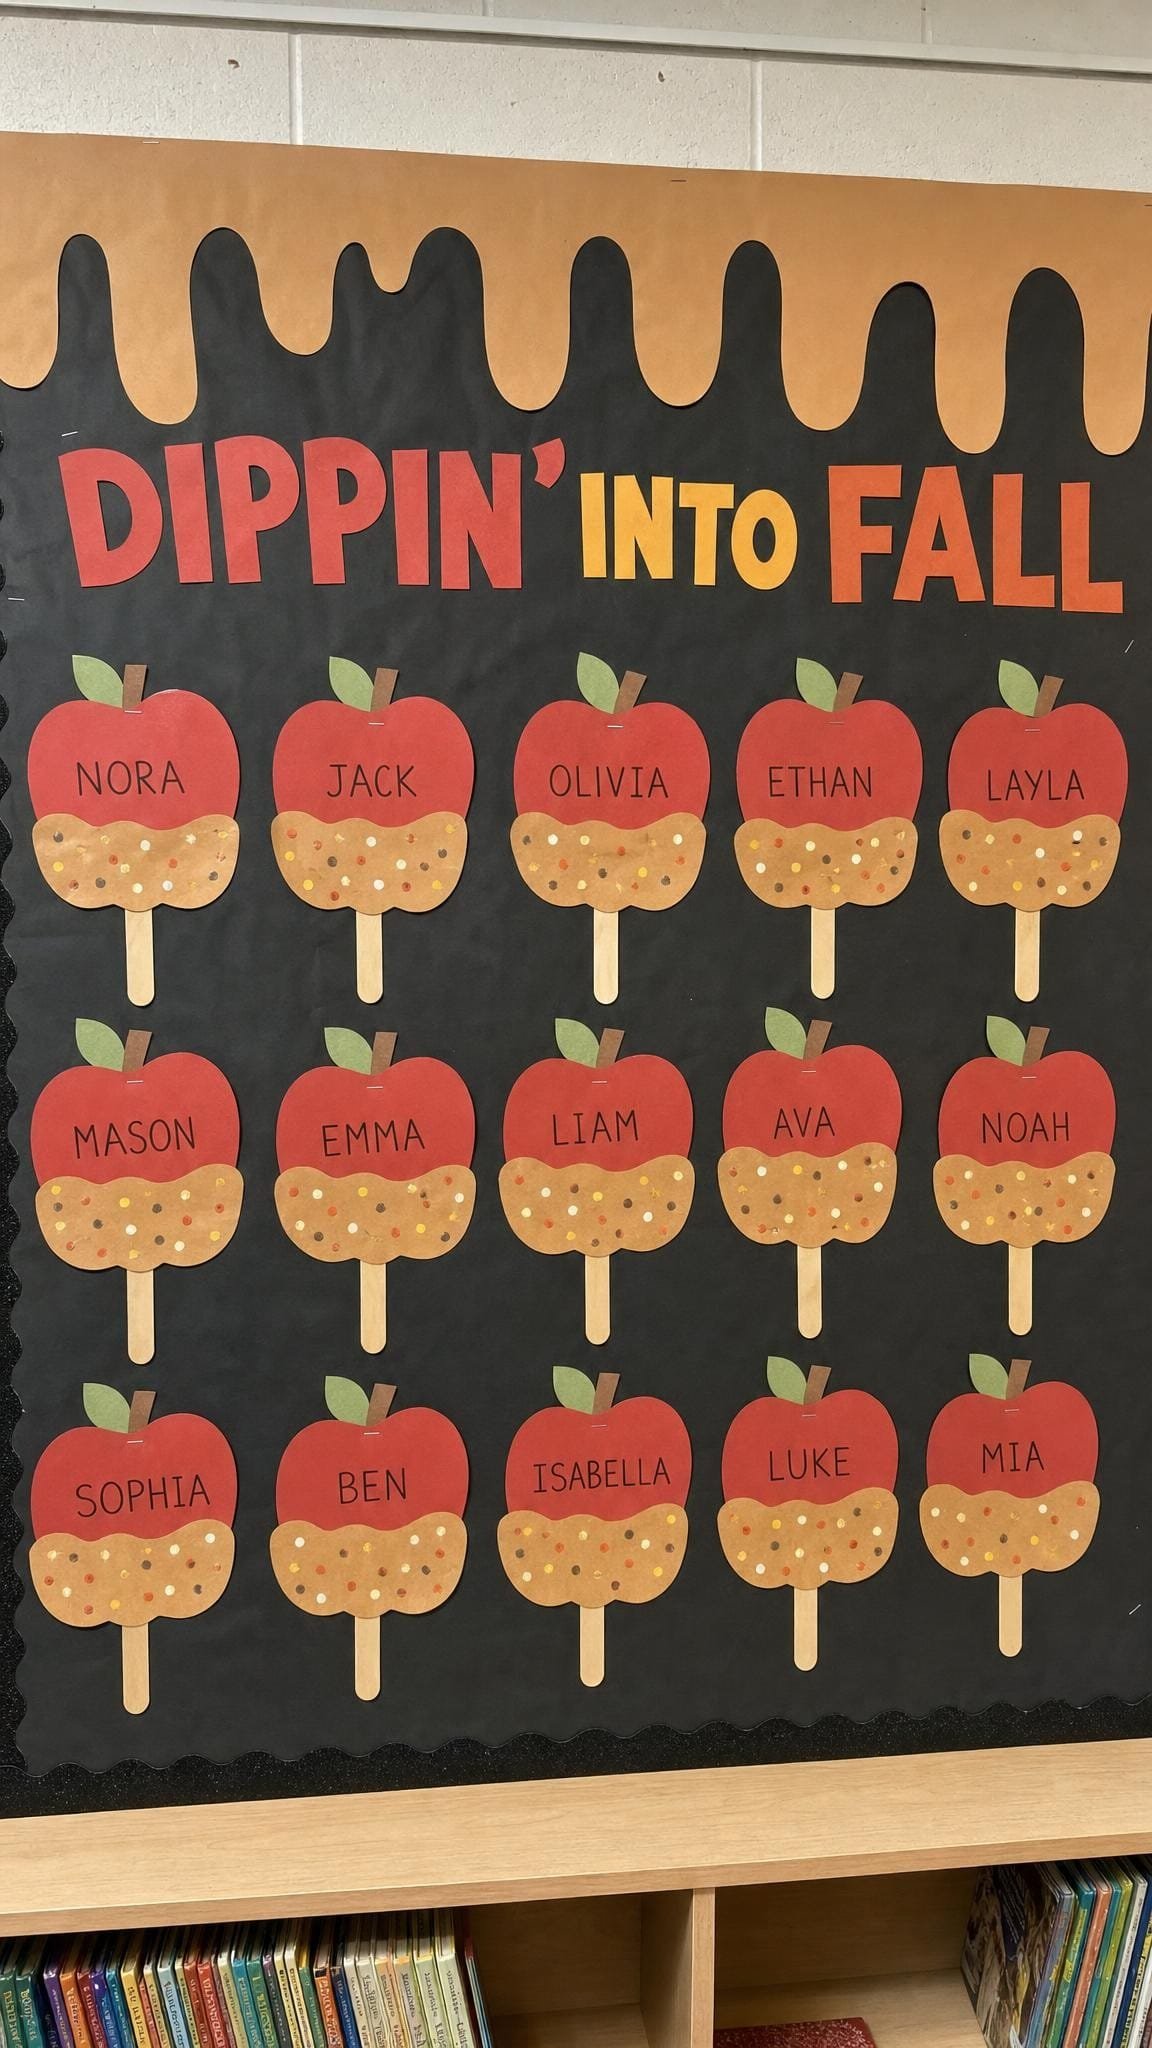
Caramel apples on craft sticks, one per child, under a dripping caramel border. It looks far harder to make than it is.
What you need
- Black cardstock or paper
- Red, green and tan construction paper
- Markers for names and sprinkles
How to put it up
- Cut a wavy “drip” border from tan paper and staple it across the top.
- Children cut an apple, add a caramel dip shape and a craft stick.
- Draw sprinkles with markers, add names, and line them up in rows.
Teacher tip: Use it as a goals board too: write one thing each child wants to get better at on the stick.
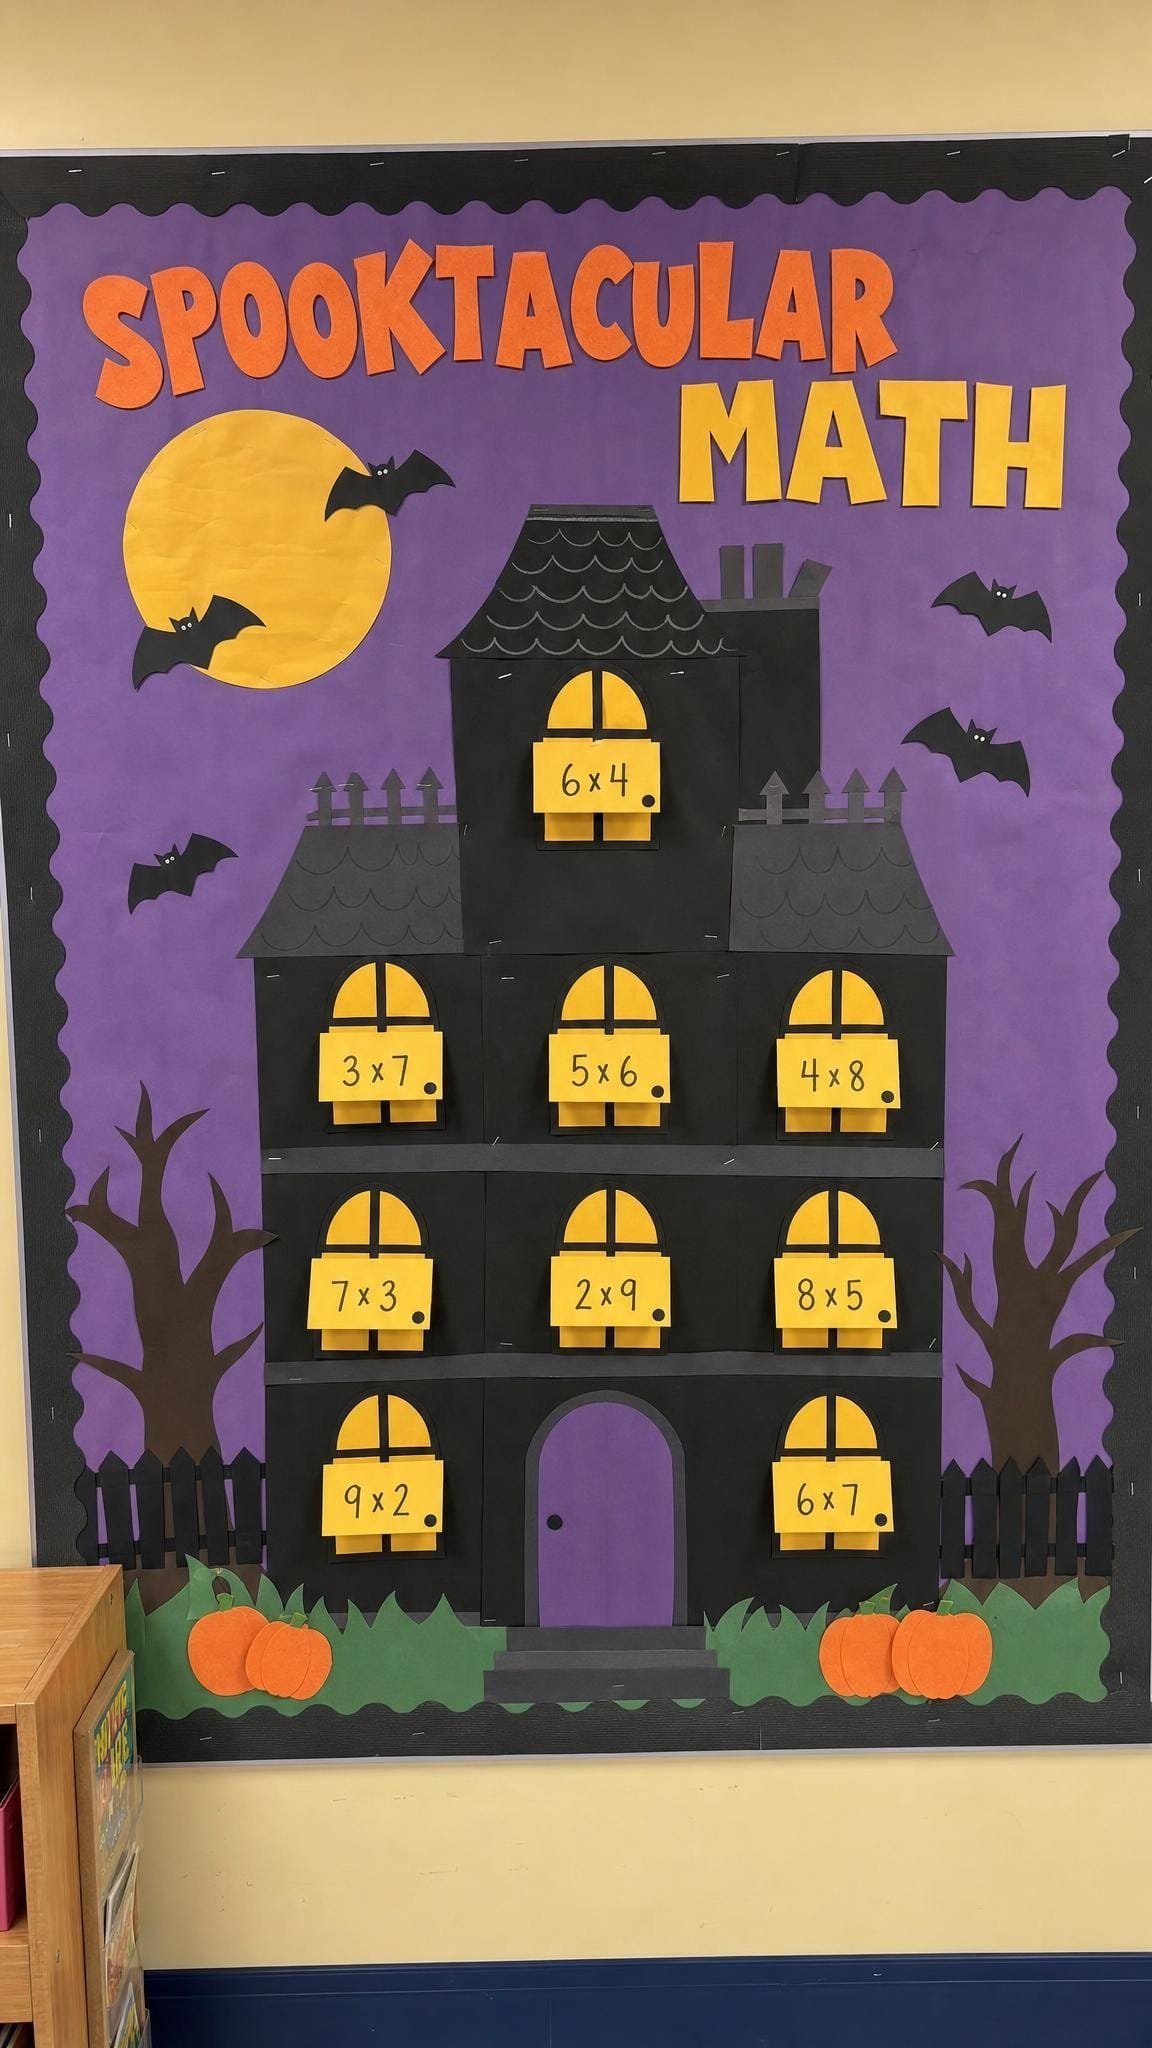
8. Spooktacular Math
 Save
An interactive math board. Each window on the haunted house lifts up to show a fact underneath, so children can quiz each other during transitions.
What you need
- Purple or navy butcher paper
- Black and gray construction paper for the house
- A laminator so the flaps survive a month of lifting
How to put it up
- Build a simple house shape with lots of square windows.
- Write a fact on the front of each flap and the answer underneath.
- Change the facts each week to match what your class is practicing.
Teacher tip: Pair it with a times table practice sheet so the board and the worksheet use the same facts.
Free for your class
 Save
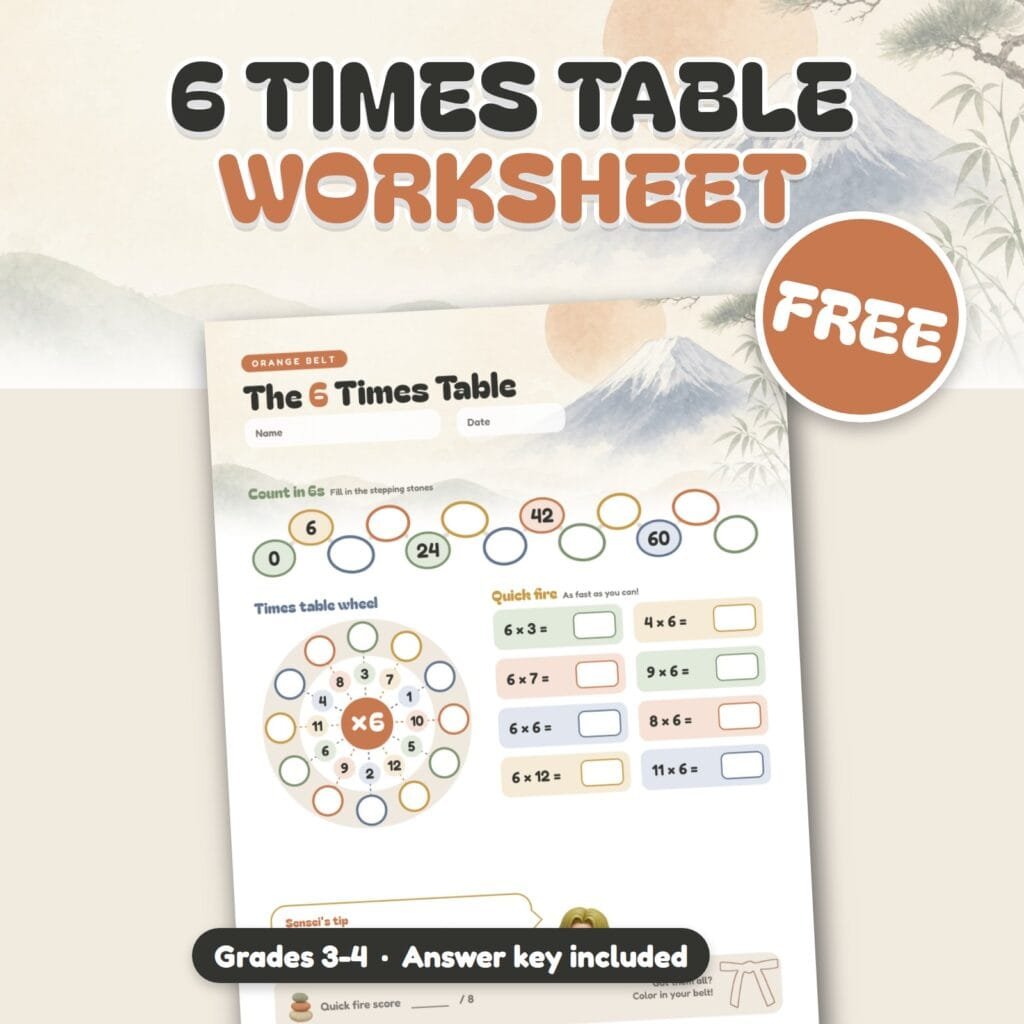
Like the Spooktacular Math board? Pair it with my free 6 Times Table Worksheet: counting in 6s on stepping stones, a times table wheel and quick fire facts, with an answer key. Get the free worksheet
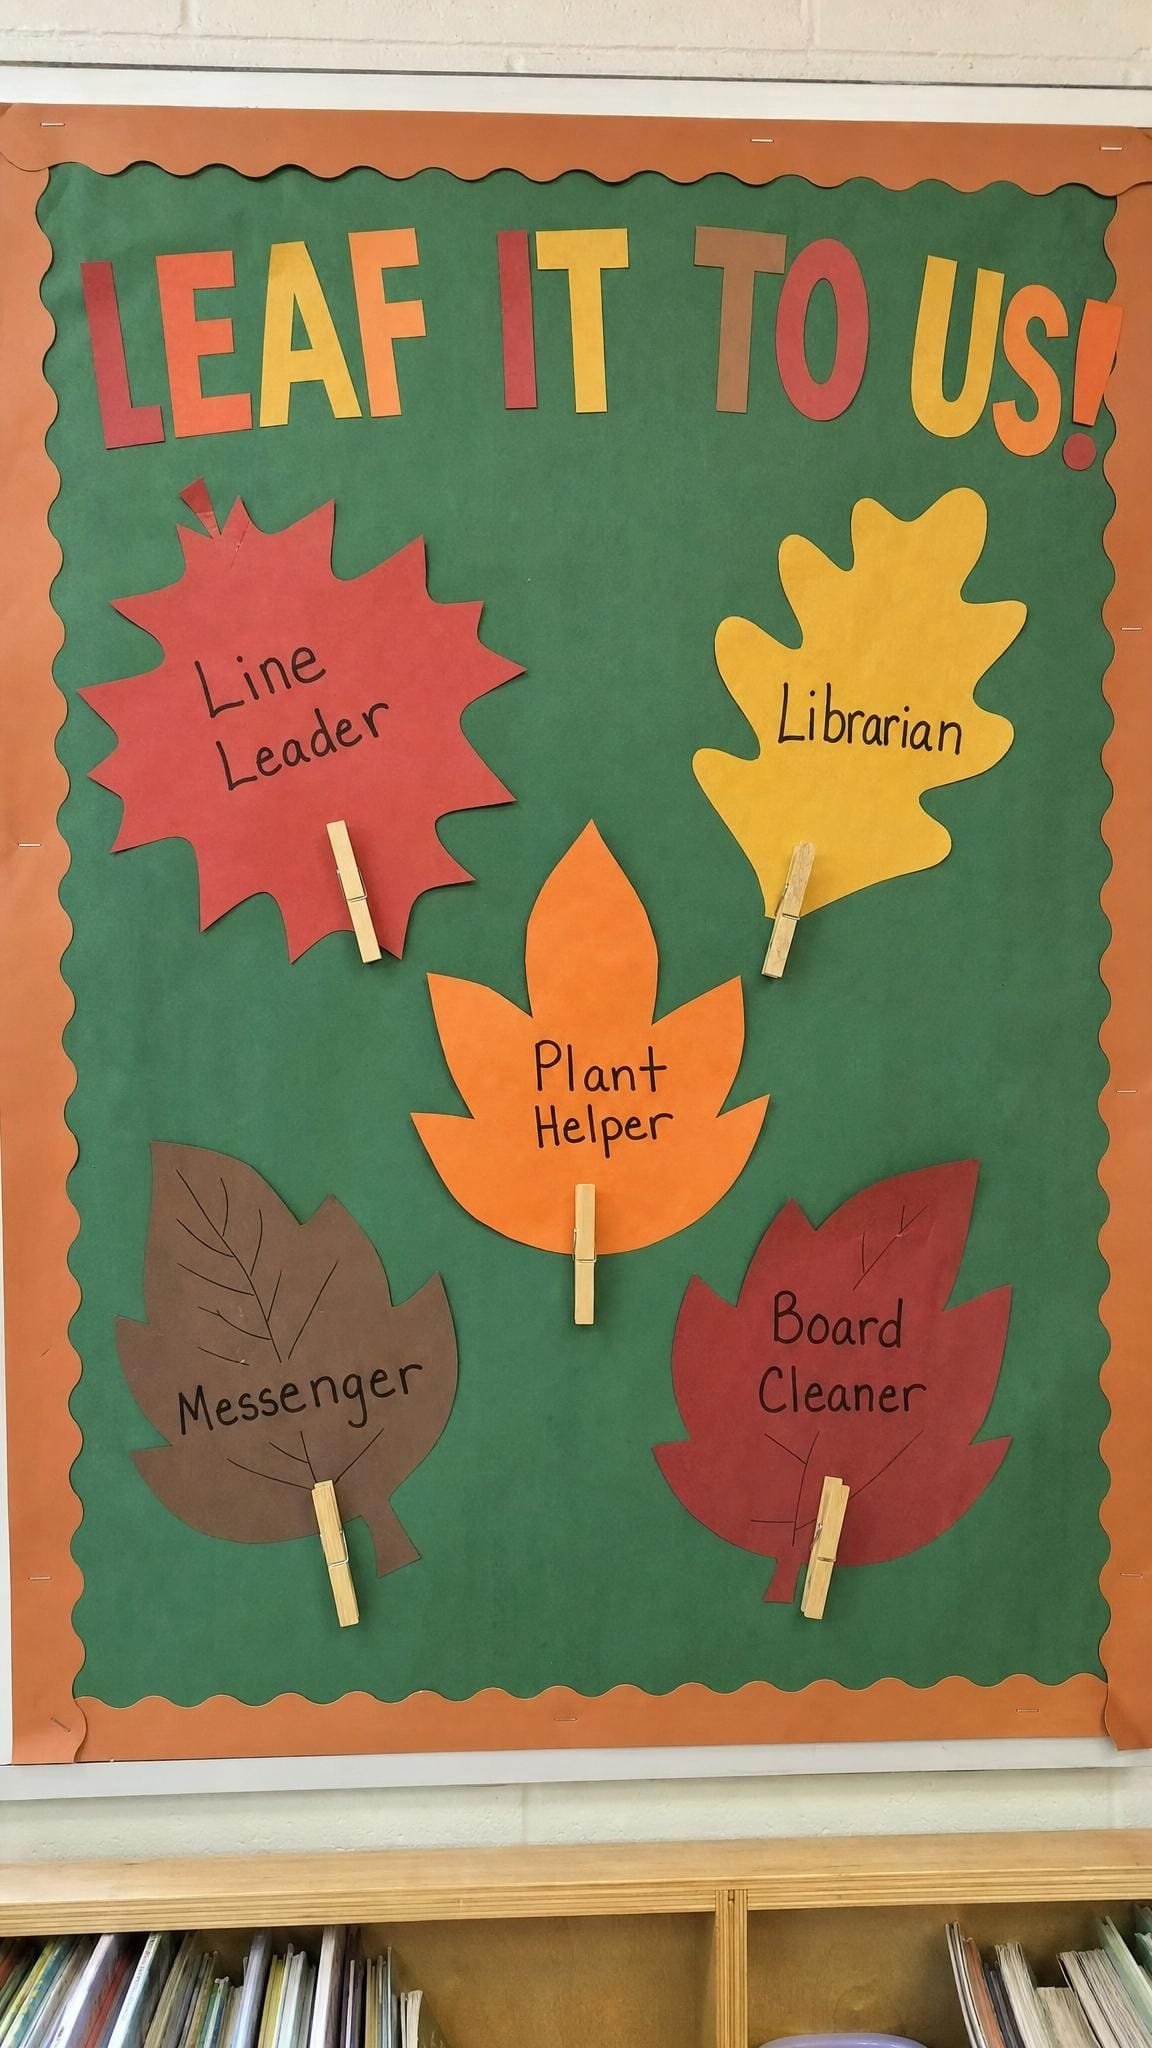
9. Leaf It to Us
 Save
A job chart that doubles as fall decor. Each leaf is a classroom job, and a clothespin with a child’s name clips under it.
What you need
- Green butcher paper
- Large leaf cutouts
- Markers for the job names
How to put it up
- Write one job on each leaf, like Line Leader, Librarian or Plant Helper.
- Write each child’s name on a wooden clothespin.
- Clip the pins under the leaves and rotate them every Monday.
Teacher tip: Laminate the leaves first so the jobs can be wiped and changed for the next season.
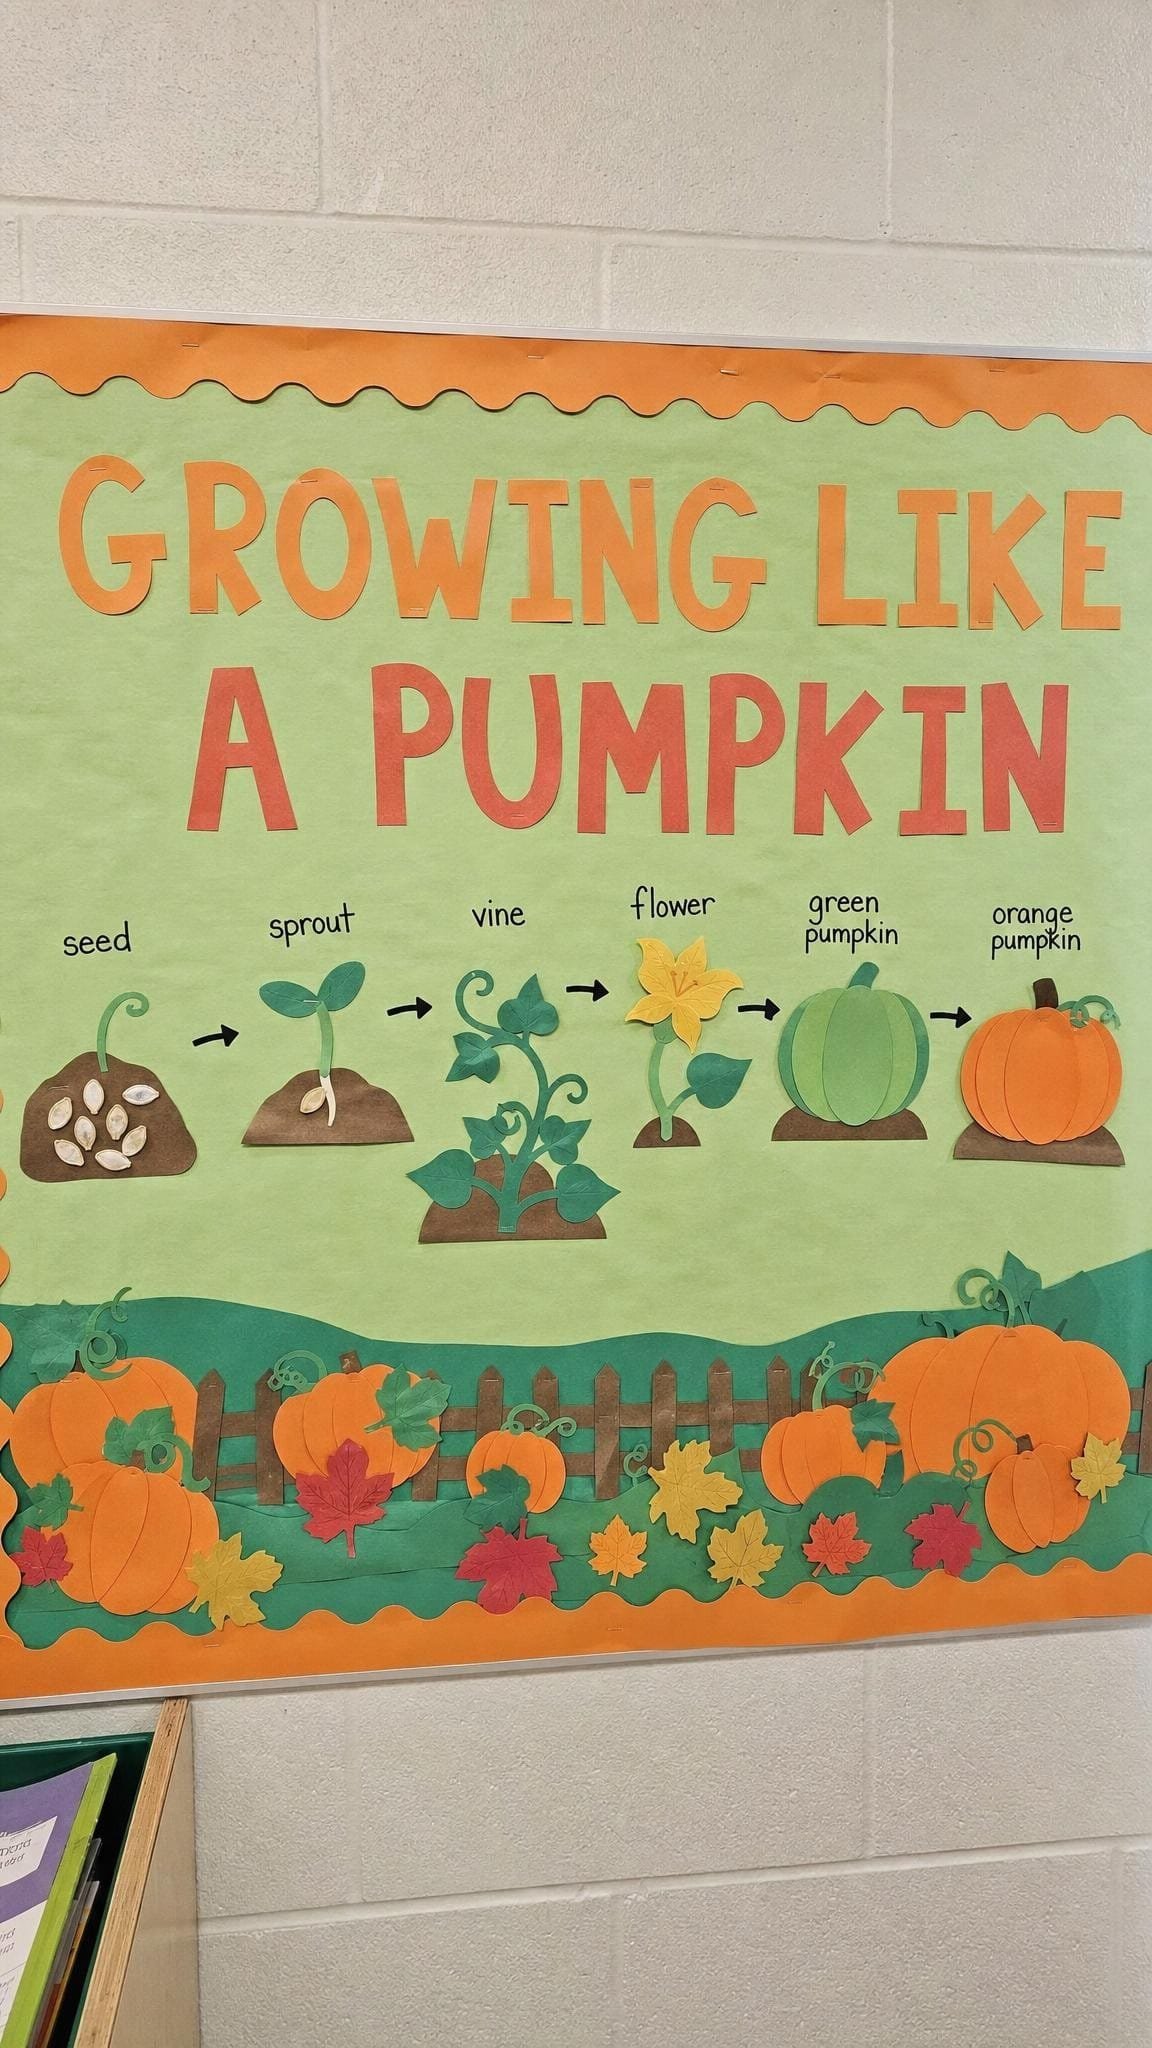
10. Growing Like a Pumpkin
 Save
A science board that teaches while it decorates. It shows the pumpkin life cycle from seed to orange pumpkin, with real seeds glued on.
What you need
- Light green butcher paper
- Orange, green and yellow construction paper
- Clear contact paper to hold the real seeds in place
How to put it up
- Make one paper picture for each stage: seed, sprout, vine, flower, green pumpkin, orange pumpkin.
- Arrange them in a curve with arrows between each stage.
- Glue real dried seeds onto the first stage and cover with contact paper.
Teacher tip: Children can add a sticky note fact under each stage after you read a pumpkin book together.
Letters for a punny headline


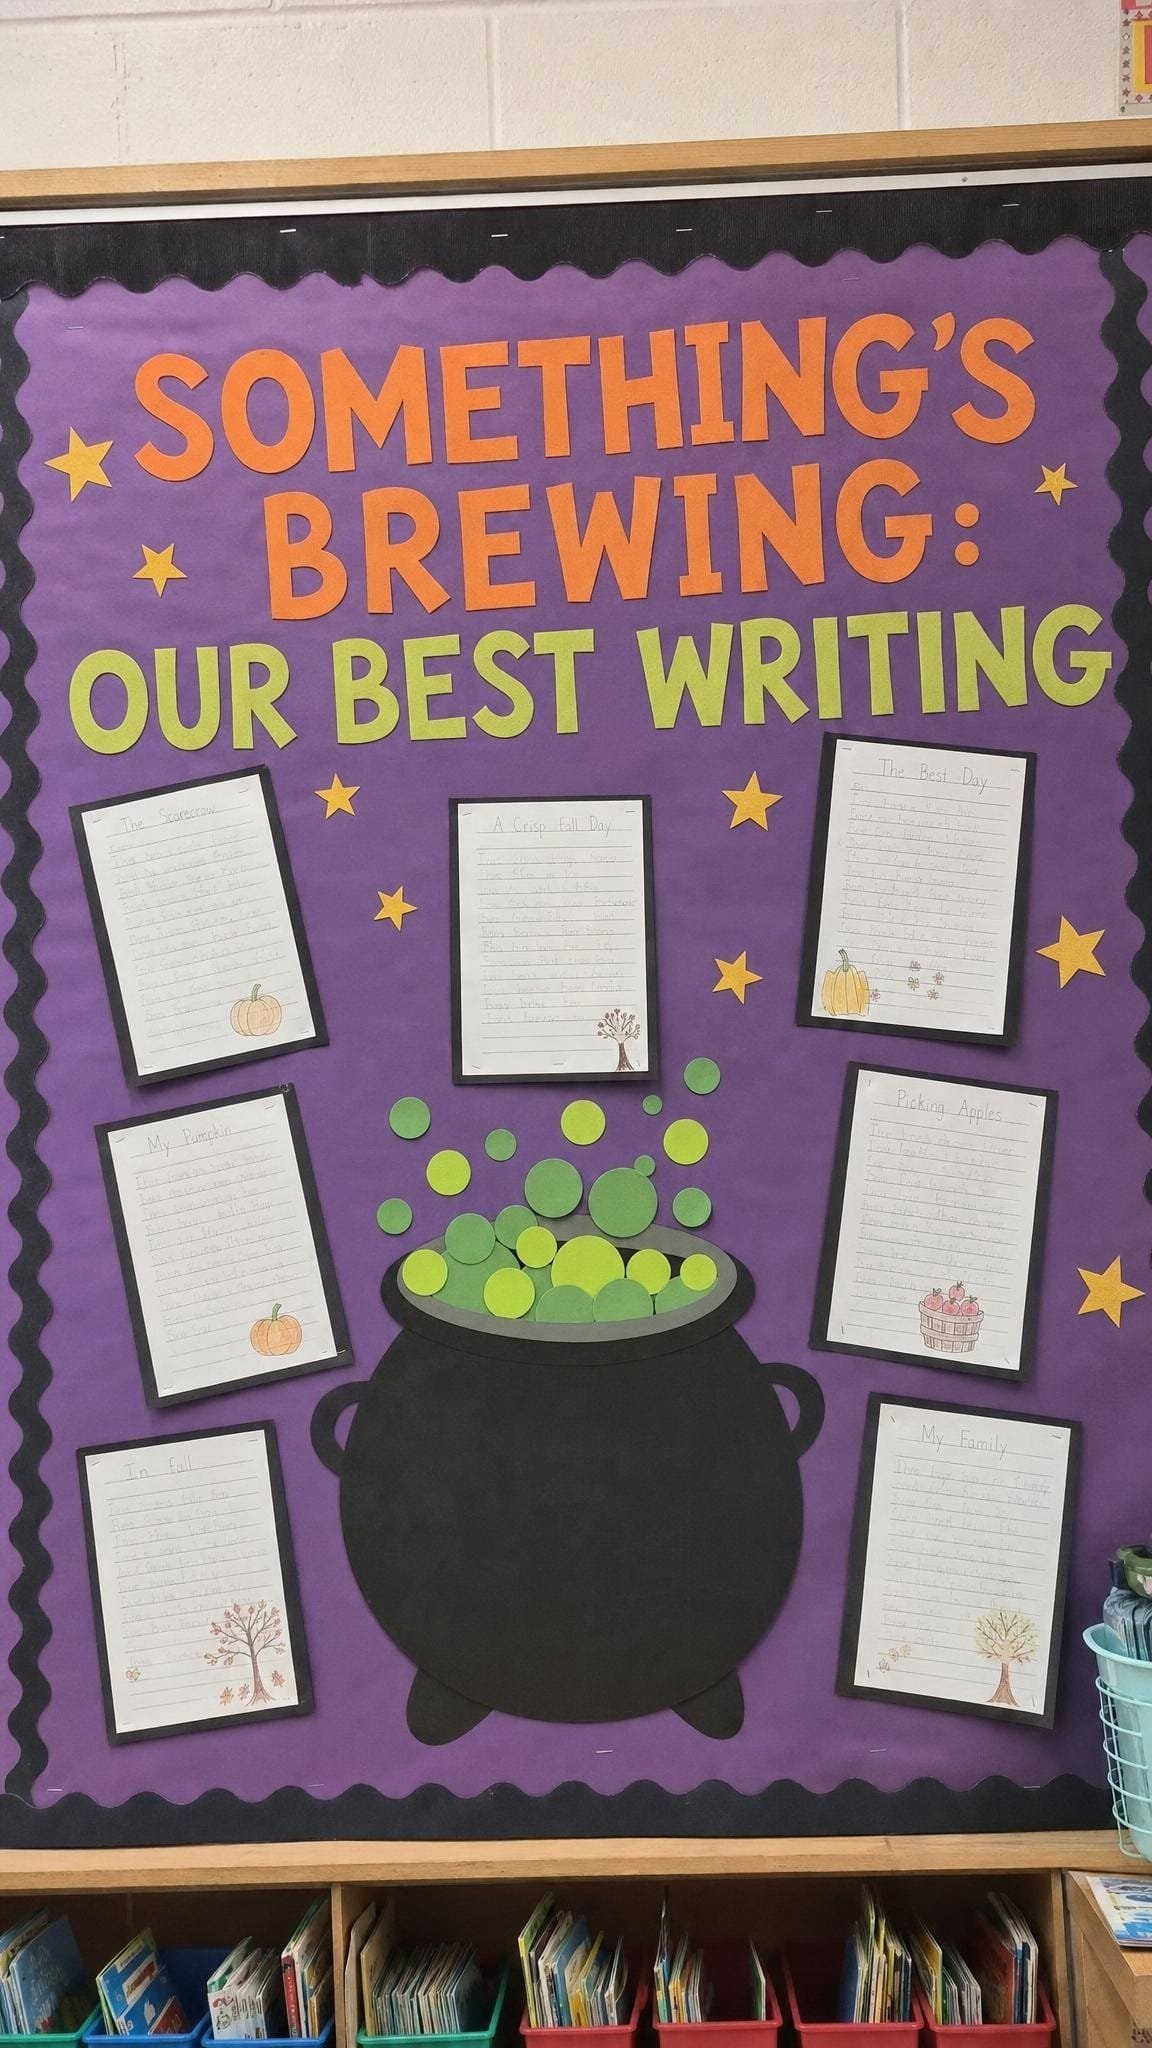
11. Something’s Brewing: Our Best Writing
 Save
A big paper cauldron with bubbles rising out of it, surrounded by the best writing from the month. A great home for spooky story week.
What you need
- Purple butcher paper
- Black cardstock for the cauldron
- Green tissue paper for puffy bubbles
How to put it up
- Cut one large cauldron and staple it along the bottom.
- Scrunch green tissue paper into bubbles rising from the top.
- Pin finished stories around the cauldron as children complete them.
Teacher tip: Let each child choose their own best piece to put up. They take far more care over it.
Next month, sorted
 Save
Planning November already? The Thankful Turkeys Door Kit gives you a giant turkey poster the whole class colors, plus feathers for writing what they are thankful for. Your November door is done in an afternoon. See the kit
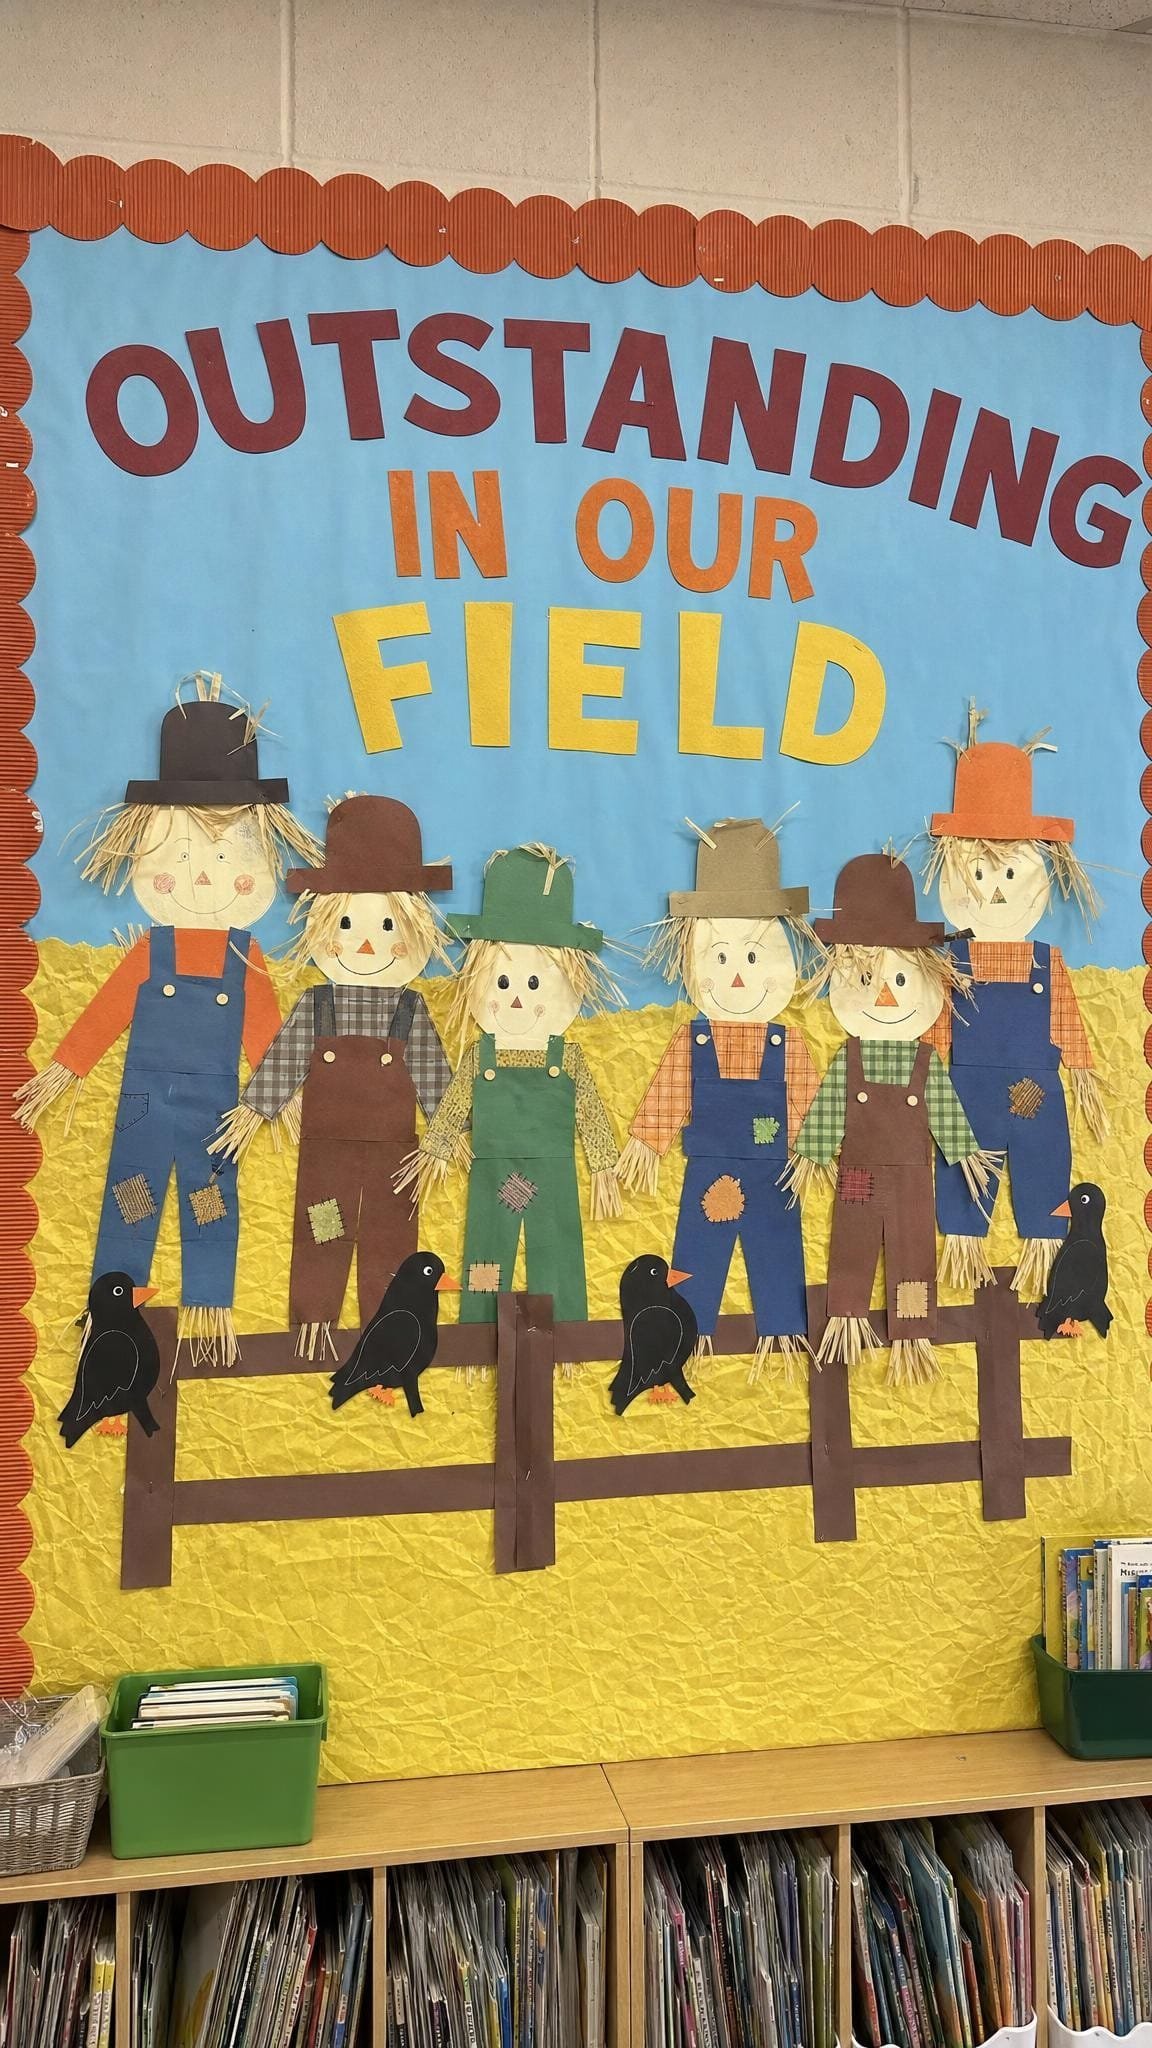
12. Outstanding in Our Field
 Save
Scarecrow self portraits with straw hair, standing in a paper hay field. The pun lands with adults and the scarecrows land with children.
What you need
- Blue and yellow butcher paper
- Patterned and plain construction paper for clothes
- Raffia or yellow tissue paper for the straw hair
How to put it up
- Split the board: sky on top, hay field on the bottom half.
- Children make a scarecrow with their own face, patched clothes and a hat.
- Glue on raffia hair and stand the scarecrows in a row along the field.
Teacher tip: Add a little speech bubble to each scarecrow with something they are proud of this term.
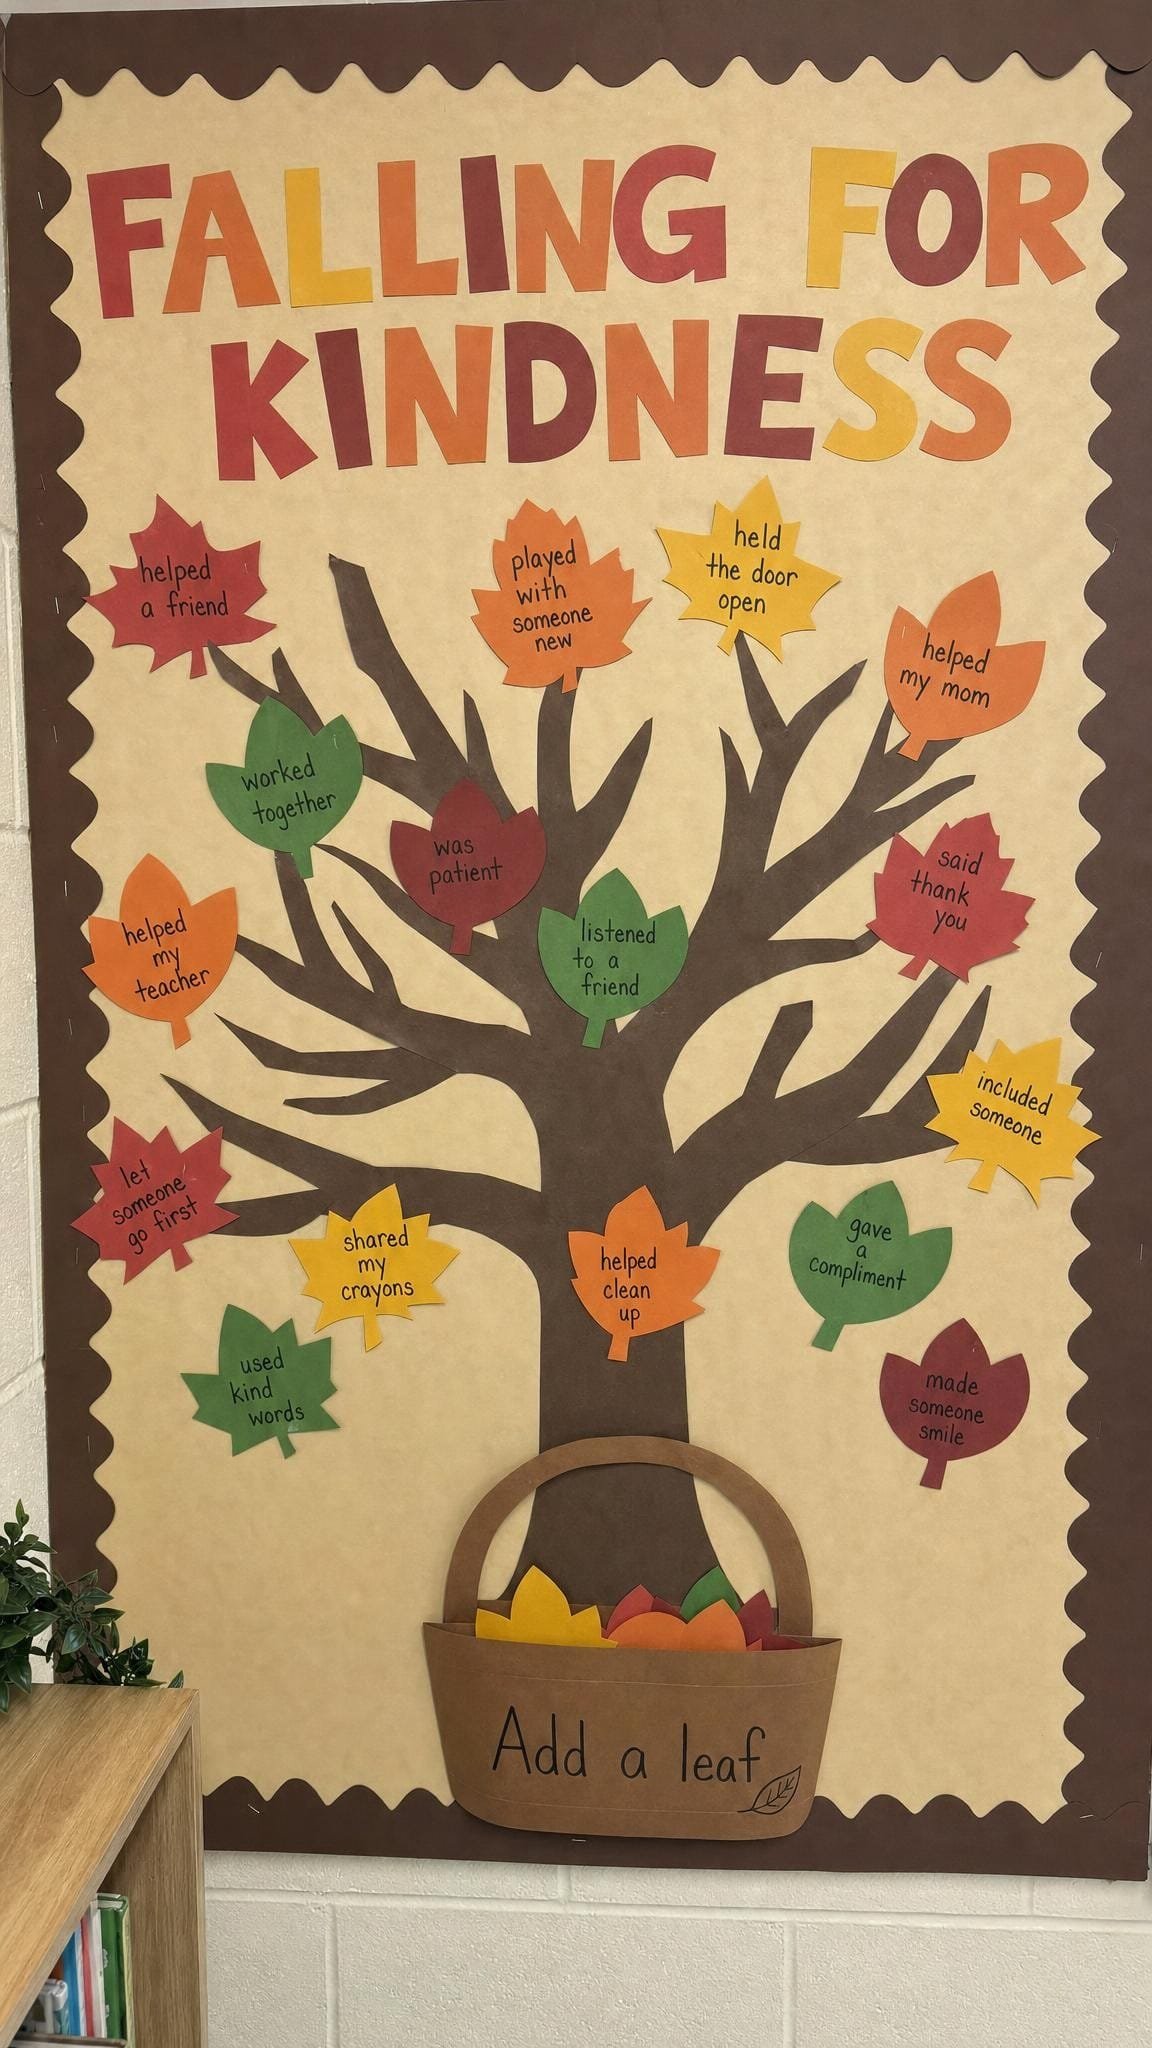
13. Falling for Kindness
 Save
A kindness tree that grows all month. When a child spots someone being kind, they write it on a leaf and add it to the tree.
What you need
- Cream or white butcher paper
- Autumn colored leaf cutouts
- Adhesive putty for quick adding
How to put it up
- Build a simple tree trunk and branches.
- Staple a paper basket pocket at the bottom filled with blank leaves.
- Read out the new leaves on Friday afternoons before adding them.
Teacher tip: This one carries on beautifully into November as a thankful tree.
New from Shinku Studio
 Save
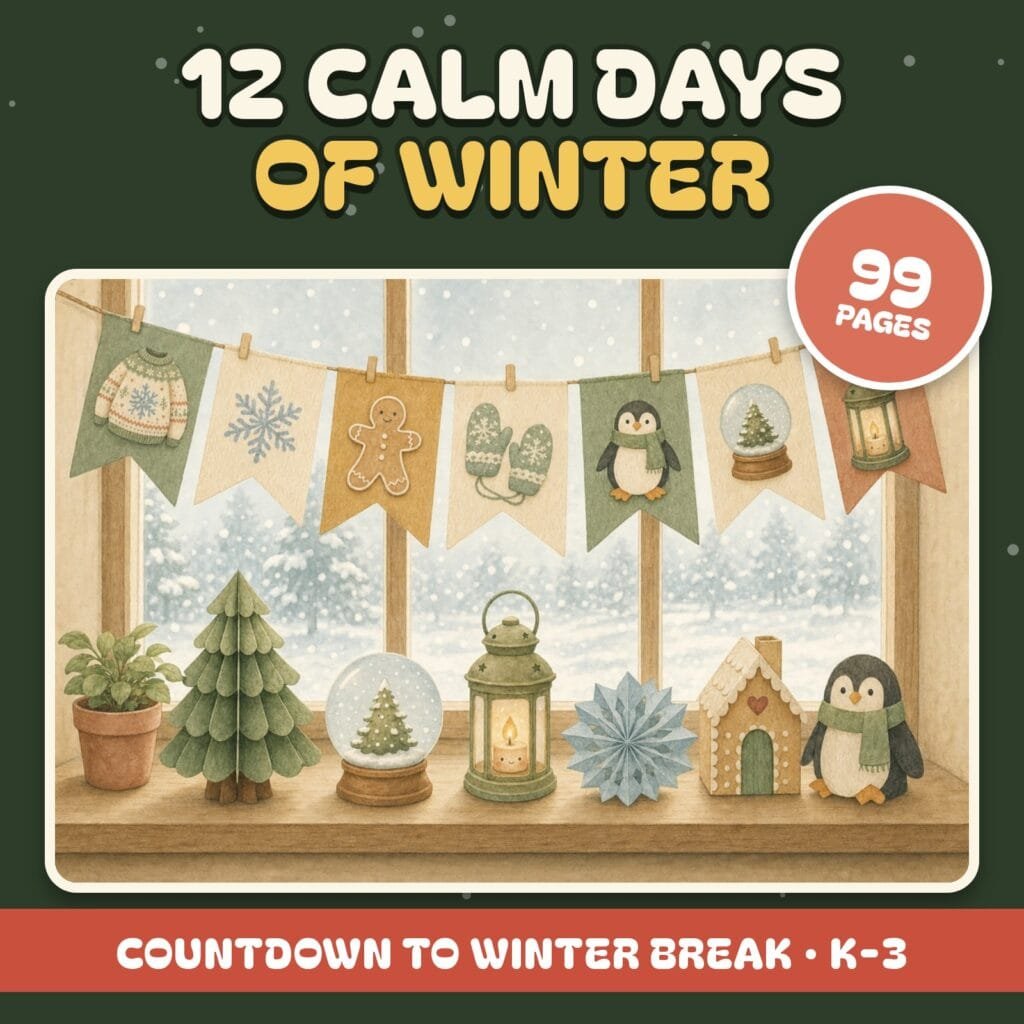
Thinking ahead to December? 12 Calm Days of Winter is a countdown to winter break with a two minute calm moment, a simple paper craft and a little writing each day. It is 30% off until October 12. See 12 Calm Days
October bulletin board FAQs
When should I put up an October bulletin board?
The last week of September or the first Monday of October gives you a full month. Boards like the kindness tree and the name pumpkins can stay up into November with a quick headline swap.
What is the easiest October bulletin board?
The Cutest Pumpkins in the Patch. Every child decorates one paper pumpkin with their name, and you only need black paper, orange and green construction paper and a few curly vines.
How do I do an October board without Halloween?
Lean on fall instead. Leaves, pumpkins, owls, scarecrows and caramel apples work for every family, and the Fab-BOO-lous ghosts can easily become a fall friends board.
What if my classroom walls will not take pins?
Use self adhesive felt boards or adhesive putty instead. Both hold paper displays for a month and peel off without marking the paint.
Pick one board, give it a pun the children will repeat in the hallway, and let them do most of the making. That is what makes an October board feel like theirs.