
Some links in this post are affiliate links. If you buy through one, I may earn a small commission at no extra cost to you. As an Amazon Associate I earn from qualifying purchases.
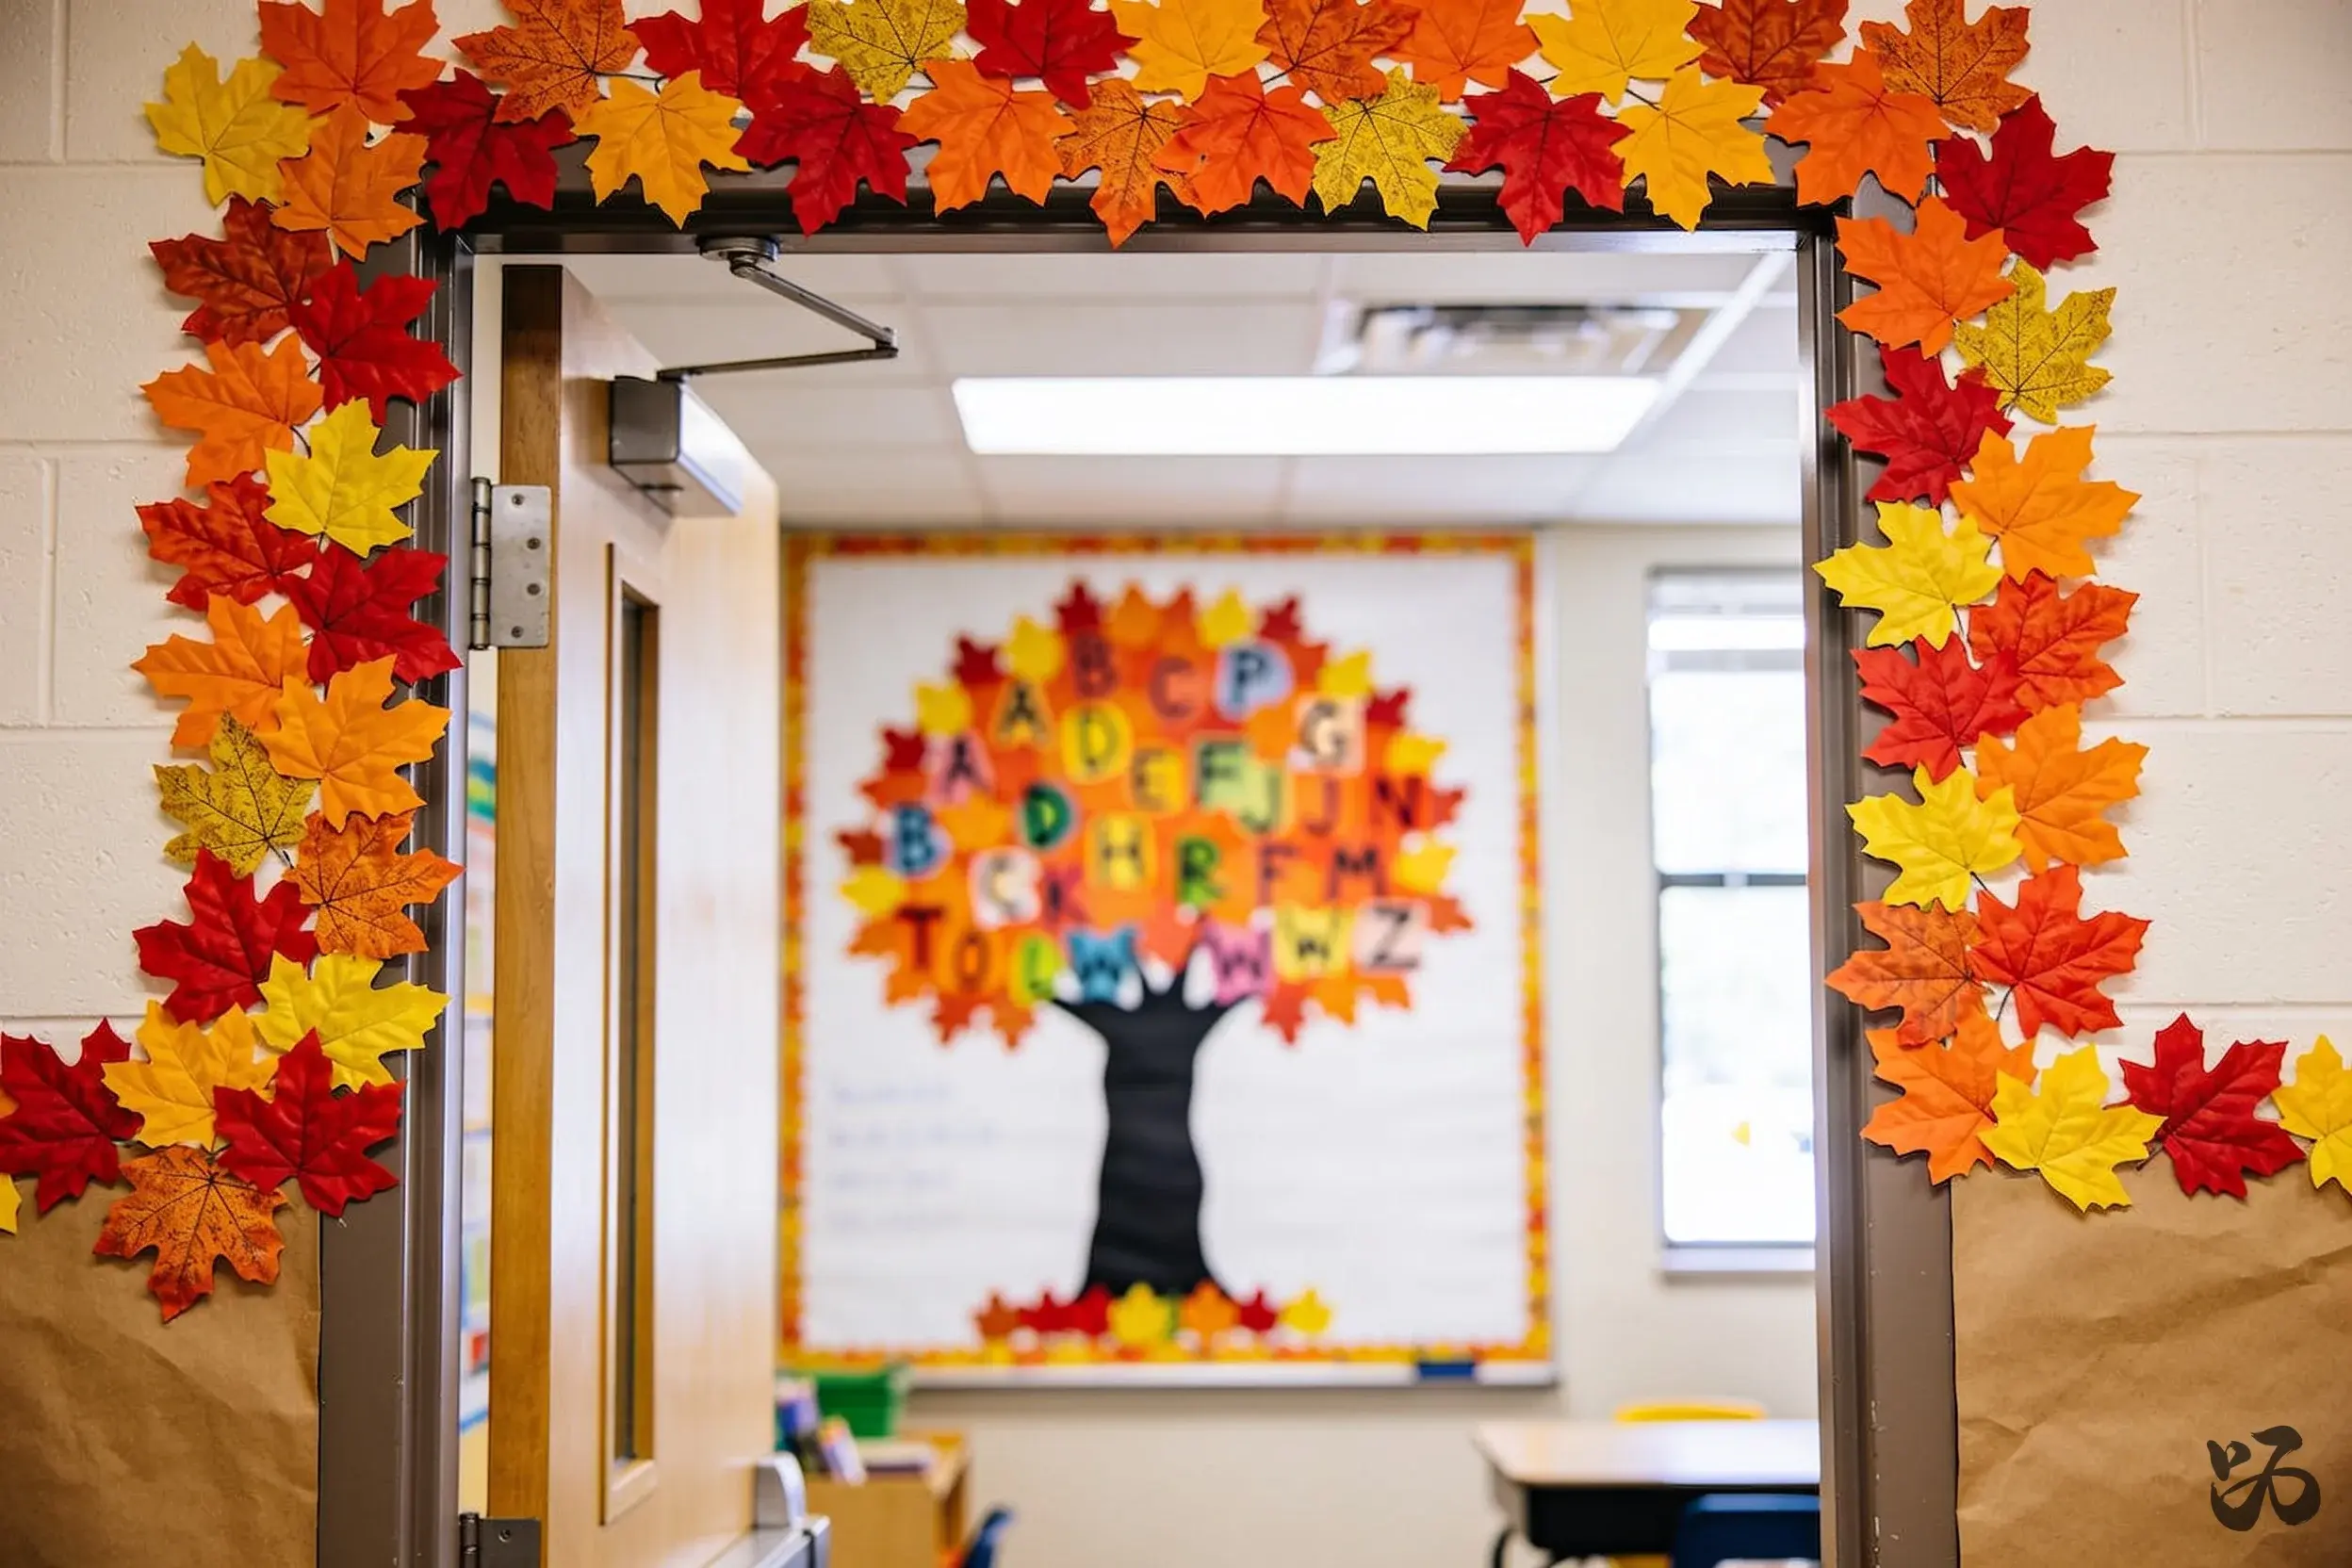
These ideas keep fall fun practical for a busy K–2 classroom. Each approach is designed to work with common school limits, from door fire codes to cinder block walls. Use them in prep periods, during Open House prep, or with a quick after-school run to the dollar store.
A note on the costs in this post: these are what the materials work out at when you buy ordinary classroom and craft supplies in the usual multipacks, not current prices at any particular retailer. Prices move around, so treat the figures as a guide to how cheap each idea is rather than a quote.
Four things worth having on hand
Almost every idea below leans on one of these four. If you are starting from a bare room it is worth getting them in first, because nothing here takes long once you have them.
- Battery powered fairy lights with a remote Thin silver wire that disappears against paper, so what the room sees is glow rather than cable. Battery packs mean the display can go anywhere, not just near a socket.
- Plug in string lights for a longer run For the window or the back wall where there is an outlet and you want more light than battery wire gives. Eight modes, including a slow fade calm enough to leave on during lessons.
- A warm neon sign for the corner One soft focal point that stays up long after the paper comes down. USB powered with adjustable brightness so it is not glaring mid lesson.
- Self adhesive felt boards for walls that will not take pins They stick to painted block, take pins straight away, and cut down to fit an awkward gap. This is the fix for a room with no cork anywhere.
1. Leafy Bulletin Board Borders That Double as a Door Frame
 Save
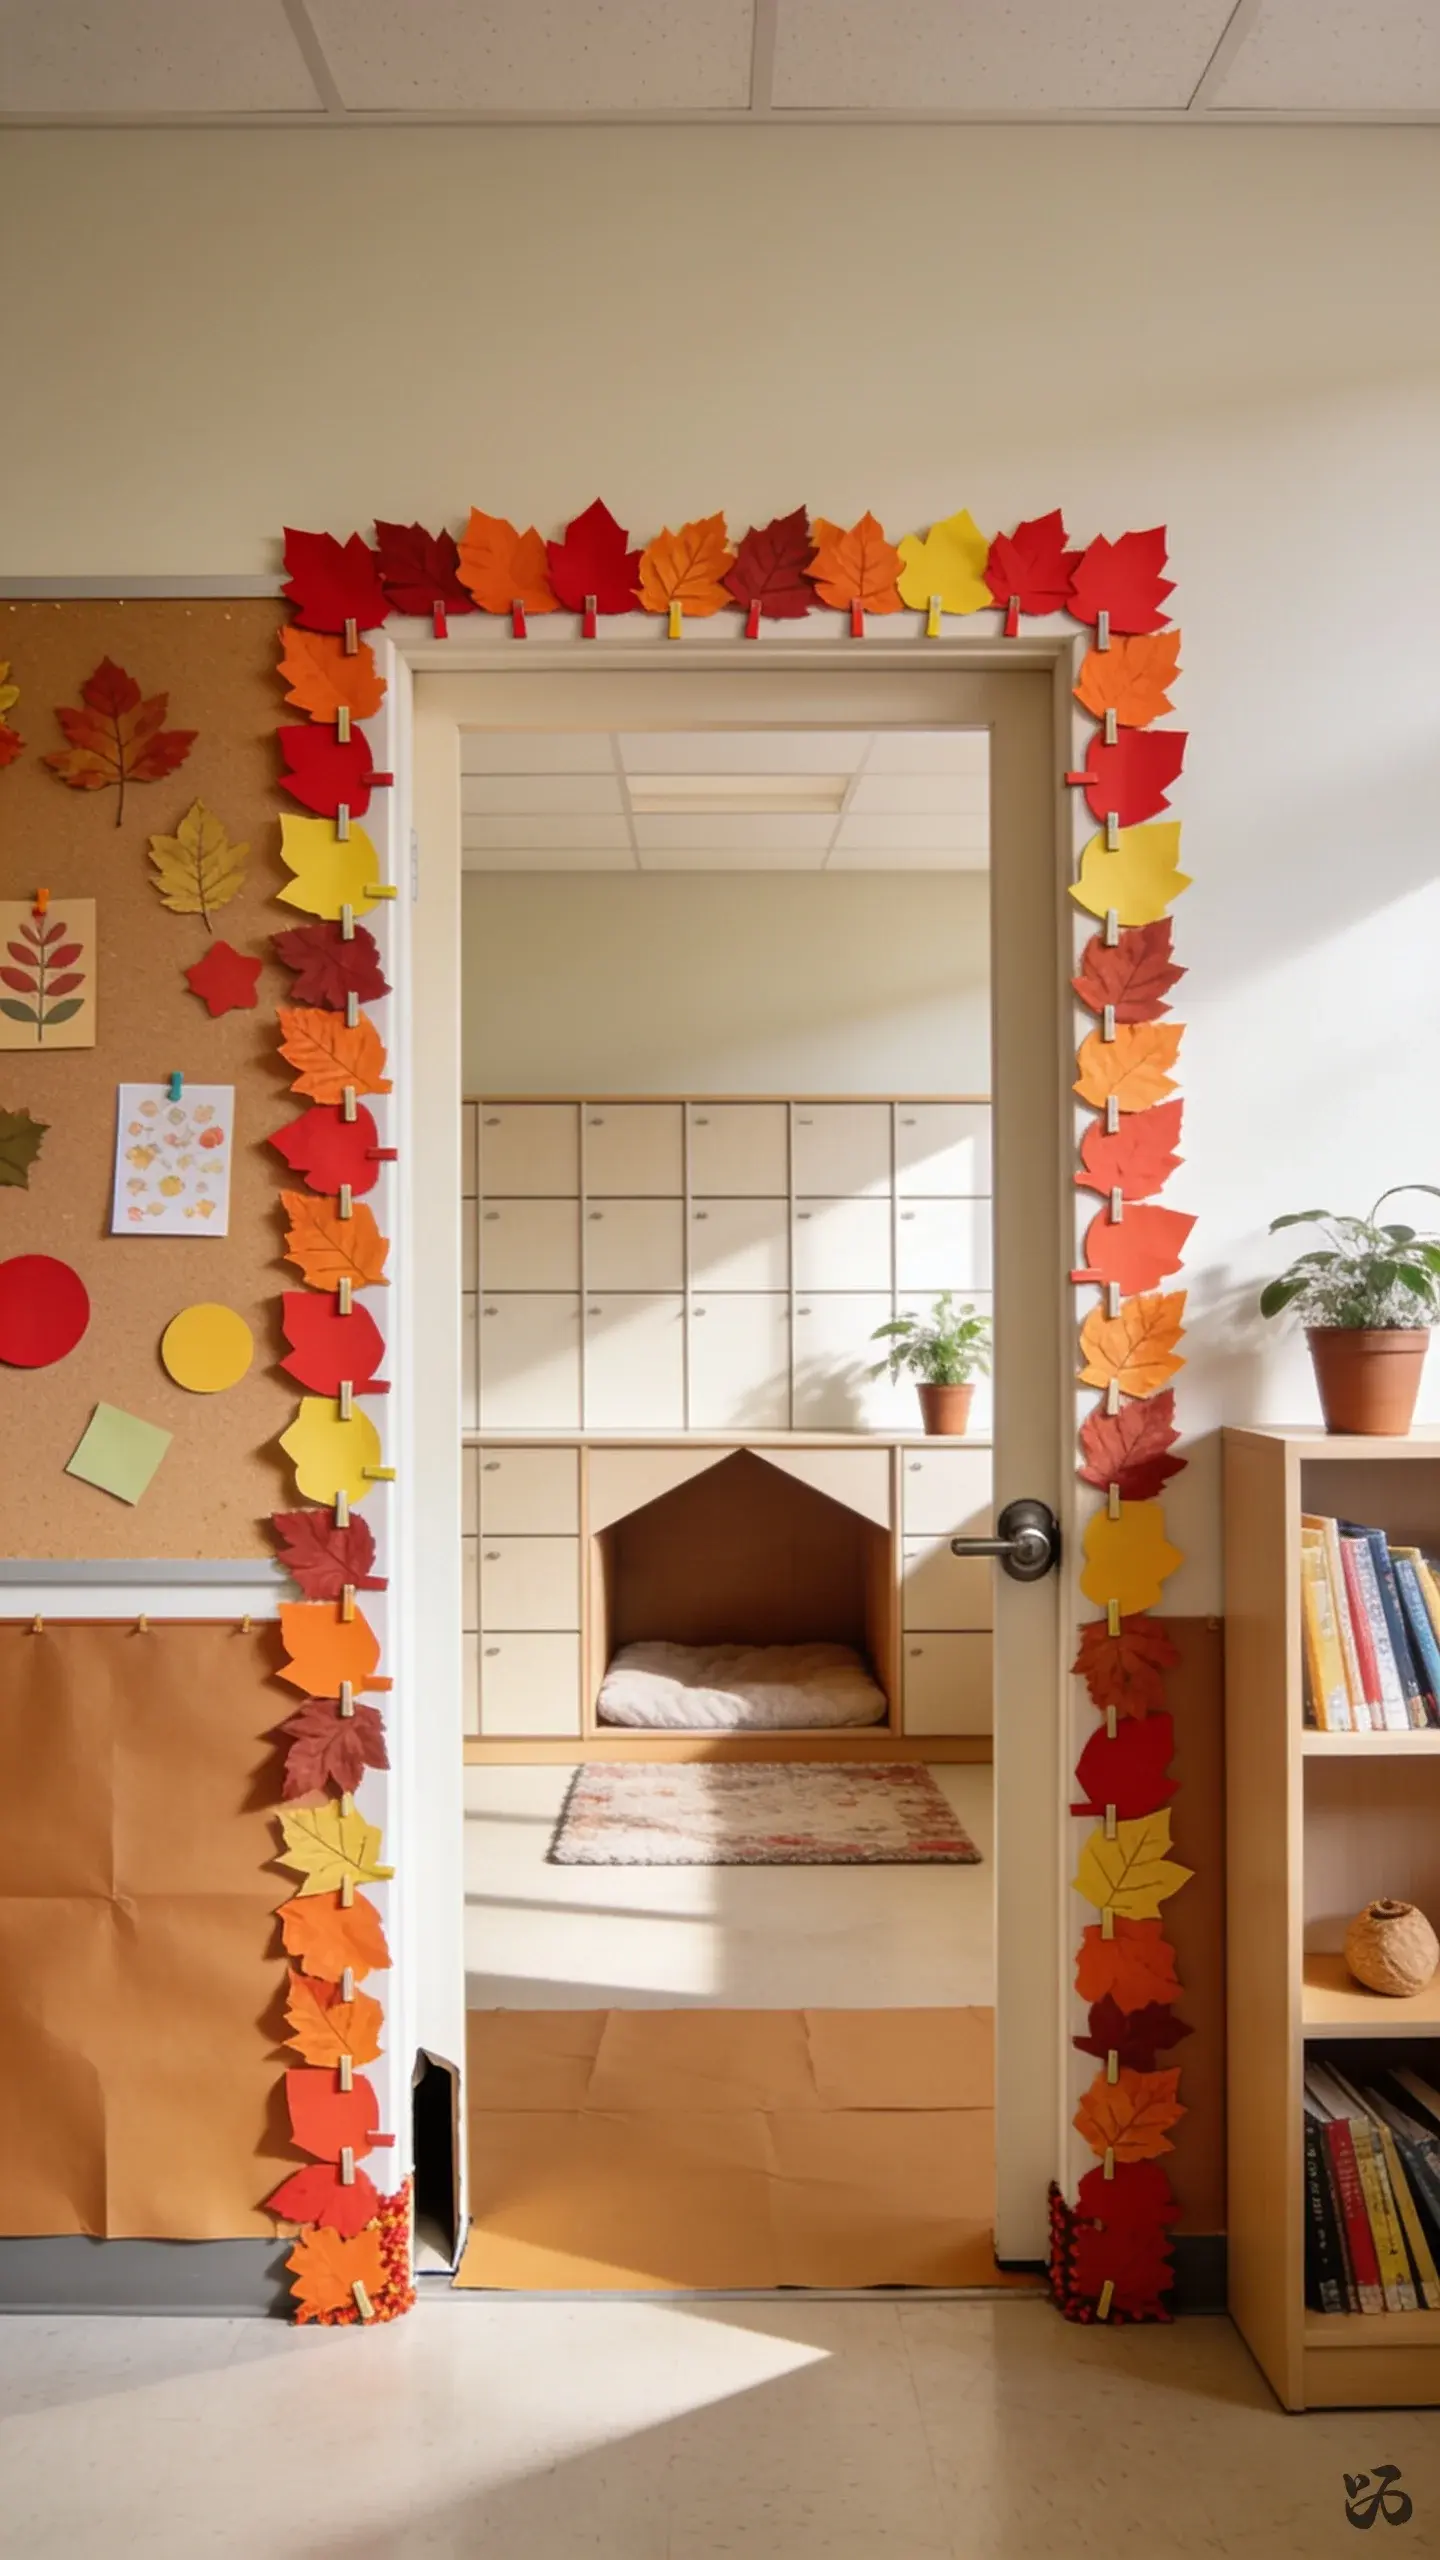
SaveCreate a warm entry by framing the door with a border made from construction paper leaves. Tape or staple them along the top edge of the door while keeping the bottom free so the doorknob isn’t blocked. This reads as seasonal without dominating the space.
What you need
- Colored construction paper in red, orange, yellow
- Scissors
- Masking tape or removable adhesive
- Optional leaf-print stamps and ink pad
- Brown butcher paper to create a base
Take about 40 minutes in a prep period; works in most classrooms, and the border can be reused year to year.
2. Alphabet Fall Tree on a Large Whiteboard or Wall
 Save
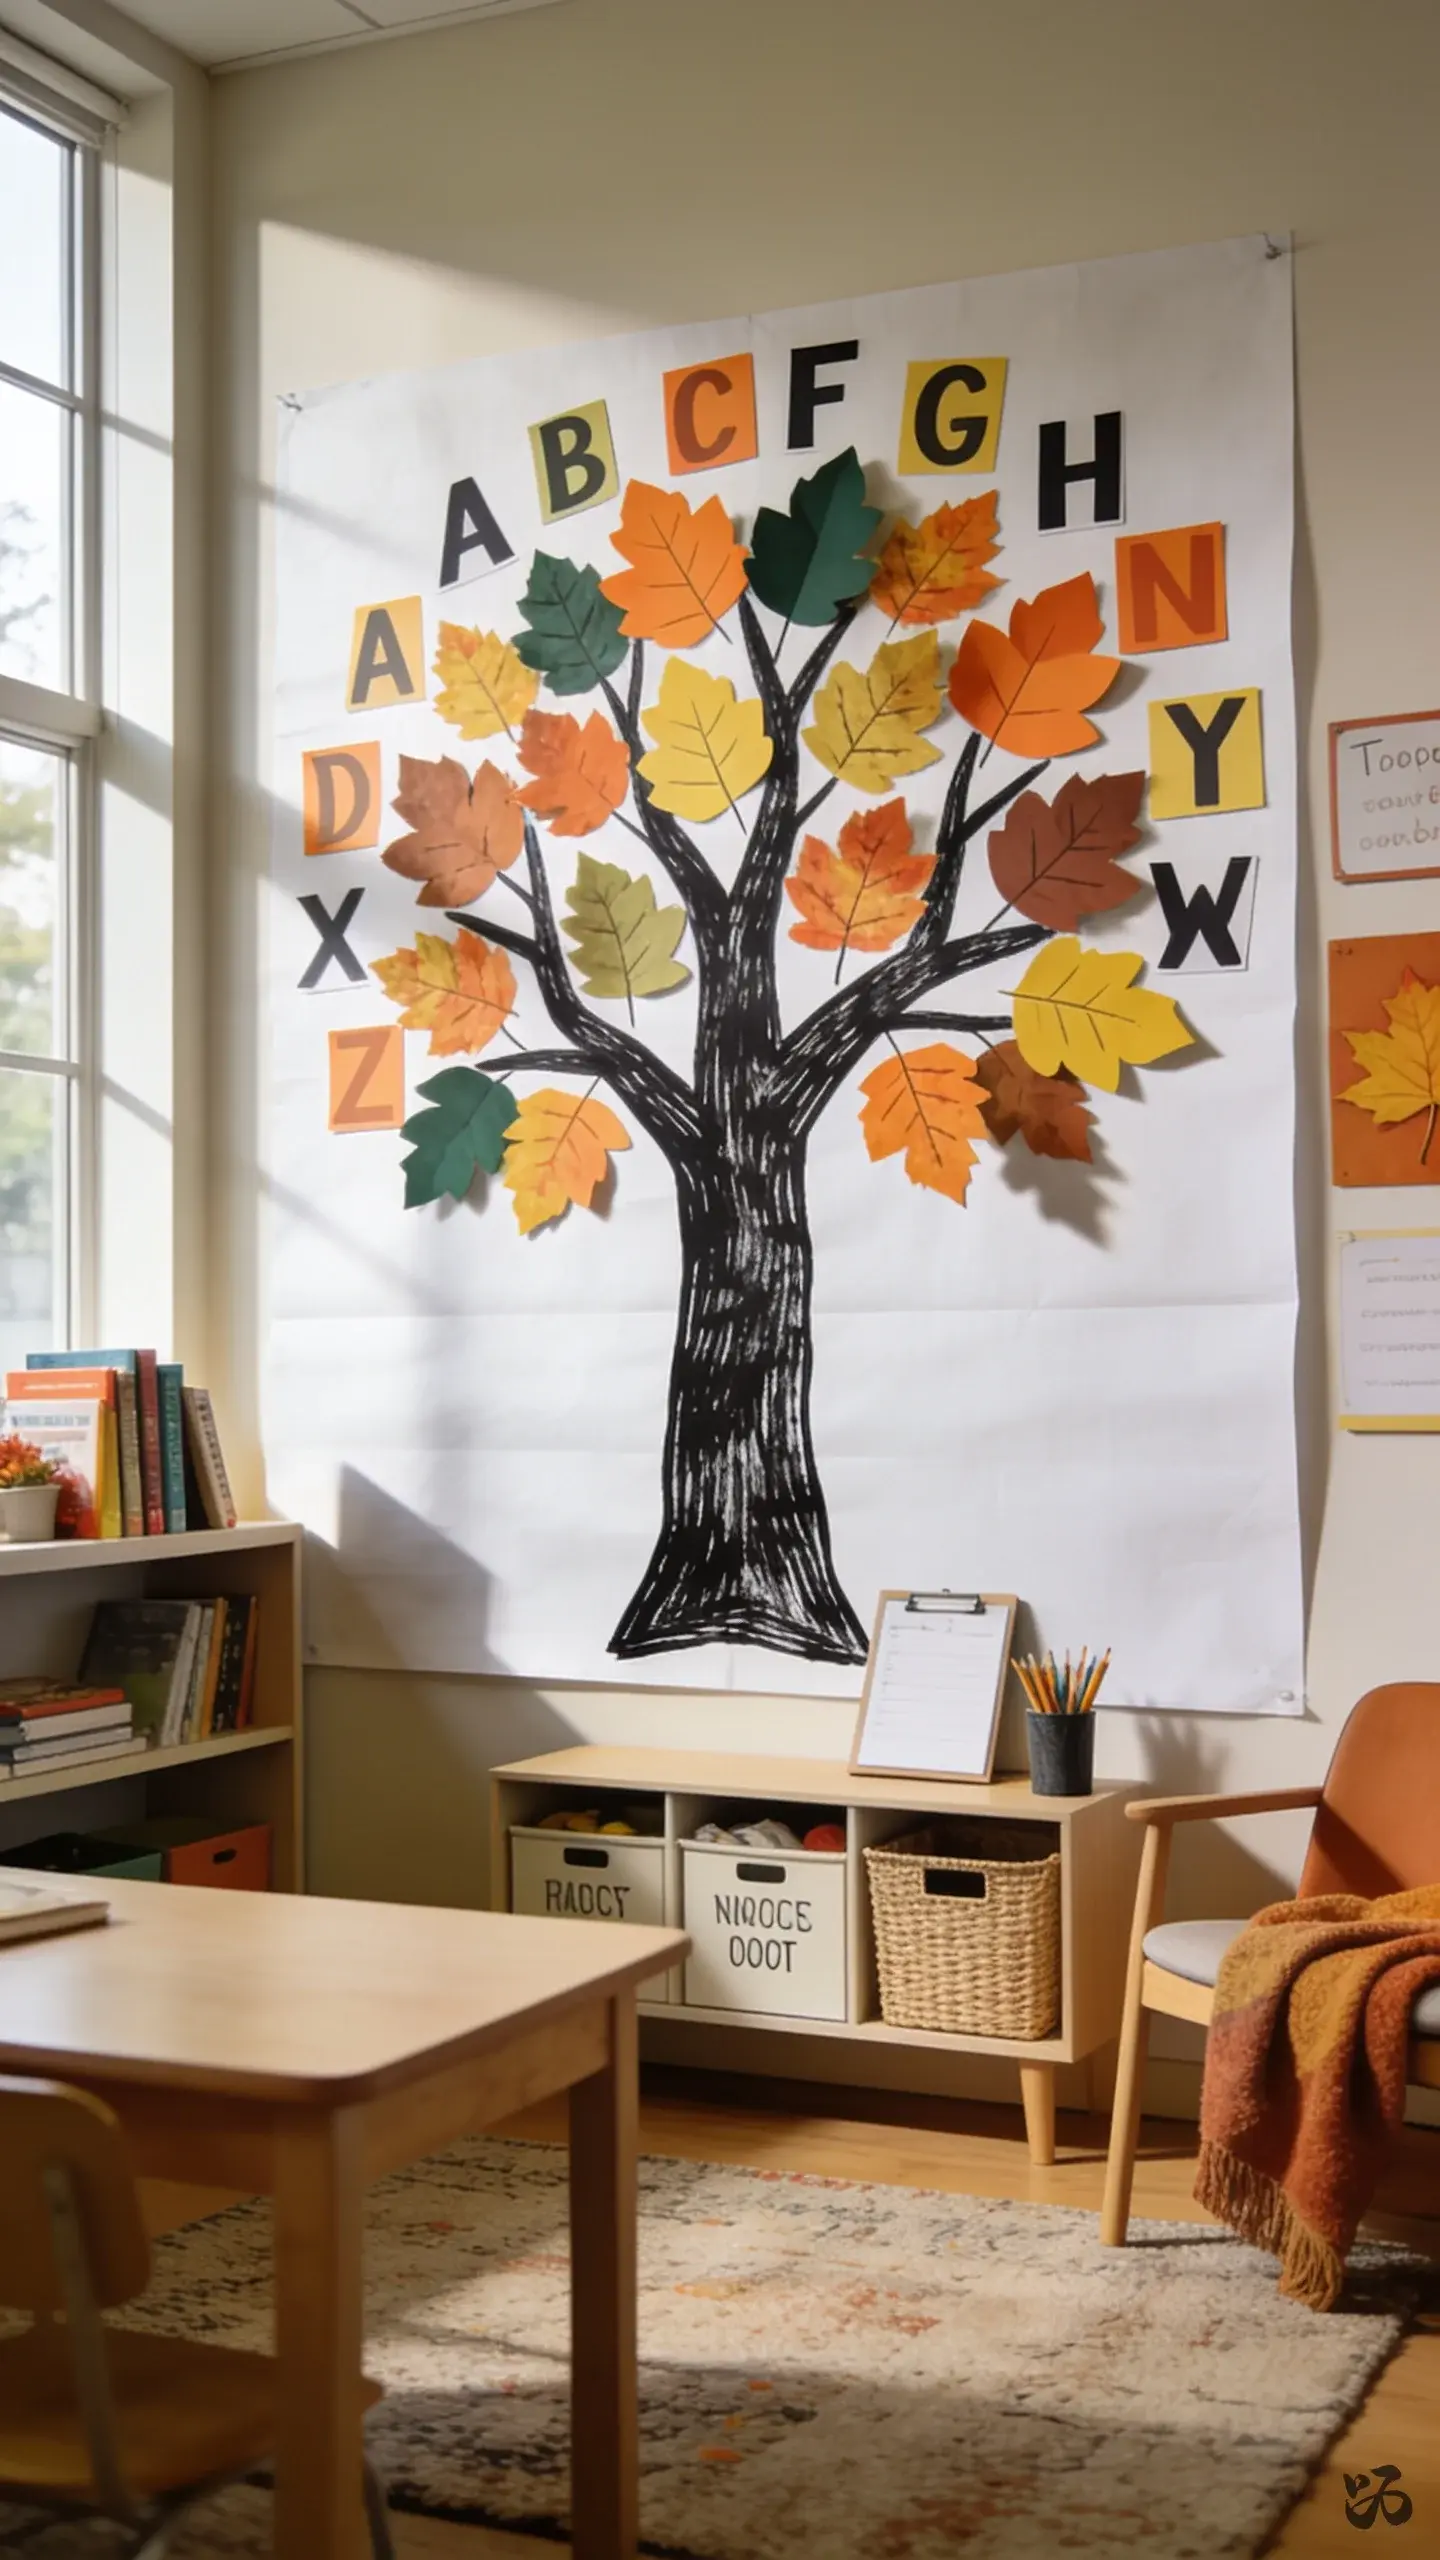
SaveDraw a big tree with a thick trunk using a black marker on butcher paper or directly on a whiteboard. Print an autumn leaf for each letter and attach around the branches to form an alphabet tree that doubles as a name practice area.
What you need
- Black marker or vinyl trunk
- Colored leaves cut from cardstock
- Push pins or magnets
- Adhesive letters for initial labels
- Scotch tape for securement
Good for a quick setup during prep; avoid leaning on the door if the whiteboard edges are fragile.
3. Fall Themed Number Line Banner
 Save
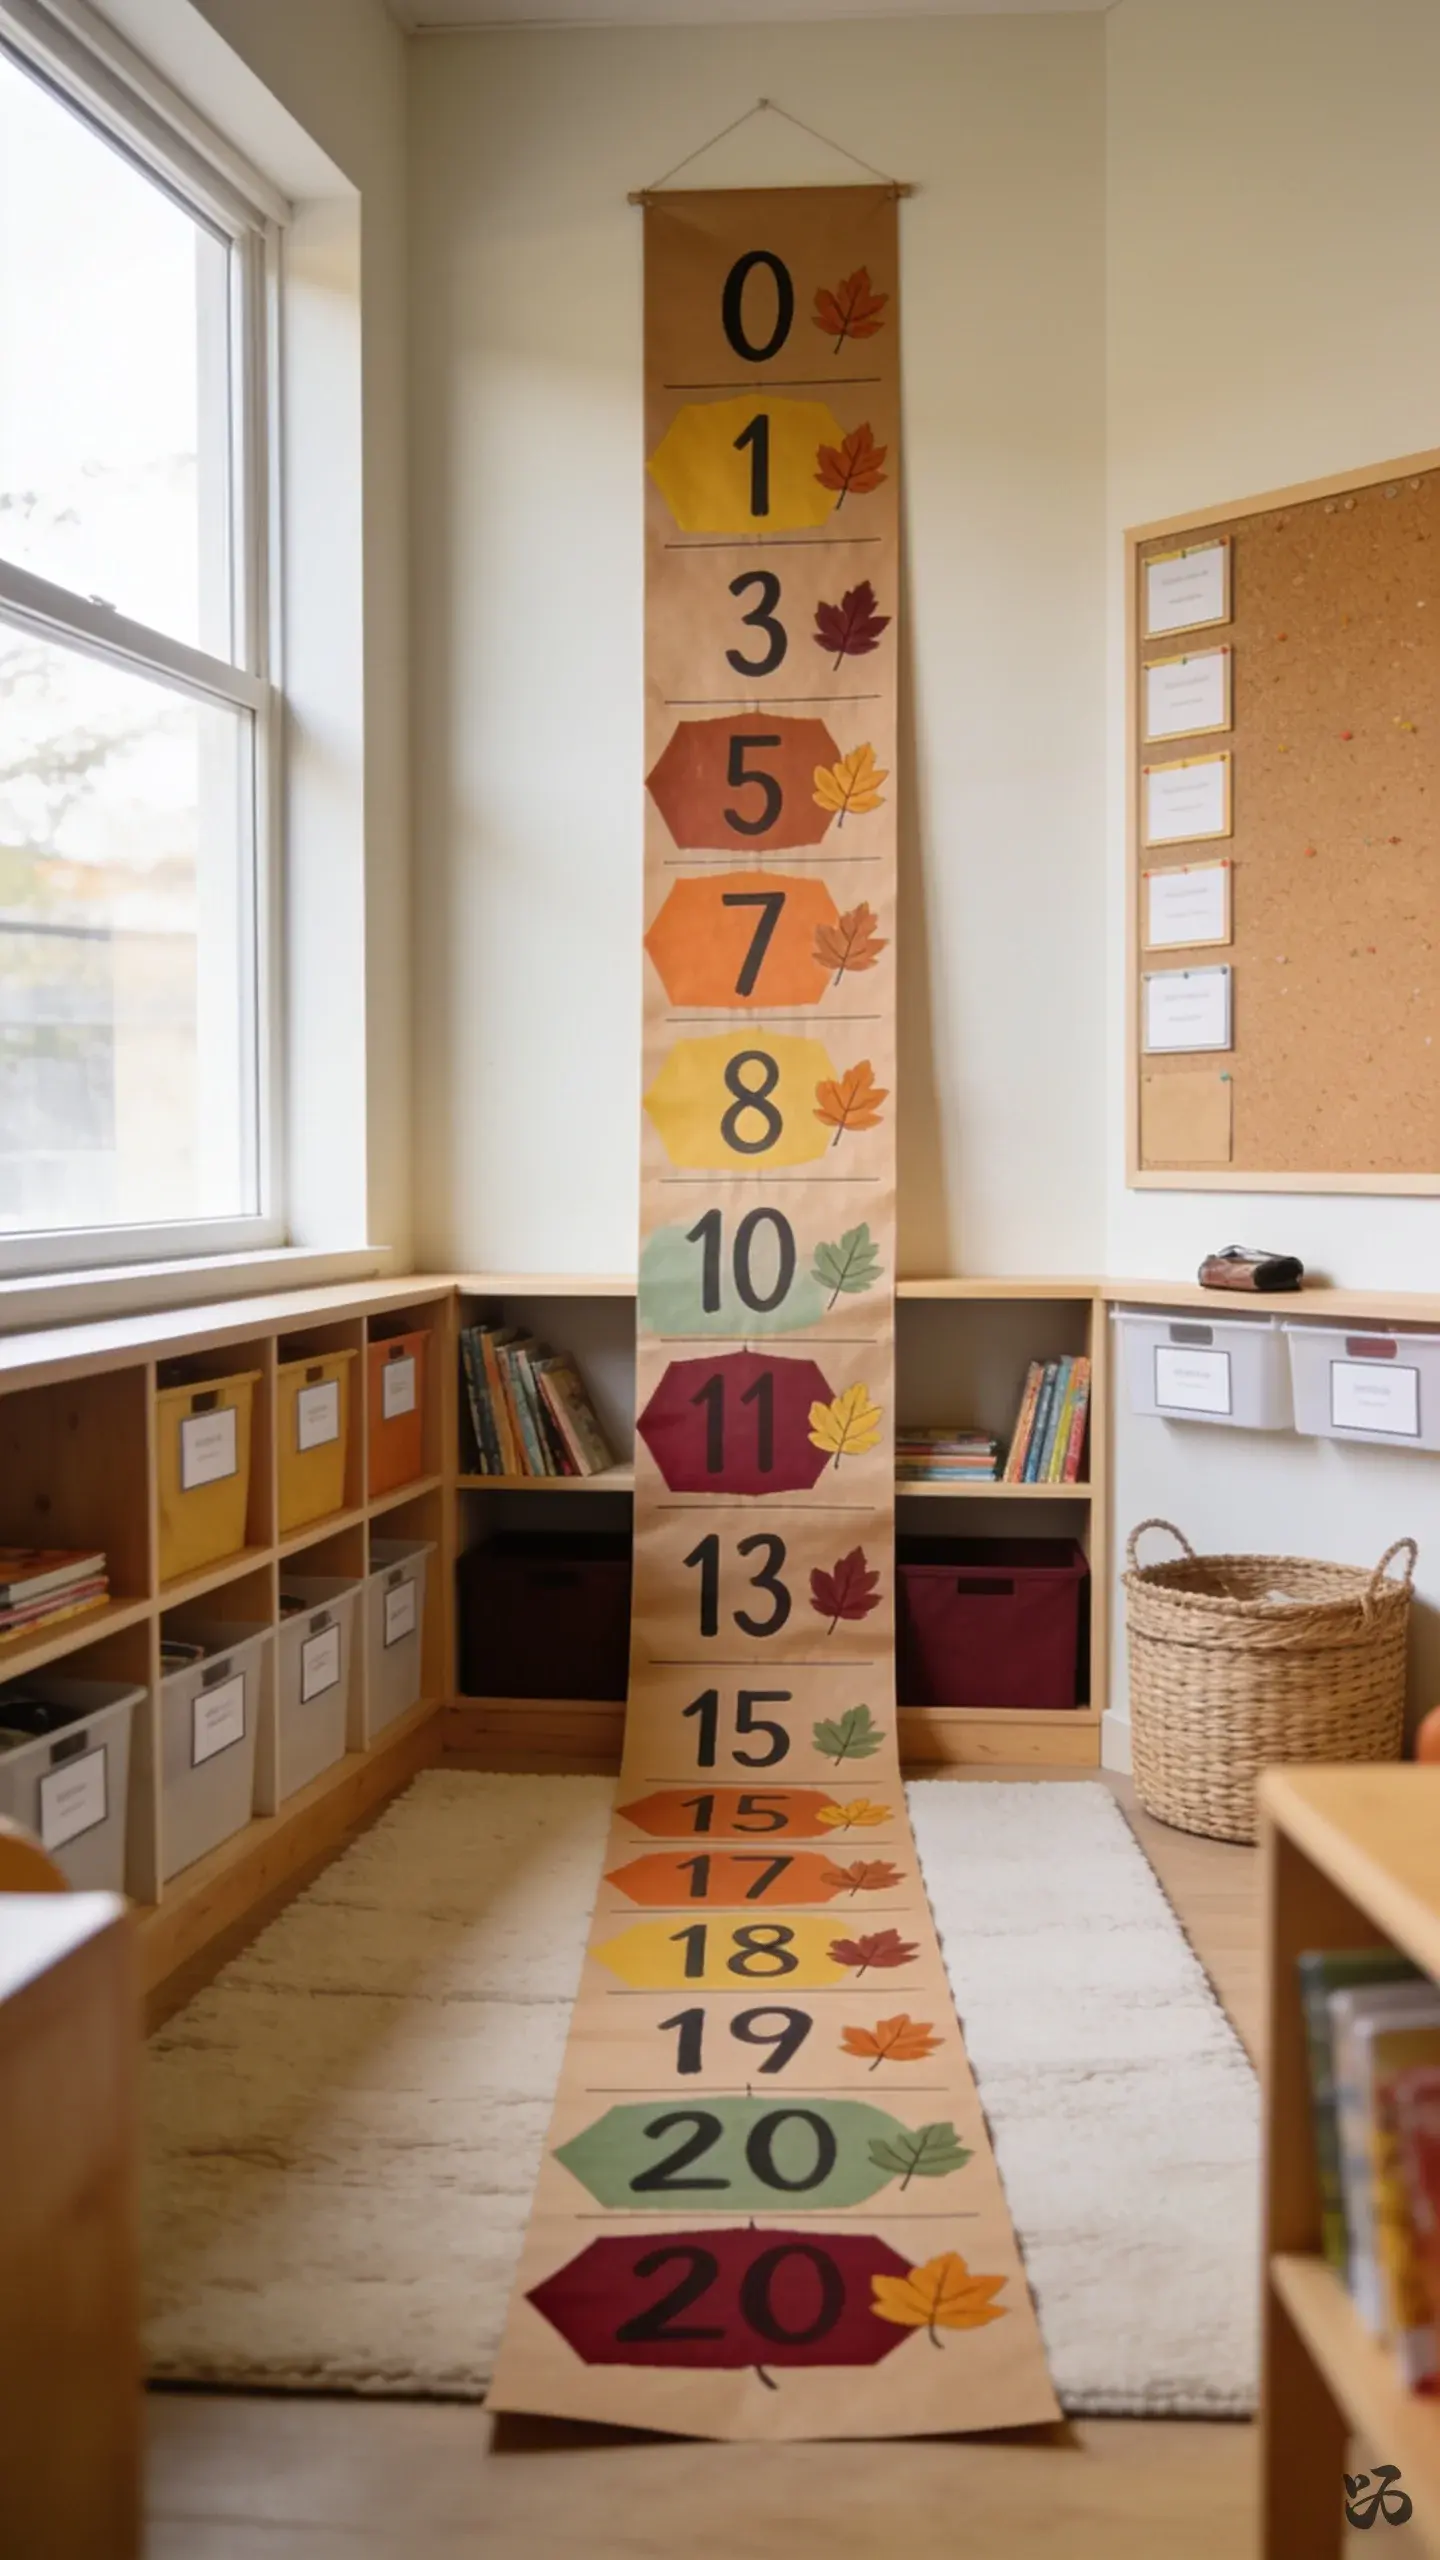
SaveTurn a long roll of butcher paper into a number line of 0–20 with fall colors. Write numbers with a bold marker and place small leaf icons above every even number. Mount it across a wall or along the back of a reading rug.
What you need
- Brown butcher paper for base
- Colored markers or a whiteboard marker set
- Stapler or tape
- Leaf confetti or cutouts
- Laminator and pouches (optional)
About 50 minutes total; great for math centers and early numeracy in kindergarten and first grade.
4. Paper Chain Countdown to Fall Break
 Save
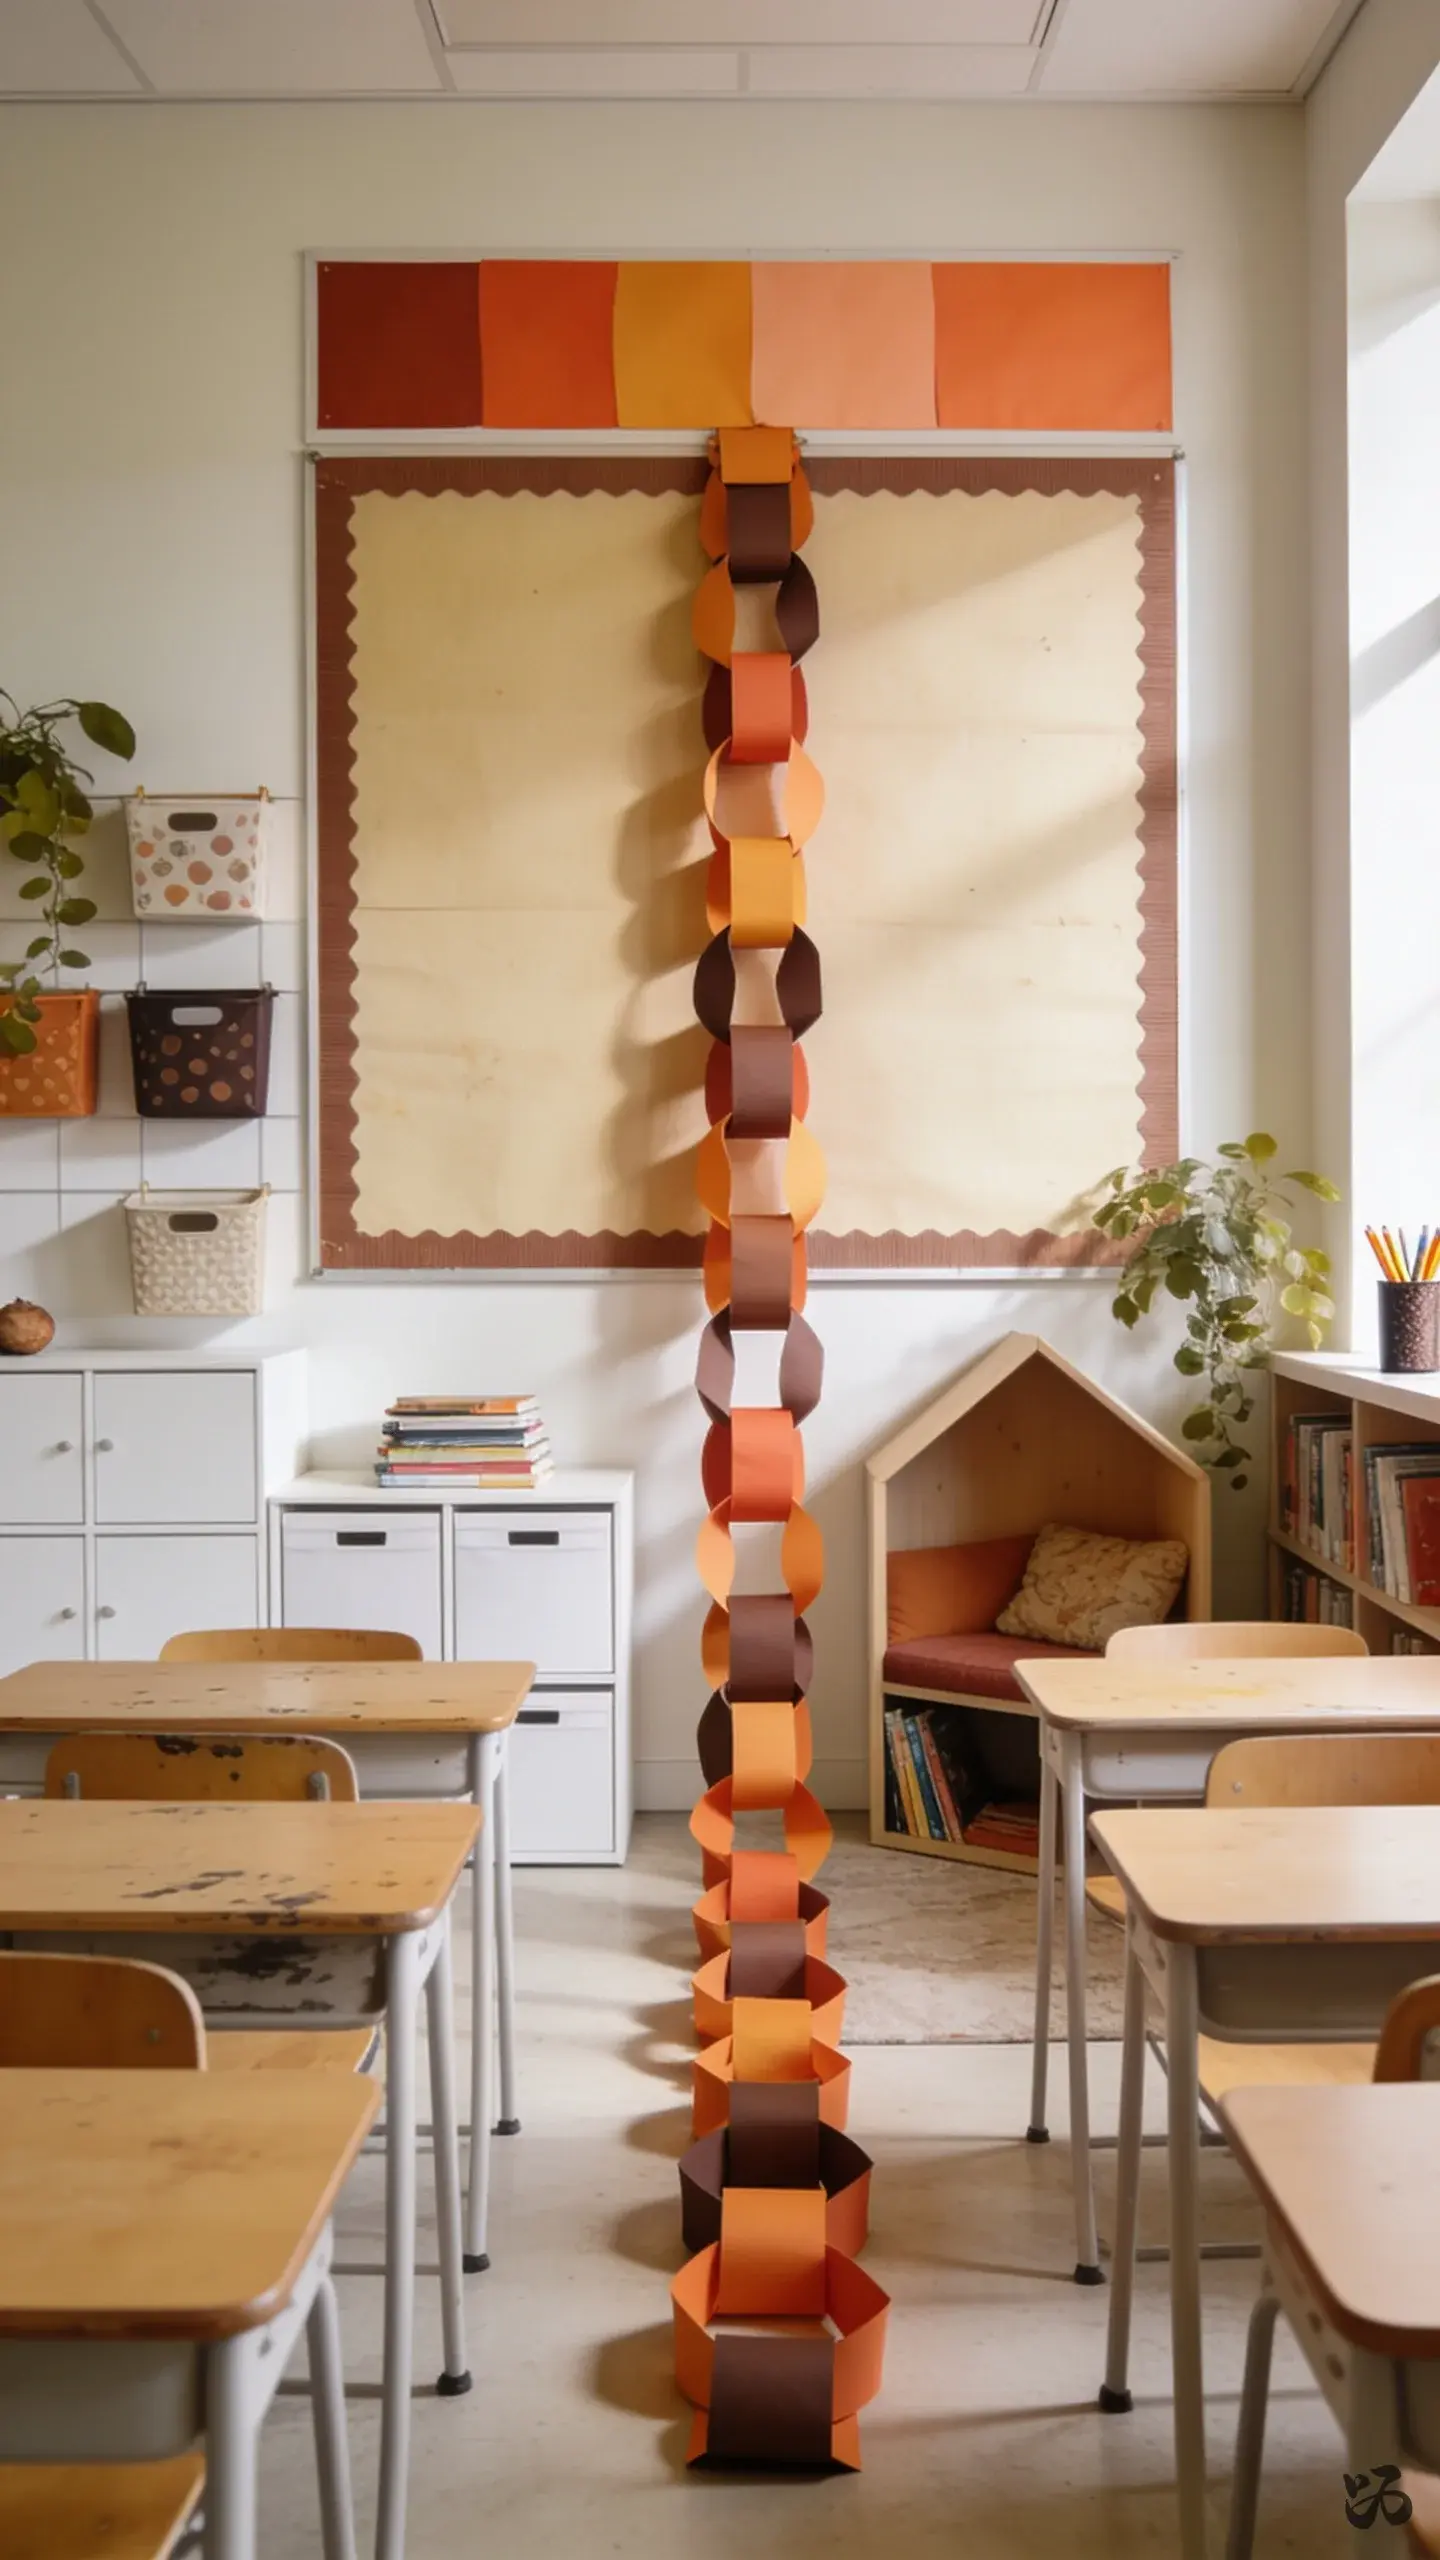
SaveMake a long paper chain in warm hues. Each link represents a day or a milestone in the month. Drape along a bulletin board or hallway display with a simple “We Are Counting Down to Fall Break” header.
What you need
- Construction paper in shades of orange and brown
- Scissors
- Stapler or tape
- Marker for writing numbers
- Ruler for even cuts
About an hour to assemble; keep the links attached with staples to limit wear from kids grabbing.
5. Open-Book Scholastic Page Door Hanger
 Save
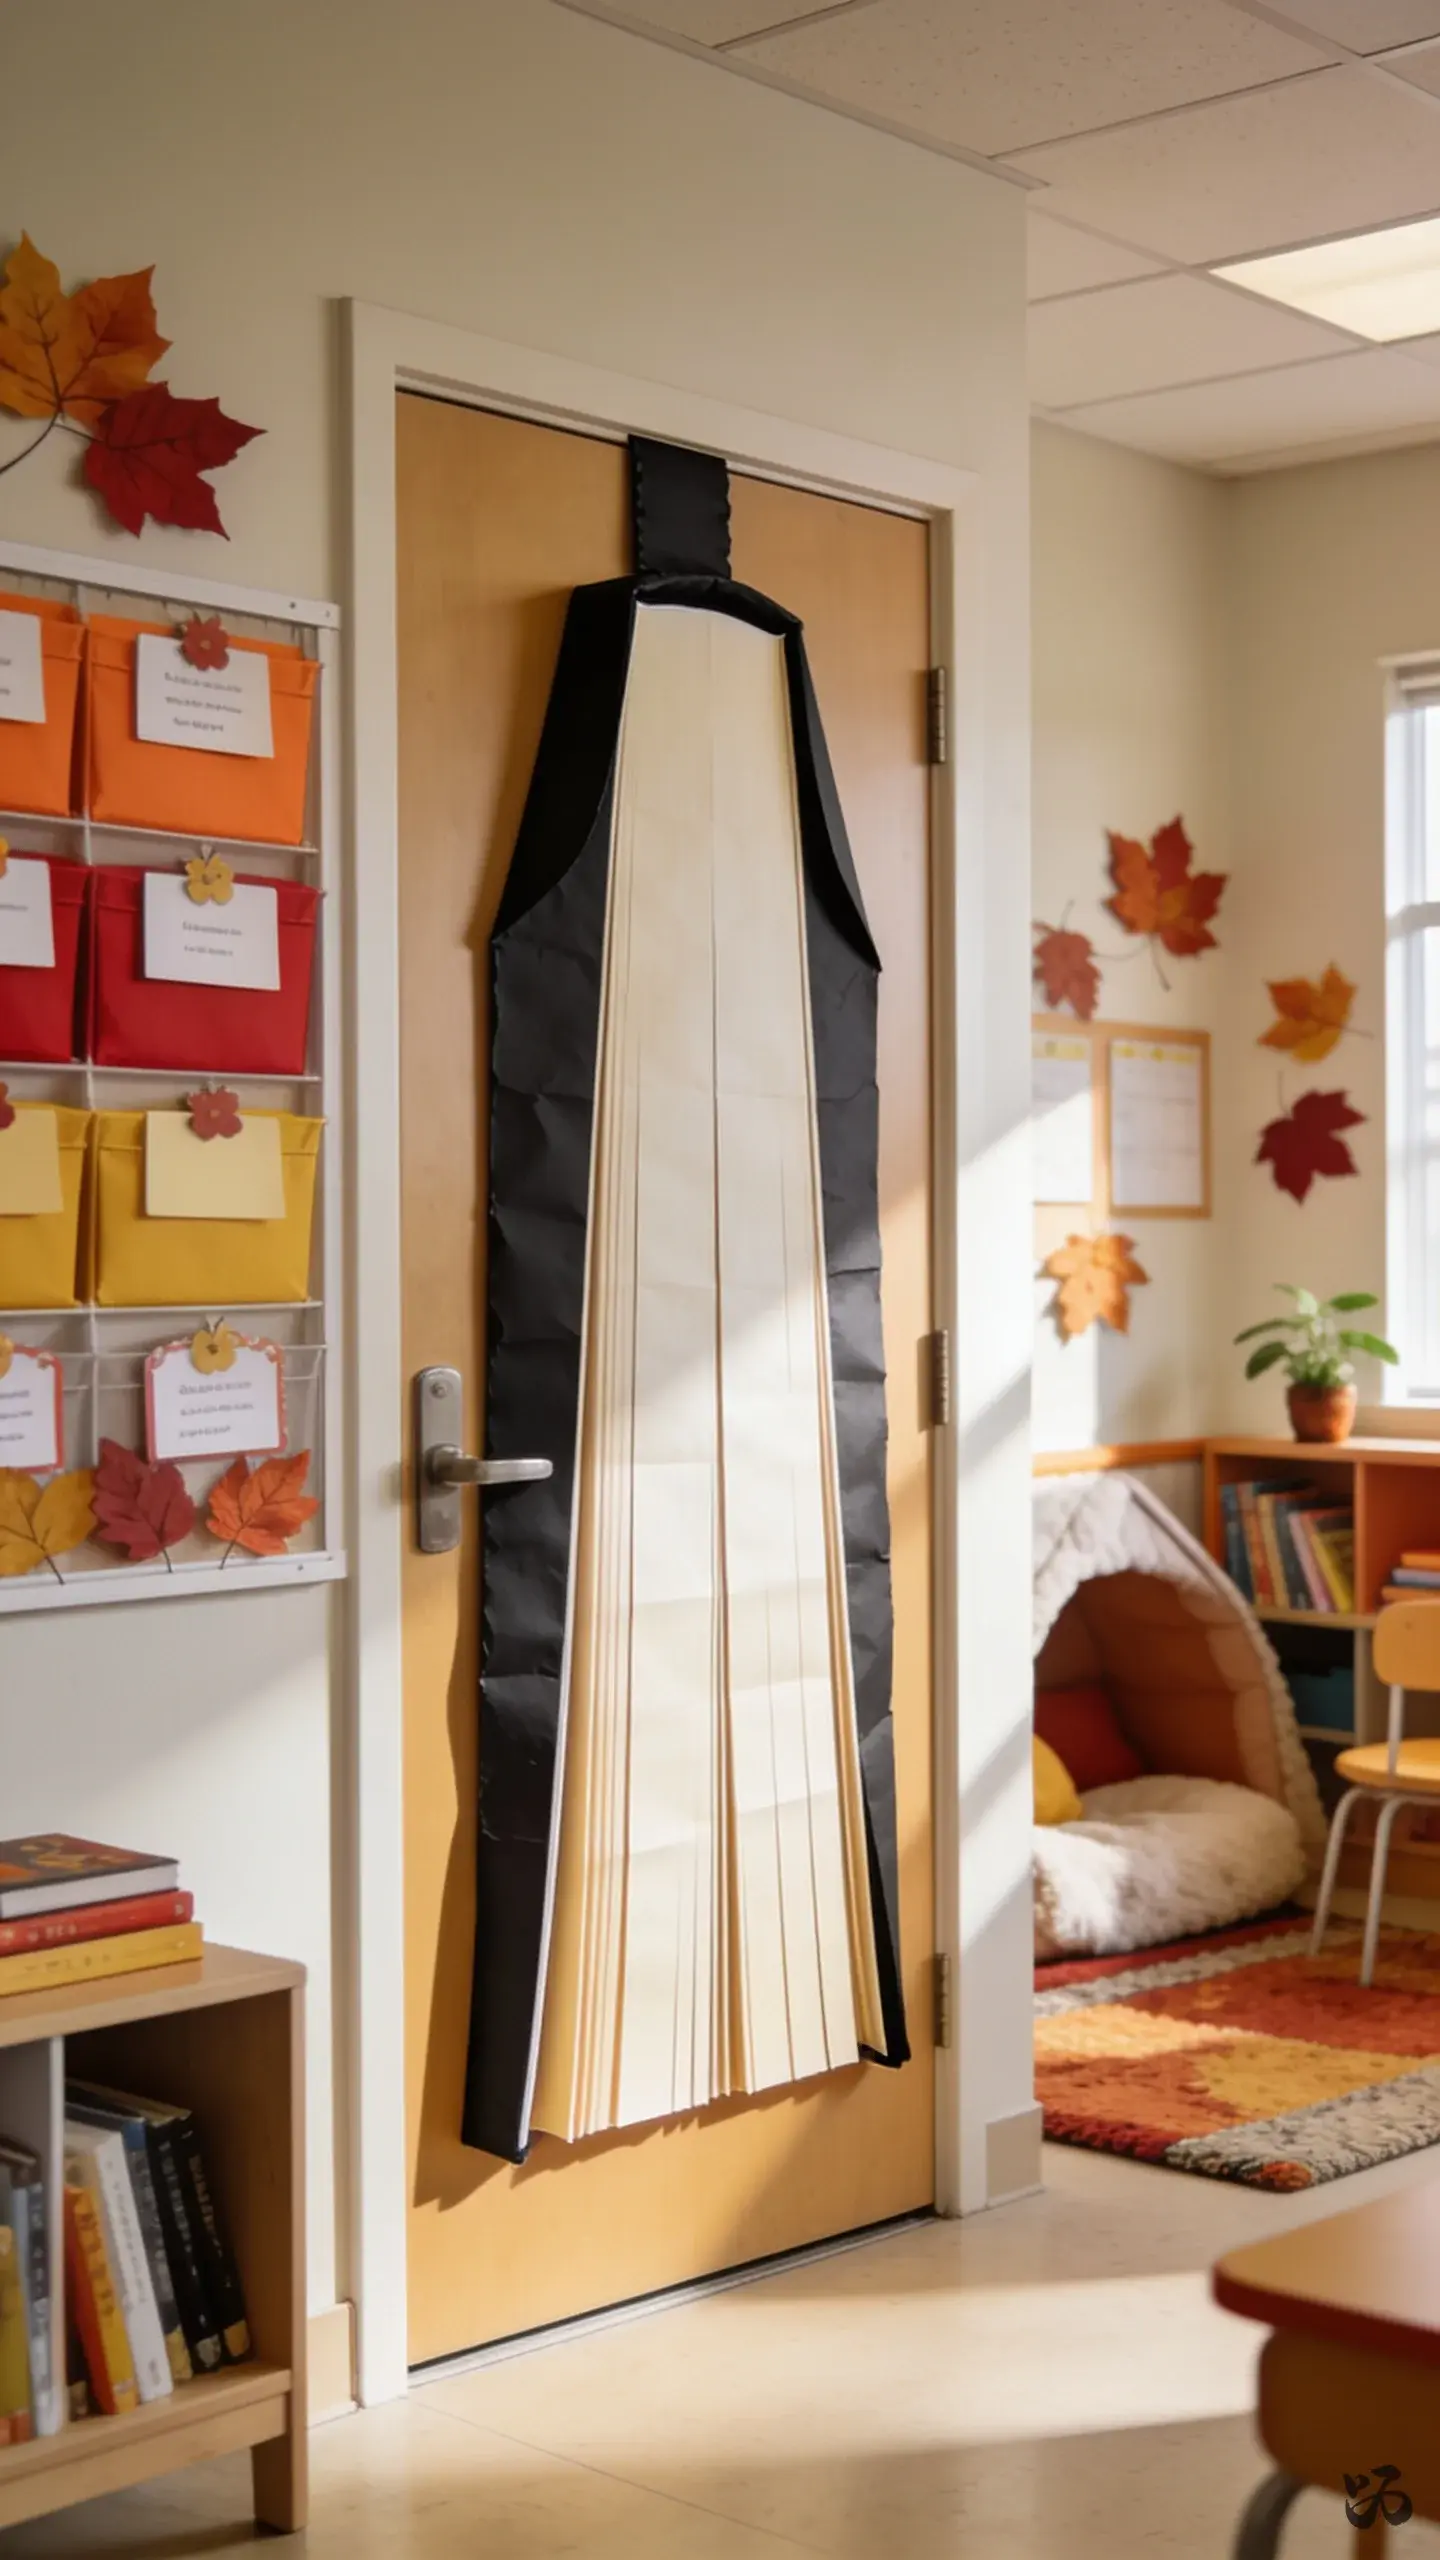
SaveHang a large door sign that looks like an open book. Use black butcher paper for the spine and white or tan paper for pages, with fall-themed student names or class goals written inside. It fits on the door without covering the full surface.
What you need
- Butcher paper for book pages
- Black cardstock for the spine
- Marker for writing
- Double-stick tape or removable adhesive
- Construction paper leaves for decoration
Under an hour to assemble; keep it away from the door’s bottom edge to avoid scrapes from wheeled carts.
What I’d Stock Up On


6. Fall Tree Wall Mals for Core Concepts
 Save
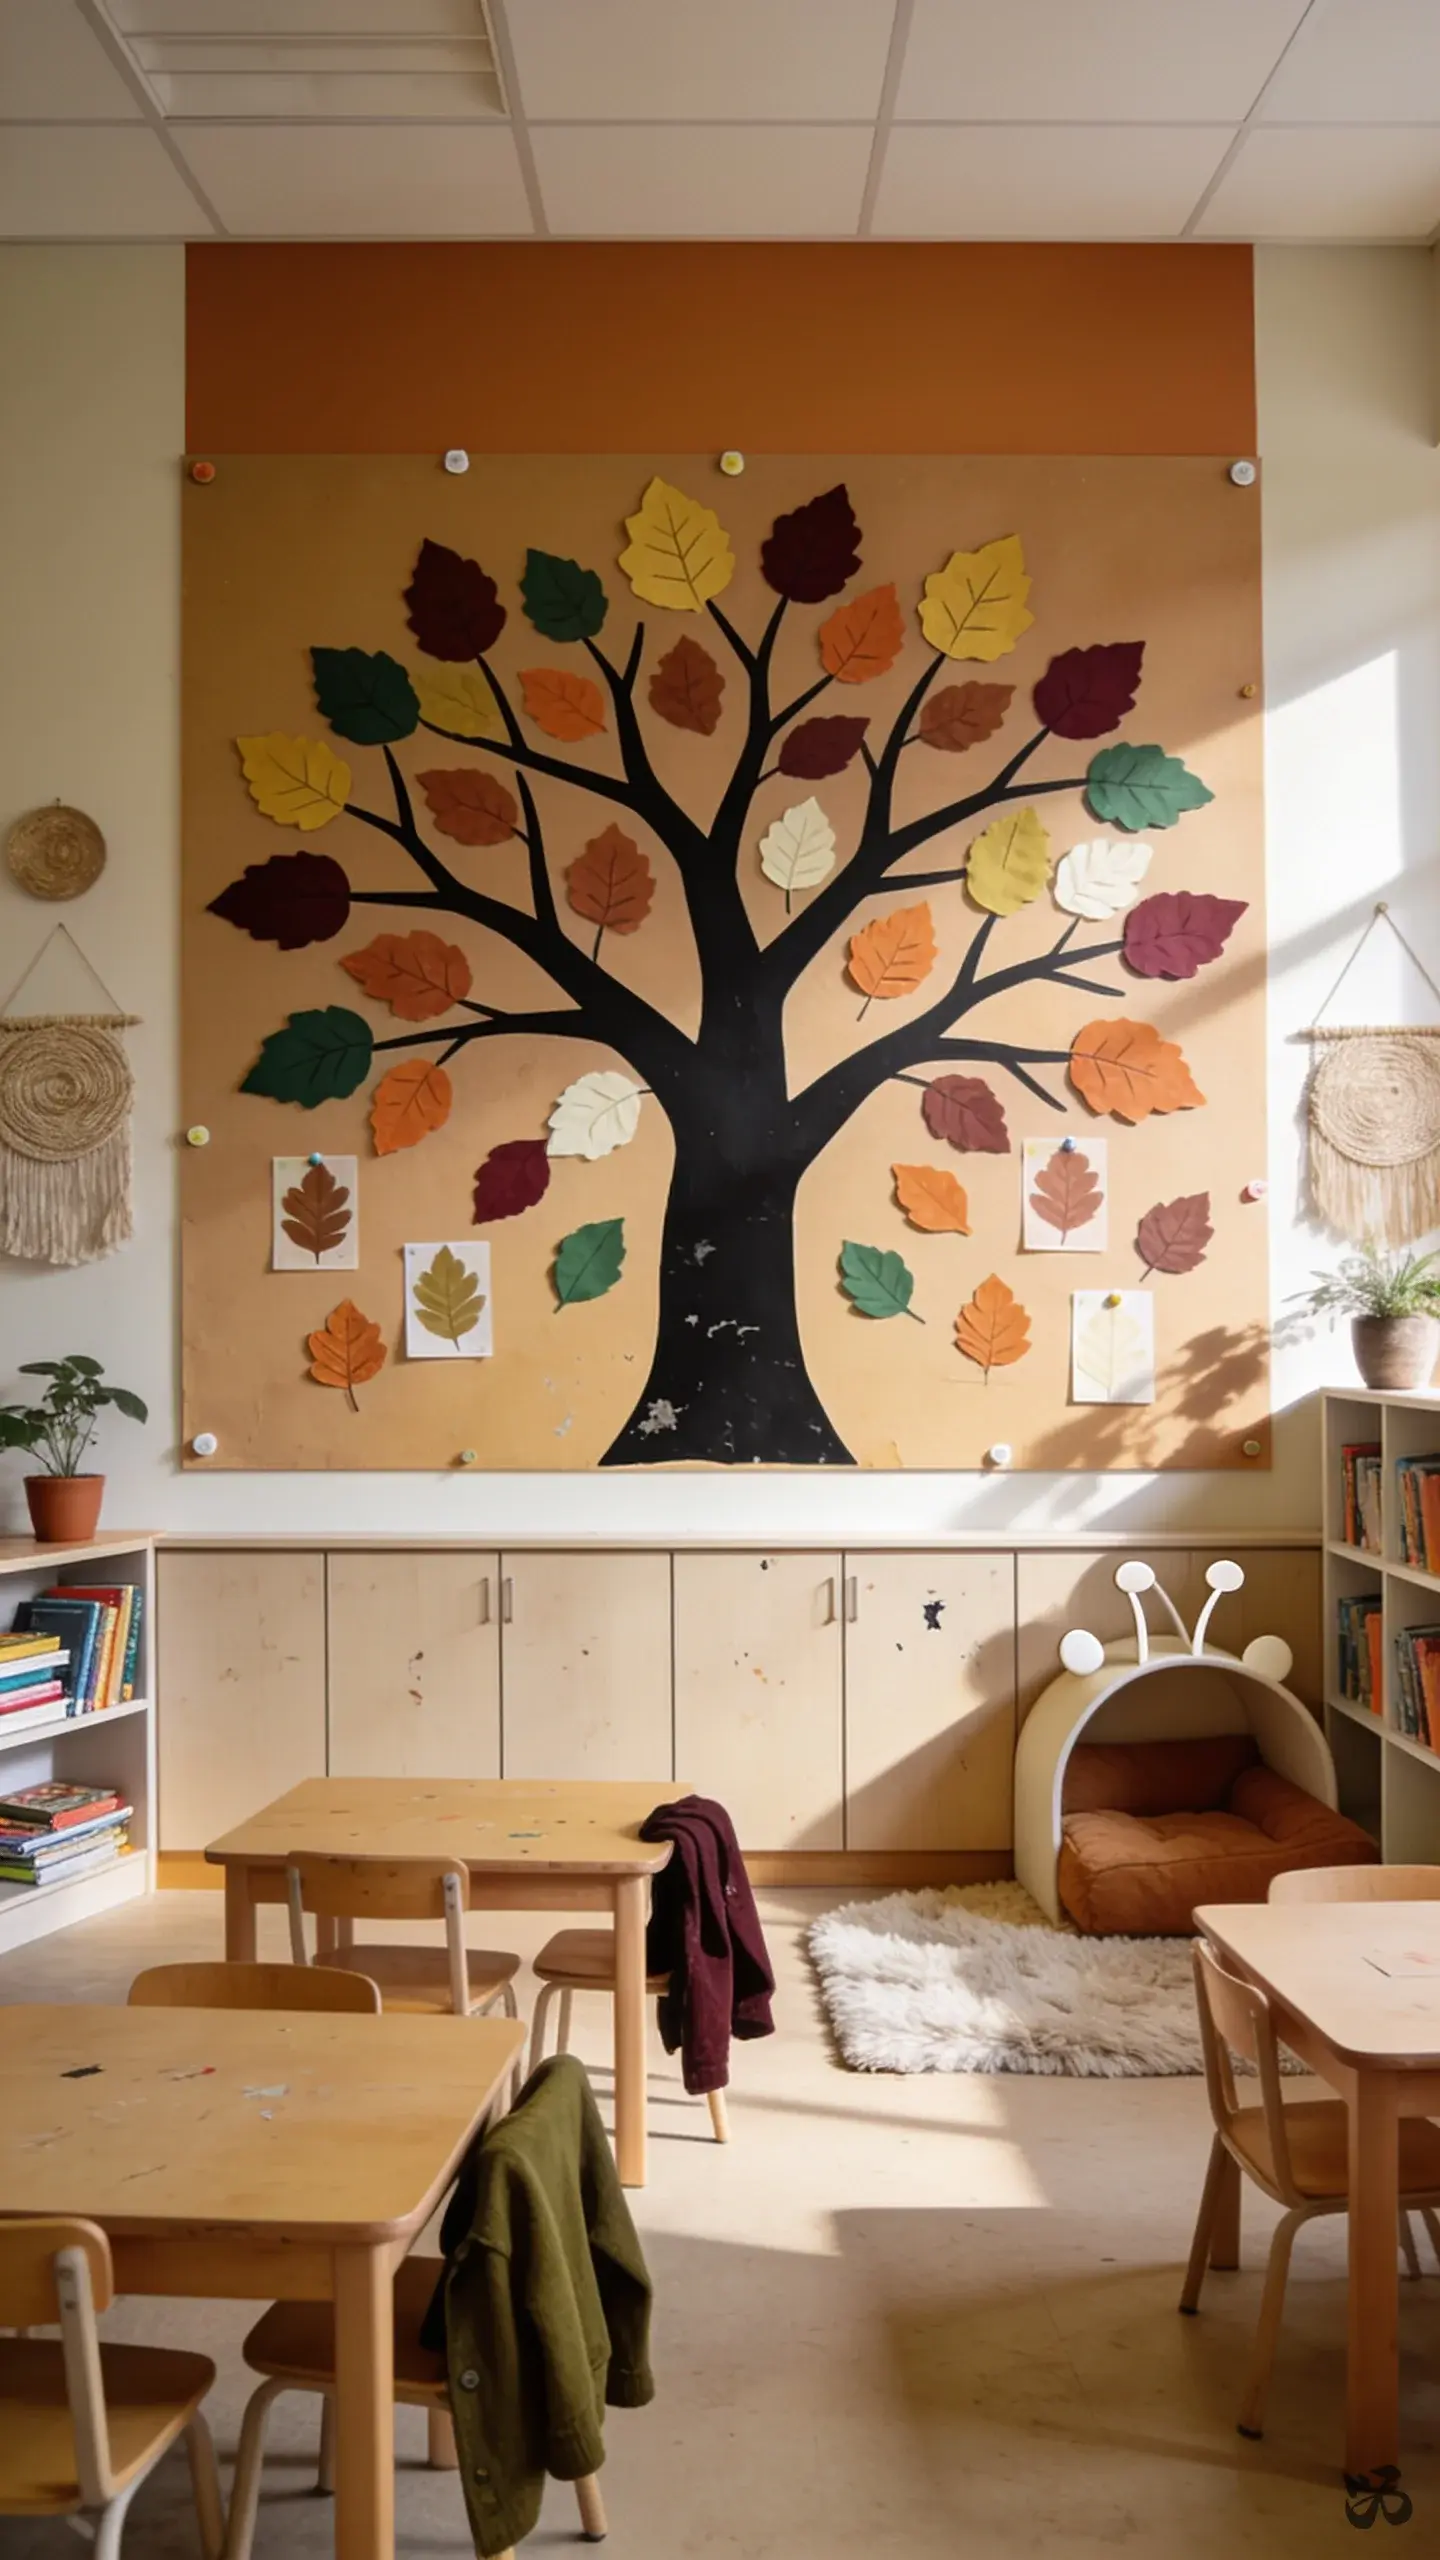
SavePaint or paper a simple tree silhouette on a classroom wall, then add leaf cutouts each labeled with a core concept (counting, letters, shapes). This becomes a living reference that grows during fall.
What you need
- Tree silhouette cut from large black paper
- Leaf shapes in multiple colors
- Dry erase markers for labeling
- Adhesive putty or tape
- Optional glossy finish spray for durability
Prepare during prep period; avoid placing too low where kids reach, and consider temporary mounting if walls are cinder blocks.
7. Mini-Display Shelves with Seasonal Word Cards
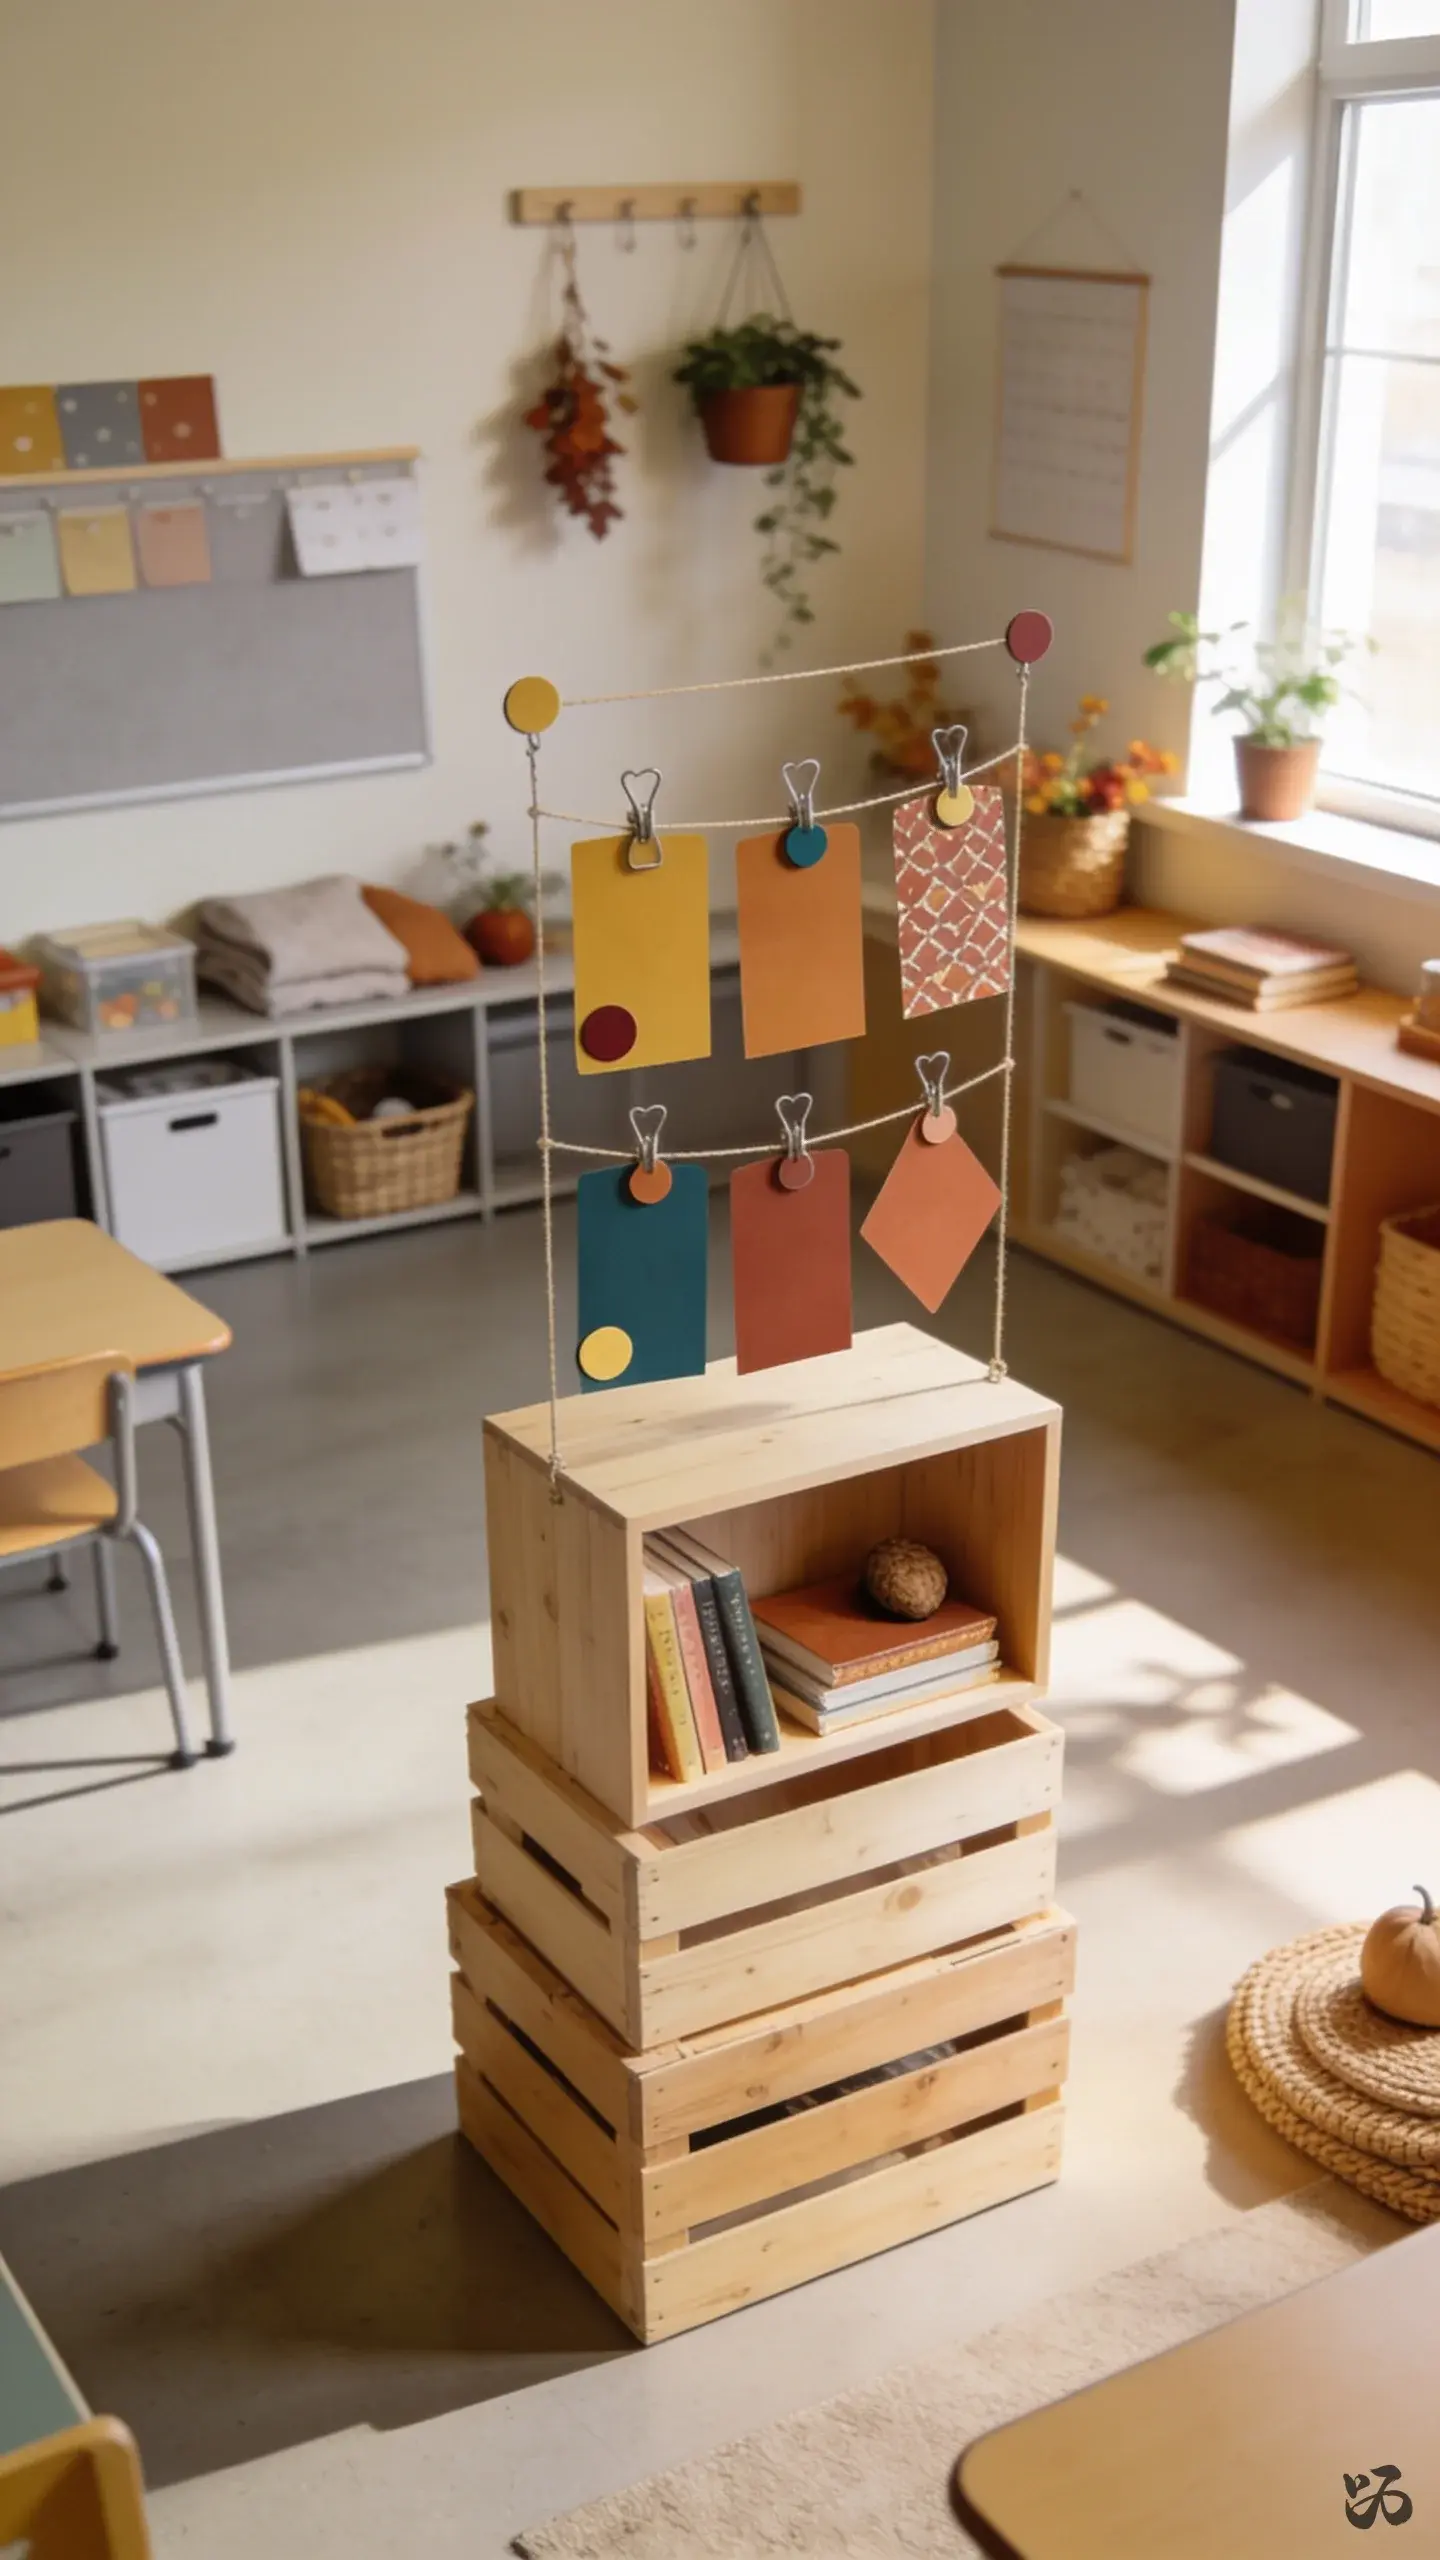 Save
SaveUse a small bookshelf or stacked crates to display fall-themed word cards. Each card features a sight word, seasonal vocabulary, or a short sentence. Students can borrow a card to read aloud during small-group time.
What you need
- Cardstock or index cards
- Printer or hand-written cards
- Sticker dots for emphasis
- Mini clip-on hooks or string to create a hanging set
- Clear contact paper (optional) for durability
Budget-friendly and easy to rotate; avoid laminating every card unless you have access to a quick lamination pass.
8. Patchwork Plaid Field Banner
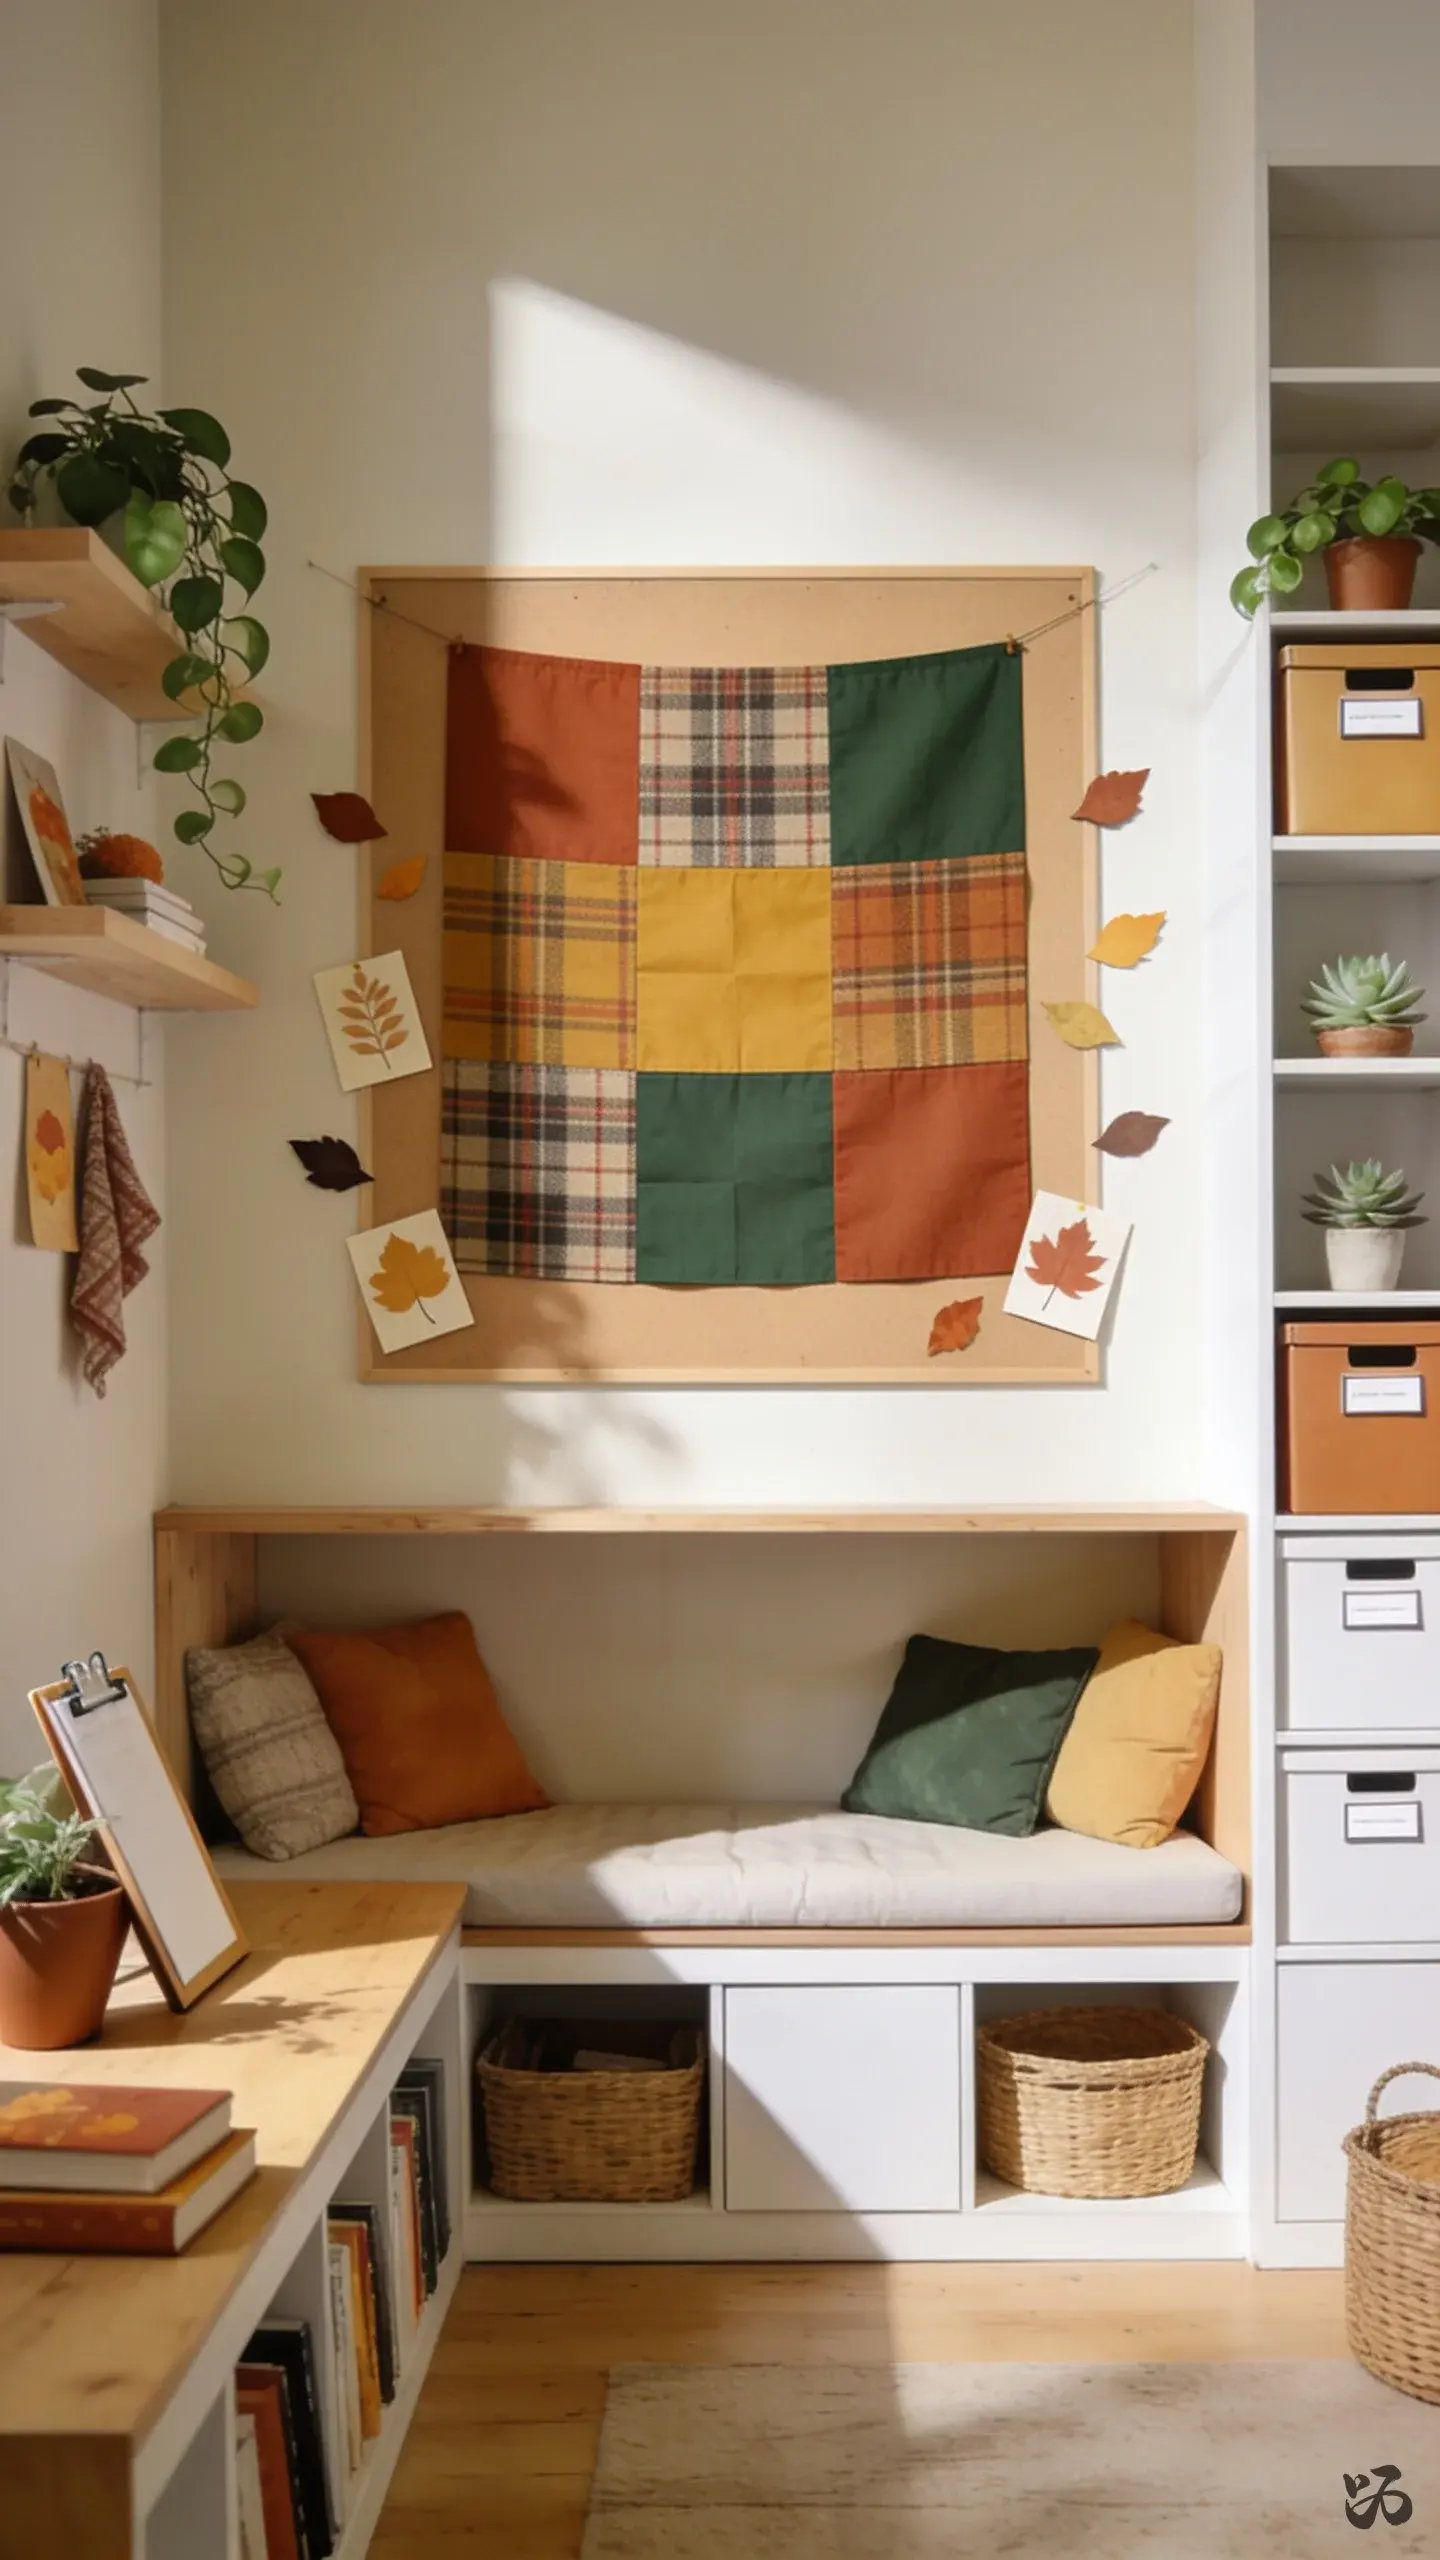 Save
SaveCut several large squares of plaid or autumn-toned paper and arrange them in a patchwork across a low wall or on a bulletin board. The grid structure makes it robust to kids touching and easy to update with new labels.
What you need
- Cardstock or butcher paper in fall plaids
- Ruler for precise cuts
- Double-stick tape or clips
- Leaf confetti for accents
- Marker for short captions
About 45 minutes; works well in homeroom or reading corners.
9. Gourd Shaped Name Tags on the Wall
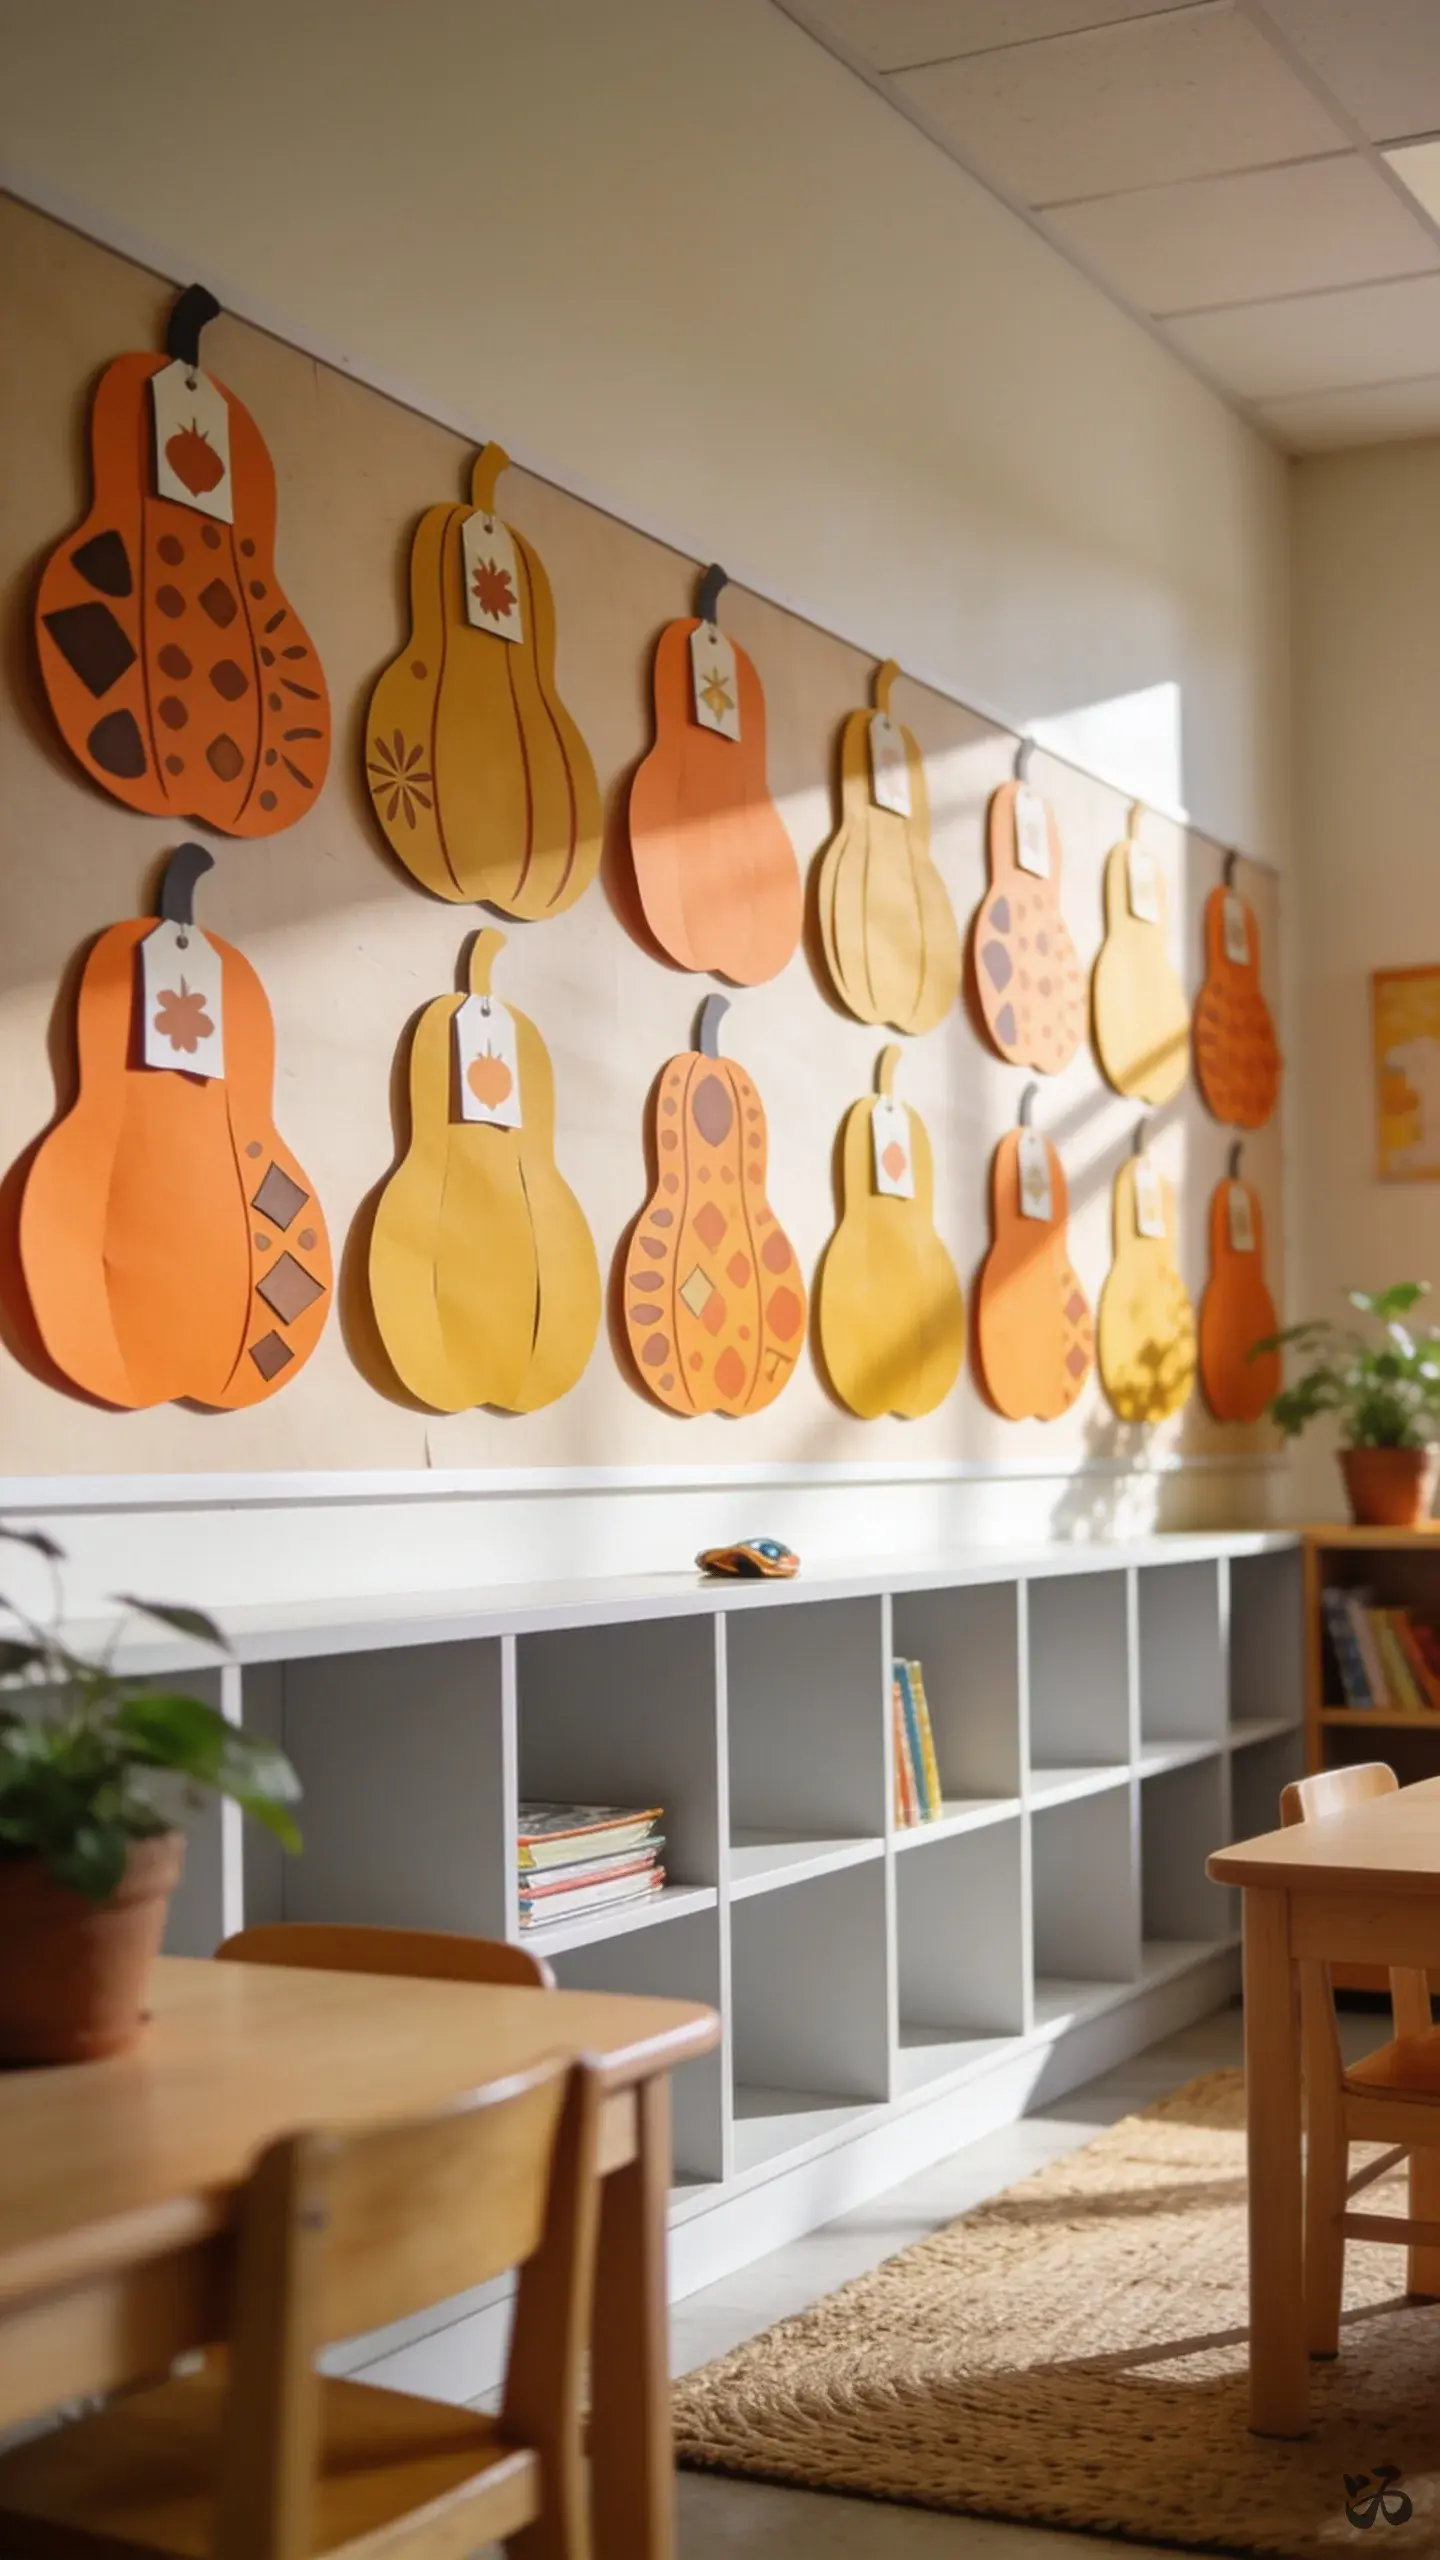 Save
SaveCut large gourd shapes from orange paper and label them with student names. Attach along a wall or around a mirror to create a friendly greeting display.
What you need
- Orange construction paper
- White or black marker
- Glue sticks
- Scissors
- Push pins or tape
Fast to make in a prep period; keeps a kid-friendly surface at eye level in the fall season.
10. Cozy Reading Nook Paper Lanterns
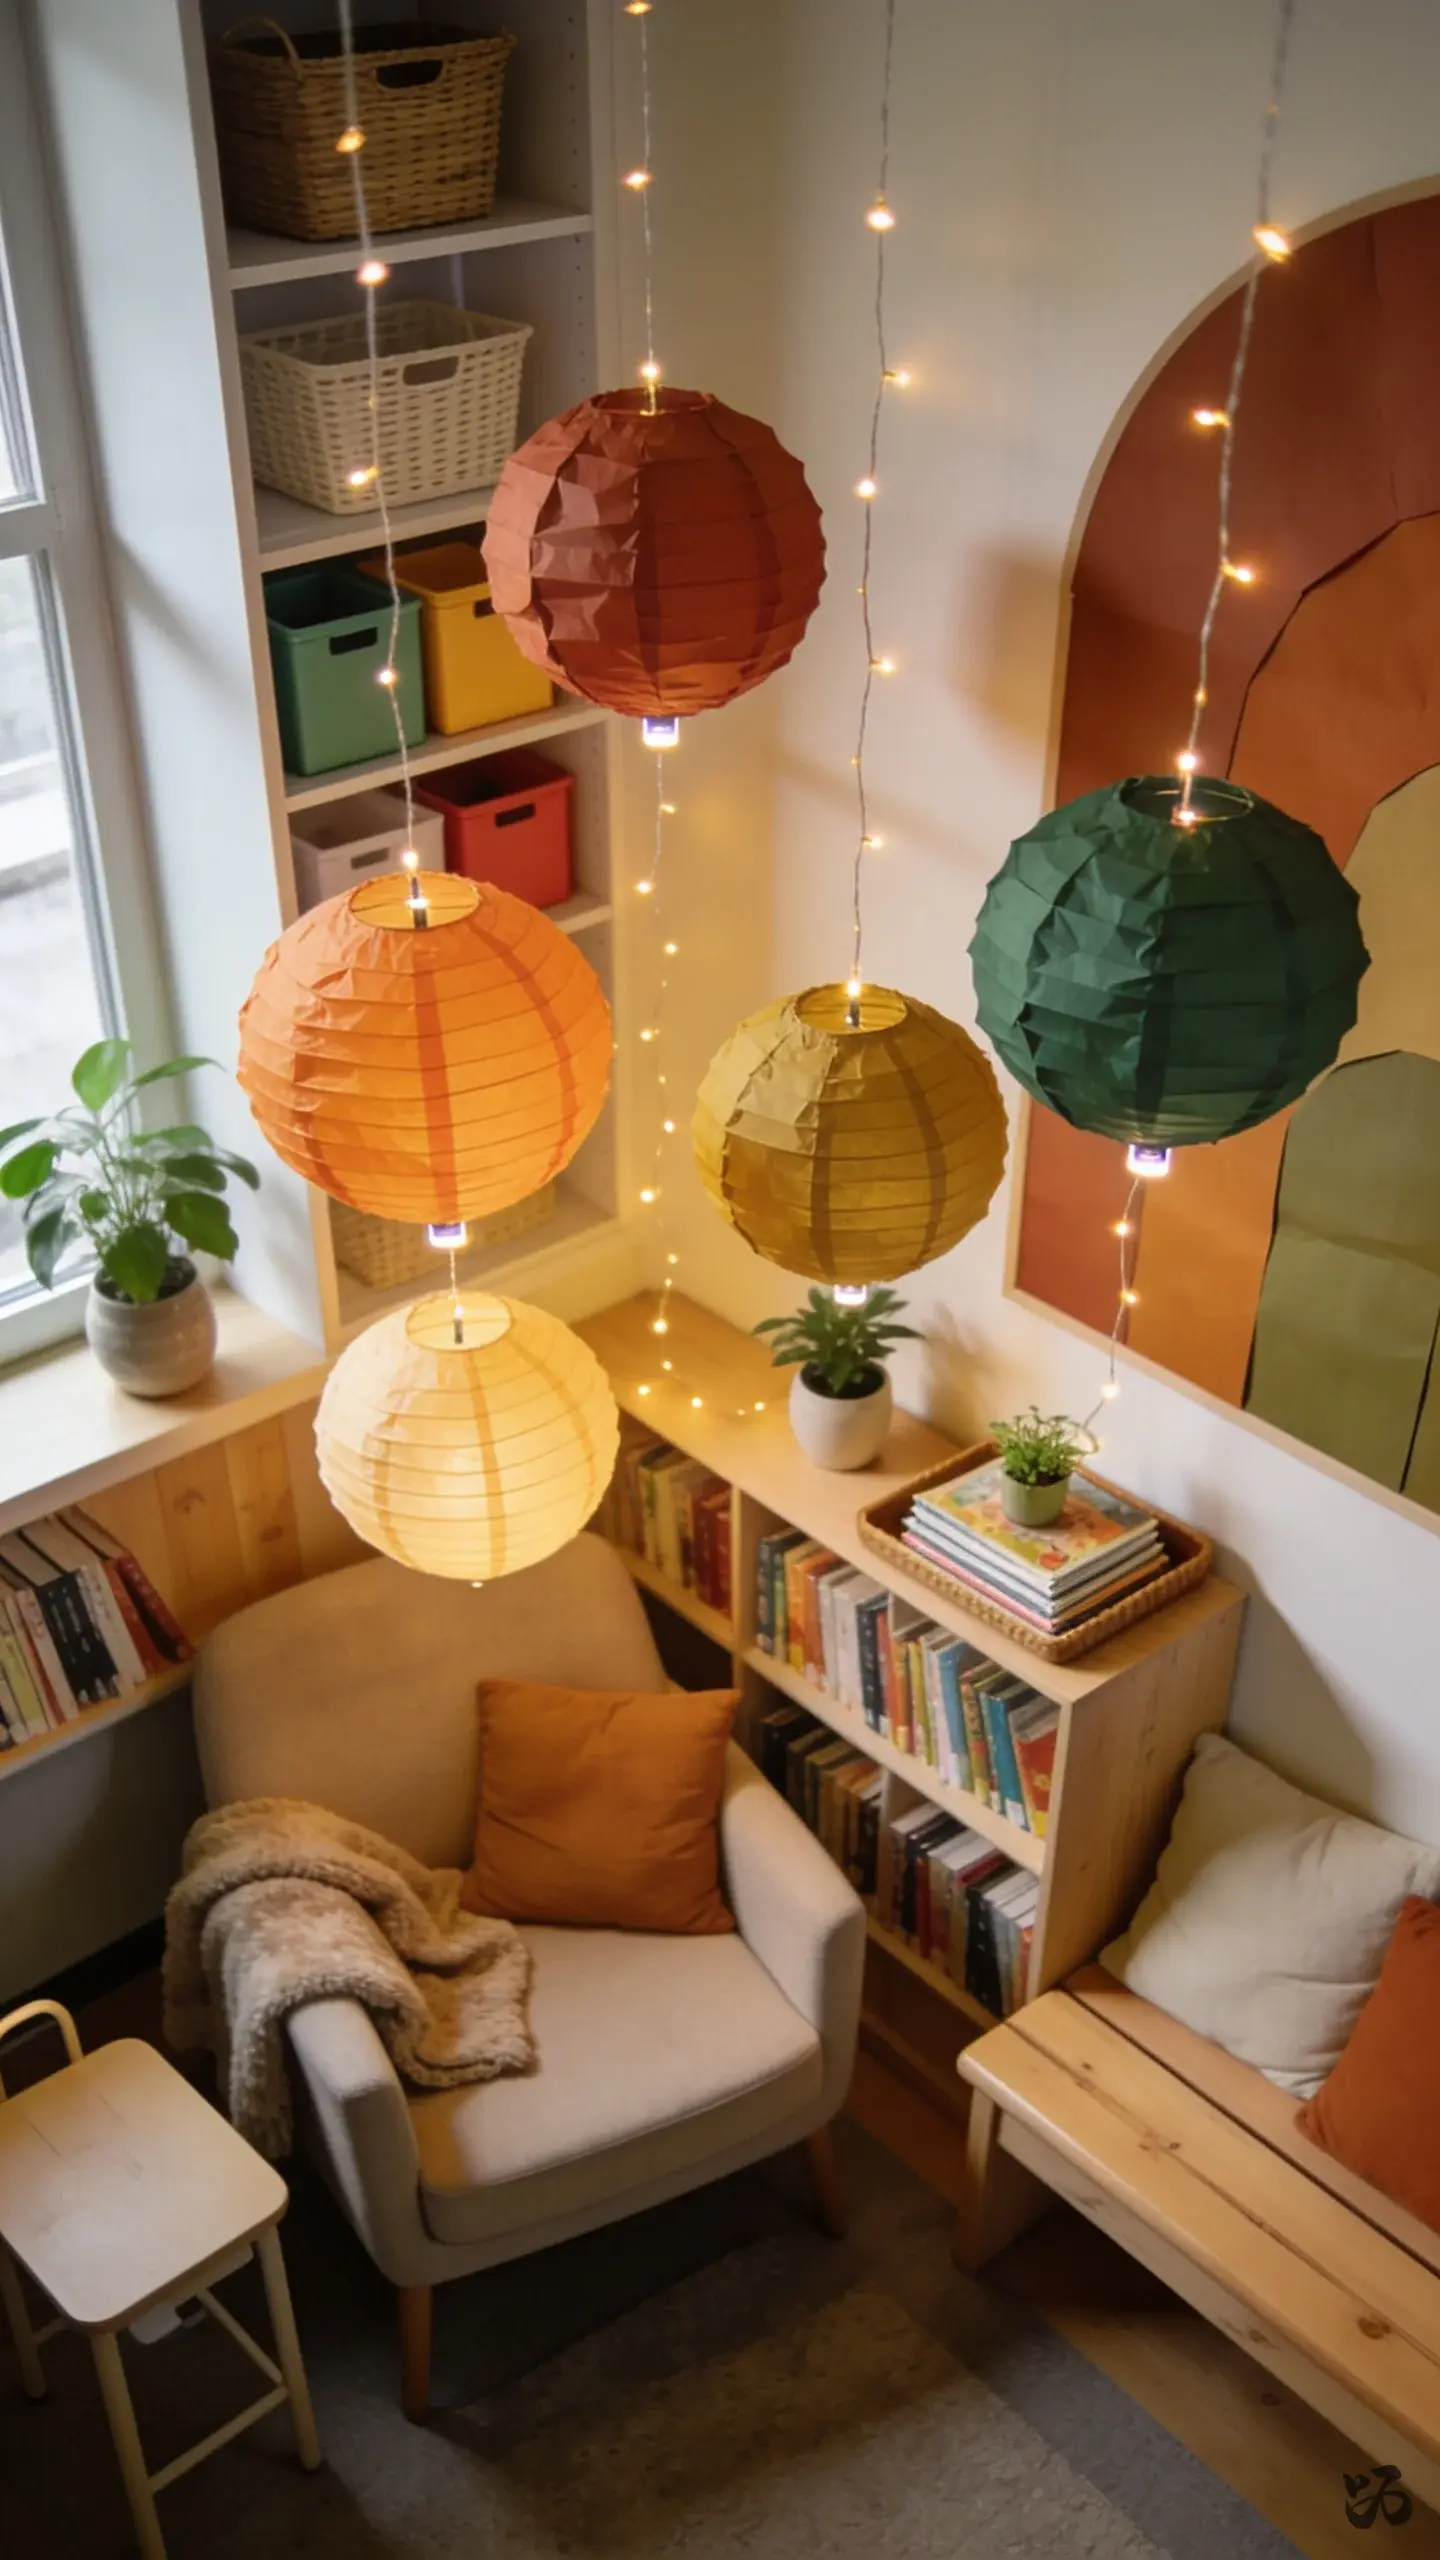 Save
SaveHang a few simple lanterns cut from colored paper near a reading corner. String them with a light, energy-efficient LED to create a cozy fall vibe without overloading power slots.
What you need
- Colored tissue paper or sturdy printer paper
- Stapler or tape
- String or fishing line
- LED string lights (battery-powered)
- Masking tape or removable adhesive
About 30–40 minutes to assemble; avoid placing lights near paper edges to reduce fire risk.
11. Harvest Banner with Student Handprints
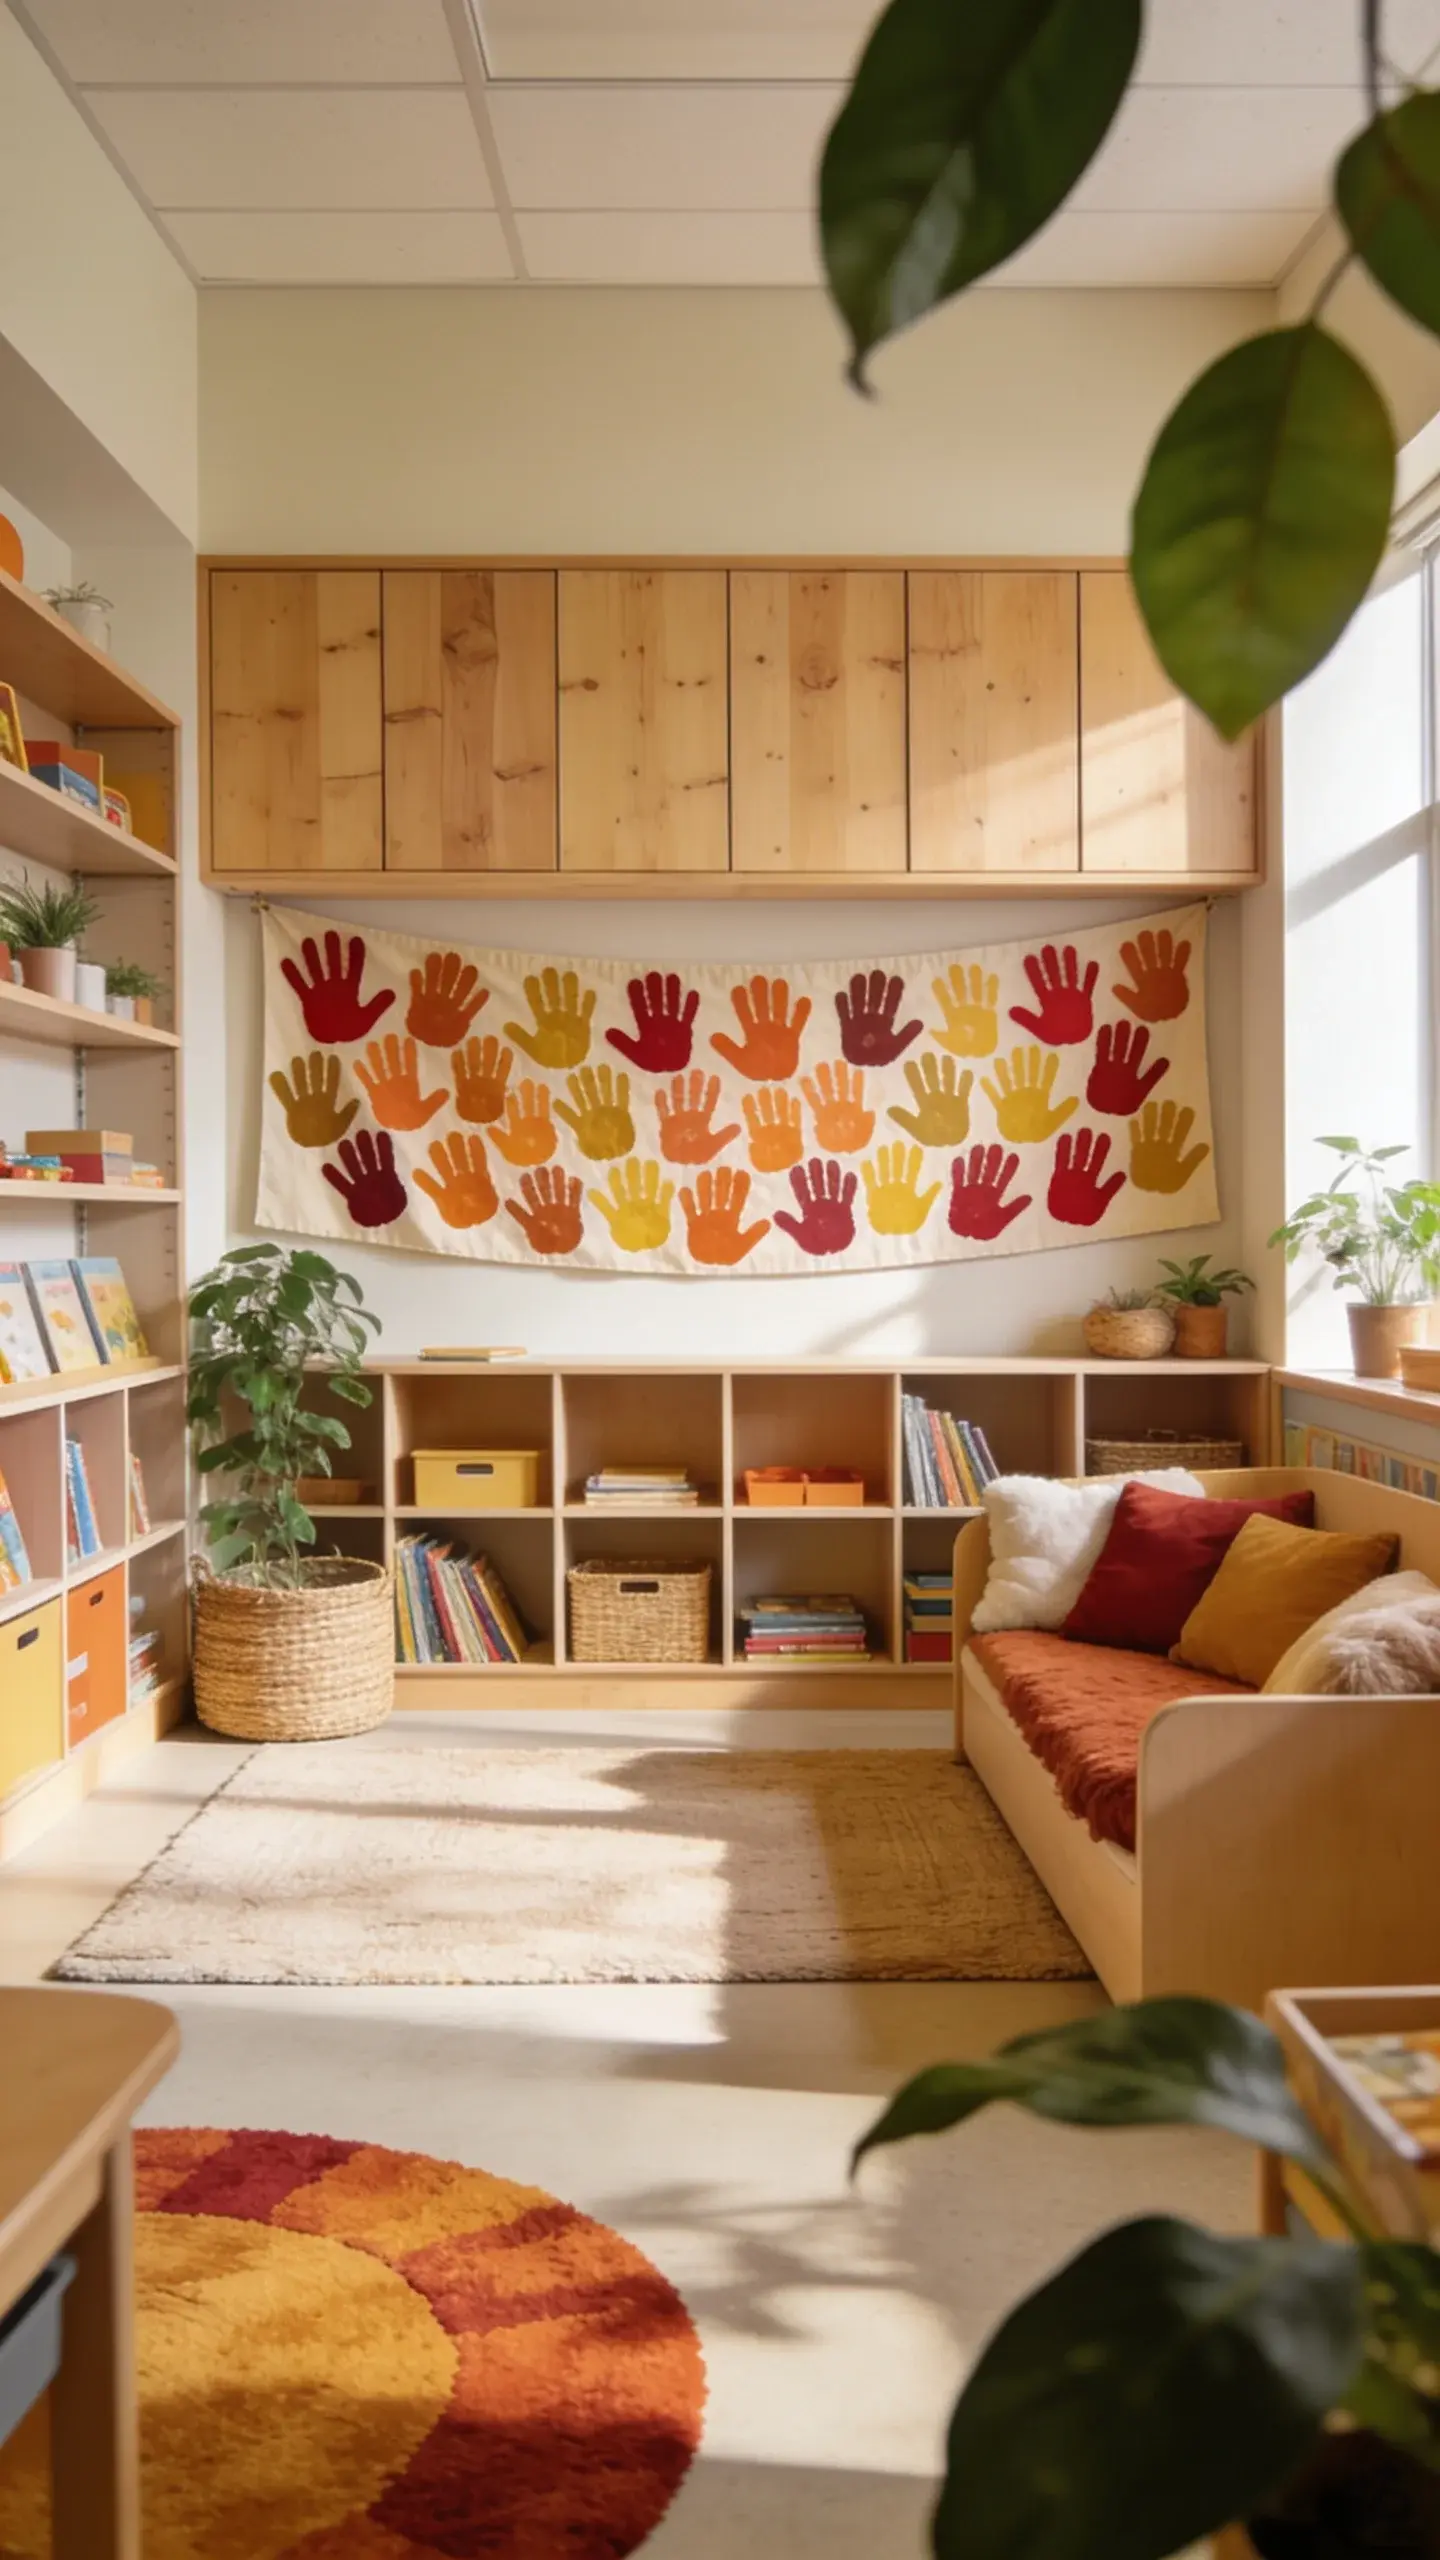 Save
SaveTrace students’ hands on different fall colors, cut, and assemble into a banner reading “Our Harvest of Learning.” It stays proudly on a wall or across the top of a cubby area.
What you need
- Colored paper for handprints
- Markers
- String or ribbon
- Scissors
- Glue or tape
Durable enough for a few weeks; rotate hands annually to reflect new students.
Paper, Borders and Letters


12. Counting Corn Stalks Door Cover
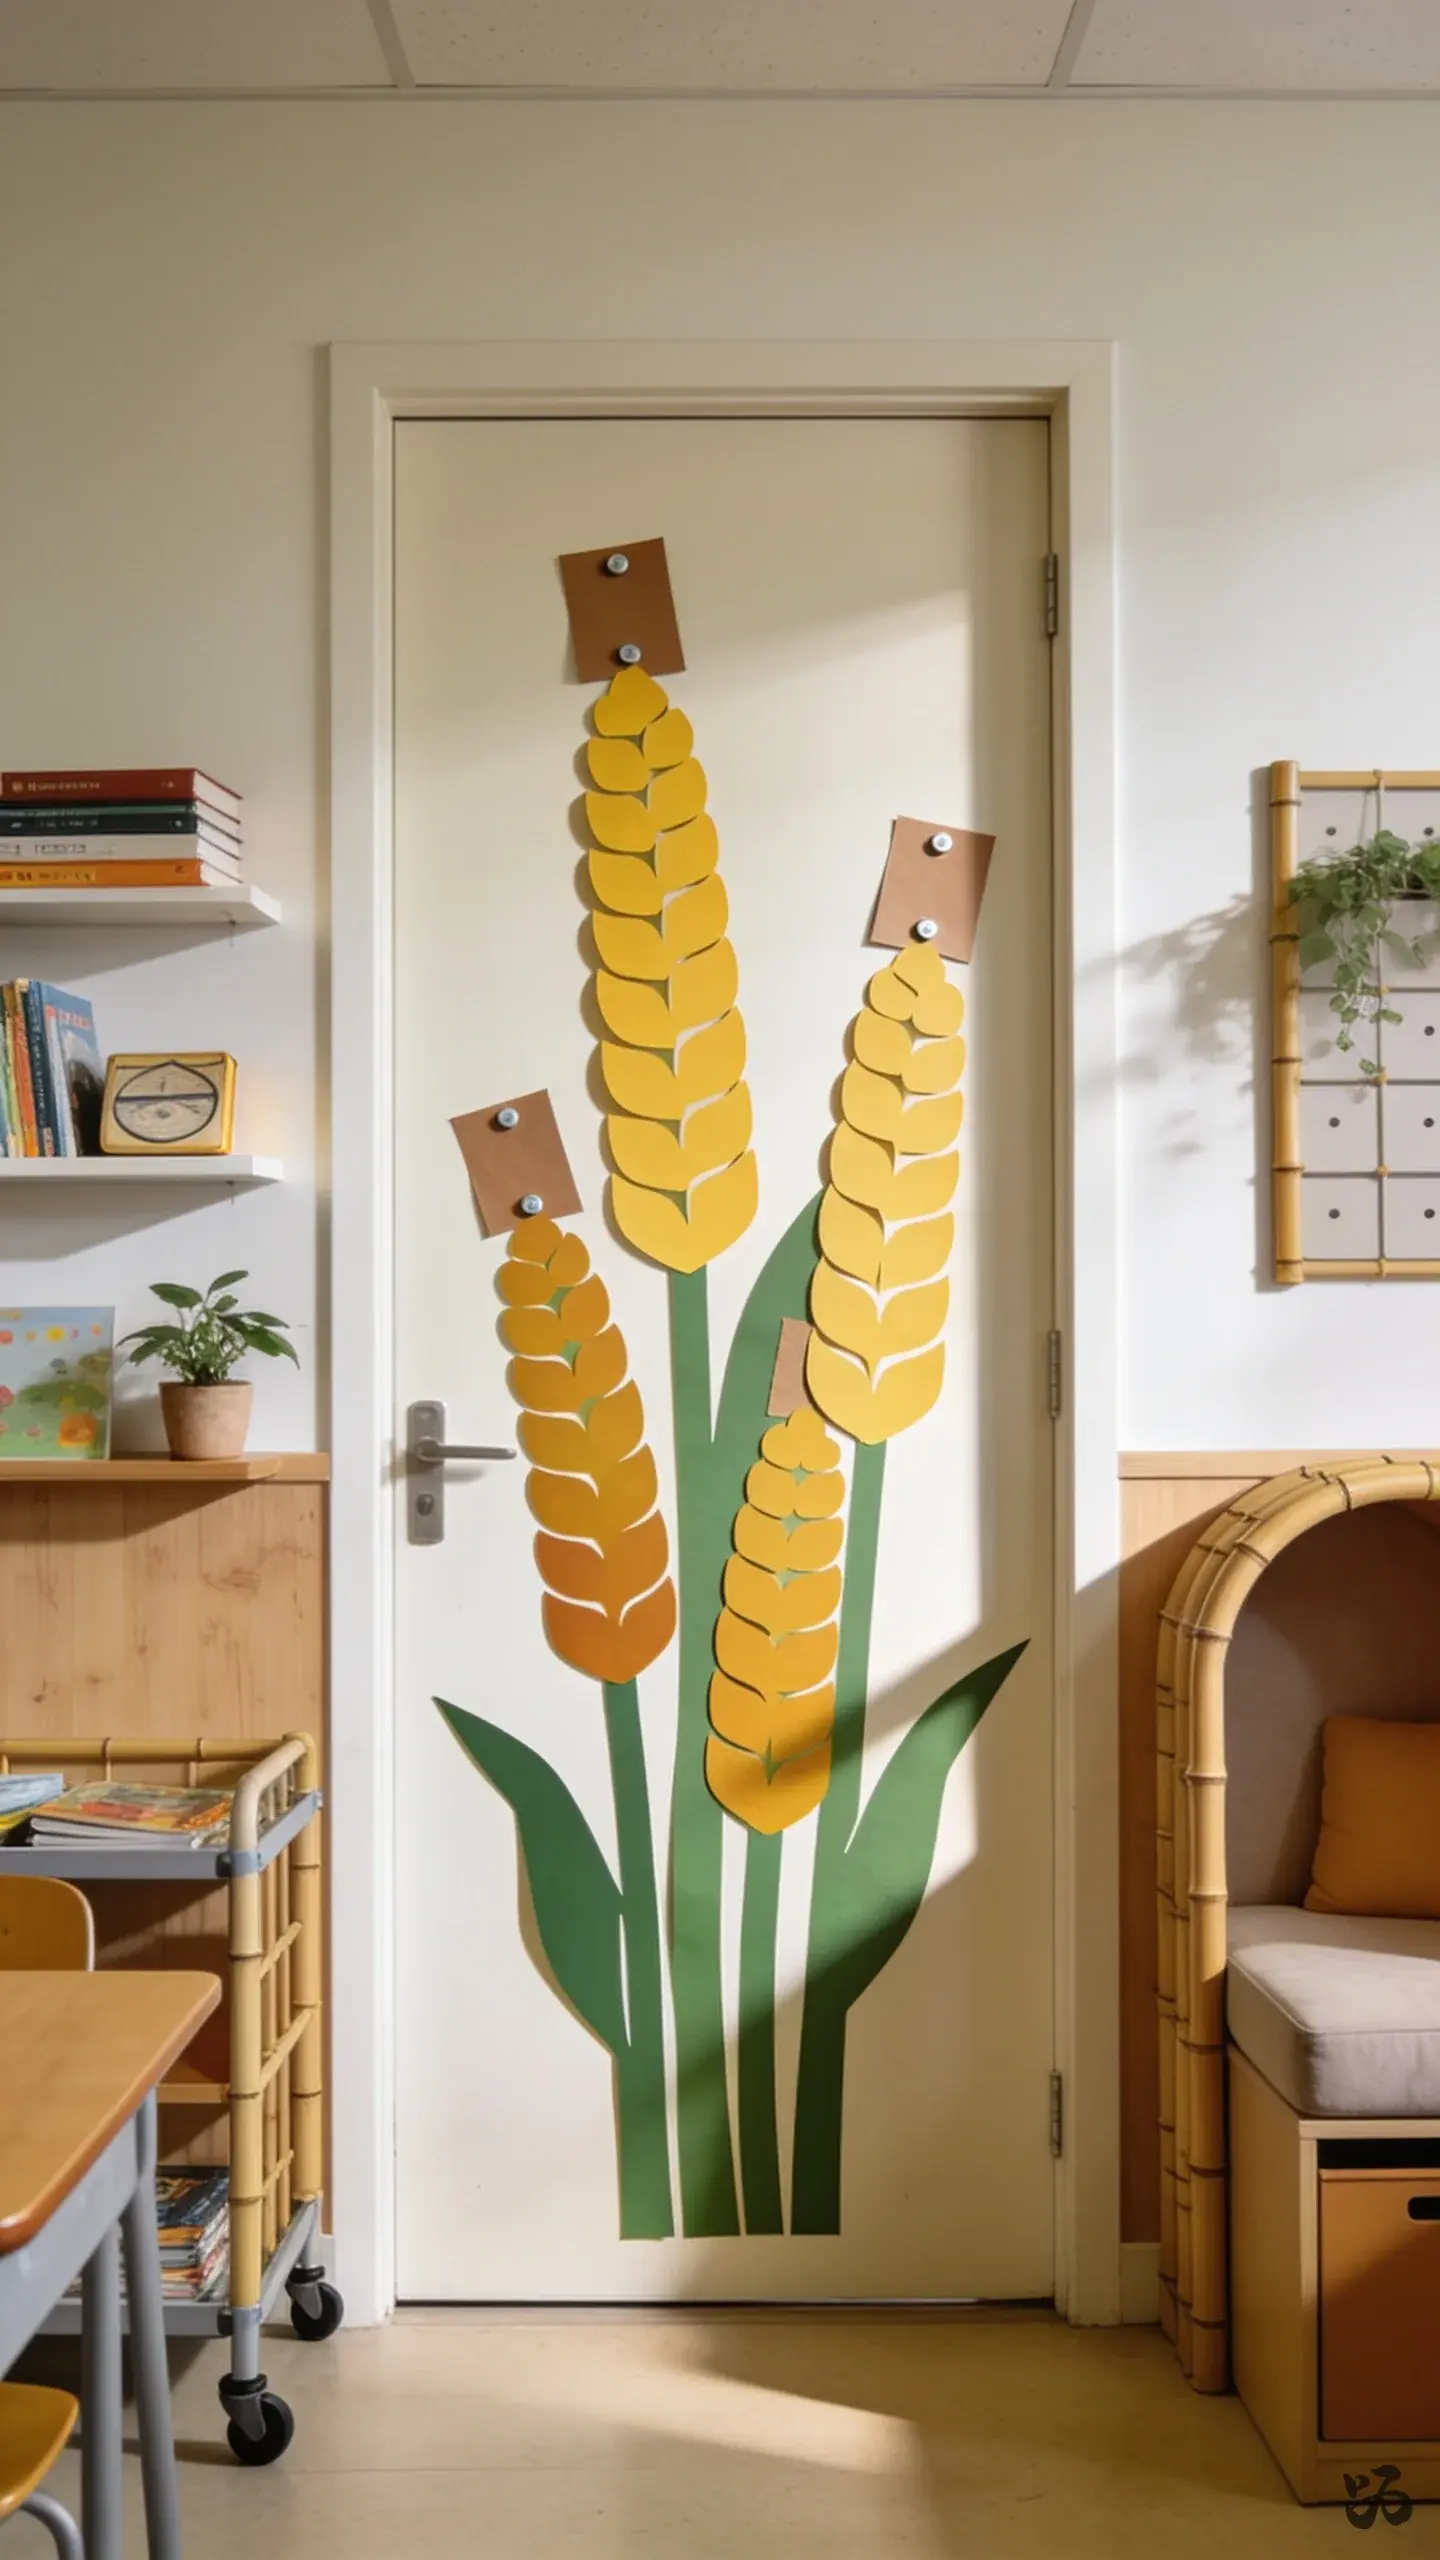 Save
SaveMake tall corn stalk silhouettes that run down the door or along a wall. Use yellow and green cardstock for stalks, with brown strips for the seed tops. It reads as seasonal without overwhelming the door surface.
What you need
- Yellow and green cardstock
- Brown construction paper
- Tape or staples
- Scissors
- Marker for seed details
About 60 minutes total; check that the door can still be opened fully and that tape won’t leave marks on the door finish.
13. Field Trip Ready Parachute Colors
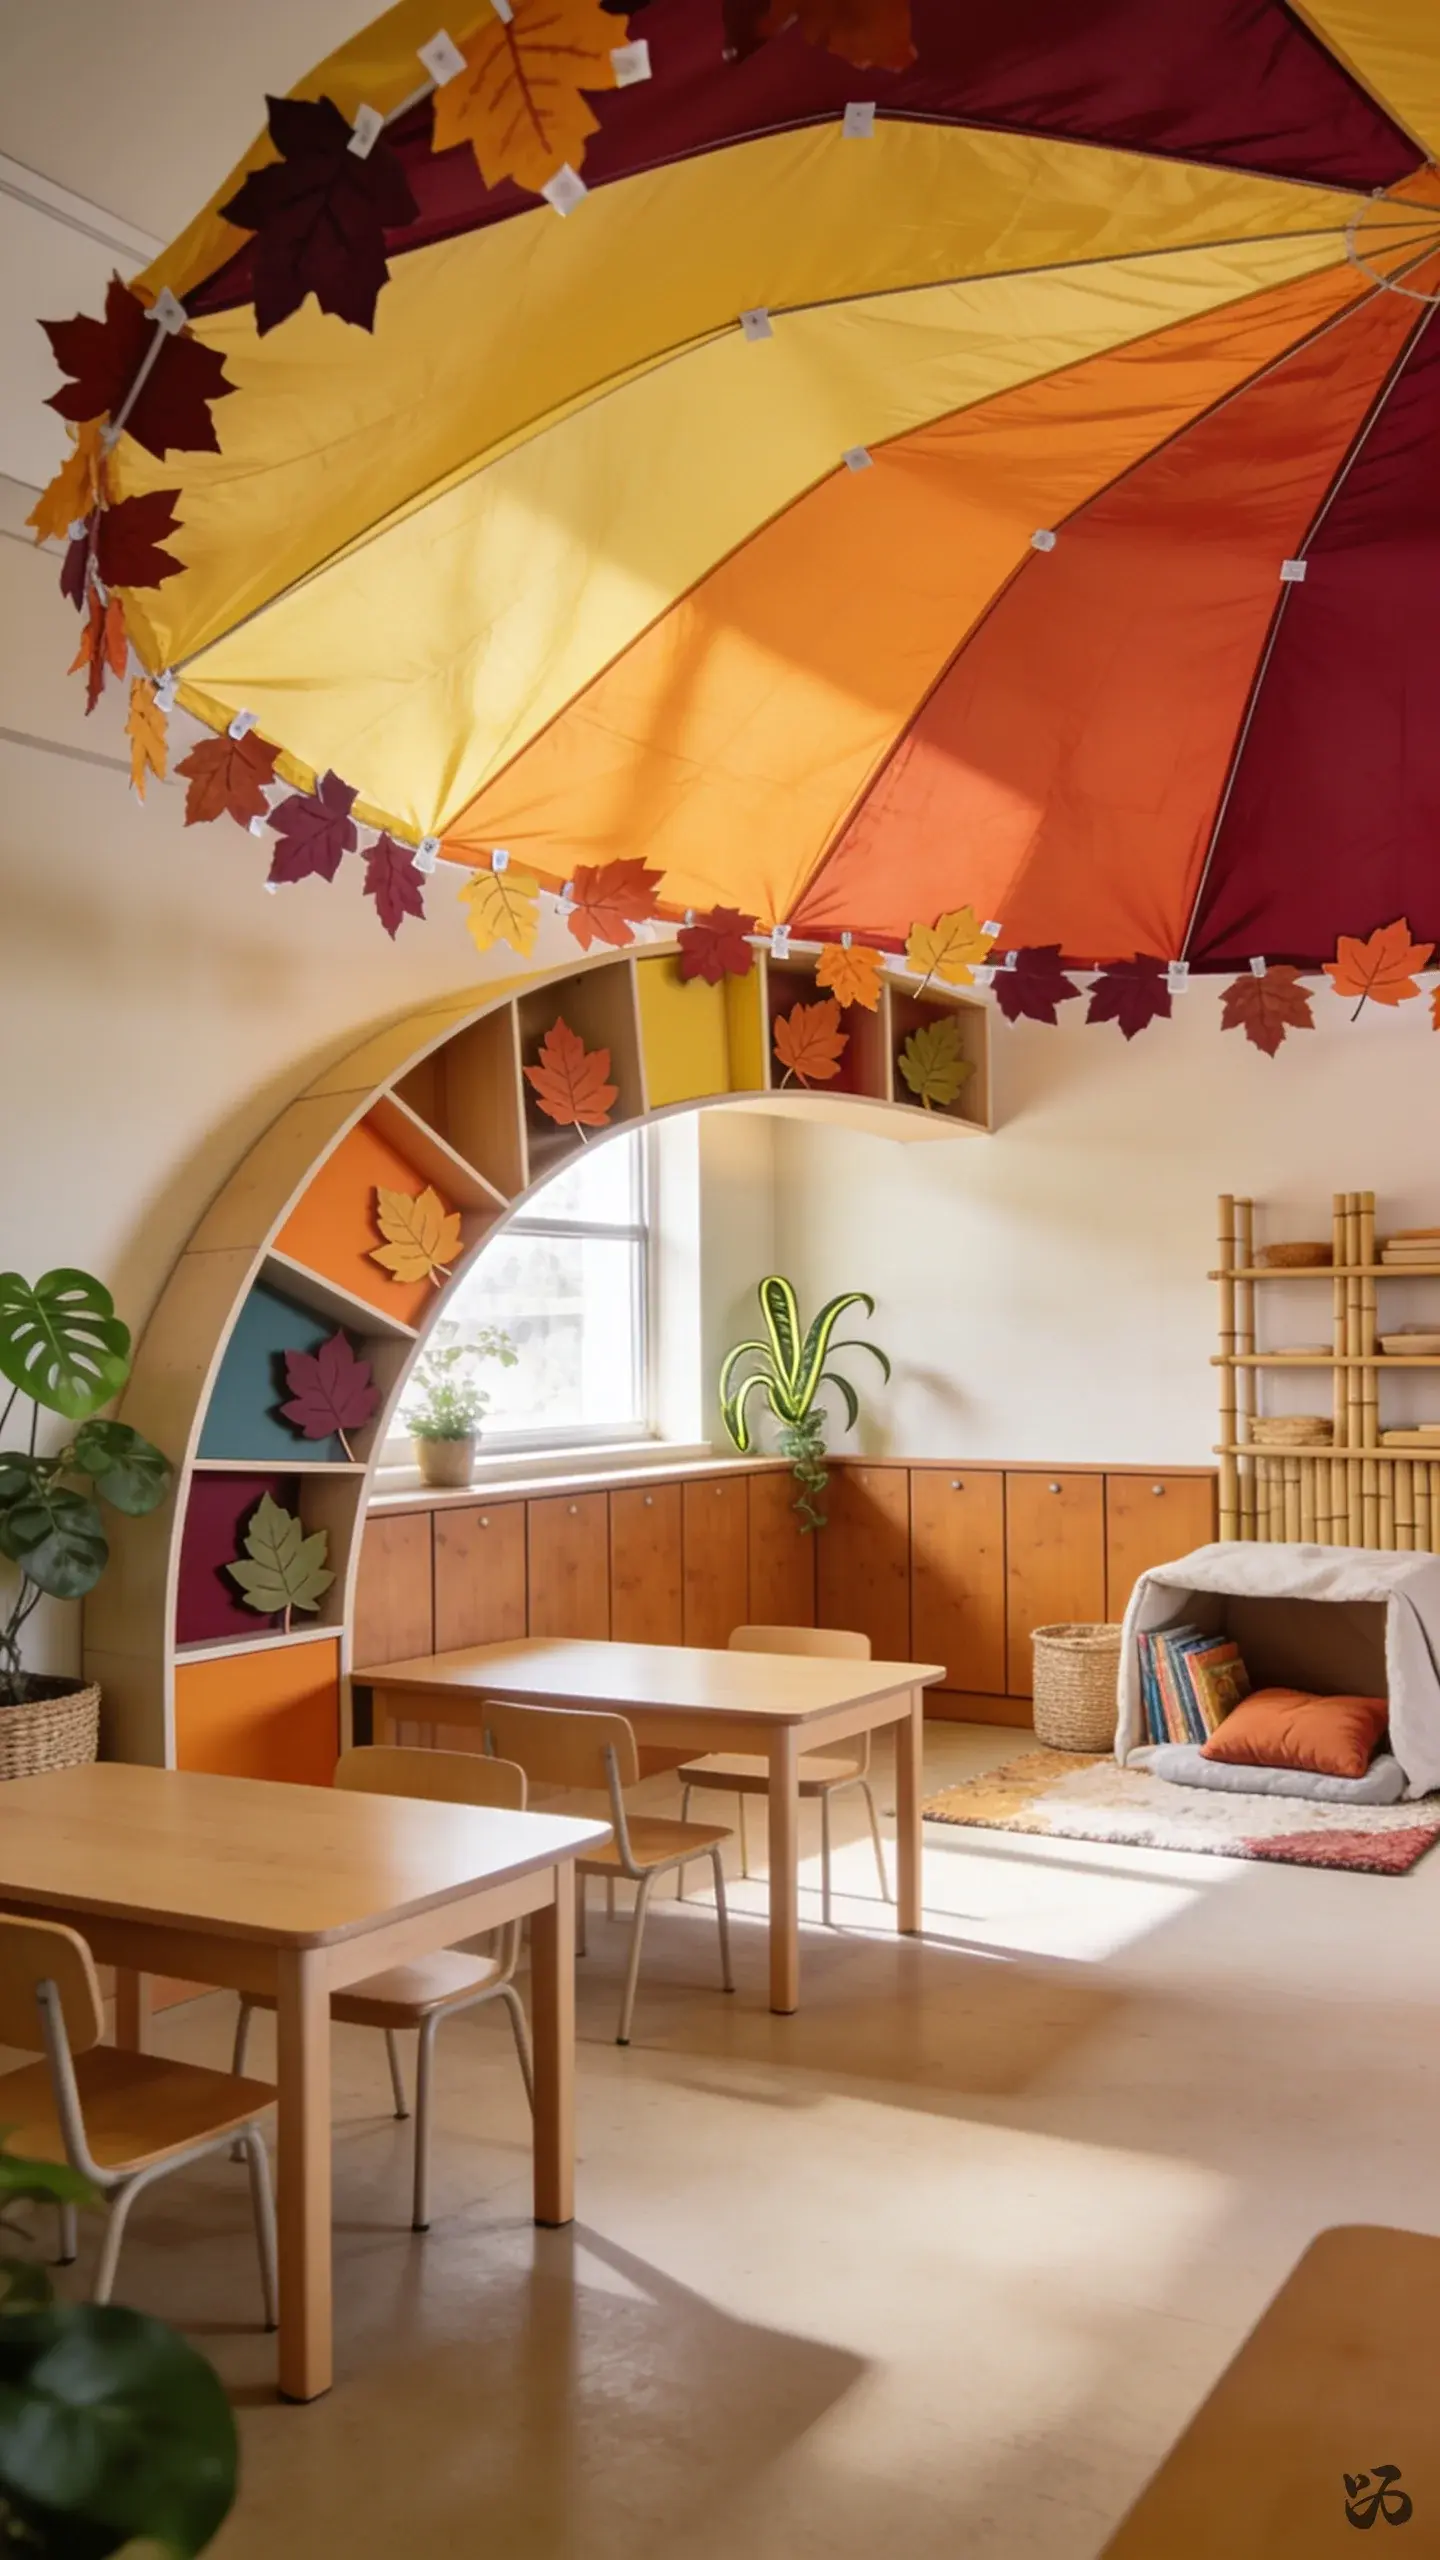 Save
SaveIf you have a classroom parachute, add fall color panels or paper leaf cutouts along the perimeter. It helps cue open-house timelines and field trips while keeping a cooperative feel during recess or indoor transitions.
What you need
- Parachute or large fabric
- Leaf cutouts
- Double-stick tape
- Cardstock for color panels
- Marker for labeling
Simple to add during a prep period; avoid heavy items that might snag on hands during play.
14. Cozy Corridor Chalkboard Panel
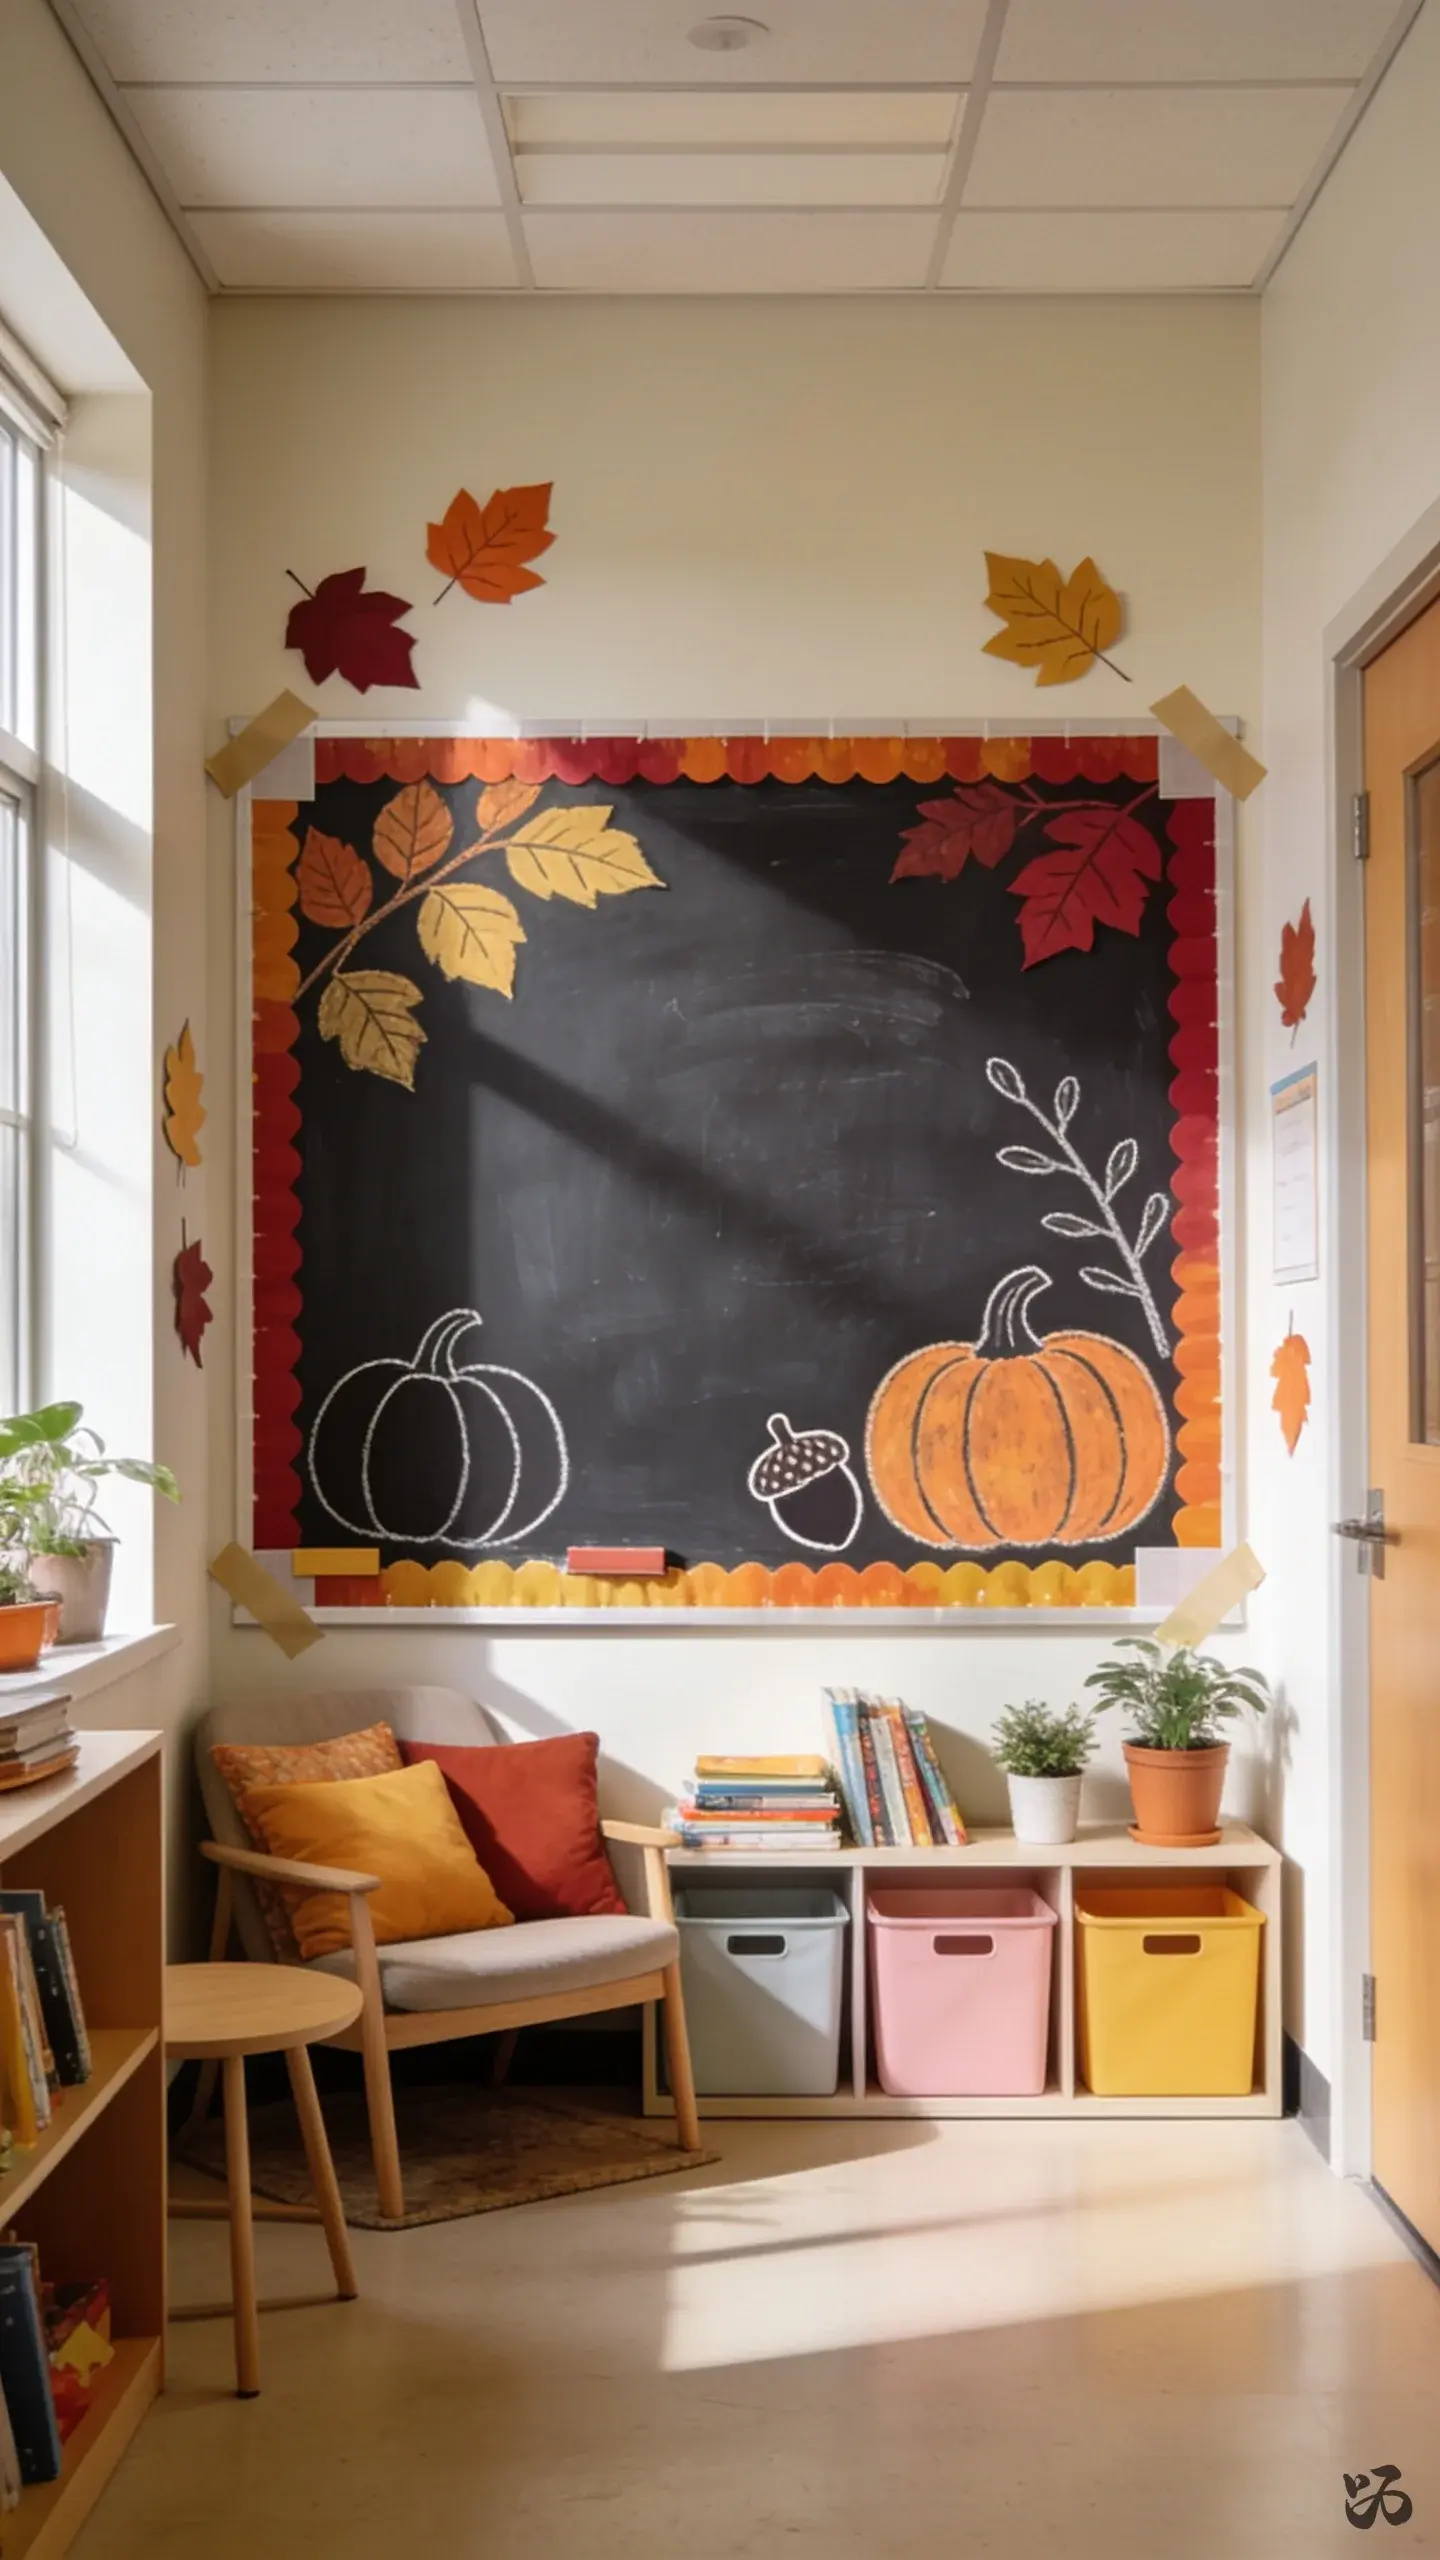 Save
SaveTurn a rolling whiteboard or a wall section into a chalk-friendly seasonal panel. Use chalk markers to create a fall scene; students can contribute during a small-group session without tearing paper or sticky notes.
What you need
- Chalkboard or chalkboard paint
- Chalk markers
- Removable tape for edges
- Bulletin border trim (optional)
- Paper leaves for accents
Keep it at kid height and resistant to frequent touch during center time.
15. Pumpkin Patch Corkboard Collage
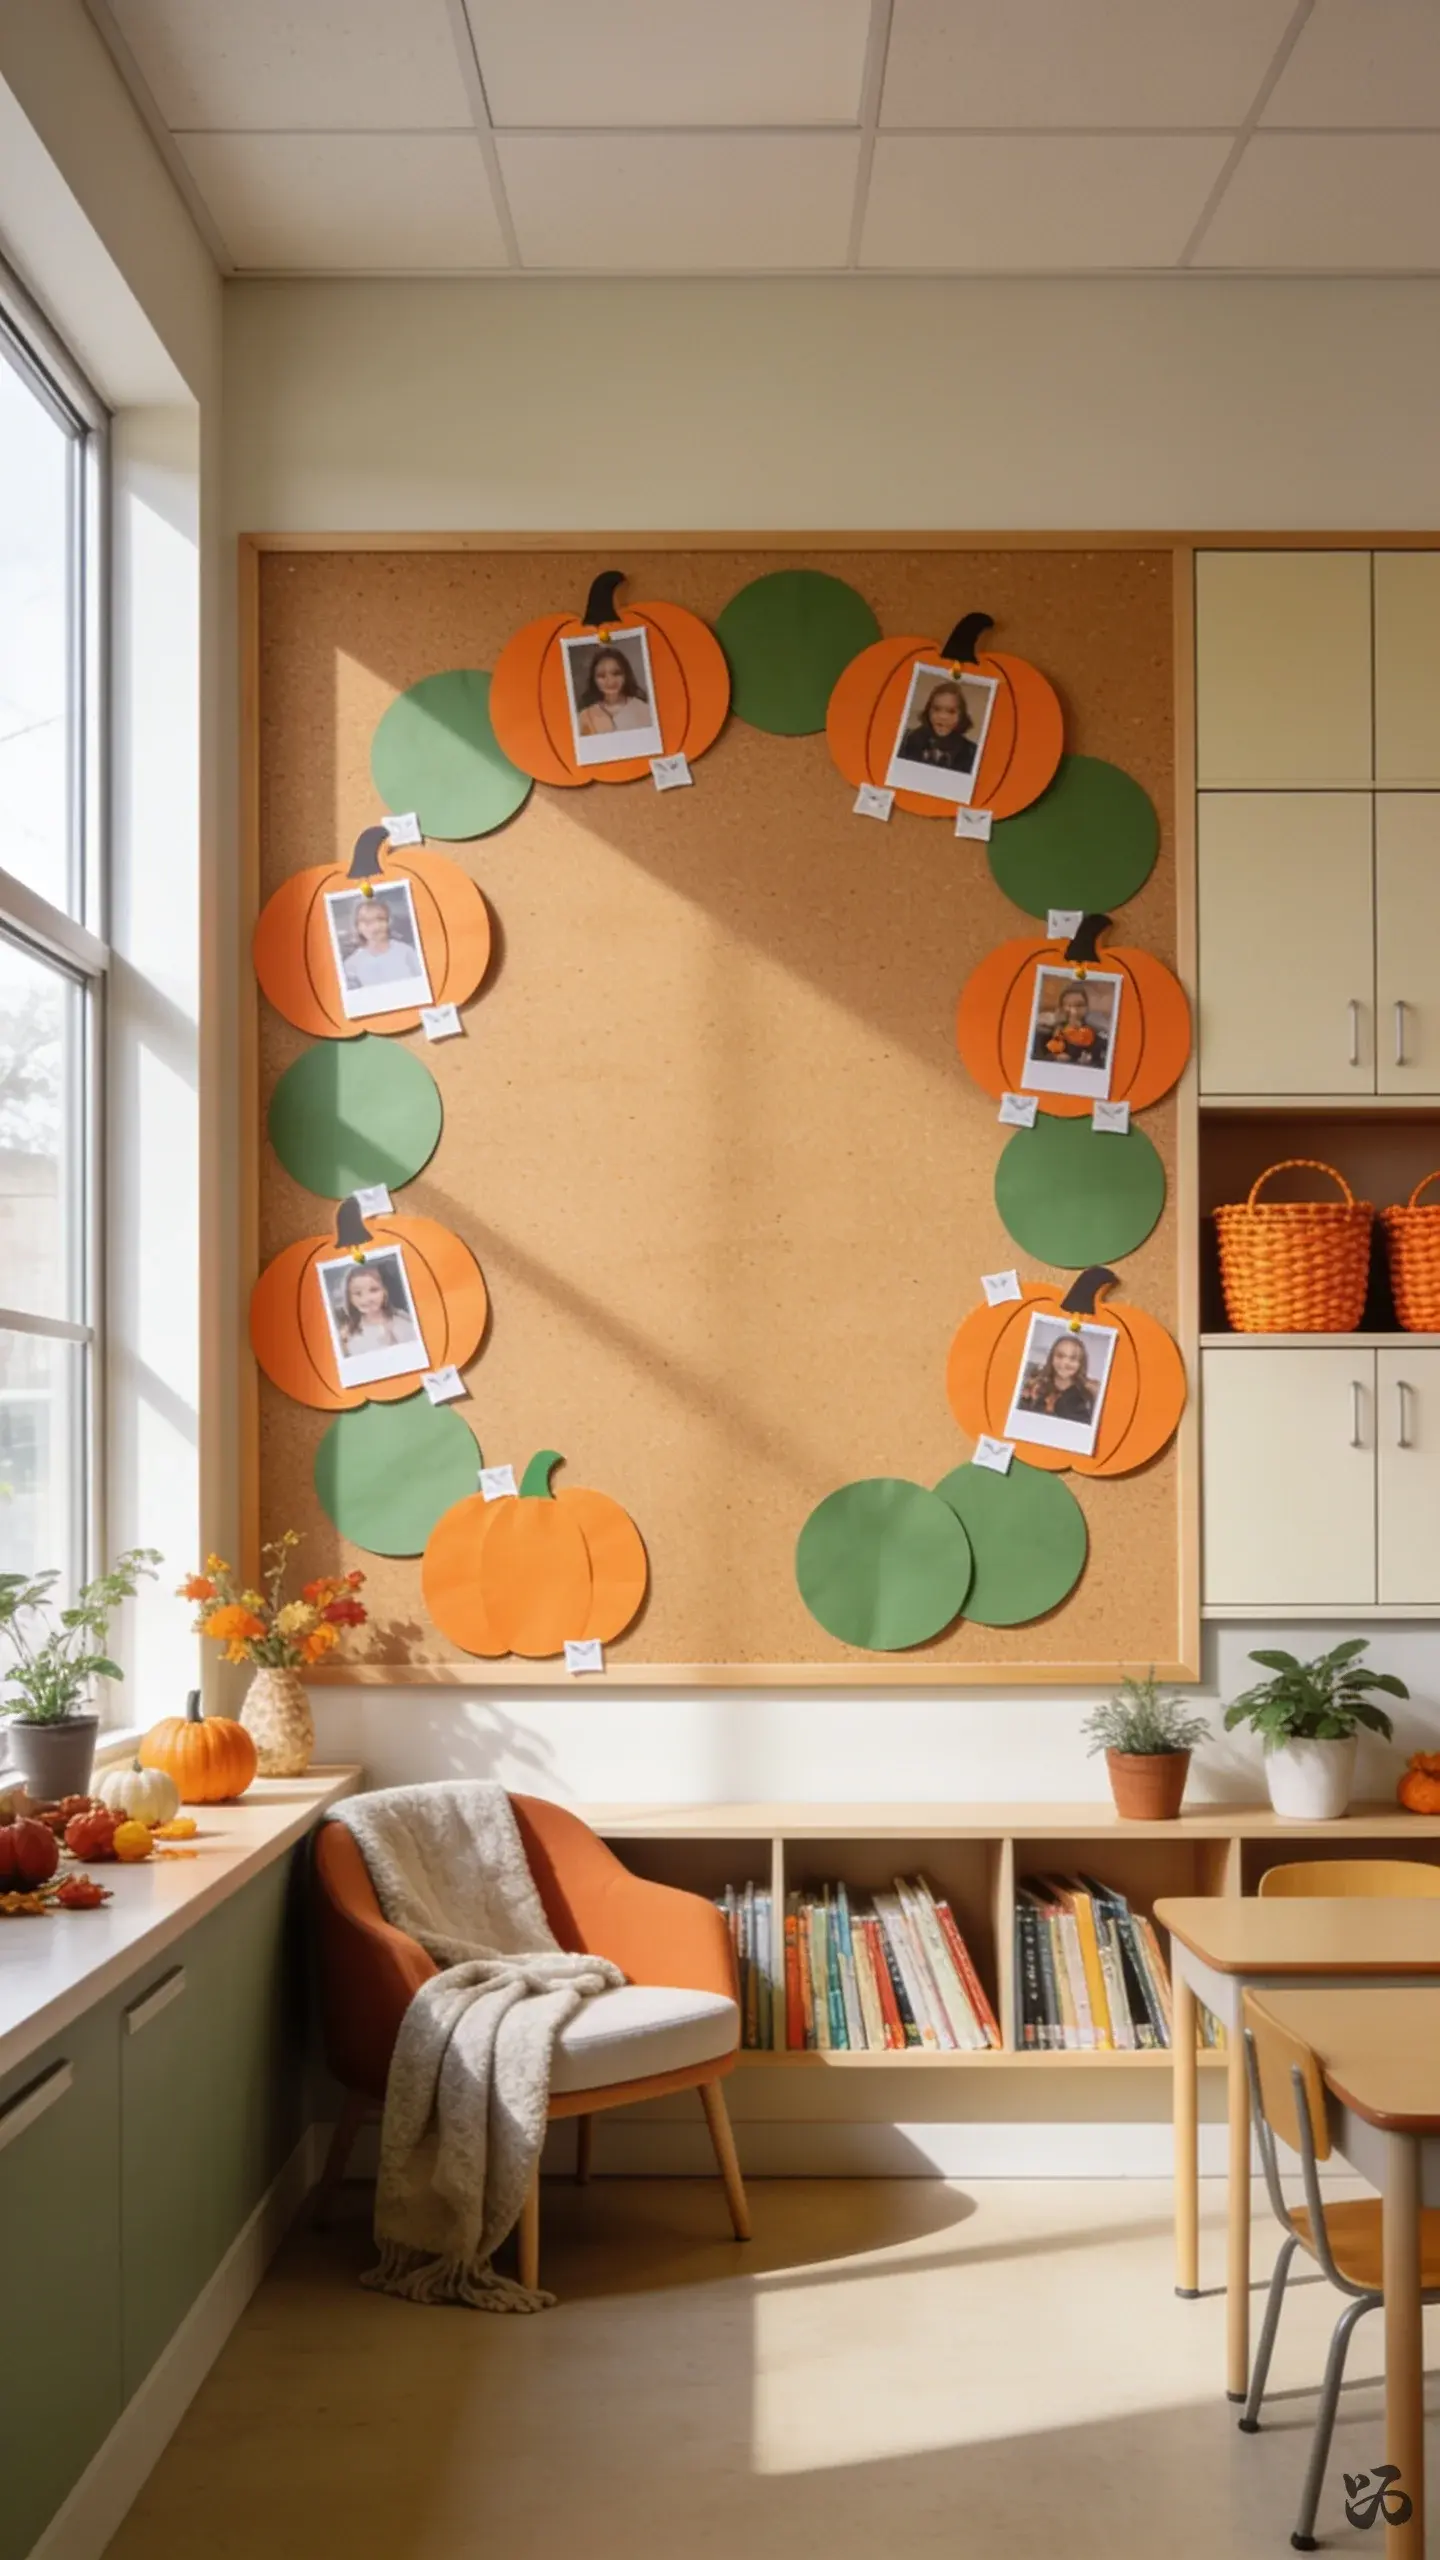 Save
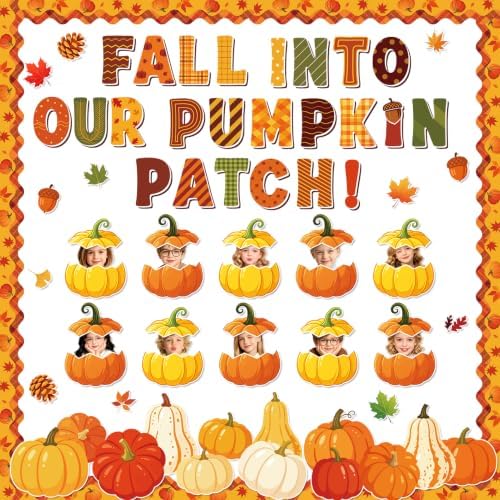
SaveCreate a small pumpkin patch collage on a corkboard using orange and green paper circles. Add students’ photos or initials in the pumpkins to personalize the display while remaining sturdy behind the cork.
What you need
- Corkboard
- Construction paper in pumpkin tones
- Stapler or push pins
- Photo corners for student photos
- Marker for labels
Good for a classroom corner display; keep corkboard away from heavy traffic areas to avoid casualties during hallway transitions.
16. Harvest Themed Word Wall Cards
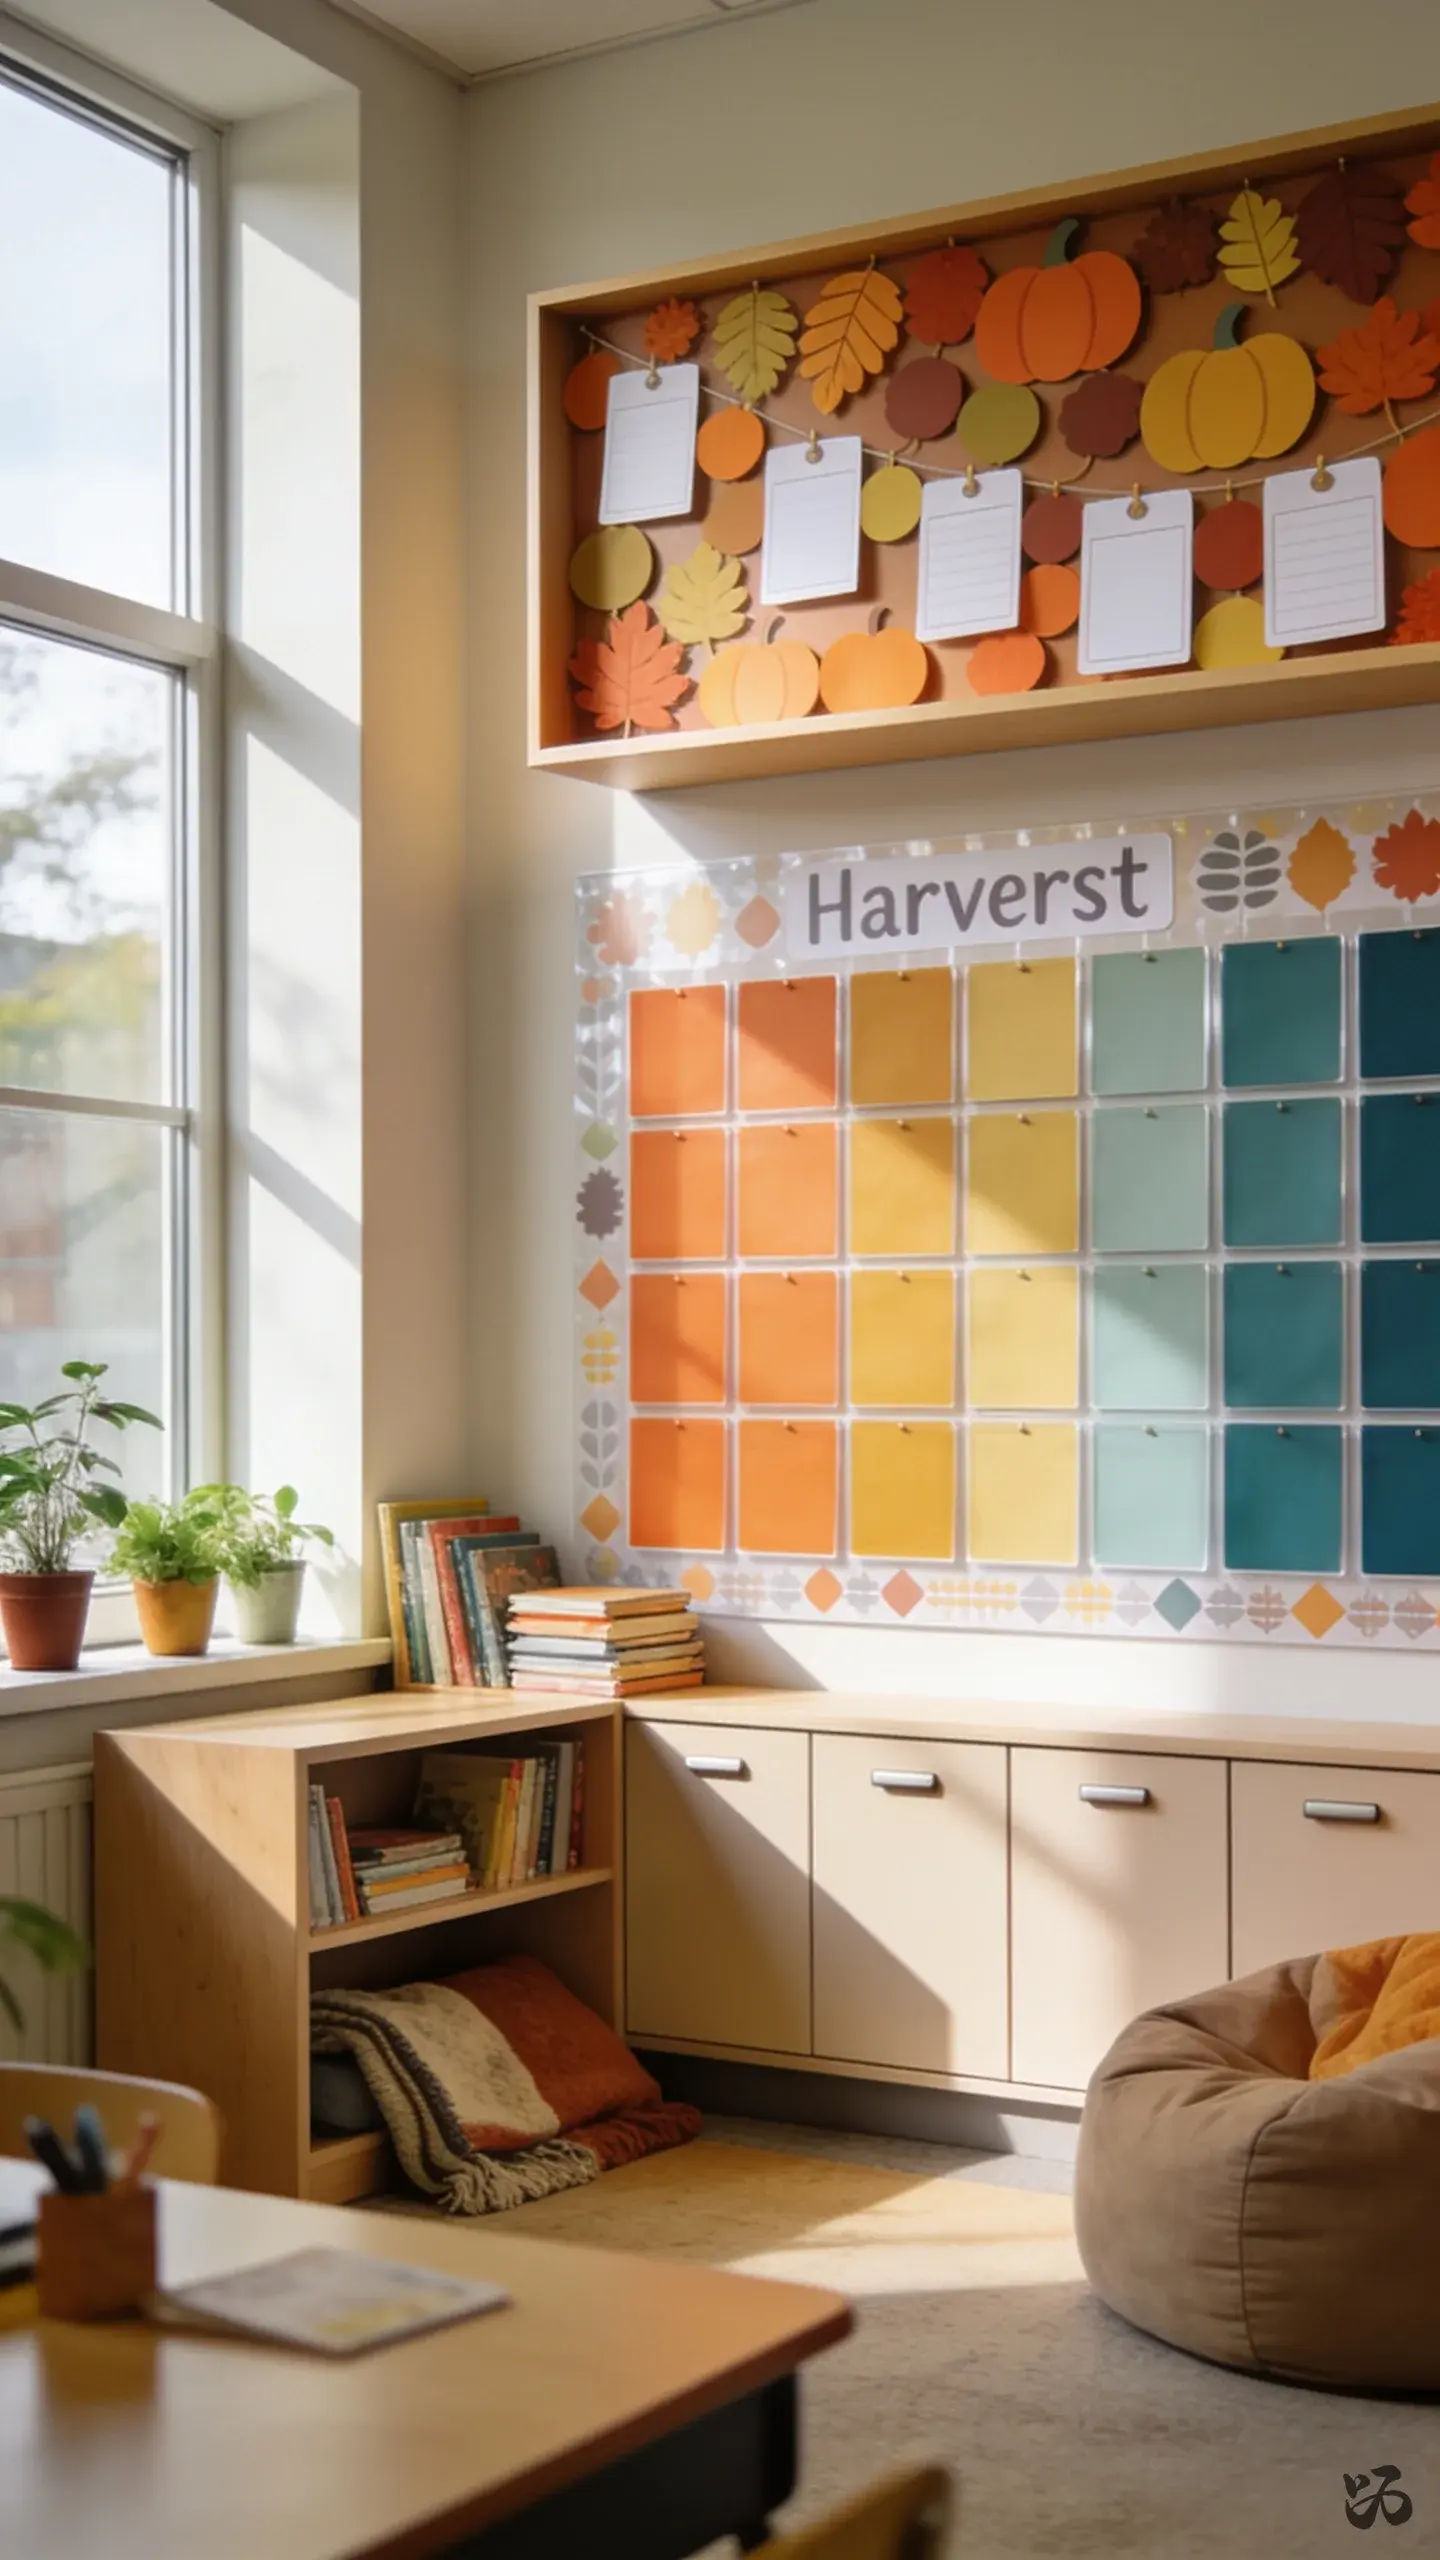 Save
SavePrint or write seed- and harvest-related vocabulary on sturdy cards. Pin or tape them to a wall in a grid, using fall colors as a unifying theme. This doubles as a reference during literacy centers.
What you need
- Cardstock or index cards
- Marker or printer
- Clear laminating pouches (optional)
- Binder rings to keep organized
- Masking tape or removable adhesive
Print once and rotate new words monthly; laminating saves time if you plan to reuse.
17. Gentle Glowing Lantern Path
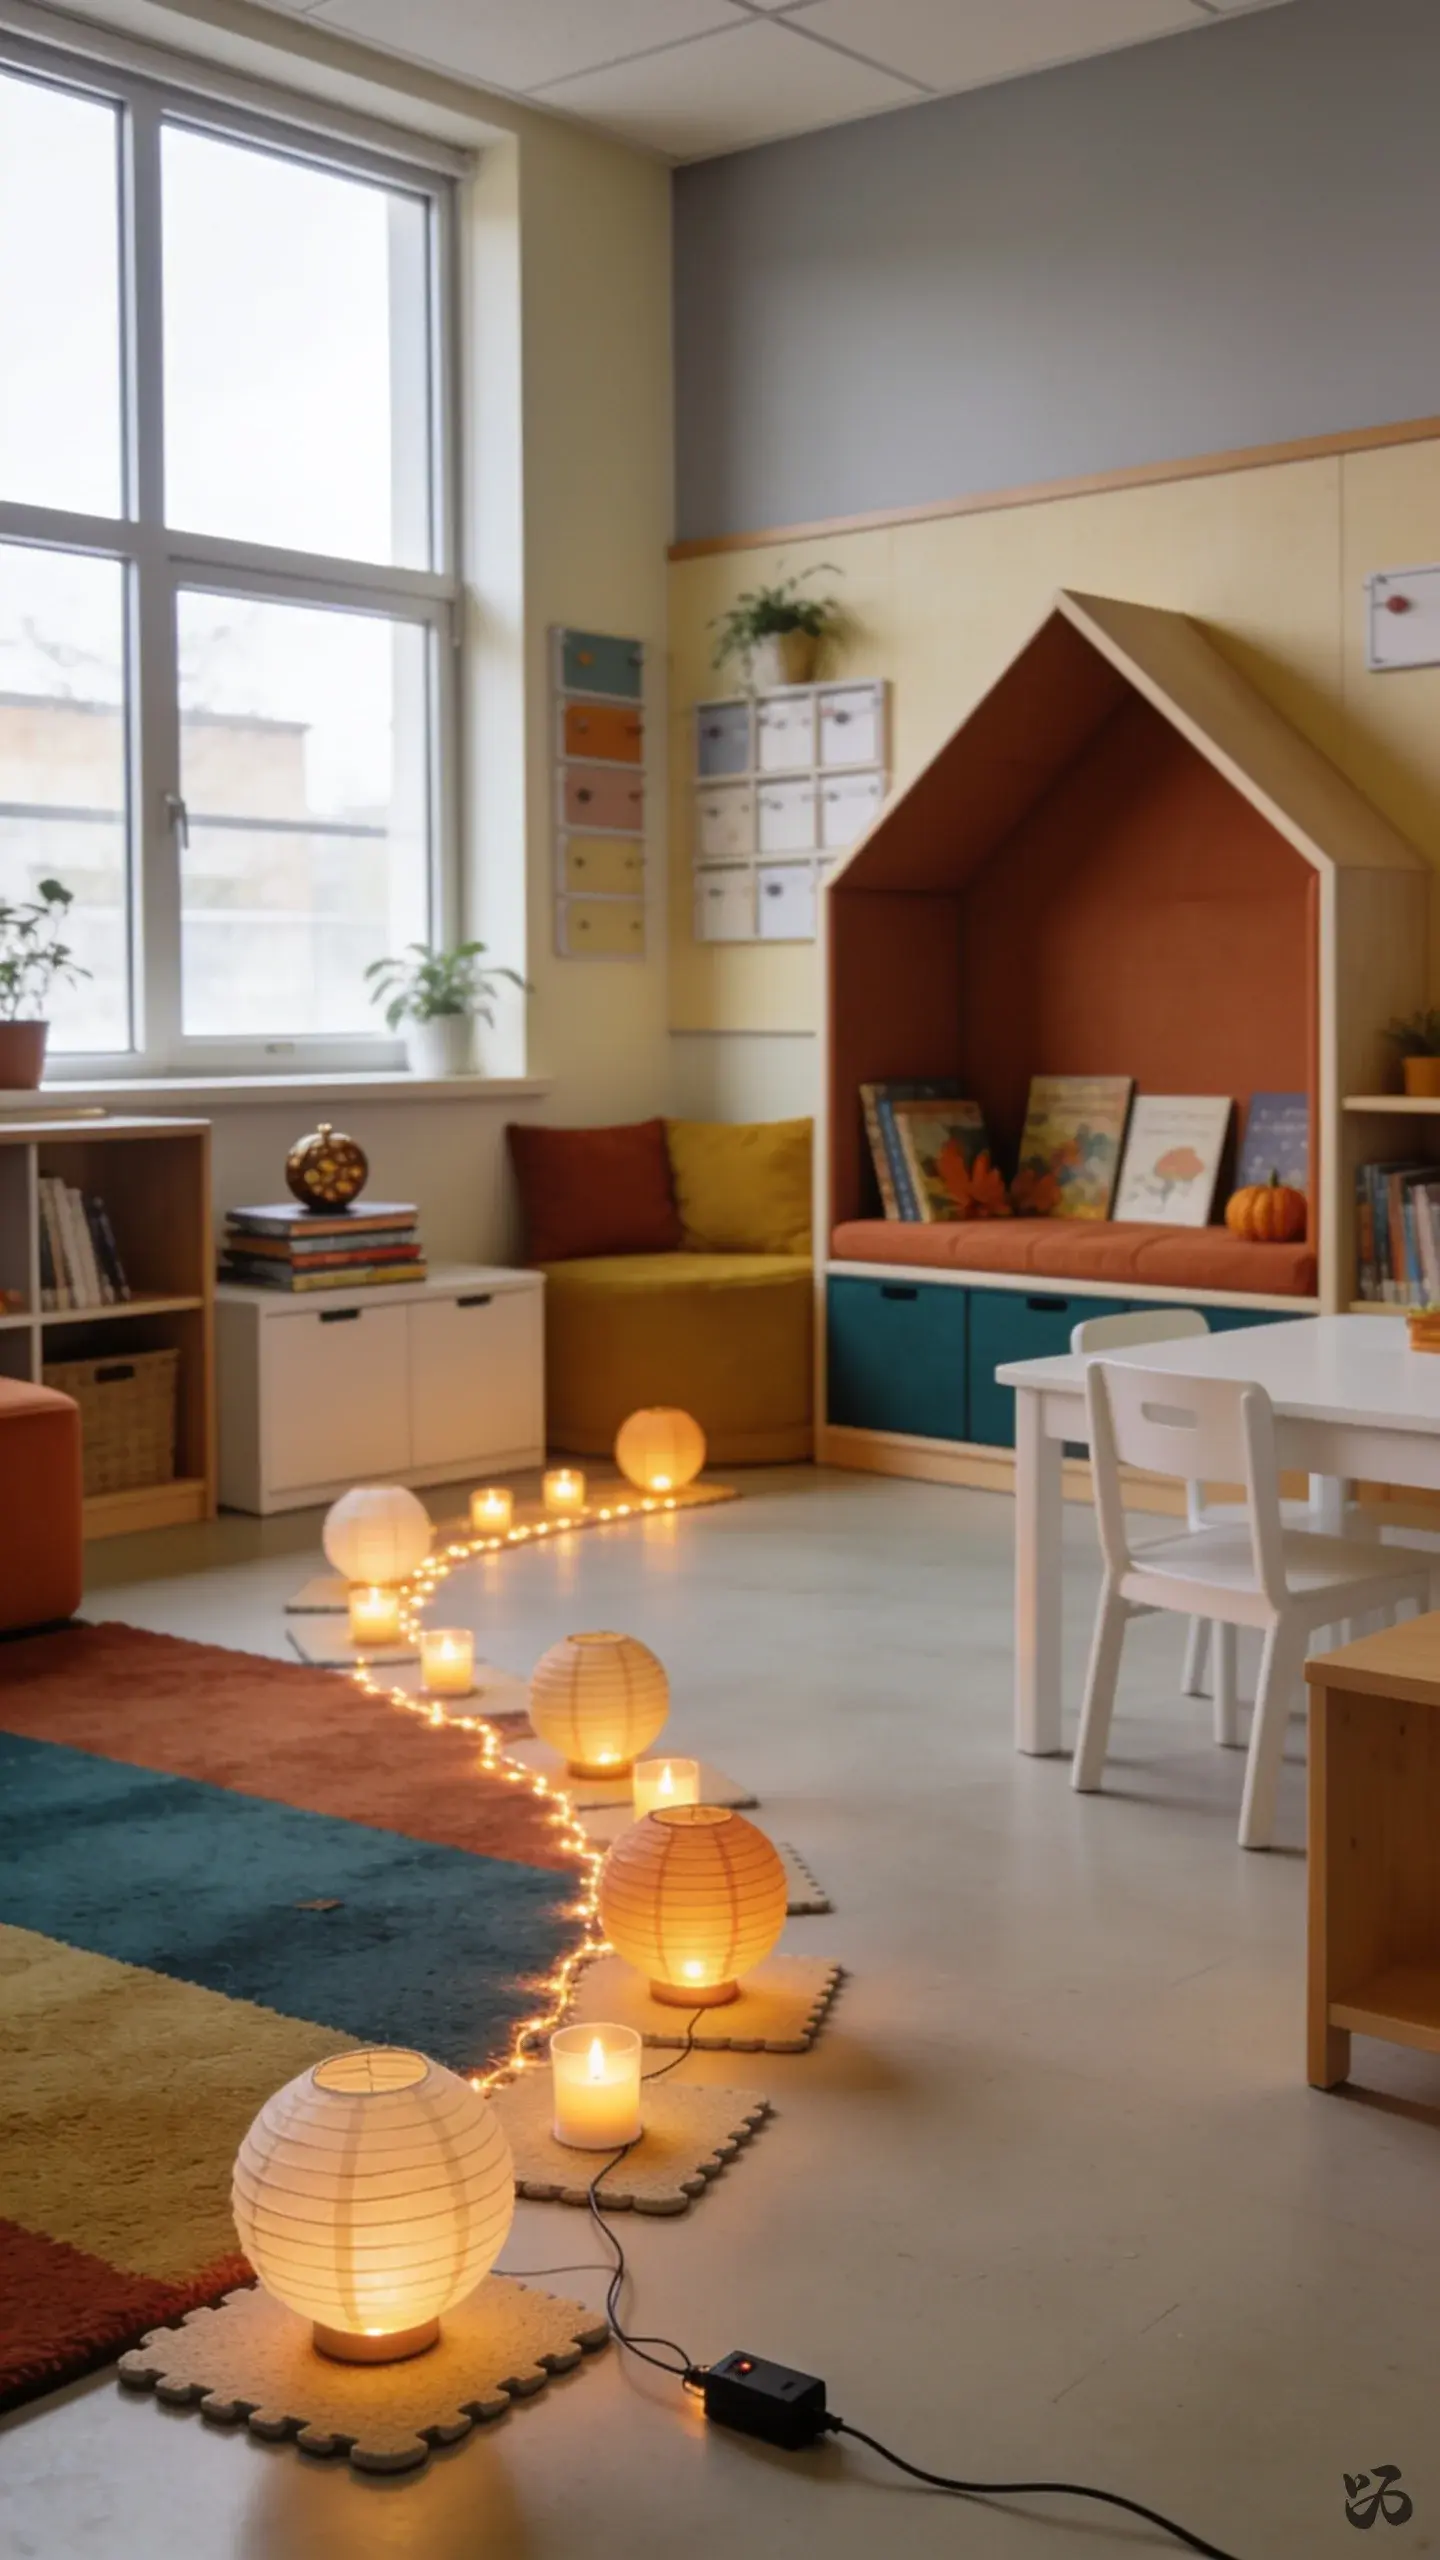 Save
SavePlace a soft glow path along a reading rug using paper lanterns and LED tealights. Keep it low to the floor so it remains accessible and safe for small hands during calm-down corners or after lunch.
What you need
- Paper lanterns
- Battery-operated LED tealights
- Felt or foam strips for base padding
- Double-stick tape
- Extension cord or battery pack placed out of reach
Walk-through planning helps; ensure cords stay away from the path and trip zones.
The Bits That Make It Look Finished


18. Autumn Word Cloud on a Poster Board
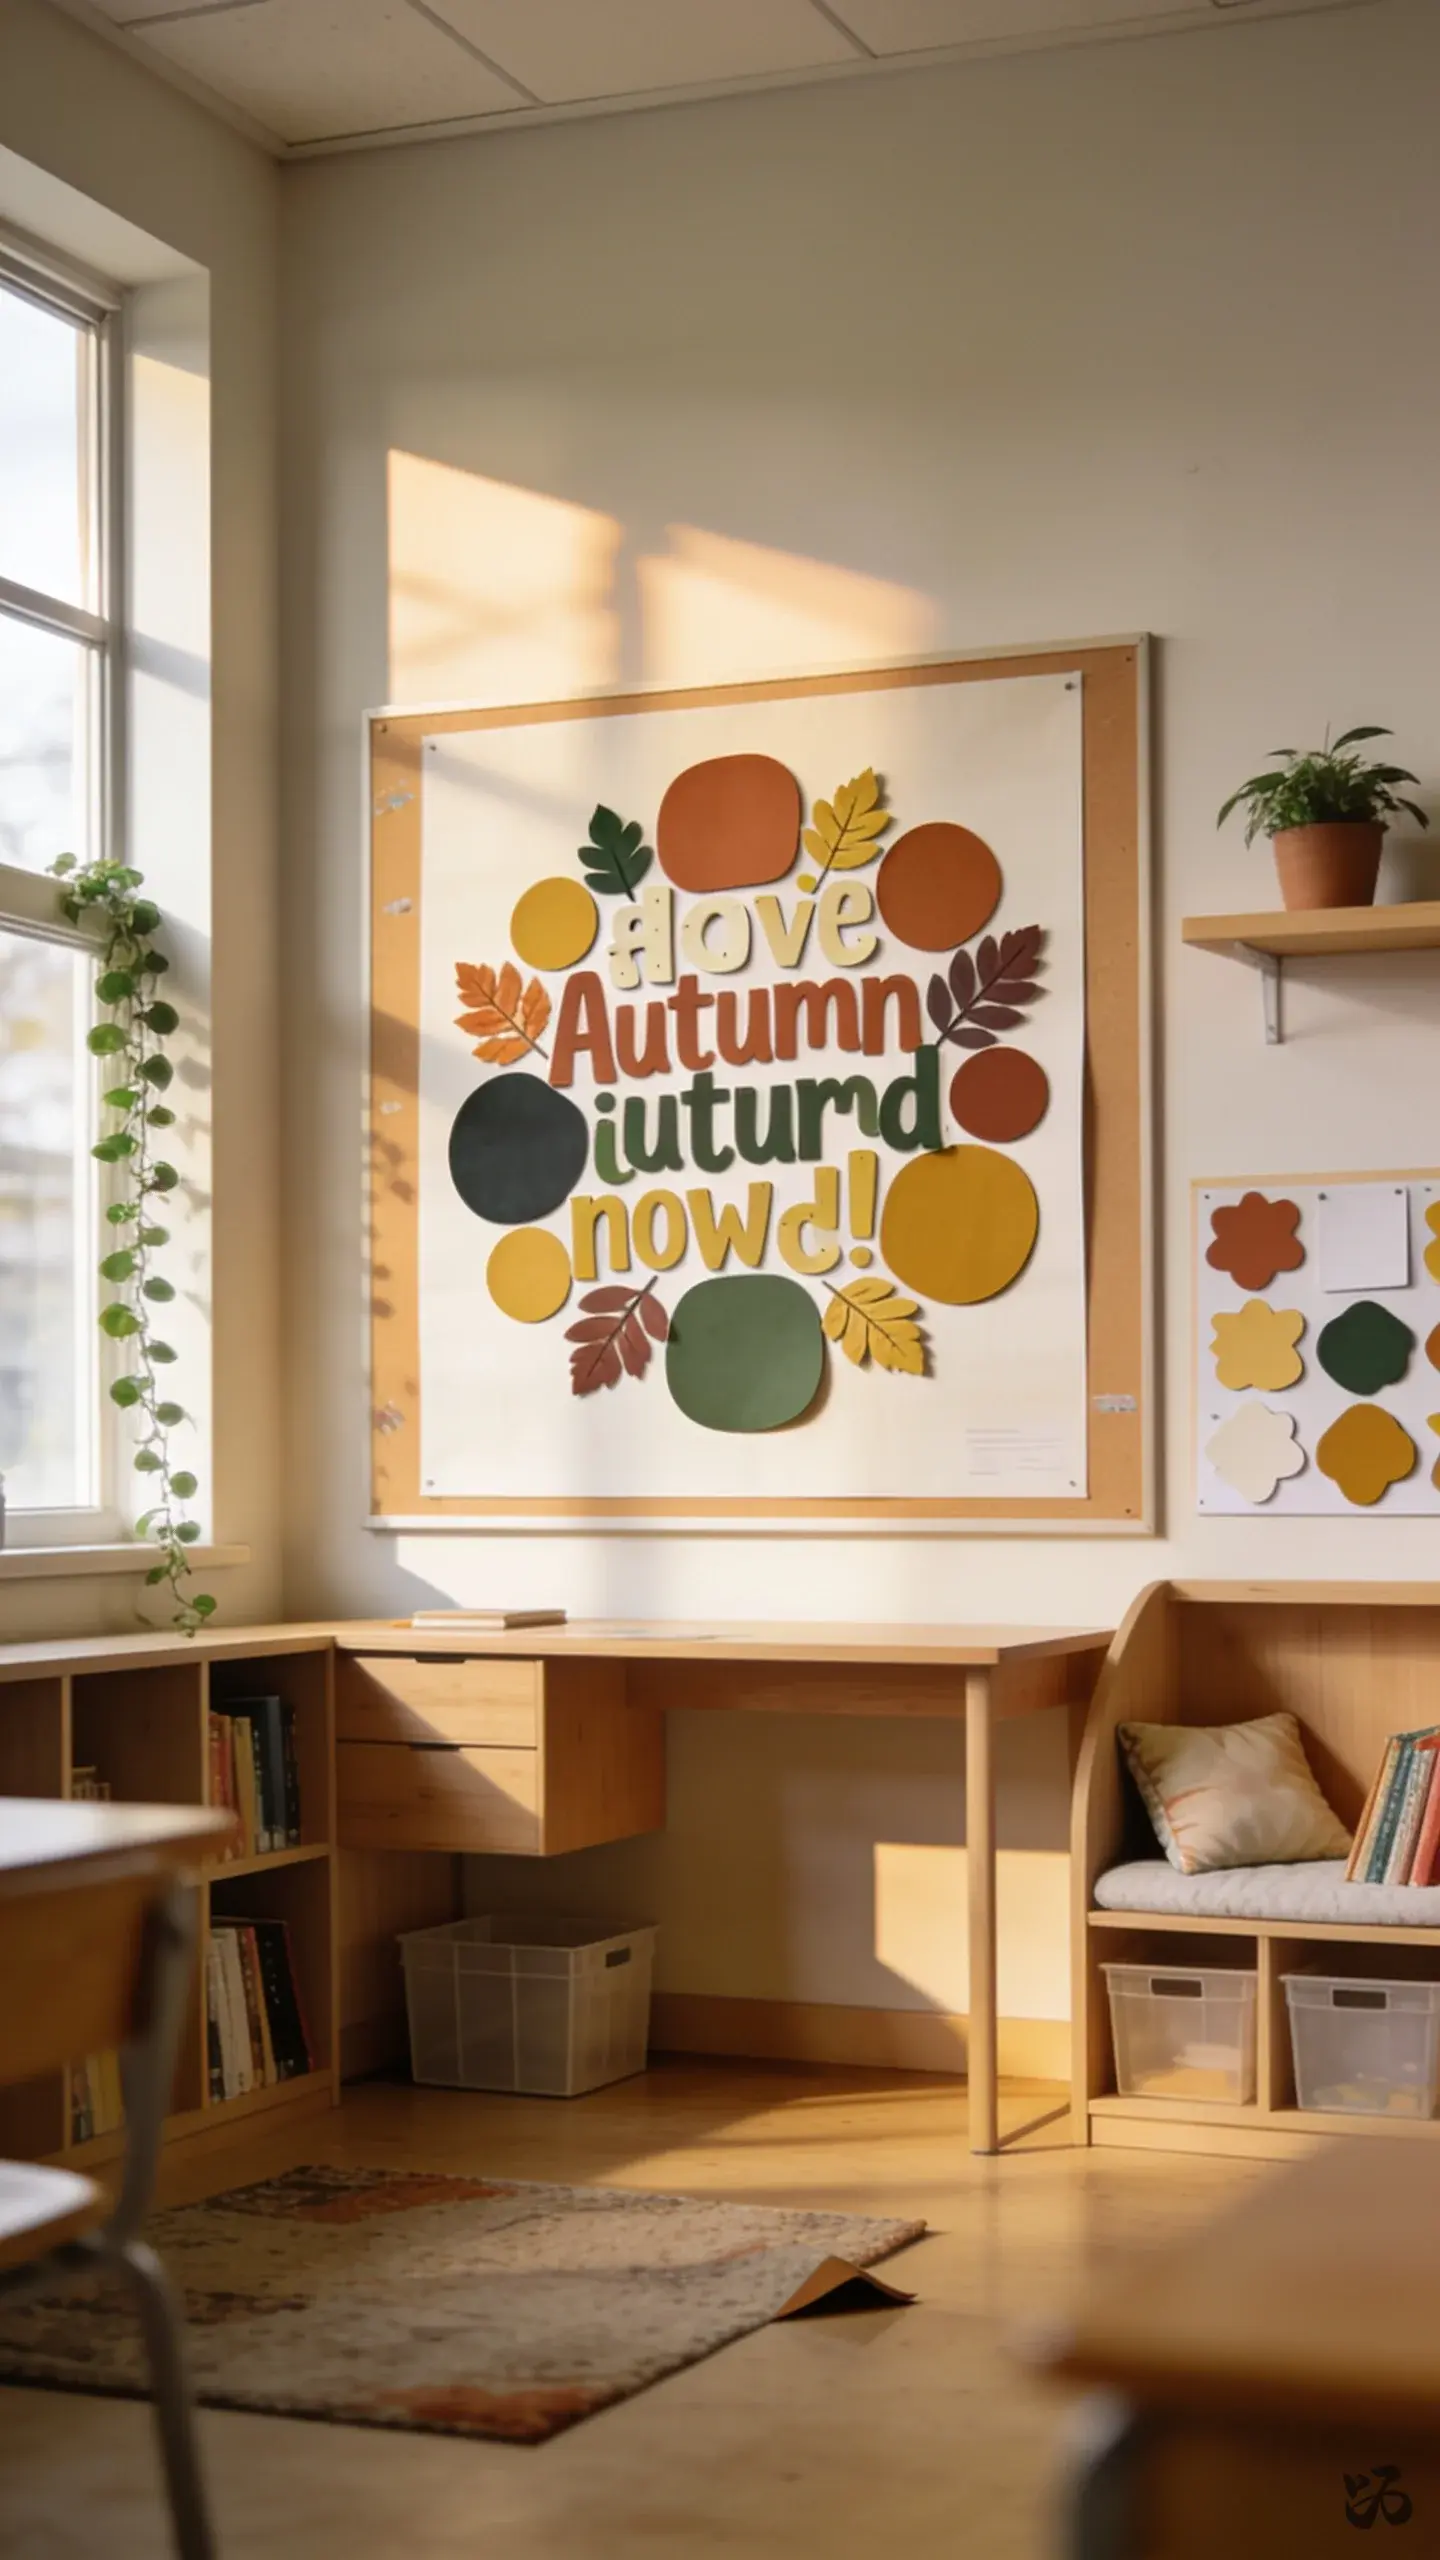 Save
SaveCut out words from sight-word lists and fall vocabulary, then arrange them into a cloud shape on a poster. Mount on a wall near the math or literacy center for quick reference during station time.
What you need
- Poster board
- Printed or cut word cards
- Glue sticks
- Printable clip art leaves for decoration
- Scissors
Simple and robust; avoid tiny pieces that can be a choking hazard for younger transitions.
19. Fall Themed Class Mascot Sock Puppet Corner
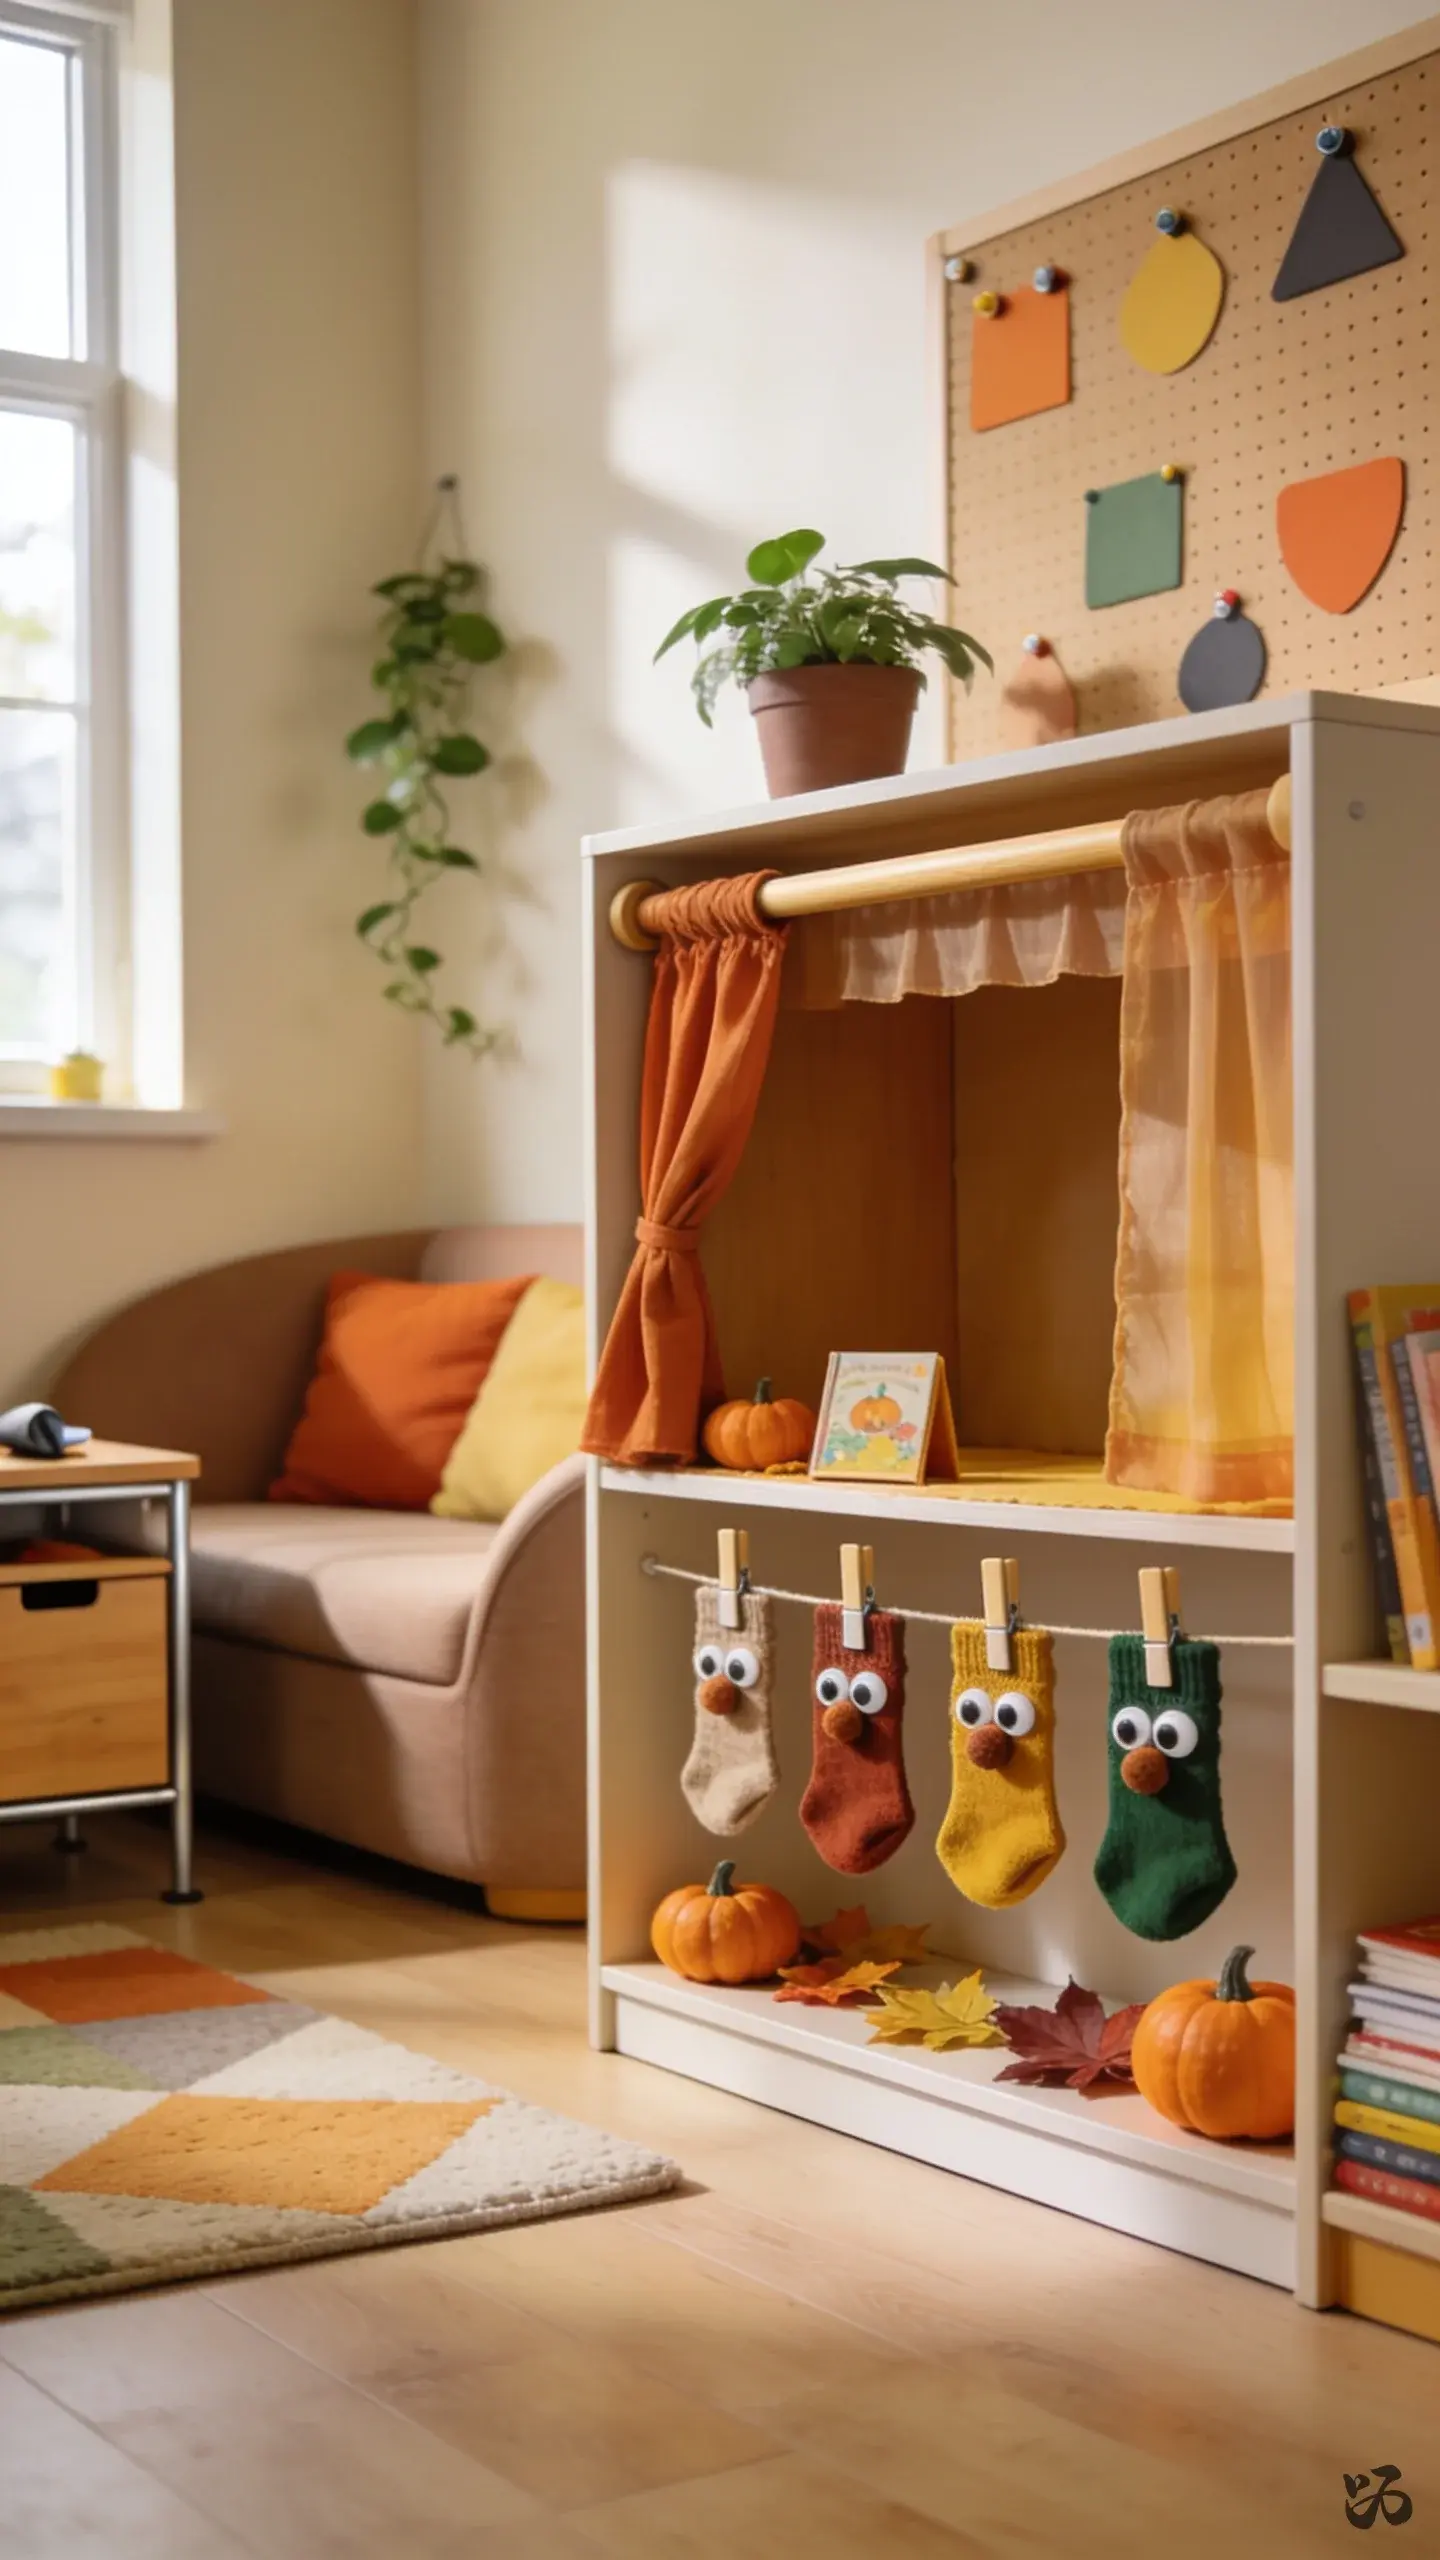 Save
SaveStitch together simple sock puppets using fall colors to create a small performance corner. Mount a small curtain rod and place a few props on a low shelf so kids can practice storytelling during centers or after a field trip.
What you need
- Old socks
- Fabric scraps for eyes and noses
- Glue or needle and thread
- Small wooden dowel for puppet stand
- Velcro dots for quick changeables
Be mindful of small parts during setup; supervise during craft time to ensure safety.
20. Halloween-ish But Not Too Spooky Window Flags
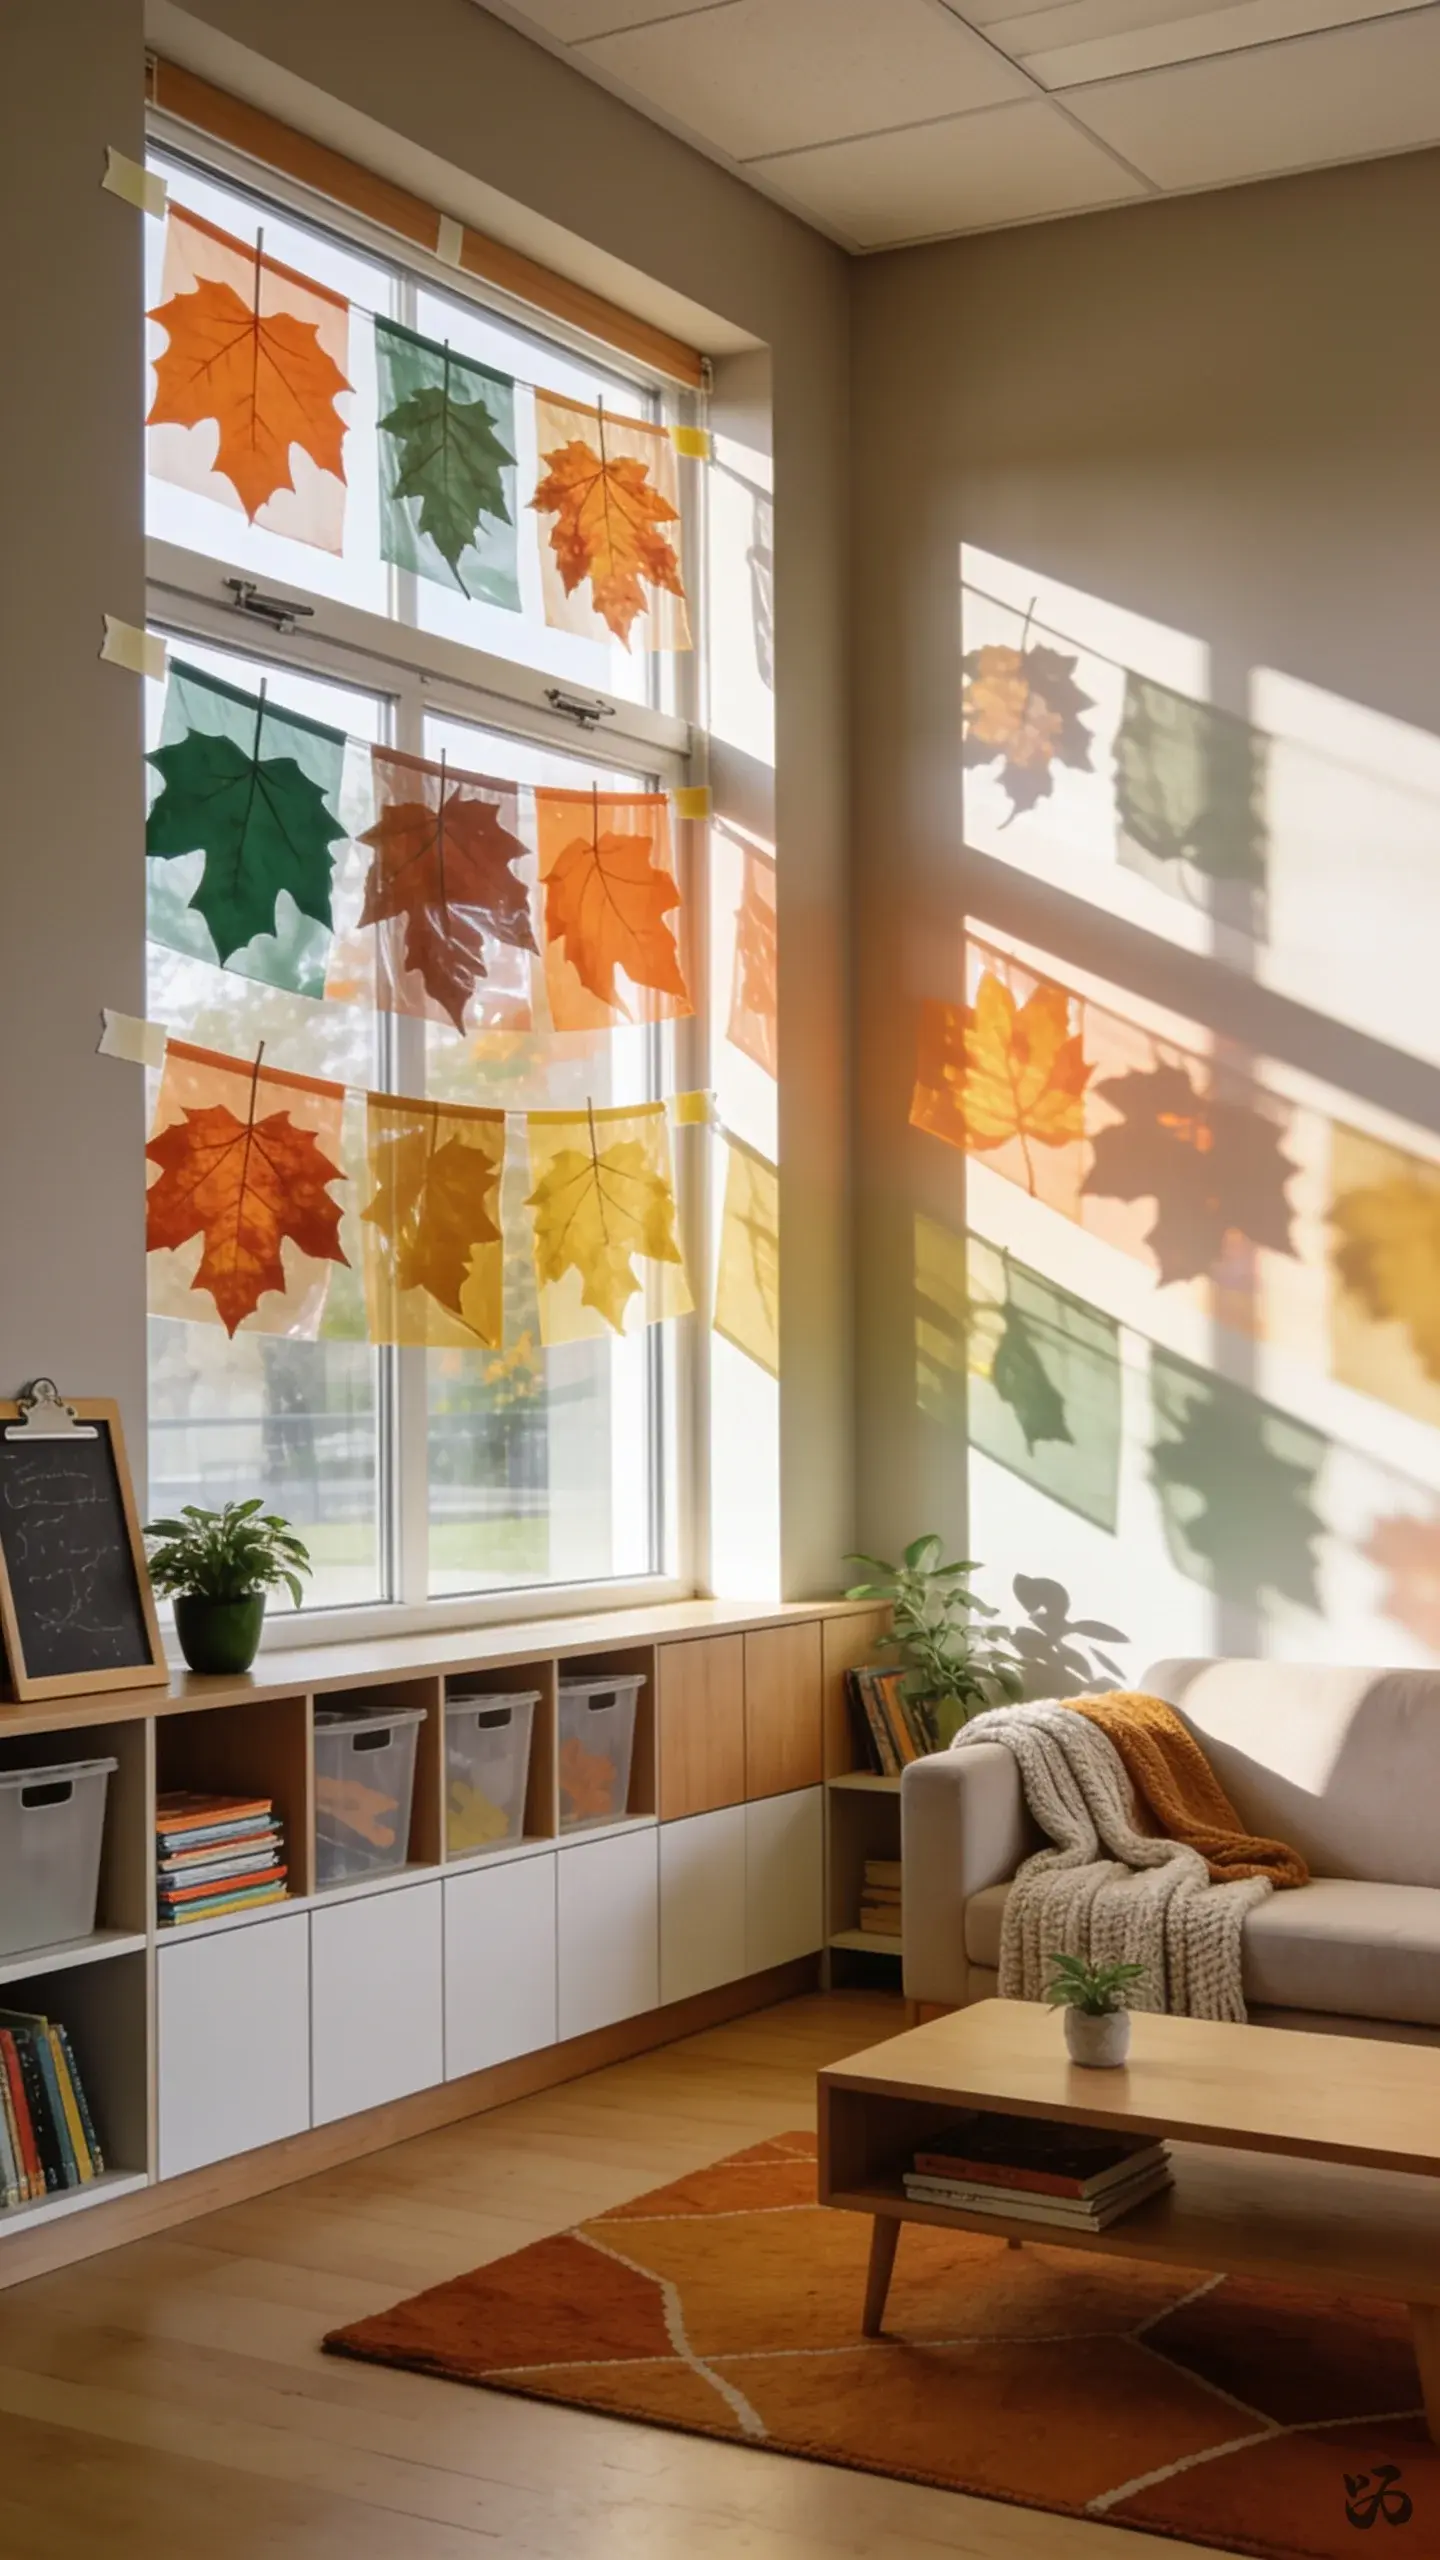 Save
SaveCut fall leaf shapes into windows or glass doors using semi-opaque paper. It’s a bright, seasonal touch that doesn’t rely on weather-sensitive materials and stays visible during field trips or parent night. Use painter’s tape for easy removal.
What you need
- Colored cellophane or translucent paper
- Painters tape
- Scissors
- Marker for edge writing
- Cardstock for backing shapes
Make in one prep period; avoid taping directly on window seals if the adhesive could pull paint later.
21. Wait, I Can See the Moon: Night Sky with Autumn Stars
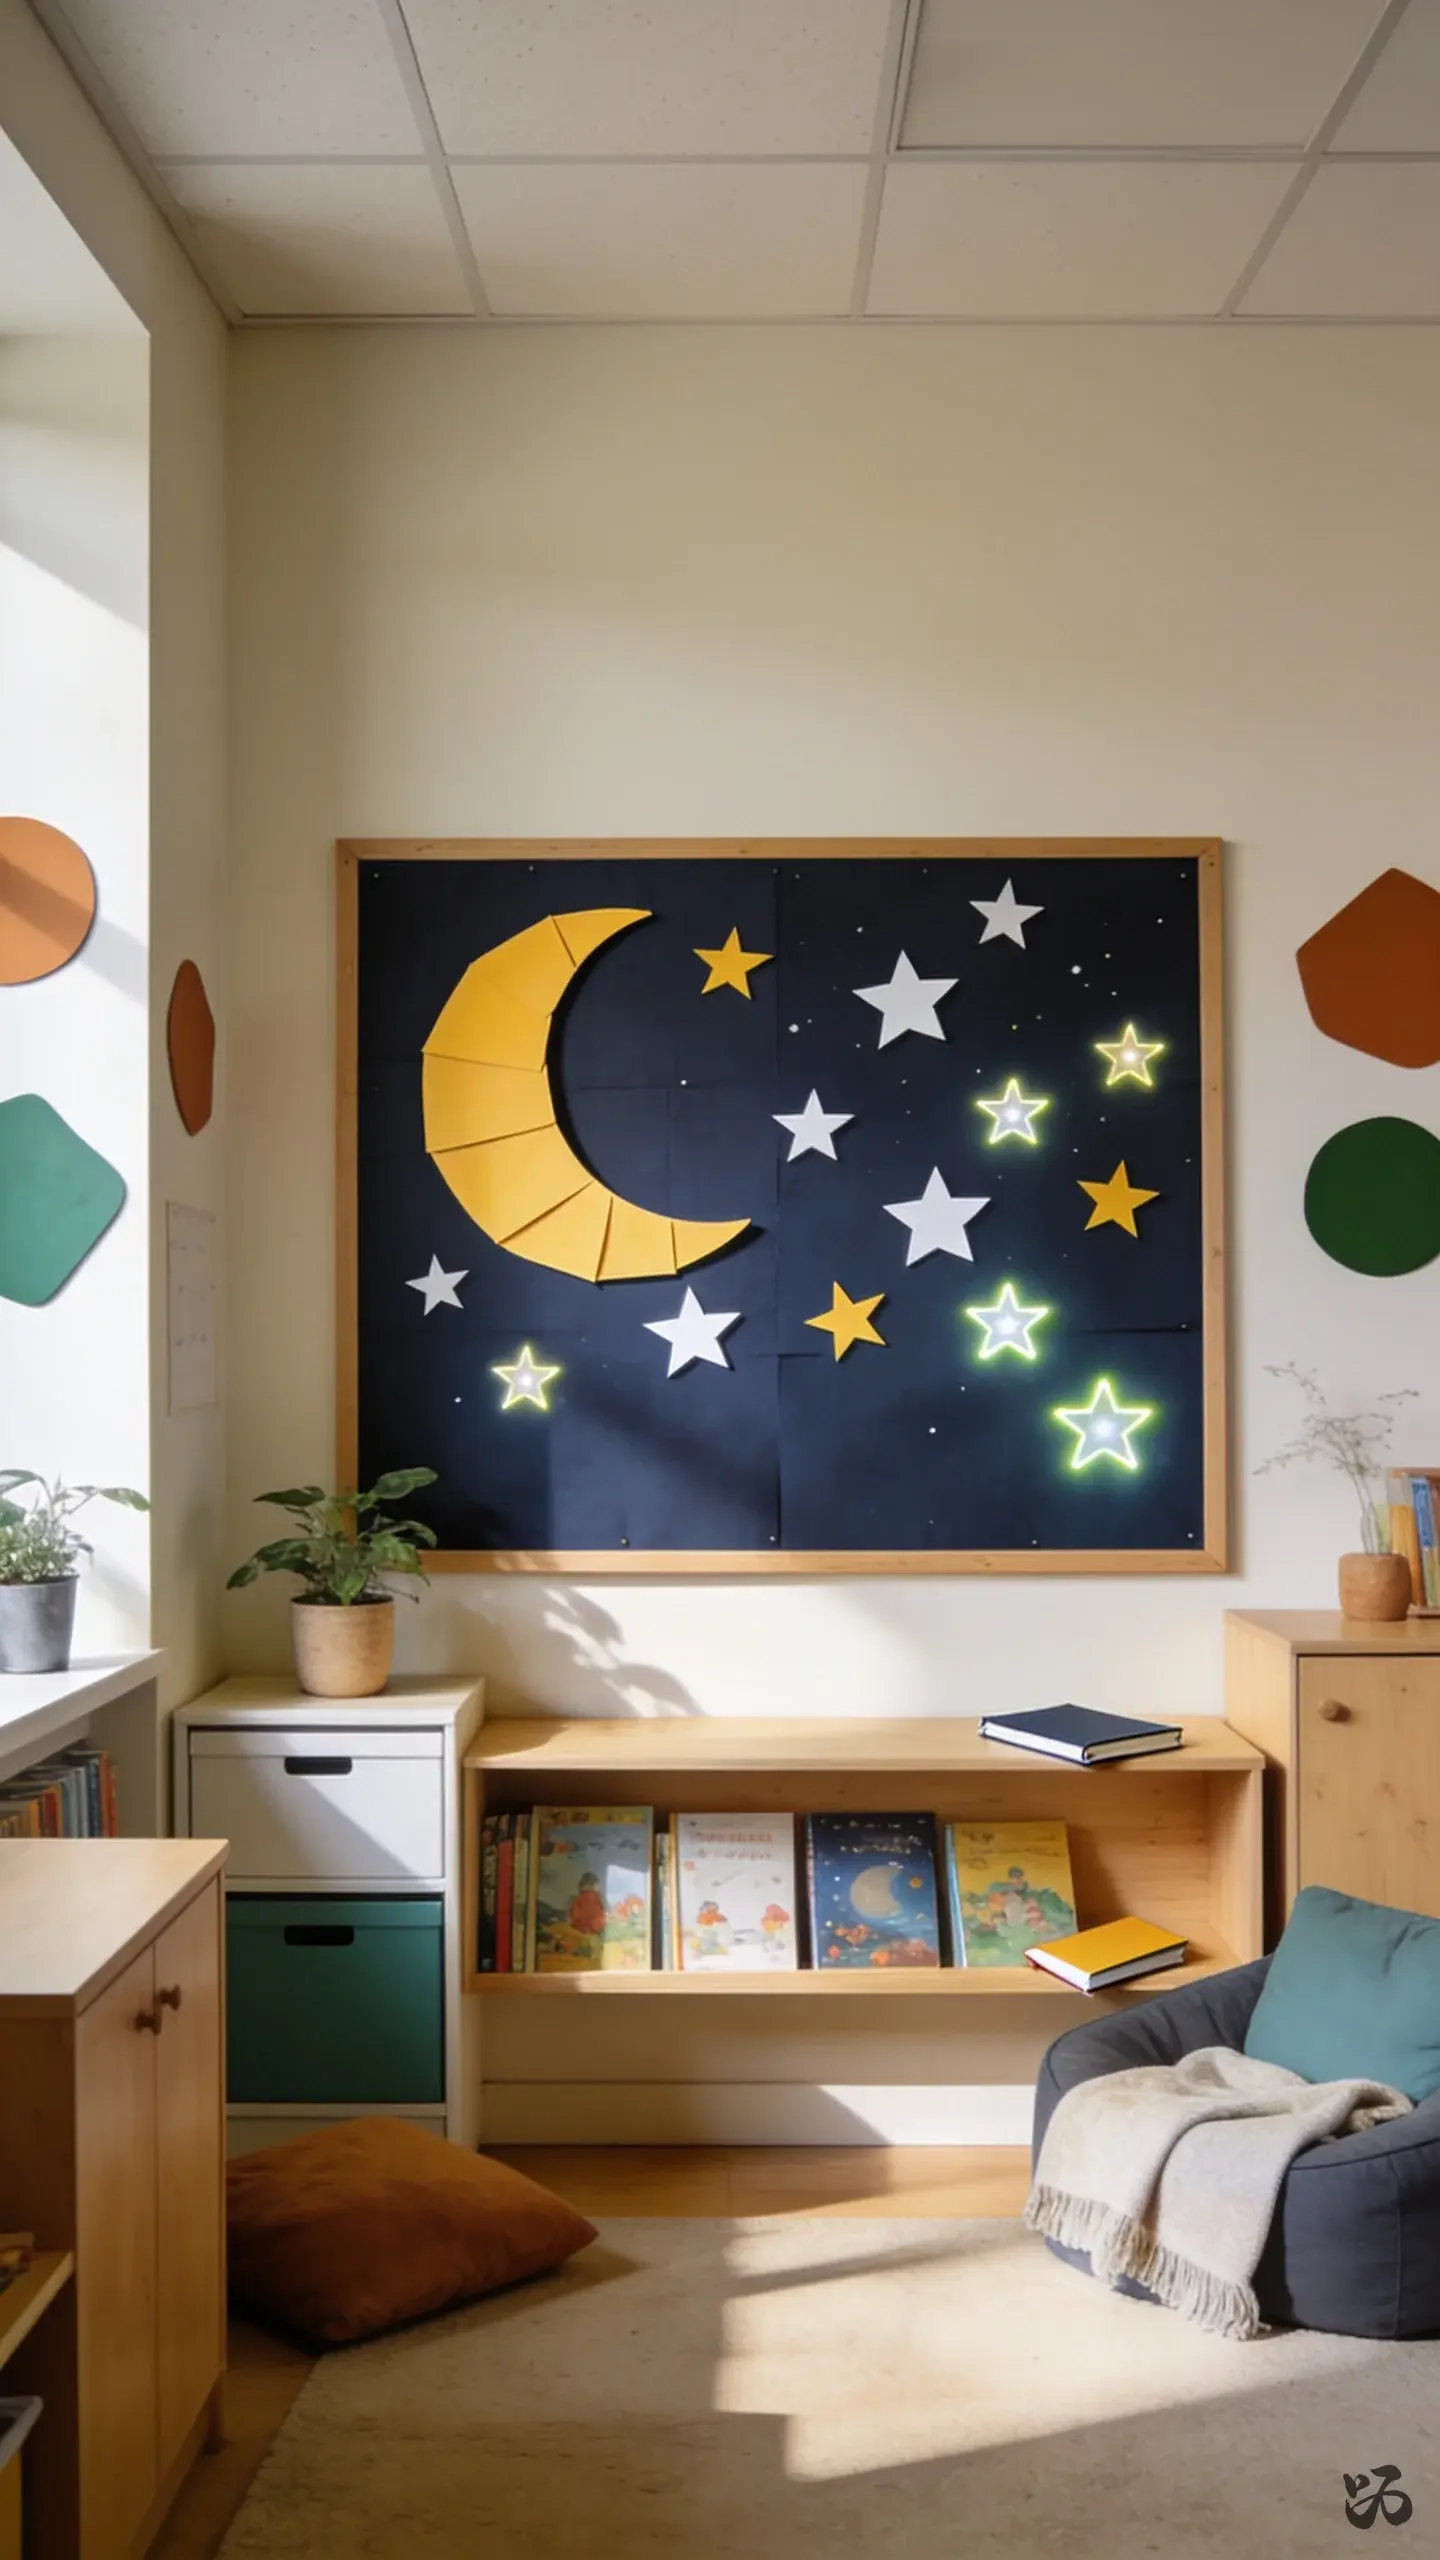 Save
SaveCreate a night-sky panel with a moon and stars cut from yellow and white cardstock. Mount on a dark background and add a few glow-in-the-dark stars if available. This gives a calming, seasonal backdrop for early literacy and science corners.
What you need
- Dark blue or black bulletin board paper
- Yellow or white cardstock for moon and stars
- Glow-in-the-dark star cutouts (optional)
- Glue sticks
- Tape or staples
Works well in low-traffic areas; avoid heavy hanging materials near ceiling fixtures.
22. Thankful Tree with Student Messages
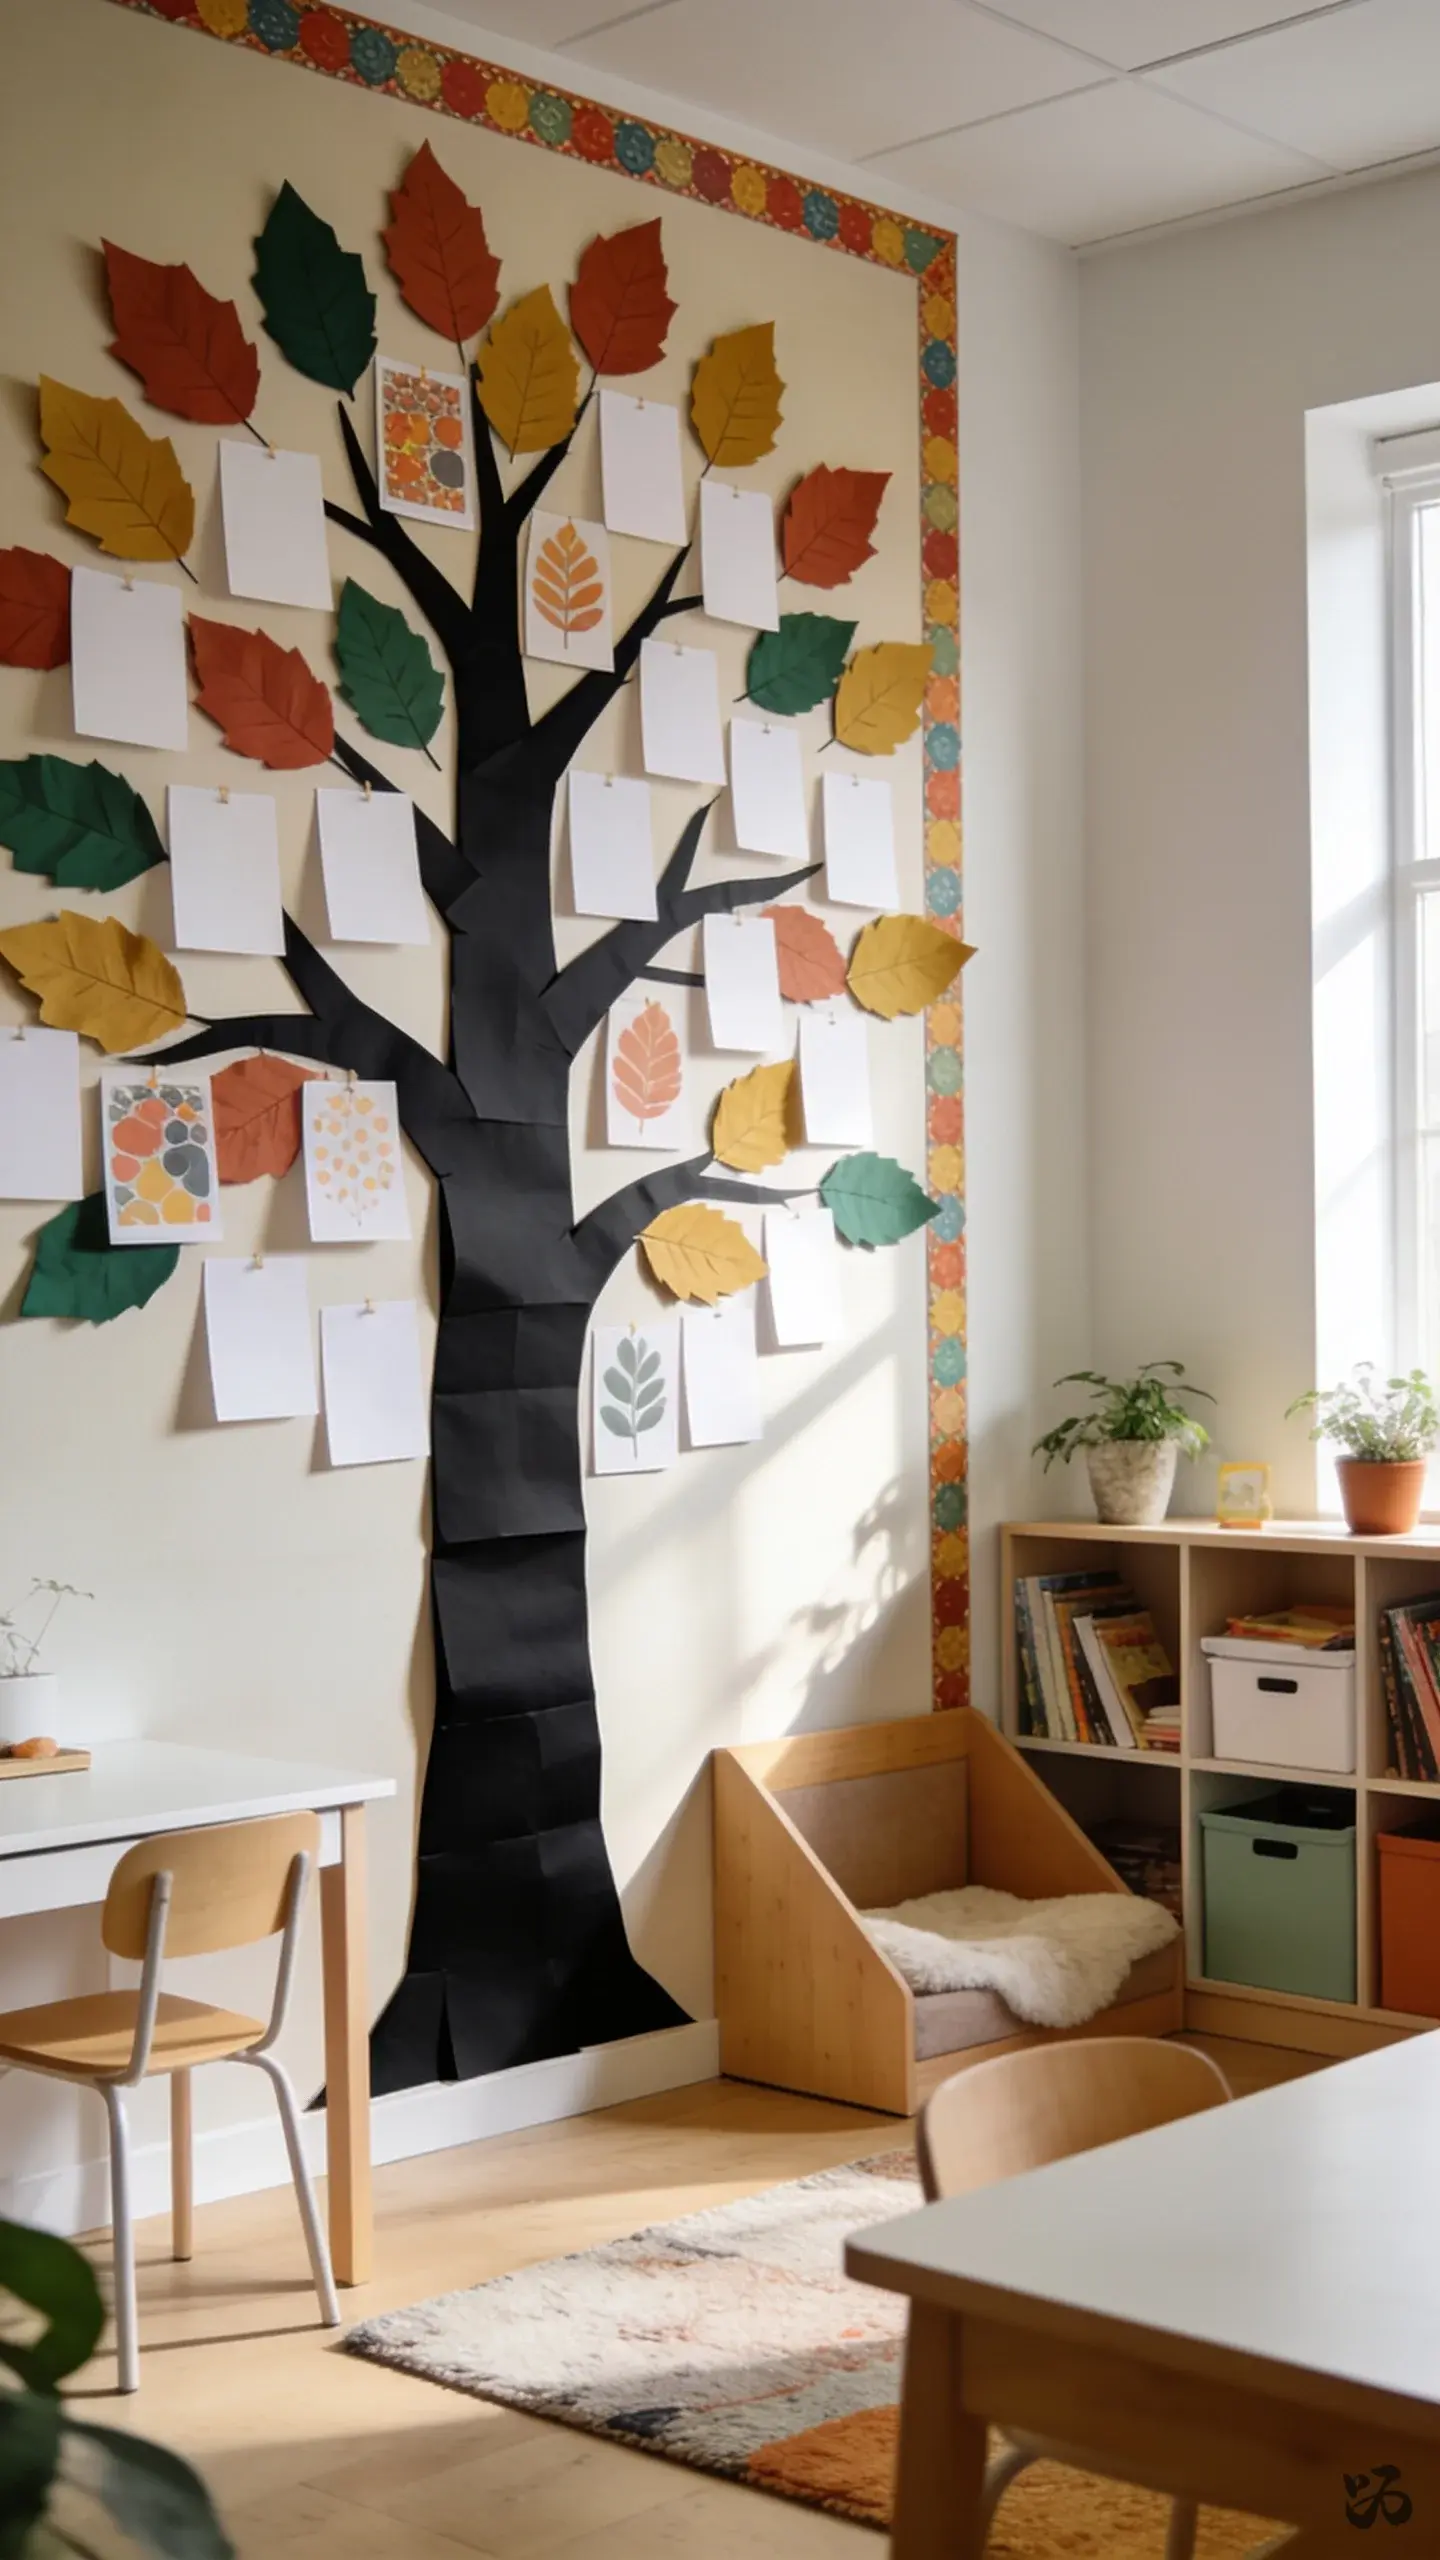 Save
SaveBuild a small tree on a wall where students add short thank-you messages or fall reflections on leaf-shaped cards. It’s a gentle way to promote gratitude and community through the season.
What you need
- Tree trunk cut from black paper
- Leaf-shaped cards
- Marker for messages
- Push pins or tape
- Border trim for a finished look
Relatively quick to assemble; keep the leaves at kid height and provide a simple sentence starter to guide responses.
23. Fall Colors Ribbon Border for Home Base Walls
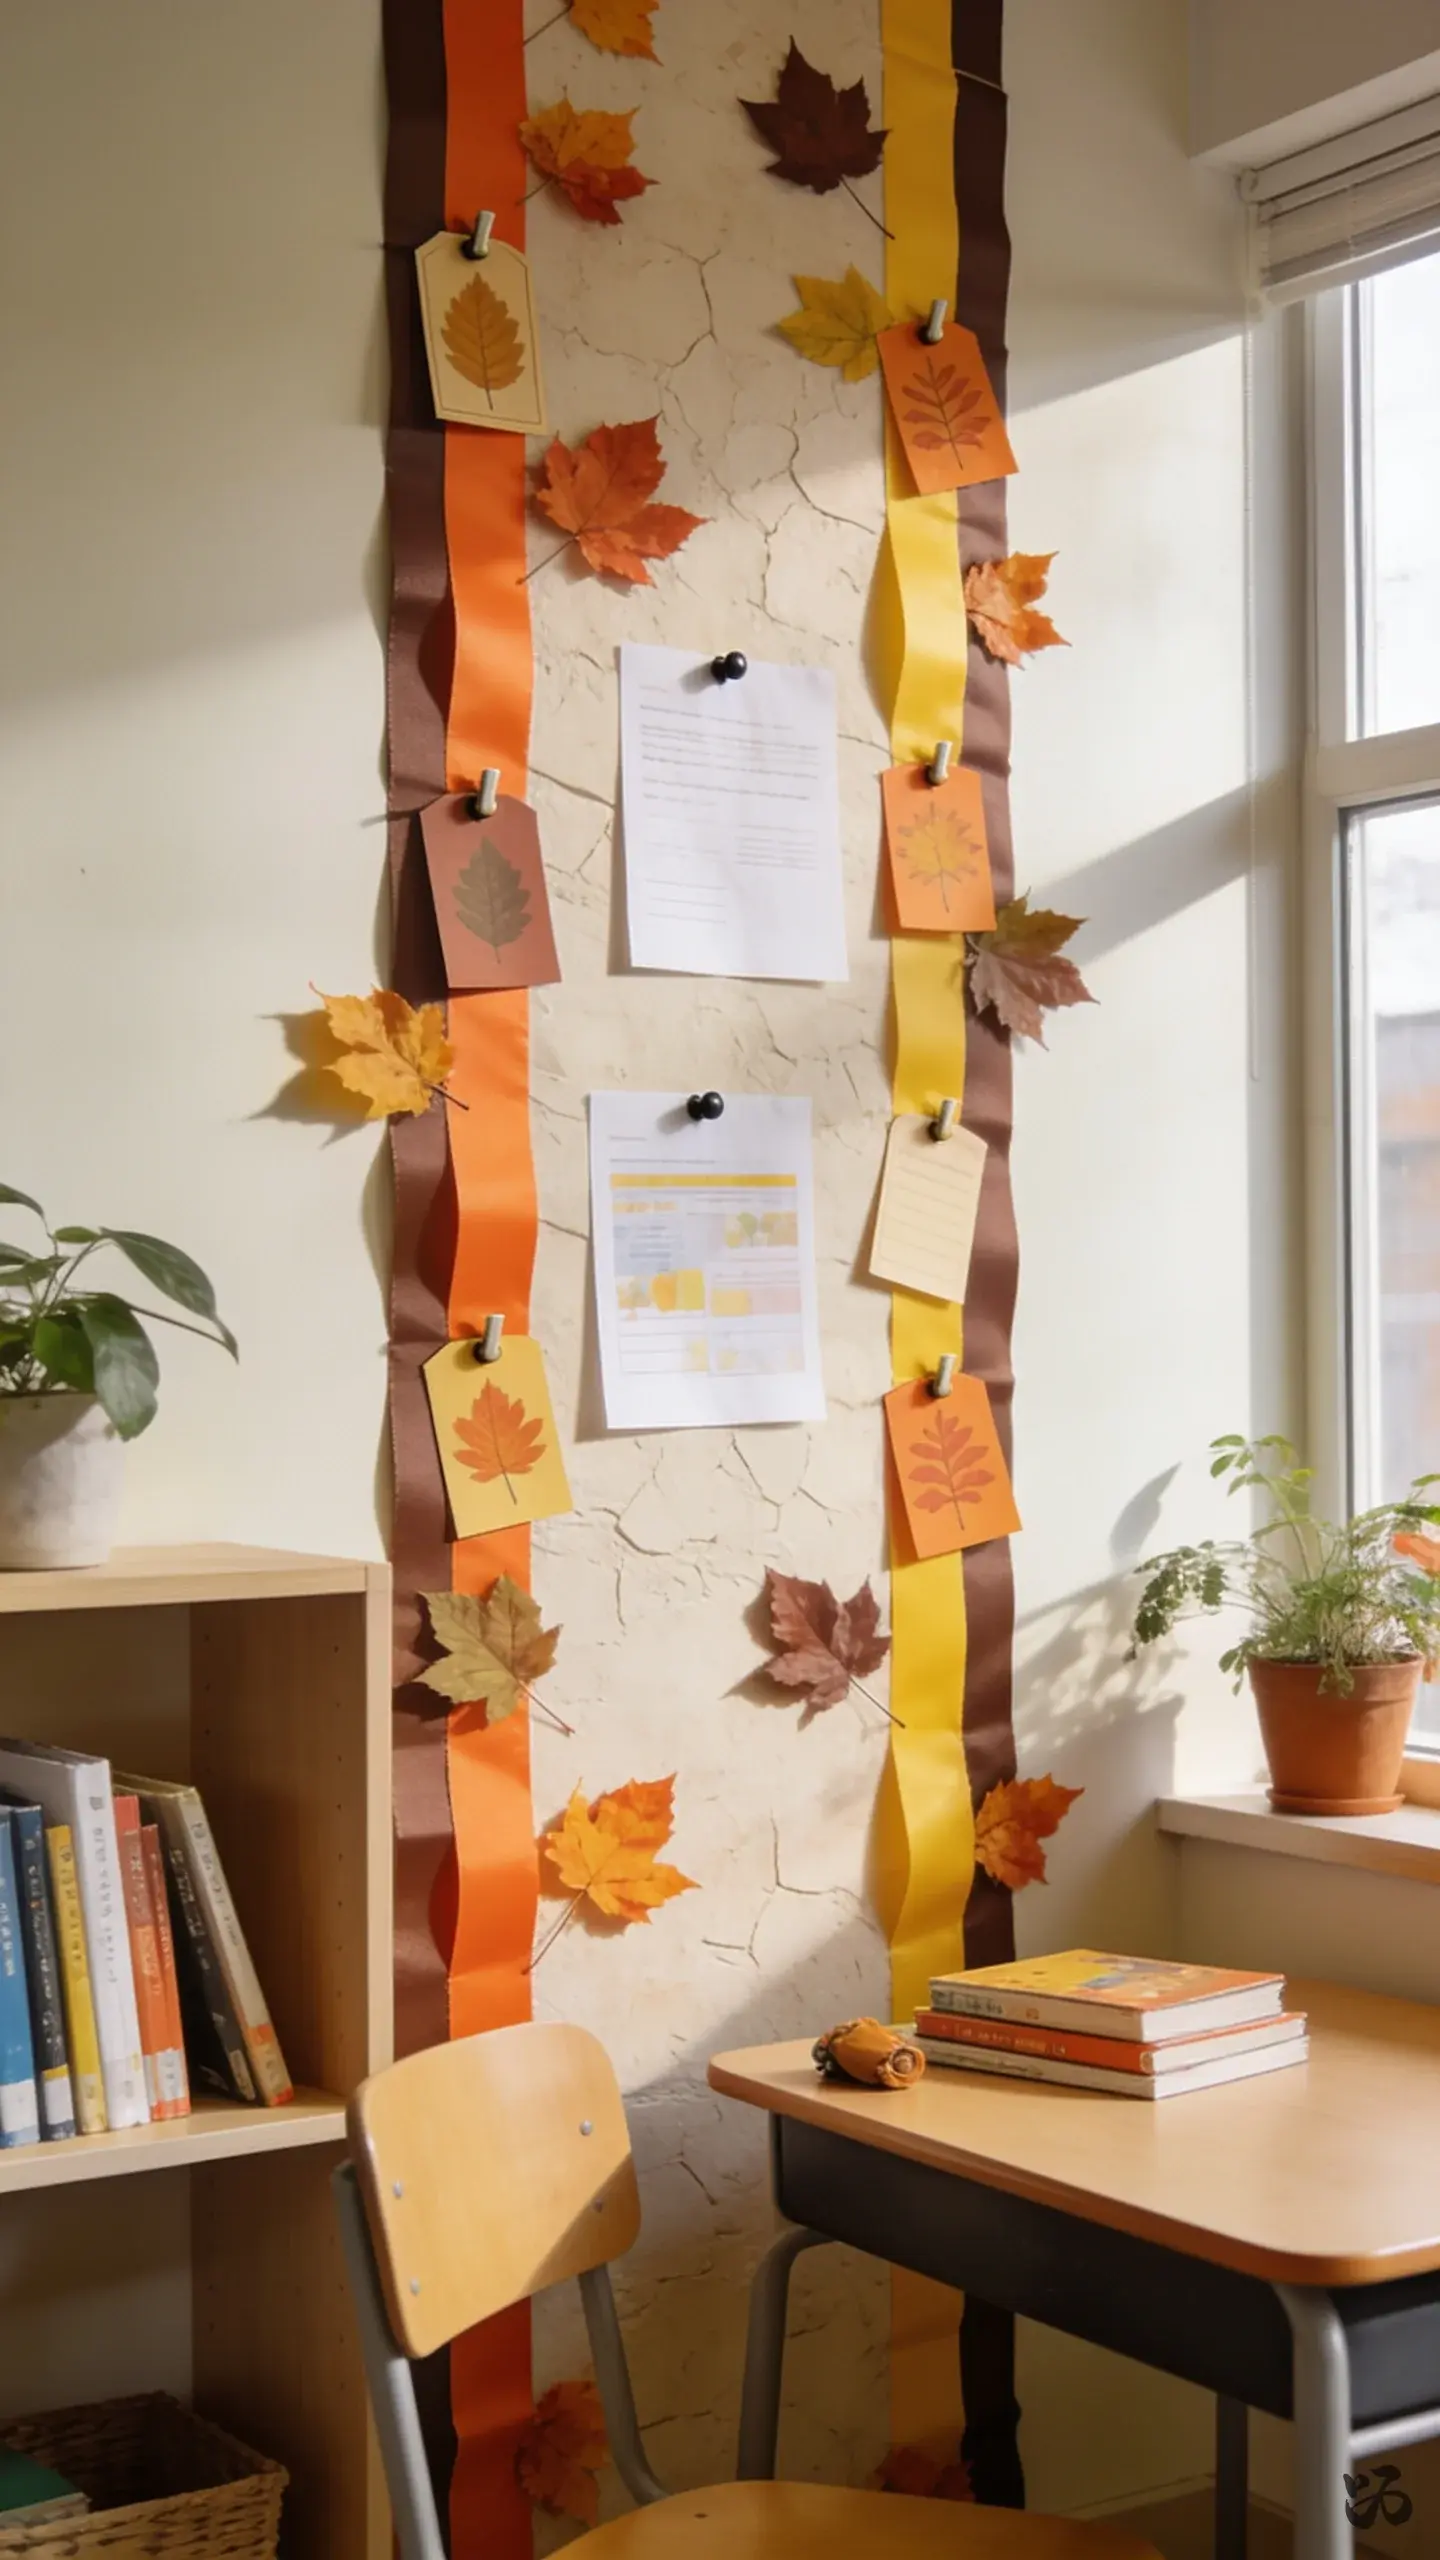 Save
SaveA simple ribbon border in fall colors around a homeroom wall or reading nook makes weekly notes easier to spot. Tape a few leaves along the ribbon to nod to the season and to provide anchors for student work during Open House.
What you need
- Ribbon or fabric in orange, yellow, and brown
- Push pins or nails (low and safe)
- Leaves or seasonal tags
- Scissors
- Strong adhesive to keep border in place on textured walls
About 30 minutes; place at a height that avoids frequent tugging by kids during transitions.
Conclusion
Choose one or two ideas to start with this fall and consider how each fits your wall space, door area, and prep time. The best options are those that stay put without requiring heavy maintenance, are easy to remove for June cleanup, and remain safe for kid touch and movement during open-house nights and field trips.