
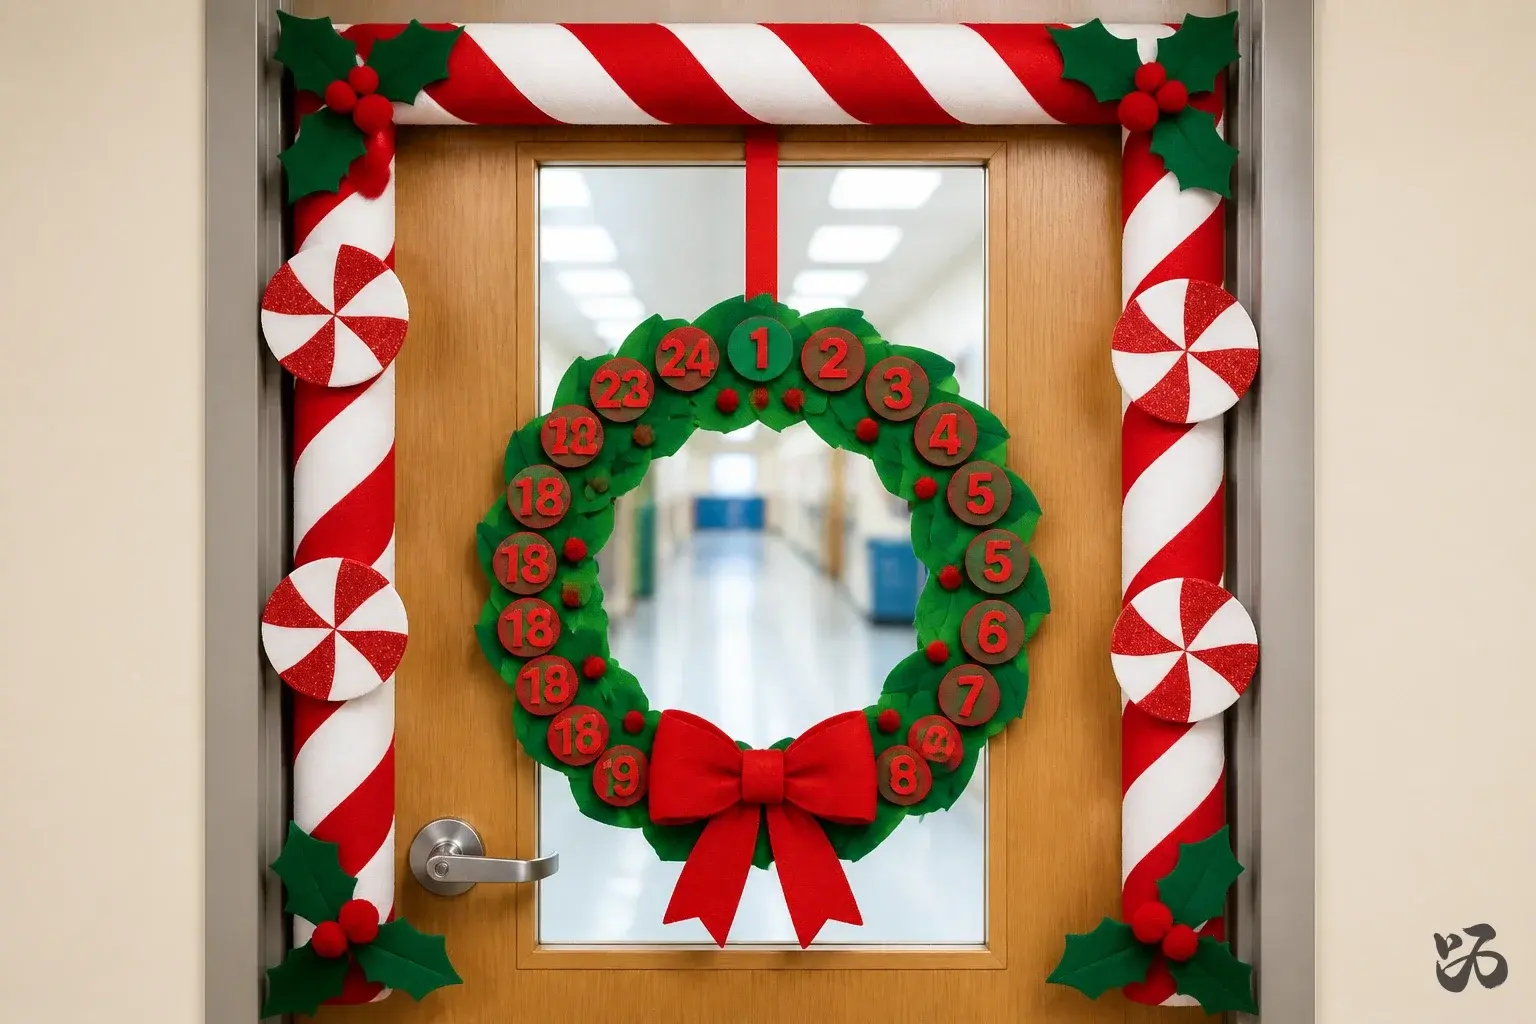
Some links in this post are affiliate links. If you buy through one, I may earn a small commission at no extra cost to you. As an Amazon Associate I earn from qualifying purchases.
This round-up offers practical, budget-friendly ideas you can pull together during prep periods. It’s aimed at kindergarten through second grade, with attention to real classroom constraints like fire codes, wall surfaces, and quick removal.
Four things that do the heavy lifting
If you are working with very little, put it here. These four appear again and again in the ideas below, and they all come back out next year.
- Battery powered fairy lights with a remote Thin silver wire that disappears against paper, so what the room sees is glow rather than cable. Battery packs mean the display can go anywhere, not just near a socket.
- Plug in string lights for a longer run For the window or the back wall where there is an outlet and you want more light than battery wire gives. Eight modes, including a slow fade calm enough to leave on during lessons.
- A warm neon sign for the corner One soft focal point that stays up long after the paper comes down. USB powered with adjustable brightness so it is not glaring mid lesson.
- Self adhesive felt boards for walls that will not take pins They stick to painted block, take pins straight away, and cut down to fit an awkward gap. This is the fix for a room with no cork anywhere.
1. Candy Cane Lane Door Border Medley
 Save
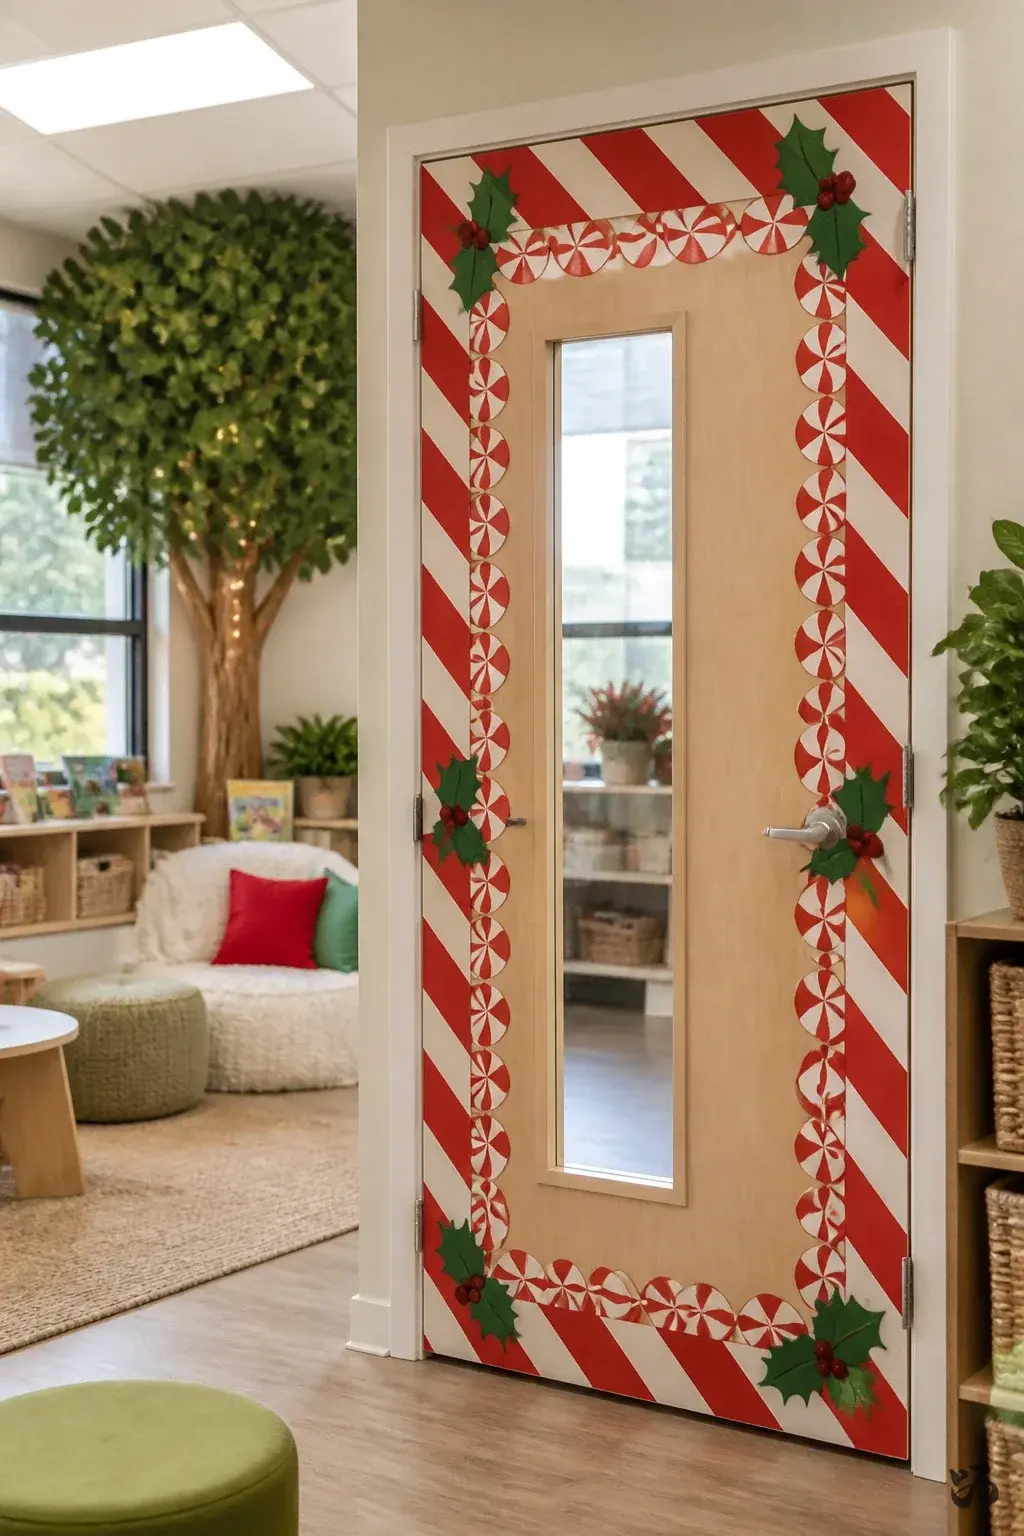
SaveRed and white striped paper bands wrap the door frame in a candy cane motif. Add a few green accents with paper holly and a border of faux peppermint swirls for a simple pop. It reads cheerful without overwhelming the hinges or door hardware.
What you need
- Red and white construction paper
- Green cardstock
- Butcher paper for backing
- Low-tack tape or removable mounting strips
- Mini black marker for outlines
Prep takes about 30 minutes with helpers; works best for pre-K and kindergarten.
2. Wreath Countdown to Winter Break
 Save
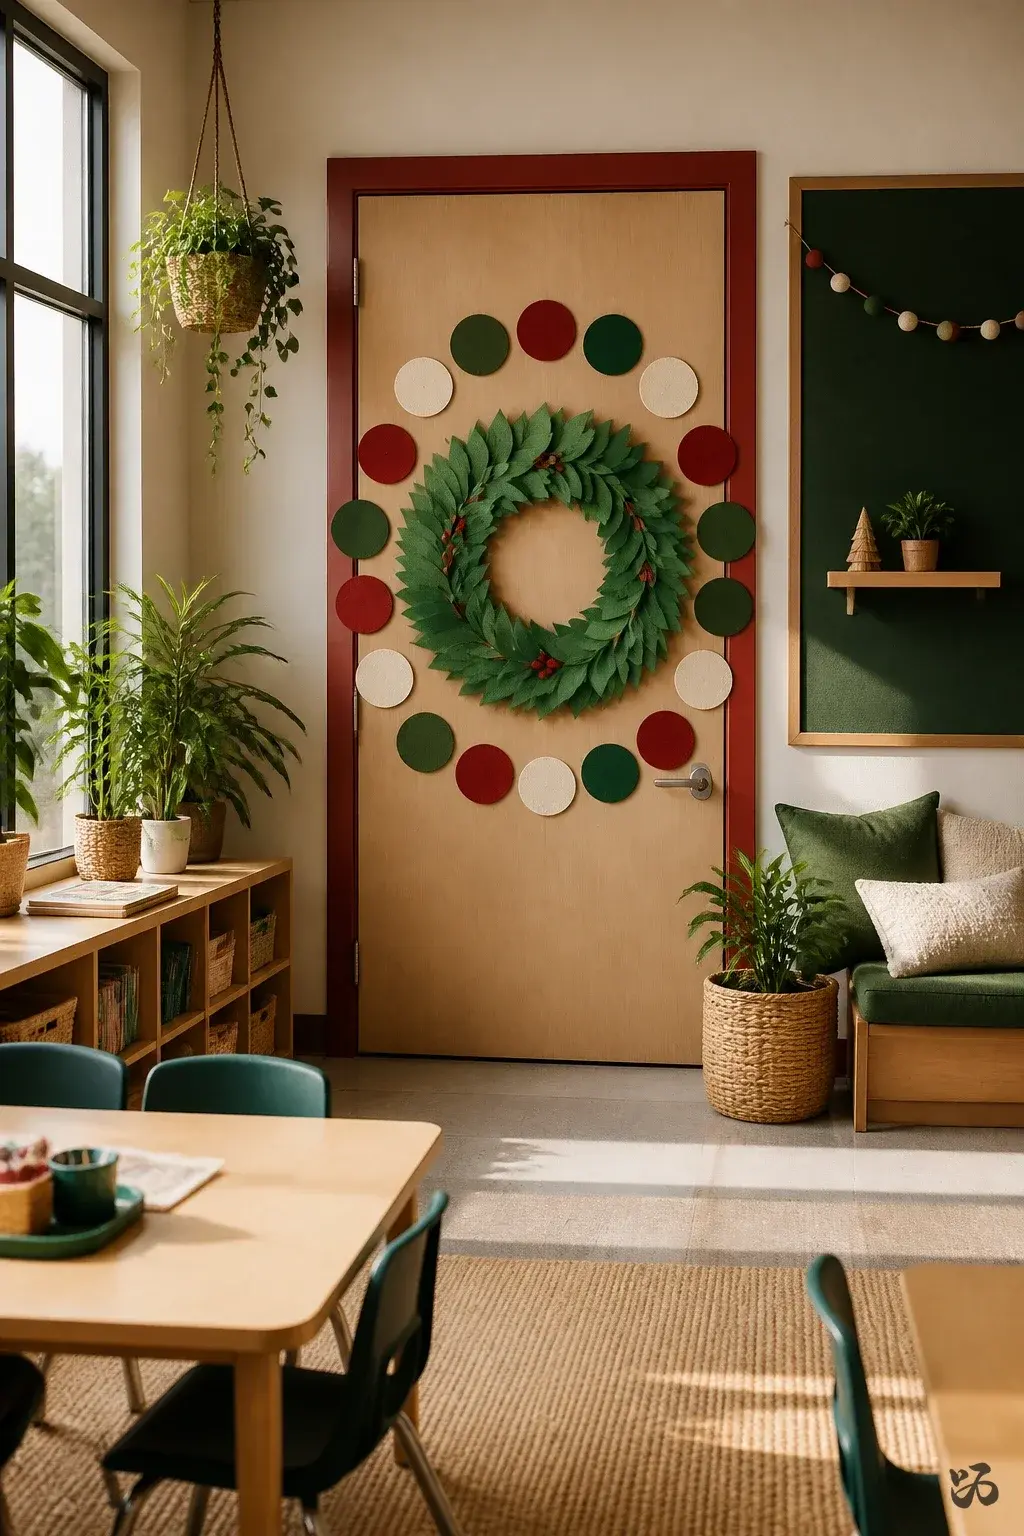
SaveA door-wide paper wreath that easily becomes a countdown with numbered felt or cardstock circles. Place the largest wreath in the center and arrange smaller circles around it for a festive frame.
What you need
- Green craft foam or cardstock
- Cardstock numbers
- Red ribbon or bow
- Double-sided tape or glue dots
- Optional evergreen sprigs or cinnamon sticks for scent
Best done during a prep period; suitable for all early elementary grades.
3. Letter-Snowflake Greeting
 Save
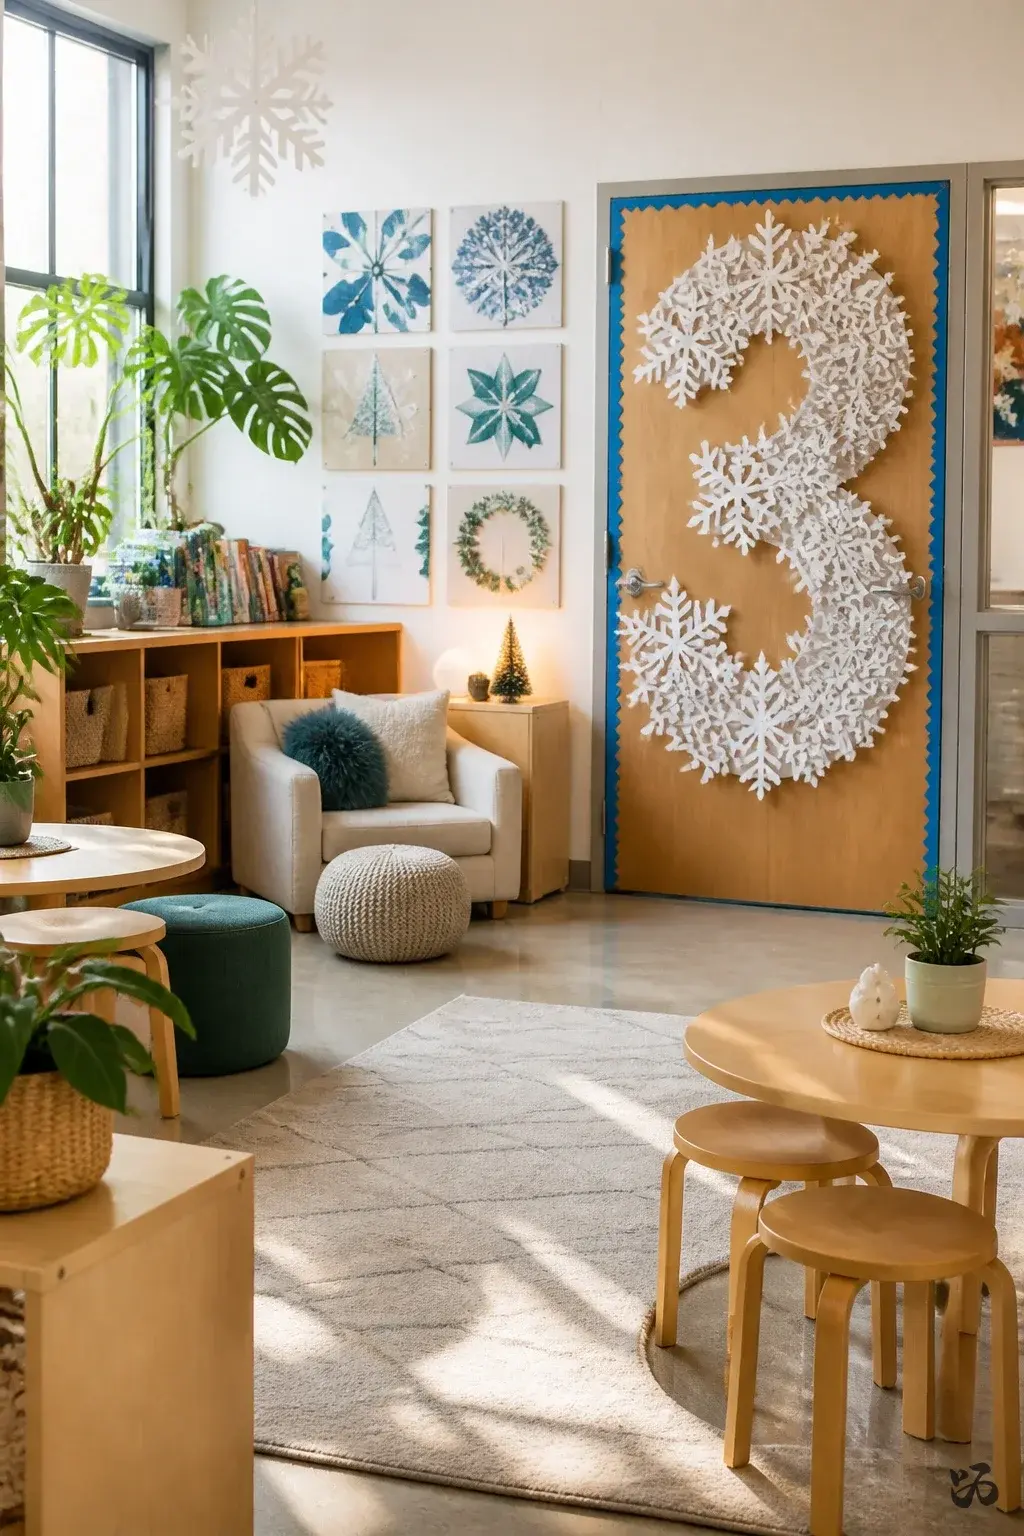
SaveCut out big white paper snowflakes and arrange a friendly “Season’s Greetings” on the door. The letters sit on the snowflakes, bold and easy to read from a hallway. It’s bright but light on wall space.
What you need
- White copy paper
- Blue or silver border trim
- Large black marker for outlining letters
- White Velcro or mounting putty
- Clear tape for edges
Works without lamination; quick to assemble for any grade level.
4. Paper Chain North Pole Path
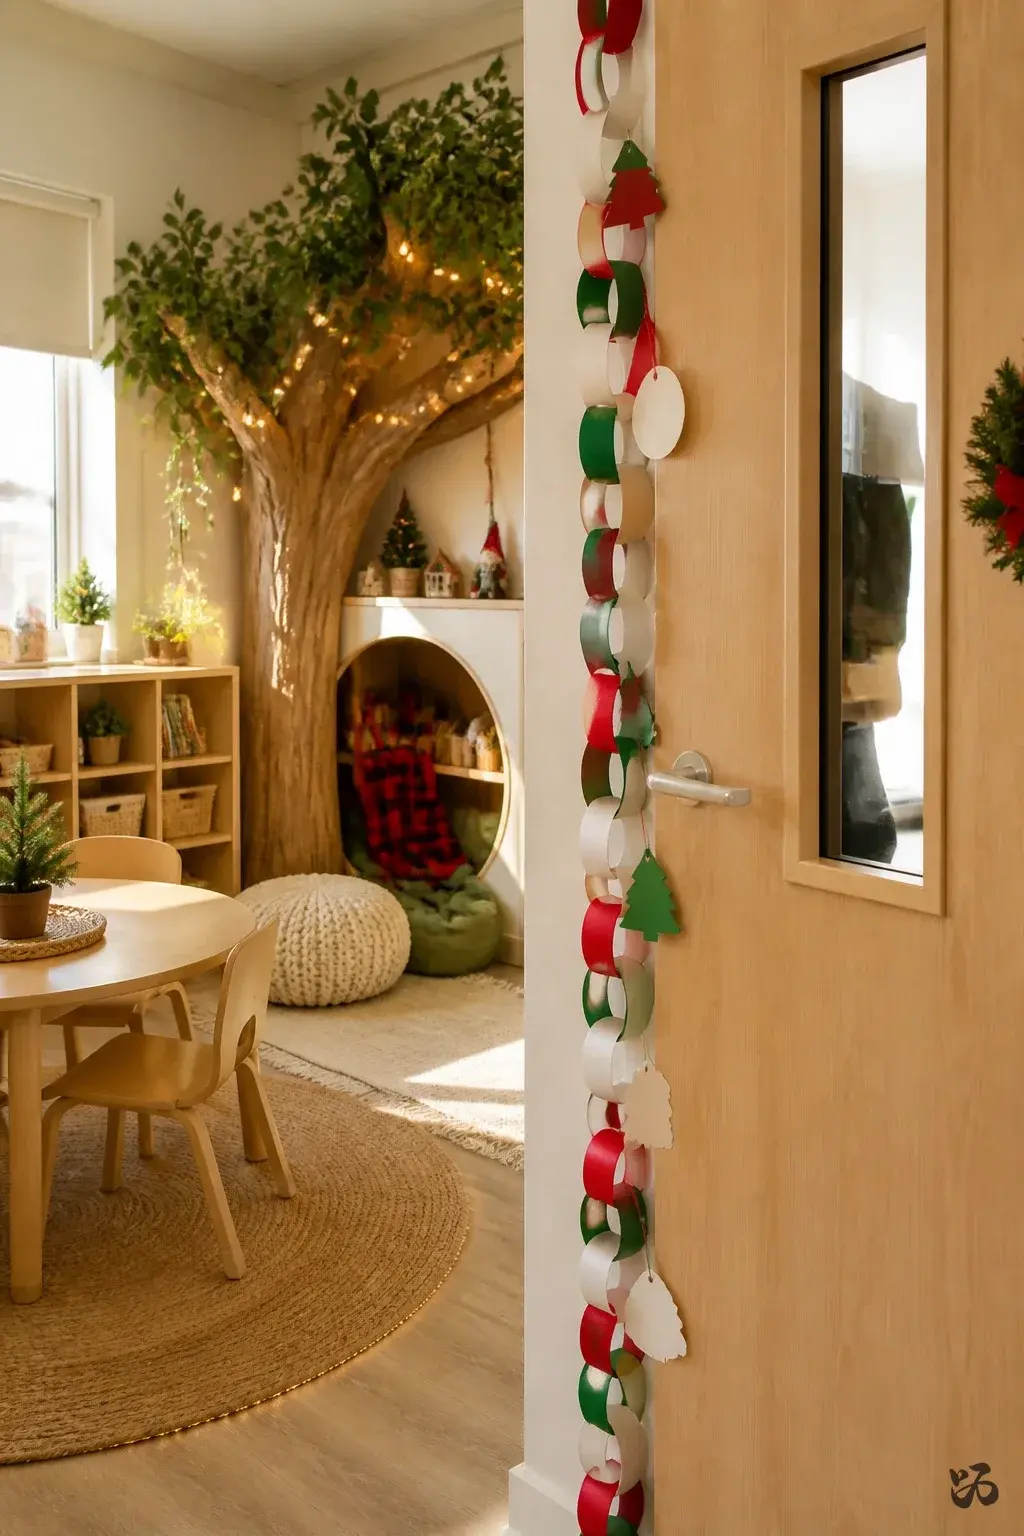 Save
SaveA long chain of red, white, and green links wraps around the door edge and along the frame. Each link can carry a student name or a tiny achievement, making it interactive without tall pieces to reach.
What you need
- Red, white, and green construction paper
- Stapler or tape for linking
- Markers to write names or goals
- Butcher paper backing
- Scissors for clean cuts
Keep the chain low and close to the edge so it doesn’t obstruct the door latch.
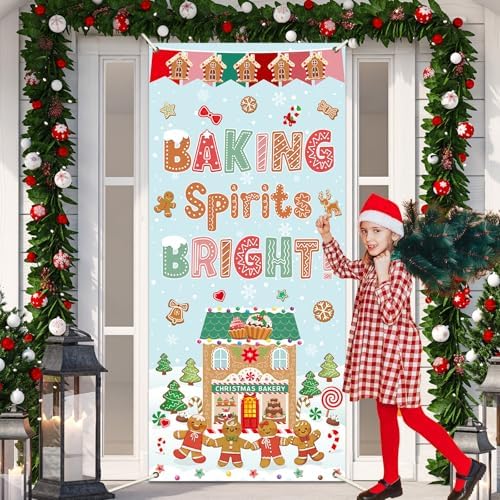
The Cheapest Way to Get a Door Looking Finished


5. Snow Globe Door Scene
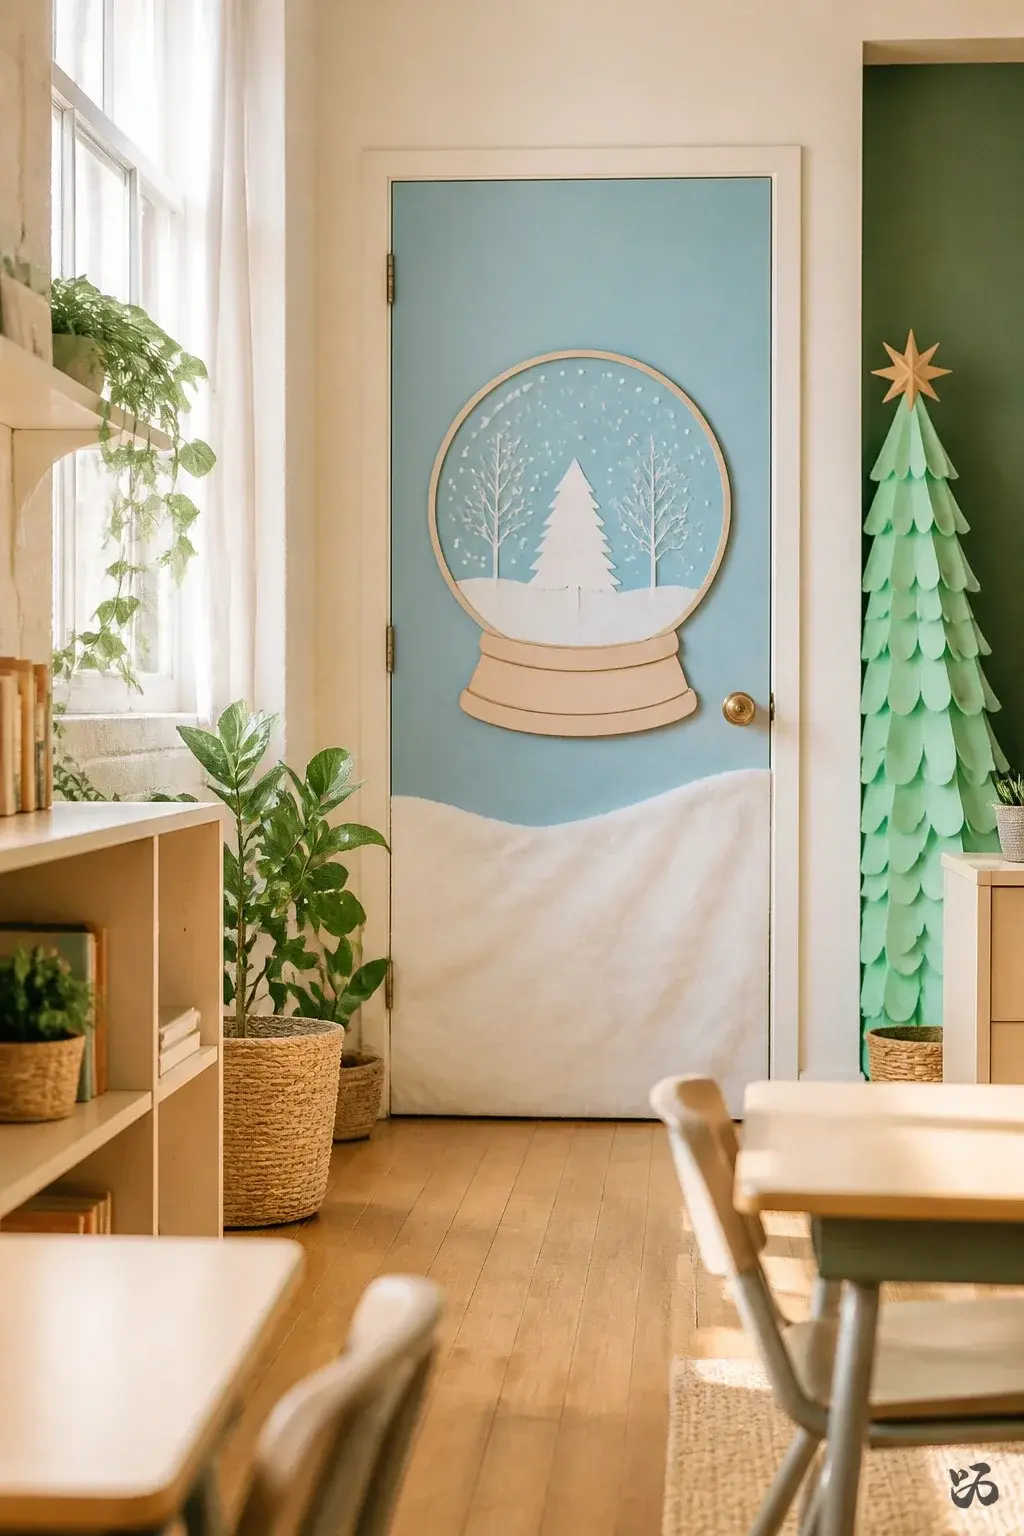 Save
SaveCut a large blue rectangle to cover most of the door; add a white translucent sheet at the bottom to mimic snow and insert a paper-cut snow globe on the center. It’s a playful visual that doesn’t demand heavy adhesives.
What you need
- Blue construction paper
- Translucent plastic or vellum
- White construction paper for snow
- Black marker for globe silhouette
- Removable tape or Velcro
Be mindful of door hardware; avoid blocking hinges or sensors.
6. Reindeer Footprints Across the Hall
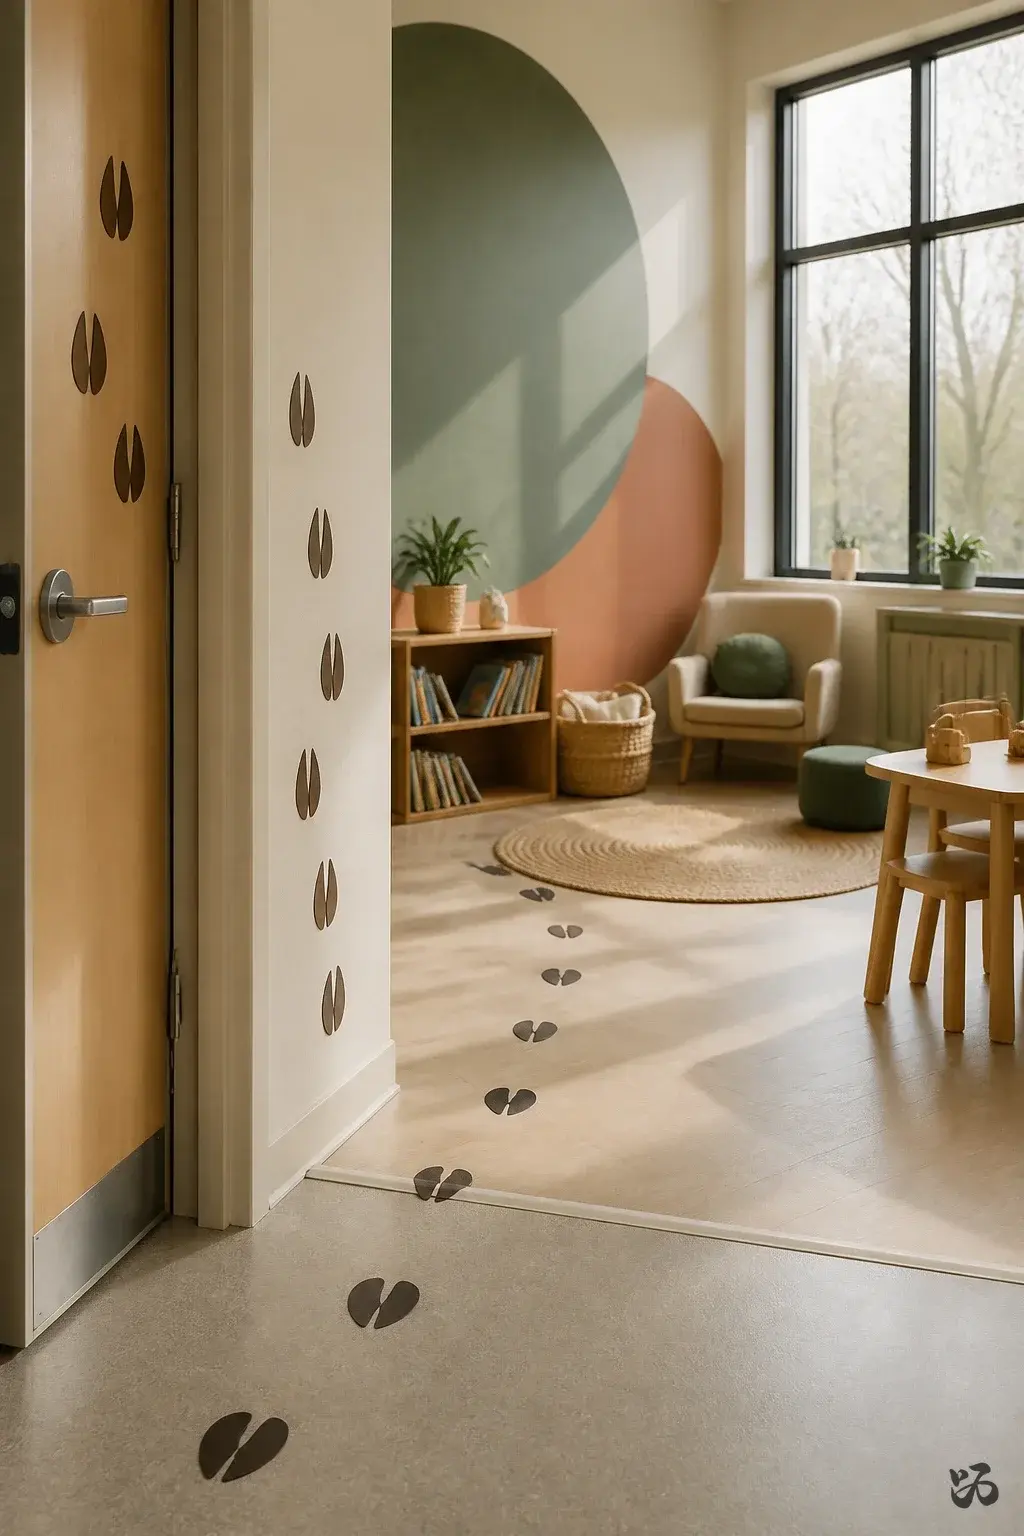 Save
SaveSmall brown footer prints march along the door edge and onto the wall, simulating a reindeer parade. The footprint shapes are simple, and kids love stepping into the hallway to follow the trail.
What you need
- Brown construction paper
- White craft paint or white paper for toes
- Masking or painter’s tape to guide lines
- Clear drying glue
- Optional red nose accent
Use a low wall or door edge for best grip; this one is durable for kid touch anywhere.
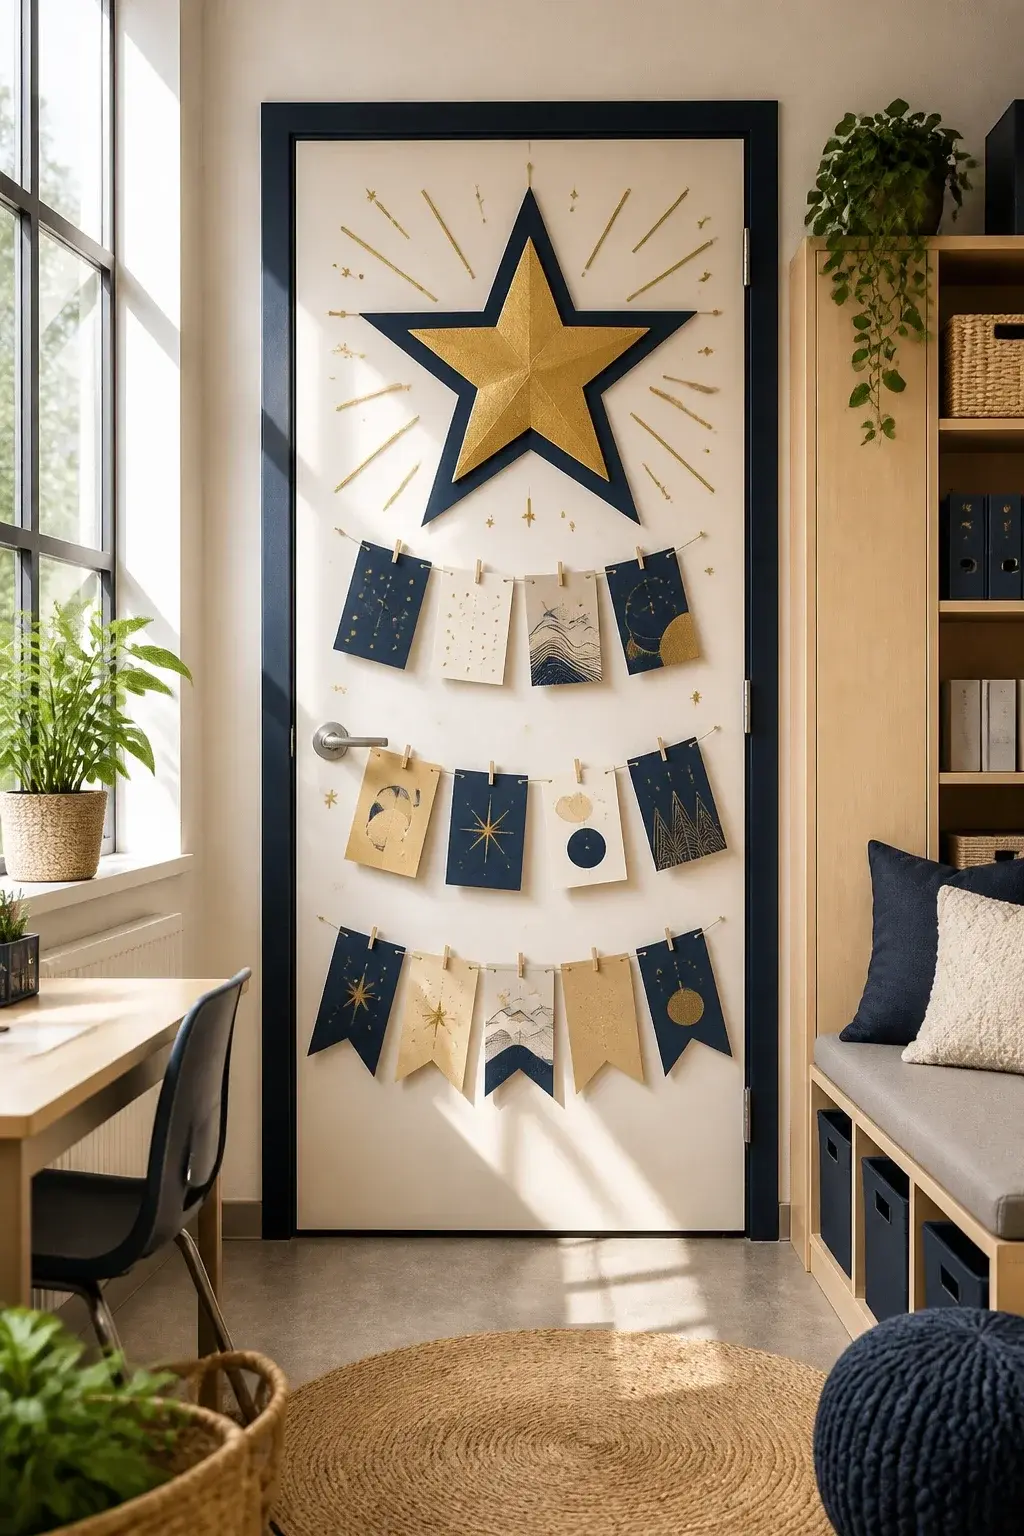
7. North Star Classroom Motto
 Save
SaveA large star sits at the top center of the door with a classroom motto written in bold letters below. The color scheme is navy, gold, and white to stay crisp on bulletin board surfaces and avoid glare.
What you need
- Gold cardstock
- Blue or navy border trim
- Black marker or paint pen for lettering
- Double-sided tape
- Small star stickers for accents
Laminate not required; use simple handwriting for quick updates between Open House nights.
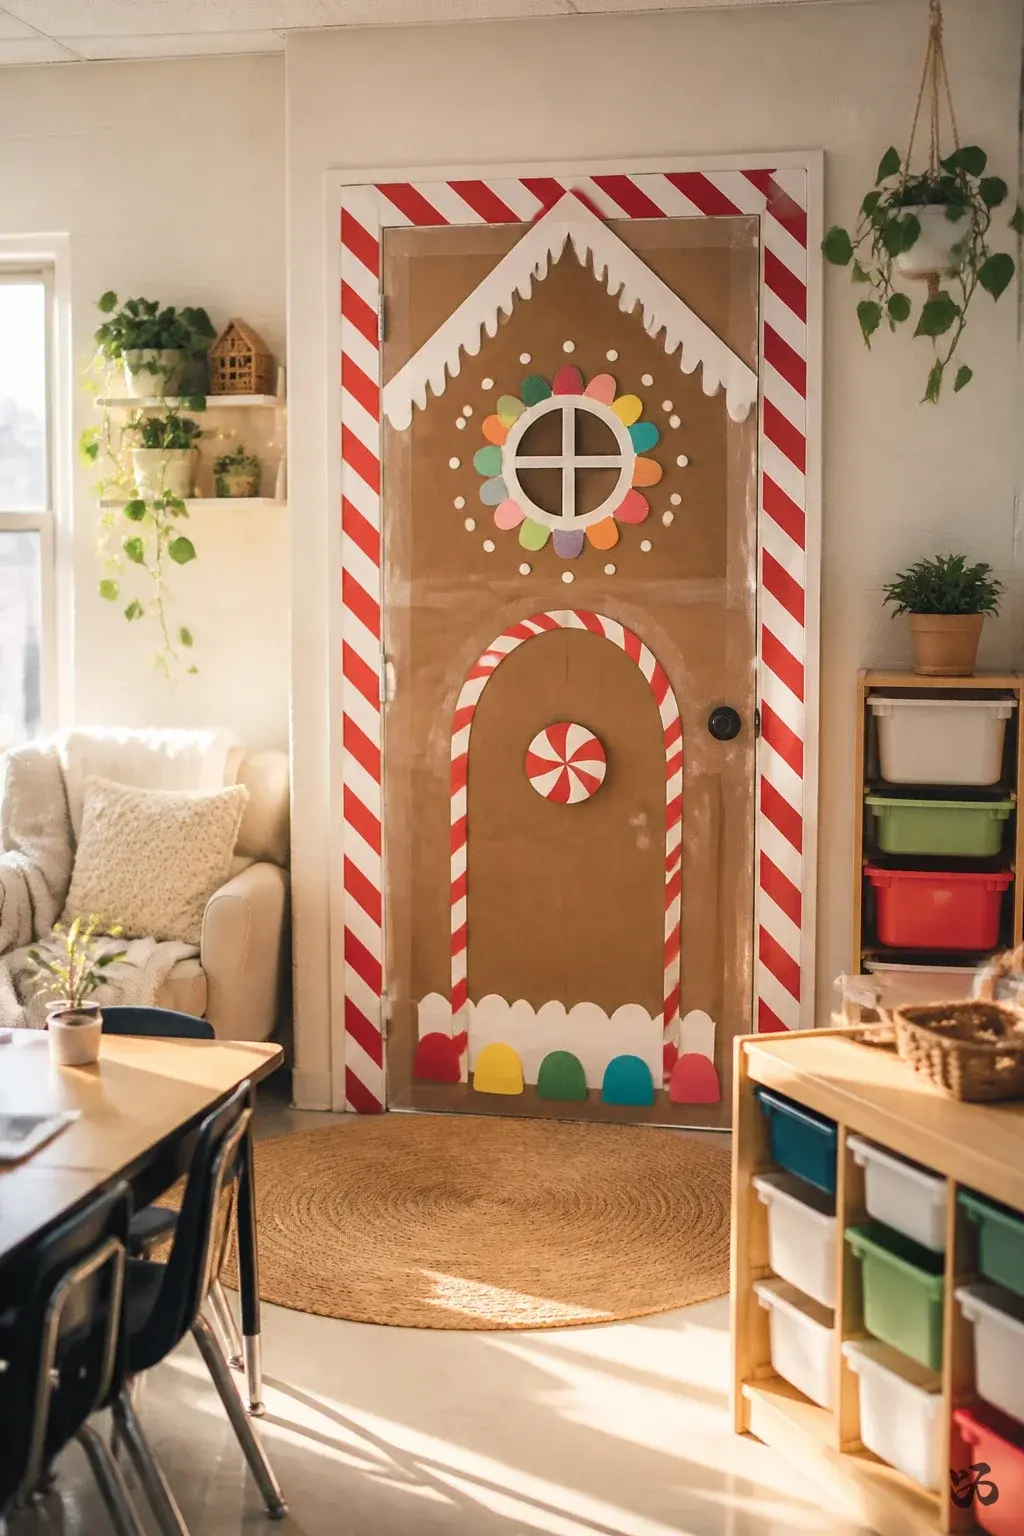
8. Gingerbread House Door Card
 Save
SaveA door-sized gingerbread house made from brown butcher paper backed by red and white candy striping. Edges are reinforced with tape so the whole thing stays intact during recess and car traffic in the hall.
What you need
- Brown butcher paper
- Red and white border strips
- Black marker for window panes
- Glue sticks or glue dots
- Assorted paper features for gumdrops and icing
Make it sturdy enough to resist bumps; this one tends to travel with door traffic.
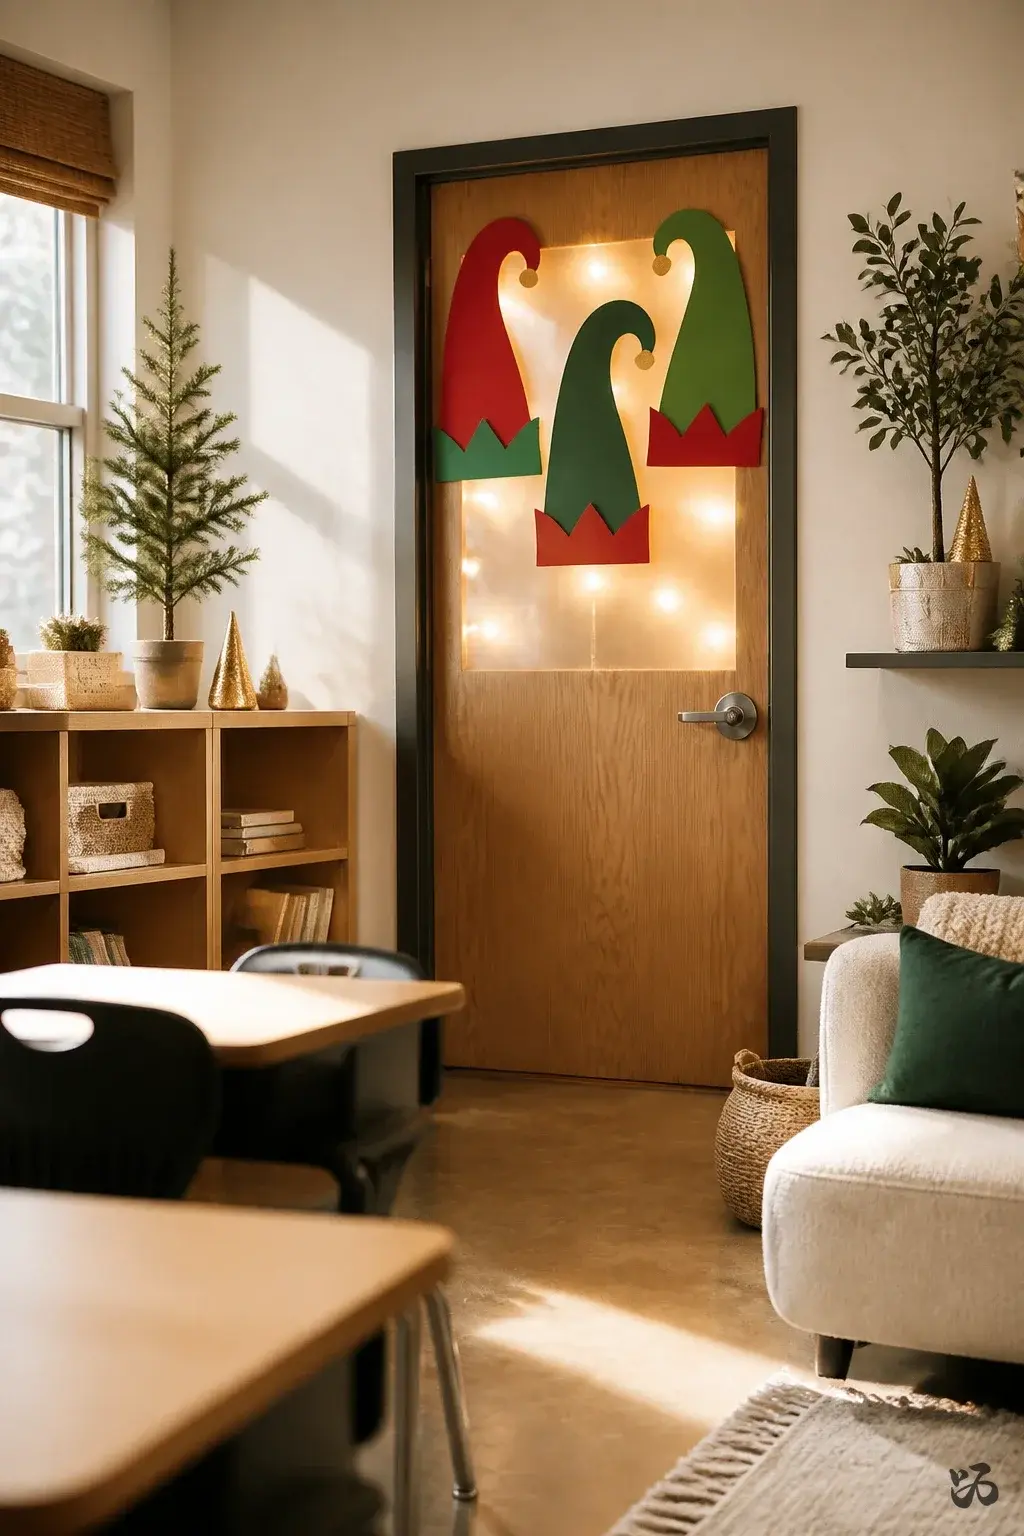
9. Elf Hats on the Door
 Save
SaveThree elf hats made from construction paper perch at the top of the door. A string of warm white lights behind a translucent sheet lights them from the back, giving a gentle glow without a plug hanging over the door.
What you need
- Red and green construction paper
- Cardstock white for trim
- Warm white string lights (behind the paper)
- Transparent tape or light-duty staples (if allowed)
- Needle or punch for eyelet holes (optional)
Keep the wiring tucked behind the door frame and out of reach of little hands.
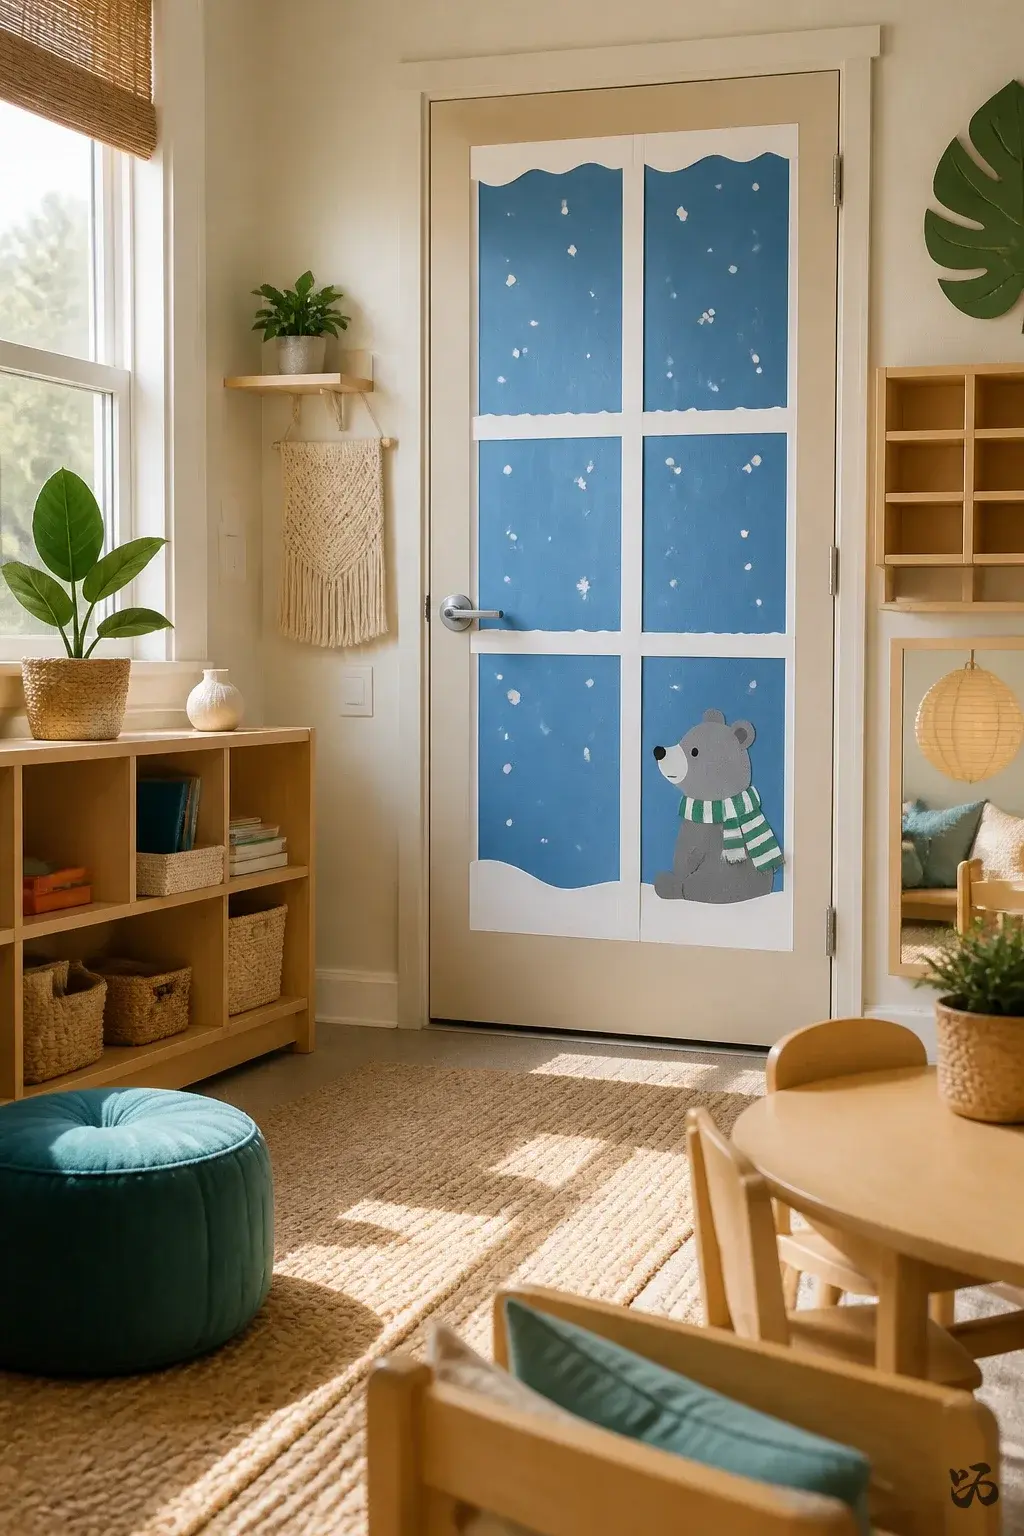
10. Winter Window-Style Door Pals
 Save
SaveA faux window scene painted or cut from blue paper with snowy windowpanes and a friendly winter animal at the corner. The “window” is mostly flat for easy installation on most doors.
What you need
- Blue poster board or blue butcher paper
- White construction paper for window panes
- Animal shapes cut from brown or gray cardstock
- Glue sticks or tape
- Marker for details
Skip lamination if you want quick removal after the season ends.
11. Ornament Garland Door Accent
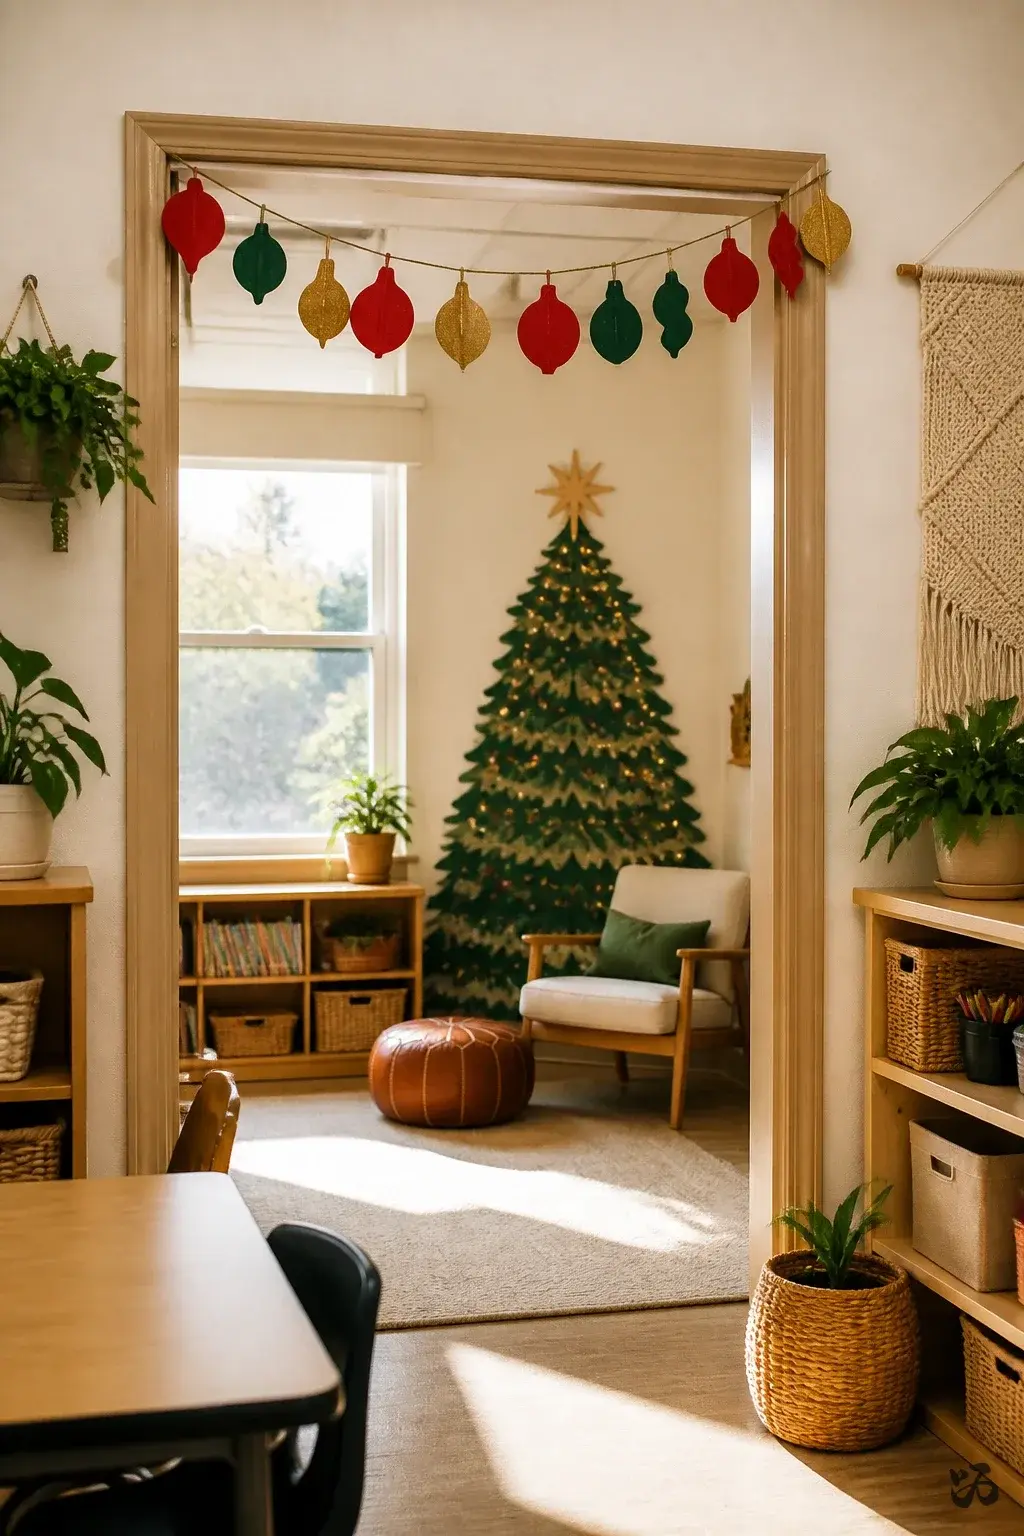 Save
SaveA string of assorted paper ornaments runs horizontally across the door frame. Ornaments are cut from red, green, and gold cardstock and stapled to a thin string or sturdy ribbon.
What you need
- Cardstock in holiday colors
- Thin ribbon or string
- Stapler or removable tape
- Glue dots for secure attachment
- Scissors for precise cuts
Great for a quick kickoff to parent night or field trip prep; not too tall to avoid door sensors.
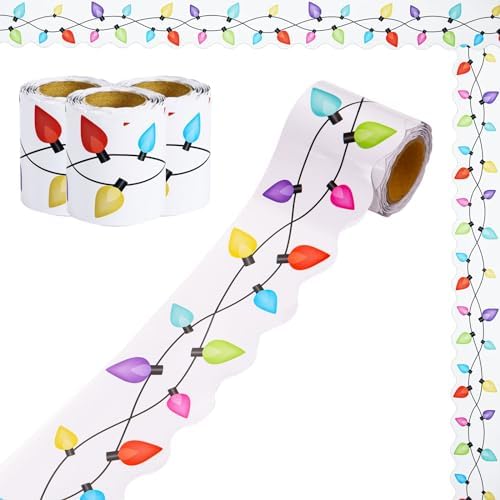
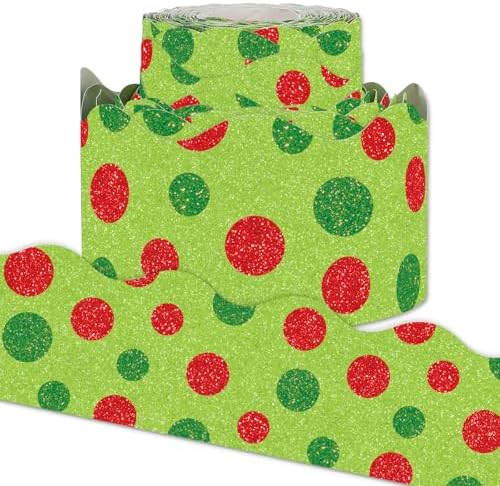
Paper and Border That Stretches Furthest

12. Snowflake Grid Door Art
 Save
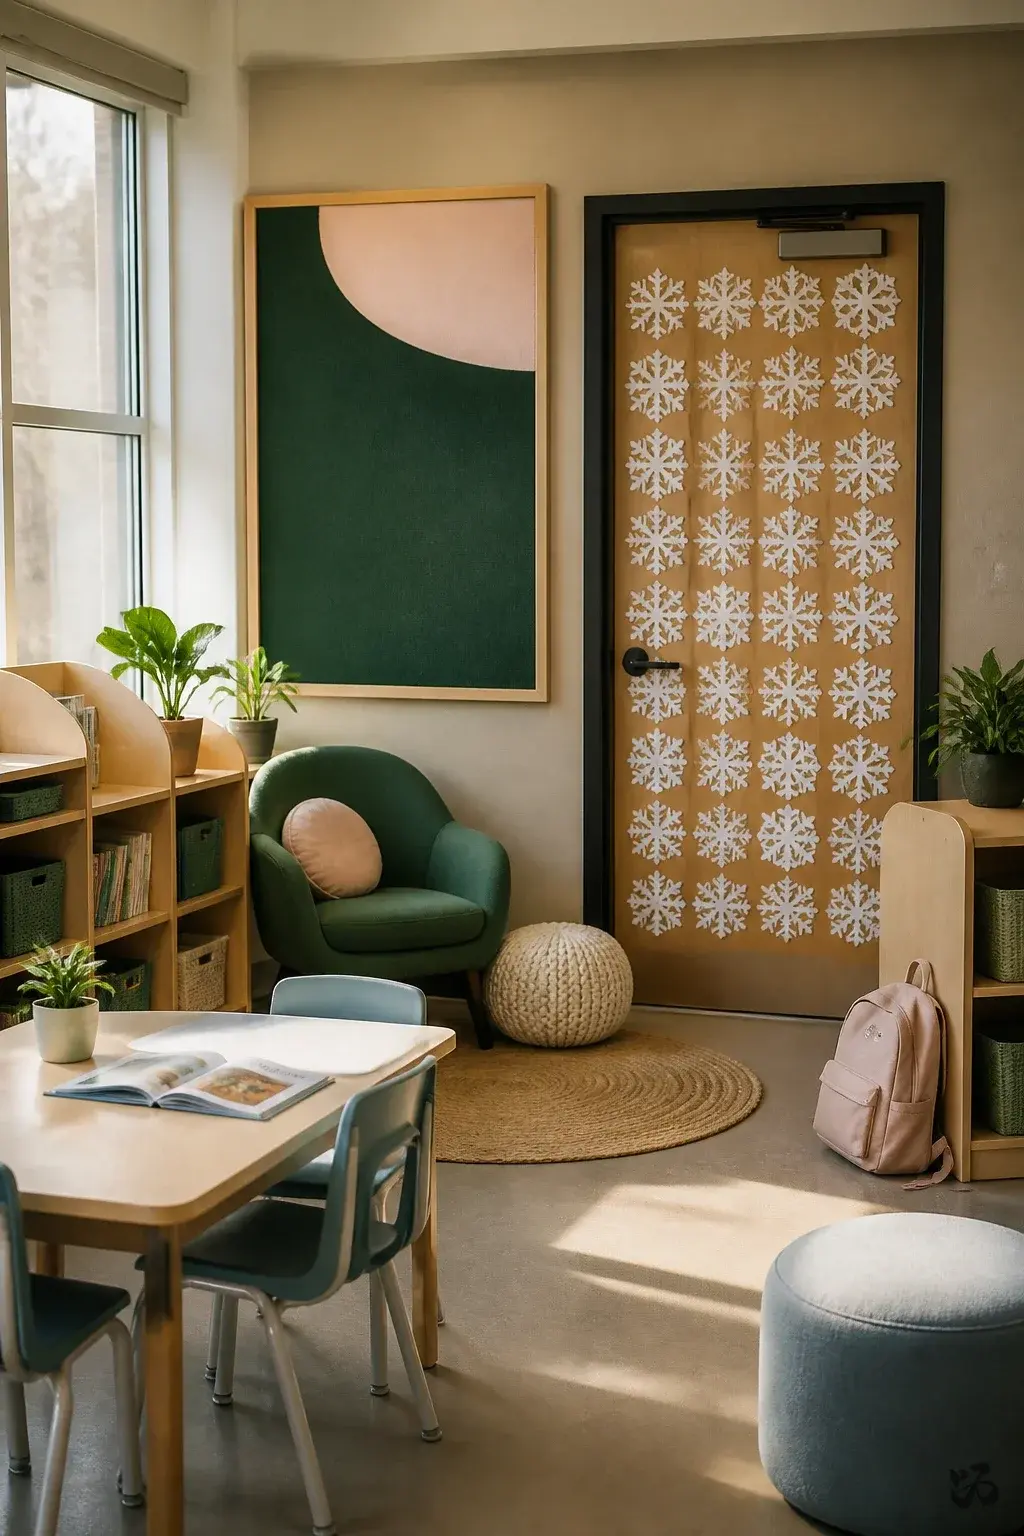
SaveA grid of large snowflakes covers a portion of the door, each snowflake labeled with a class trait or December-themed word. It creates a calm, orderly look that’s easy to read from the hall.
What you need
- White paper
- Blue marker for the grid lines
- Colored pens for labels
- Double-sided tape
- Optional sequin or glitter accents (constrained to avoid mess)
Use removable tape to preserve door paint and reduce cleanup after Open House.
13. Santa’s Hat Door Border
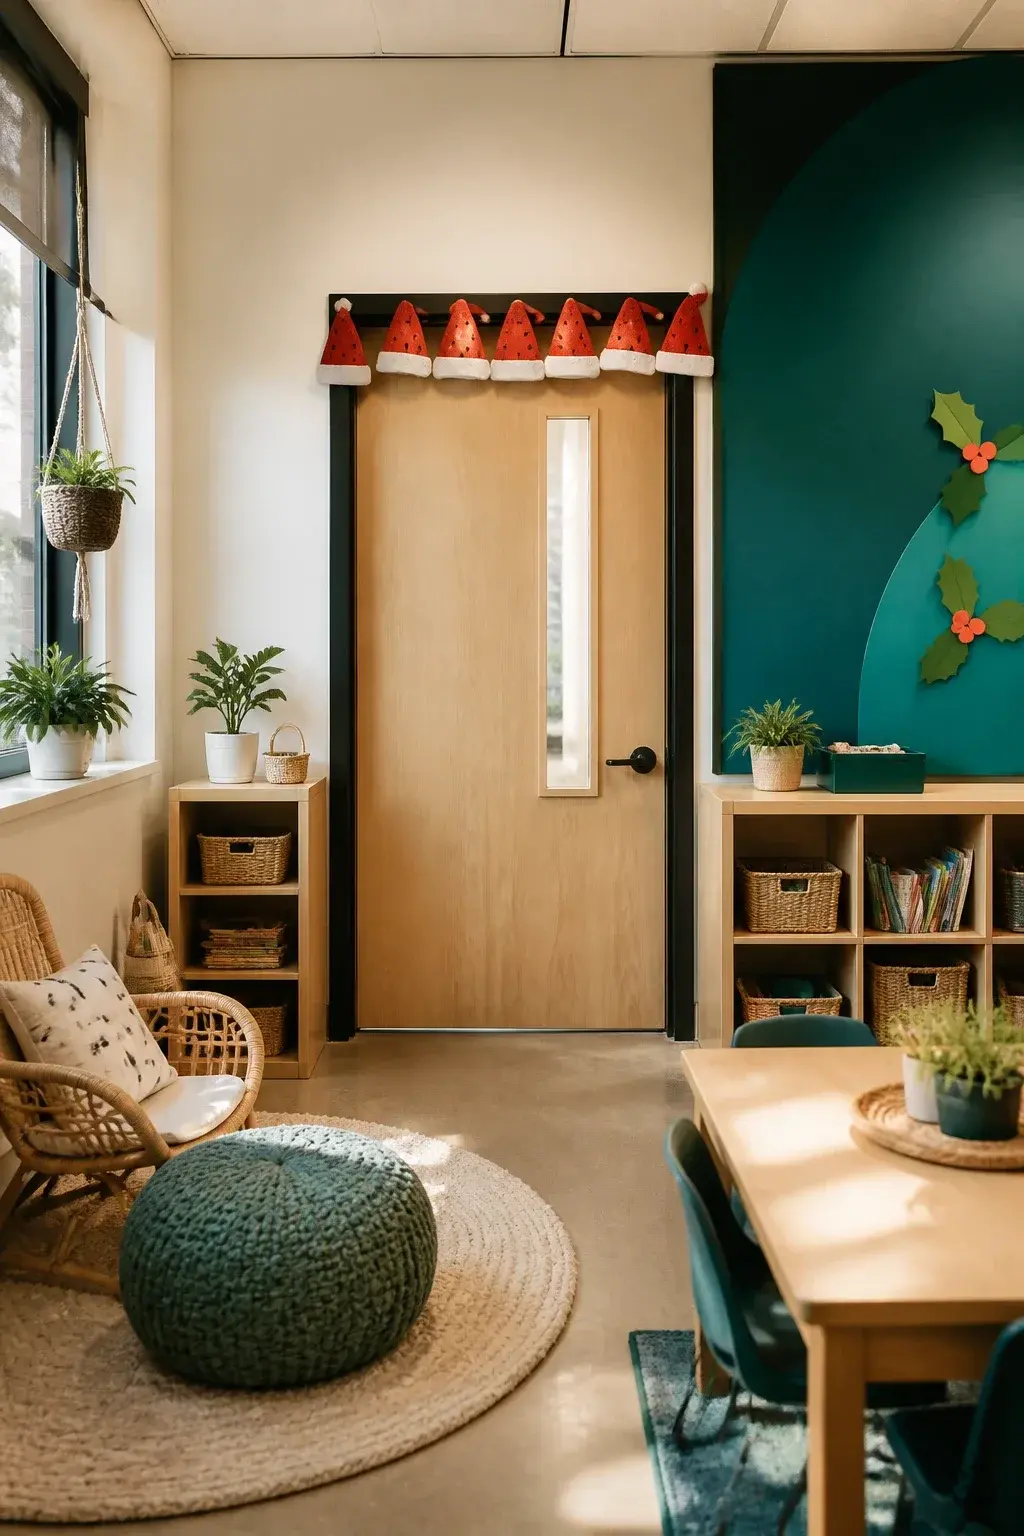 Save
SaveA row of Santa hats along the top edge of the door is simple and sturdy. Hats are made from red construction paper with white felt or paper trim, and they stay put with minimal tape.
What you need
- Red construction paper
- White felt or white construction paper
- Low-tack tape or Velcro dots
- Black marker for face-free embellishments
- Optional green holly leaves cut from cardstock
Be mindful of the door’s opening path and keep the top edge under a safe height for kids to avoid snagging on coats.
14. Polar Bear Door Scene
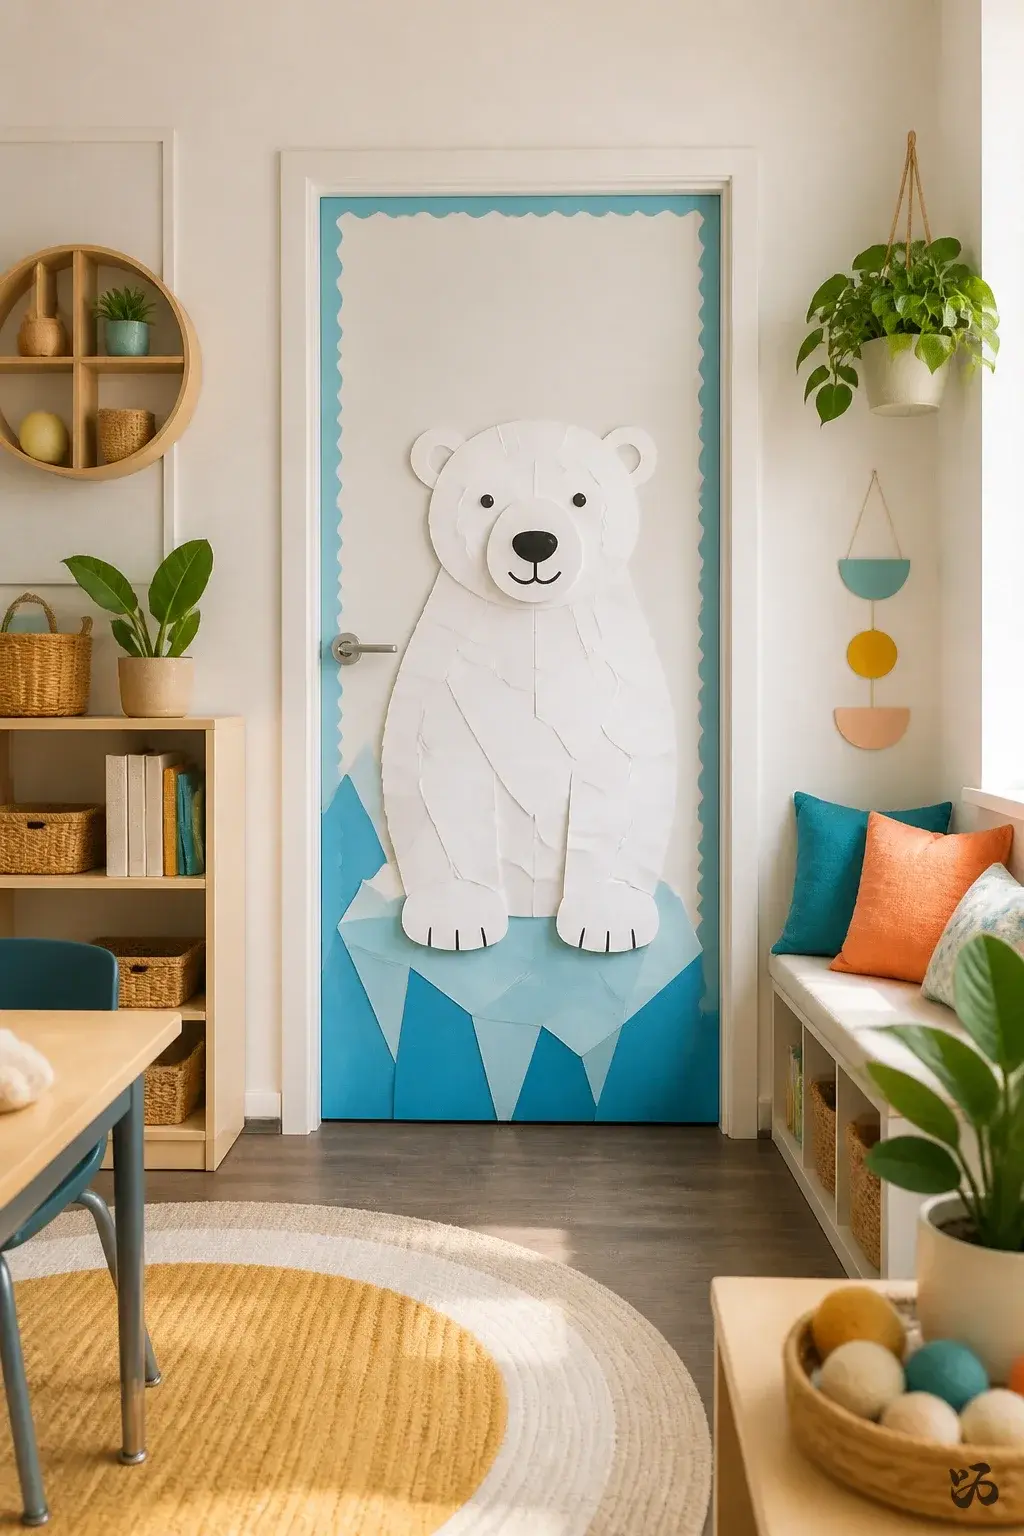 Save
SaveA polar bear perched on a chunk of blue ice makes a friendly focal point. The bear is constructed from white paper shapes layered for a little dimension; the ice is a blue cutout with jagged edges.
What you need
- White and light blue construction paper
- Blue border trim
- Glue sticks or dots
- Scissors for precise shapes
- Optional cotton ball for texture on the bear
Keep edges clean so it survives daily bumping from backpacks and coats.
15. Icicle Curtain Door Accent
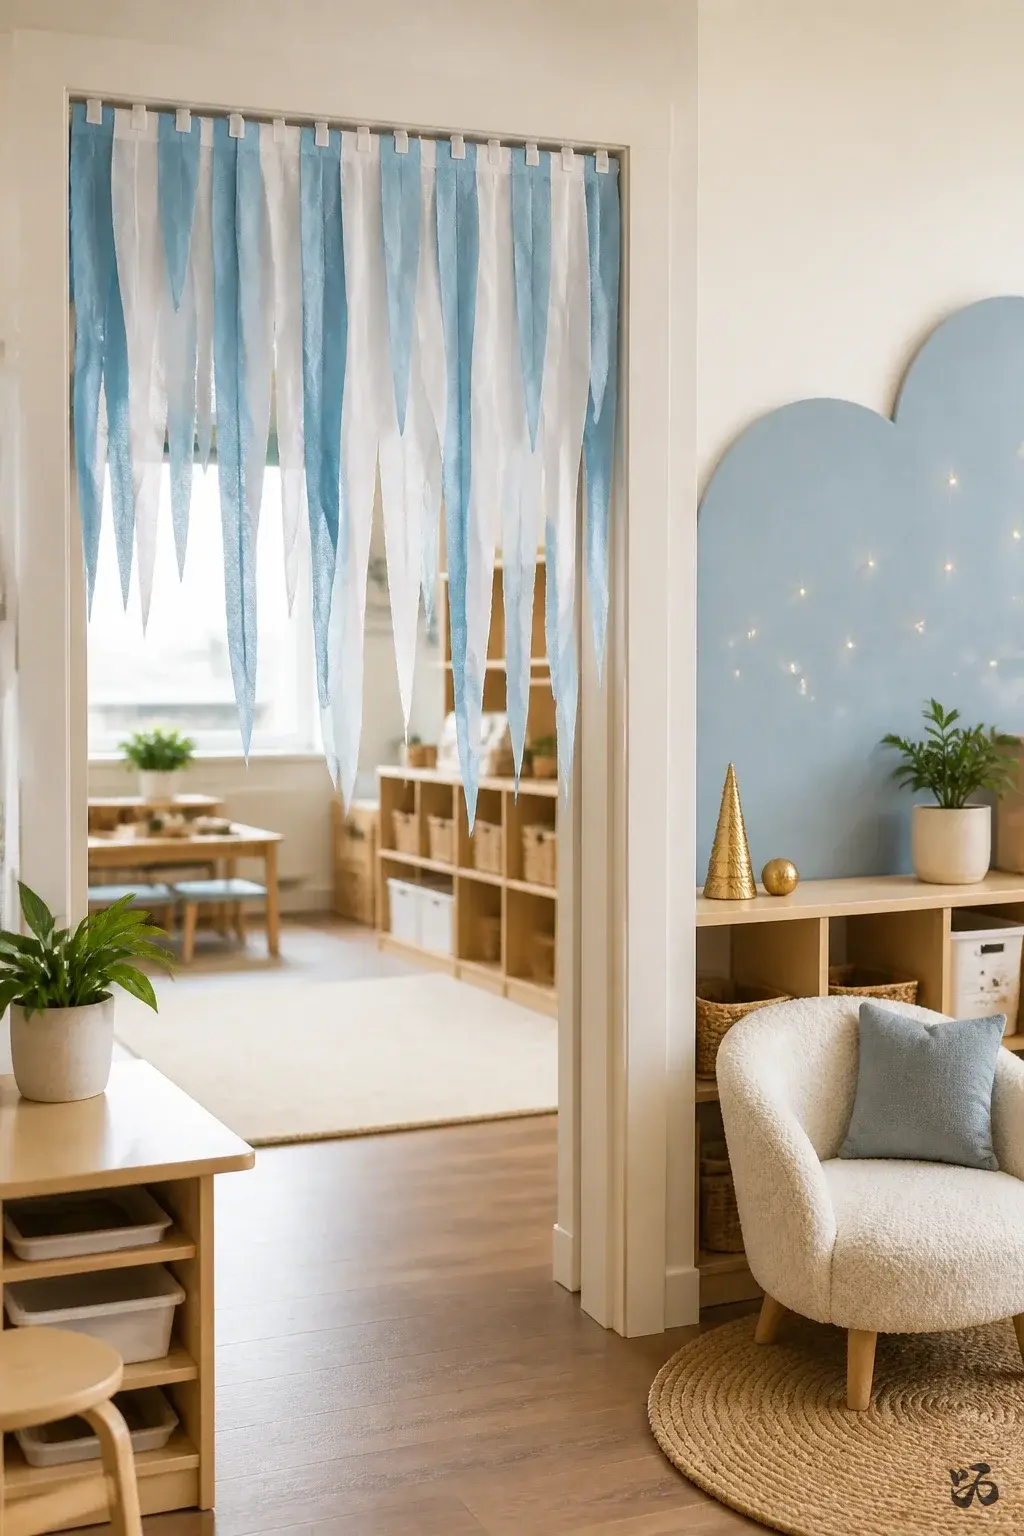 Save
SaveLight blue and white strips hang in a staggered curtain along the top of the door. Each strip is cut to resemble an icicle, catching light from the hallway and giving a crisp winter feel without heavy stacking of materials.
What you need
- Blue and white butcher paper
- Clip or tape to hold the strips
- Scissors for irregular edges
- Optional small star cutouts for variety
- Removable hooks or adhesive strips
Great for doors with a window panel; avoid blocking emergency signage or exit symbols.
16. Festive Door Quilt
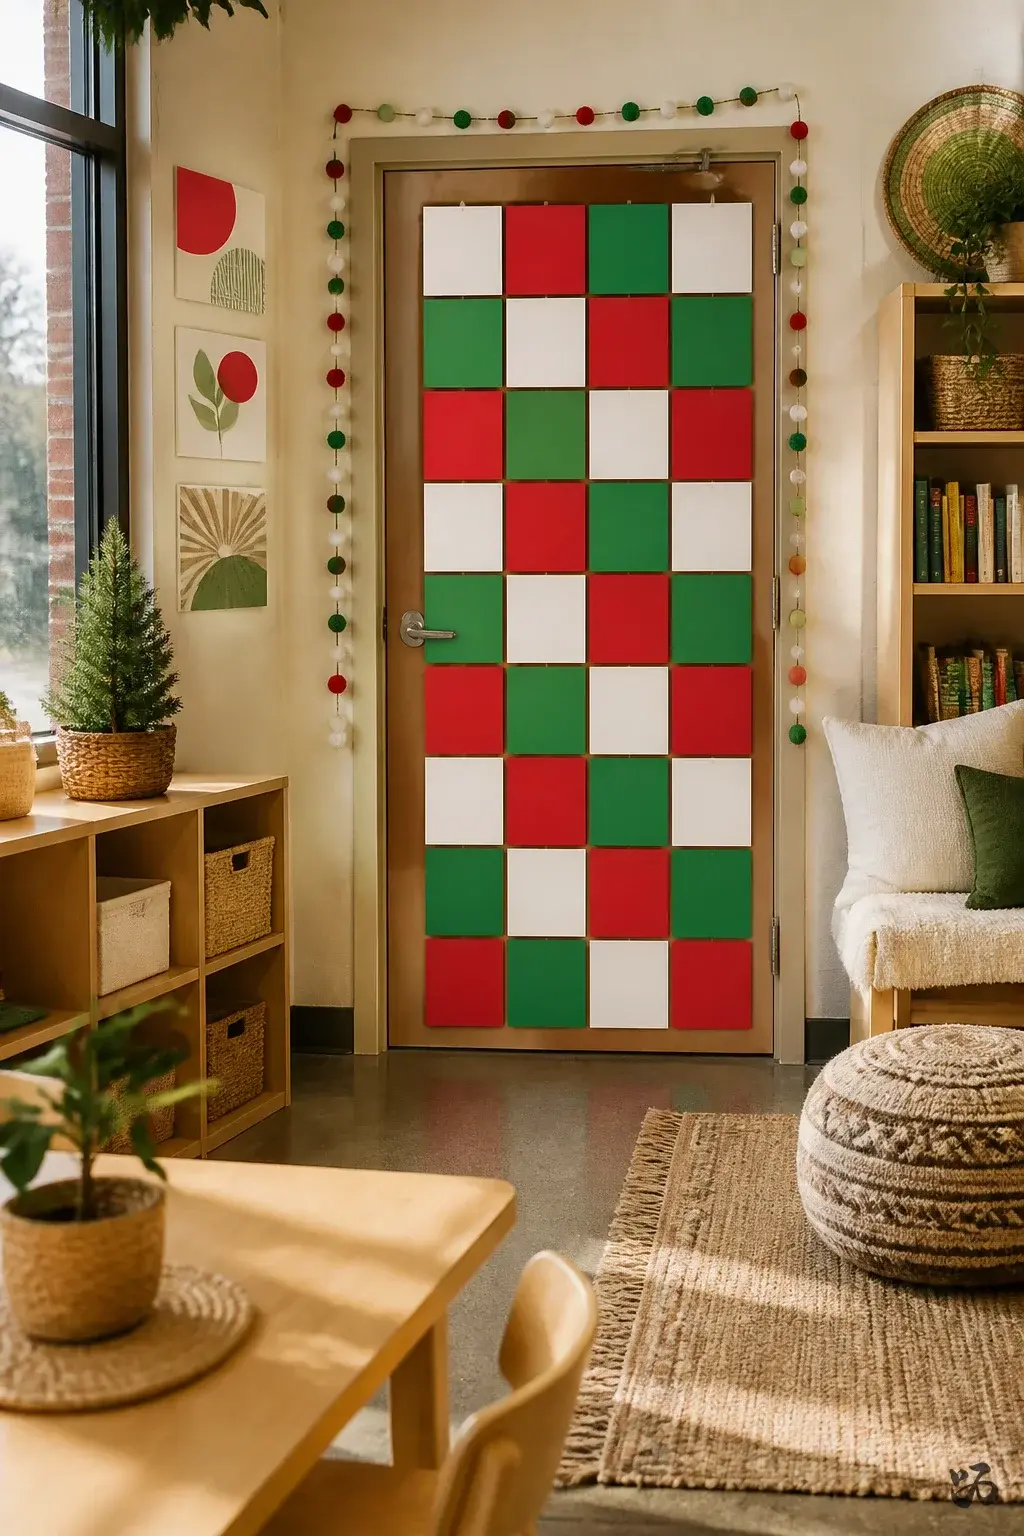 Save
SaveA small quilt pattern made of squares of red, green, and white paper turns the door into a cozy look. Each square can carry a class value or student name as a tiny tribute to collaboration.
What you need
- Red, green, and white cardstock
- Adhesive mounting squares
- Scissors and ruler for clean grid lines
- Optional fabric-style border tape
- Cartoonish candy accents for extra charm
Flatten the setup to reduce wall damage and keep the grid compact along the door edge.
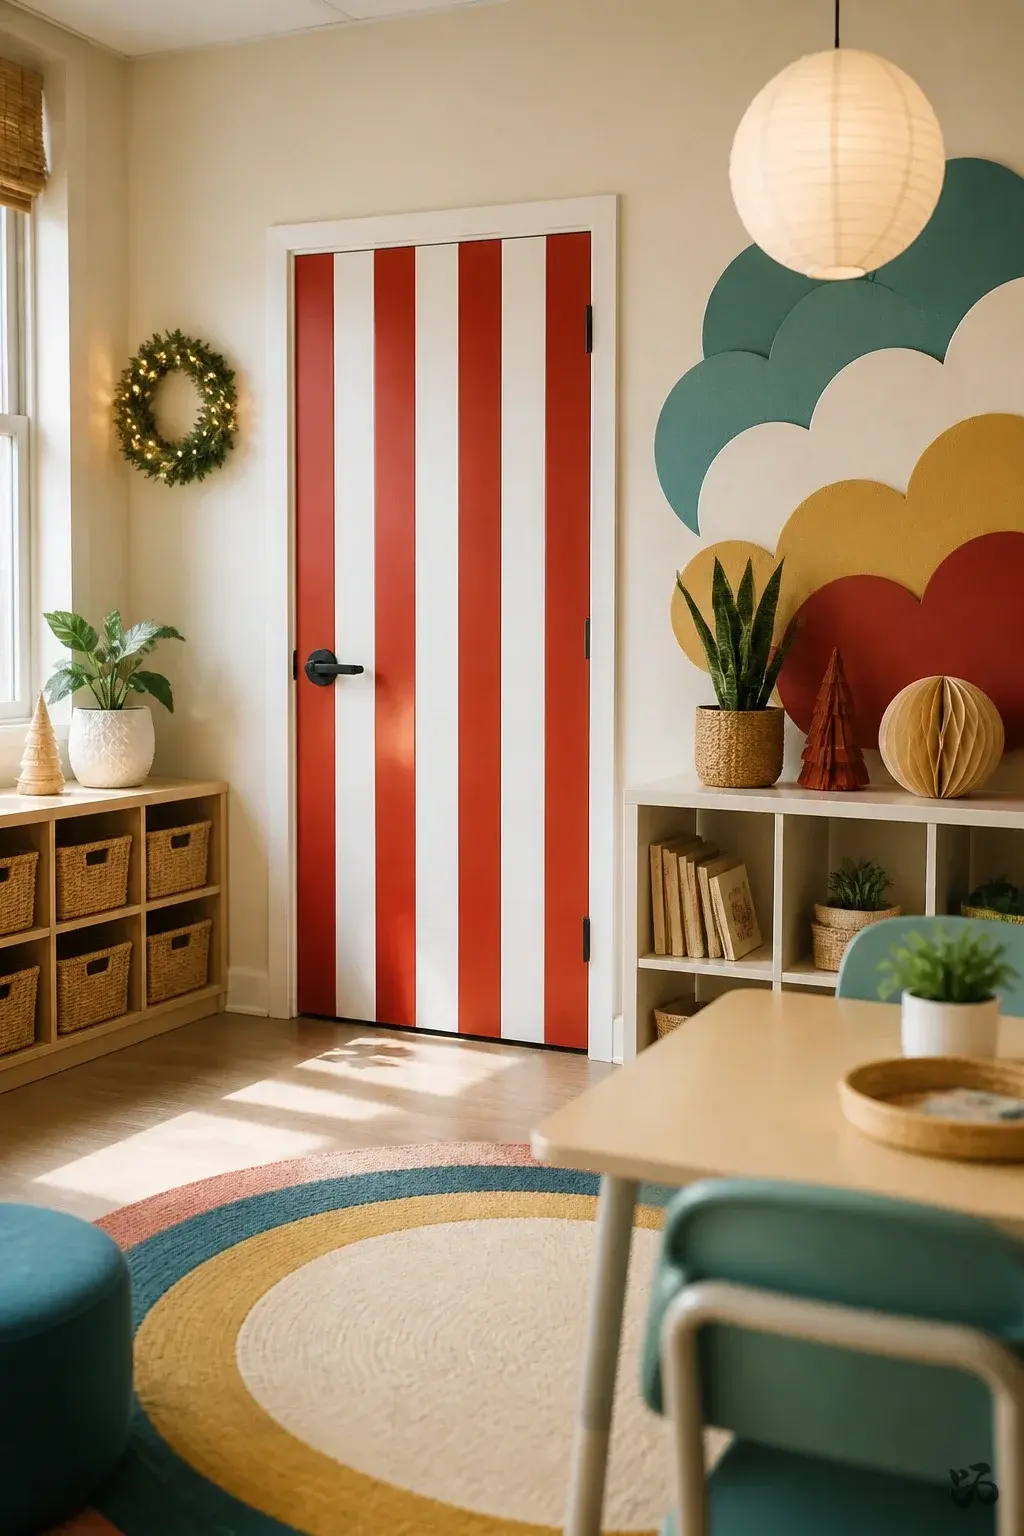
17. Peppermint Stripe Door Plank
 Save
SaveA few strips of red and white alternating stripes run vertically along the door. It’s bold yet uncomplicated, and you can reuse the border strips next year with minor edits.
What you need
- Red and white border strips
- Glue sticks or tape
- Optional black line accents for shadow under the stripes
- Cardstock for number or letter accents
Keep the stripes away from door hardware to maintain proper operation.
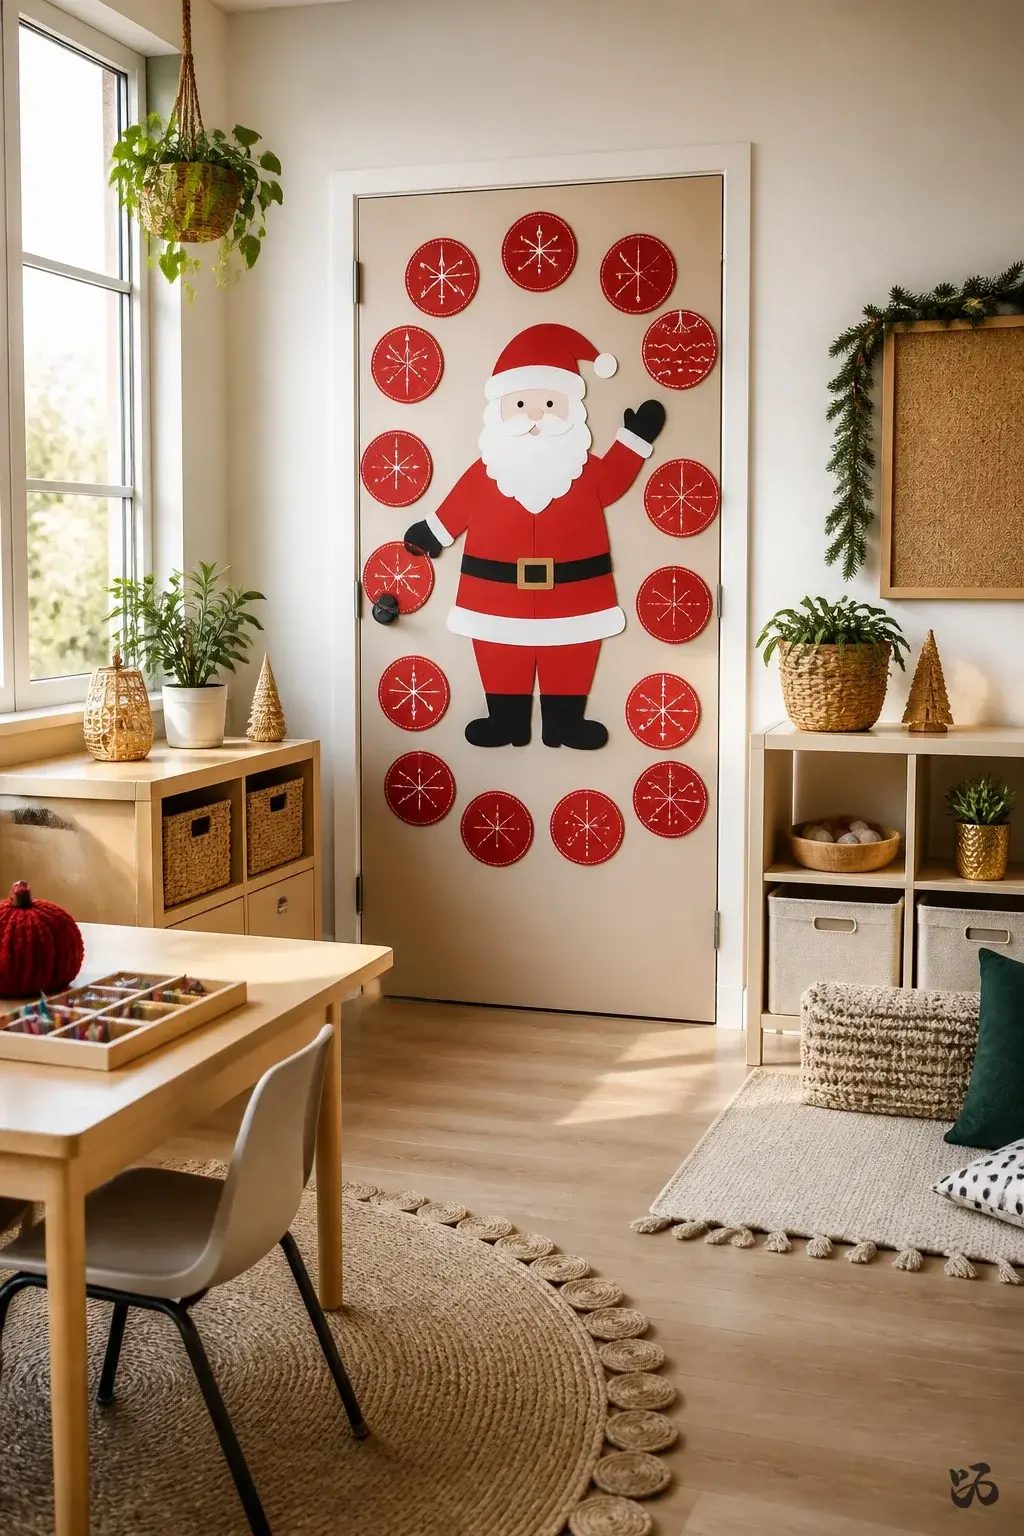
18. Santa Letters Door Display
 Save
SaveChildren’s hand-written holiday wishes appear on large red circles pinned around a central Santa image. This is a good project for a writing center during prep periods and pairs well with a parent night activity.
What you need
- Red construction paper
- White and black markers for writing
- Glue dots and a larger Santa silhouette cut from cardstock
- Double-sided tape to attach the letters
- Optional laminated name tags for durability
Laminate is optional if you want to minimize prep time, but it increases longevity.
Reusable Bits That Pay for Themselves


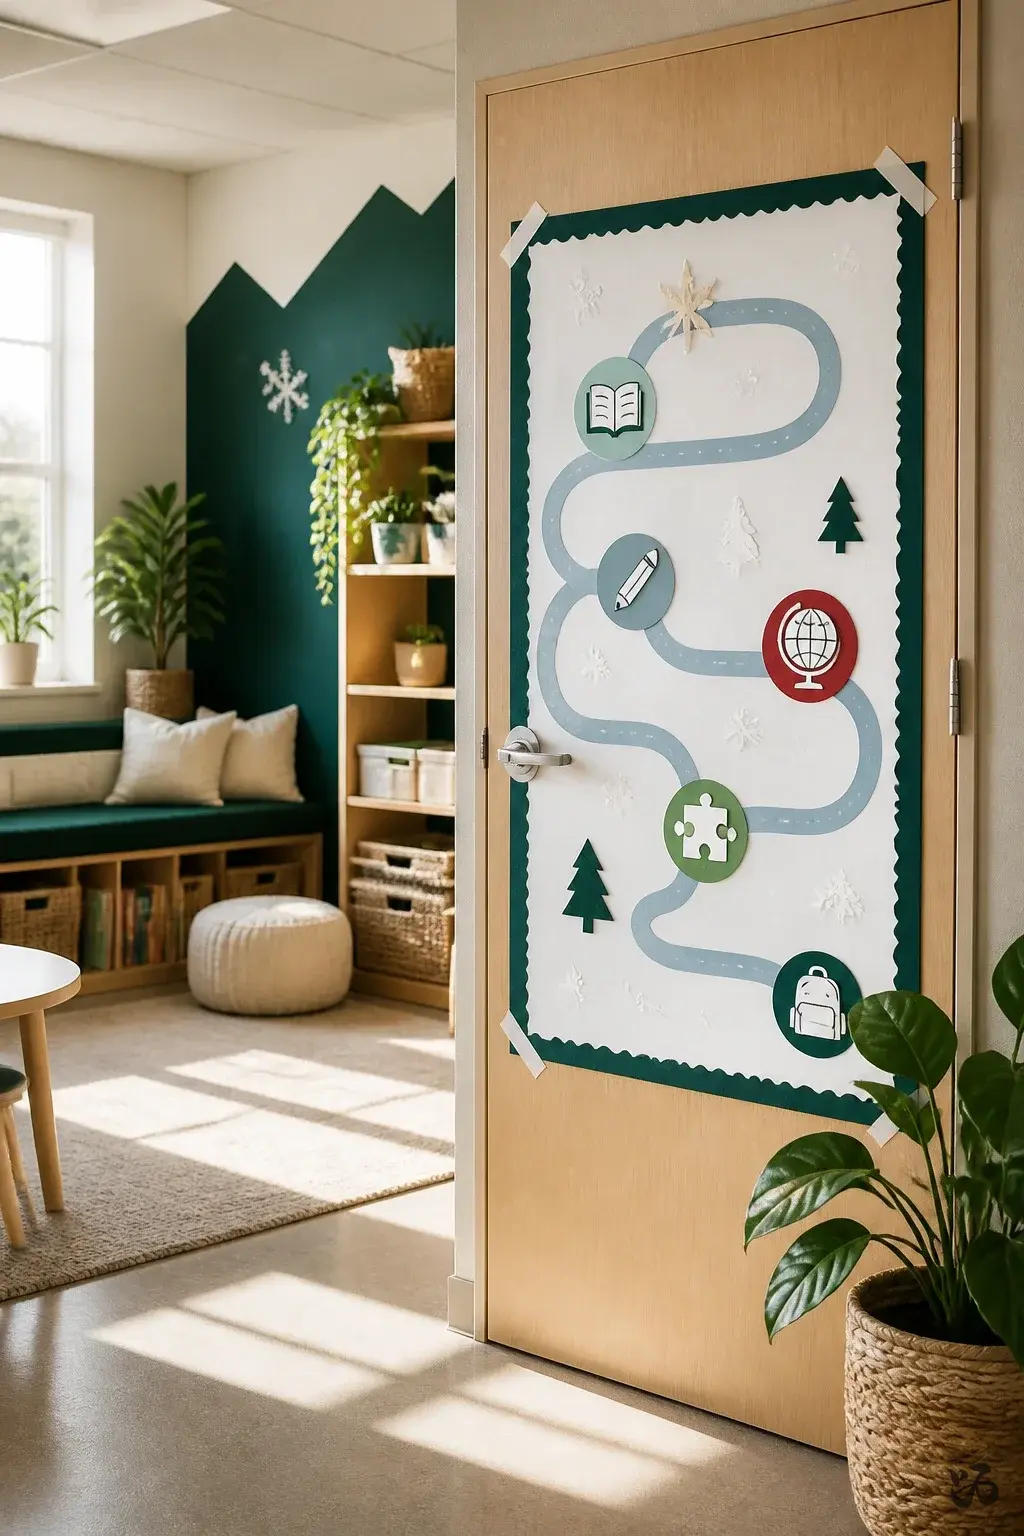
19. Open House Friendly Door Map
 Save
SaveA simple winter-themed map outlines the classroom layout with labeled stations like reading corner and math center. It’s visually clear and provides a subtle wayfinding cue for Open House evenings.
What you need
- Poster board or large paper
- Colored markers and small icon stamps
- Removable tape or mild adhesive
- Paper cutouts for icons (book, pencil, globe)
- Border trim for a neat frame
Keep clutter away from the door frame to prevent tripping hazards during parent tours.
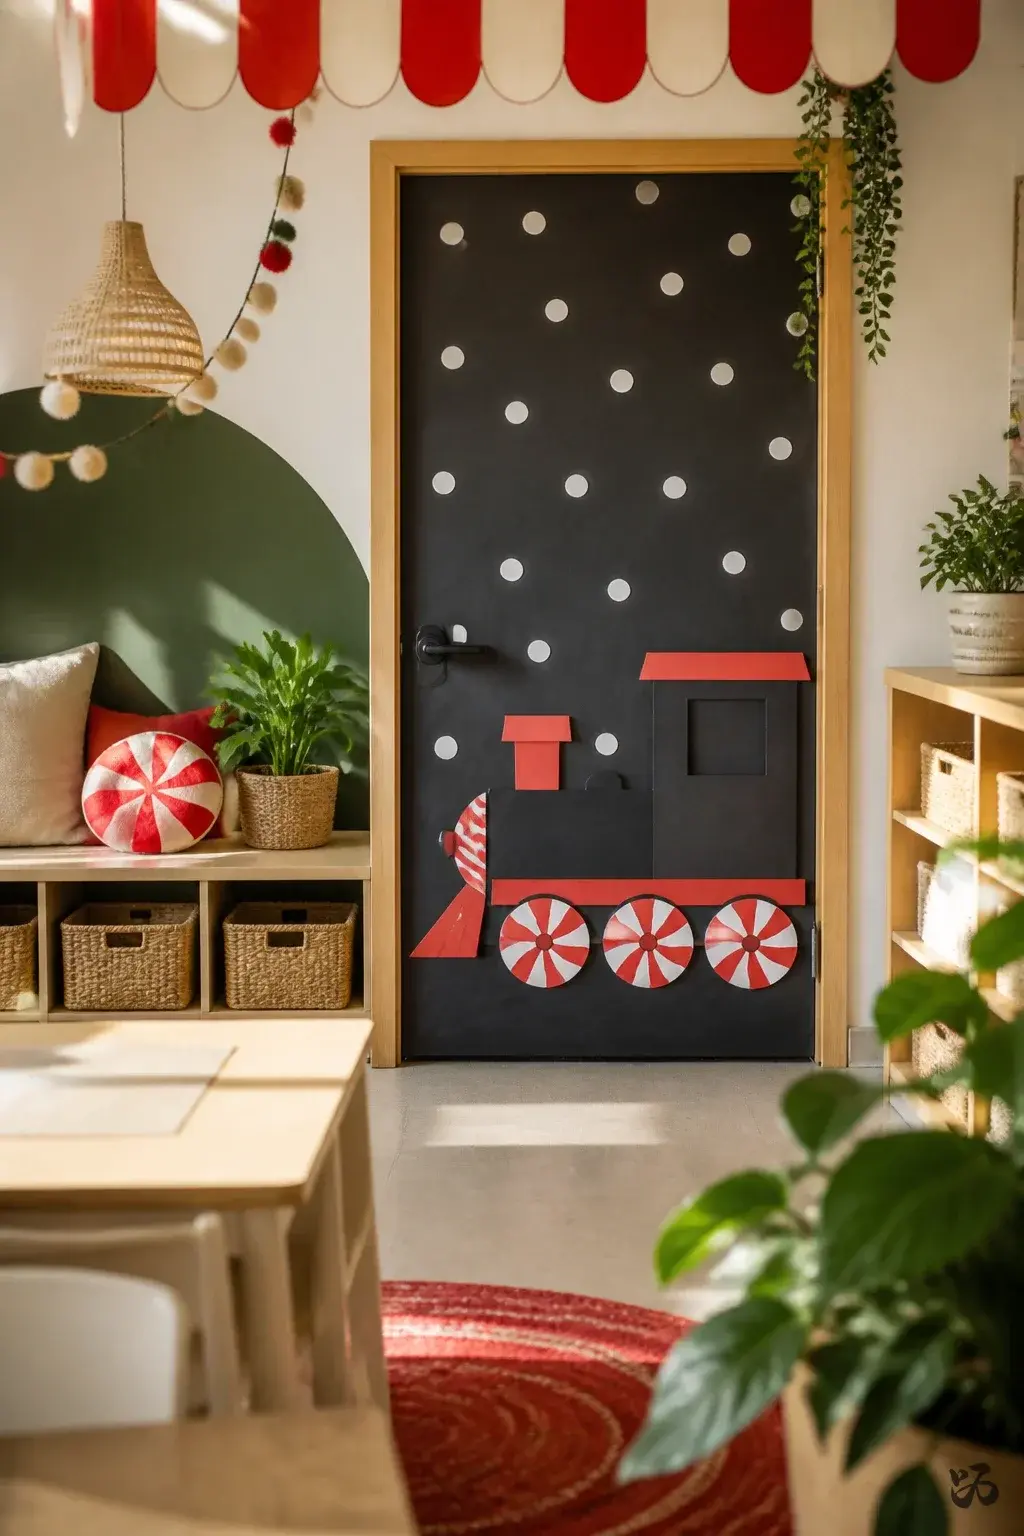
20. Peppermint Polar Express Door
 Save
SaveA simple train silhouette runs along the bottom of the door with peppermint accents. It fits the winter theme and mimics a playful train ride that kids can preview during field trips to the library or museum.
What you need
- Black construction paper
- Red construction paper for the train
- White circles or dots for snow
- Glue sticks or glue dots
- Removable mounting tape
Accessible for all grades; avoid heavy elements that may detach during hallway traffic.
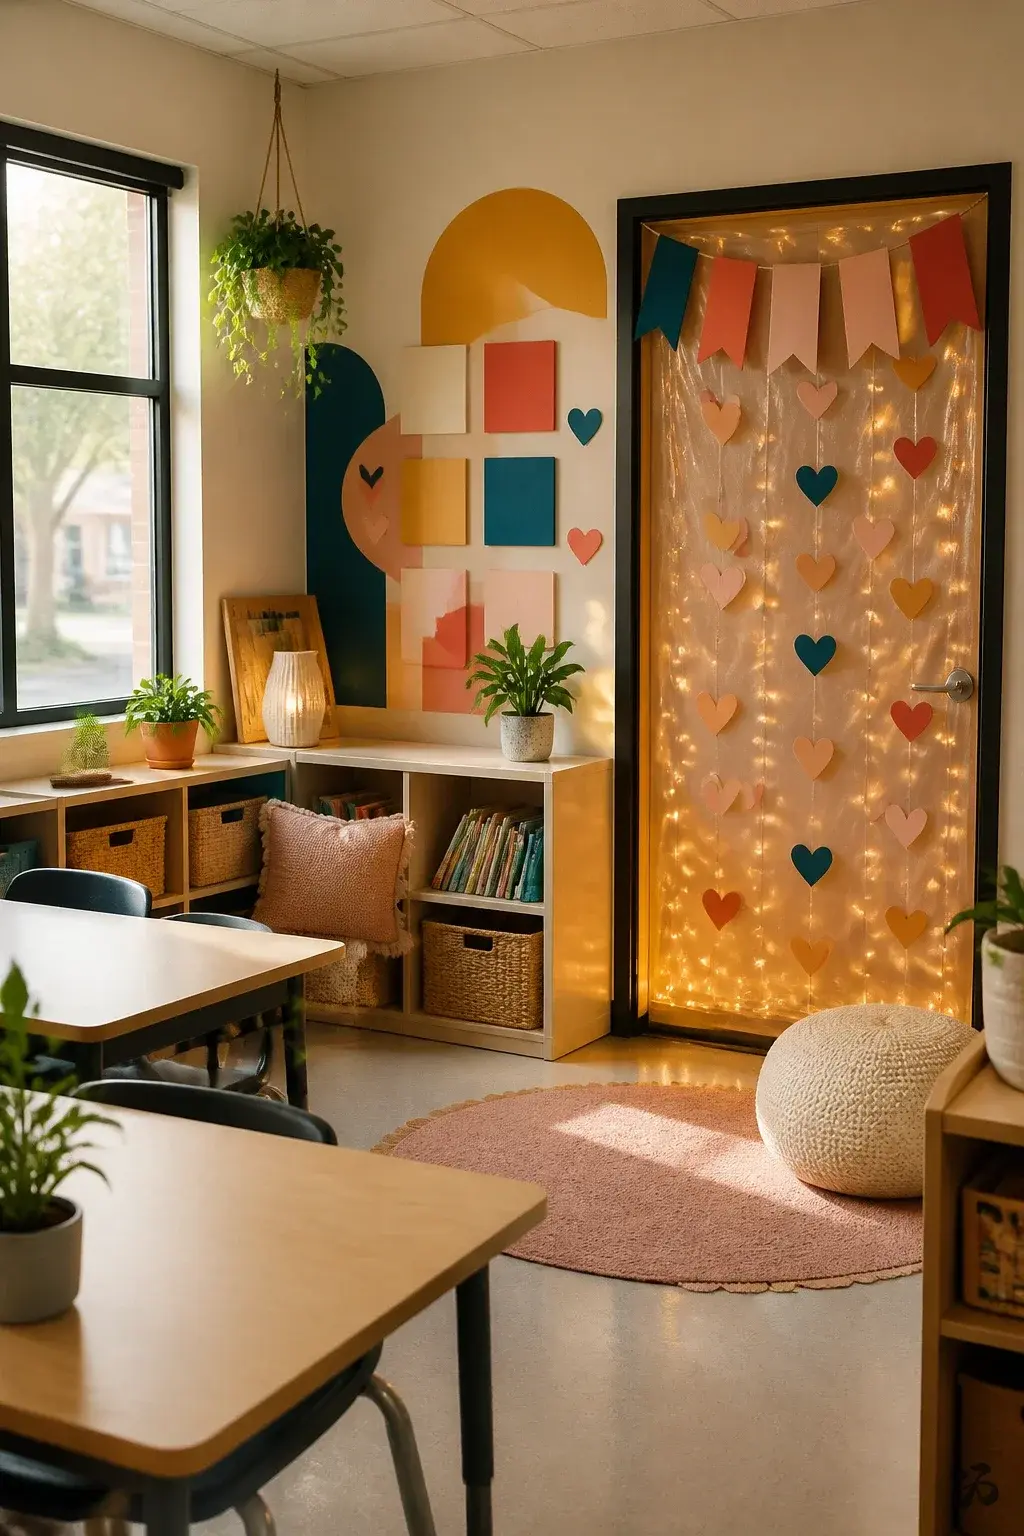
21. Warm Wishes Door Banner
 Save
SaveA banner across the top edge that says “Warm Wishes” in bold letters. Accompany it with small heart shapes cut from poster paper and a few strings of decorative lights behind a sheer plastic sheet for subtle glow.
What you need
- Poster paper or cardstock
- Colored border trim
- Thin string lights (battery powered)
- Plastic sheet to soften light
- Glue dots or tape for attachment
Battery-powered lights reduce access to outlets and keep cords out of walking paths.
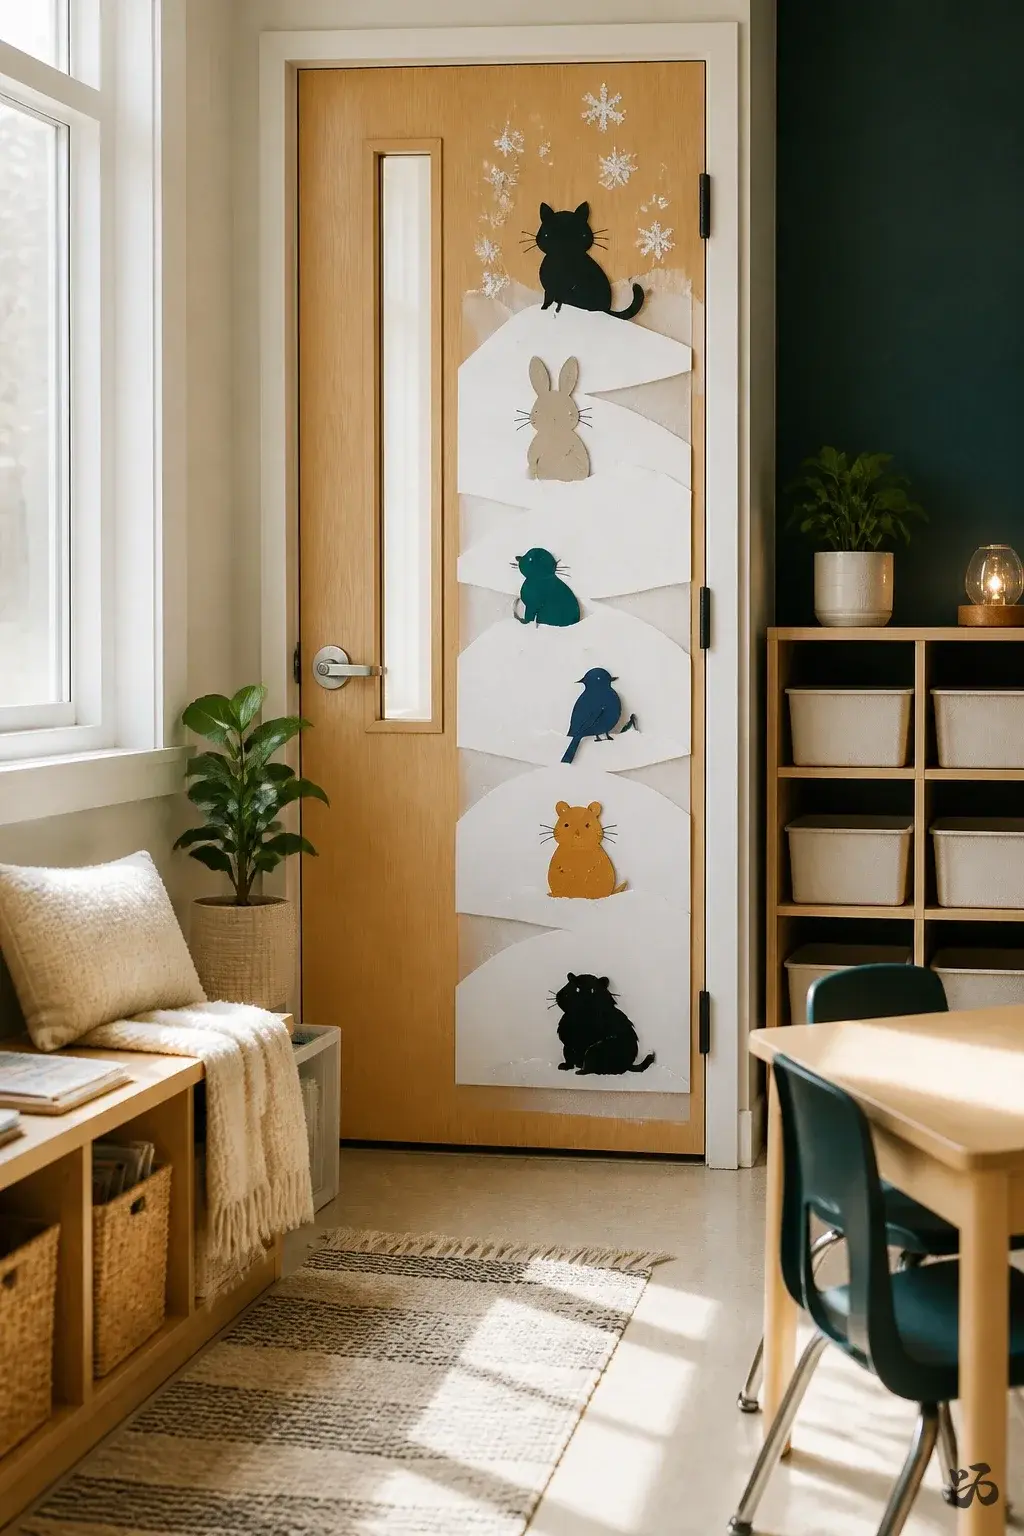
22. Snowy Door Strip of Class Pets
 Save
SaveSmall silhouettes or cutouts of classroom pets stand in a snowy landscape along the door. It personalizes the door while staying within a simple template you can reproduce each year.
What you need
- Cardstock in various colors
- White paper for snow
- Black marker for features
- Double-sided tape
- Optional small glitter specks for the snowflakes
Take care with glitter around young children; use sparingly if your policy is strict on mess.
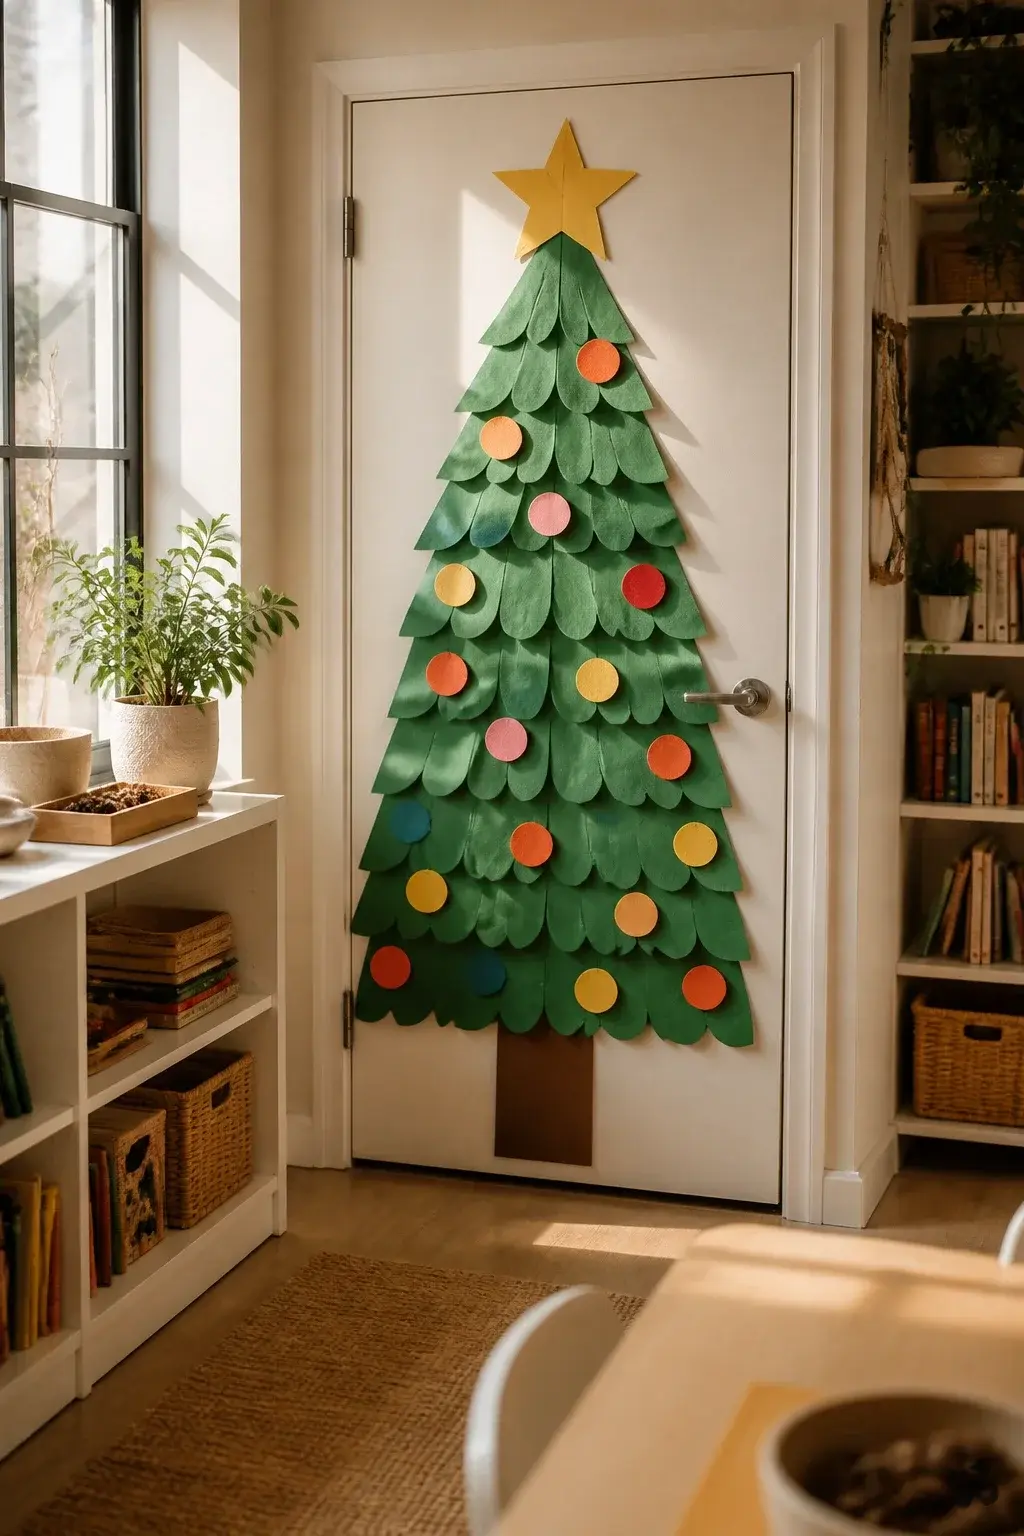
23. Christmas Tree Collage Door
 Save
SaveA large Christmas tree cut from green cardstock or multiple green paper layers creates a textured collage. Ornaments are small circles of colored construction paper with student initials in the center.
What you need
- Green cardstock
- Assorted colorful paper circles
- Glue sticks or glue dots
- Scissors and a simple tree trunk cut from brown paper
- Removable mount tape
Be mindful of door surface; a tree that sits near the bottom edge works best.
24. Winter Letterscape Door
 Save
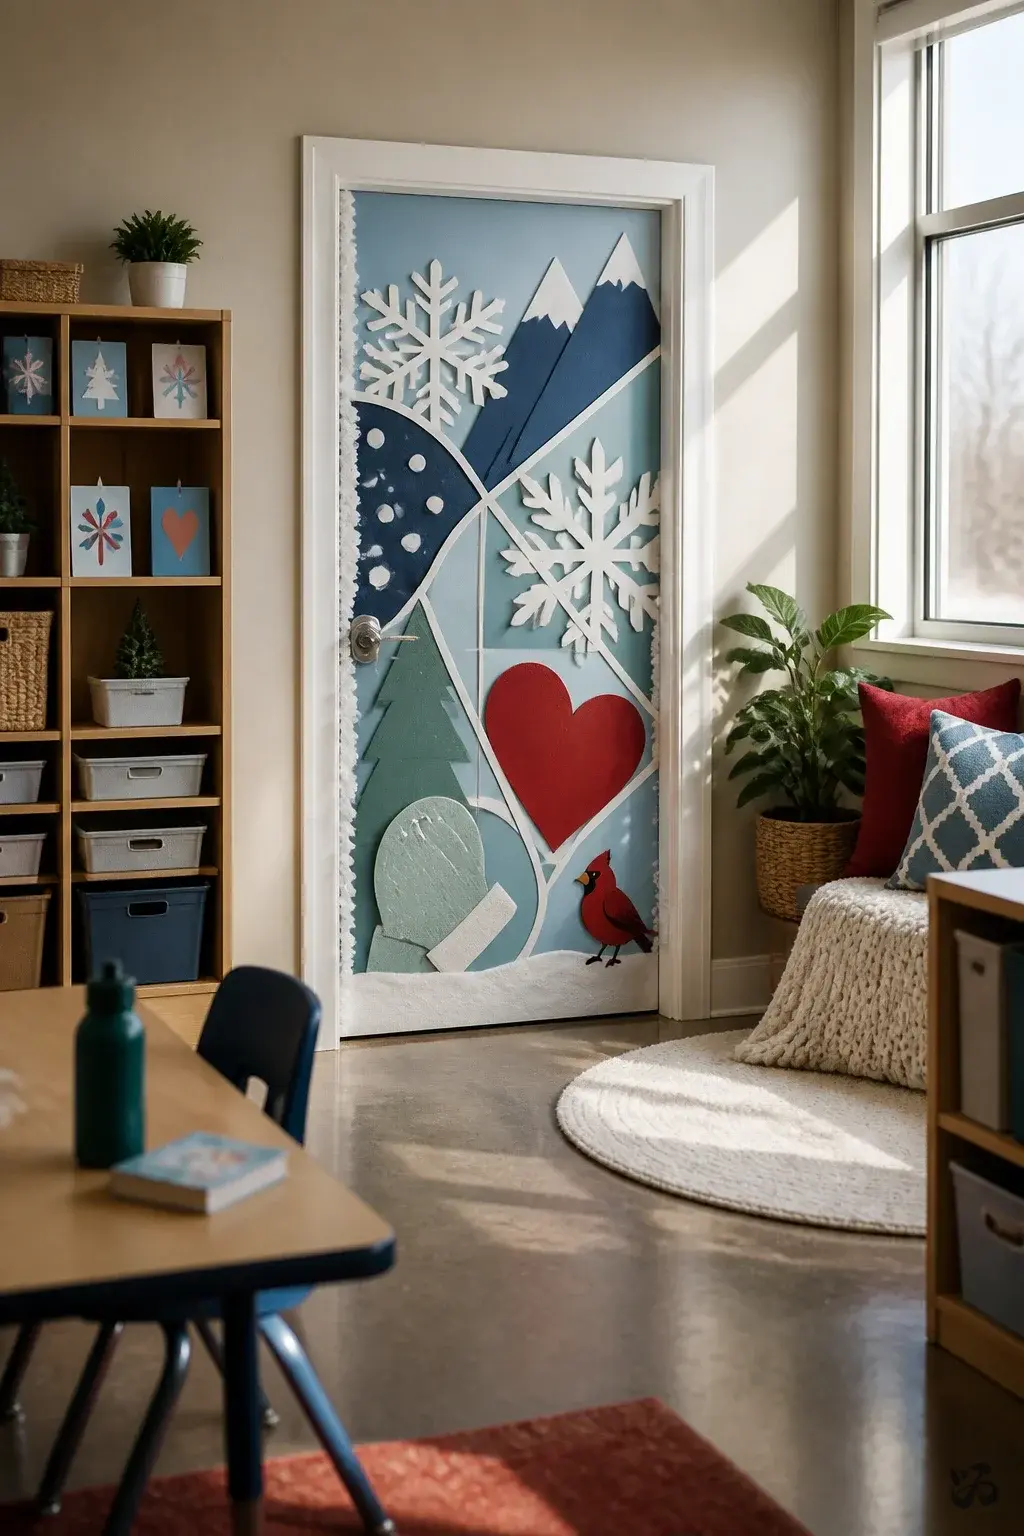
SaveBig, bold letters spell out a winter phrase along the center, framed by a band of white snow and a corner with a small red cardinal or star. This design emphasizes literacy while staying decorative.
What you need
- Cardstock in contrasting colors
- Large black marker for lettering
- Border trim to frame the composition
- Glue sticks or dots
- Removable mounting strips
Sketch the lettering lightly in pencil first to minimize misalignment; this is a good one for a quick Open House setup.
Conclusion
Start with a door border that stays sturdy and easy to remove. If you only have time for one project, choose the Candy Cane Lane Border or the Countdown Wreath and build from there during prep periods. These ideas balance durability, visibility, and classroom realities while staying under $15 in most cases.