
Some links in this post are affiliate links. If you buy through one, I may earn a small commission at no extra cost to you. As an Amazon Associate I earn from qualifying purchases.
These ideas are practical, under-the-radar solutions you can pull off in a single prep period or during prep time. They’re suited to preschool, pre-K, kindergarten, and first and second grade, with attention to safety, durability, and ease of removal in January. Each idea stays friendly for doors you’ll pass every day and respects classroom routines.
What I’d Grab First
- Bulletin board paper roll: One fade resistant roll covers a whole door or board in a single piece, so there are no seams for little fingers to pick at.
- Construction paper: The workhorse for anything kids cut and color themselves, in all the red, green and white you need.
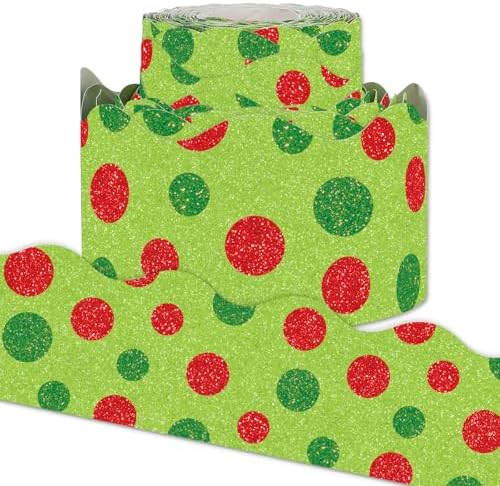
- Bulletin board border: Finishes the edge in seconds and makes everything inside it look intentional.
- Removable mounting strips: Hold everything up without damaging the paint, and come off cleanly when it all comes down in January.
1. Glitter-Free Snowflake Door Collage
 Save
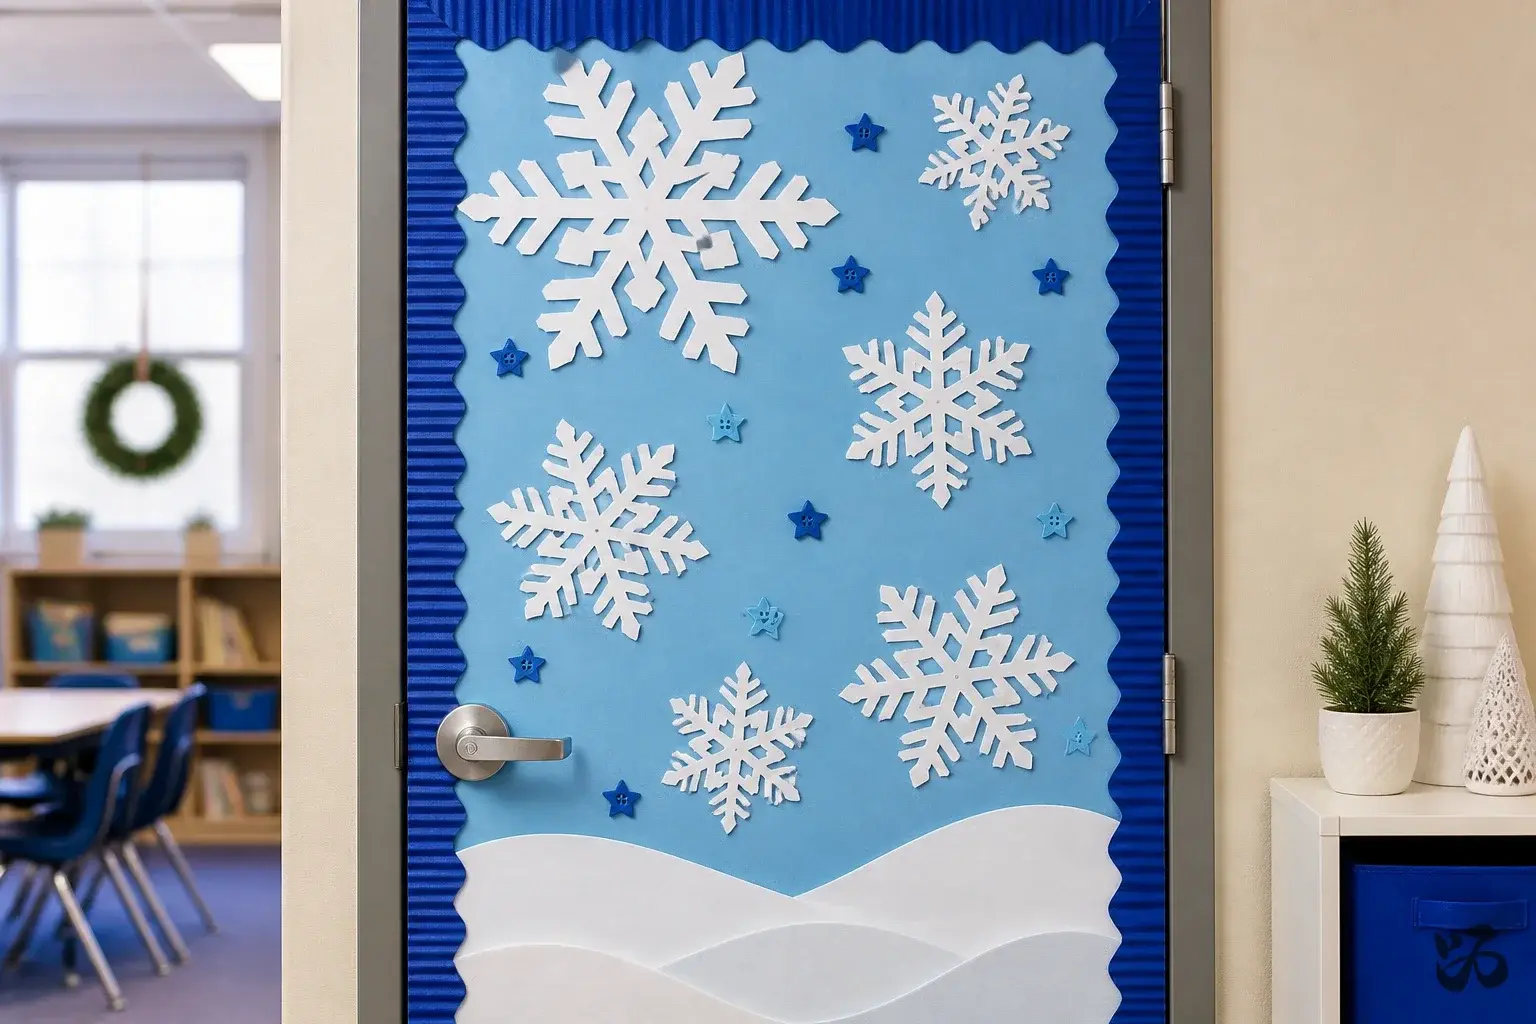
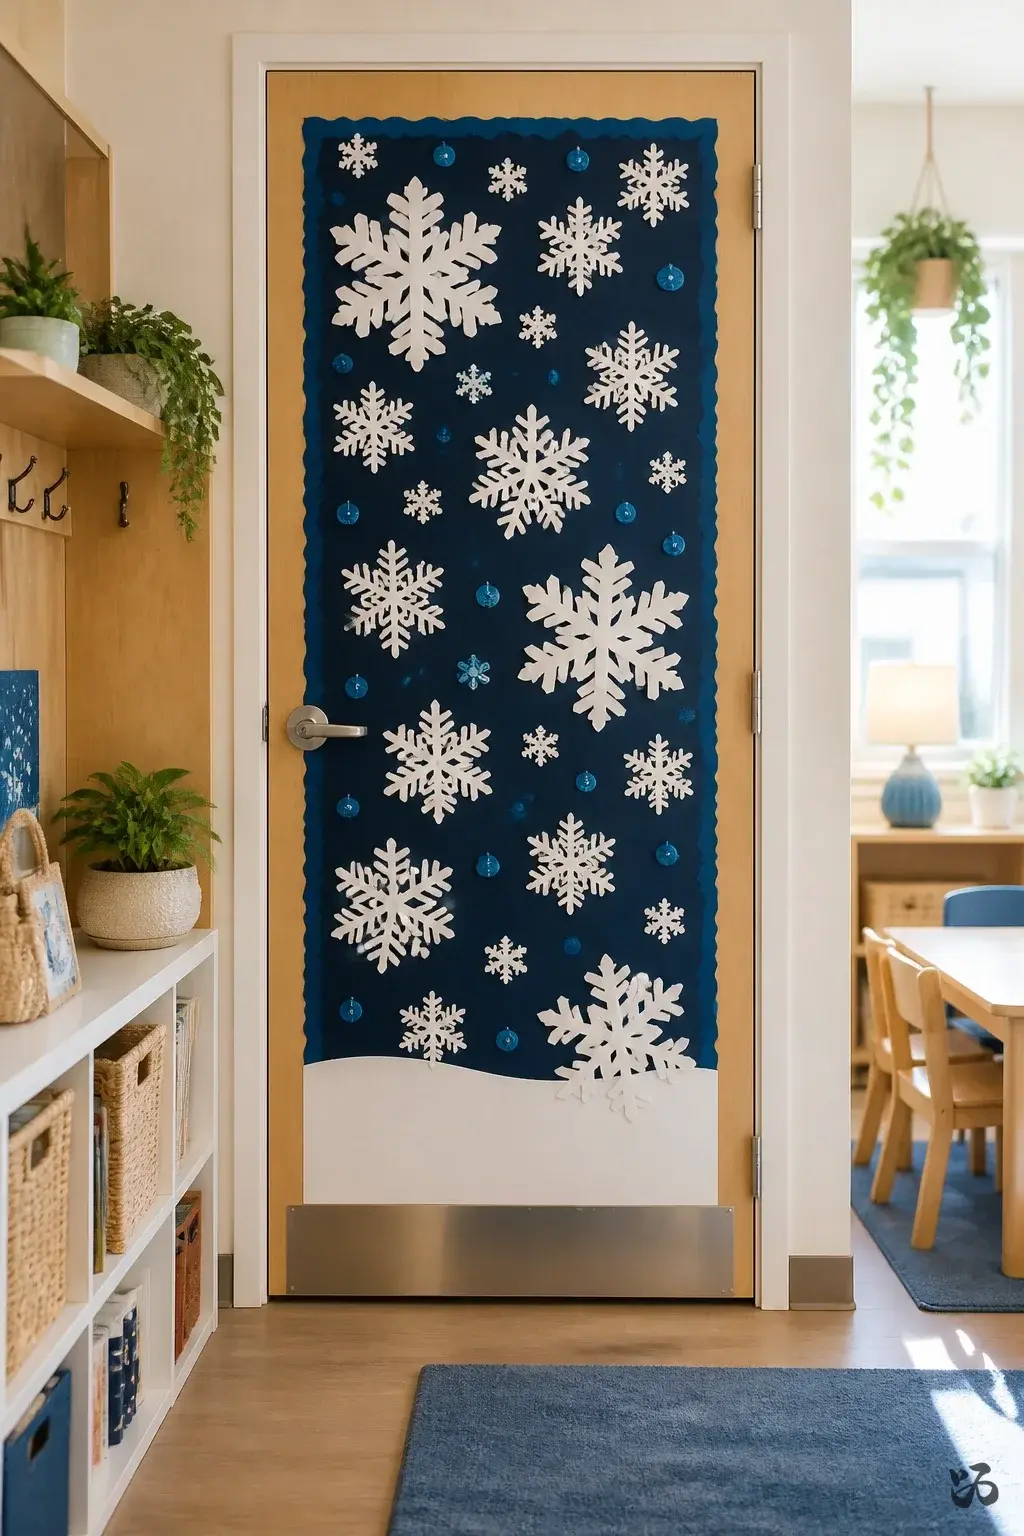
SaveLarge white snowflakes cut from cardstock are layered on a deep blue bulletin board border, creating a crisp winter scene on the door. Minimal glitter keeps custodians happy and reduces mess for younger students. The edge of the door shows a simple snowy horizon with a few scattered blue buttons as stars.
What you need
- White cardstock for snowflakes
- Blue bulletin board border or construction paper
- Light blue butcher paper for the backdrop
- Adhesive dots or removable mounting squares
- Dark blue marker to add tiny details
Keep it to a single large snowflake per corner to avoid door crowding and make sure it’s secured with removable adhesive.
2. Door-Sized Kindness Countdown
 Save
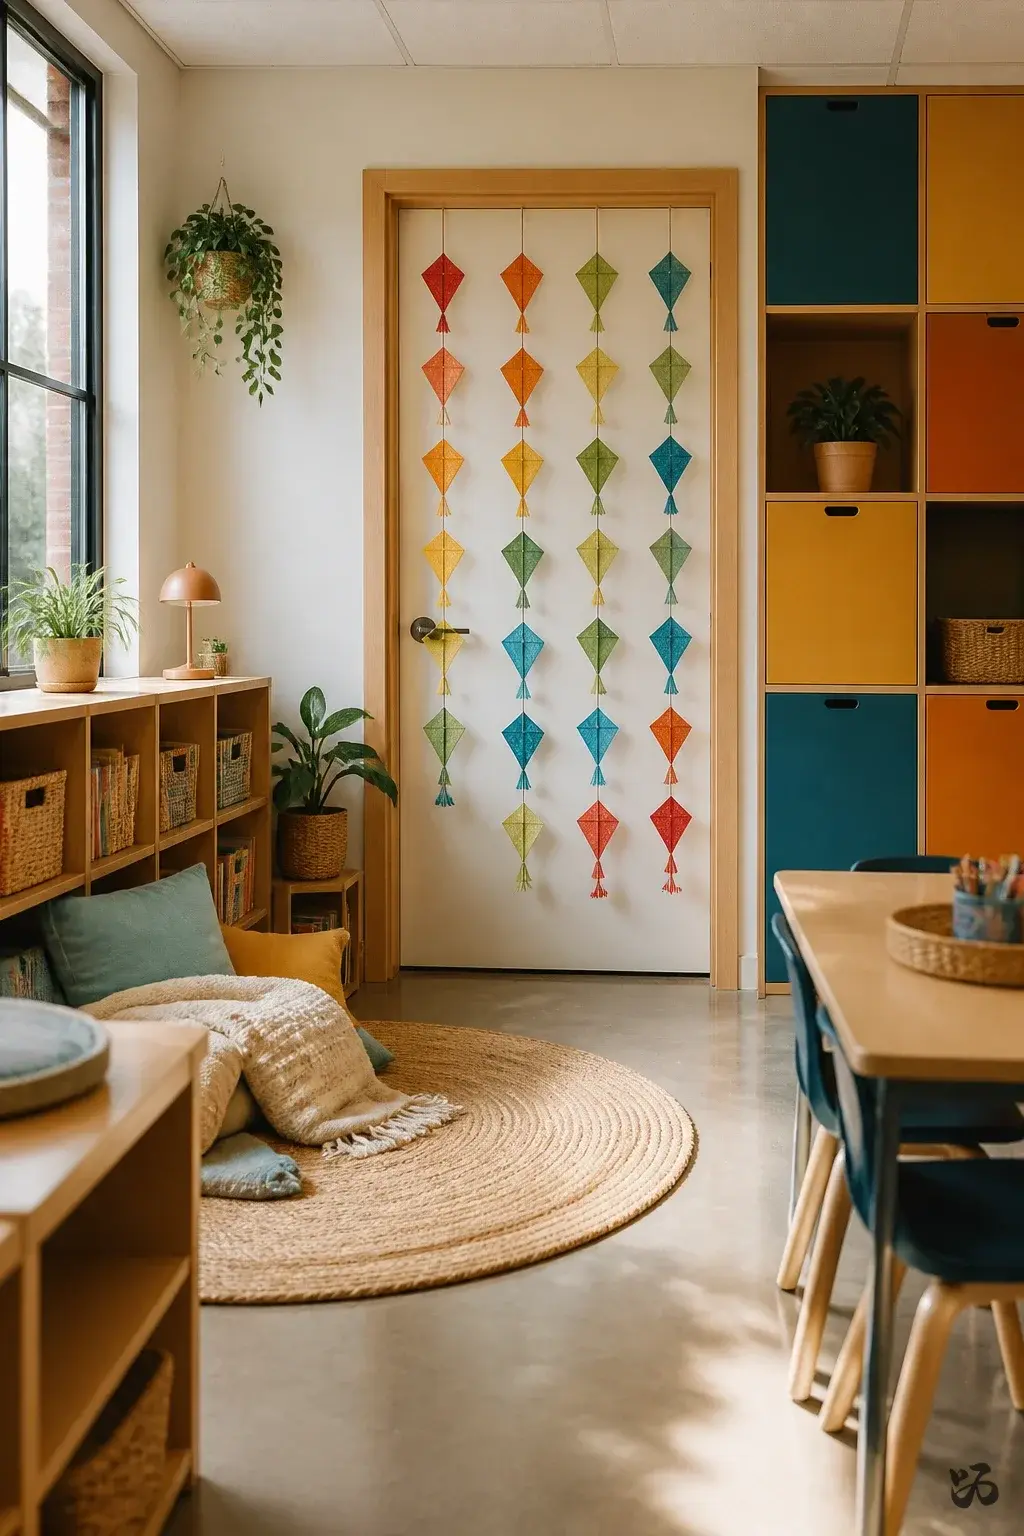
SaveA simple, friendly countdown to winter break using numbered kites along the door frame. Each day a new kite is added with a behavior or kindness reminder. It’s durable enough for routine door touches and is easy to update by one person during prep period.
What you need
- Colored construction paper for kites
- Ribbon or string to hang vertical
- Numbers printed on cardstock
- Green marker for smiles and messages
- Removable tape or mounting squares
Laminate the numbers if a laminator is available, but you can also glue them to cardstock for extra stiffness if not.
3. Reindeer Door Scene
 Save
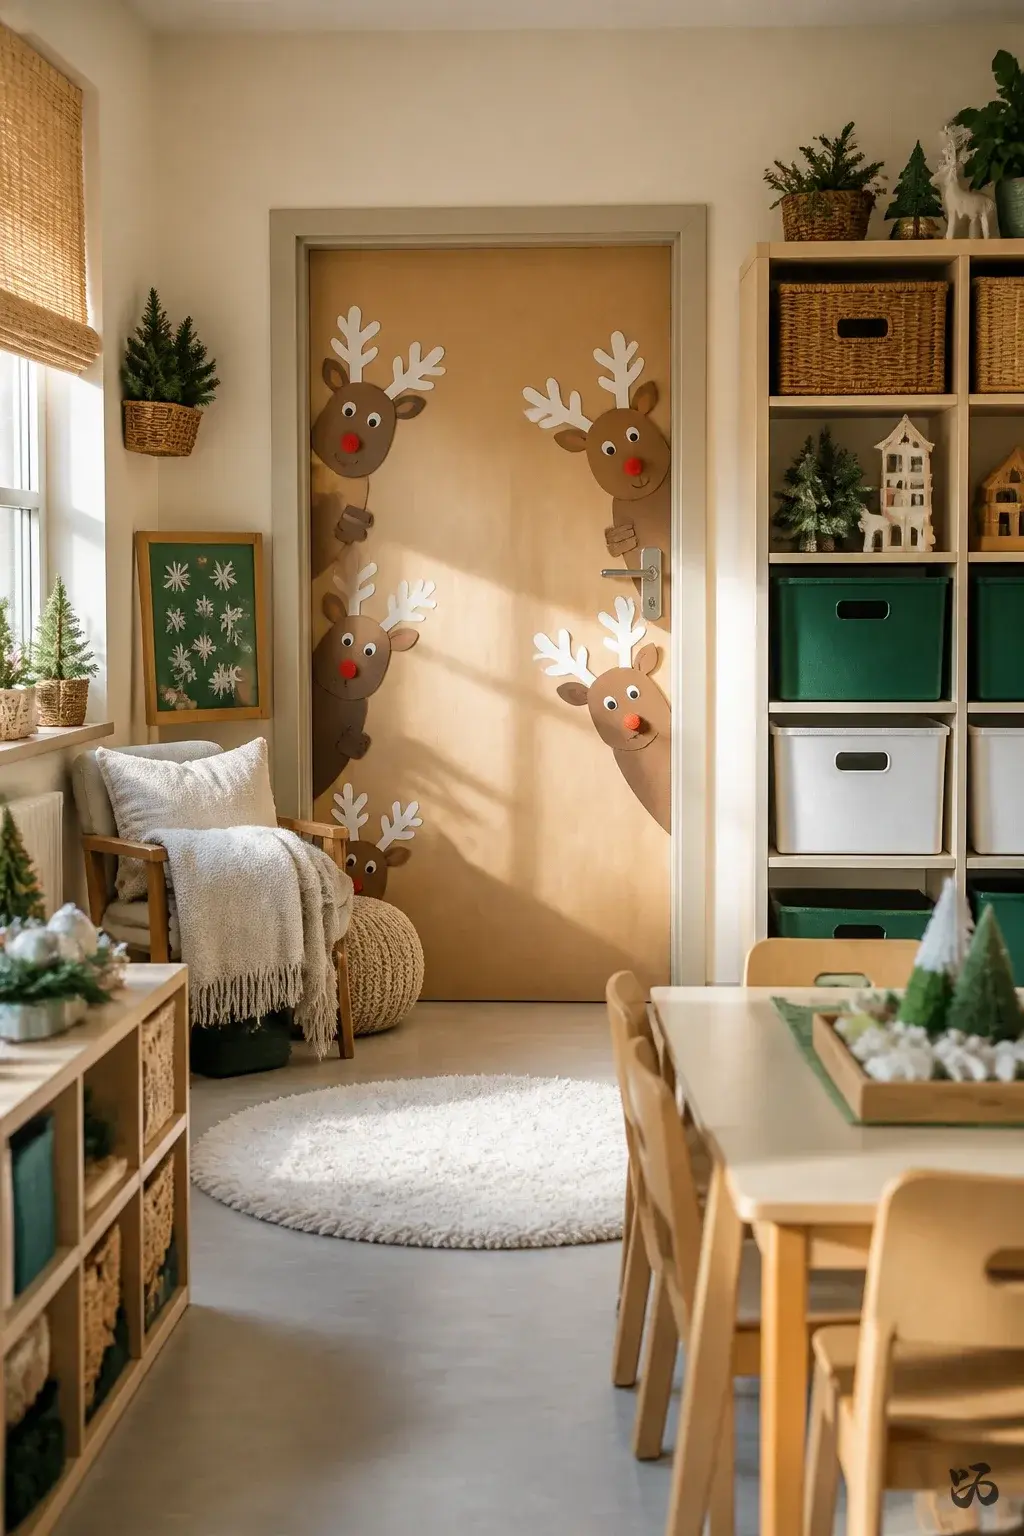
SaveA friendly family of reindeer peeks from the sides of the door, built from collage pieces and a small trio of red noses to add whimsy. The reindeer stay flat to the door to minimize snagging on passersby during line-up and transitions.
What you need
- Brown butcher paper for the silhouettes
- Red pom-poms for noses
- Googly eyes or white dots
- White cardstock for antlers
- Double-sided tape or removable adhesives
Limit raised 3D pieces to avoid kid-hand contact; nose pom-poms can be mounted with a gentle adhesive that won’t pull off paint.
New from Shinku Studio
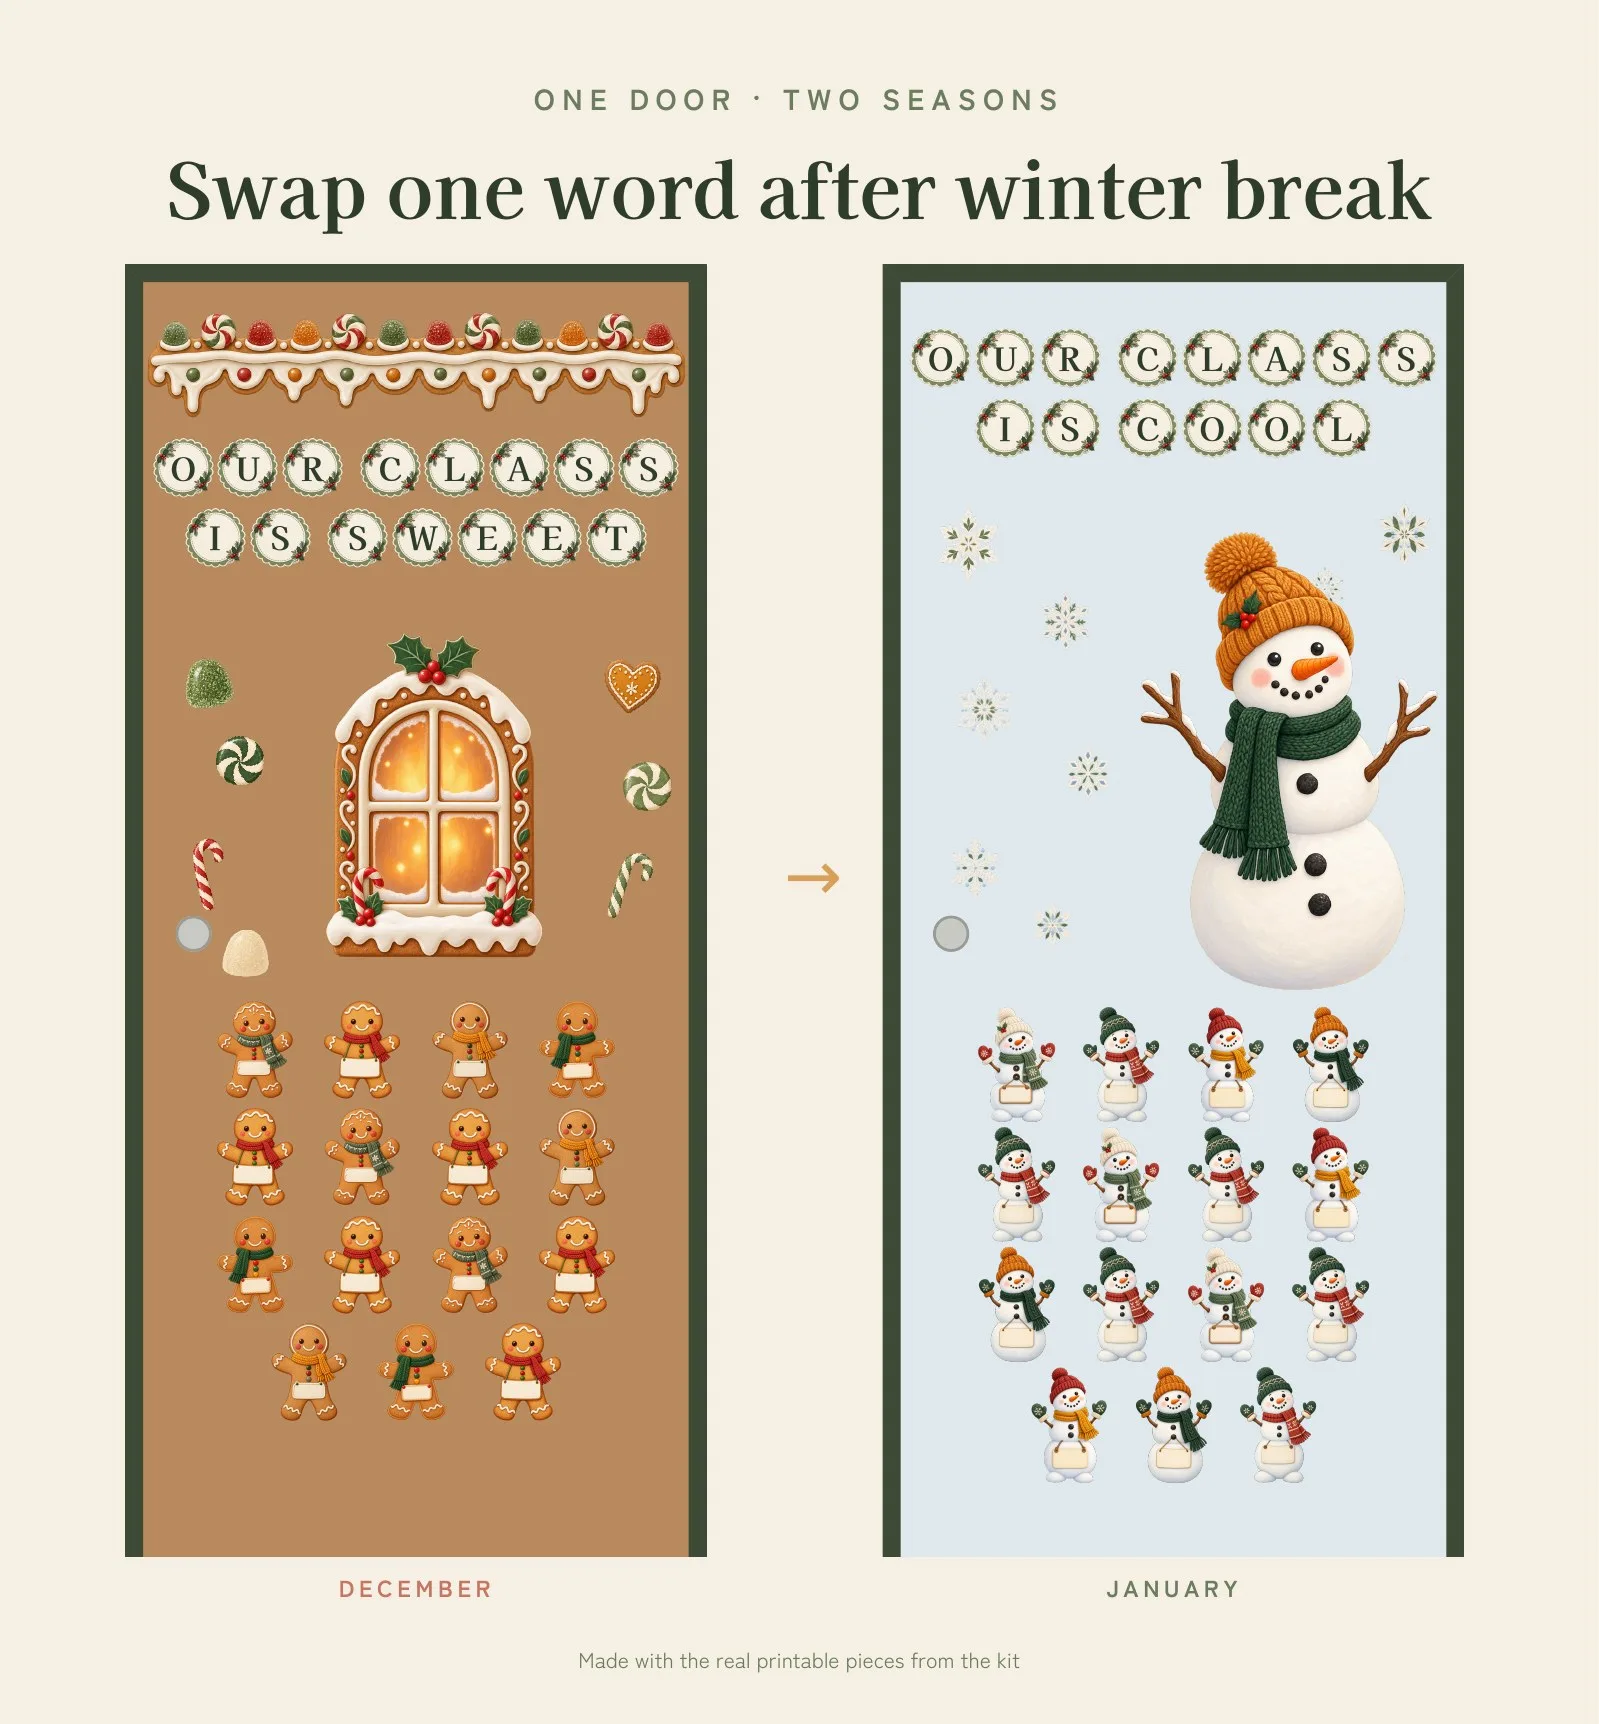 Save
SaveWant a door that lasts till February? The Cozy Winter Door Bundle is a gingerbread door for December that turns into a snowman door in January by swapping one word. 45 printable pages in color, plus an ink saver version.
4. Paper Chain Door Winter Clock
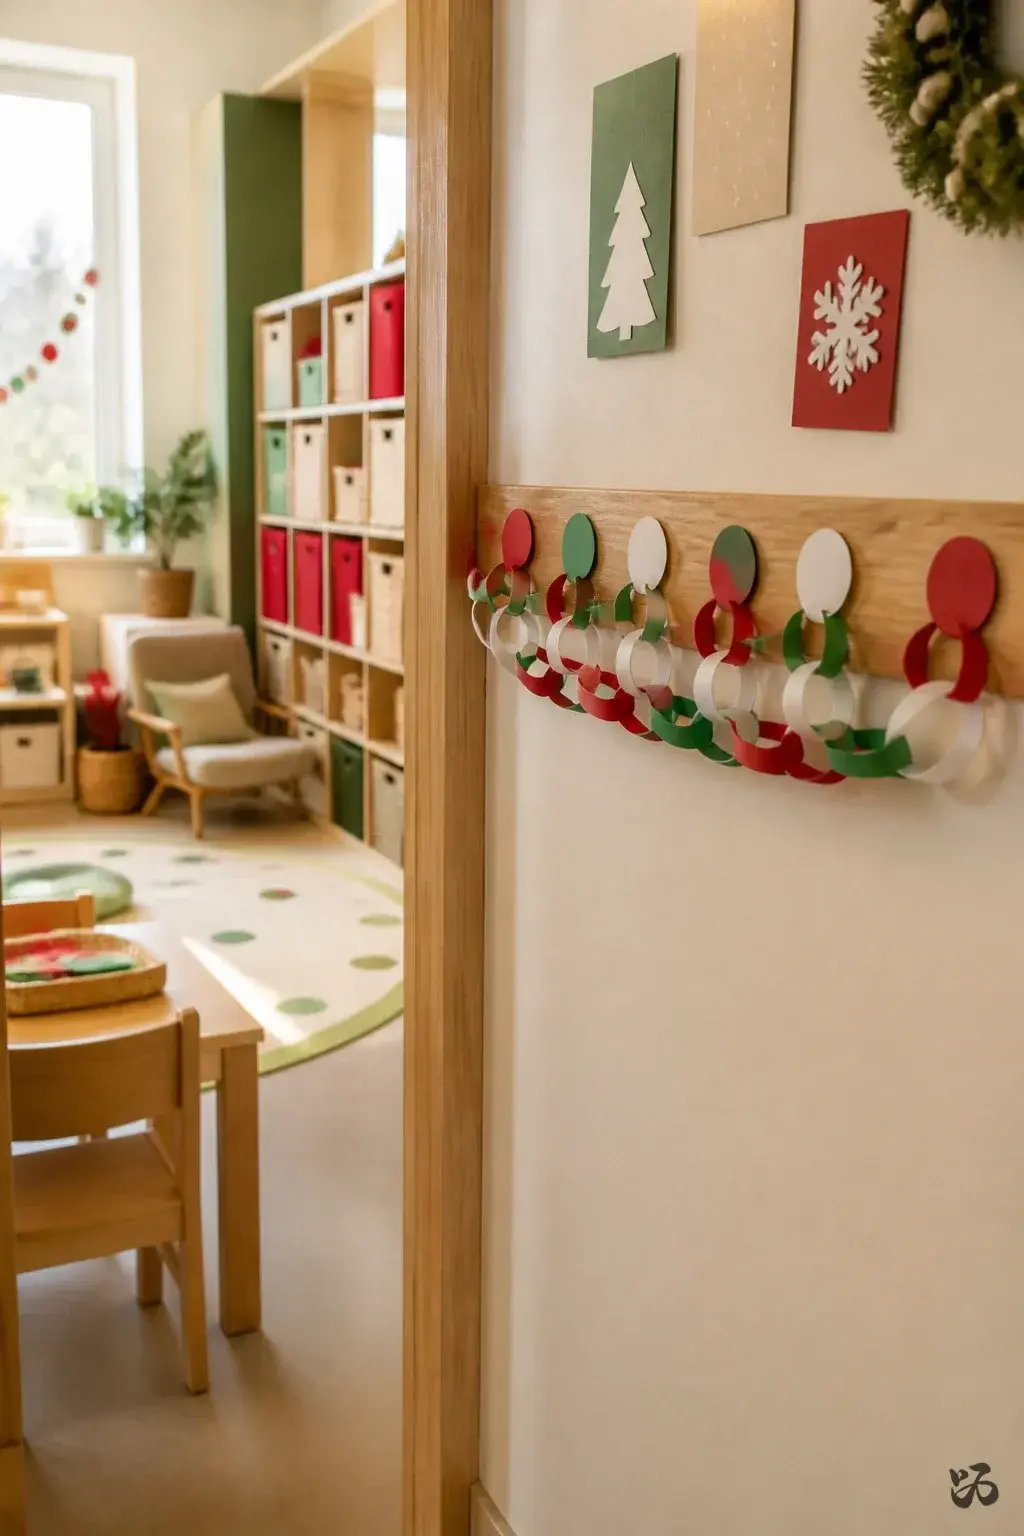 Save
SaveA horizontal border of linked paper chains marks hours toward winter break. Use red, green, and white links. It’s visible from the hallway and sturdy enough for kid-friendly touch during greeting lines.
What you need
- Construction paper in red, green, white
- Scissors and a blunt edge
- Stapler or masking tape for quick assembly
- Cardstock circles for numbers
- Teacher’s marker for labeling hours
Better as a flat front than a puffed display; it’s easier to remove and won’t snag sleeves.
5. Open-Book Christmas Story Door
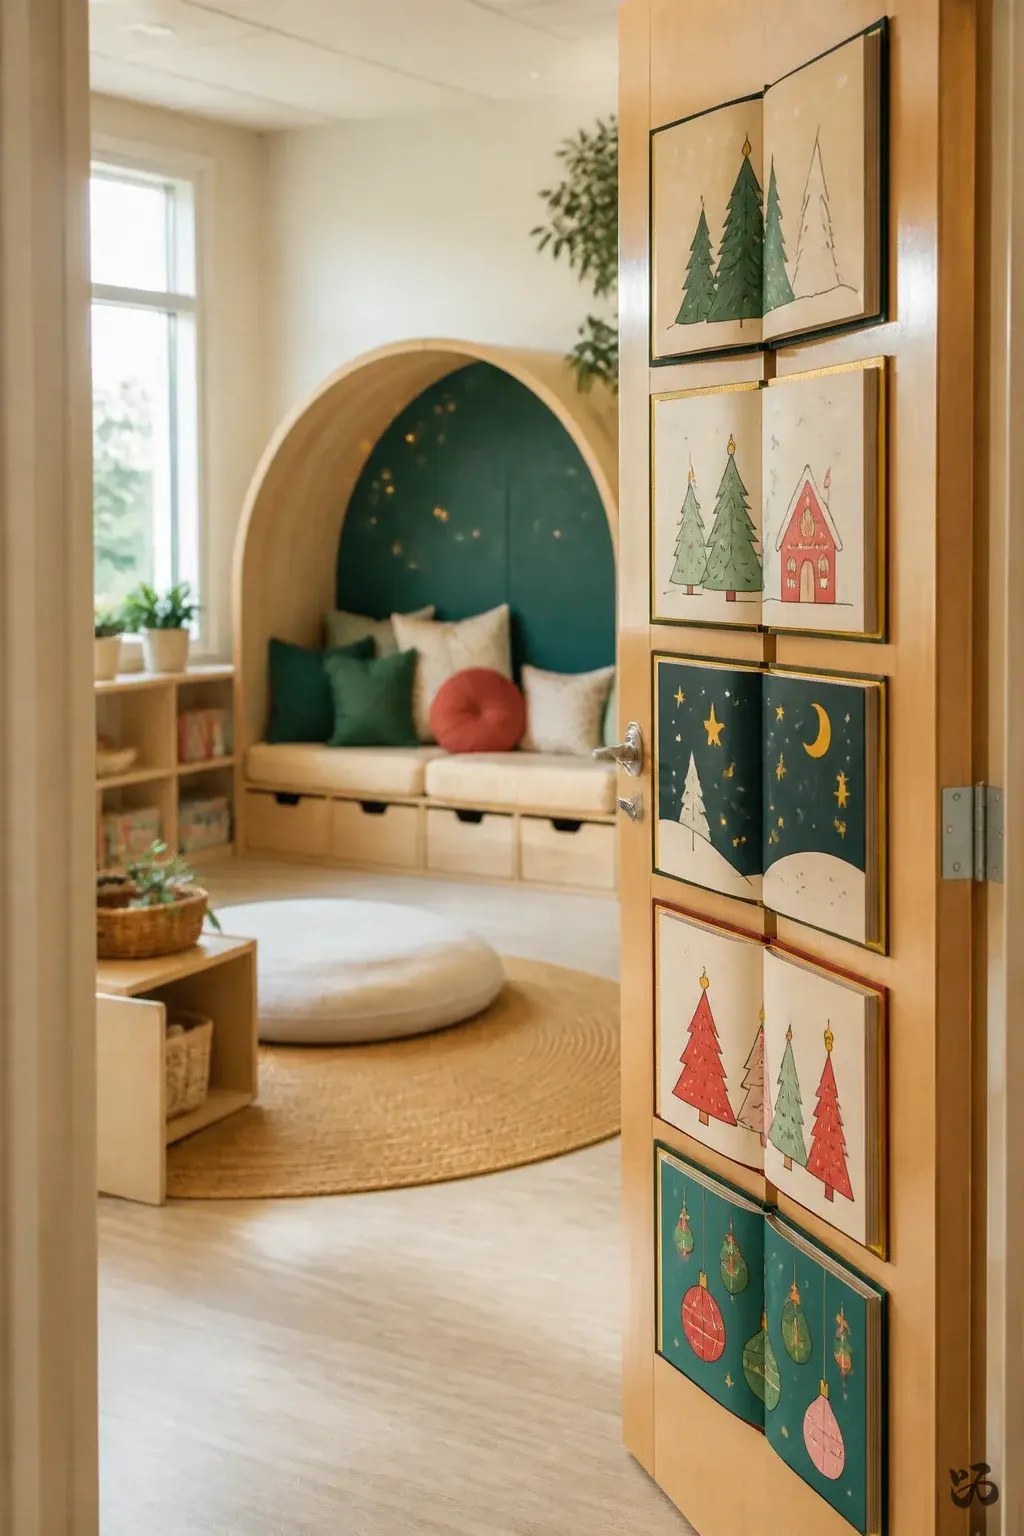 Save
SaveA mural of open storybooks along the edge of the door reveals a simple holiday scene inside each page. Pages can be taped to the door to lie flat, with minimal bulk to avoid door friction.
What you need
- Colored construction paper for pages
- Black border paper for outlines
- Gold accents cut from cardstock
- Adhesive dots to secure
Skip lamination; pre-cut pages hold up well with light tape.
Door Kits That Save a Prep Period


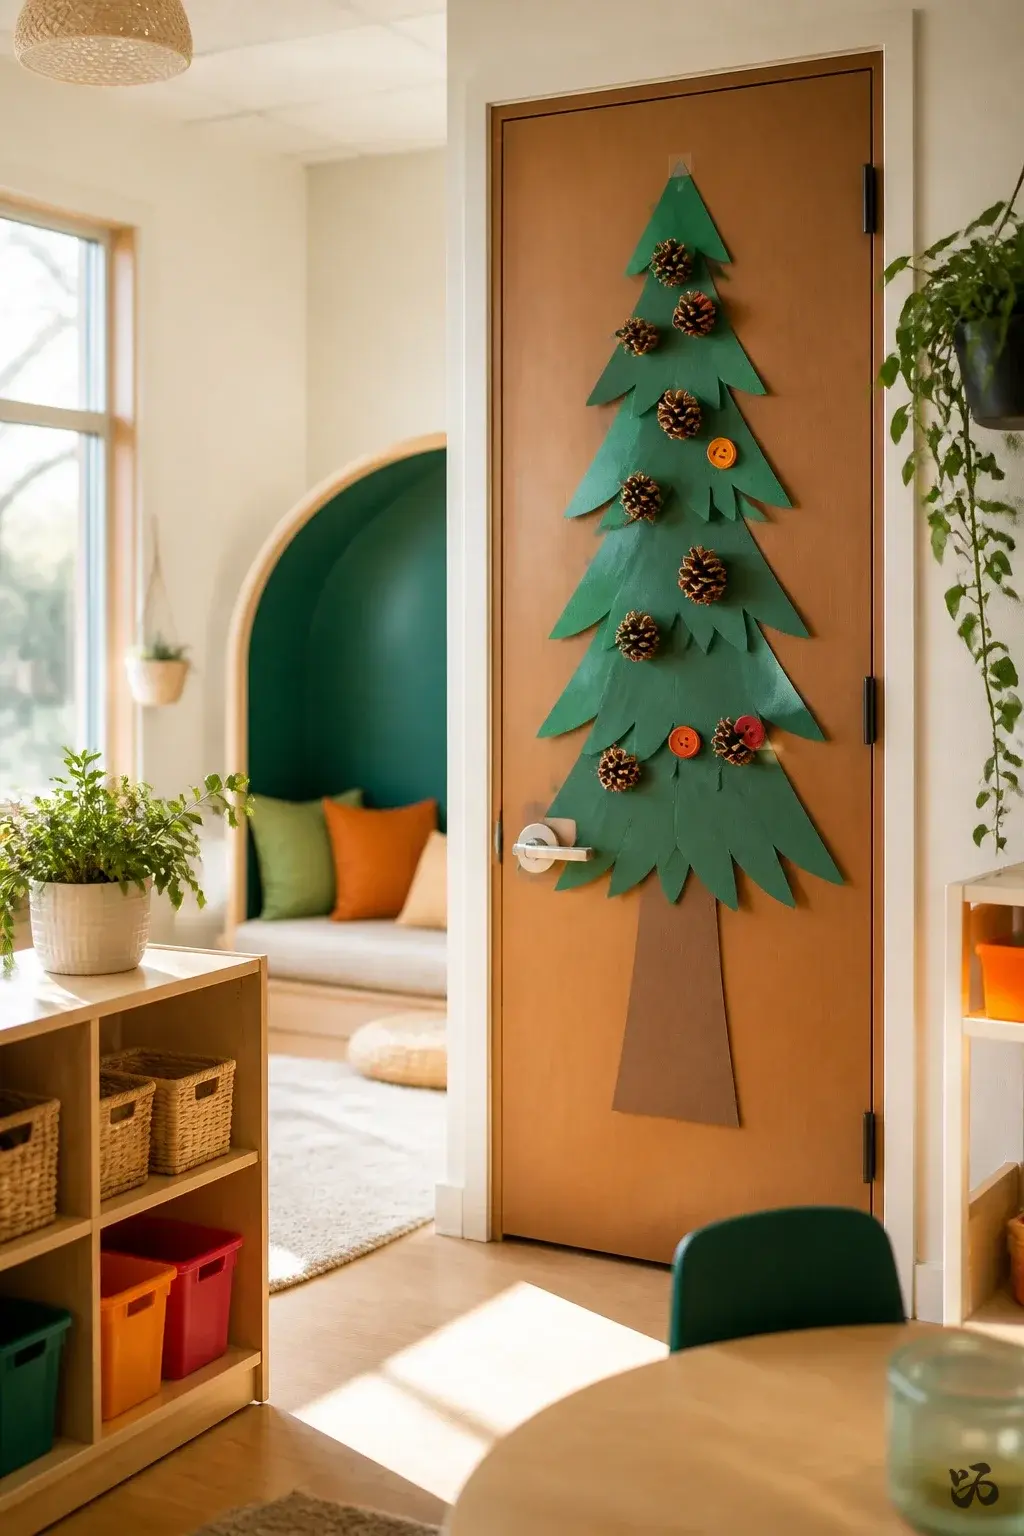
6. Pinecone Tree Corridor Door
 Save
SaveA vertical pinecone tree runs from the top to the bottom of the door using brown construction paper for the trunk and cut-out green triangles as needles. A few orange and red buttons serve as ornaments for a pop of color.
What you need
- Brown construction paper for trunk
- Green cardstock or construction paper for tree
- Colorful adhesive buttons as ornaments
- Clear tape for quick mounting
Durable enough for door touches; avoid heavy elements near the door handle area for safety.
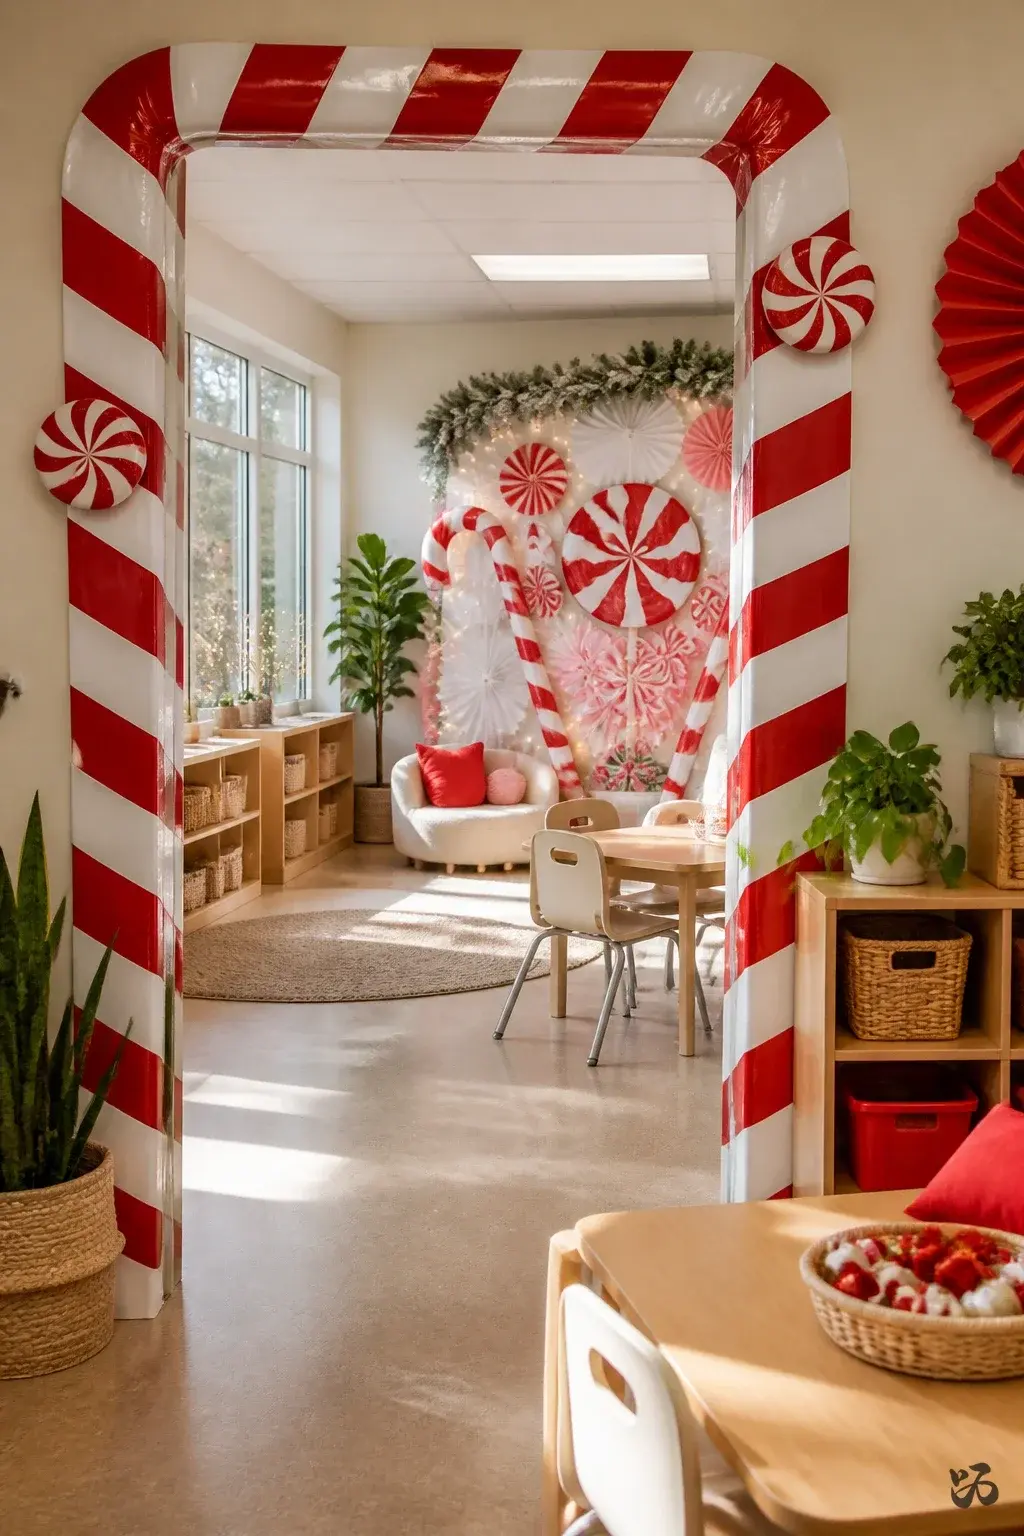
7. Candy Cane Pathway
 Save
SaveA cheerful border of candy cane strips winds across the door frame. Use red and white streamers or laminated strips to create shine while staying light enough for easy removal after the holidays.
What you need
- Red and white laminated paper strips
- Scotch tape or mounting squares
- Cardstock “candy” shapes
Laminate if you have time; otherwise, reinforced paper works fine for a short term project.
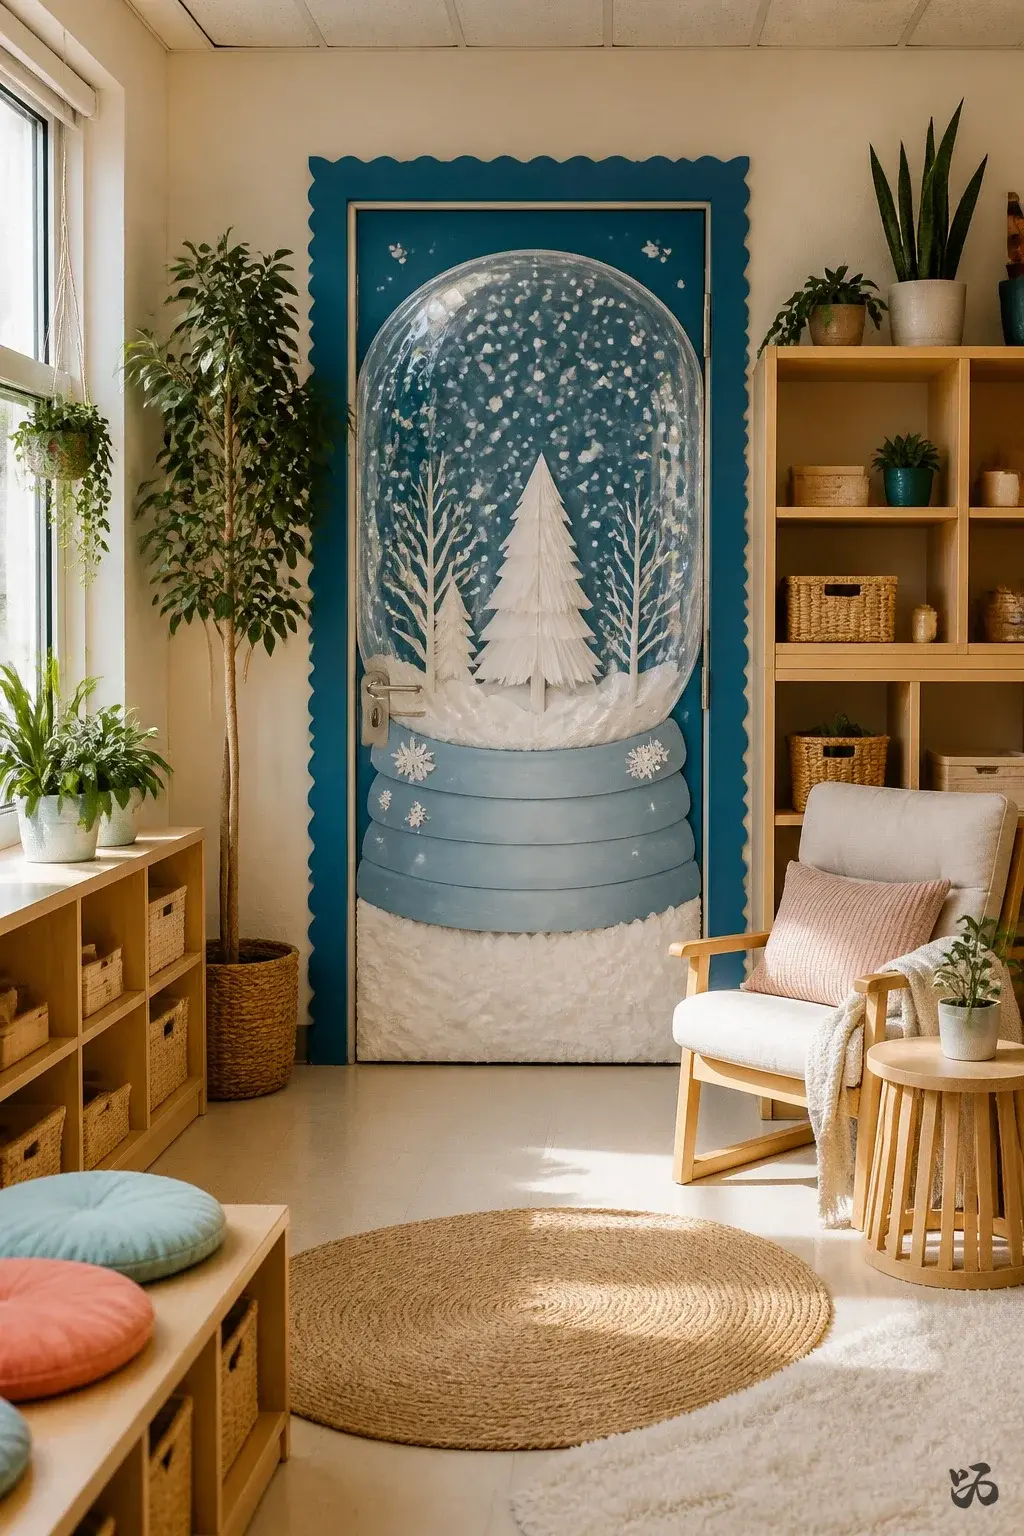
8. Snow Globe Window Door
 Save
SaveA door-sized snow globe scene with a snowy base and a clear “glass” window cutout using clear plastic. Kids can add flakes with white paper cut into small shapes placed behind the plastic window.
What you need
- Large sheet of clear plastic or recyclable acetate
- White paper confetti or punched circles
- Blue bulletin board border for frame
- Scissors and tape
Use self-adhesive sheets to secure the plastic to the door to avoid punctures in the door surface.
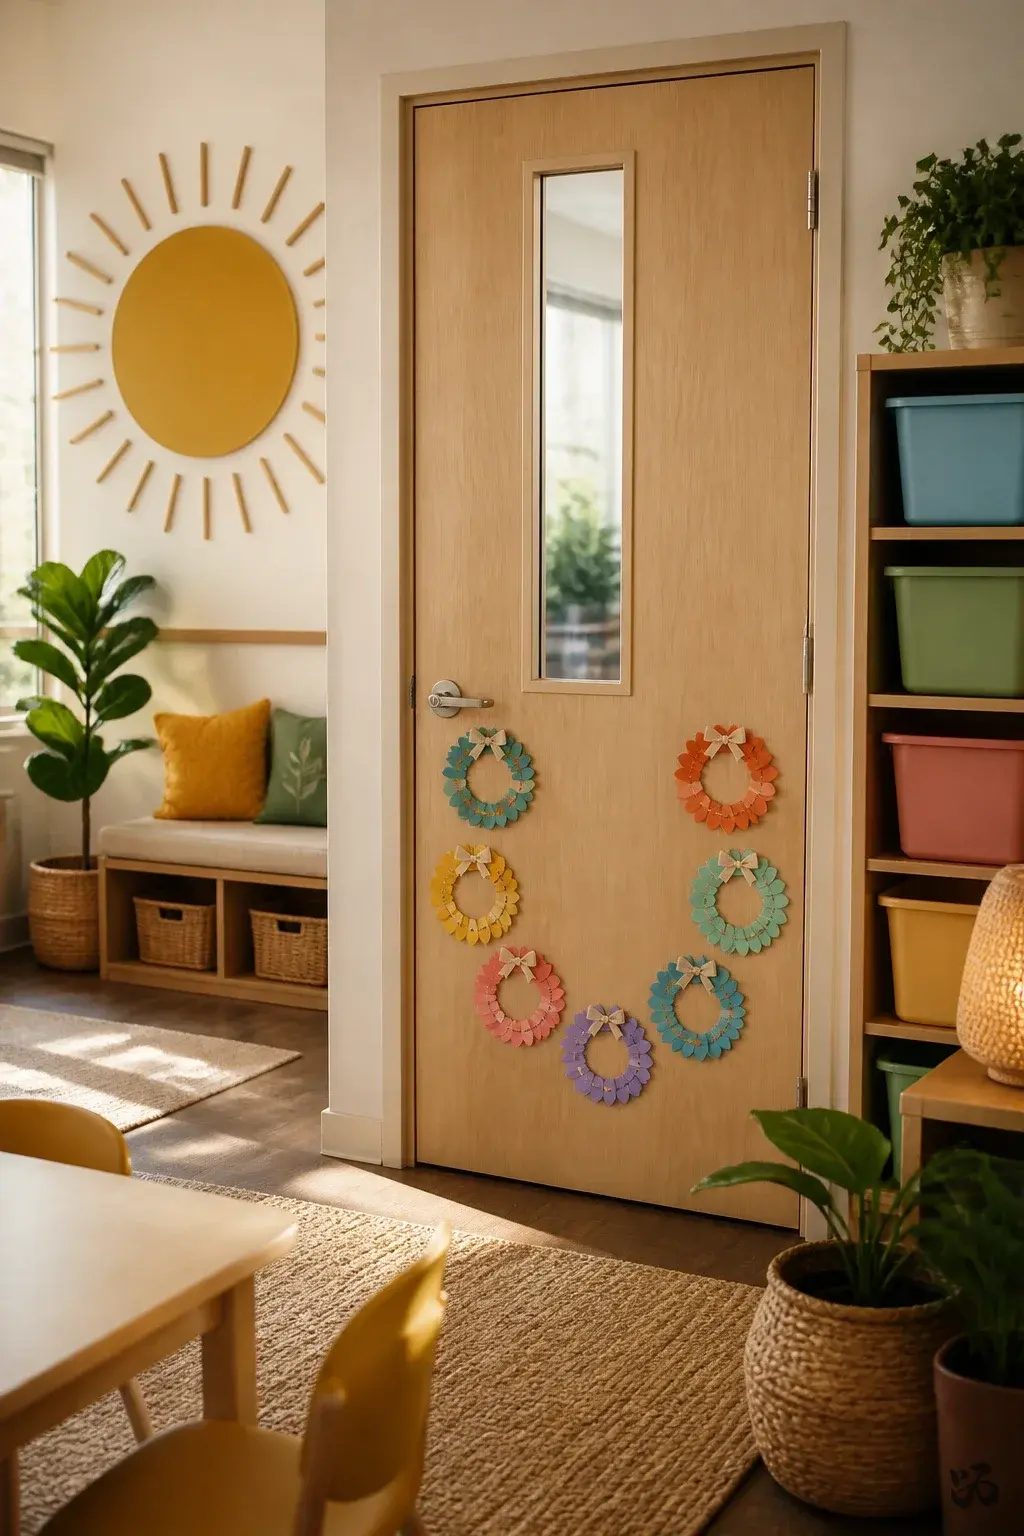
9. Classroom Door Wreath Gallery
 Save
SaveA series of small wreath cutouts—each one a different kid-friendly color—lined up around the door in a circular pattern. The result is a friendly border that invites a quick glance and a wave as kids walk by.
What you need
- Colored cardstock for wreaths
- Red satin ribbon for the bow
- Glue sticks or staples (if allowed)
- Removable tape to secure
Keep the wreaths near the lower half of the door for durability and quick removal by custodians.
10. Letters of Kindness Door
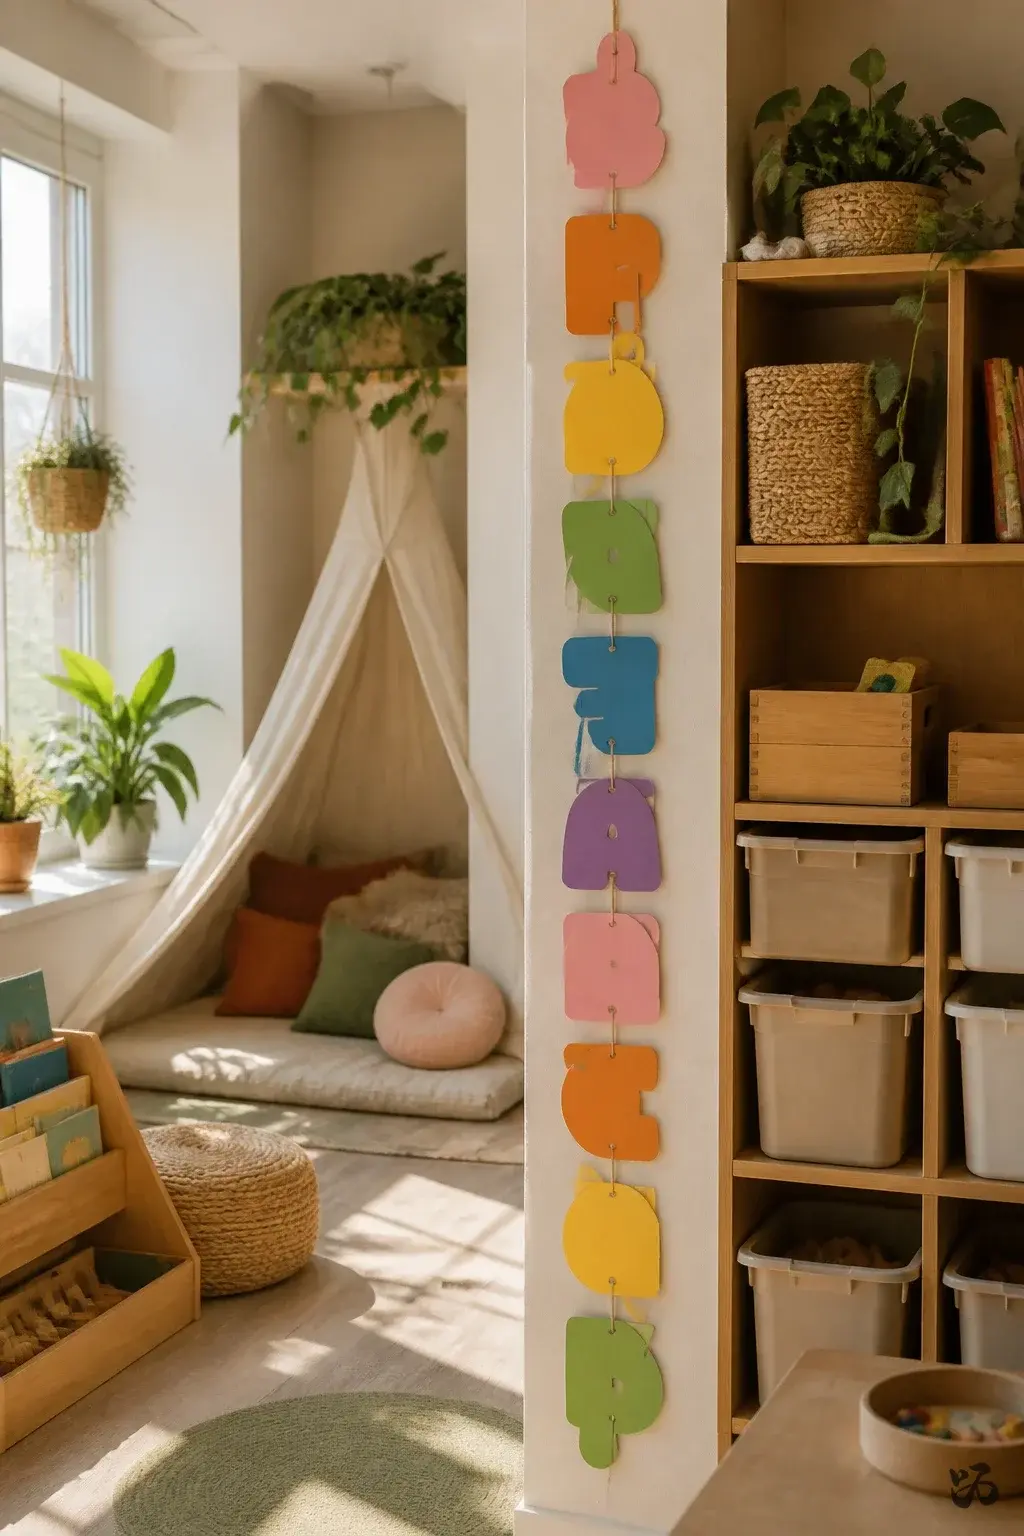 Save
SaveA vertical string of cheerful hand-cut letters spells out a simple phrase like “Kindness Starts Here.” Each letter is decorated by a different student, then printed on cardstock and attached to the string.
What you need
- Cardstock letters
- Colored markers or crayons
- String or ribbon
- Punch holes in the top of each letter to thread
- Push pins or removable tape
Best on a light cord that doesn’t hang into the doorway path during dismissal.
11. North Pole Door Postcard Wall
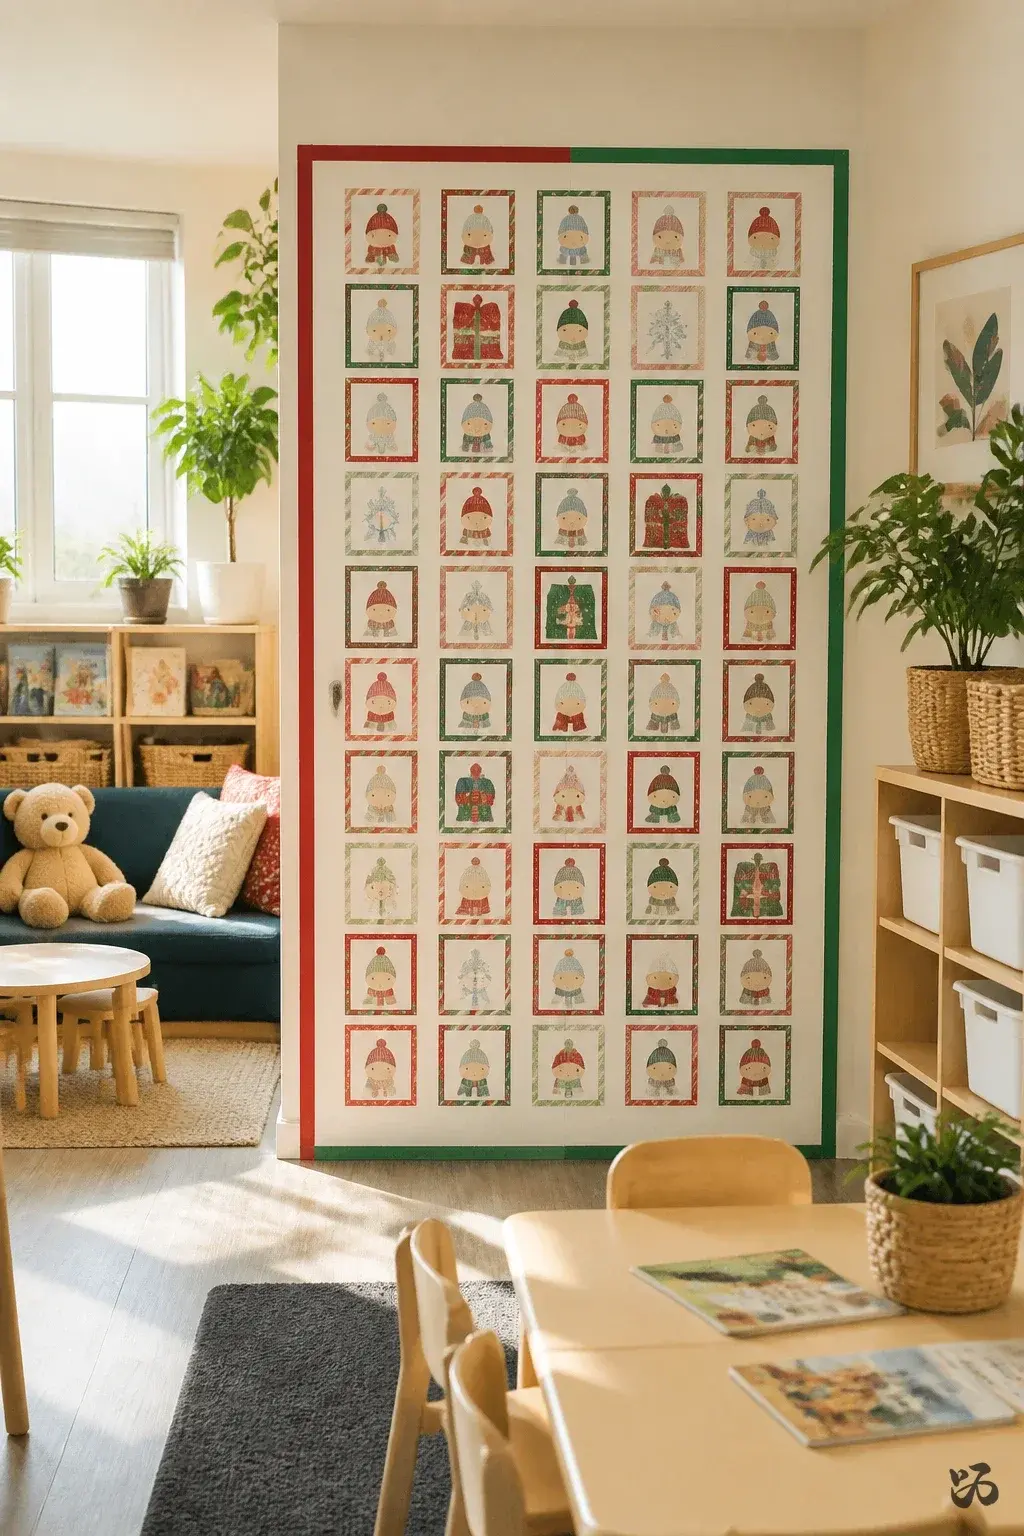 Save
SaveA wall of cut-out postcards from “Snowy Students” that look like the door is lined with mail from the North Pole. Each card has a small deadline-friendly prompt for students to respond to during morning message time.
What you need
- Postcard-sized cardstock
- Assorted markers
- Glue dots
- Red and green washi tape for borders
Use a fixed layer of tape along the edges to ensure a flat, clean look that survives door traffic.
12. Warmth Belt Door Banner
 Save
SaveA belt of warm colors—reds, oranges, and yellows—wraps around the door like a cozy scarf. It’s an easy, bold visual that lifts morale without heavy paper usage.
What you need
- Warm-toned construction paper
- String or yarn for a belt
- Push pins or removable tape
- Black marker for lettering
Keep it tight to the door edges to avoid interfering with door operation.
Paper and Cutouts


13. North Pole Animal Parade
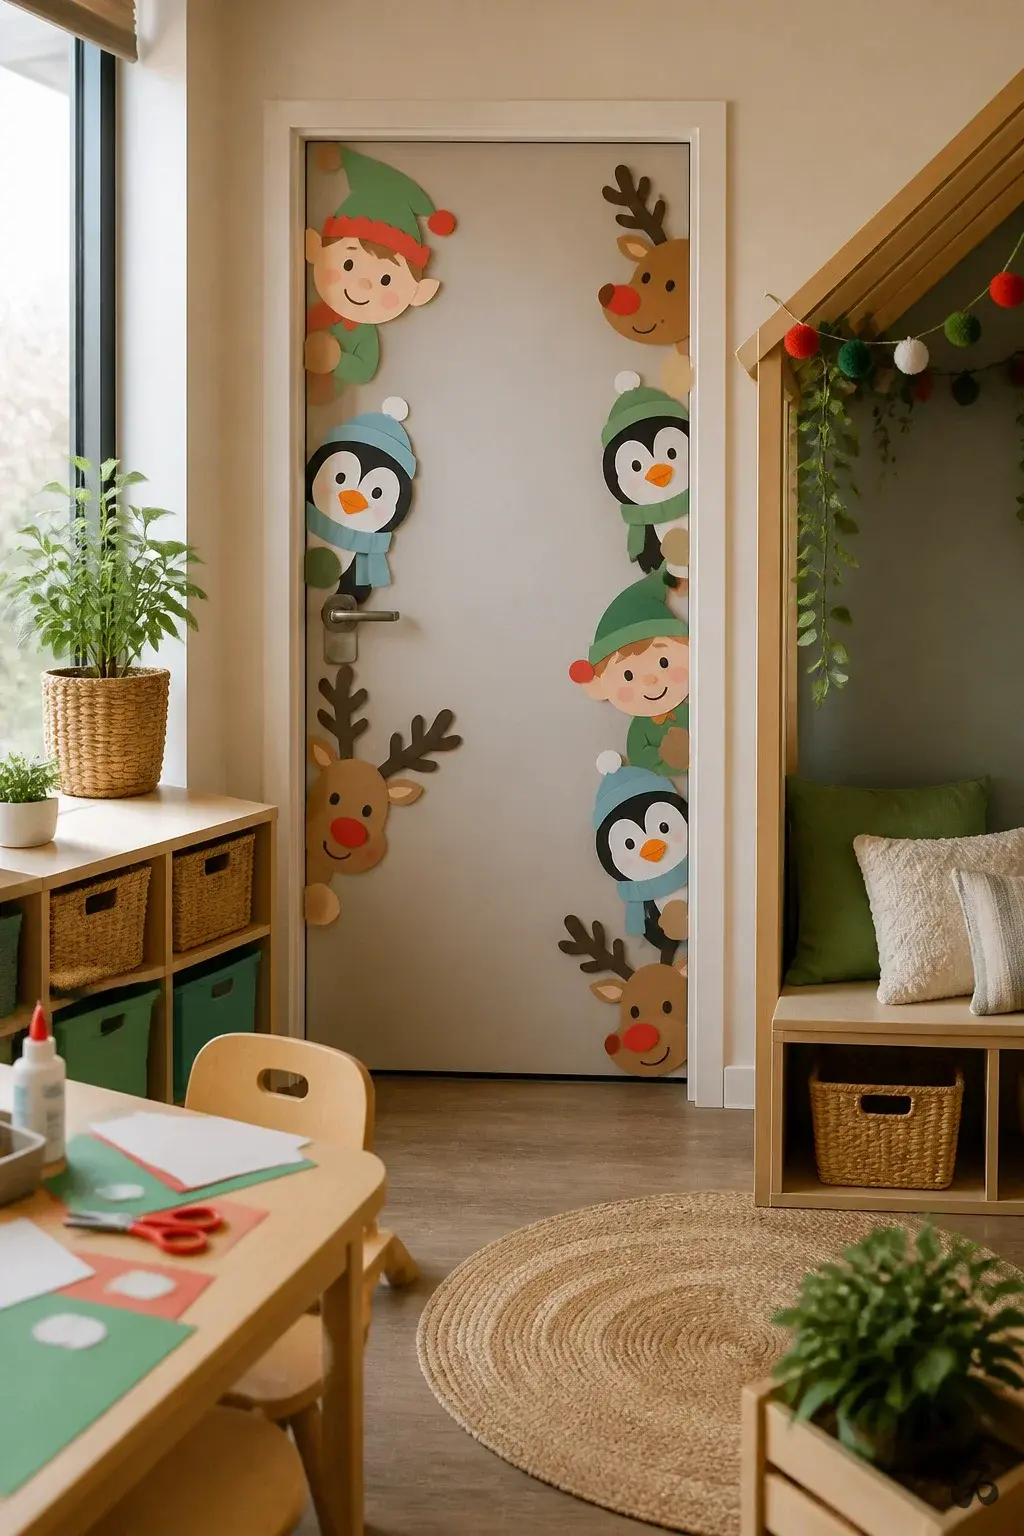 Save
SaveA few friendly animal silhouettes—elves, reindeer, penguins—peeking from the sides of the door. Use construction paper and a little Velcro so students can rearrange pieces without tearing the door surface.
What you need
- Construction paper in multiple colors
- Velcro dots for repositionable pieces
- Scissors and glue
- Removable tape
Velcro keeps pieces stable but removable at year-end without damage.
14. Festive Door Tree Ornaments
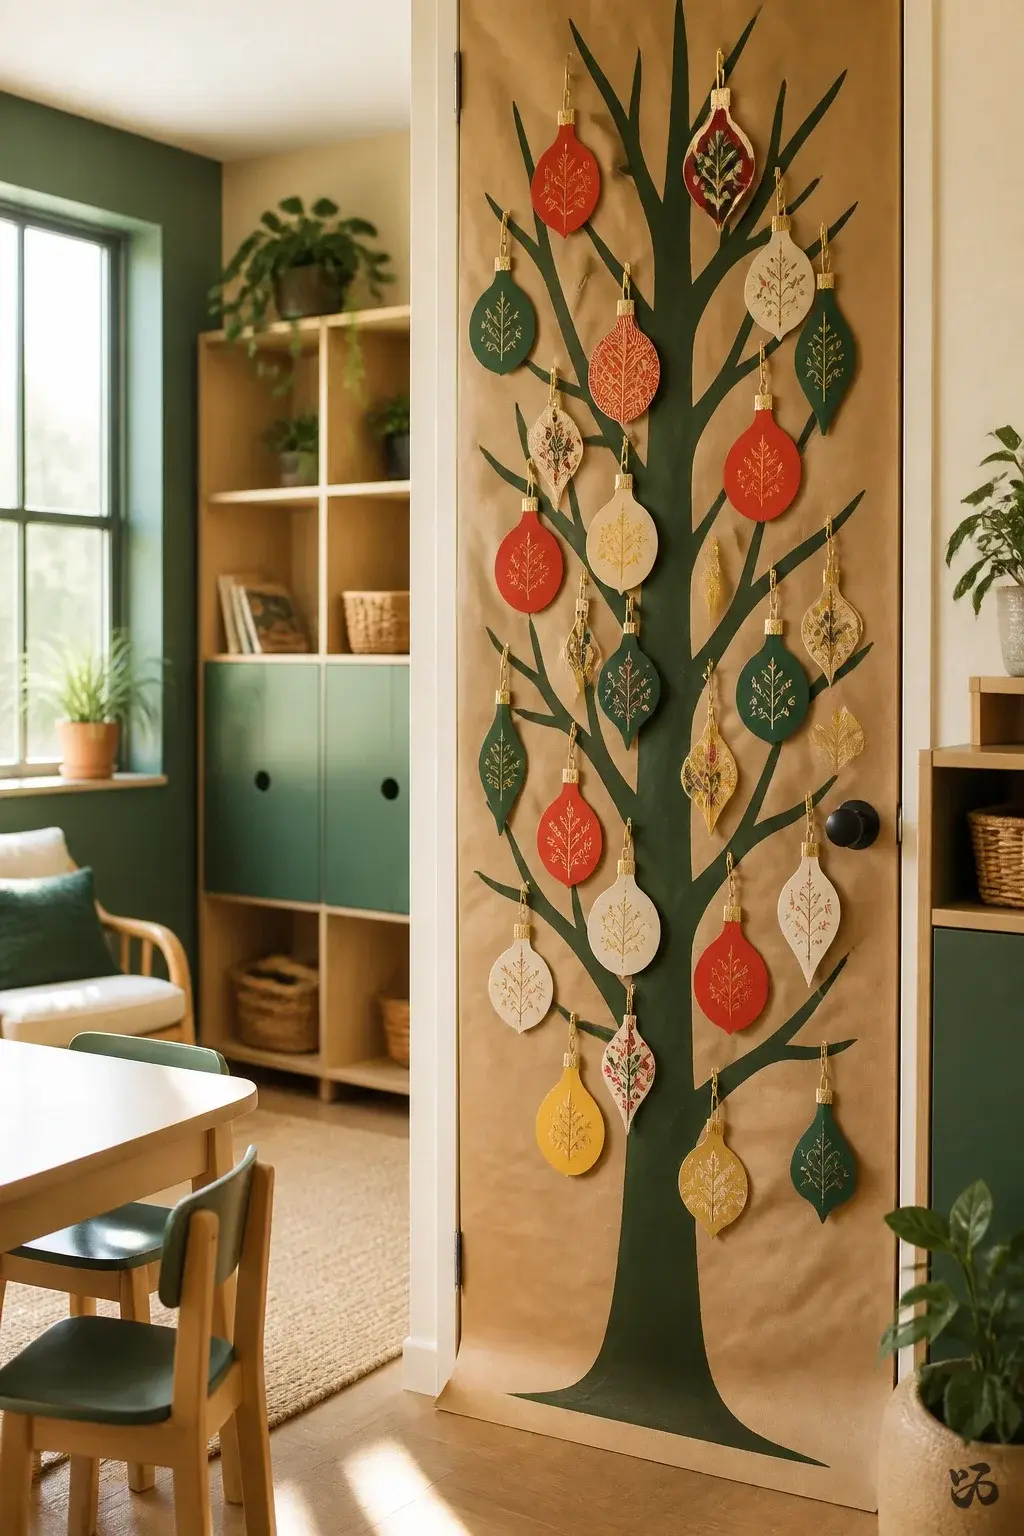 Save
SaveA tall tree silhouette runs from top to bottom with individual ornaments clipped or taped on by students. Keeps the activity connected to a math or literacy center as a quick follow-up task.
What you need
- Brown paper for tree trunk
- Colorful ornament shapes cut from cardstock
- Clips or tape to attach
- Optional mini stamp or sticker accents
Ornaments can be updated with student names for a personal touch.
15. Cookie Plate Door Topper
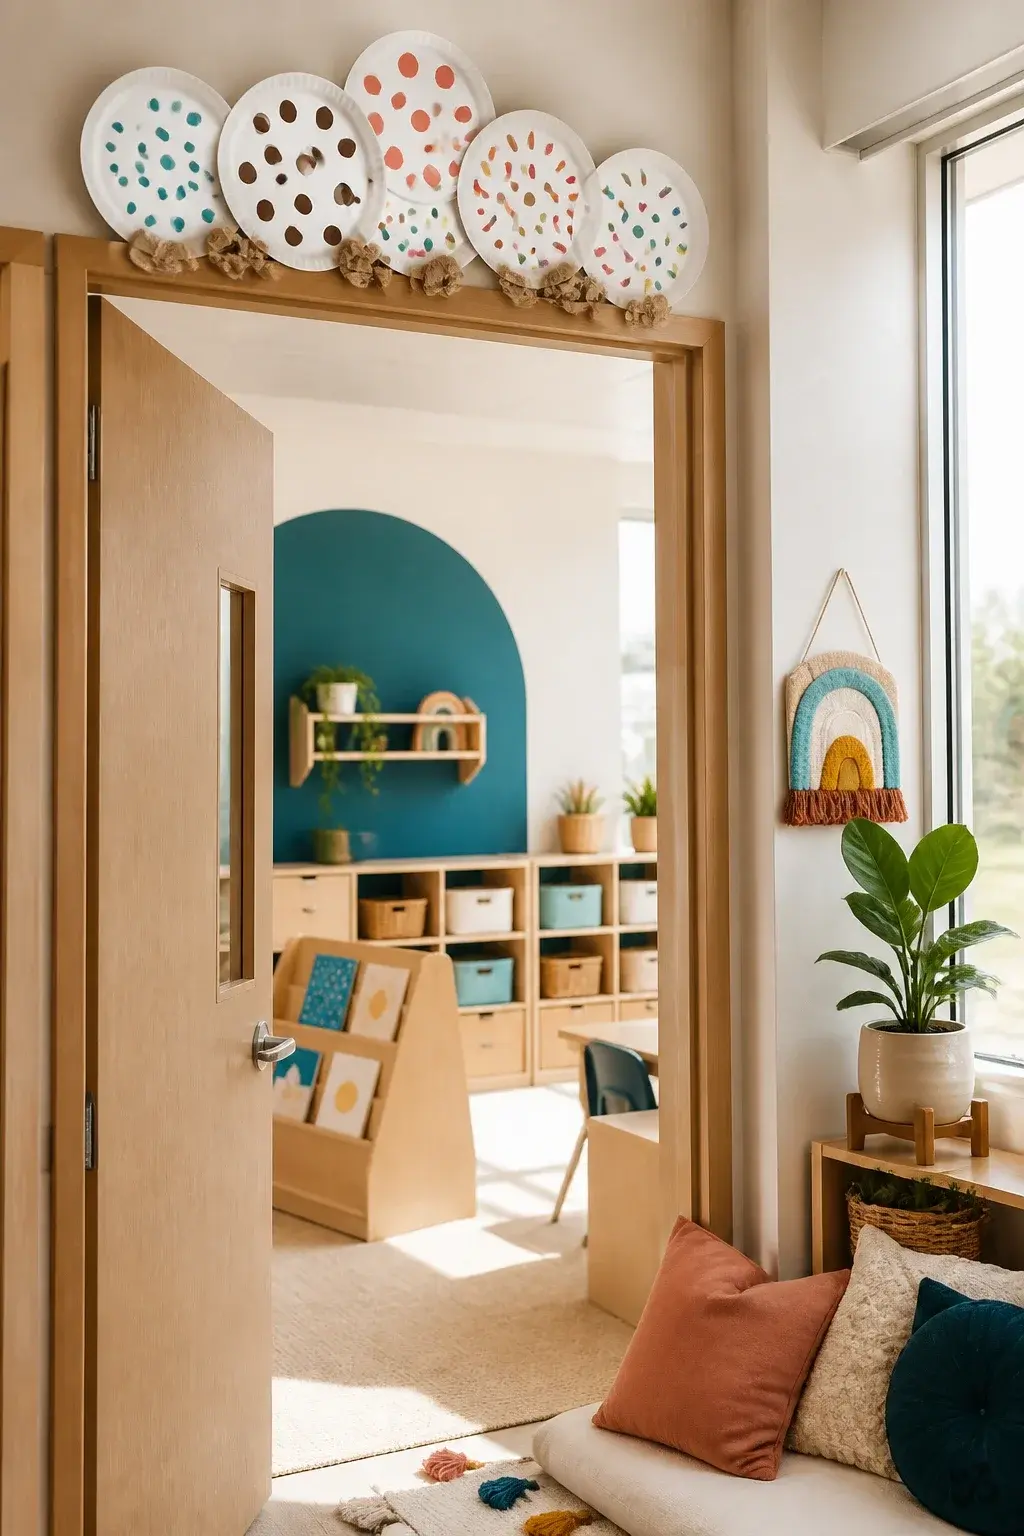 Save
SaveA simple, cheerful display with cutout cookie plates made from white cardstock and decorated with marker details. Place a few “crumbs” of brown paper at the bottom to imply a plate full of cookies.
What you need
- White cardstock for plates
- Brown tissue or construction paper for crumbs
- Markers for details
- Removable tape
Low-cost and quick; works well on a teacher’s door with light, non-intrusive color.
16. Snowy Pockets Door
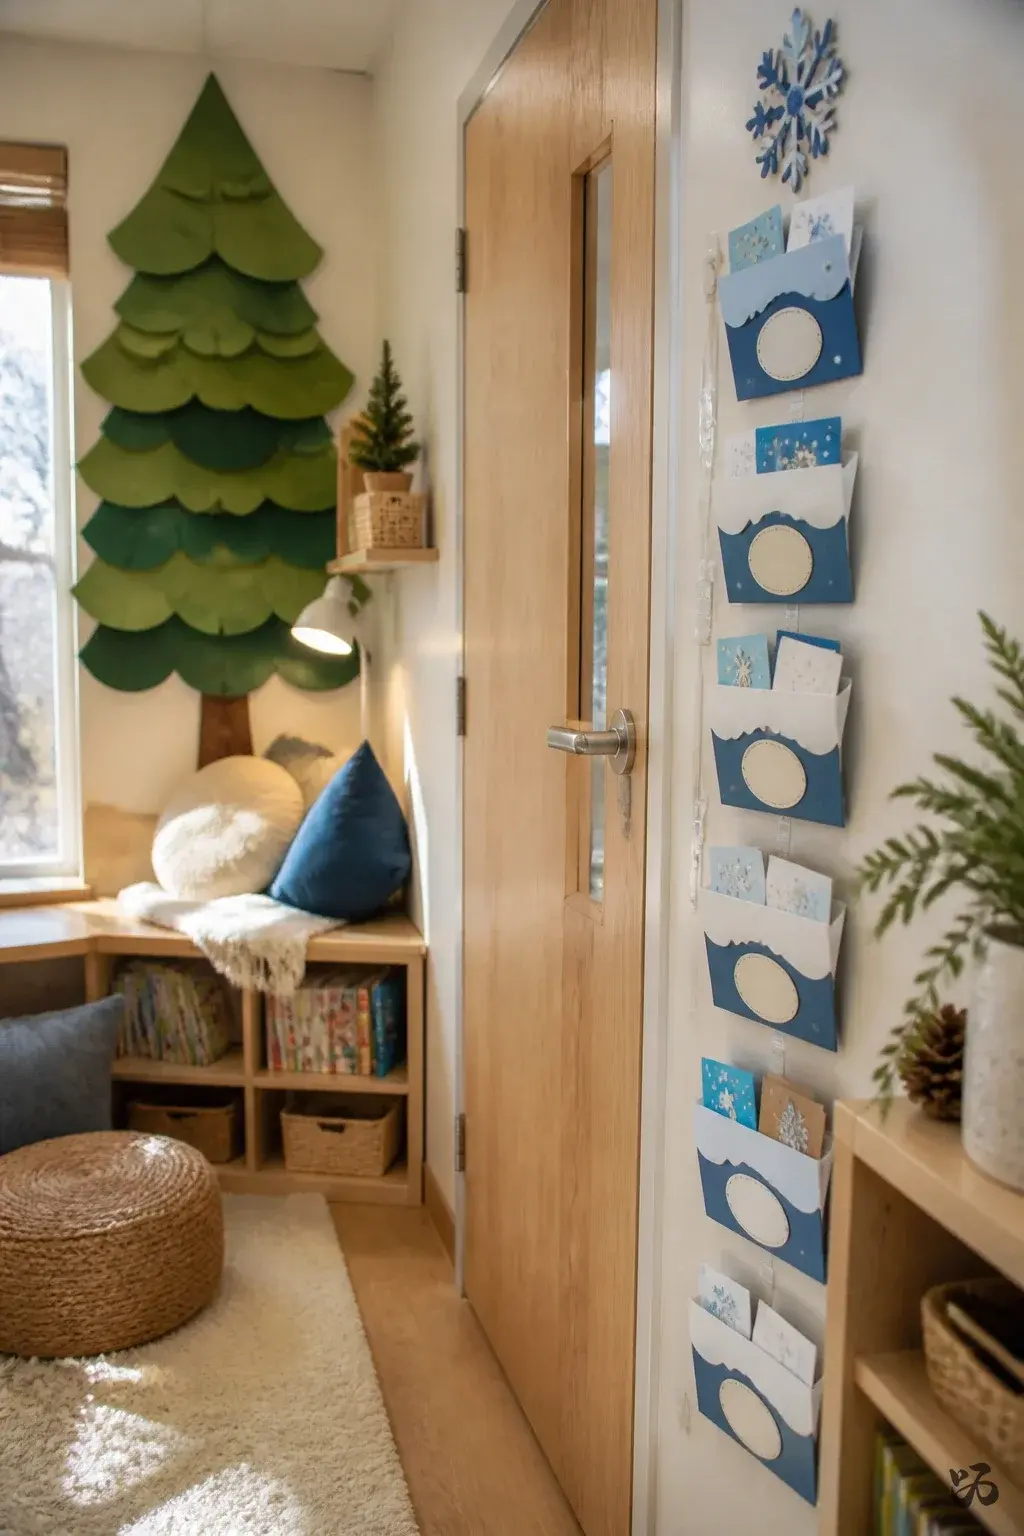 Save
SaveA row of pocket-style pockets cut from blue or white butcher paper holds small student-made notes, greeting cards, or compliments for the class. Durable enough to hold the light items in busy hallways.
What you need
- Blue or white butcher paper
- Pocket templates cut from cardstock
- Removable mounting squares
- Label stickers for naming the pockets
Consider limiting pockets to a narrow strip to preserve wall integrity and ensure safe handling during movement.
17. Starry Night Door
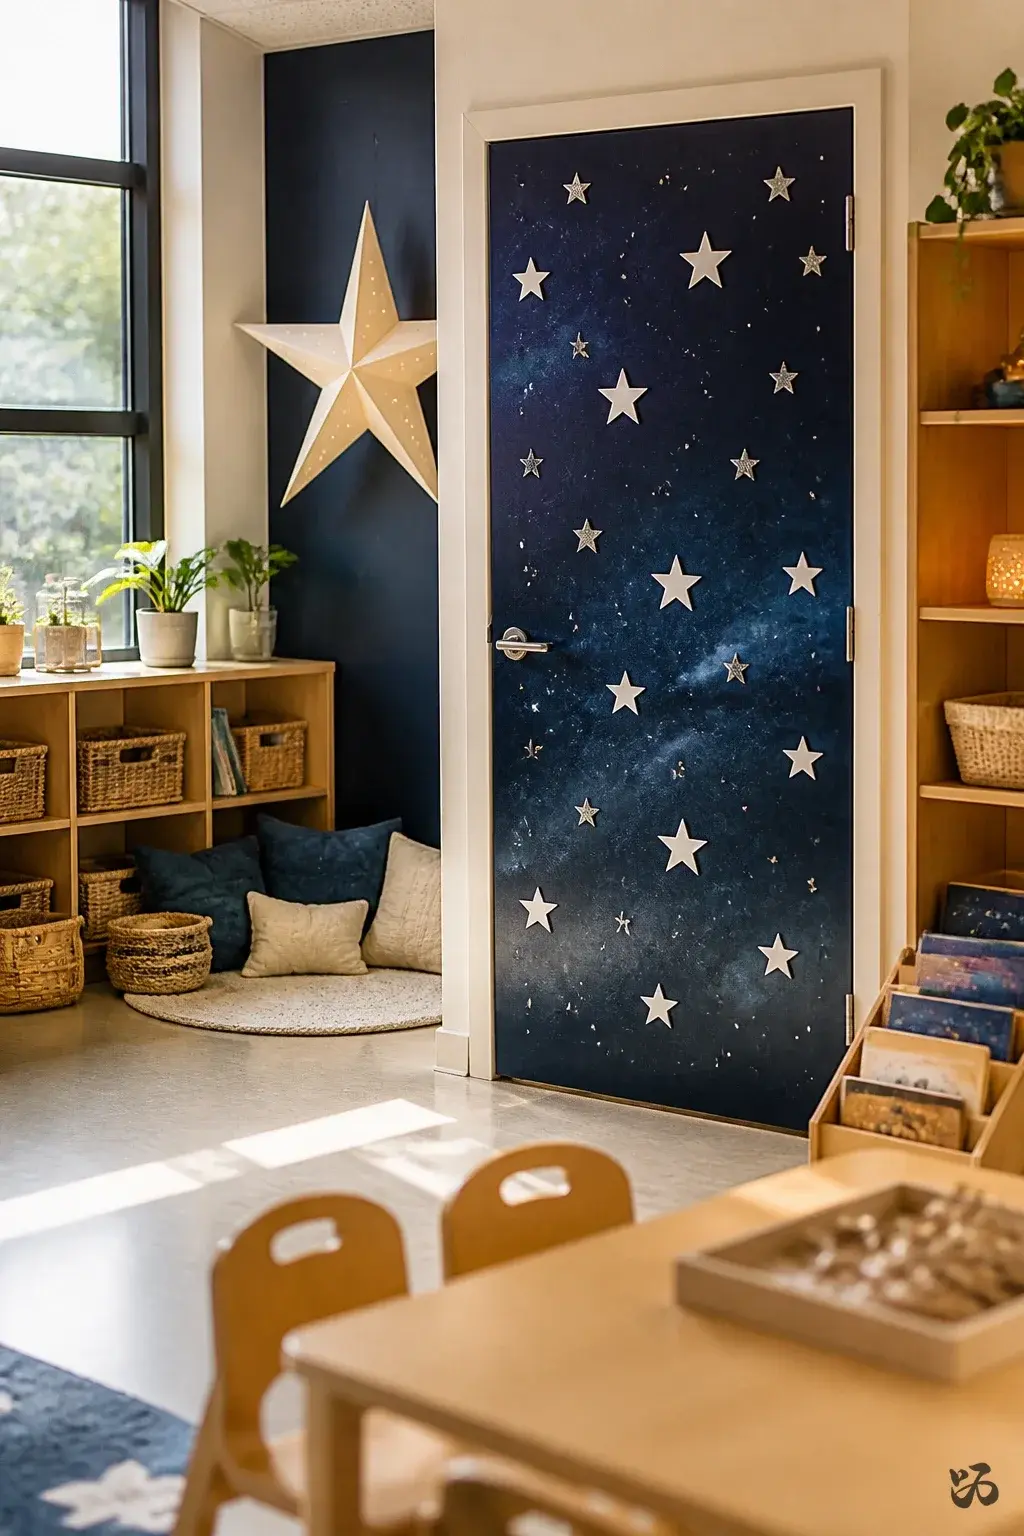 Save
SaveA night sky scene using dark blue paper and white star cutouts. A few shiny star stickers catch the hallway light as kids pass by. Simple, clean, and sturdy enough for daily contact.
What you need
- Dark blue paper
- White star cutouts
- Silver or white stickers for sparkle
- Removable tape
Laminate the star shapes if you want extra durability, though it isn’t required.
18. Gift Box Wall Border
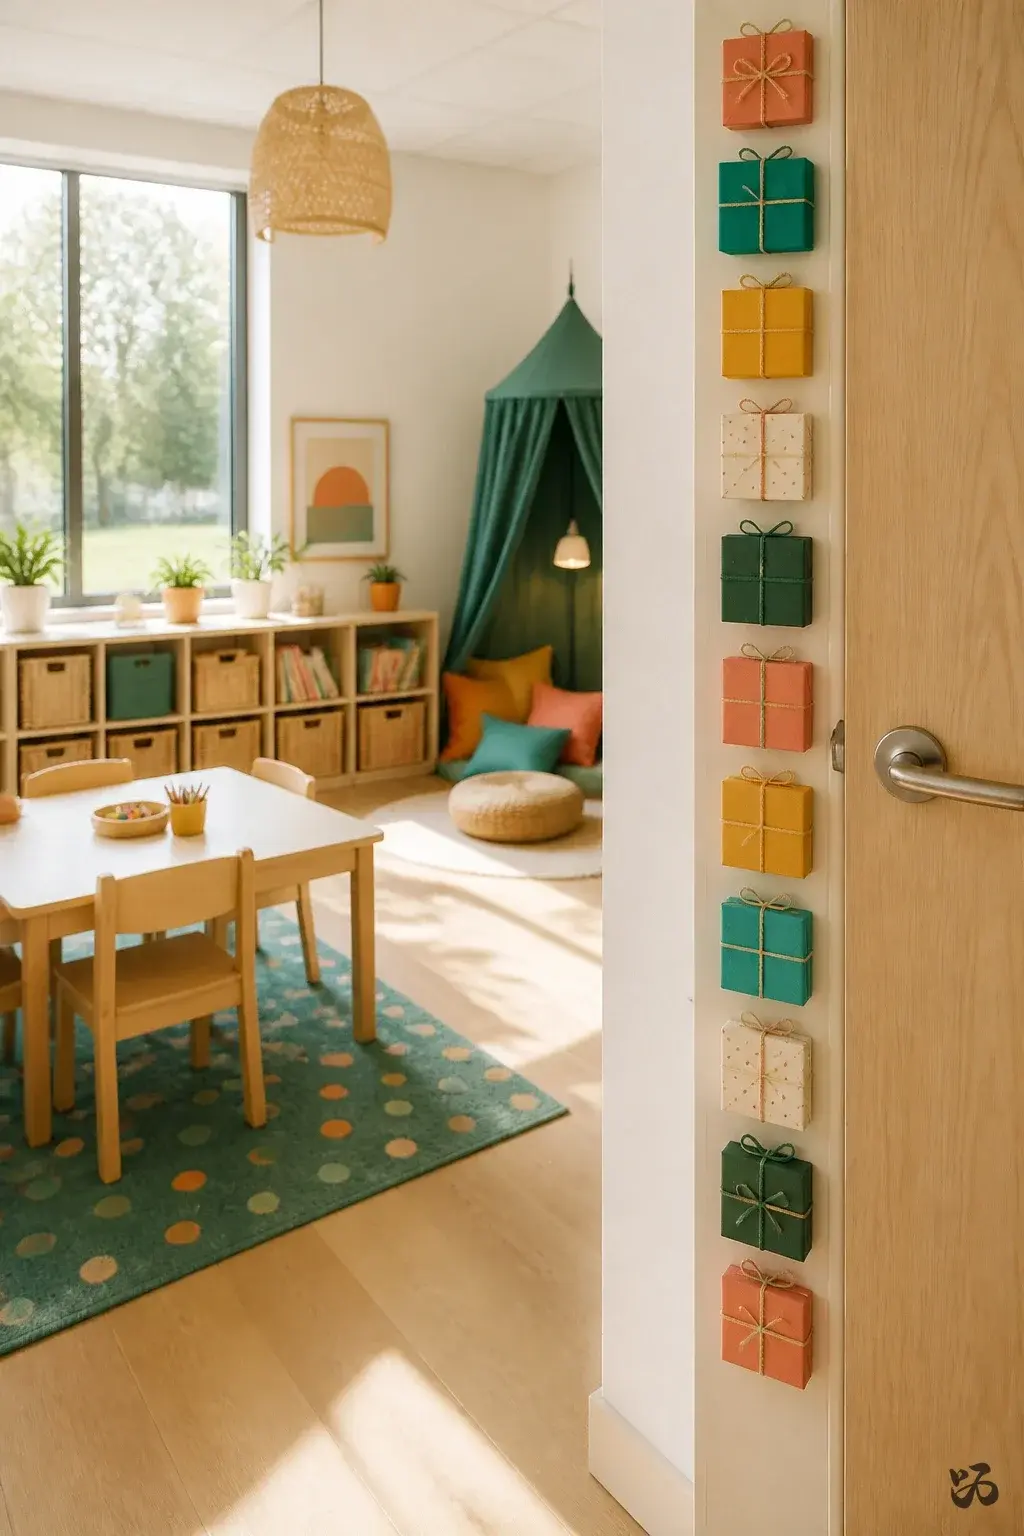 Save
SaveA string of small gift box shapes lines the door edge, forming a cheerful border. Each box could feature a classmate’s name or a short message from the homeroom to the school.
What you need
- Colored cardstock for boxes
- String or ribbon
- Glue sticks or tape
- Marker to label
Limit to a single layer along the edge to avoid blocking the door swing.
19. Polar Bear Silhouette Door
 Save
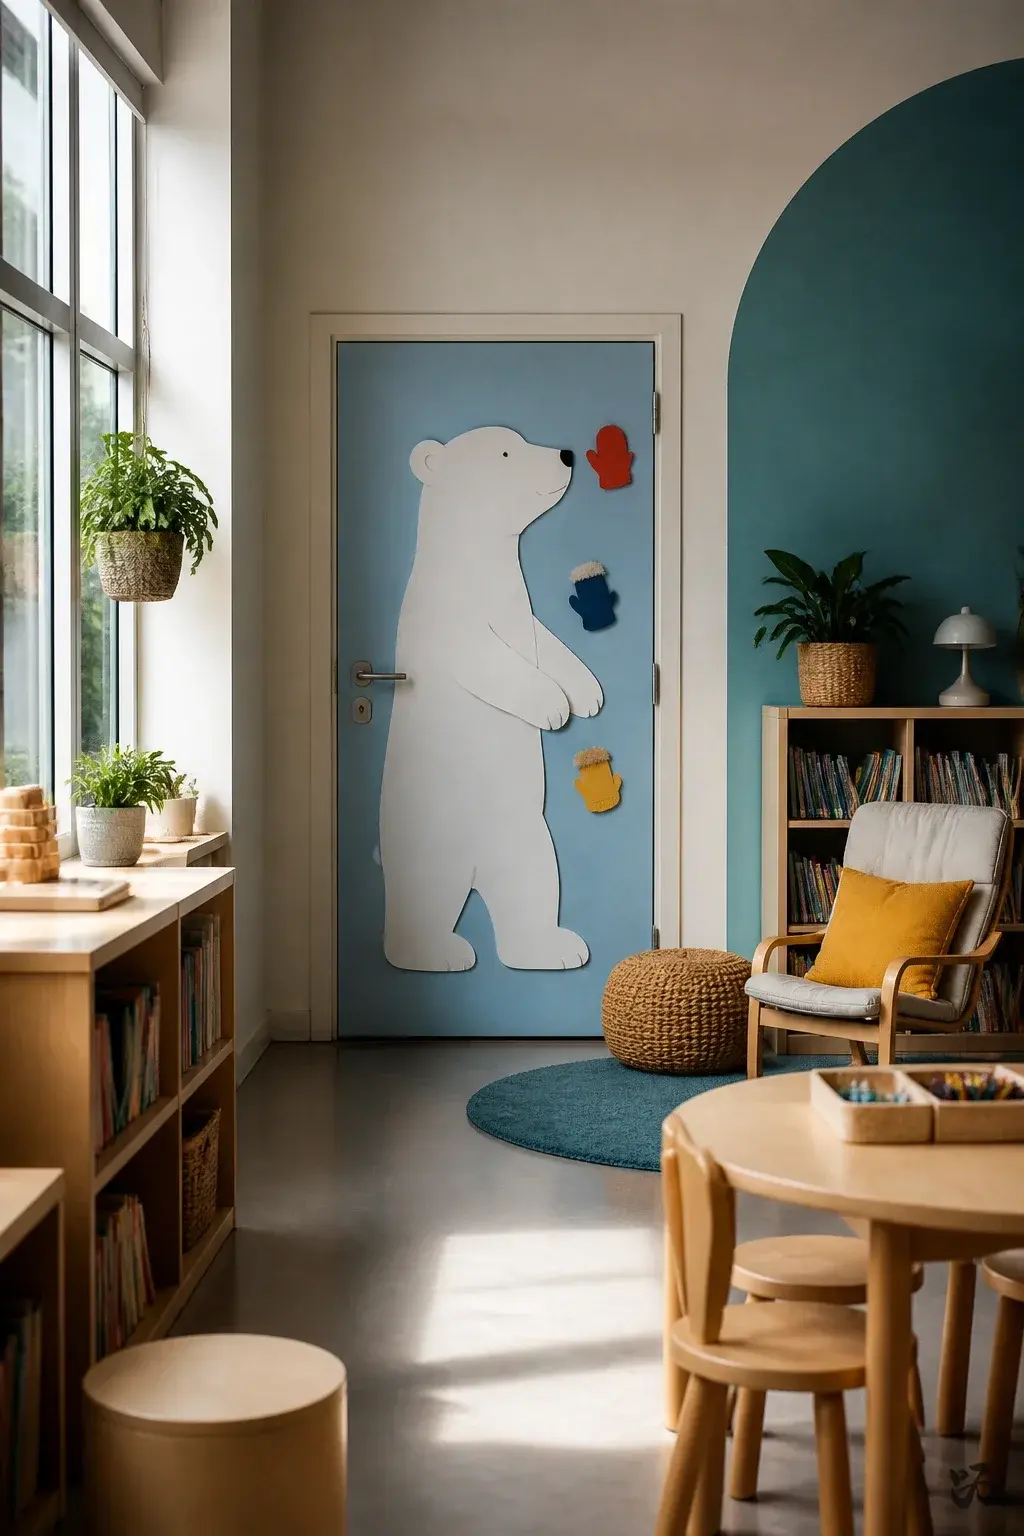
SaveA large polar bear cut from white poster board sits centered on the door with a soft blue backdrop. A few small mittens or earmuffs in bright color add visual interest without bulk.
What you need
- White poster board or thick cardstock
- Blue backdrop paper
- Colored mittens or shapes for accents
- Removable tape
Keep the bear’s limbs close to the surface to avoid catching on coats or bags.
Borders and Trim


20. Open House Bulletin Door
 Save
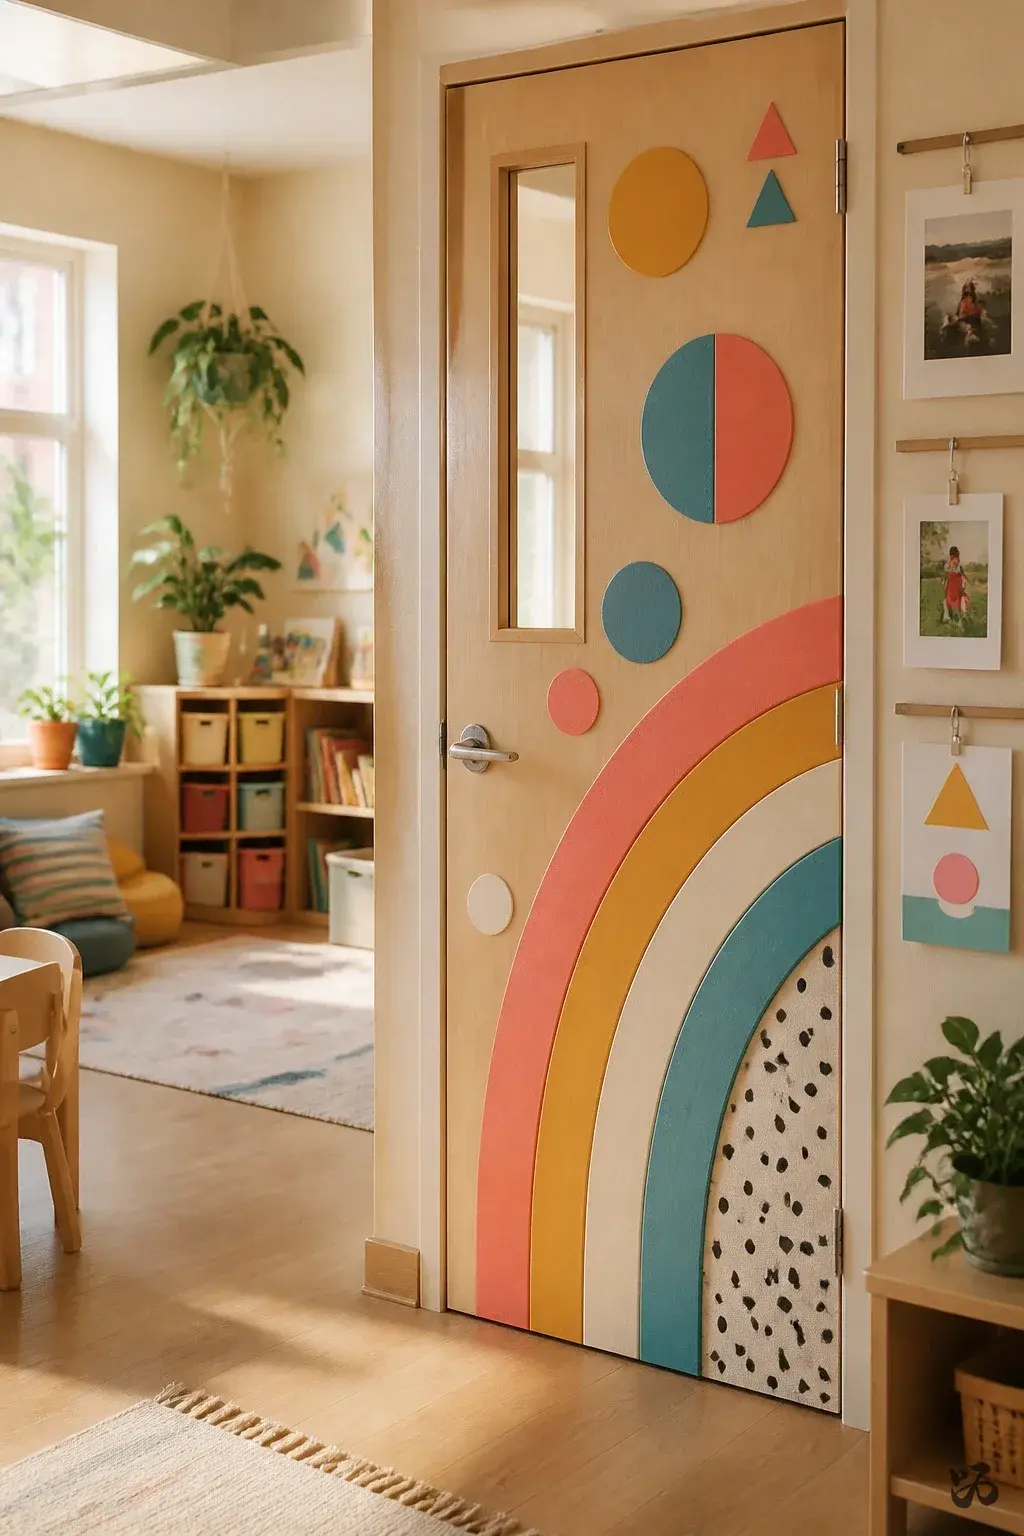
SaveA door that doubles as an Open House teaser with simple, kid-friendly phrases like “We Learned Here” and a few smiling faces. It’s a candid, non-pretentious way to welcome families during parent night or field trips.
What you need
- Colored cardstock for letters
- Photo-safe glue sticks
- Removable tape
- Small photos or student drawings if available
Use minimal photos to keep the project manageable and to avoid privacy concerns.
21. Winter Word Wall Door
 Save
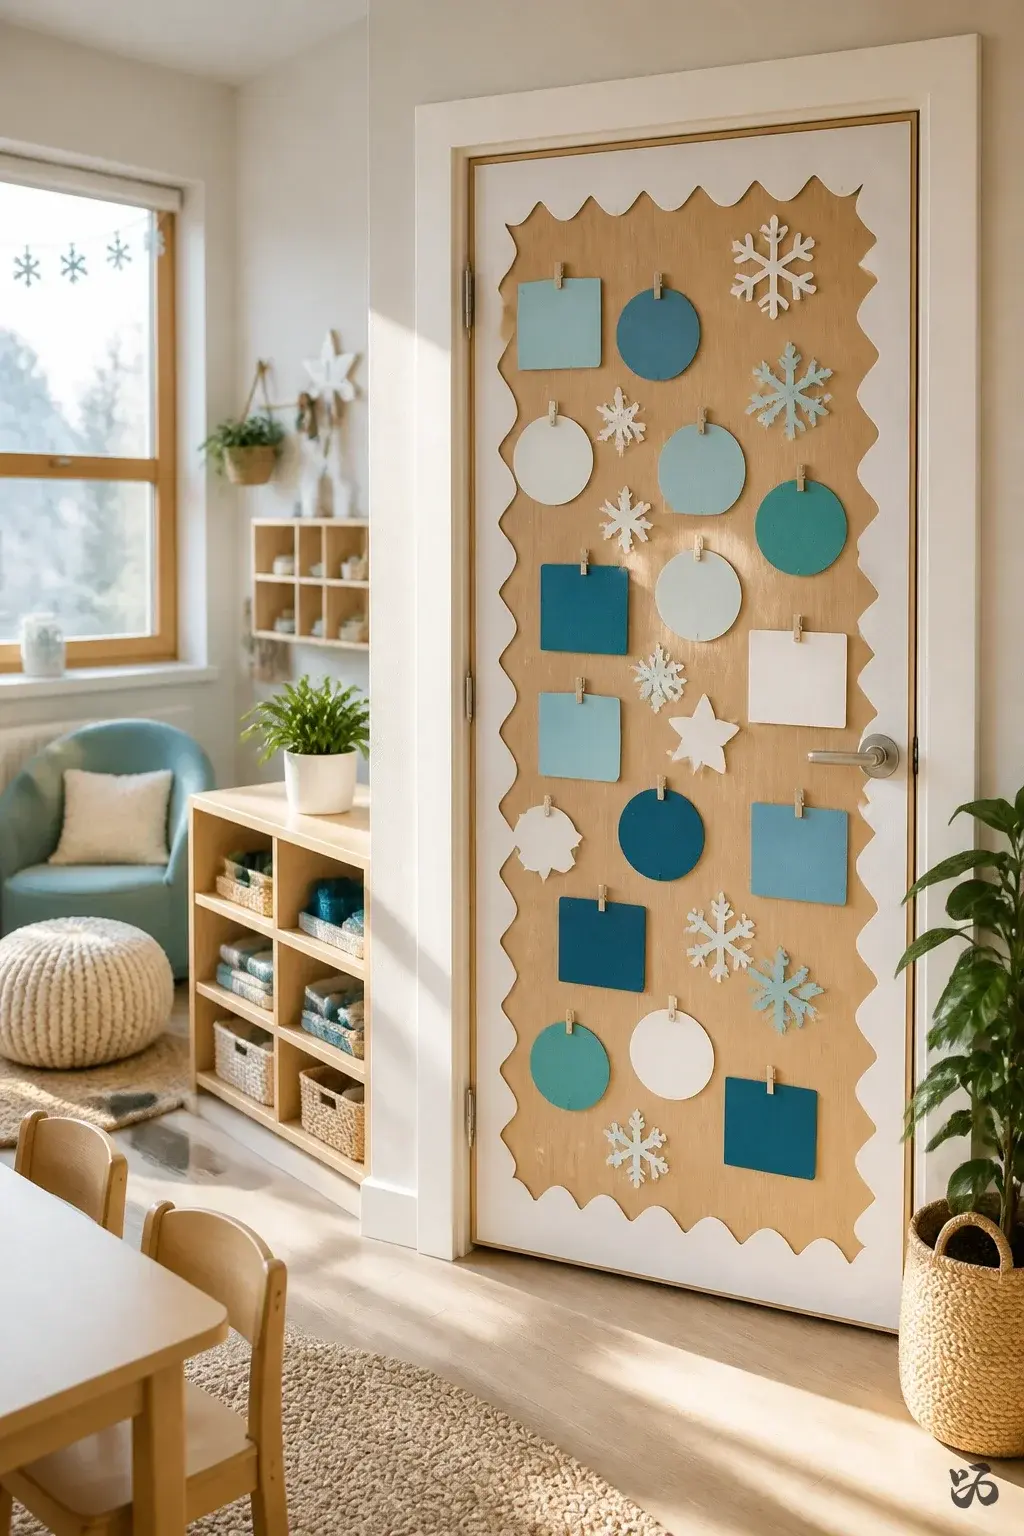
SaveA door-sized word wall in a winter theme features high-frequency words on cards attached along a snowy strip. This doubles as a visual cue for first grade and second grade readers who pass by every day during transitions.
What you need
- Word cards with common terms
- Snowy border paper
- Removable tape
- Clip-on magnets for movement
Attach to a door with a smooth, clean surface to minimize tearing during removal.
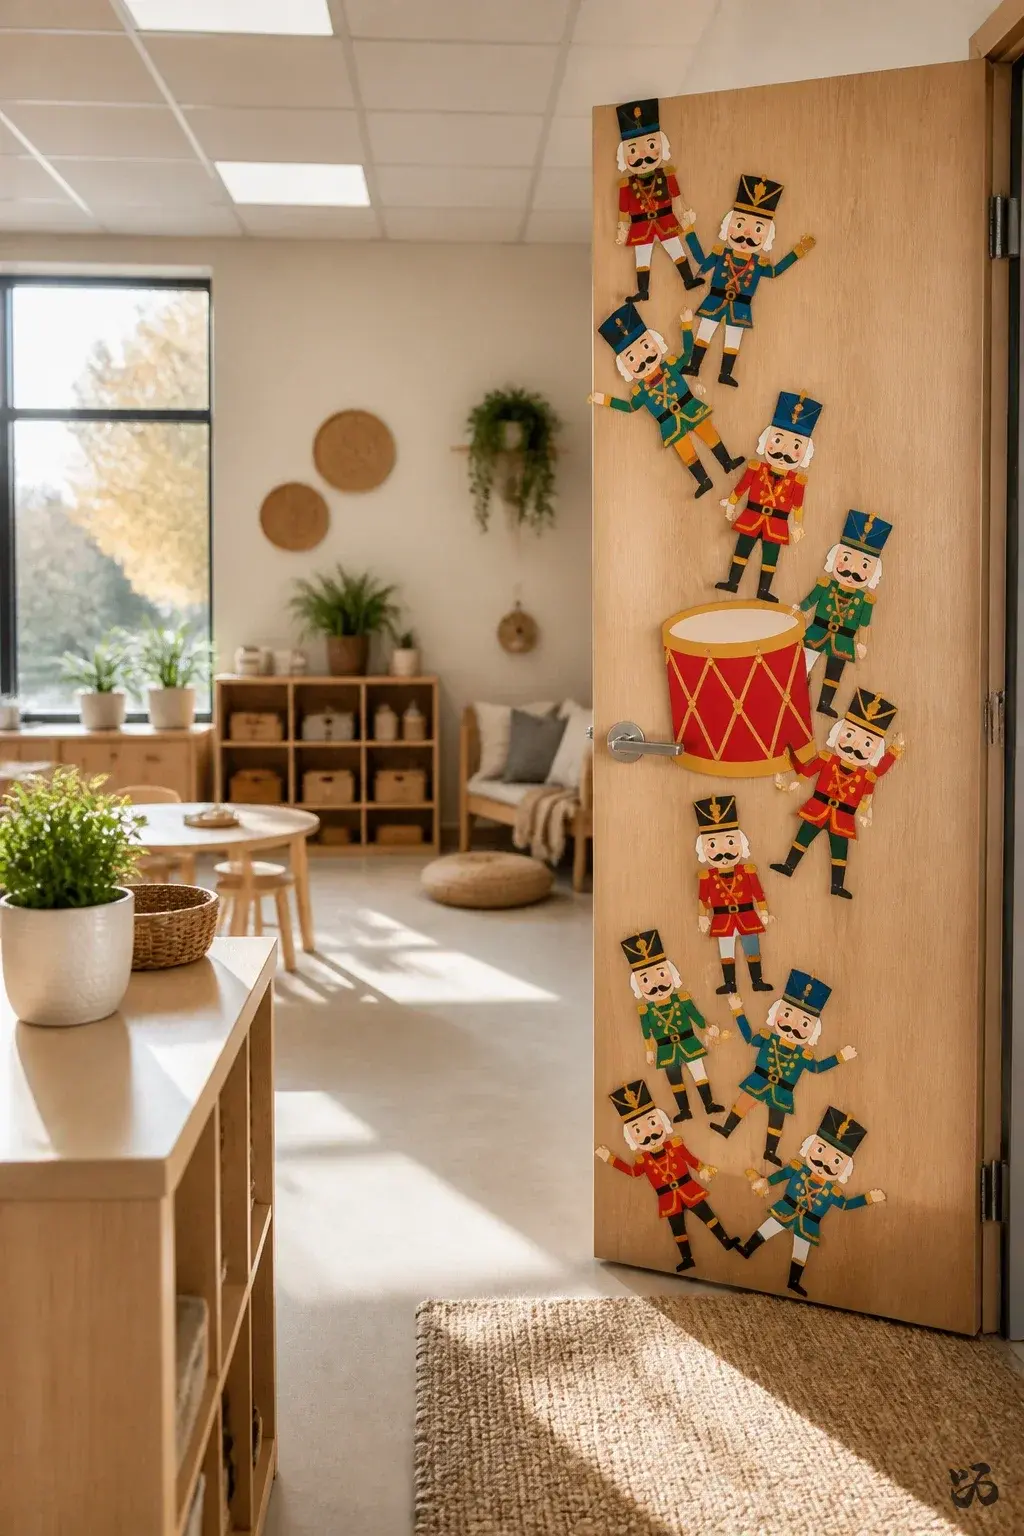
22. Nutcracker Parade Door
 Save
SaveA small parade of nutcracker figures cut from cardstock dances along the door edge. A bright red drum in the center anchors the design and gives kids a focal point during transitions between classes.
What you need
- Colorful cardstock for each figure
- Drum cutout from red cardstock
- Glue sticks or tape
- Small brads (optional) for hinge movement
Be mindful of the edges and keep pieces securely attached to avoid detachment during hallway traffic.
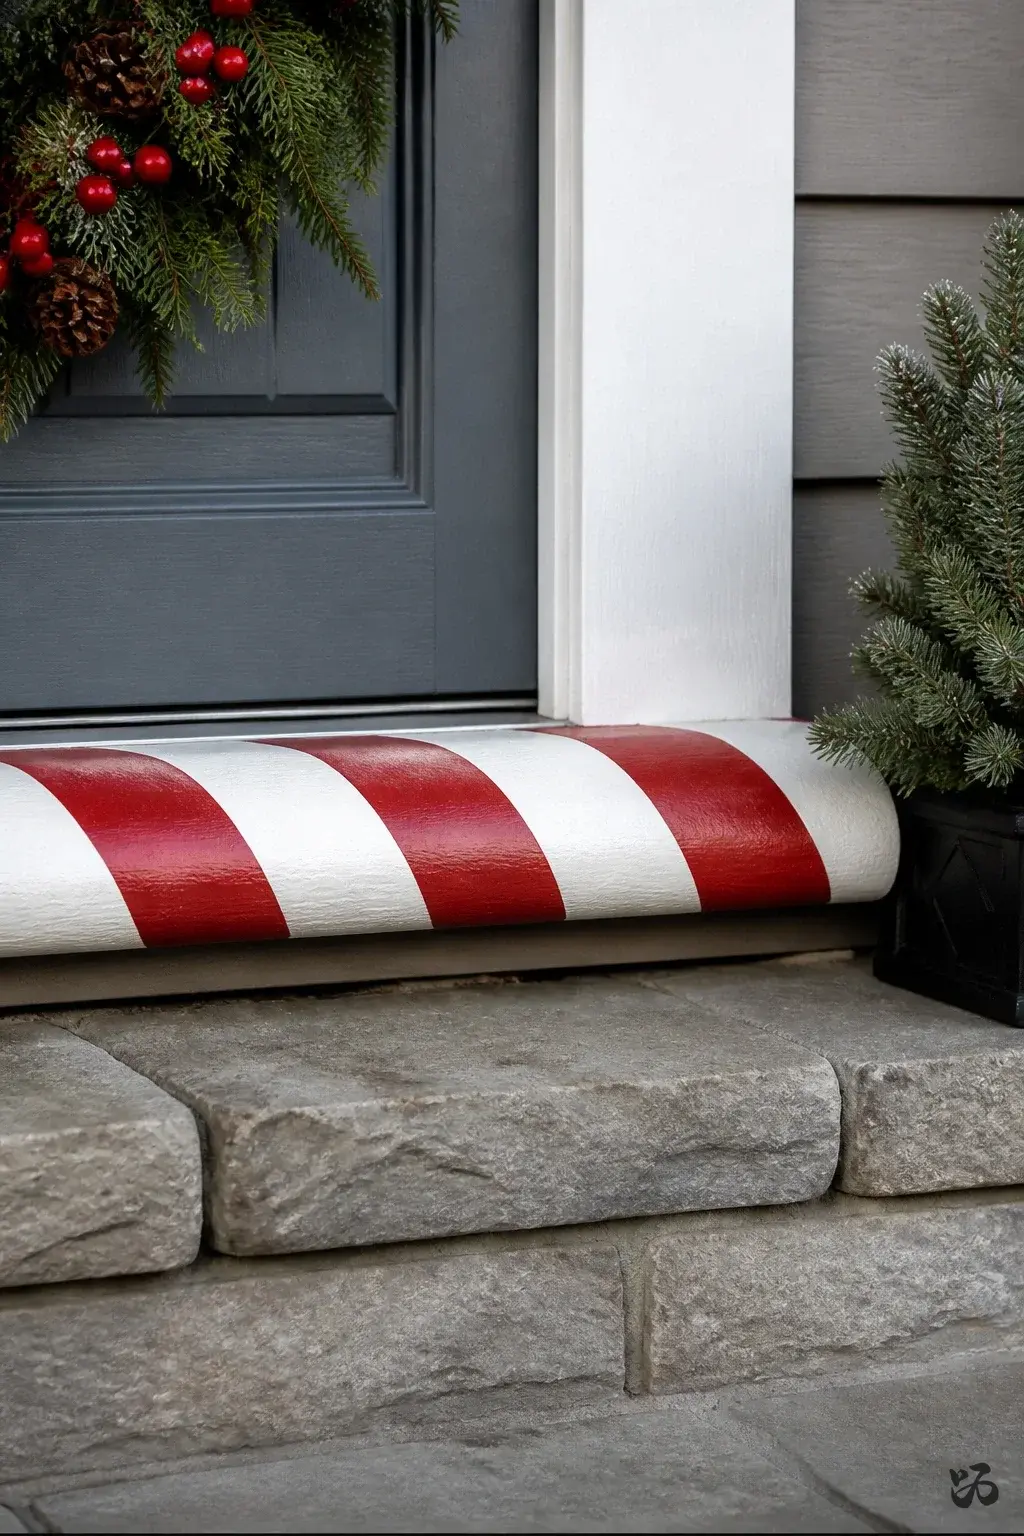
23. Candy Cane Door Ledge
 Save
SaveA candy cane stripe runs along the top edge of the door using red and white tape or painted border. It’s subtle but bright, and can be paired with a small “season’s greetings” sign on a removable card stock panel.
What you need
- Red and white tape or paint
- Cardstock panel for greeting
- Removable mounting squares
- Marker for a final message
Best used on doors with a plain surface and without a heavy top trim that could peel with tape.
Conclusion: Start with something simple and sturdy, like the Snowflake Door Collage or the Winter Word Wall. These stay put through hallway traffic and prep periods, while still delivering a festive look. Pick one or two to implement this season and adjust for your room’s size and the custodial guidelines.