
Some links in this post are affiliate links. If you buy through one, I may earn a small commission at no extra cost to you. As an Amazon Associate I earn from qualifying purchases.
The short answer: the easiest way to organize a pantry is to empty it, group food into a few simple zones (breakfast, baking, snacks, cans, dinner), then give each zone its own clear bin or shelf. Add a turntable for deep corners, a riser or can rack so nothing hides at the back, and labels so everyone in the house puts things back in the same place.
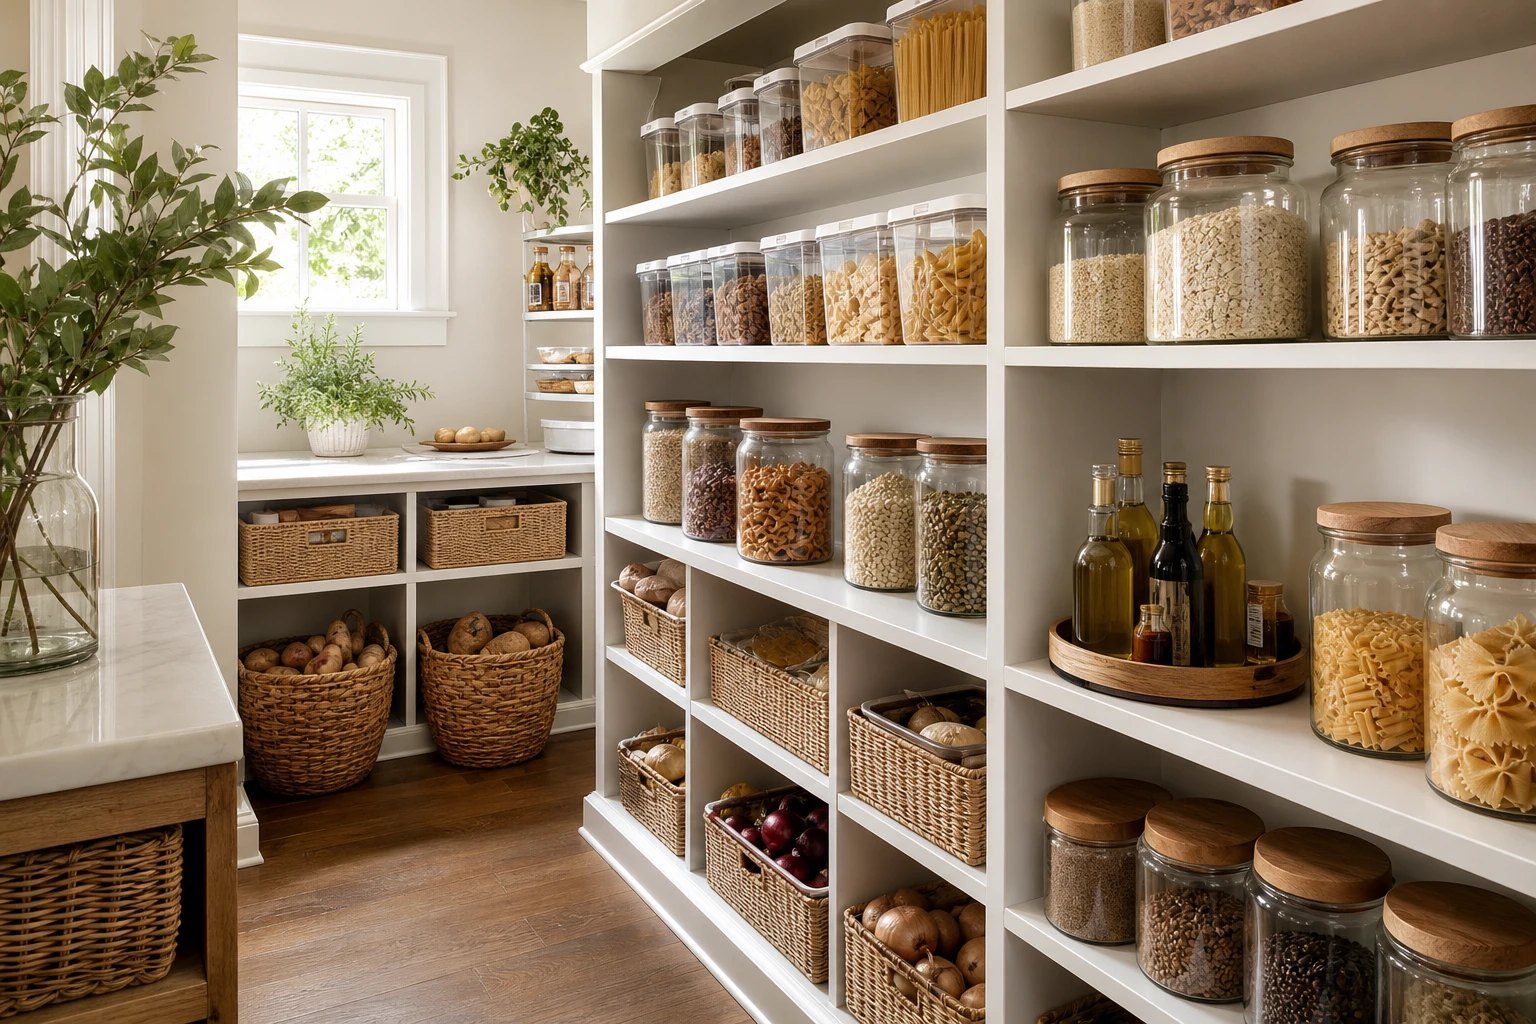
You do not need a big walk-in pantry to make this work. Below are 25 pantry organization ideas that suit small pantries, kitchen cabinets and walk-ins alike, each with a short “get the look” note. Start with the first five and the rest gets much easier. It is also the perfect January reset job, once the holiday baking is done.
Six things that do most of the work (we earn a small commission if you buy, at no cost to you):
- Clear pantry bins: group snacks, pasta and packets so you can see everything at a glance.
- A lazy Susan turntable: one spin and the bottle at the back is at the front.
- Airtight containers: keep cereal, flour and rice fresh and stack neatly.
- A tiered can organizer: every label visible, nothing lost behind the beans.
- An over the door rack: turns the back of the door into extra shelves.
- Pantry labels: the step that keeps it organized after the first week.
Before you start: empty, sort, then buy
Take everything out, check dates and wipe the shelves. Then sort what is left into piles you actually use, like breakfast, baking, snacks, cans and dinner basics. Only now measure your shelves and buy bins, so they fit the space and the food you really have.
Small pantry organization ideas
1. Clear bins for every category
 Save
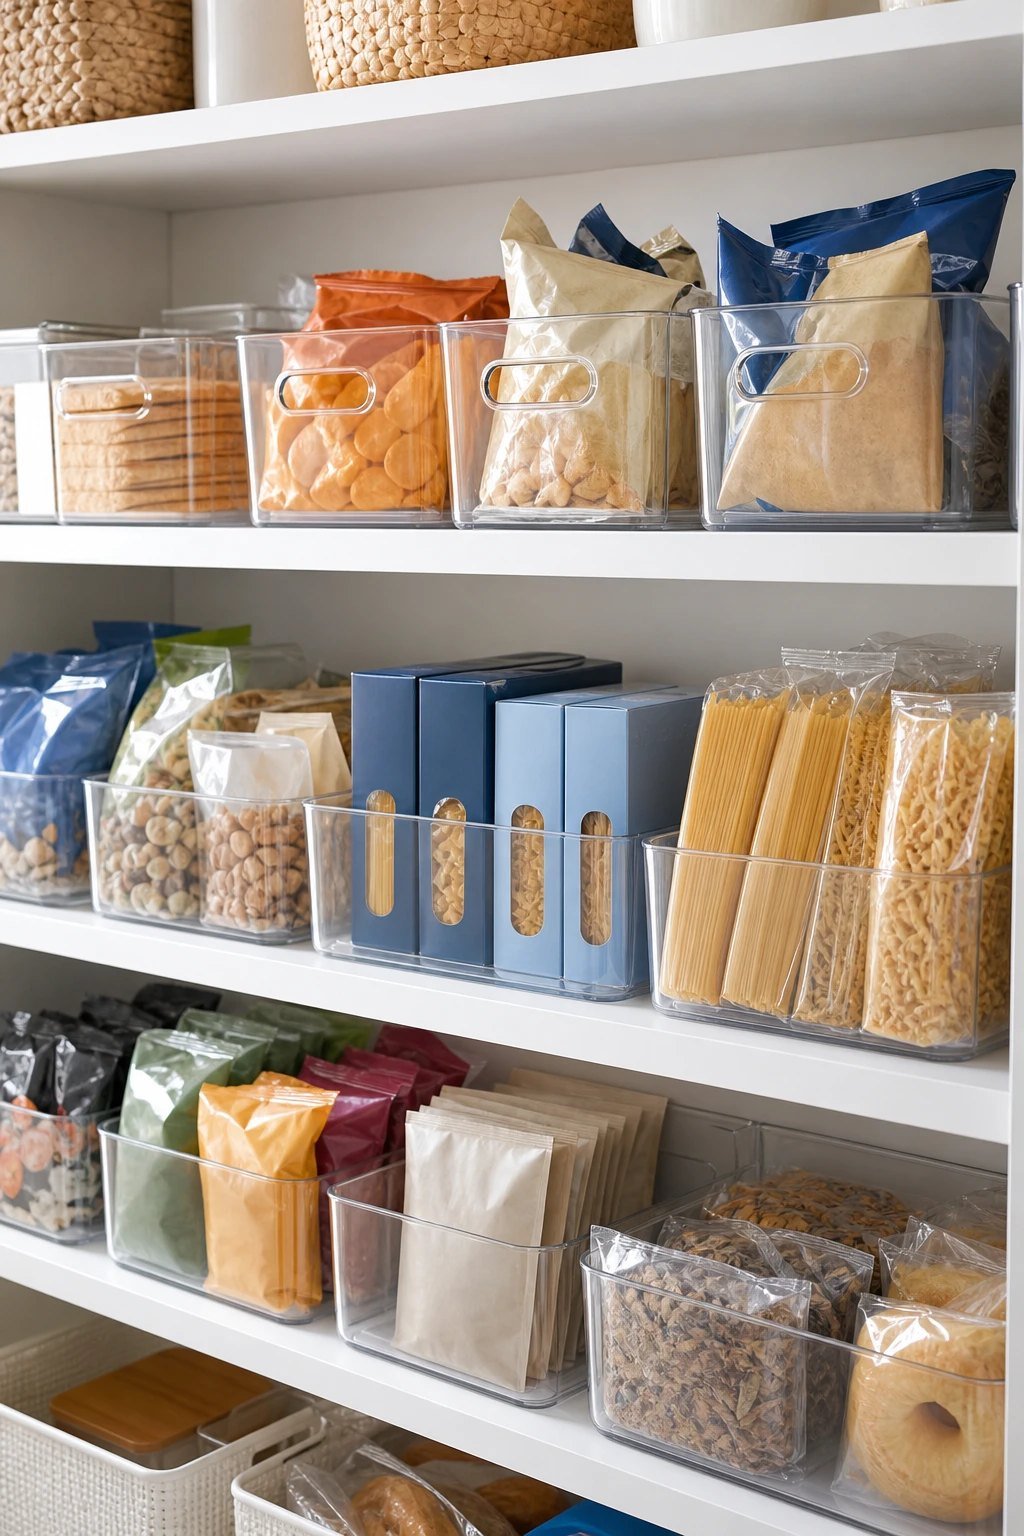
Give each food group its own clear bin, such as snacks, pasta, packets and baking. You can see what is inside without opening anything, and pulling one bin out is easier than reaching past ten boxes.
Get the look: clear stackable pantry bins in two sizes, wide for snacks and narrow for packets.
2. A turntable in every deep corner
 Save
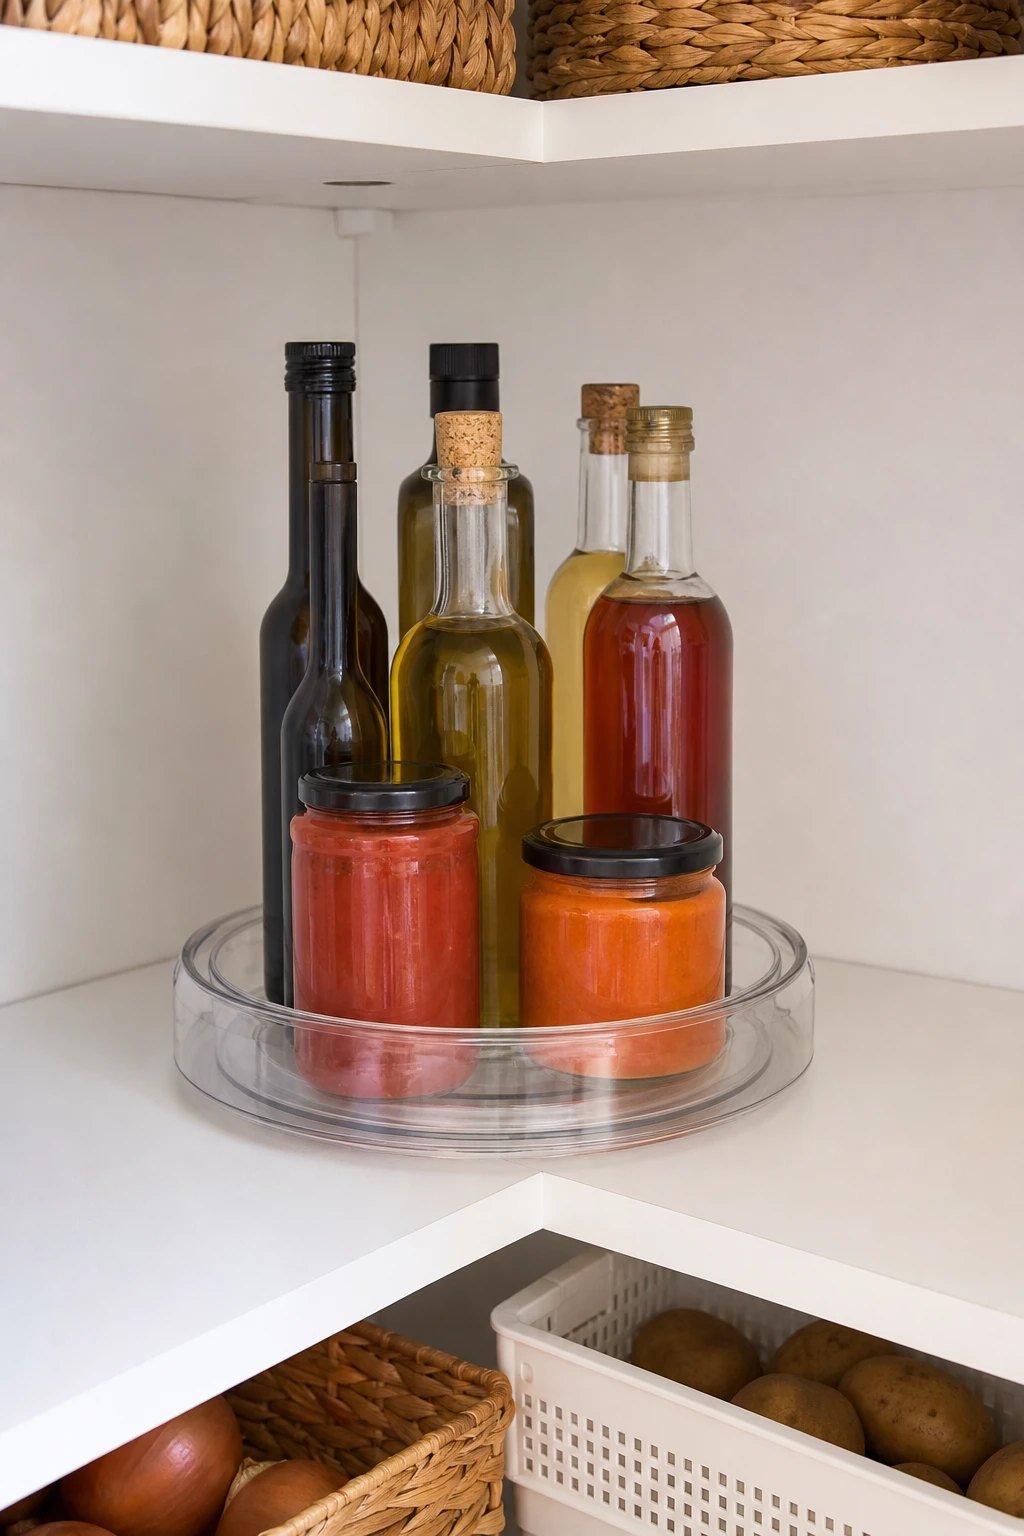
Corners and deep shelves are where jars go to be forgotten. A lazy Susan brings oils, sauces and spreads to the front with one spin, and it works in cabinets too.
Get the look: an 18 inch lazy Susan for wide shelves, a smaller one for cabinets.
3. A tiered can rack so nothing hides
 Save
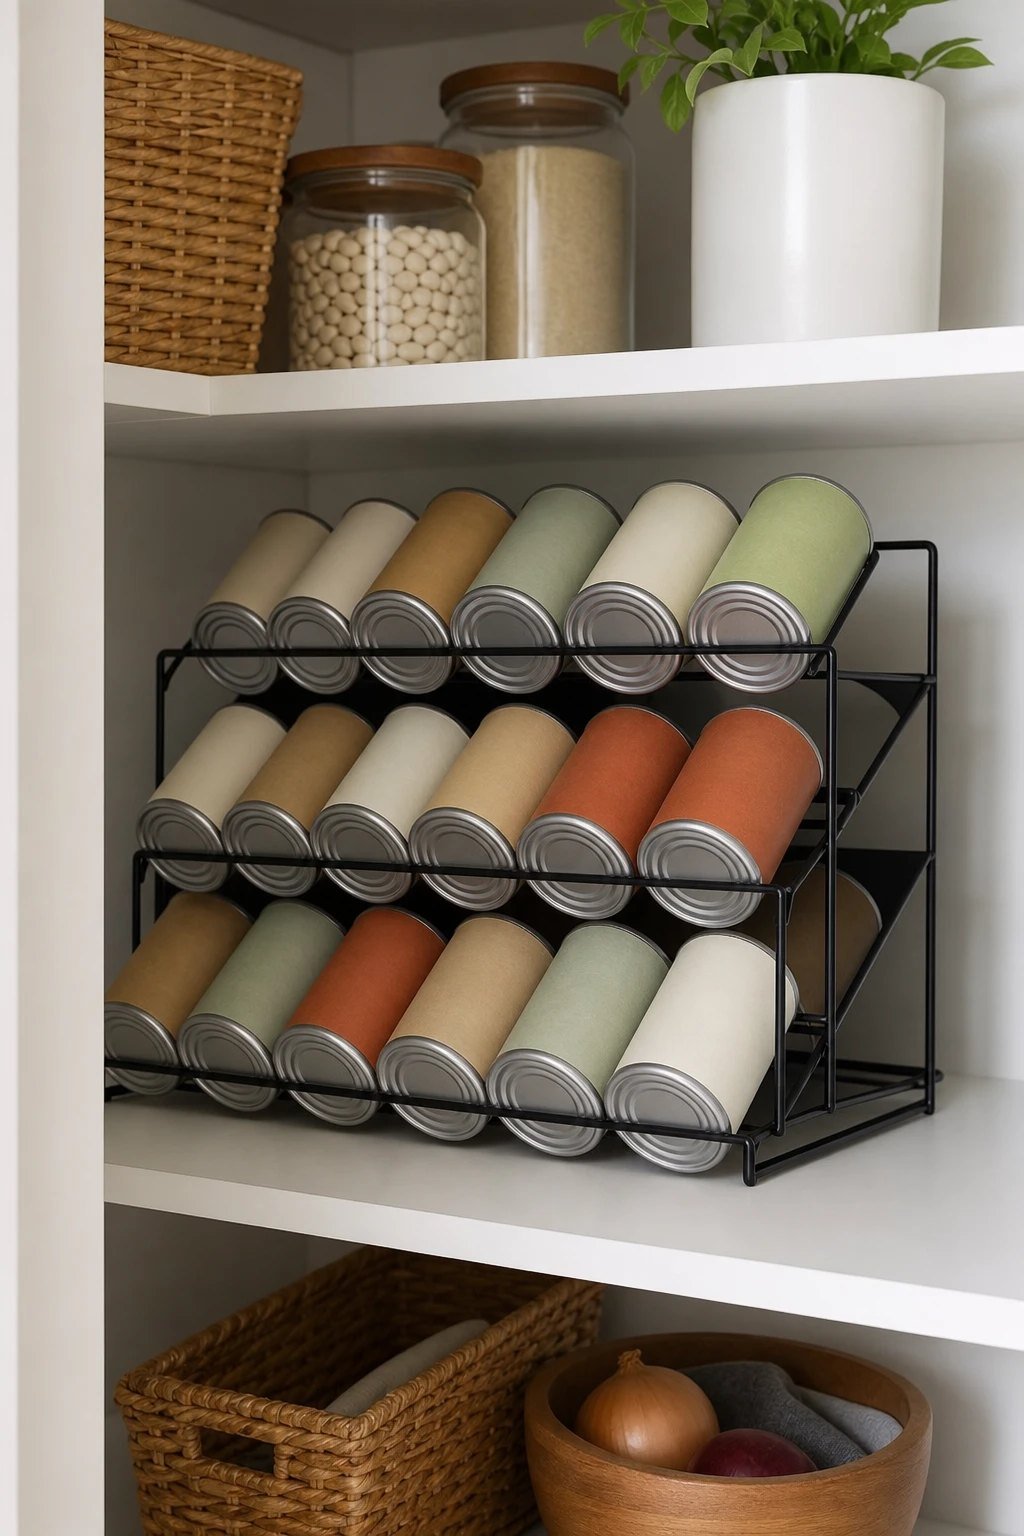
Cans stacked flat always hide the one you need. A three tier can rack lifts the back row so every label shows, and it keeps cans from rolling.
Get the look: a 3 tier stackable can organizer.
4. Use the back of the door
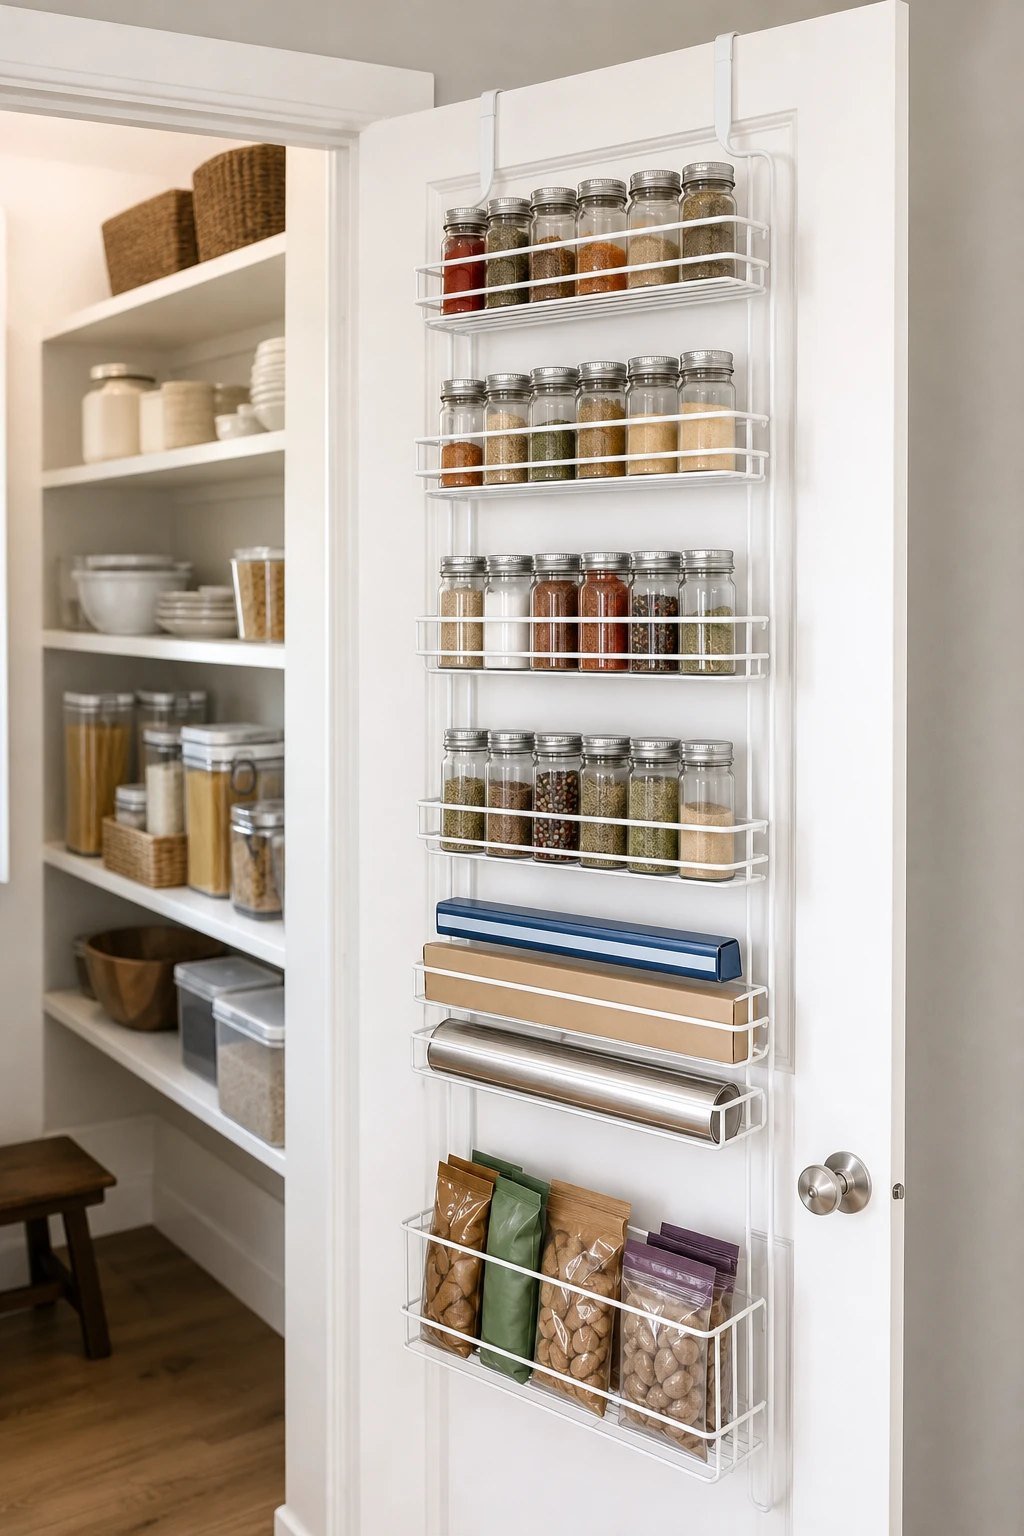 Save
The back of the pantry door is free storage. An over the door rack holds spices, small jars, foil, wraps and snack packets, and it frees up a whole shelf.
Get the look: an over the door pantry organizer with adjustable baskets.
5. Baskets on the floor for bulky things
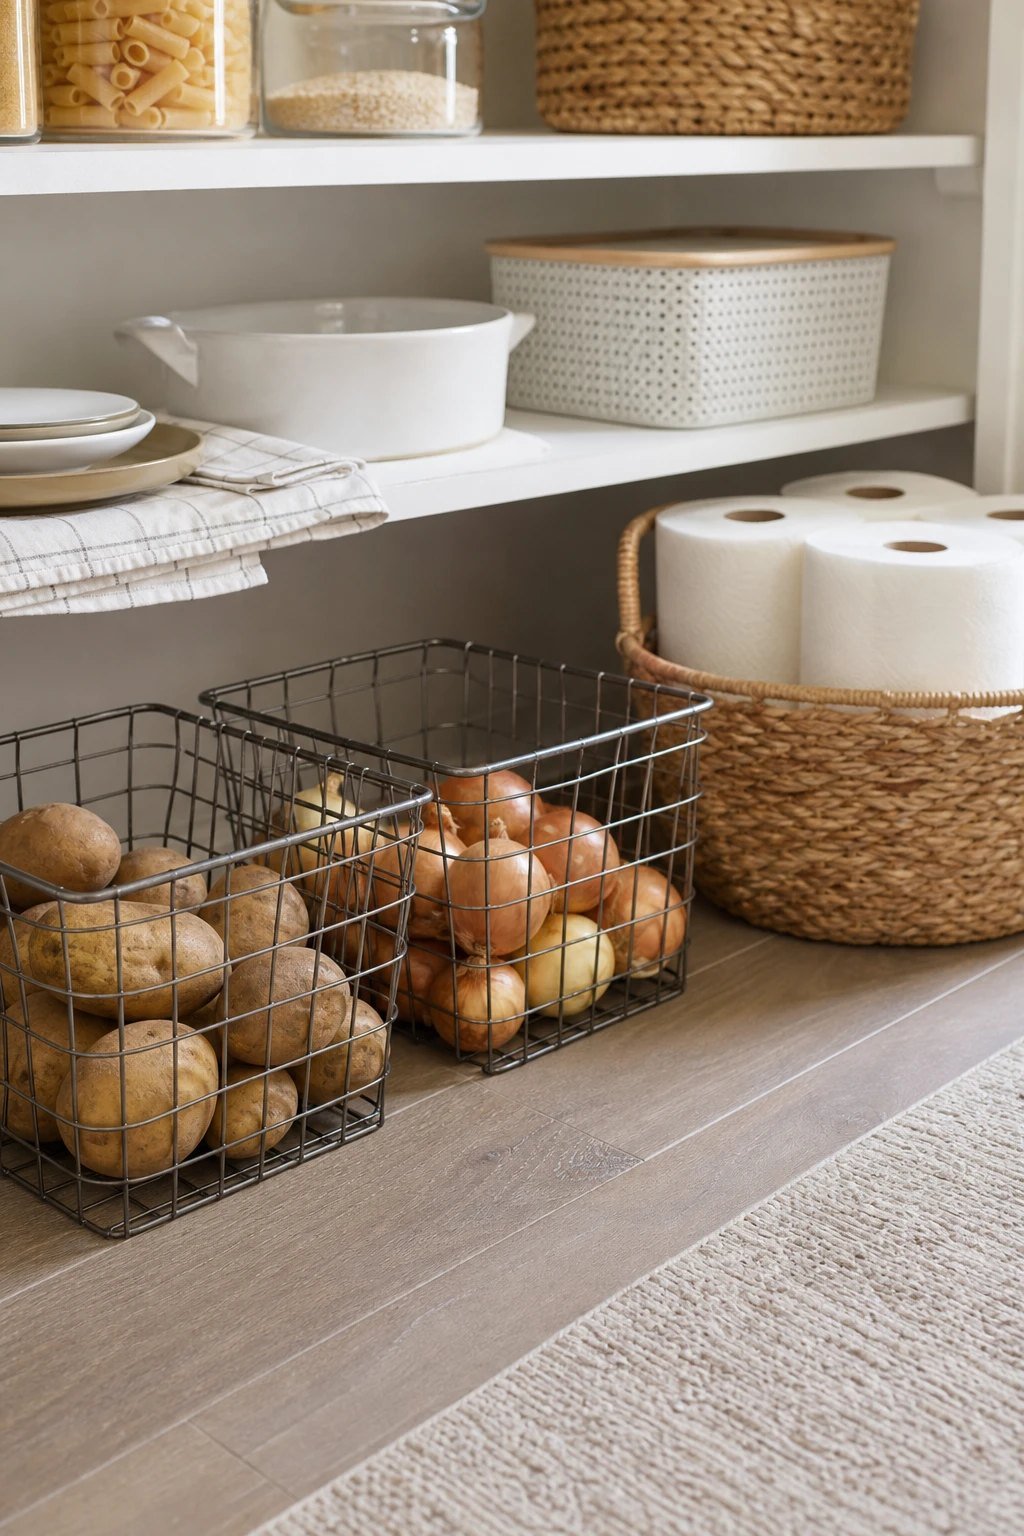 Save
Potatoes, onions, bottled water and paper towels do not need shelf space. Wire or woven baskets on the floor keep them together and let air flow around fresh produce.
Get the look: wire pantry baskets or woven baskets with handles.
6. Shelf risers double small shelves
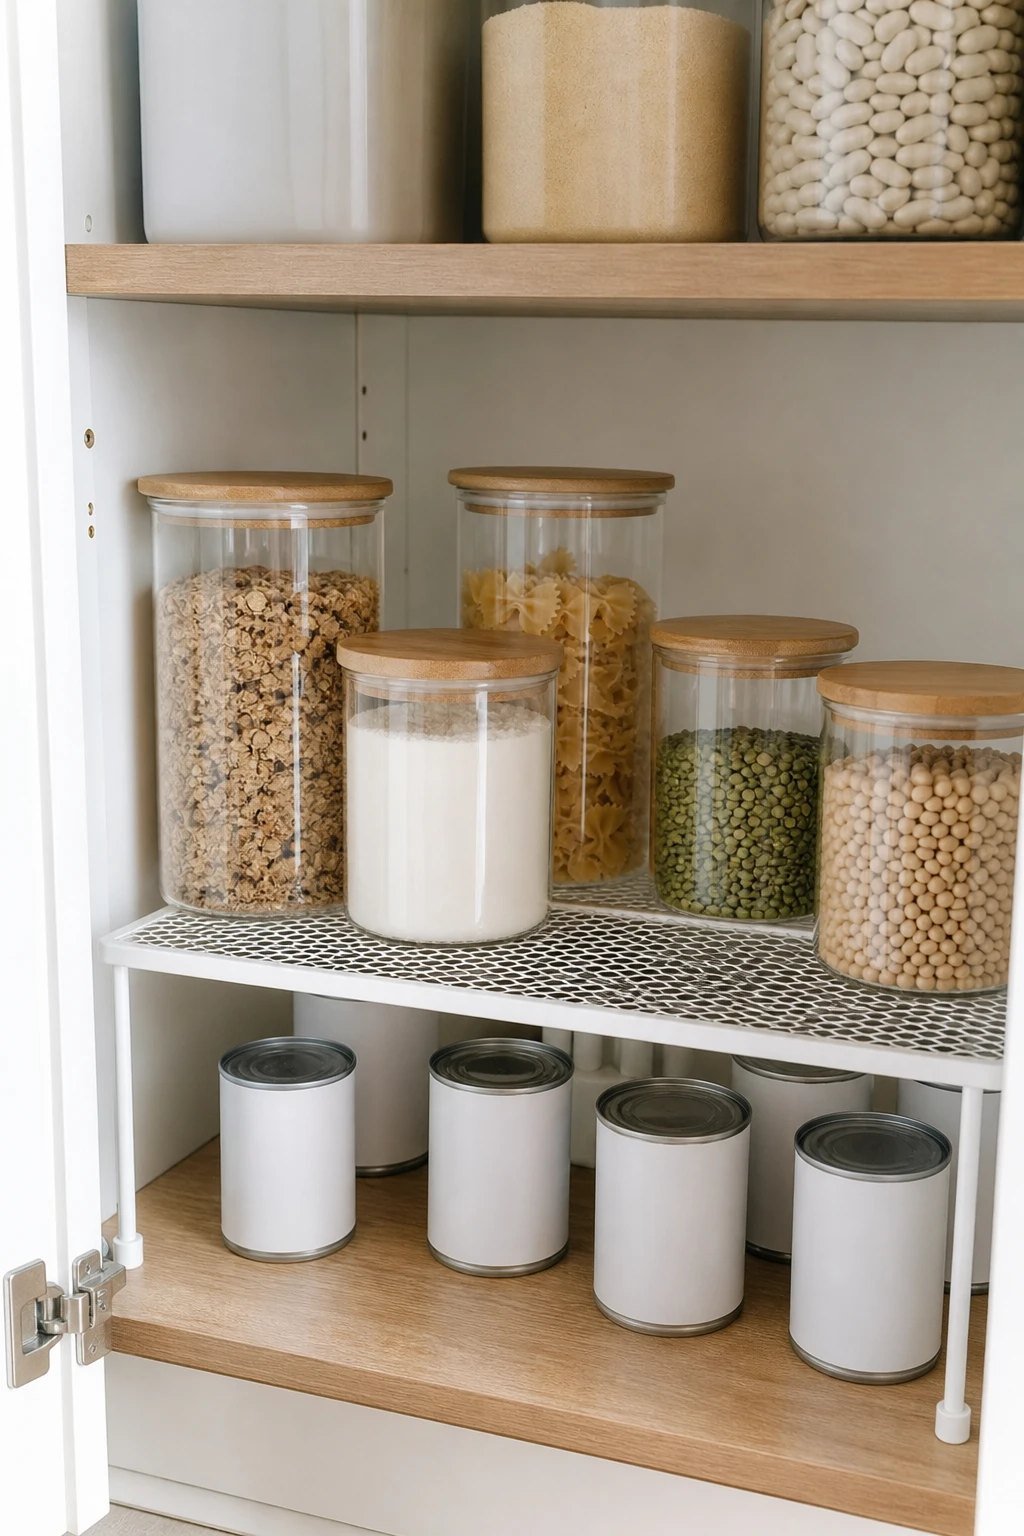 Save
Tall shelves with short items waste space. A shelf riser makes two levels from one, so mugs, jars and cans stack without toppling.
Get the look: expandable shelf risers that stretch to fit the shelf.
Pantry storage containers
7. Decant dry goods into airtight containers
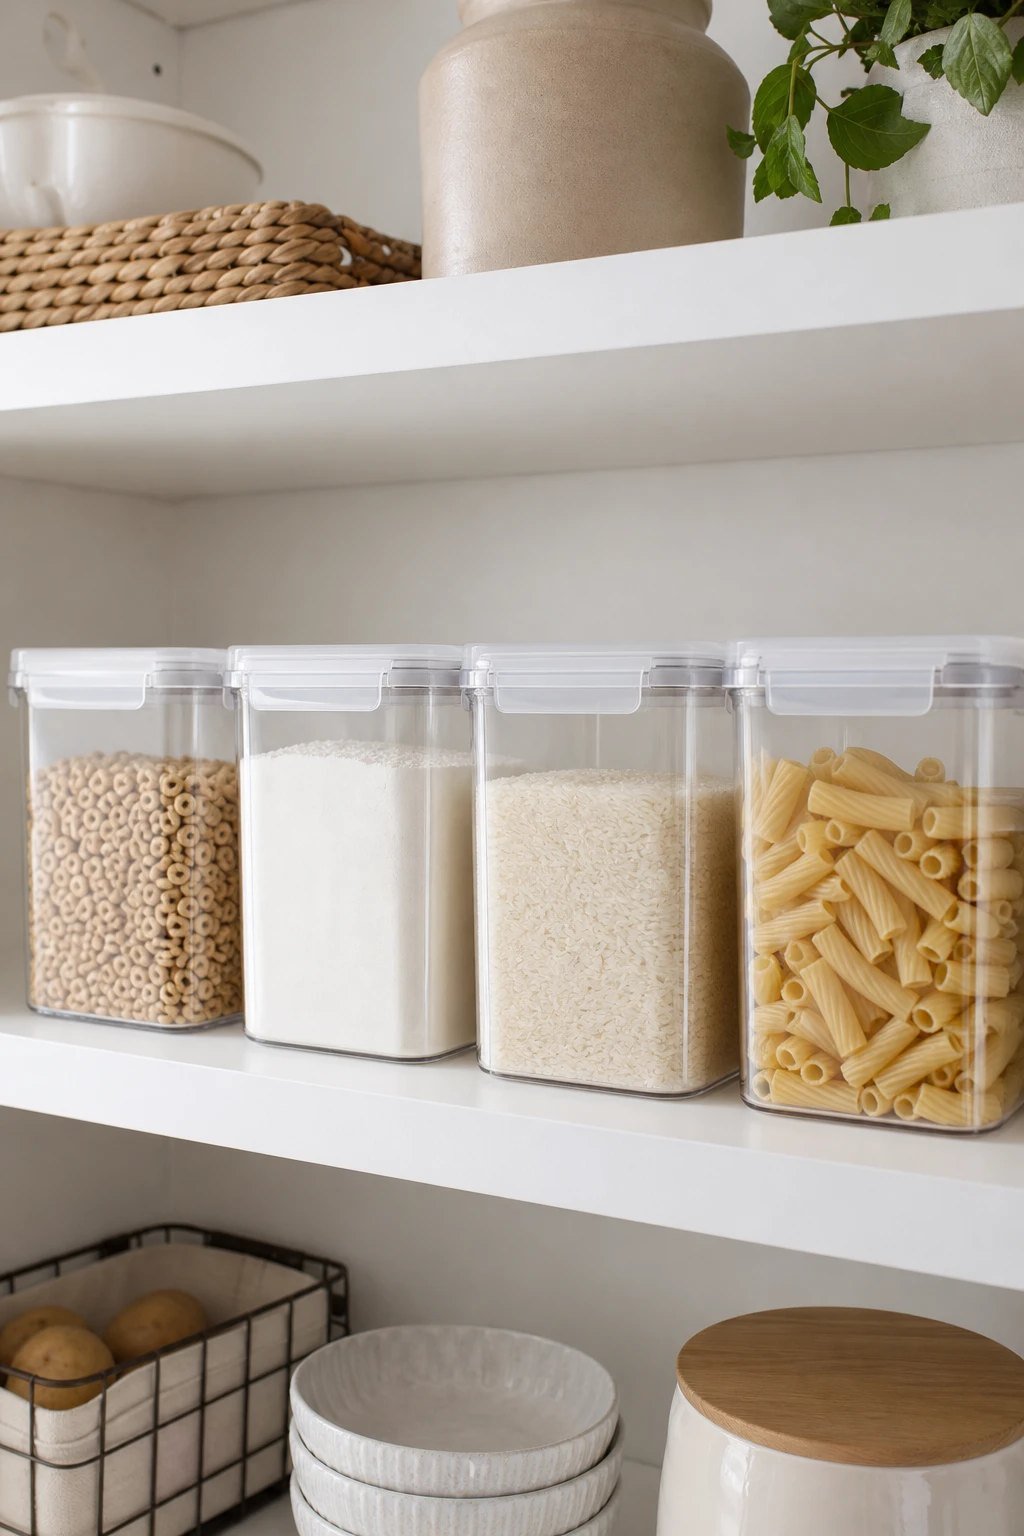 Save
Cereal, flour, sugar, rice and pasta take up less room and stay fresher in airtight containers. Square containers stack better than round ones and use every inch of the shelf.
Get the look: a Rubbermaid Brilliance pantry set in mixed sizes.
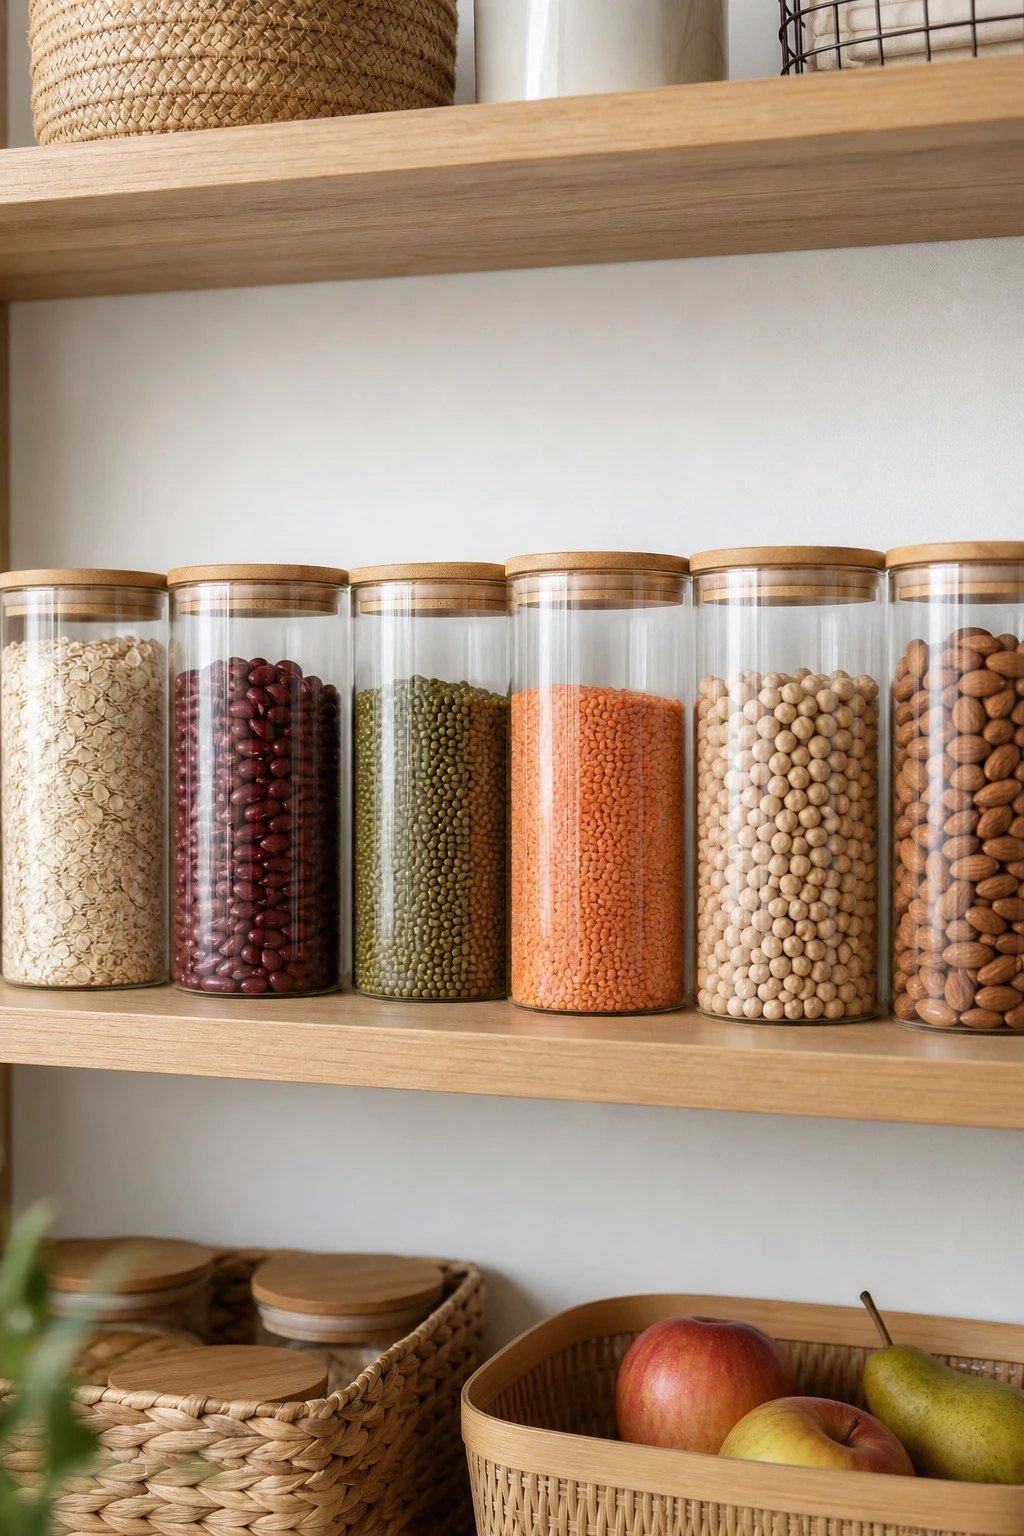
8. Glass jars for grains and snacks
 Save
Glass jars look calm and make it easy to see when you are running low. Use them for oats, beans, nuts and the snacks you like to keep on show.
Get the look: glass jars with airtight lids in one size for a neat line.
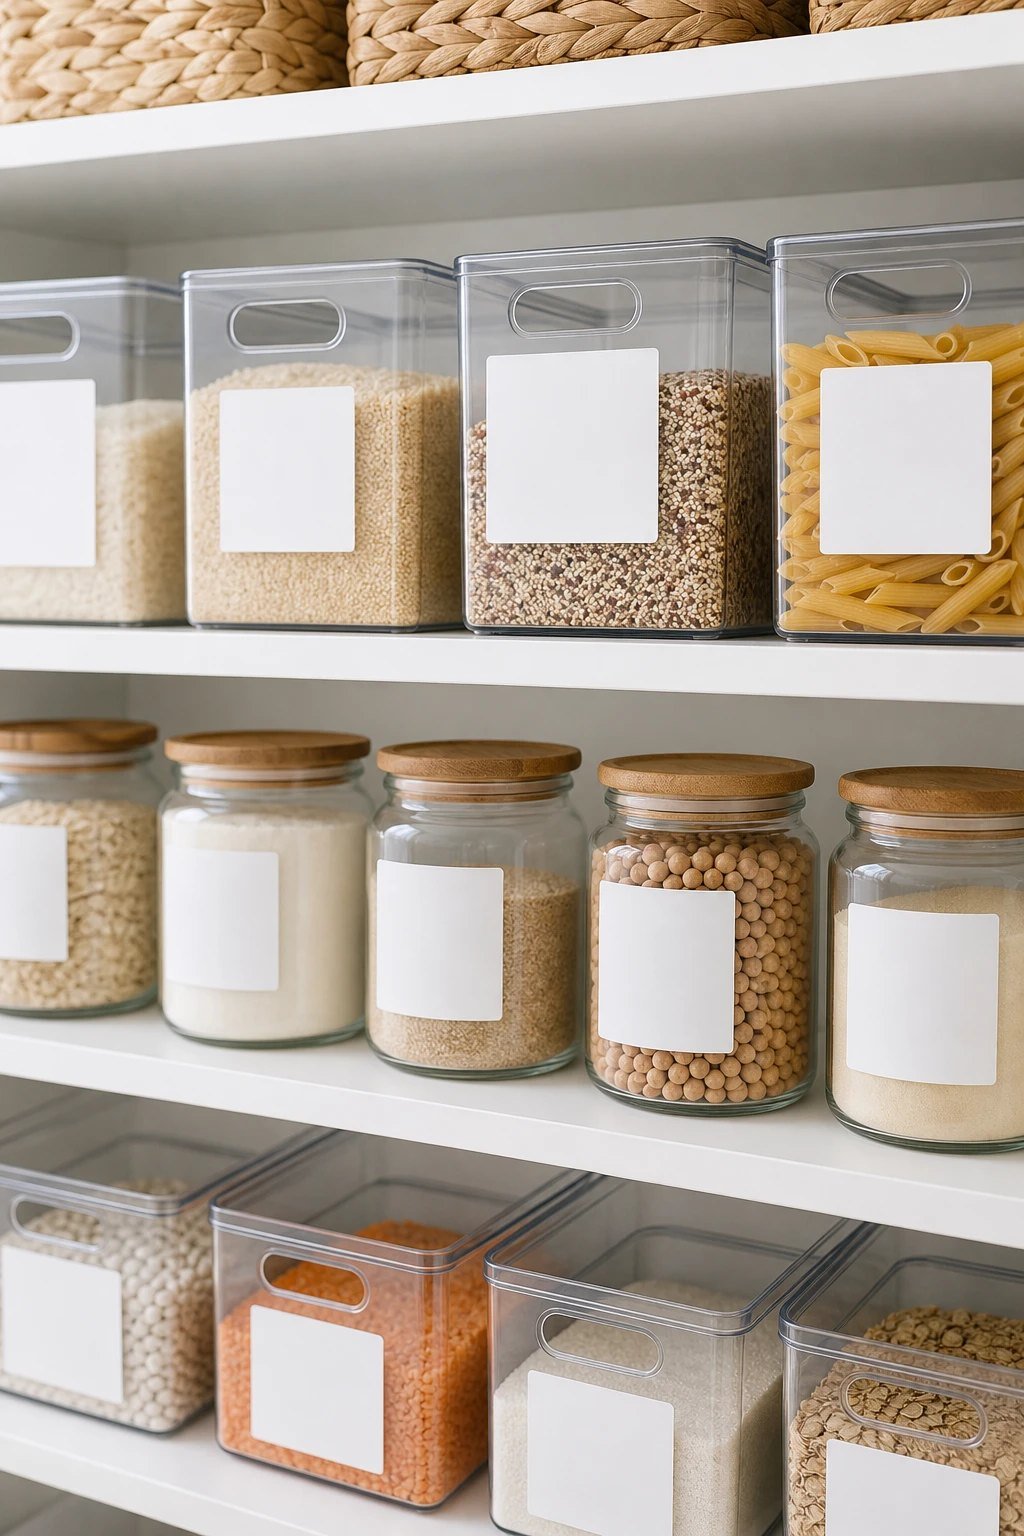
9. Labels that everyone can read
 Save
Labels are the step that keeps a pantry organized after week one. Label the shelf edge and the bins, not only the jars, so everyone in the house puts things back in the same place.
Get the look: a pantry label set or a simple label maker.
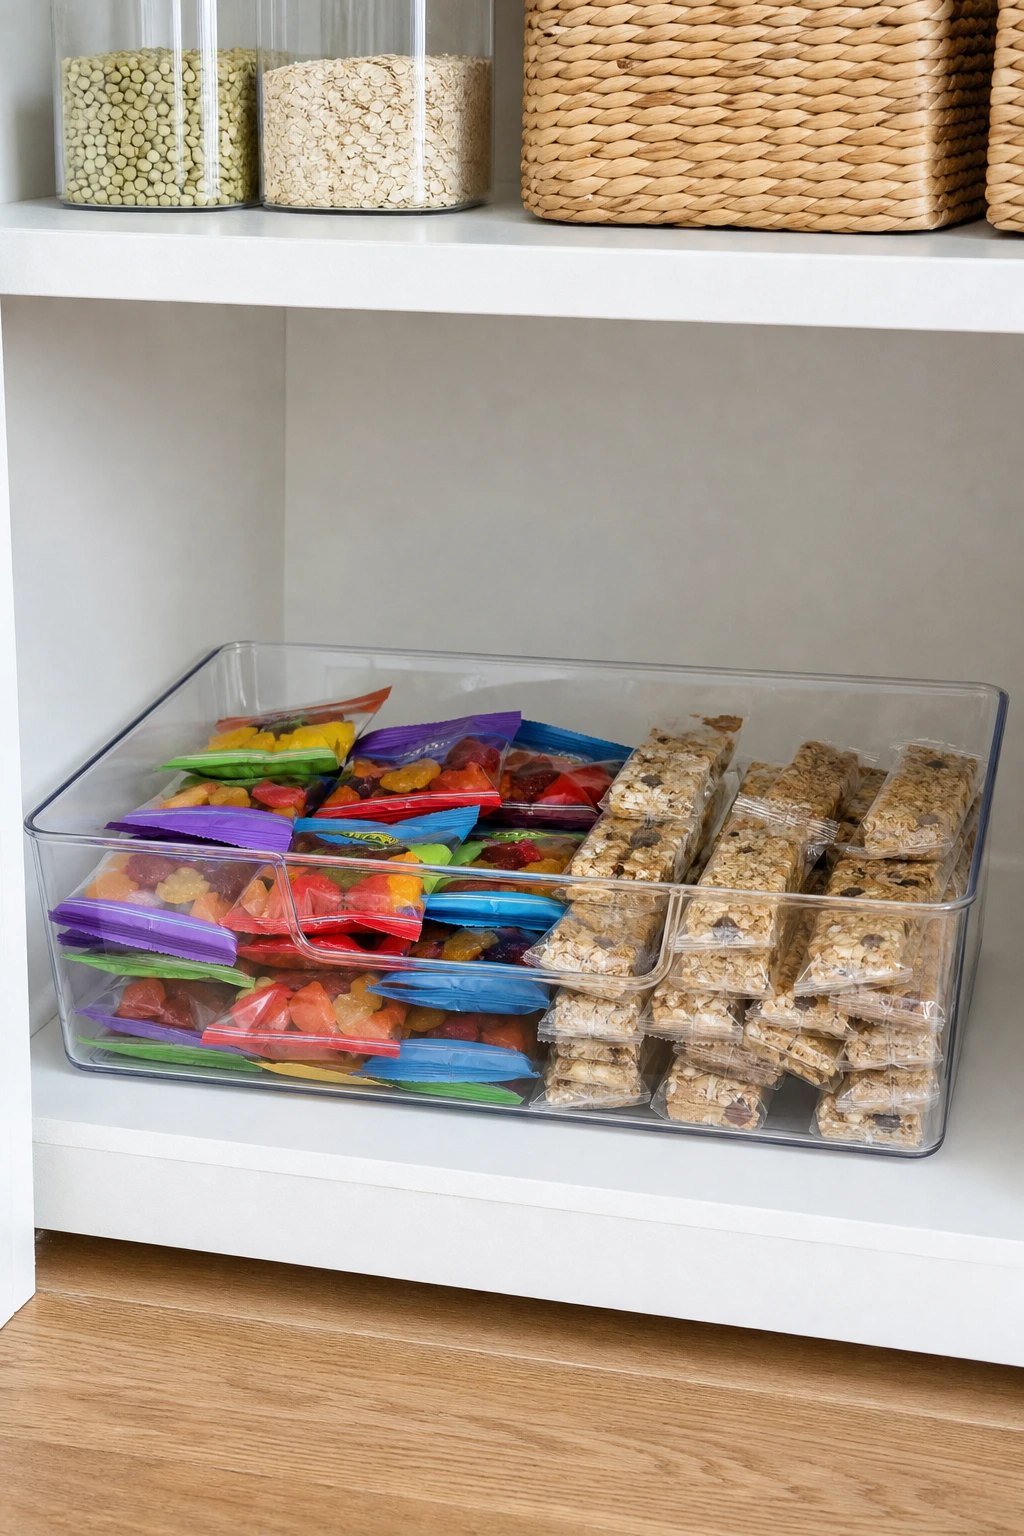
10. A snack bin at child height
 Save
Put lunchbox snacks in one bin on a low shelf so children can grab their own. Keep the treats you want to ration up high.
Get the look: one wide clear bin on the lowest shelf.
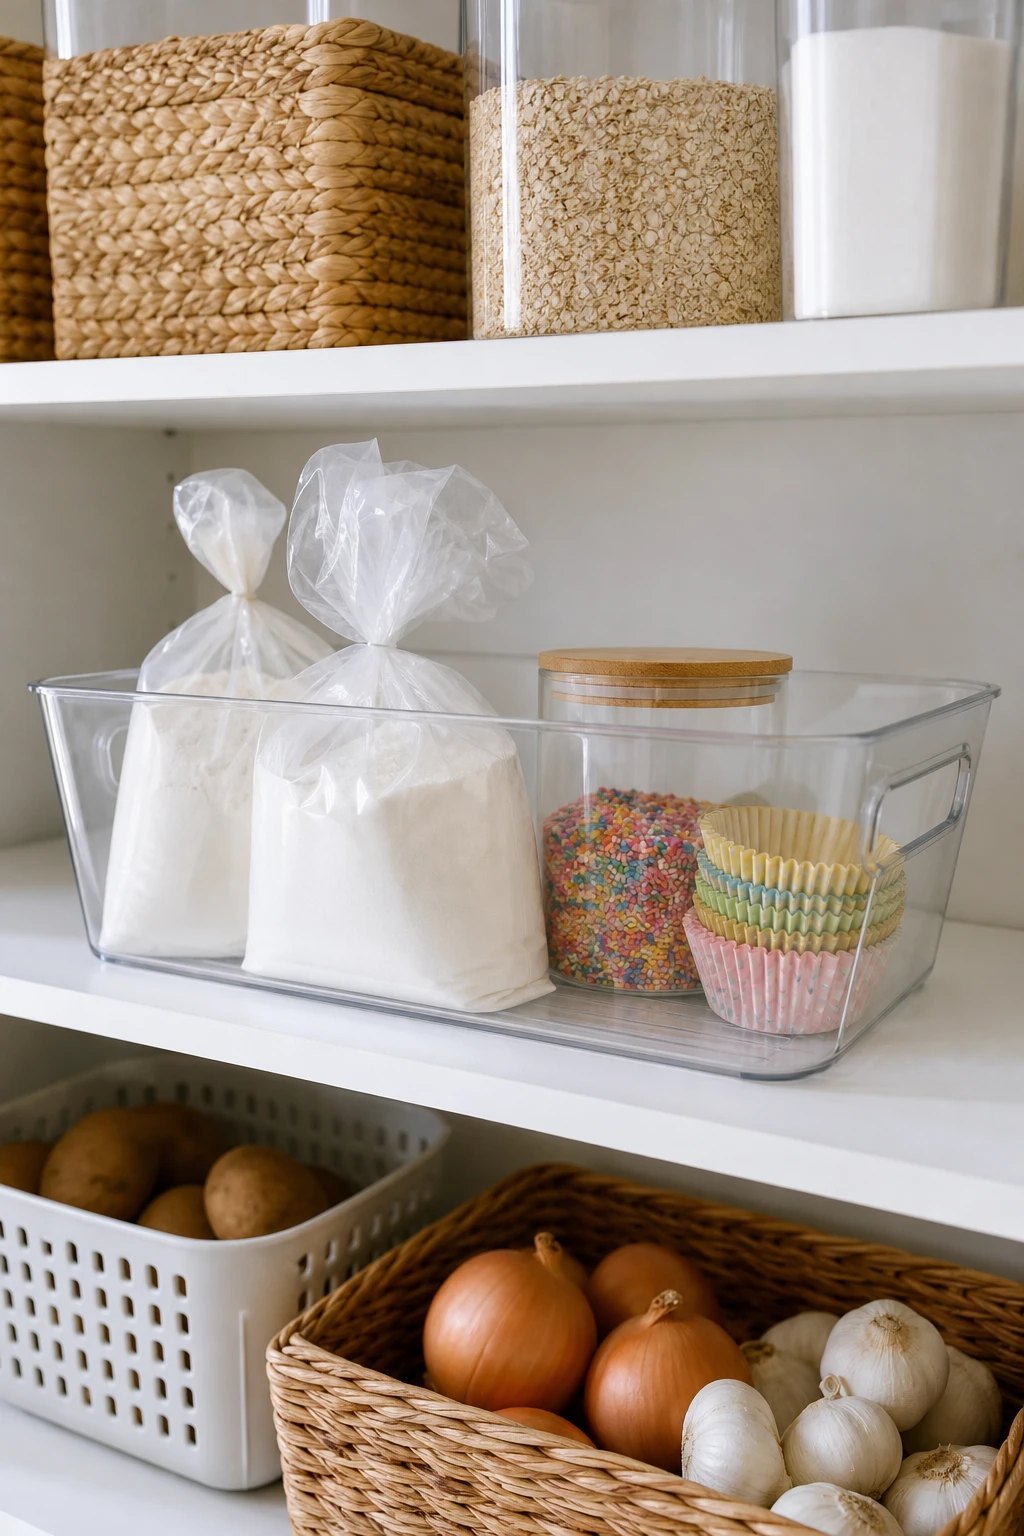
11. A baking bin you can lift out
 Save
Group flour, sugar, sprinkles, baking soda and cupcake liners in one bin. When it is baking day, the whole kit comes out to the counter.
Get the look: a large clear bin with handles.
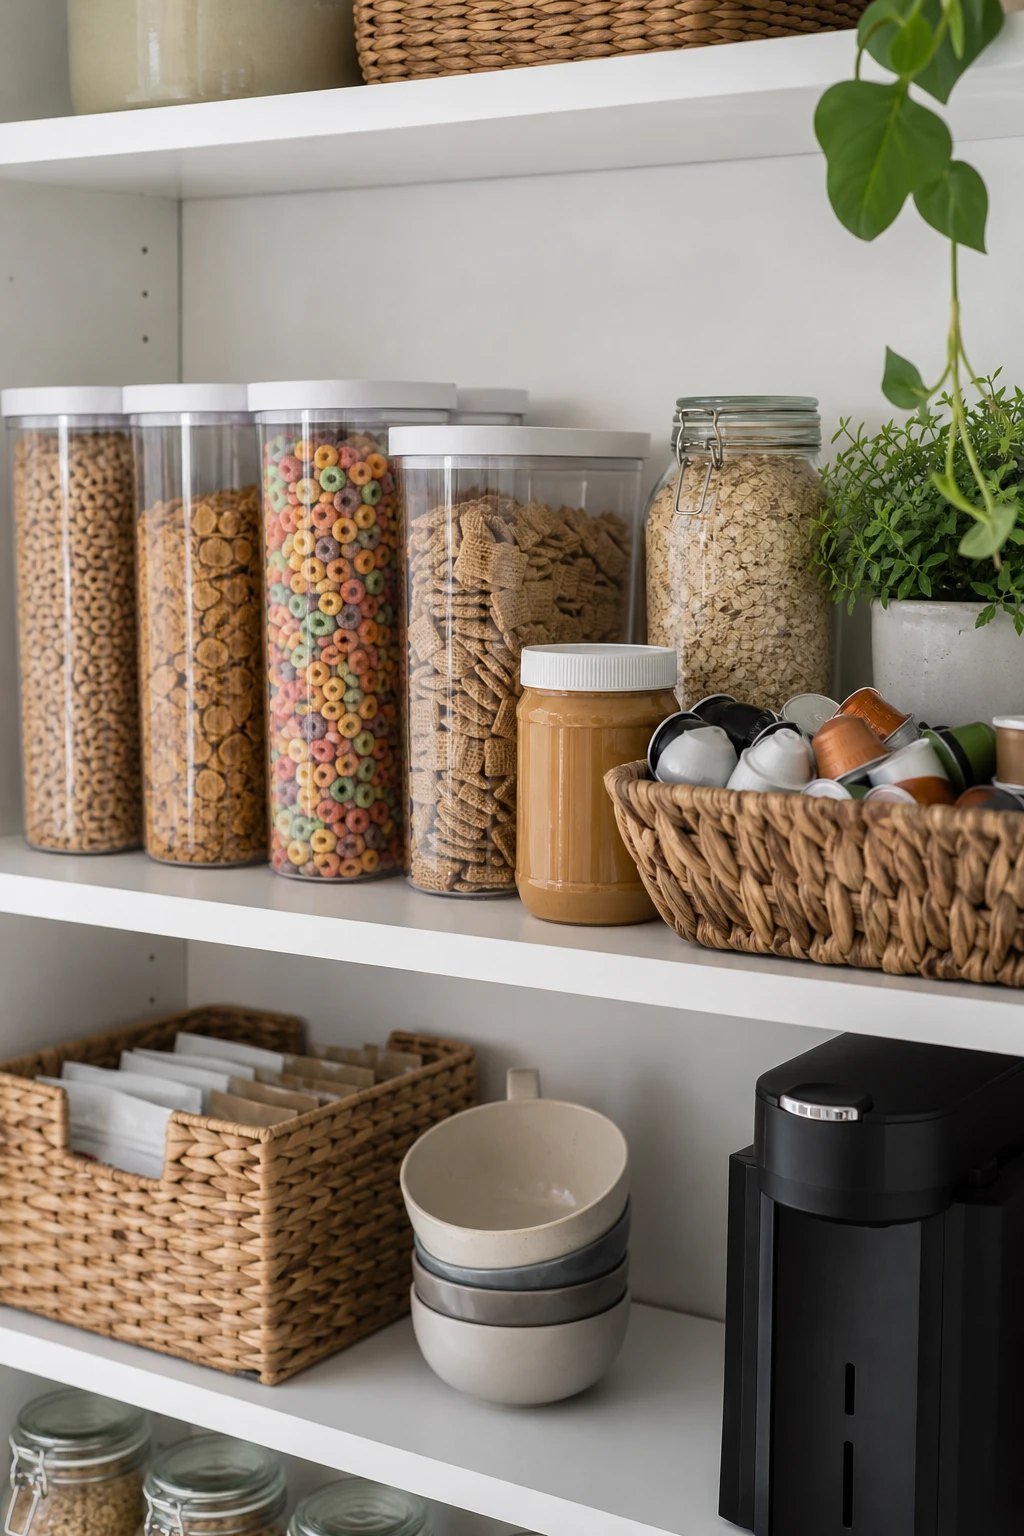
12. A breakfast zone
 Save
Cereal, oats, peanut butter and coffee on one shelf at eye level makes busy mornings faster. Put the bowls or mugs nearby if you have room.
Get the look: matching cereal containers and a small basket for coffee pods.
Working on the rest of the kitchen too? See our small kitchen cabinet organization ideas for the cupboards around the pantry.
Pantry shelf and cabinet ideas
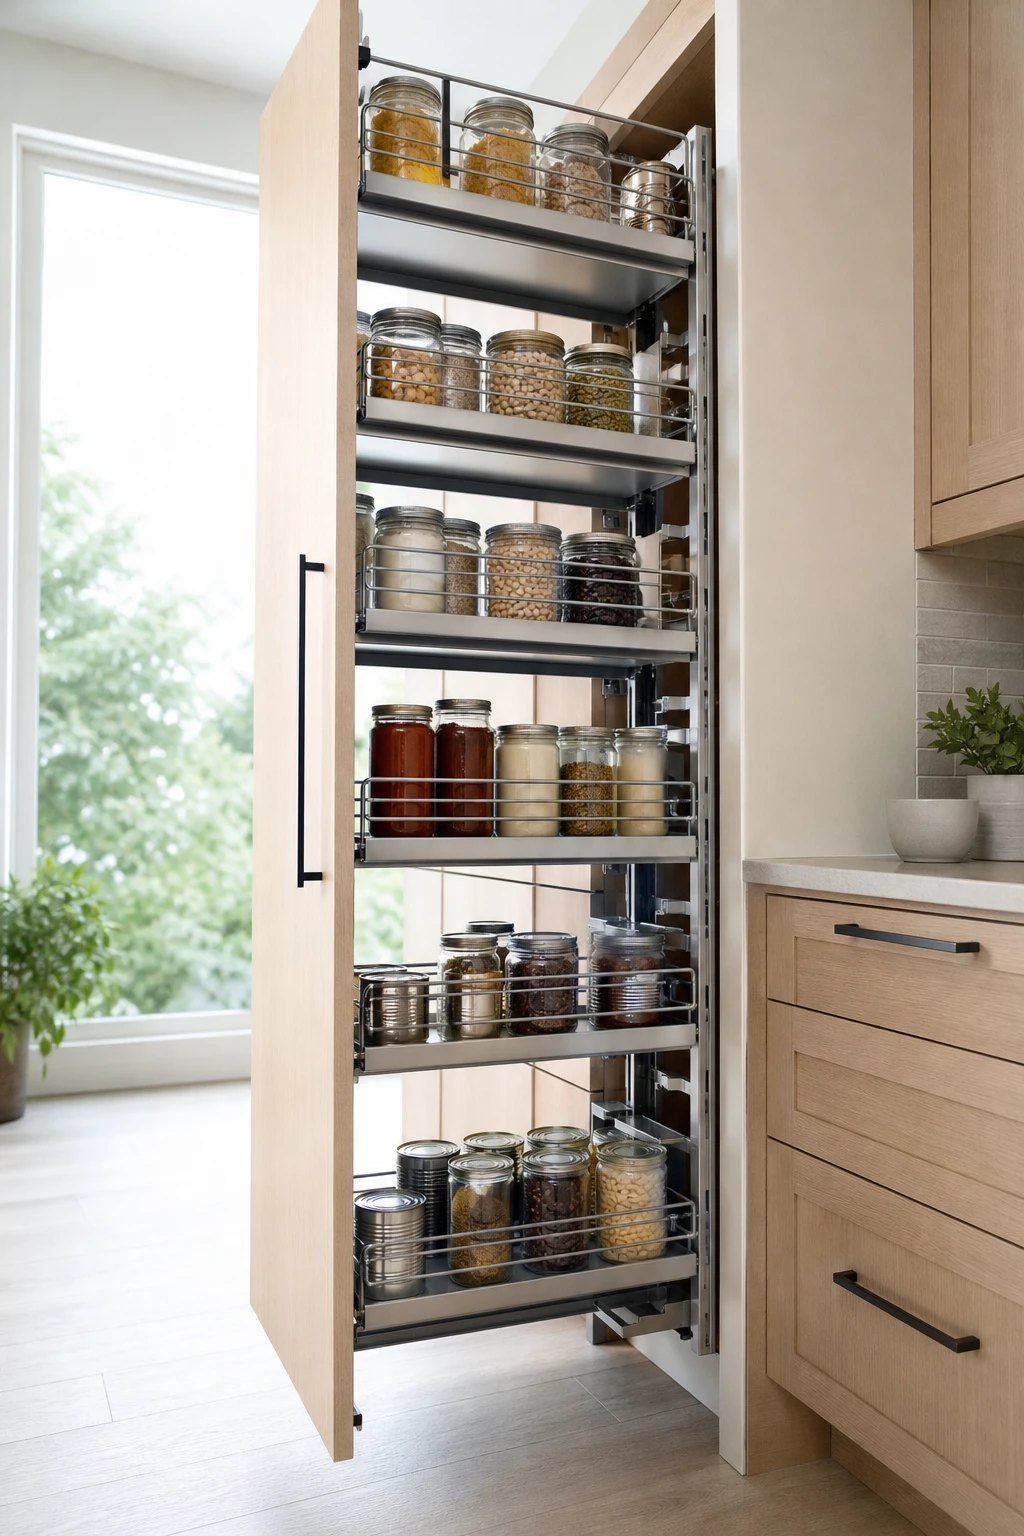
13. Pull-out drawers in a cabinet pantry
 Save
If your pantry is a deep kitchen cabinet, pull-out drawers or bins act like drawers you can slide forward. Nothing gets lost at the back.
Get the look: sliding wire drawers sized to your cabinet.
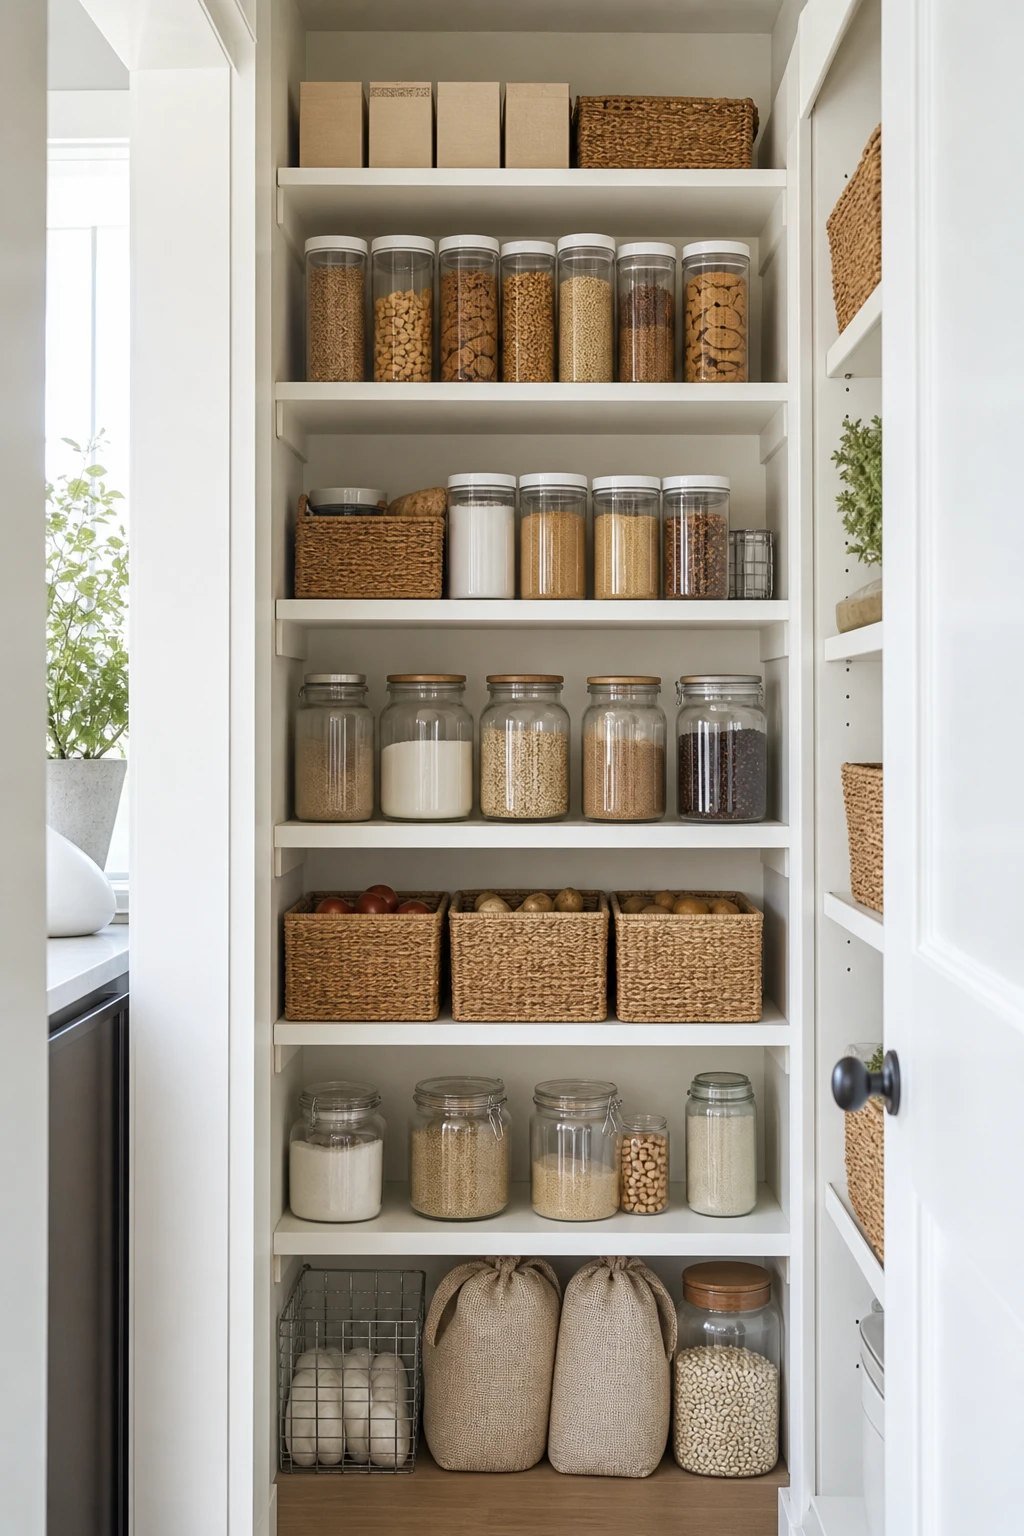
14. Heavy items low, light items high
 Save
Keep big bottles, bags of rice and drinks on the lowest shelves, and light things like crackers and chips up high. It is safer and easier to reach.
Get the look: sturdy bins for heavy items on the floor level.
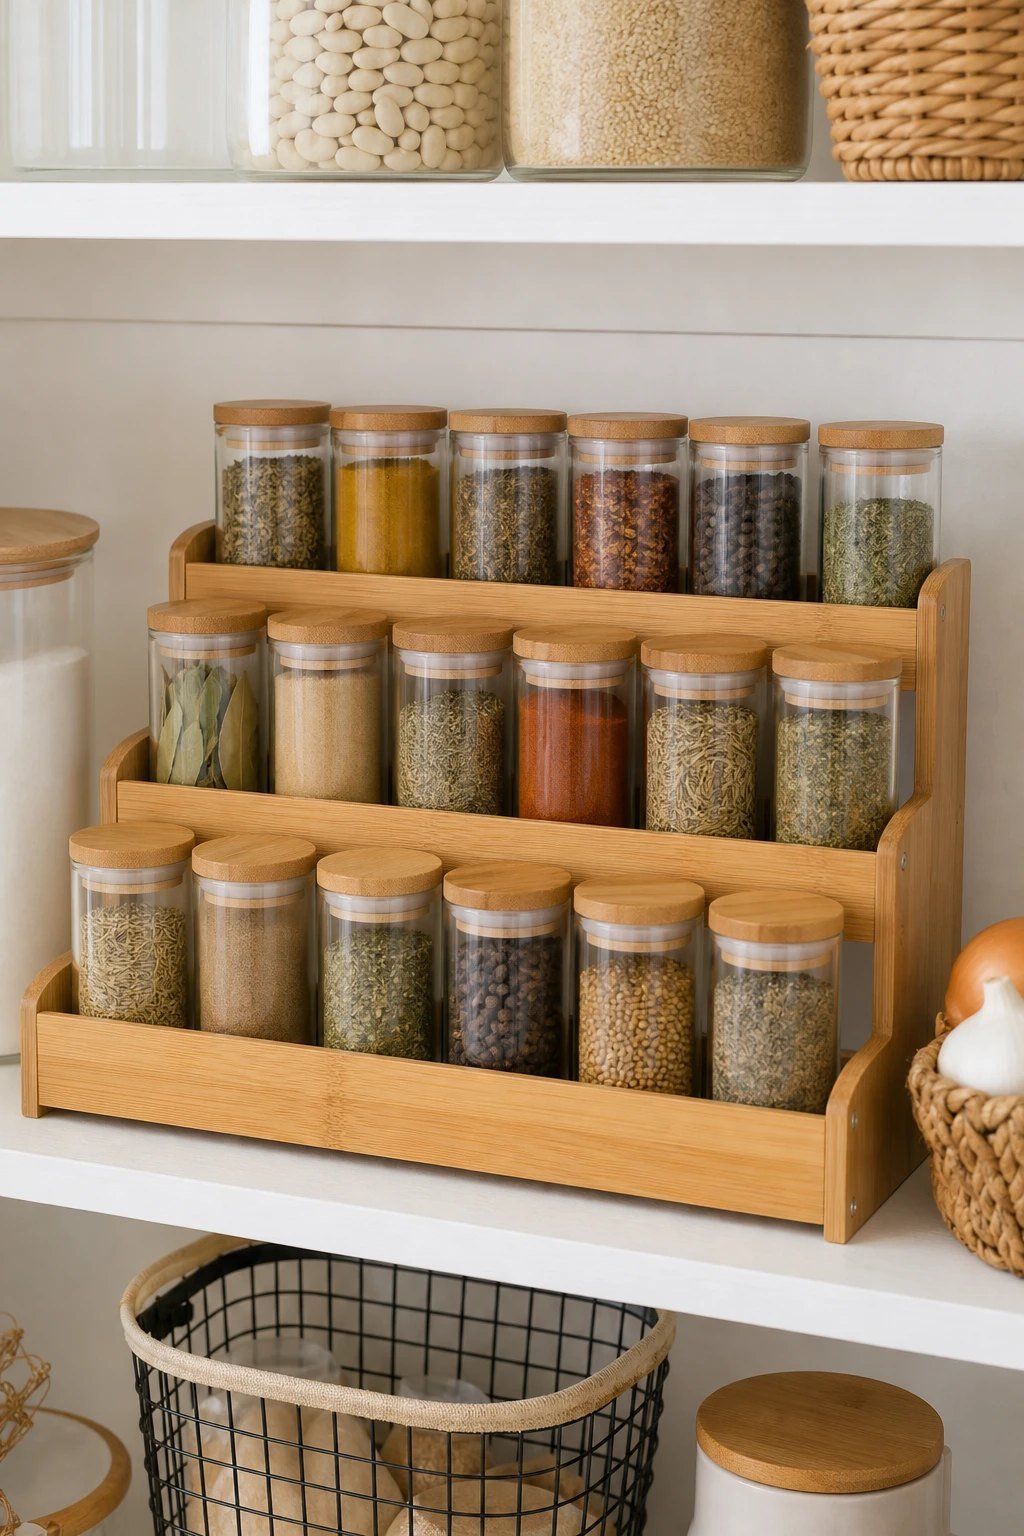
15. A tiered spice rack
 Save
Spices lined up on a stepped rack are easy to scan, so you stop buying a third jar of paprika. It works on a shelf or inside a cabinet.
Get the look: a 3 tier bamboo spice rack.
16. Wire baskets for produce
 Save
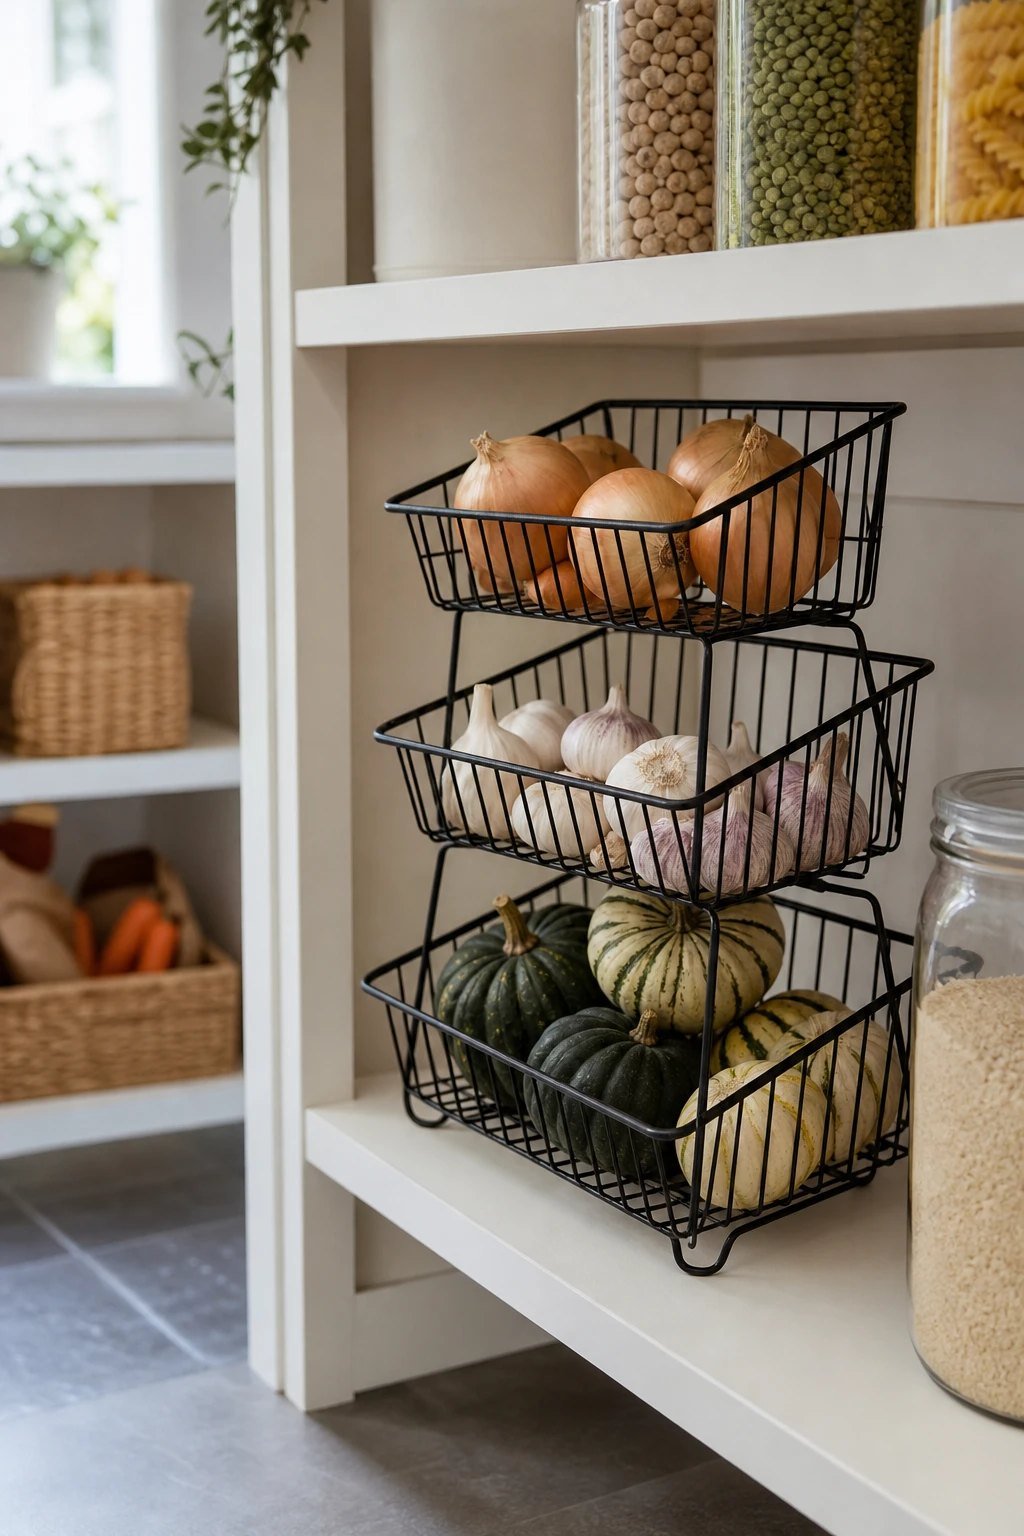
Onions, garlic and squash keep better with air around them. Stackable wire baskets on a lower shelf look tidy and let you see what needs using up.
Get the look: stackable wire baskets.
17. A packet bin for small things
 Save
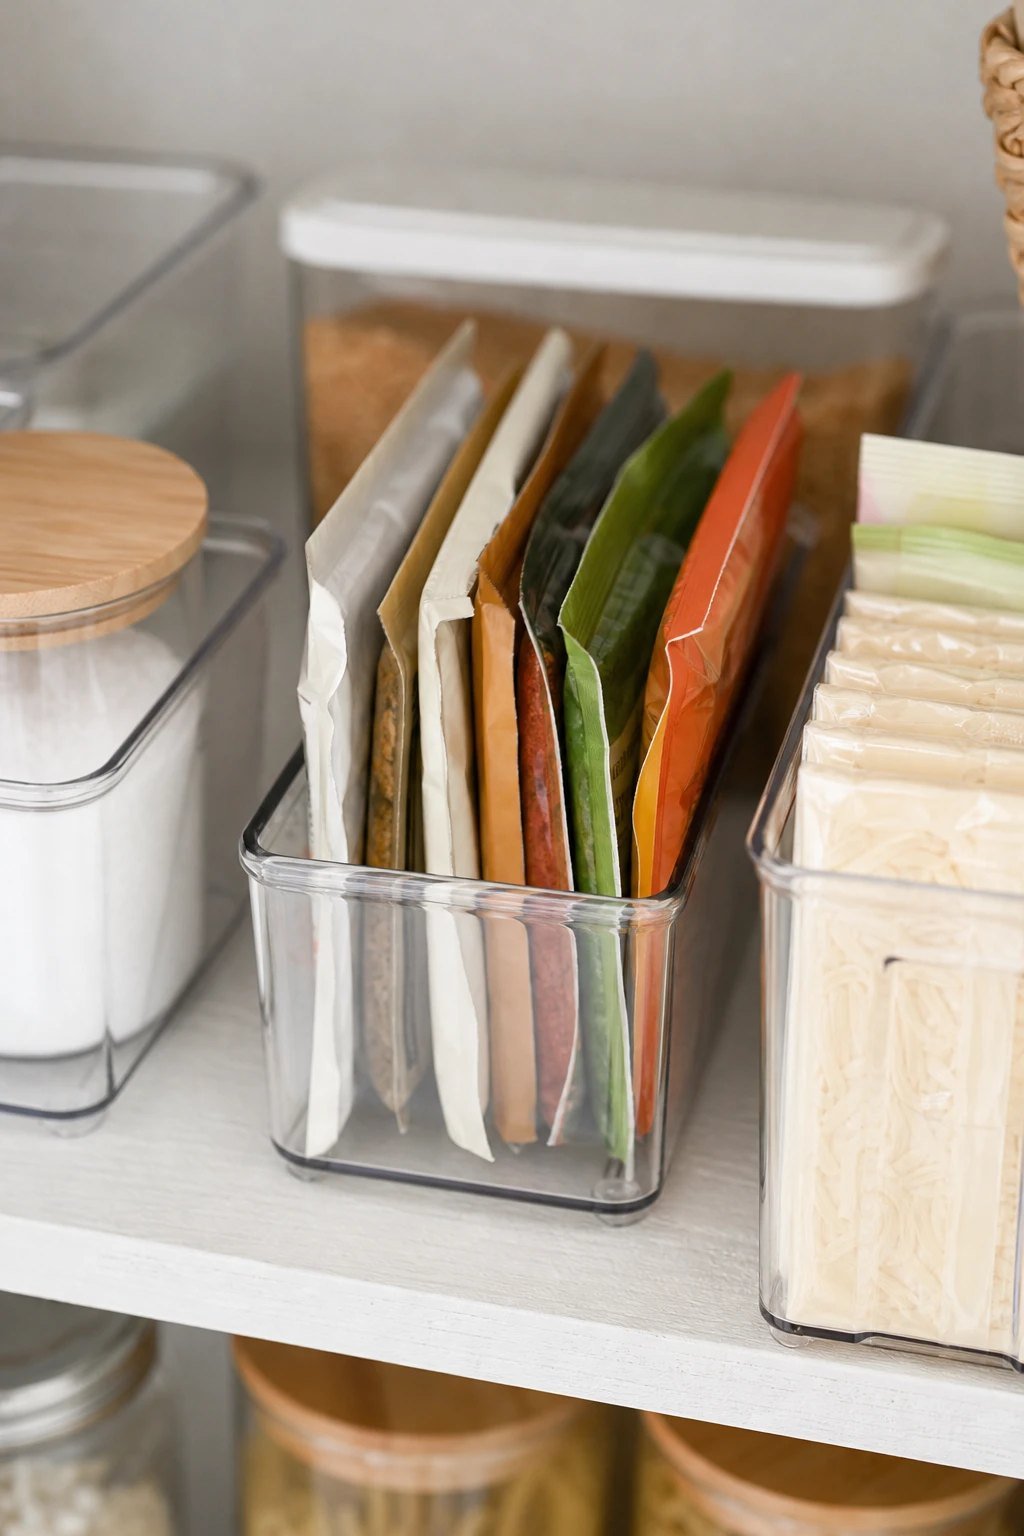
Seasoning packets, gravy mix and drink sachets get lost on a shelf. Stand them upright in a narrow bin, like files, so you can flick through them.
Get the look: a narrow clear bin with packets standing up.
18. Line deep shelves with a back row
 Save
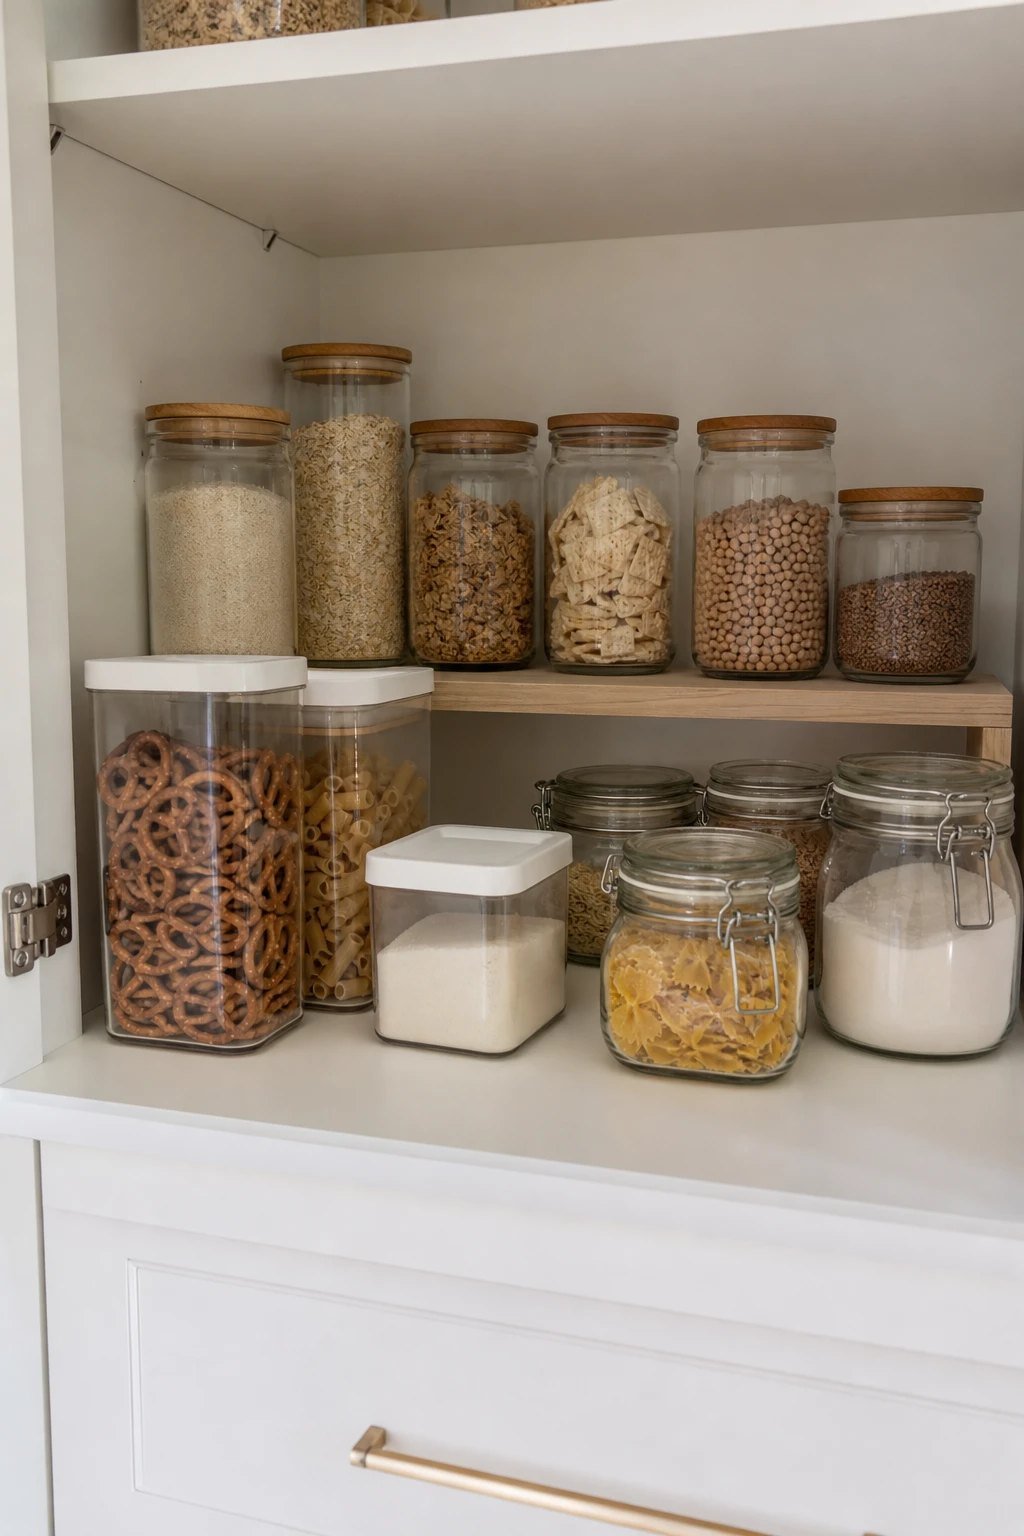
On deep shelves, use the back for backstock and the front for what is open. A small riser at the back keeps the second row visible.
Get the look: a low riser along the back edge.
Pantry wall and door ideas
19. A pegboard wall
 Save
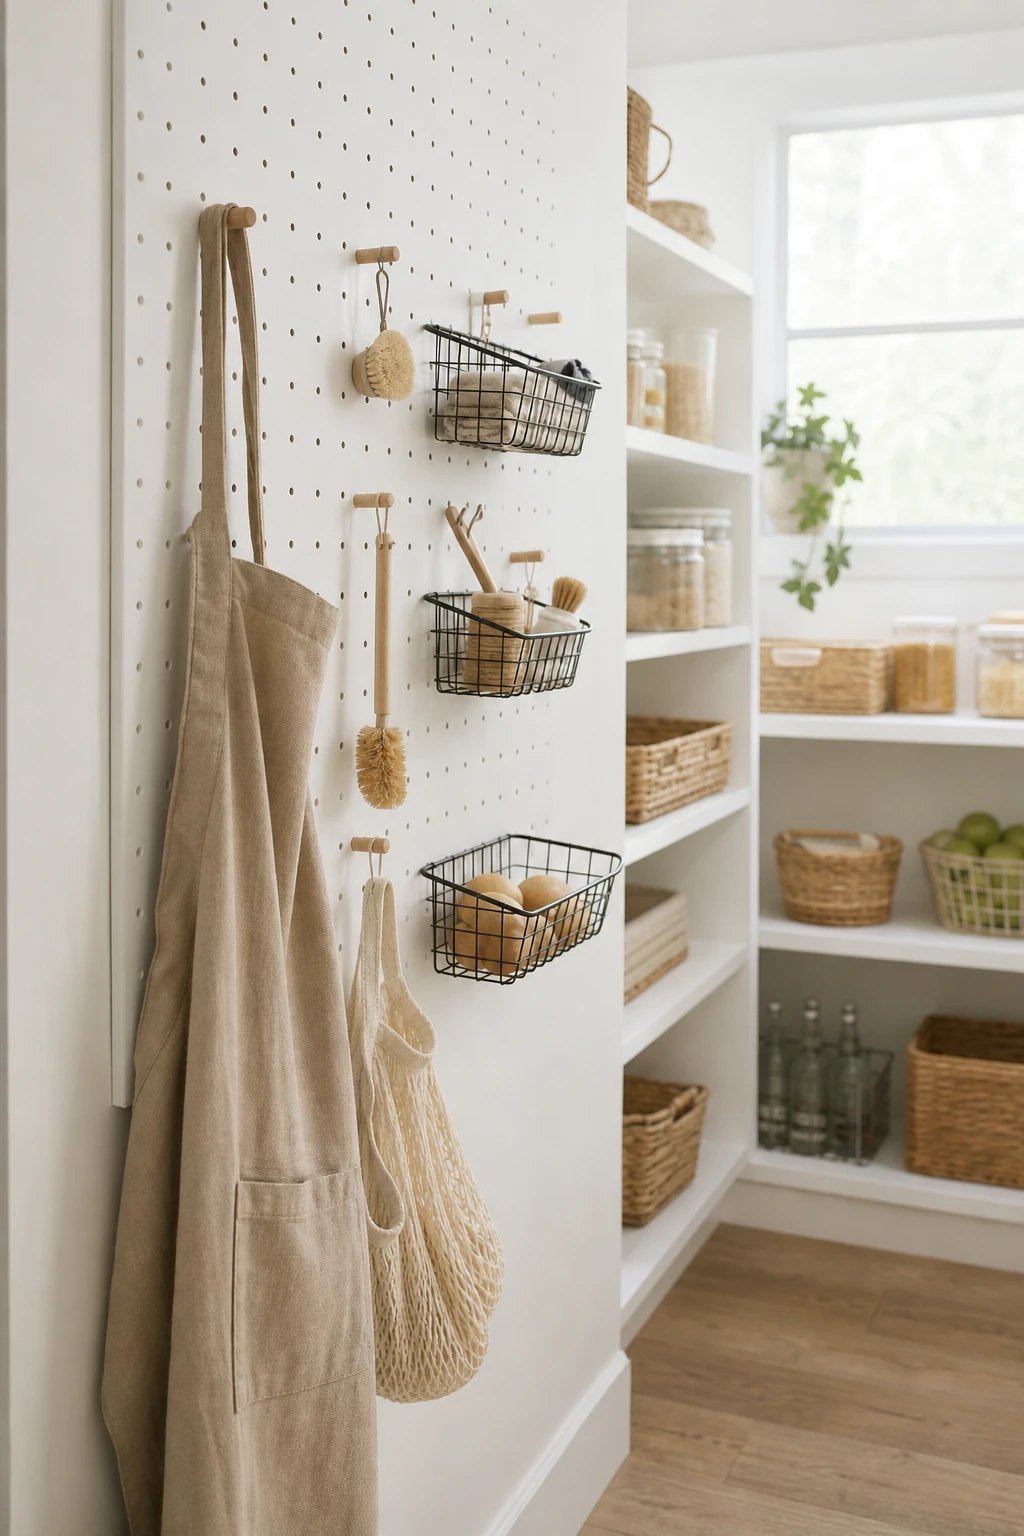
A side wall can hold a pegboard for aprons, reusable bags, measuring cups and small baskets. It keeps the shelves for food.
Get the look: a painted pegboard with hooks and small baskets.
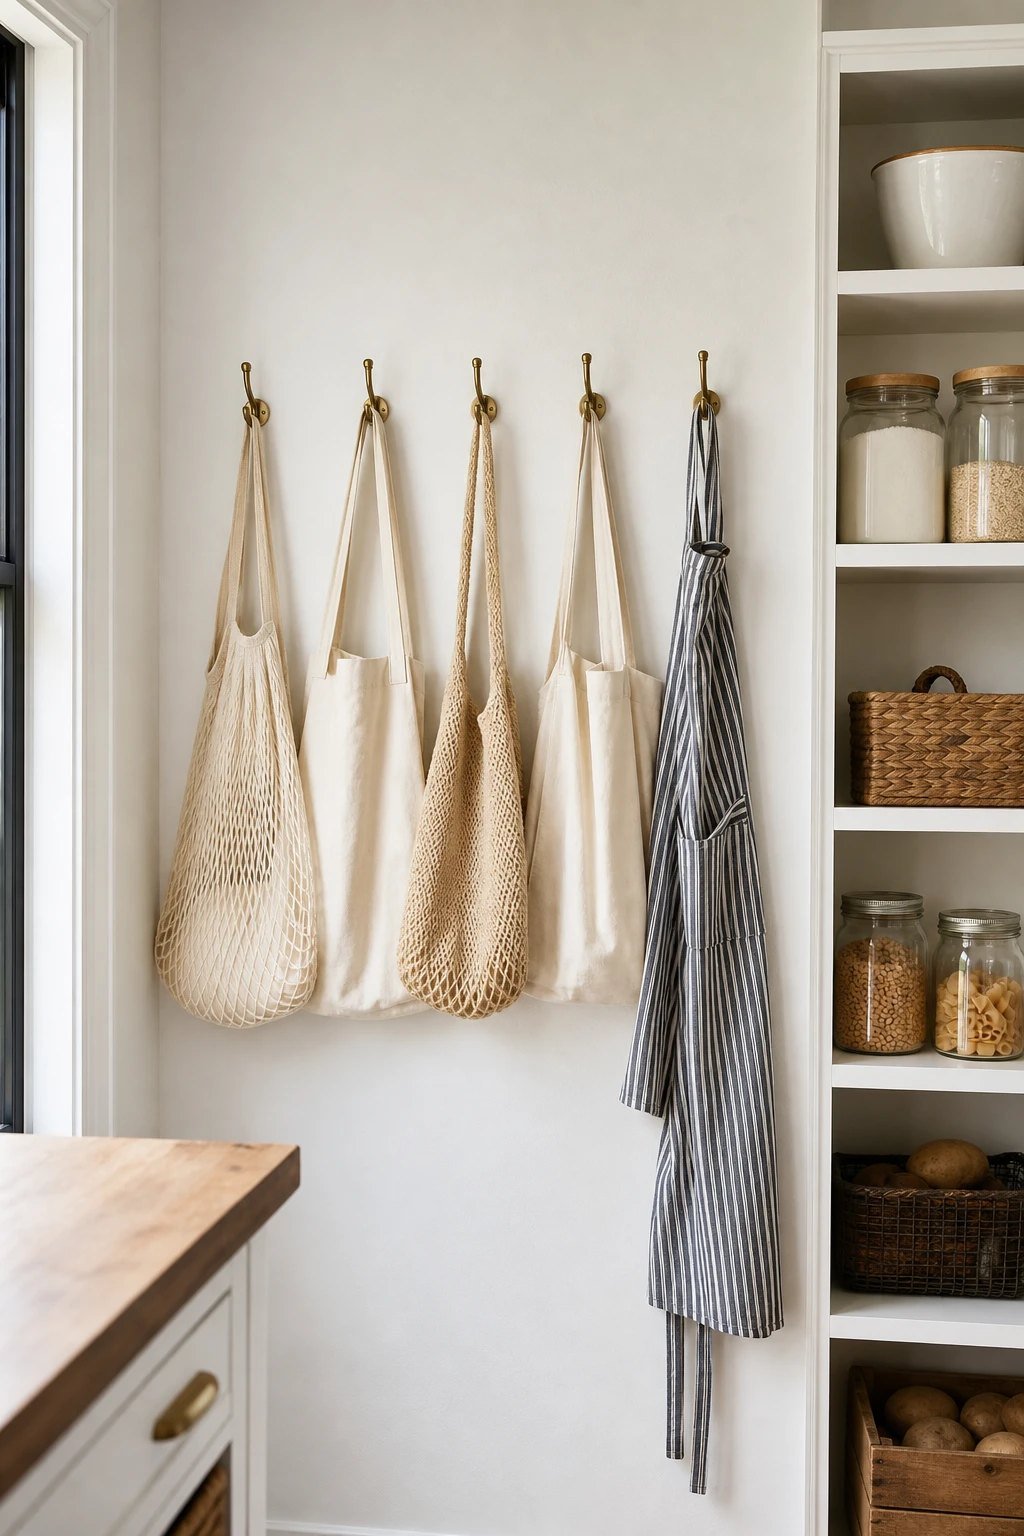
20. Hooks for bags and aprons
 Save
A few hooks on the wall or door are the cheapest upgrade in the whole pantry. Hang shopping bags, aprons and the step stool.
Get the look: simple adhesive or screw-in hooks.
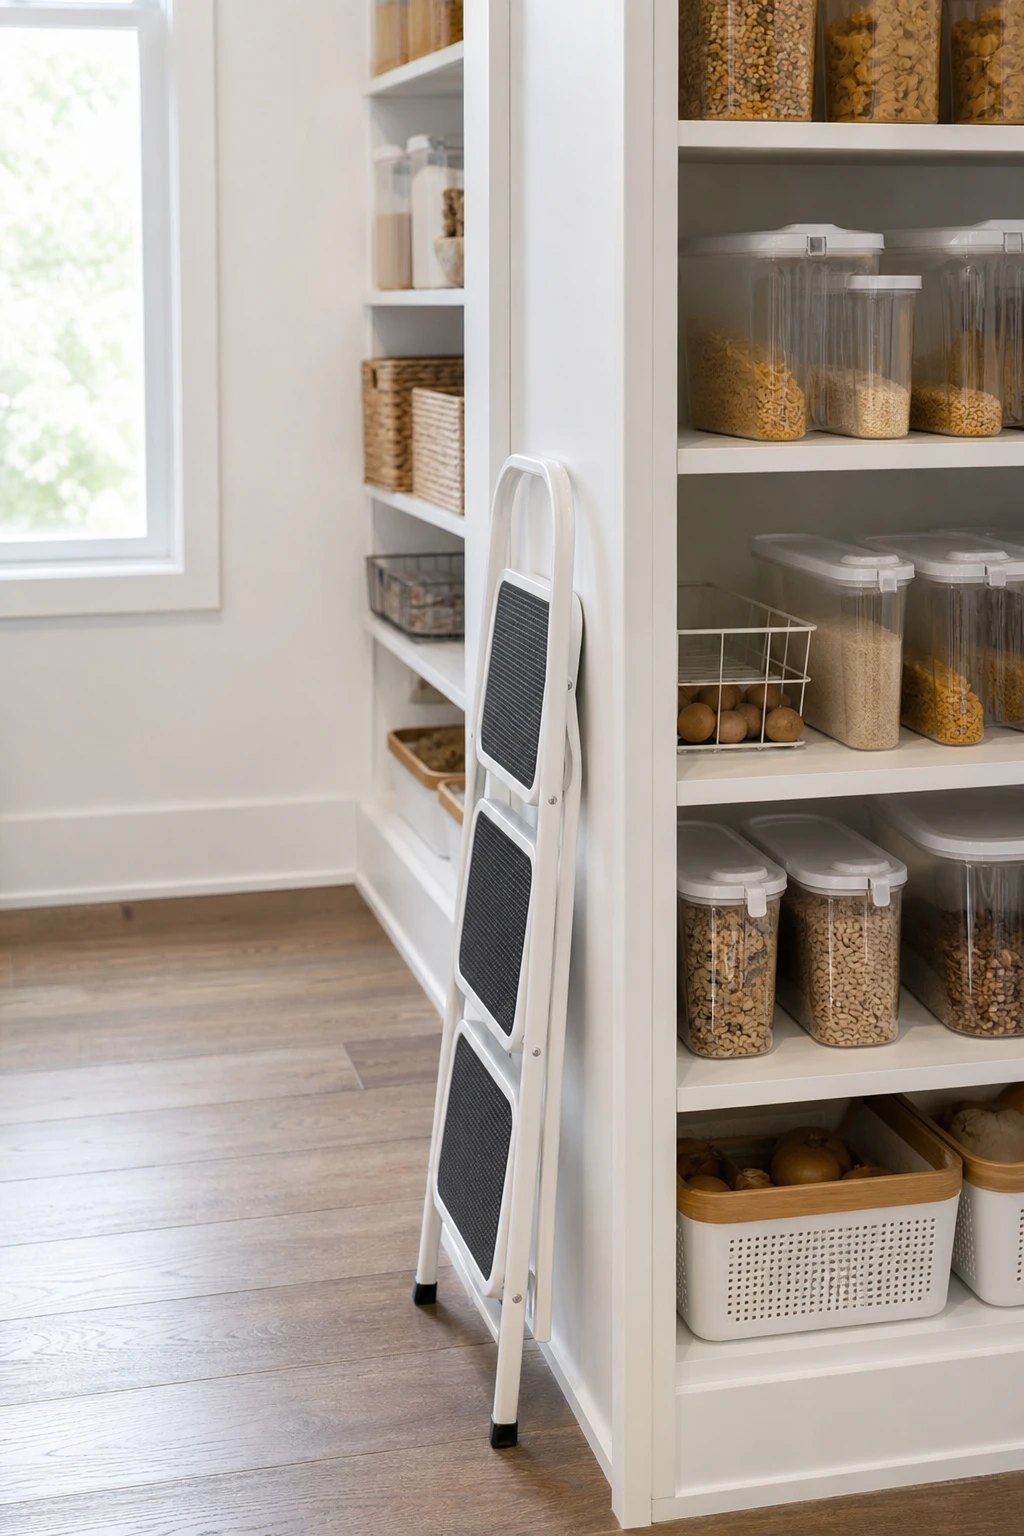
21. A step stool that lives in the pantry
 Save
If the top shelf is hard to reach, it ends up as a junk shelf. A slim folding step stool tucked in the pantry makes the whole space usable.
Get the look: a slim folding step stool that slides beside the shelves.
Pantry systems that keep it tidy
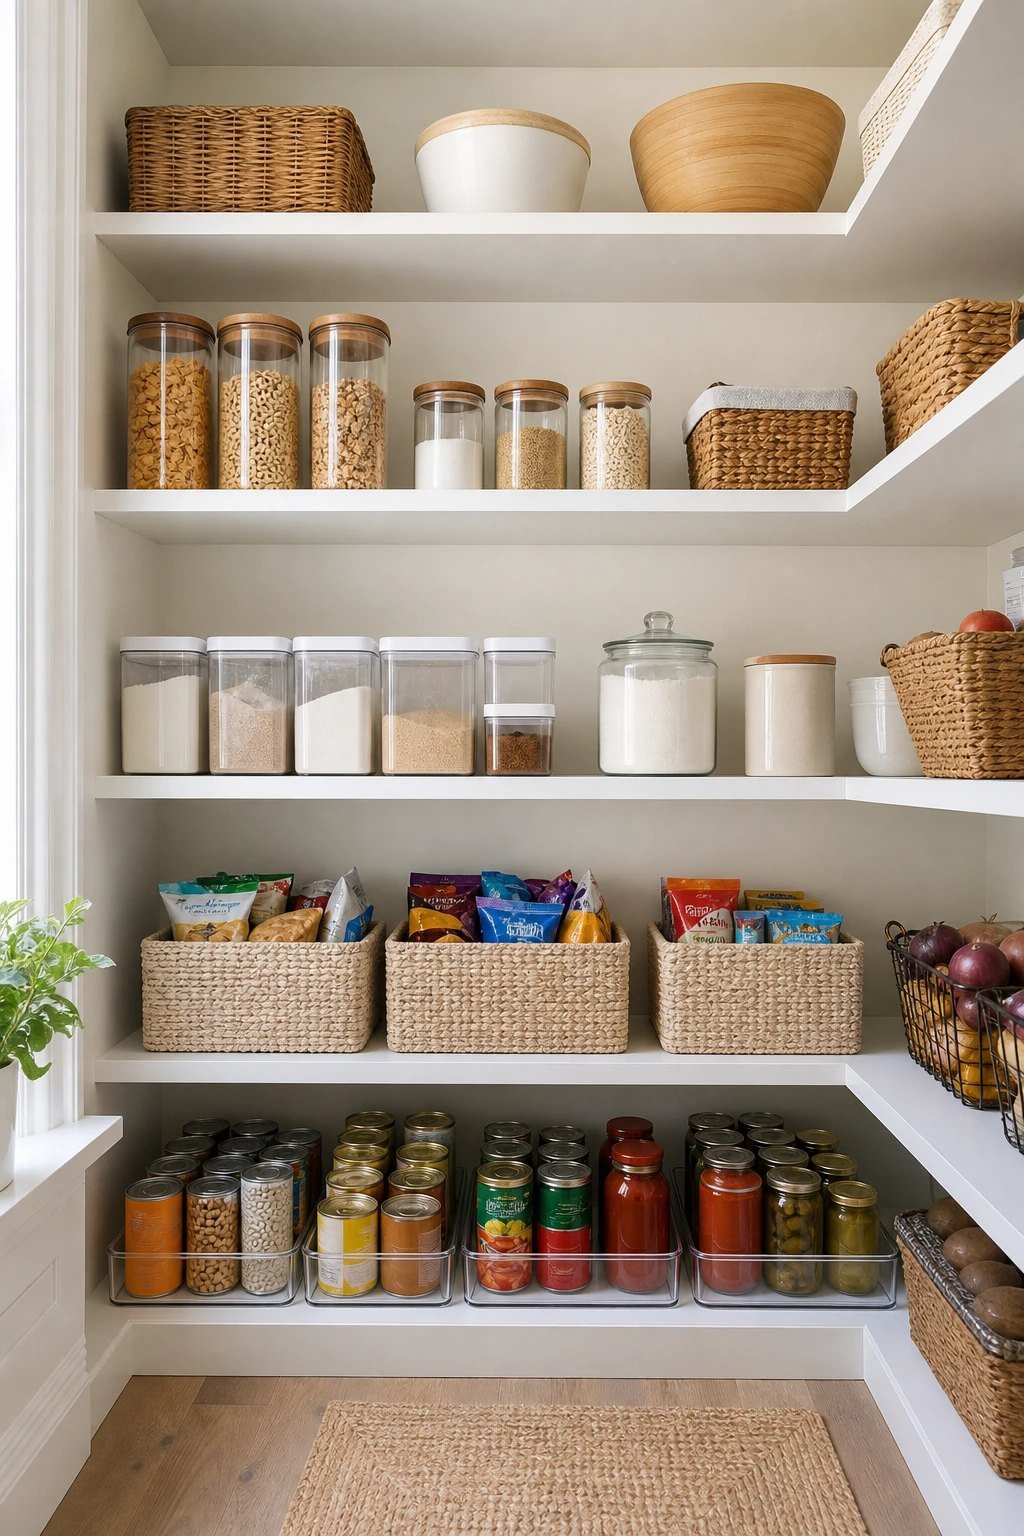
22. Map your zones
 Save
Decide what lives where: breakfast at eye level, snacks low, baking together, backstock on top. Once the zones are set, putting shopping away takes minutes.
Get the look: one zone per shelf, labeled on the shelf edge.
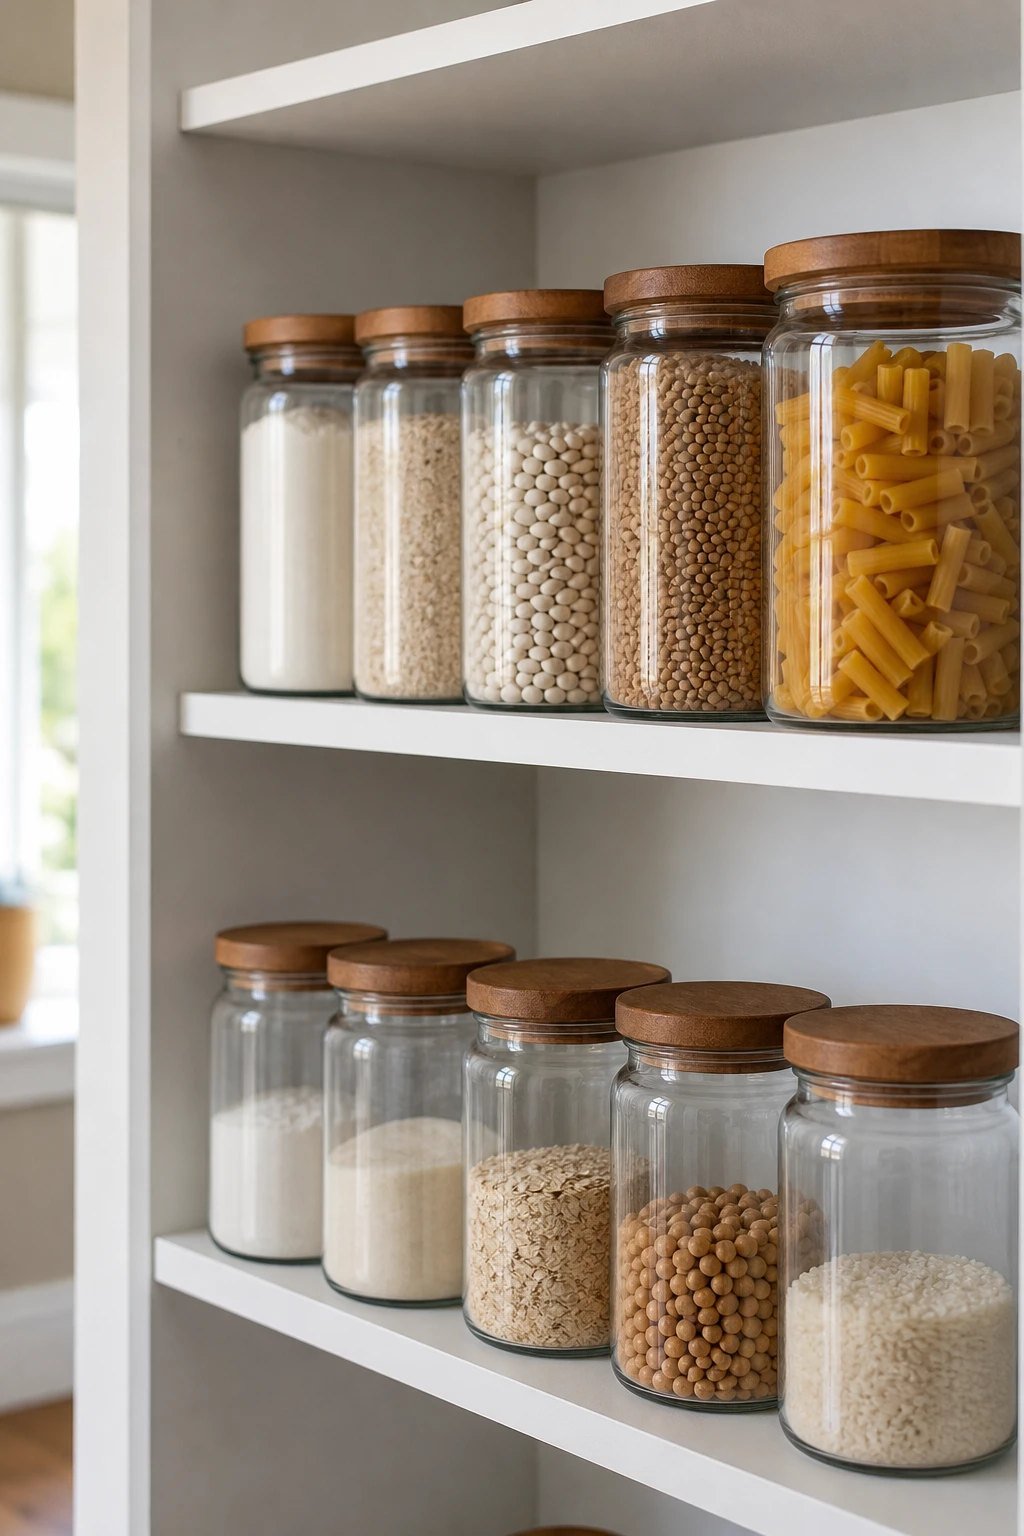
23. First in, first out
 Save
When you unpack shopping, put new items behind the old ones. You use food before it expires and waste less.
Get the look: a can rack or turntable makes rotating easy.
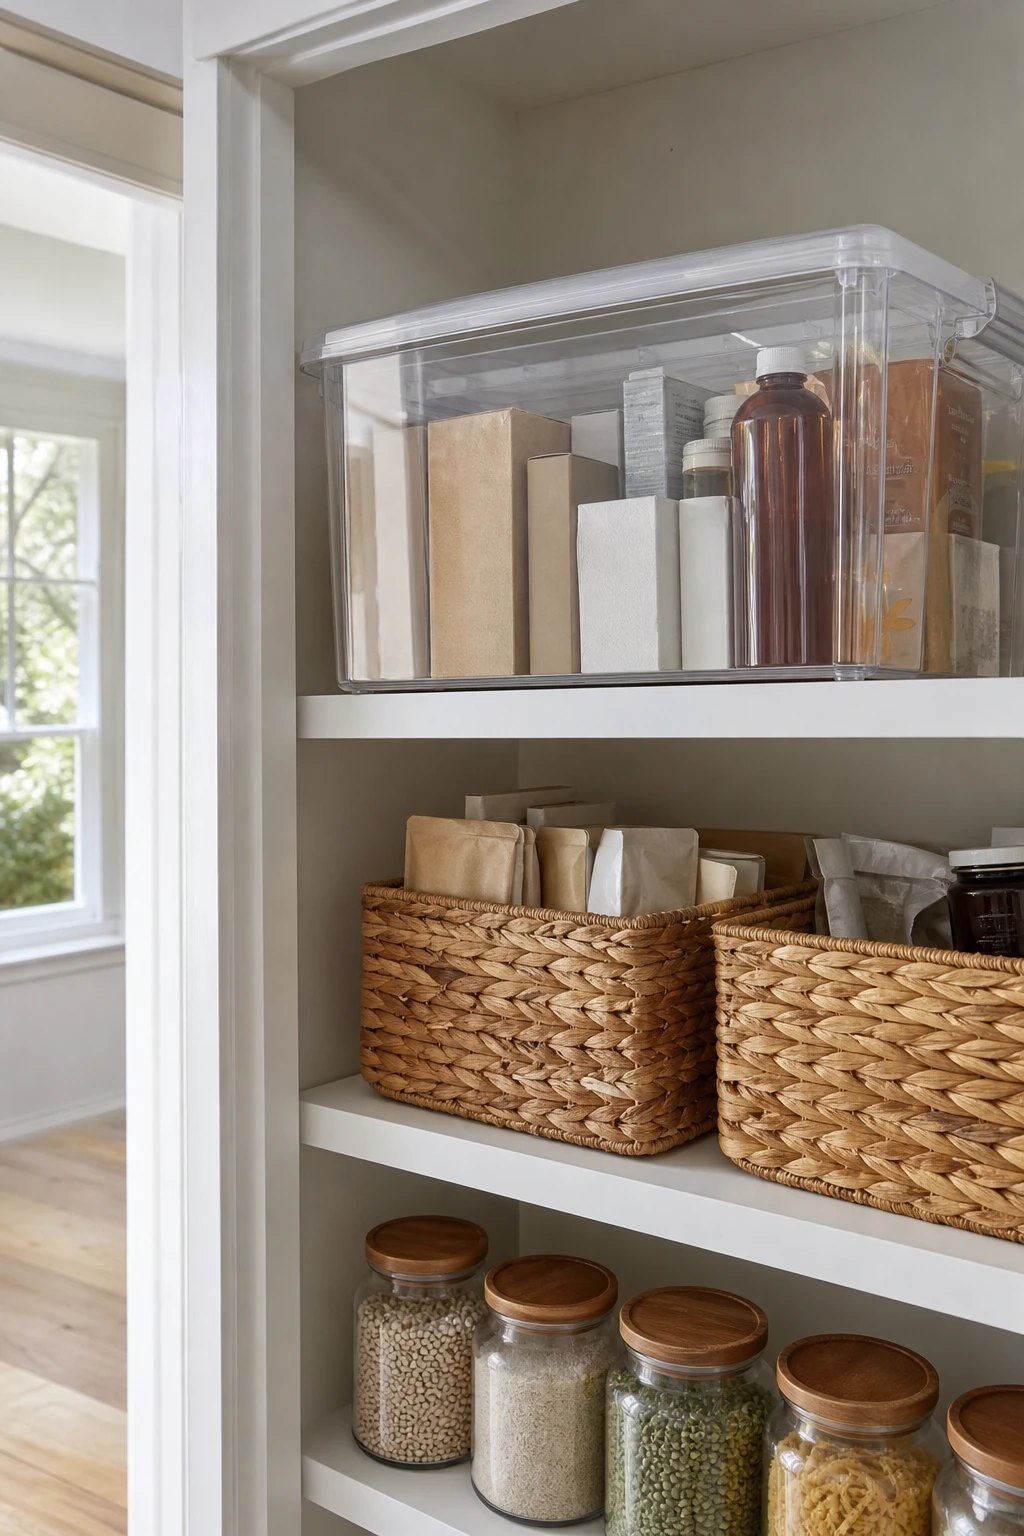
24. A backstock bin
 Save
Keep spare boxes, bulk buys and the extra bottles in one bin on the top shelf. Check it before you shop so you never buy a fourth jar of mayo.
Get the look: a large clear lidded bin on the top shelf.
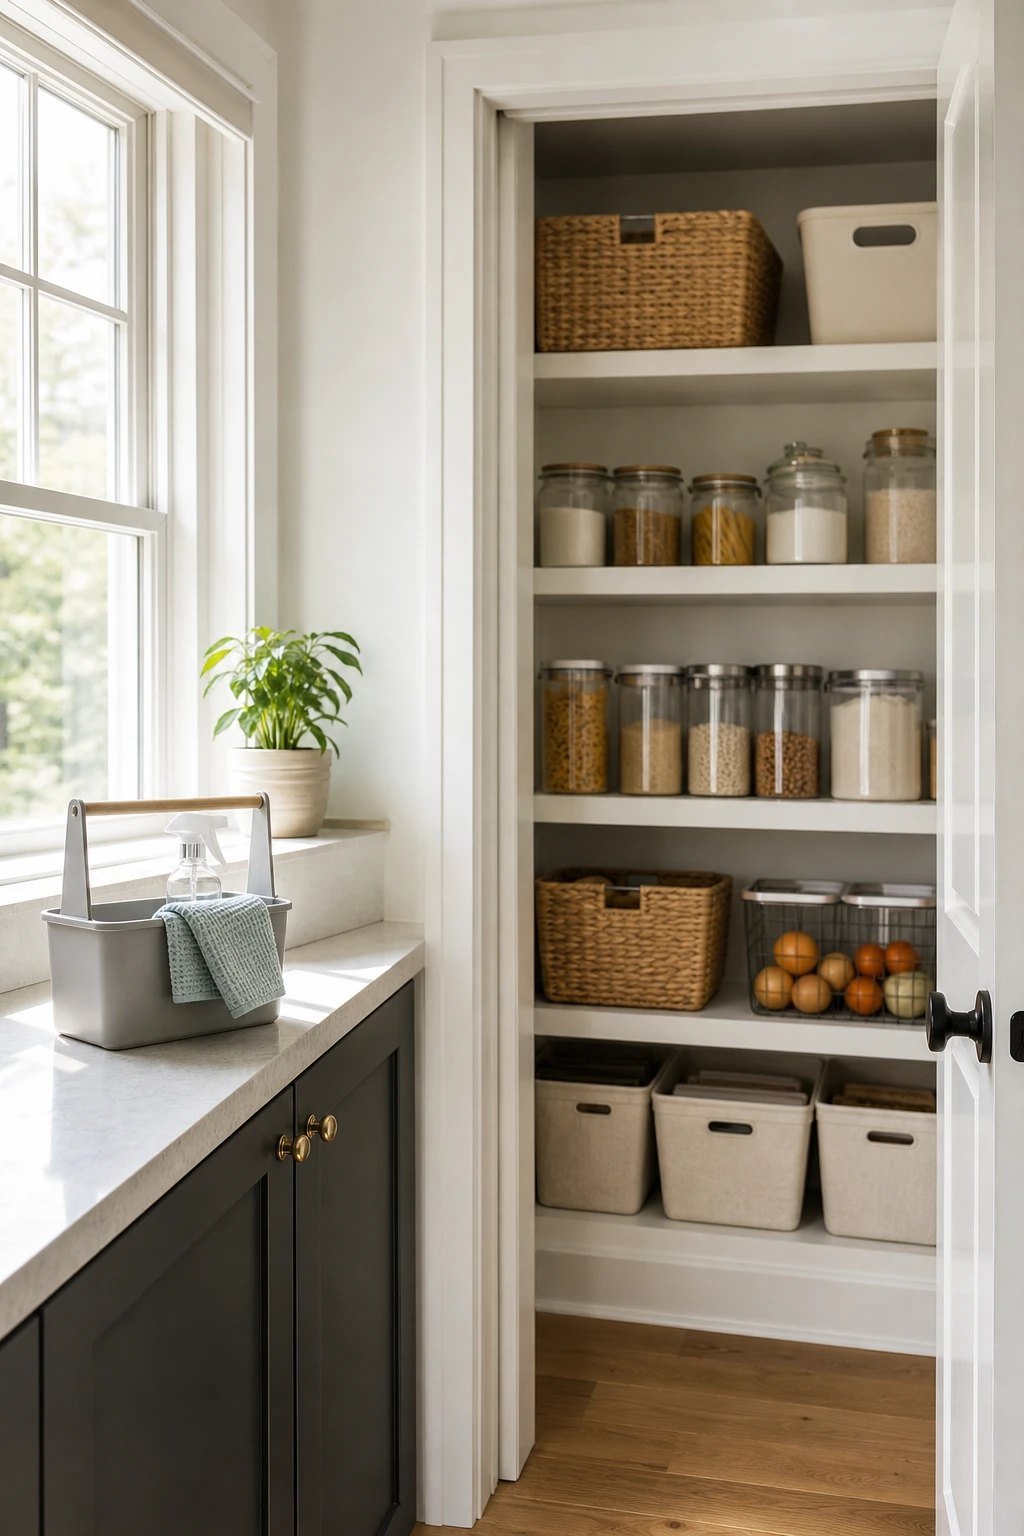
25. A 10-minute weekly reset
 Save
Once a week, put things back in their zones, toss empty boxes and wipe one shelf. Ten minutes keeps the pantry looking like the day you organized it.
Get the look: a small caddy with a cloth and a marker for labels.
How to organize a pantry step by step
Empty the pantry and check dates. Sort food into five or six zones you actually use. Measure the shelves, then buy bins and containers that fit. Put heavy things low, everyday things at eye level and backstock on top. Add a turntable for corners and a riser or can rack for cans. Label the shelves and bins last, so the system sticks.
Pantry organization on a budget
Start with what you already have: shoeboxes and old jars work as bins while you decide what you need. Then buy in this order: a turntable, a can rack, a few clear bins and labels. Those four do most of the work. Matching containers can come later, one zone at a time.
Pantry organizers on Amazon

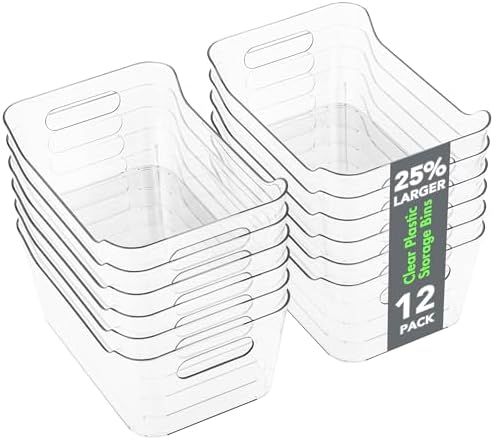

Food storage containers on Amazon


Keep reading
- Small kitchen cabinet organization ideas
- Small kitchen organization ideas
- Small laundry room organization
- Small closet organization hacks
Frequently asked questions
Empty it, check dates, sort food into a few zones like breakfast, baking, snacks and cans, then measure the shelves and buy bins that fit. Label the shelves last.
Use the door with an over the door rack, add risers so shelves hold two levels, put a turntable in the corner and keep bulky items in baskets on the floor.
Decanting cereal, flour, rice and pasta into airtight containers saves space and keeps food fresh. Snacks and packets are fine in clear bins without decanting.
Use pull-out bins or drawers, keep backstock at the back on a low riser and open items in front, and put a turntable in each corner.
A 10-minute reset once a week keeps it tidy. A full empty and wipe twice a year, for example in January and late summer, is plenty.
About the author: Shinku Studio shares home ideas we would actually use, picked for real budgets and real kitchens.