
Some links in this post are affiliate links. If you buy through one, I may earn a small commission at no extra cost to you. As an Amazon Associate I earn from qualifying purchases.
These ideas are practical and kid friendly for a quick, fully doable project your class can finish in a single prep period. They fit preschool through elementary and work with the realities of a school hallway and door space.
What to have in the cupboard first
Every idea here is designed for one prep period, which only works if you are not hunting for supplies halfway through. These four cover most of it.
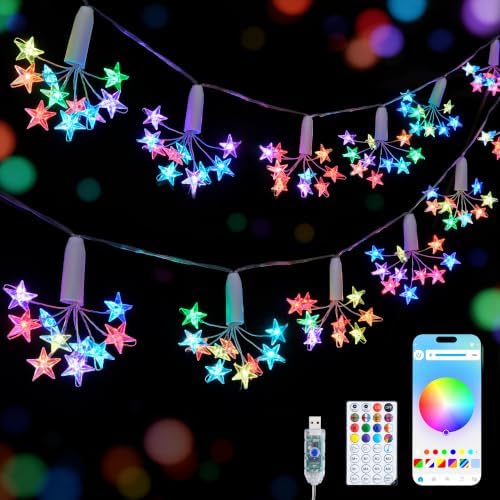
- Battery powered fairy lights with a remote Thin silver wire that disappears against paper, so what the room sees is glow rather than cable. Battery packs mean the display can go anywhere, not just near a socket.
- Plug in string lights for a longer run For the window or the back wall where there is an outlet and you want more light than battery wire gives. Eight modes, including a slow fade calm enough to leave on during lessons.
- A warm neon sign for the corner One soft focal point that stays up long after the paper comes down. USB powered with adjustable brightness so it is not glaring mid lesson.
- Self adhesive felt boards for walls that will not take pins They stick to painted block, take pins straight away, and cut down to fit an awkward gap. This is the fix for a room with no cork anywhere.
1. Door Shimmering Snowy Border Collage
 Save
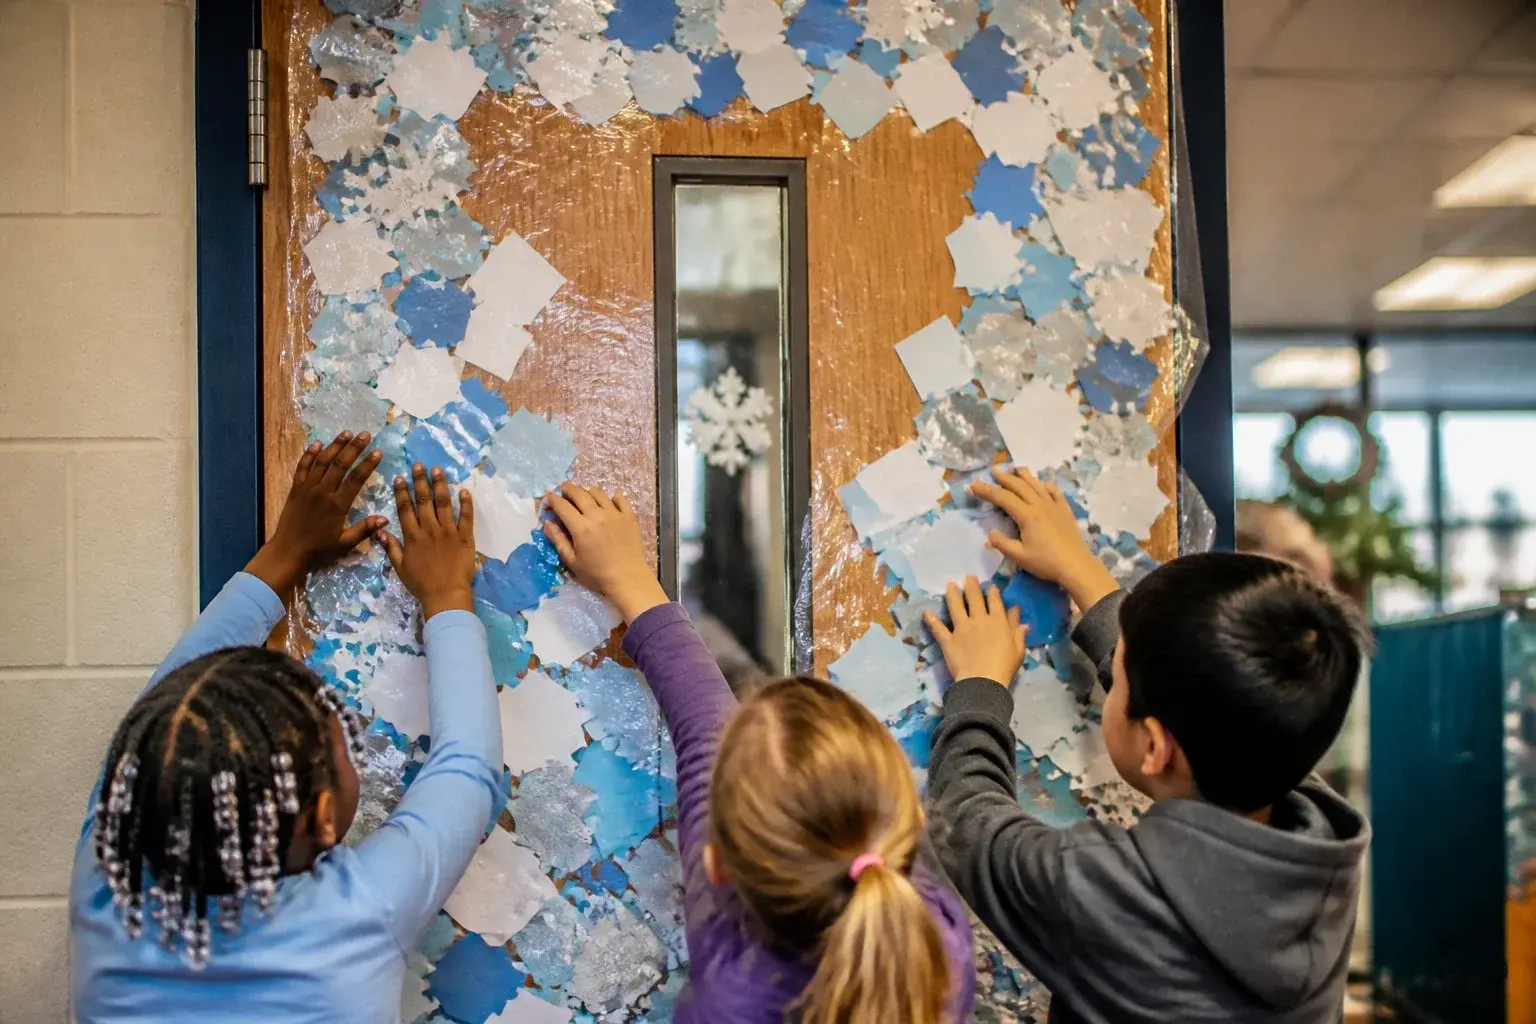
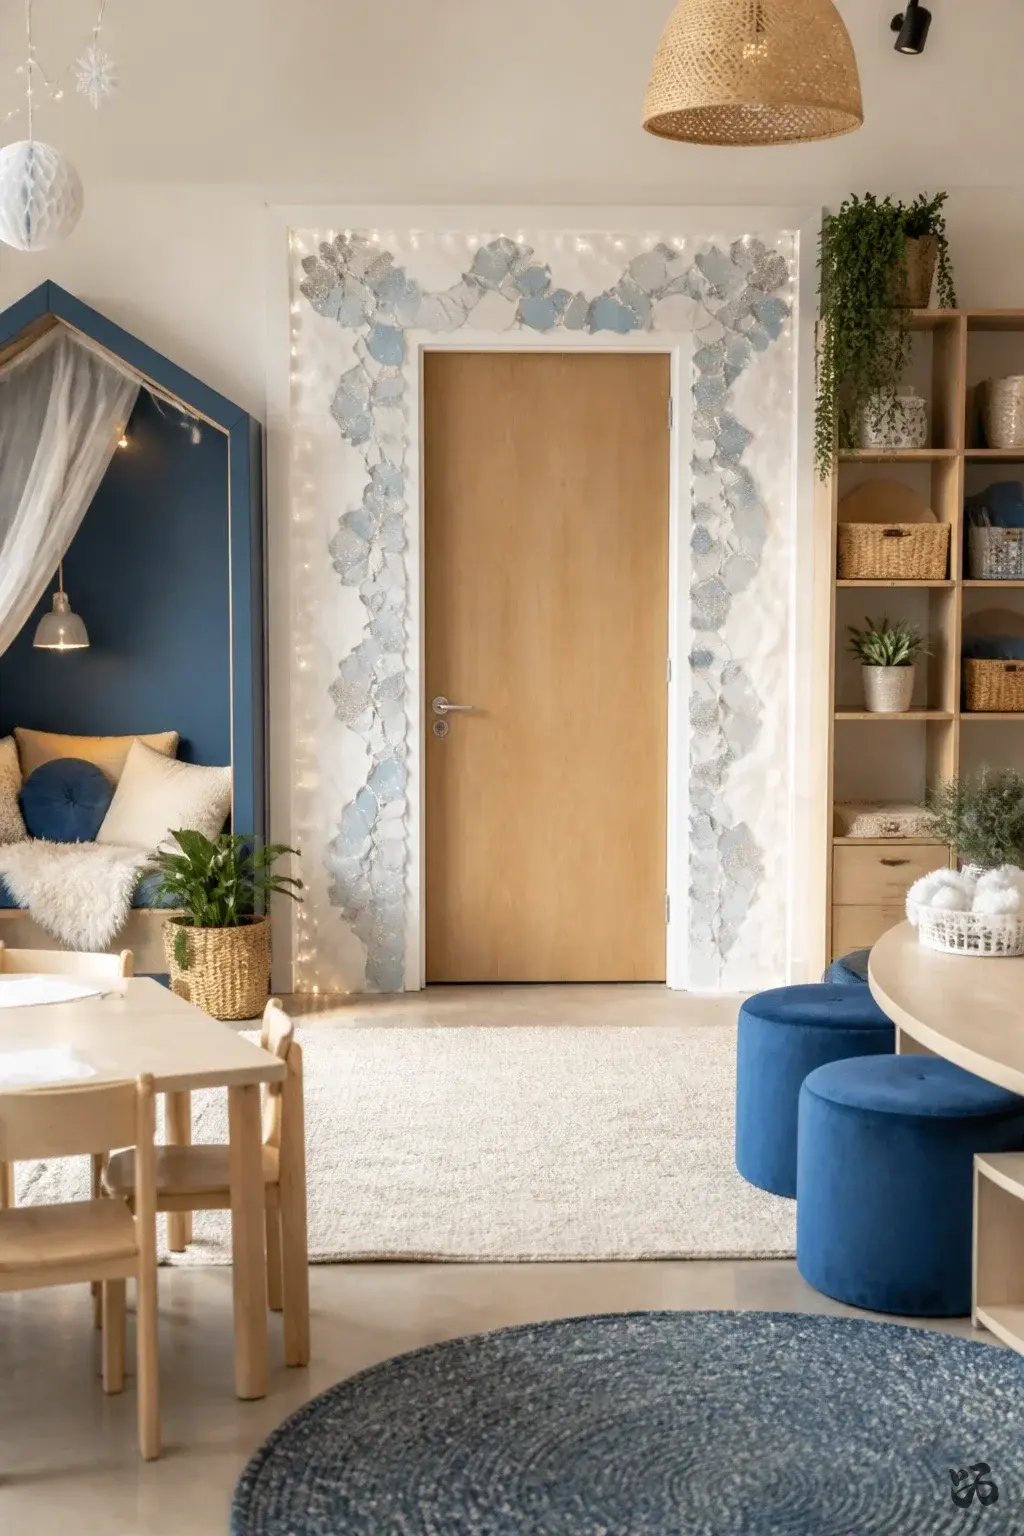
SaveClear contact paper forms a snowy frame around the door, then pieces of white, light blue, and silver construction paper create a frosty collage. Students help place patches in a loose mosaic to avoid a stiff look.
What you need
- Construction paper in white, light blue, and silver
- Contact paper
- Scissors
- Glue sticks
- Blue painter’s tape or removable tape
Skip laminating for quick cleanup; this stays put with tape. About 45 minutes for, say, pre-K through first grade.
2. Paper Chain Countdown to Winter Break
 Save
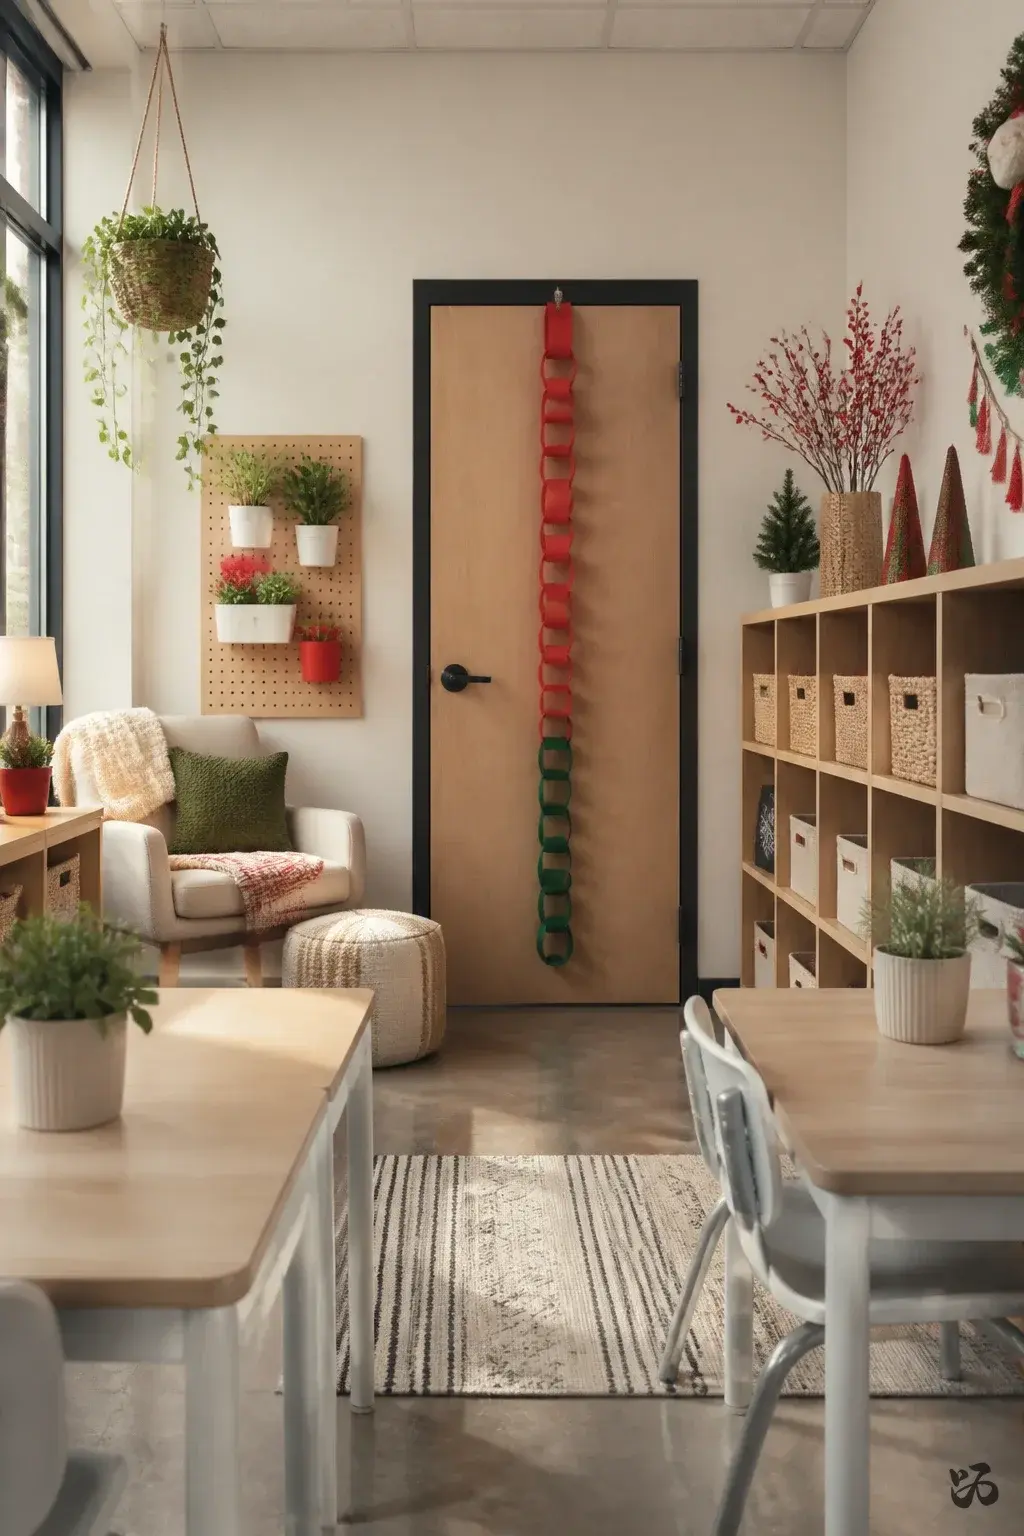
SaveA long chain of linked strips runs down the center of the door, each link representing a day or week until winter break. The colors shift from red to green as days pass.
What you need
Build it during prep period with a helper; it’s sturdy but easy to adjust. Suitable for kindergarten to second grade.
3. Candy Cane Lane Door Border
 Save
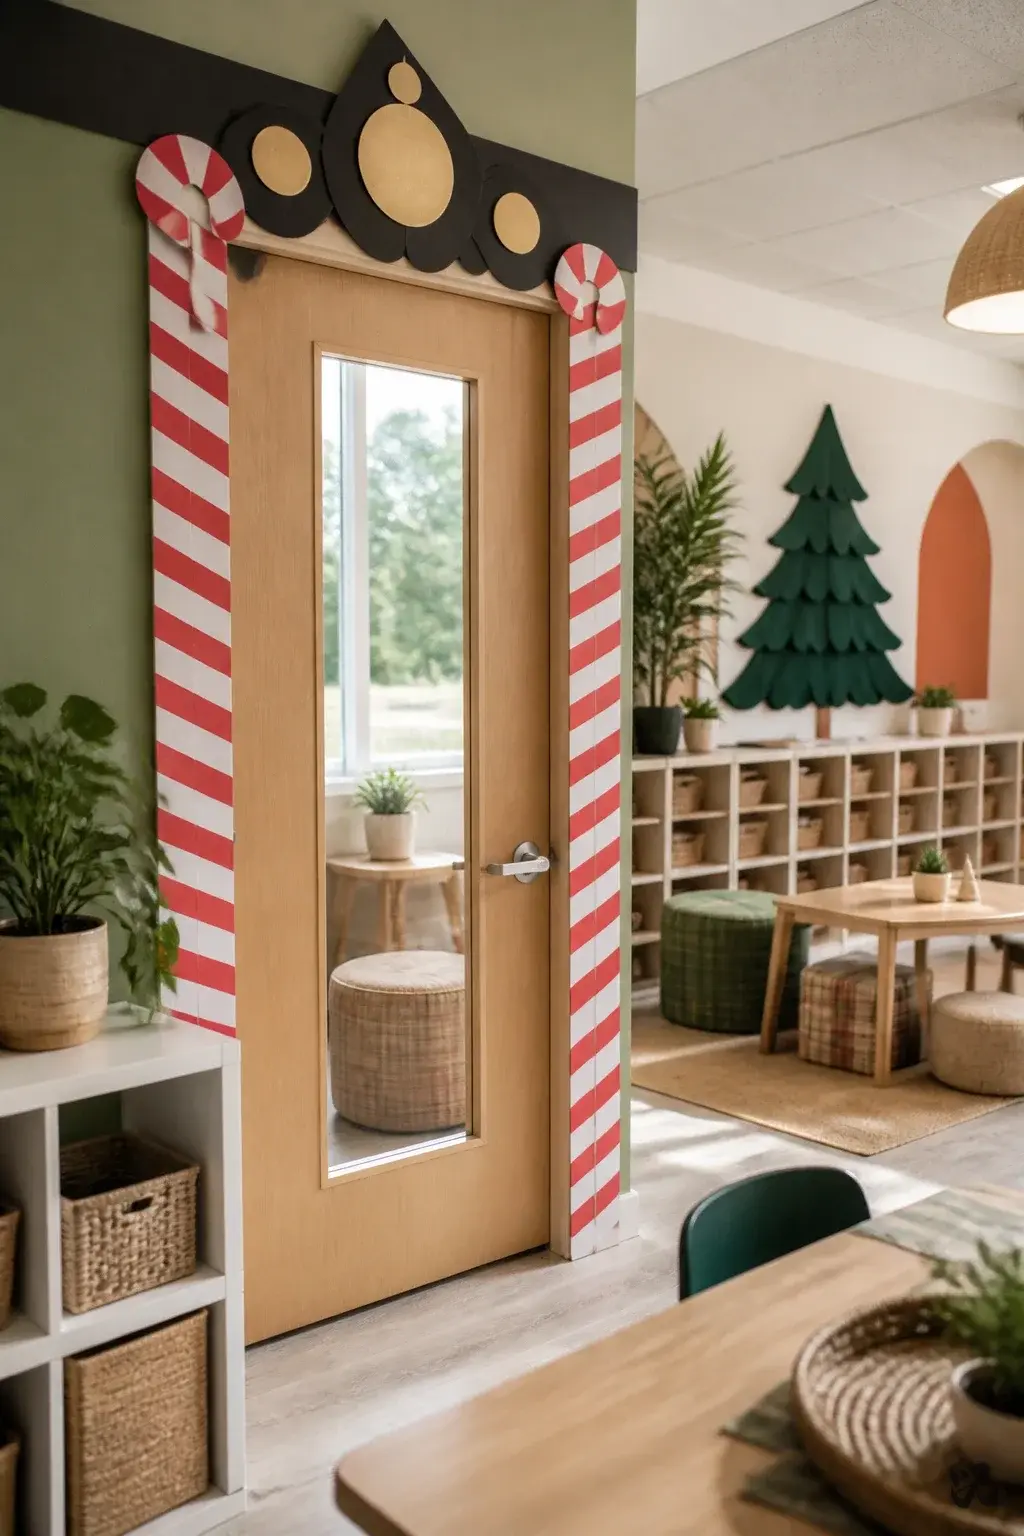
SaveStriped red and white cutouts wrap around the edge of the door like candy canes. Add a bold title in black or gold at the top to frame the scene.
What you need
Minimal laminating if you want extra durability; you can skip it. Works best with first grade and up.
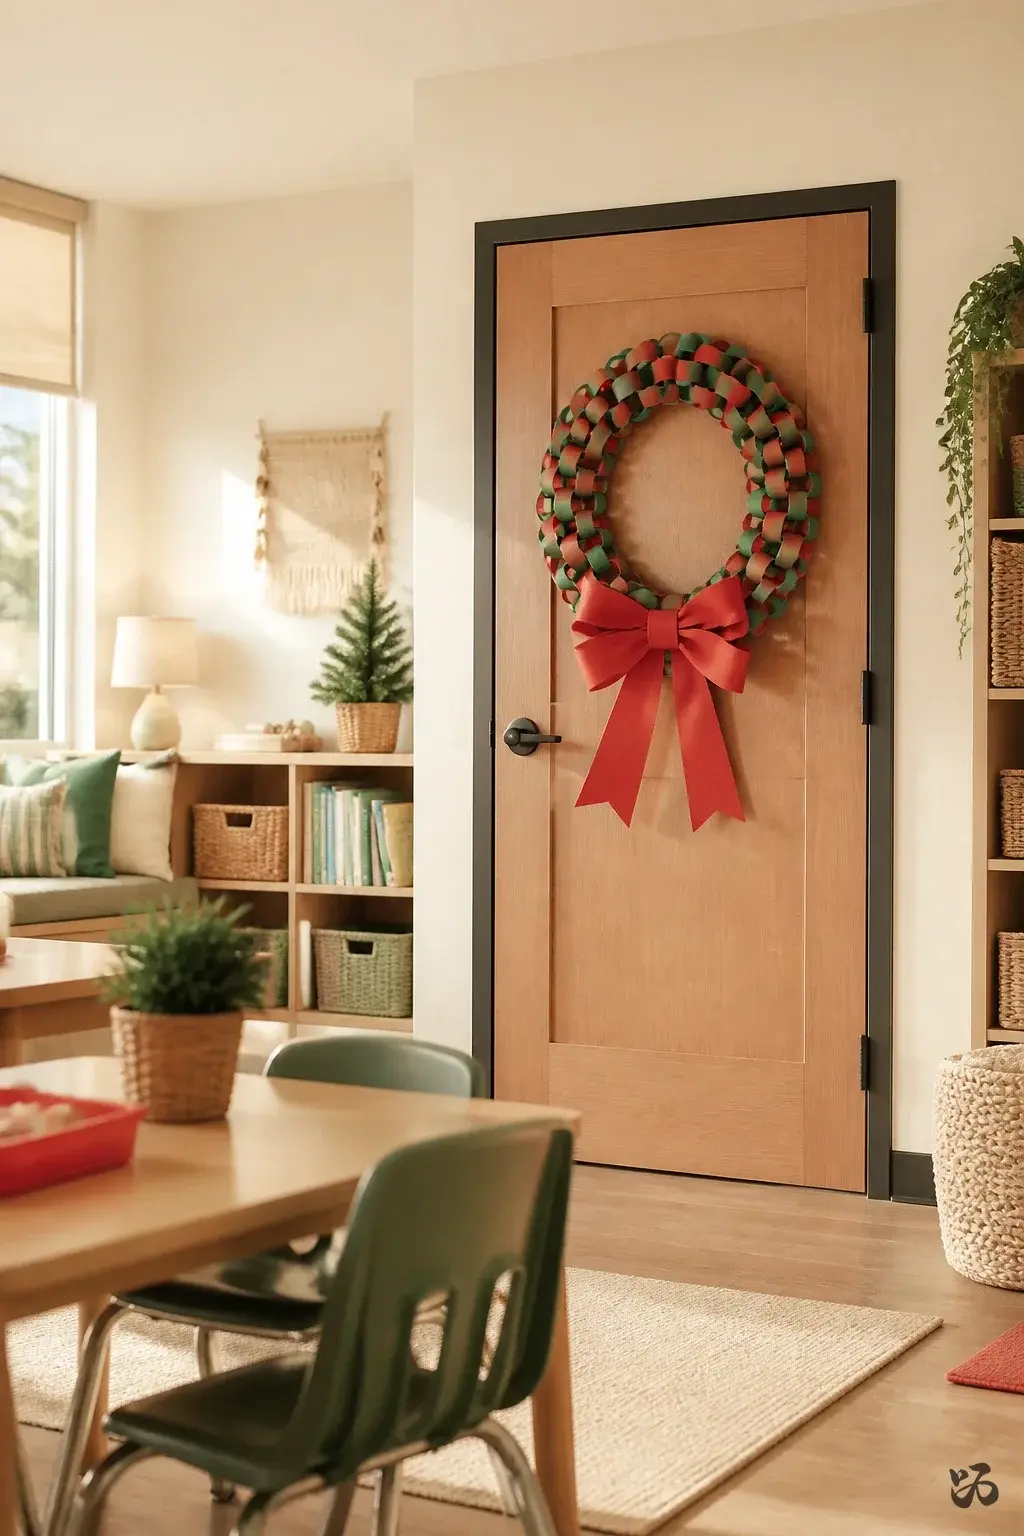
4. Paper Chain Wreath Door
 Save
SaveA circular paper wreath stretches across the door with a festive bow made from a folded red ribbon or paper. The kids help staple or tape the bow in place.
What you need
Keep it light and flexible so it holds up until Open House. Good for pre-K through second grade.
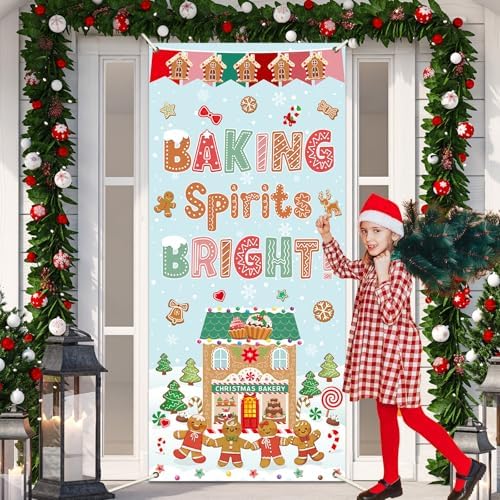
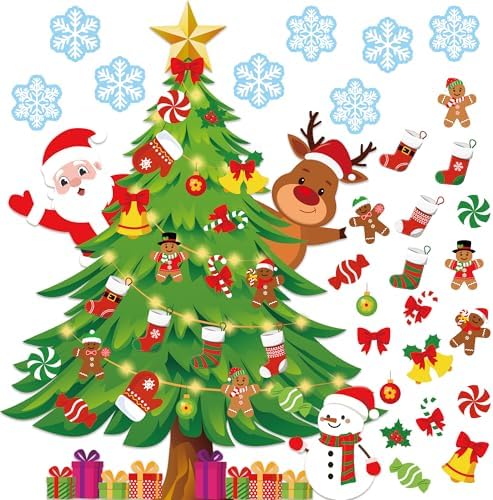
What I’d Buy First for a One-Prep Door

5. Winter Scene Window Cling Door
 Save
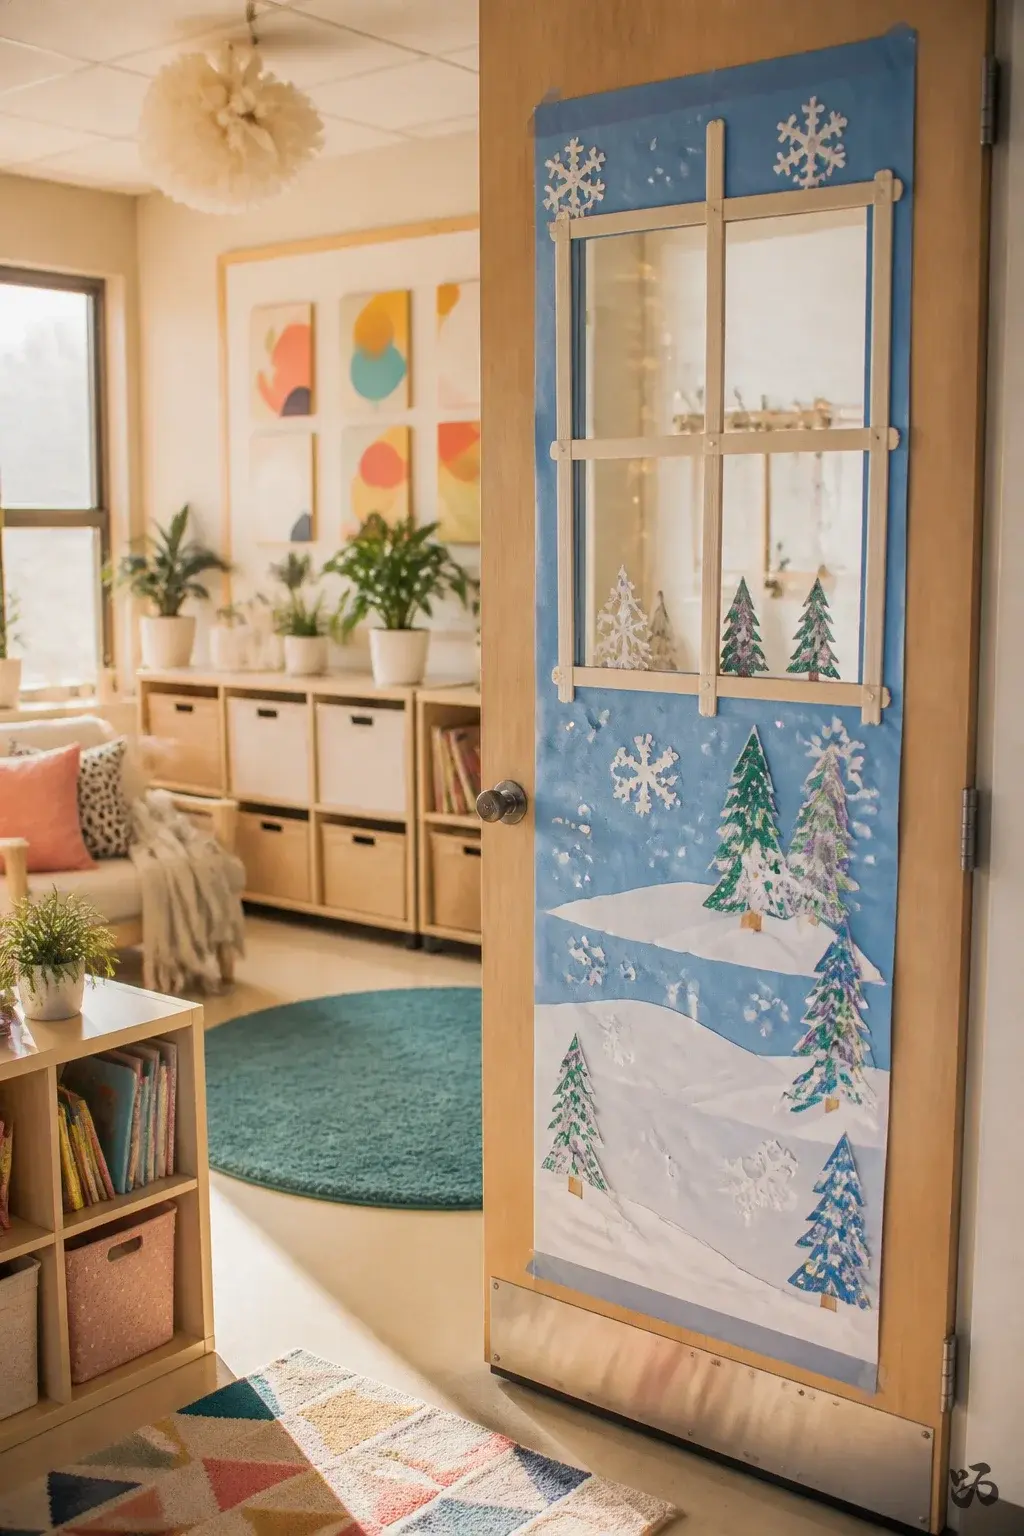
SaveA snowy landscape created with butcher paper and markers sits along the door edge, simulating a window scene. Kids color and cut snowy details to paste onto the “window.”
What you need
- Butcher paper (blue or white)
- Markers
- Scissors
- Glue sticks
- Craft sticks for a faux frame
Use removable tape to secure; no laminating necessary. Suited for preschool through second grade.
6. Holiday Stars Door Garland
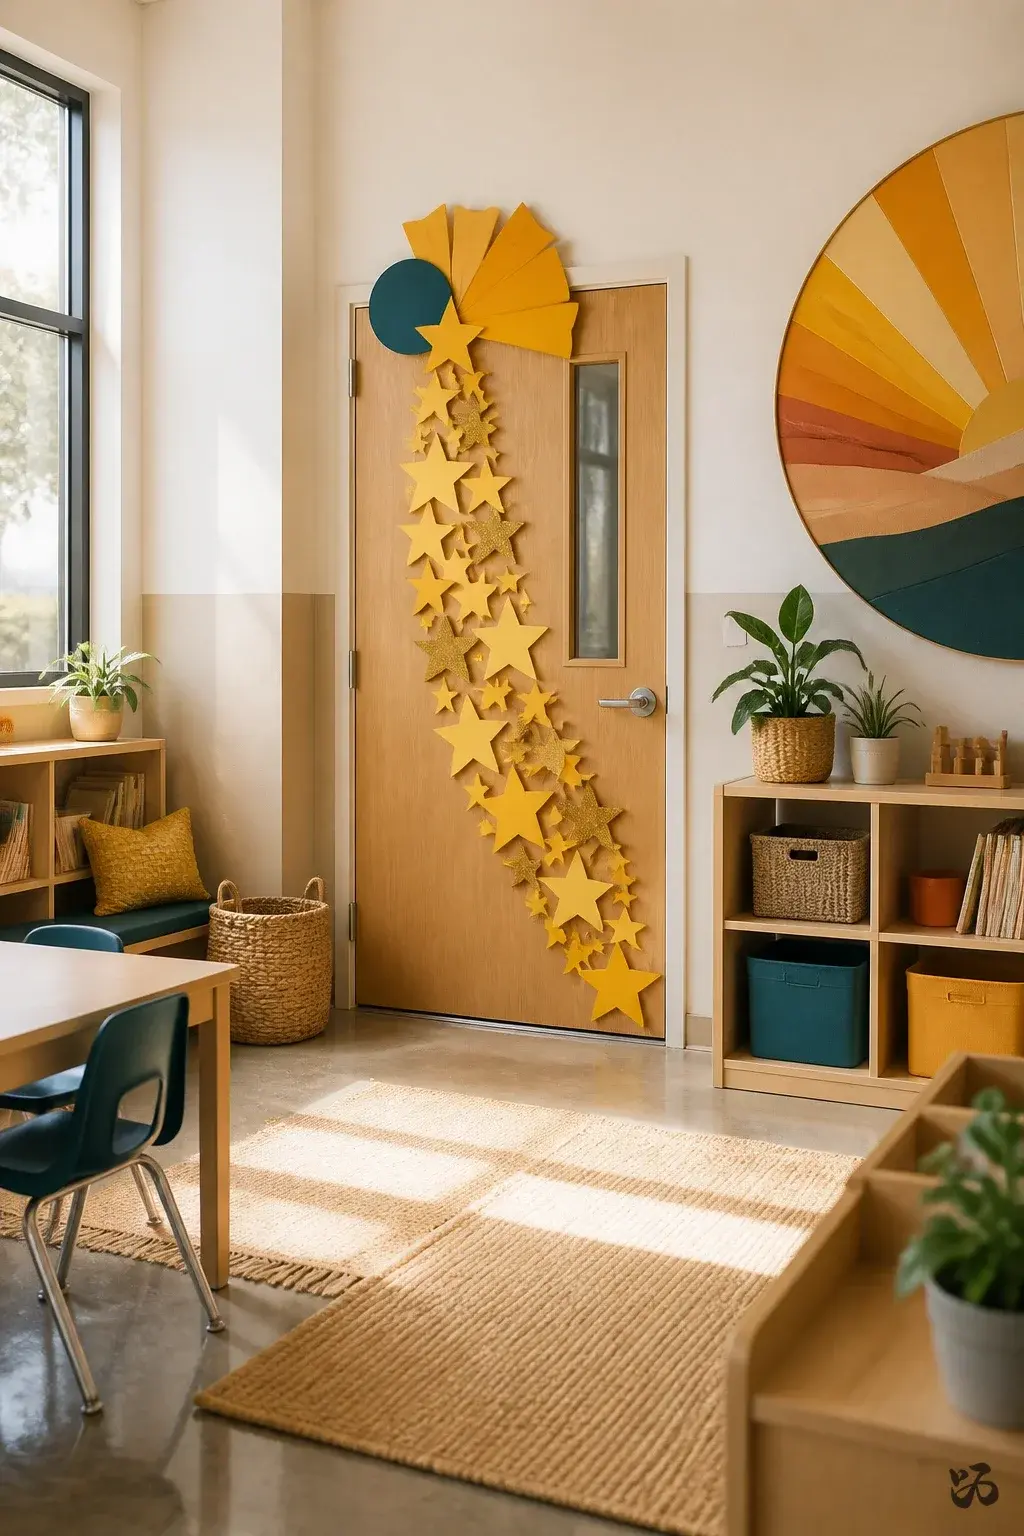 Save
SaveYellow and gold star shapes cascade diagonally across the door, with a bold title on top. Each student signs a star, turning it into a collective class piece.
What you need
Stays up with removable tape; avoid heavy staples. Great for kinder to first grade with a sign-off activity during land time.
7. Peppermint Stripe Door
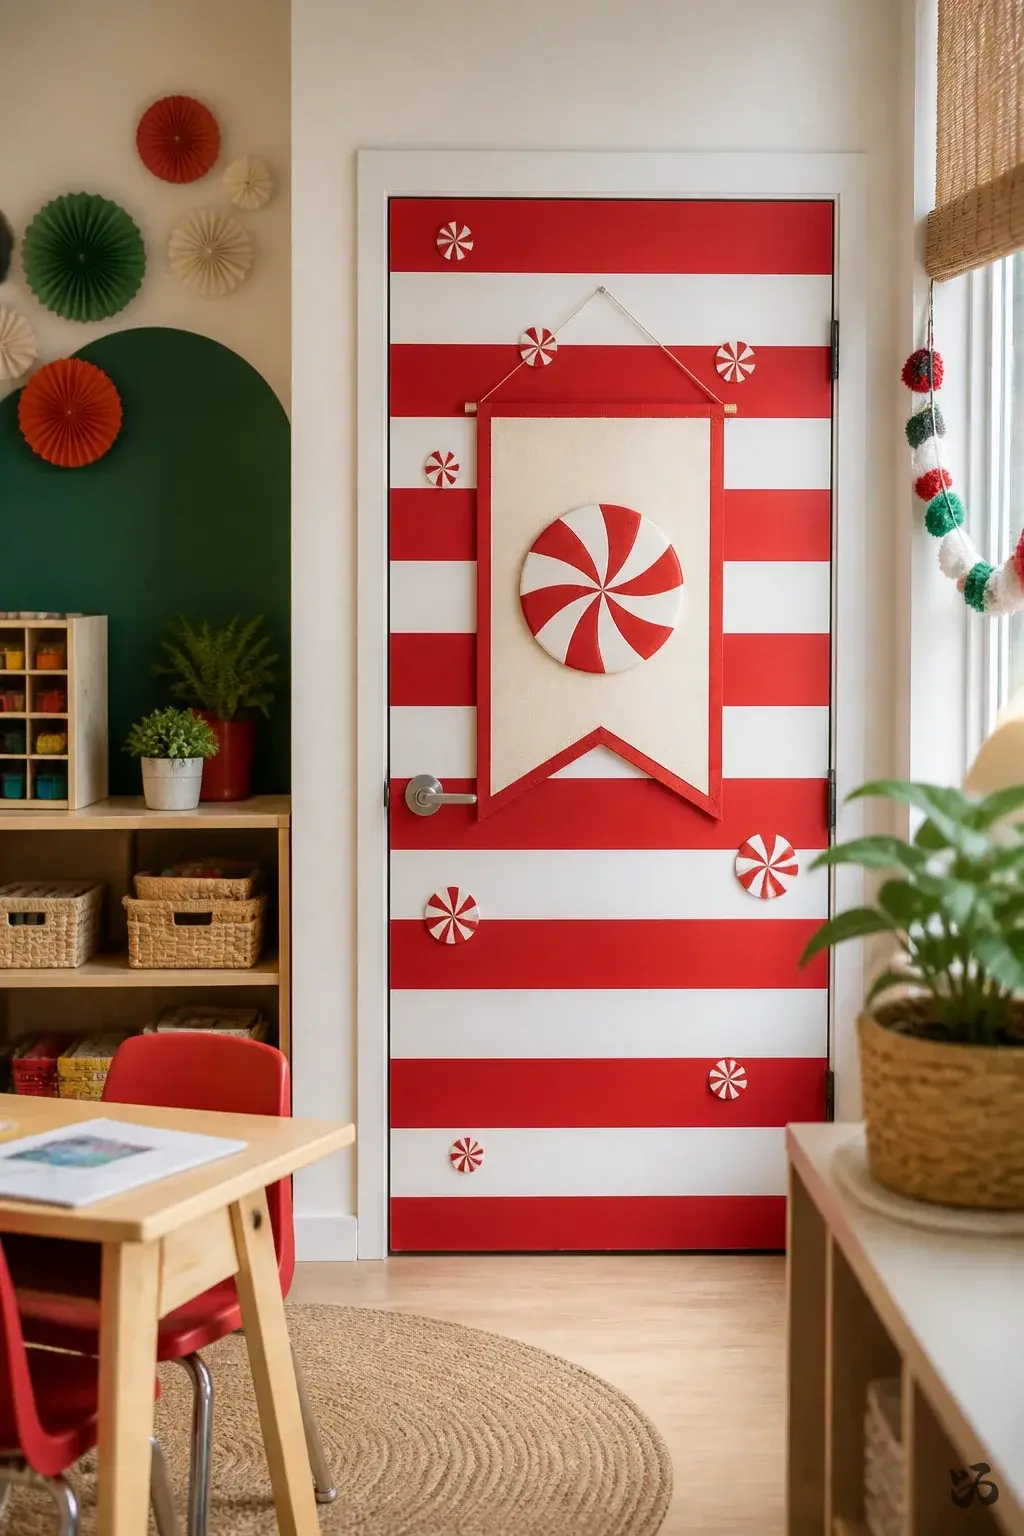 Save
SaveA simple stripe pattern in red and white paper wraps around the door, with a small banner reading “Merry Christmas.” Have students punch small circles to mimic peppermint candies for texture.
What you need
- Red and white construction paper
- Scissors
- Hole punch
- Glue sticks
- Removable tape
Low prep and easy removal; best for early elementary and pre-K.
8. Nutcracker Silhouette Door
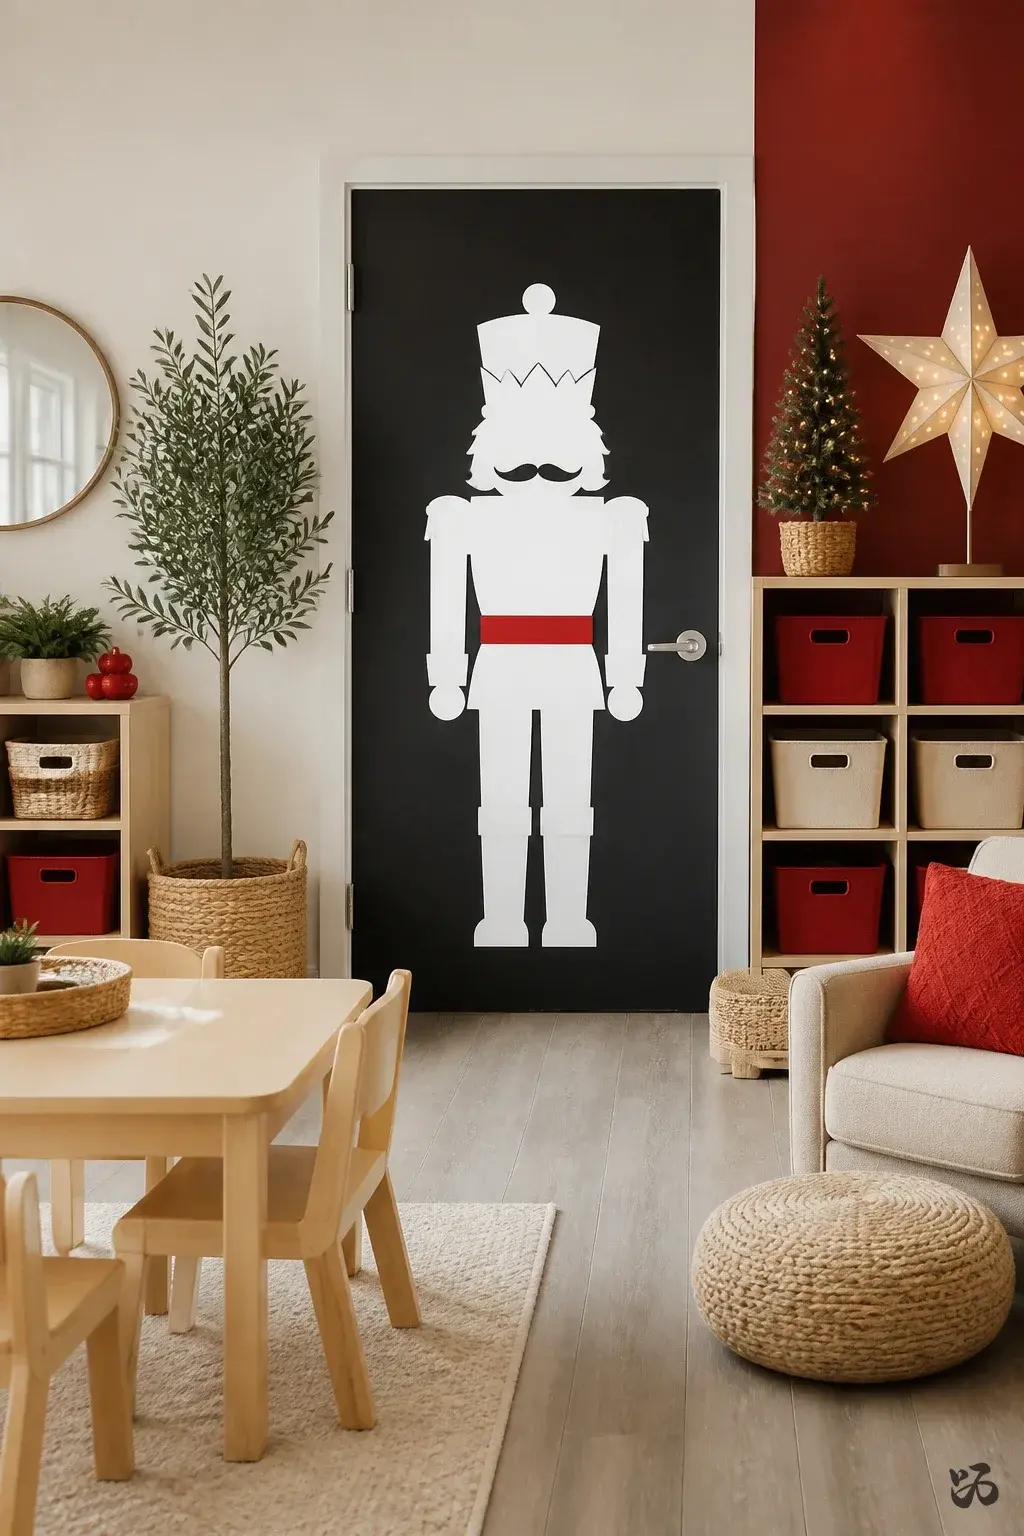 Save
SaveThe door is mostly black butcher paper with a bold white or metallic nutcracker silhouette cut from cardstock and centered. Add a red sash at the waist for a pop of color.
What you need
- Black butcher paper
- White or metallic cardstock
- Scissors
- Teacher tape
- Gold or red accent paper
Laminate is optional; however, clean edges help prevent snagging during hallway traffic. Best for first through third grade.
9. Snowman Door
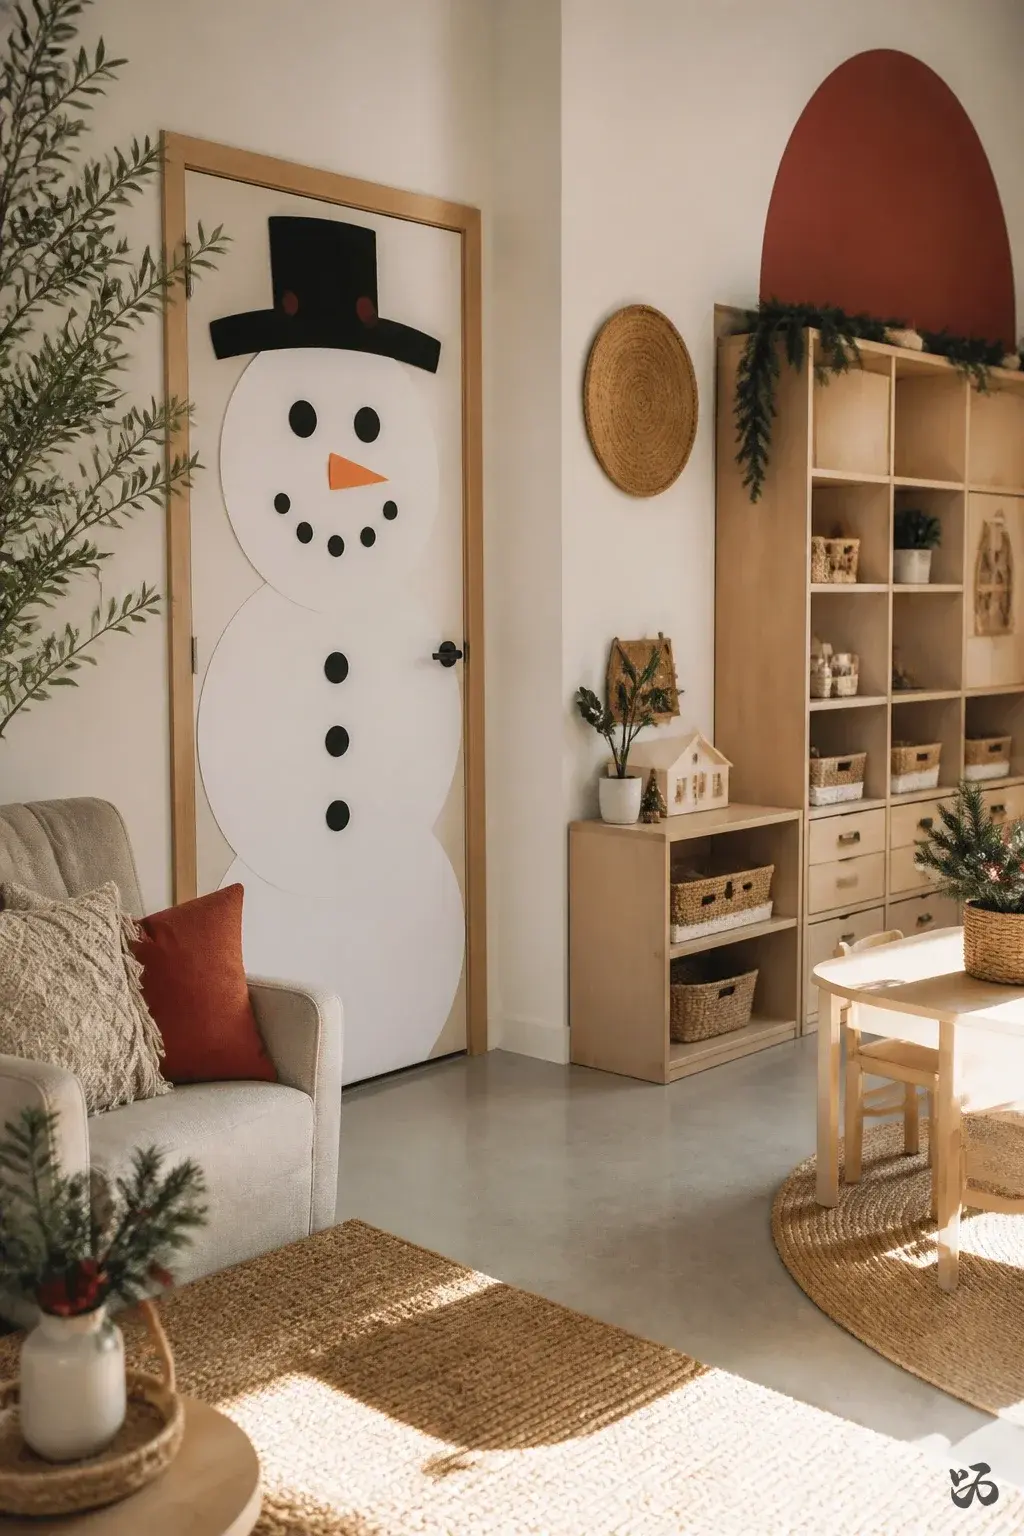 Save
SaveA friendly snowman face dominates the door created with circles for the head and body. Carrot nose is a triangle of orange cardstock, with coal eyes using black circles.
What you need
- White construction paper or felt
- Orange cardstock
- Black bulletin shapes or circles
- Glue sticks
- Removable tape
Bright, simple, and durable for high-traffic hallways. Suitable for all elementary levels.
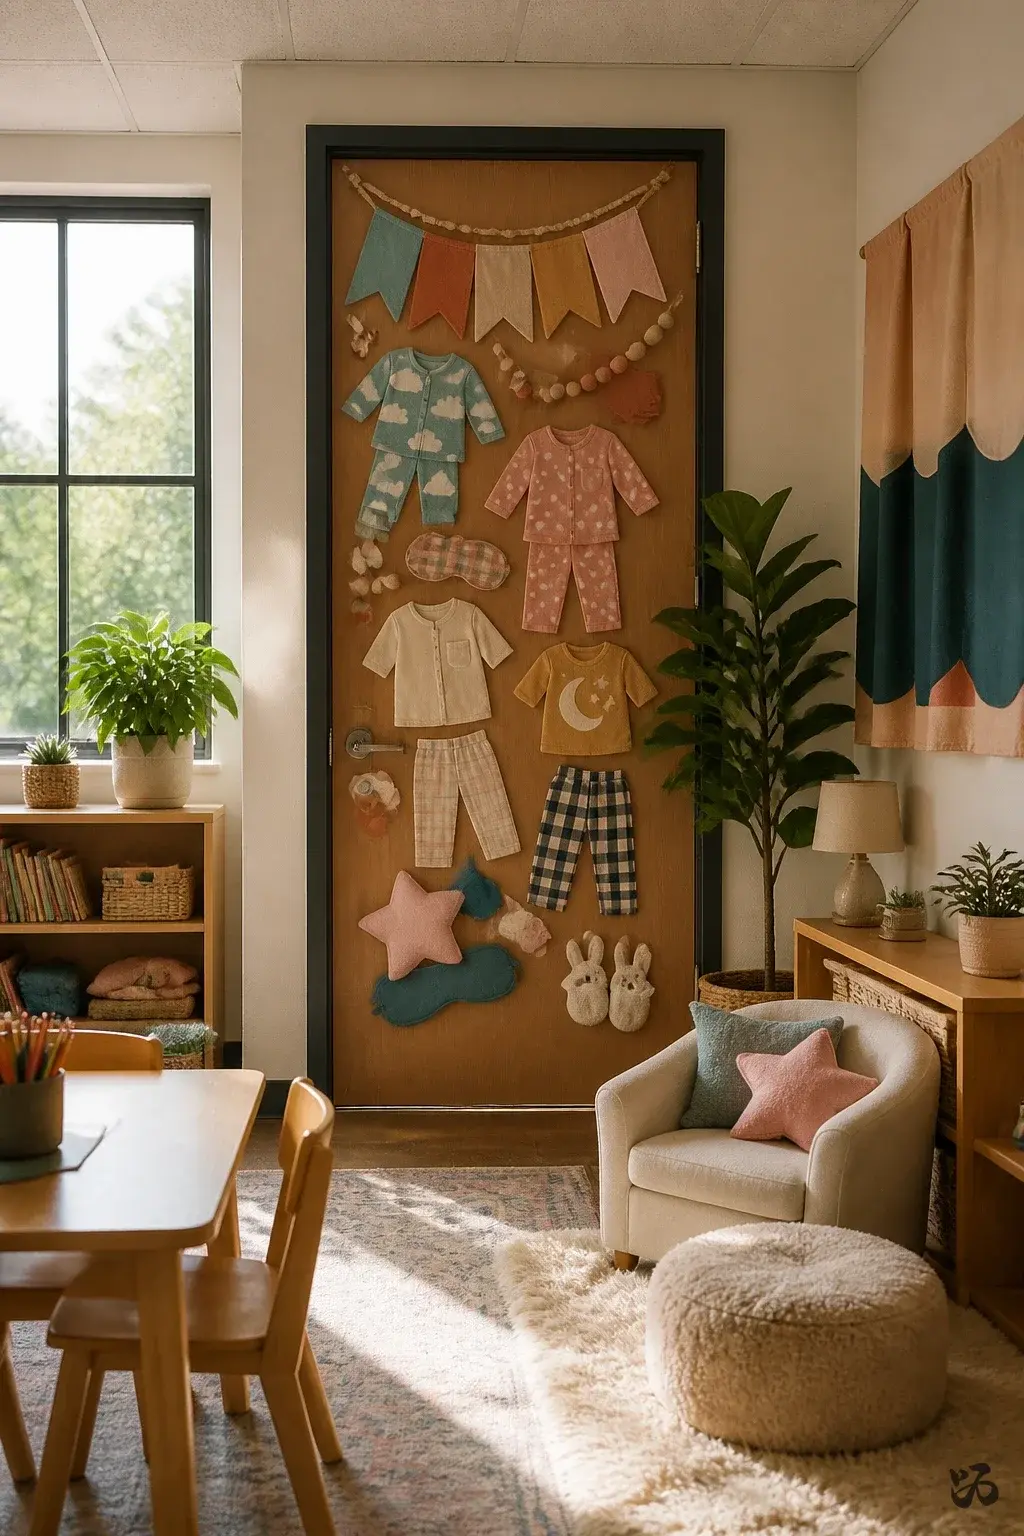
10. Pajama Night Door
 Save
SaveA cozy door scene with a pajama party motif. Use warm colors, cozy patterns, and a banner that invites families to Open House night.
What you need
- Fabric scraps or felt pieces
- Cardstock with pajama shapes
- Glue sticks
- Ribbon or string
- Marker for lettering
This is easier with larger pieces that don’t require precise cuts; good for pre-K and kindergarten.
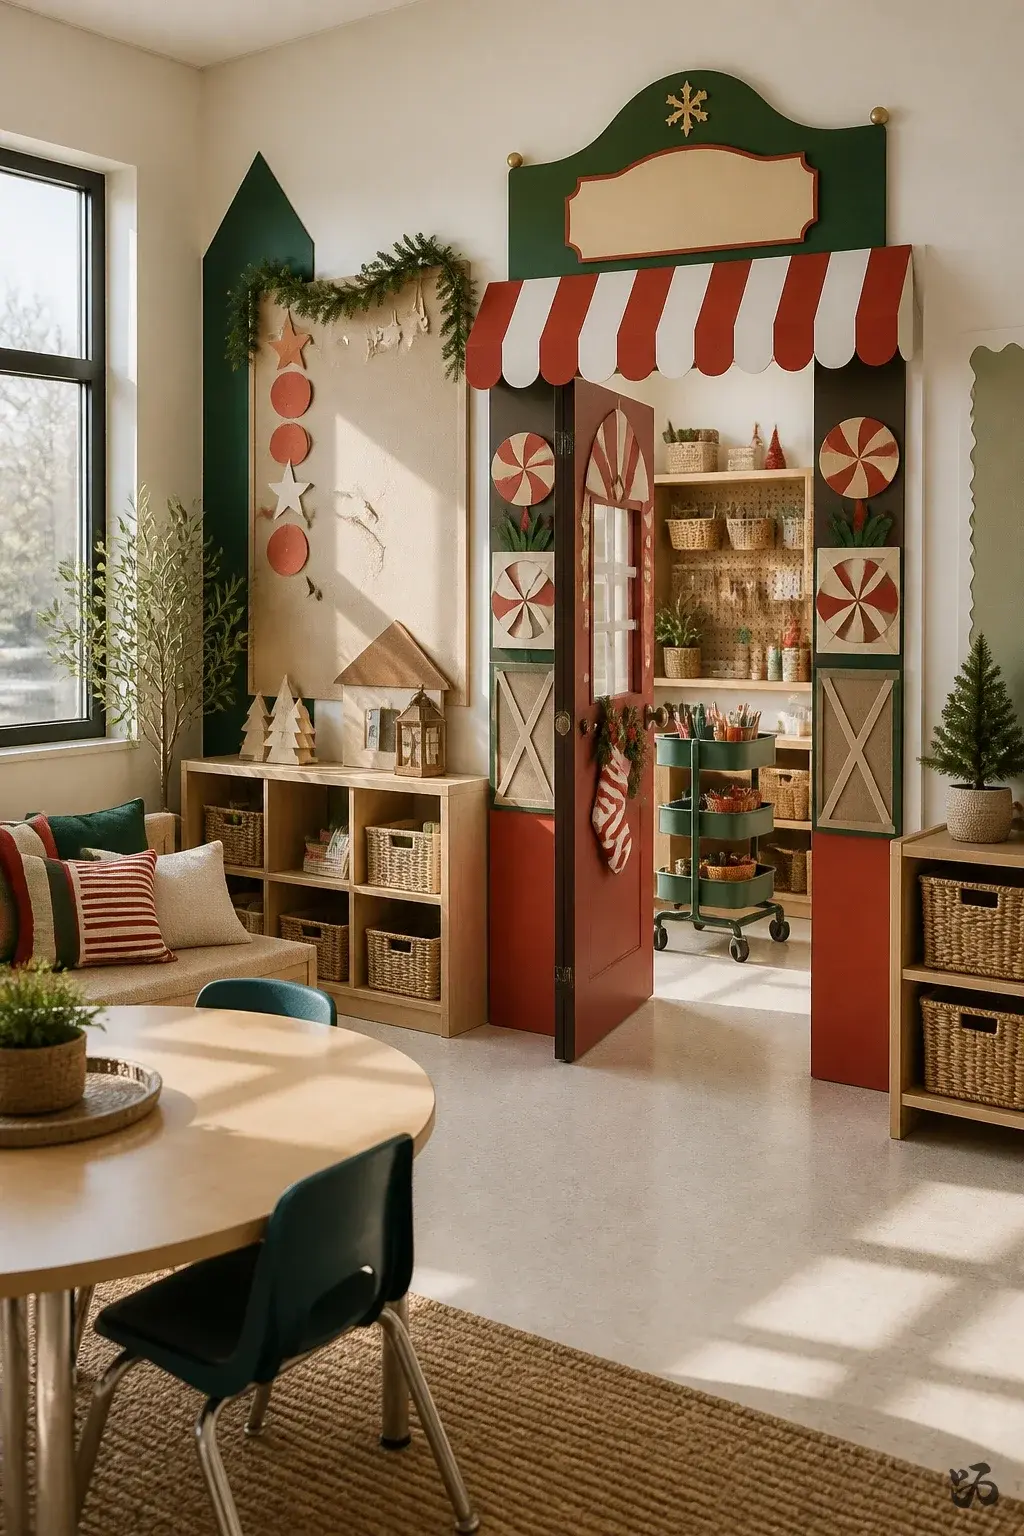
11. Santa’s Workshop Door
 Save
SaveColorful cardboard storefront pieces create a mini workshop along the door. Craft carts or shelves can form a backdrop. A “Santa’s Workshop” sign anchors the scene.
What you need
- Bright cardstock
- Scissors
- Glue sticks
- Tape
- Marker or letter stickers
Keep it under a door width so it remains hallway-safe; suitable for second grade and up.
Lights and Garland That Sell the Whole Door


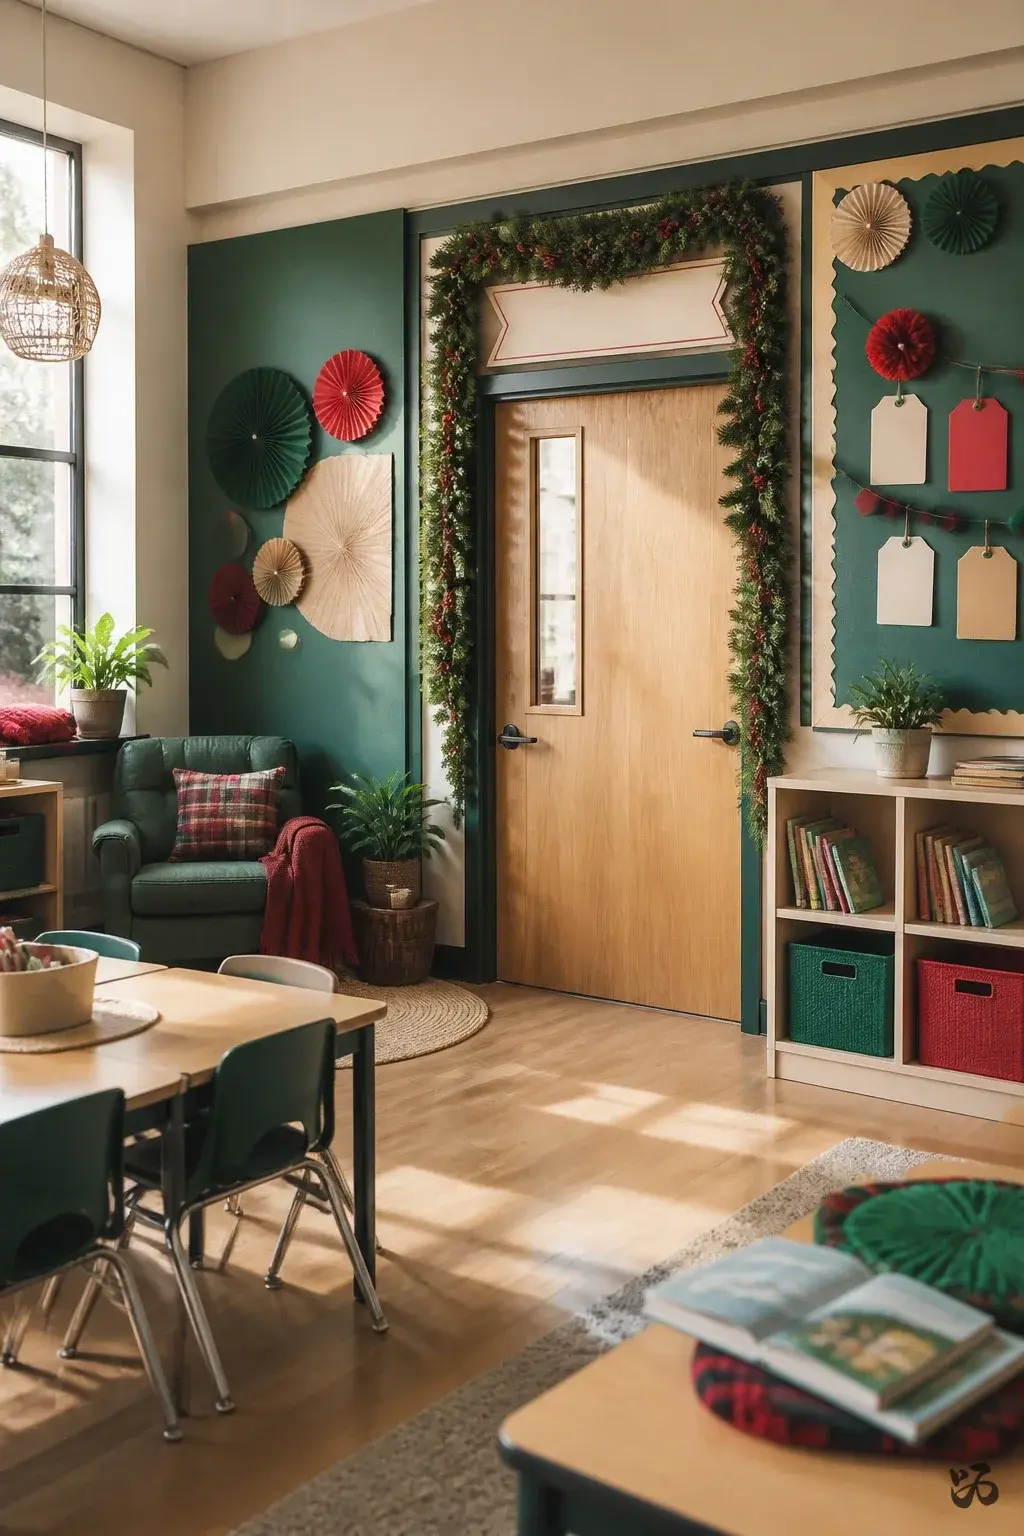
12. Festive Door Border with Evergreen Garlands
 Save
SaveEvergreen cutouts and a few red berries on a green border line the top edge of the door. A simple “Happy Holidays” banner finishes the look.
What you need
- Green bulletin border or green butcher paper
- Red accents
- Paper berries or pom-poms
- Glue sticks
- Removable tape
Low prep and easy removal; suitable for all elementary grades.
13. Polar Bear Parade Door
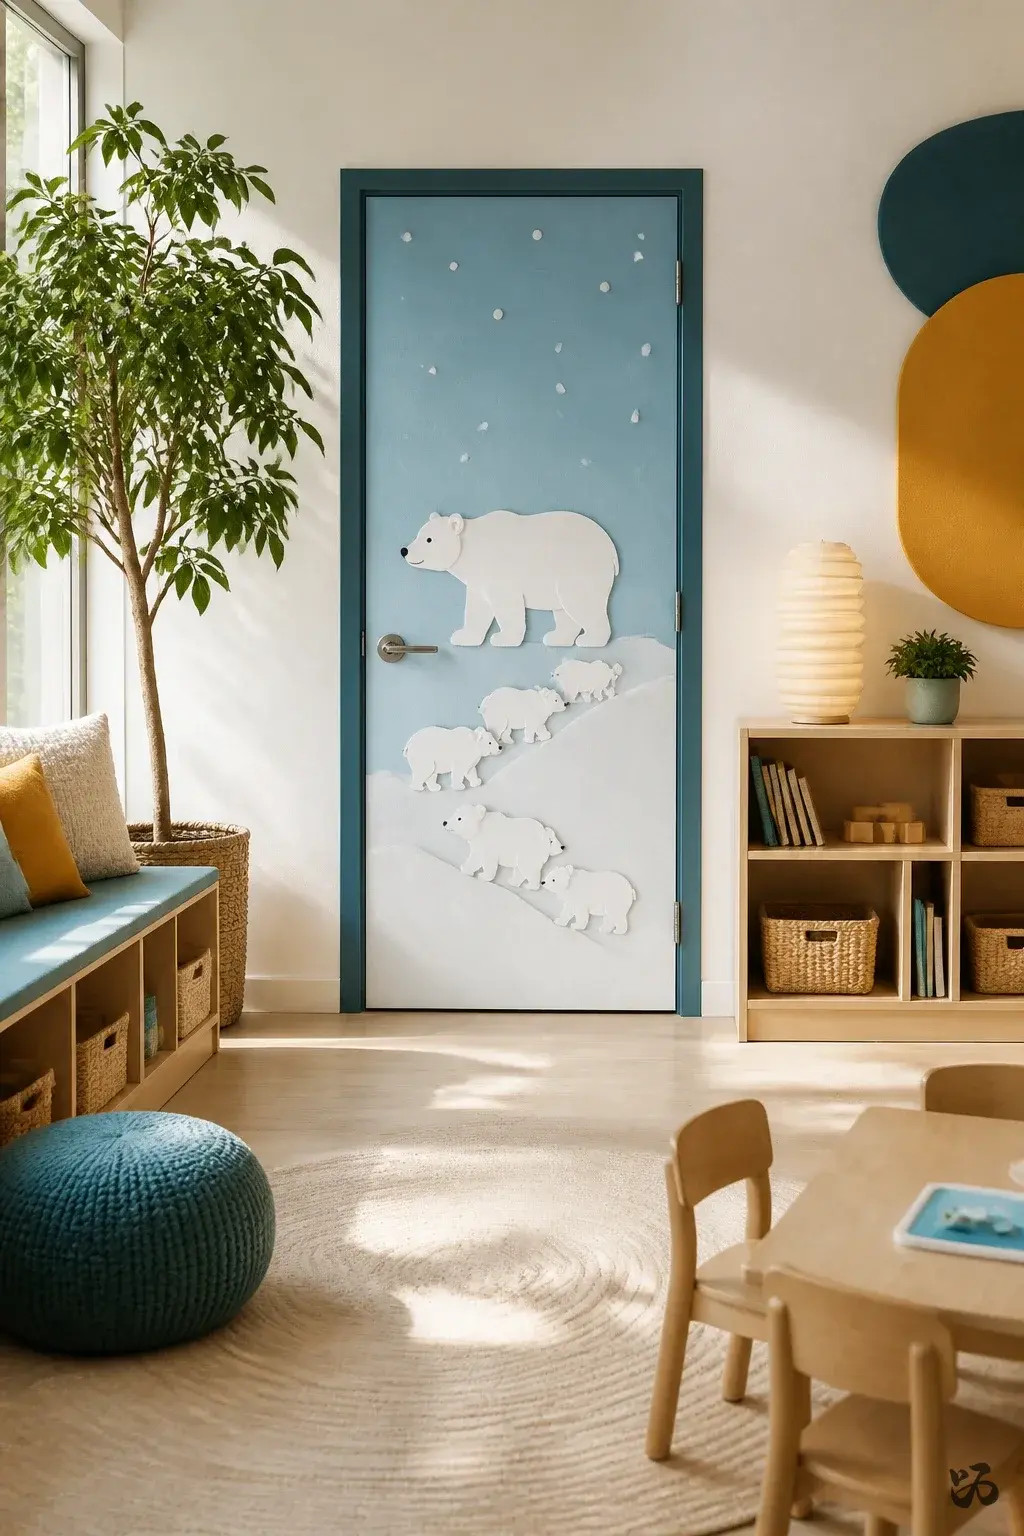 Save
SaveWhite cutouts march across the center of the door, forming a polar bear parade. A light blue background complements the snowy theme.
What you need
- White cardstock
- Light blue butcher paper
- Black marker
- Glue sticks
- Removable tape
Simple shapes hold up well; best for younger grades where cutting is a learning target.
14. Nutcracker Ballet Silks Door
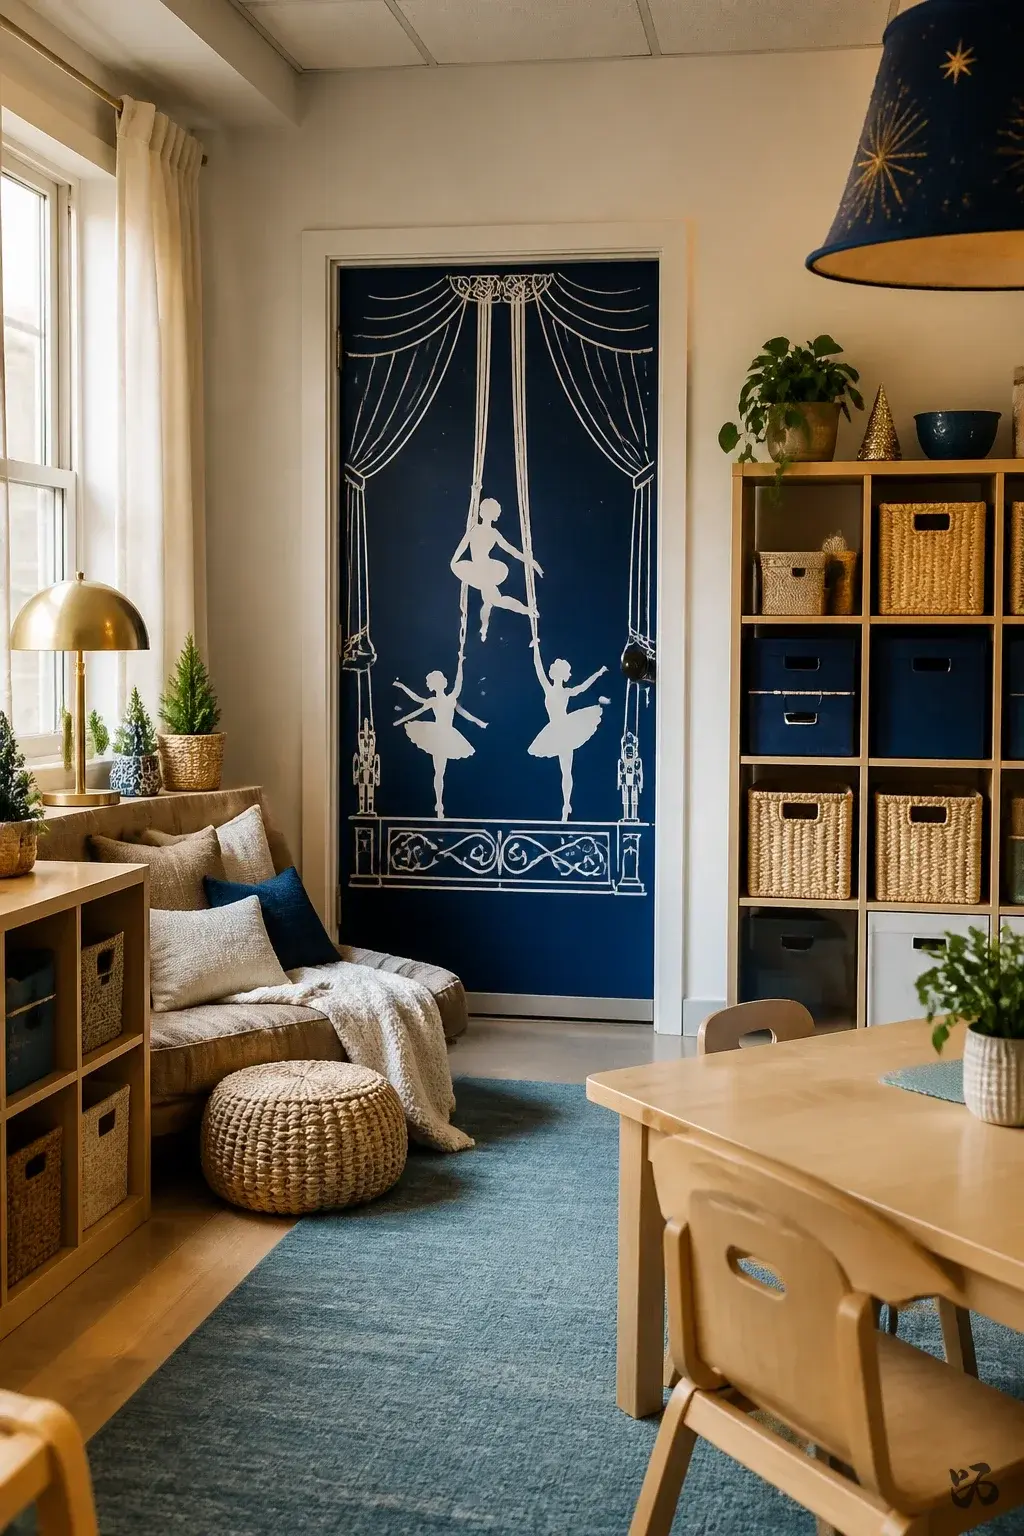 Save
SaveDelicate silhouettes of dancers and a small stage drawn with white lines on a deep blue background give a refined look without excessive paper use.
What you need
Keep edges tidy; this is more forgiving for older elementary grades.
15. Winter Lights Door
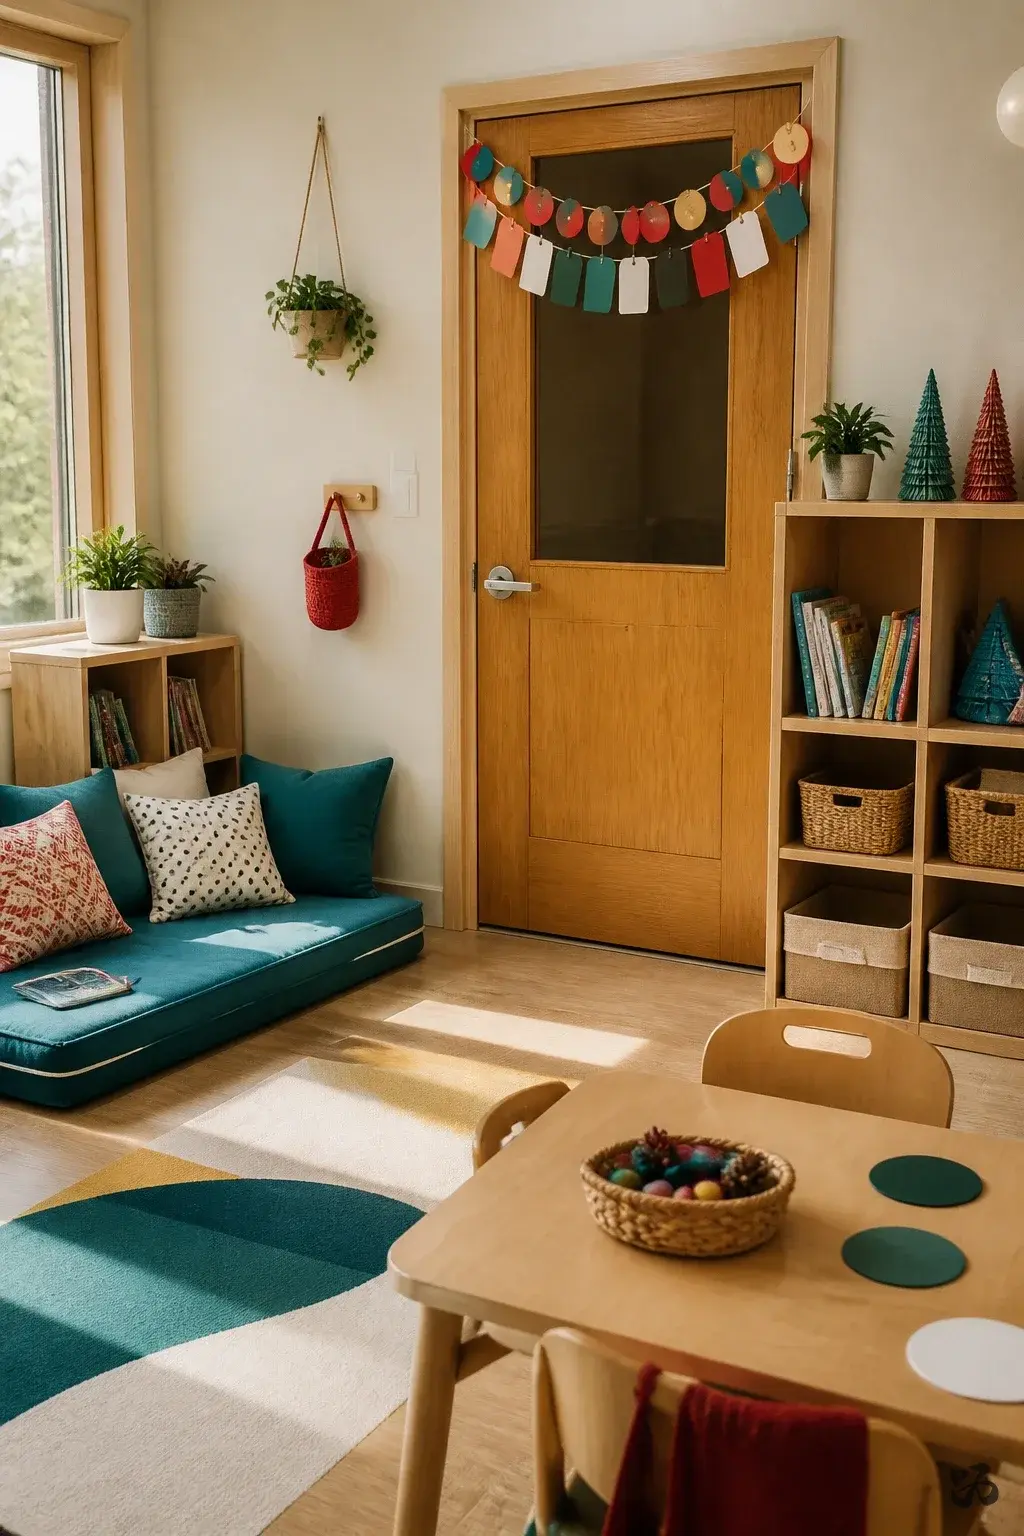 Save
SaveA row of “lights” made from circles of colored paper and a few larger rectangles acts as a garland across the top edge of the door.
What you need
- Colored construction paper
- Hole punch
- Glue sticks
- Removable tape
Very light and quick to assemble; good for all levels with minimal risk to surfaces.
16. Santa Hat Borders
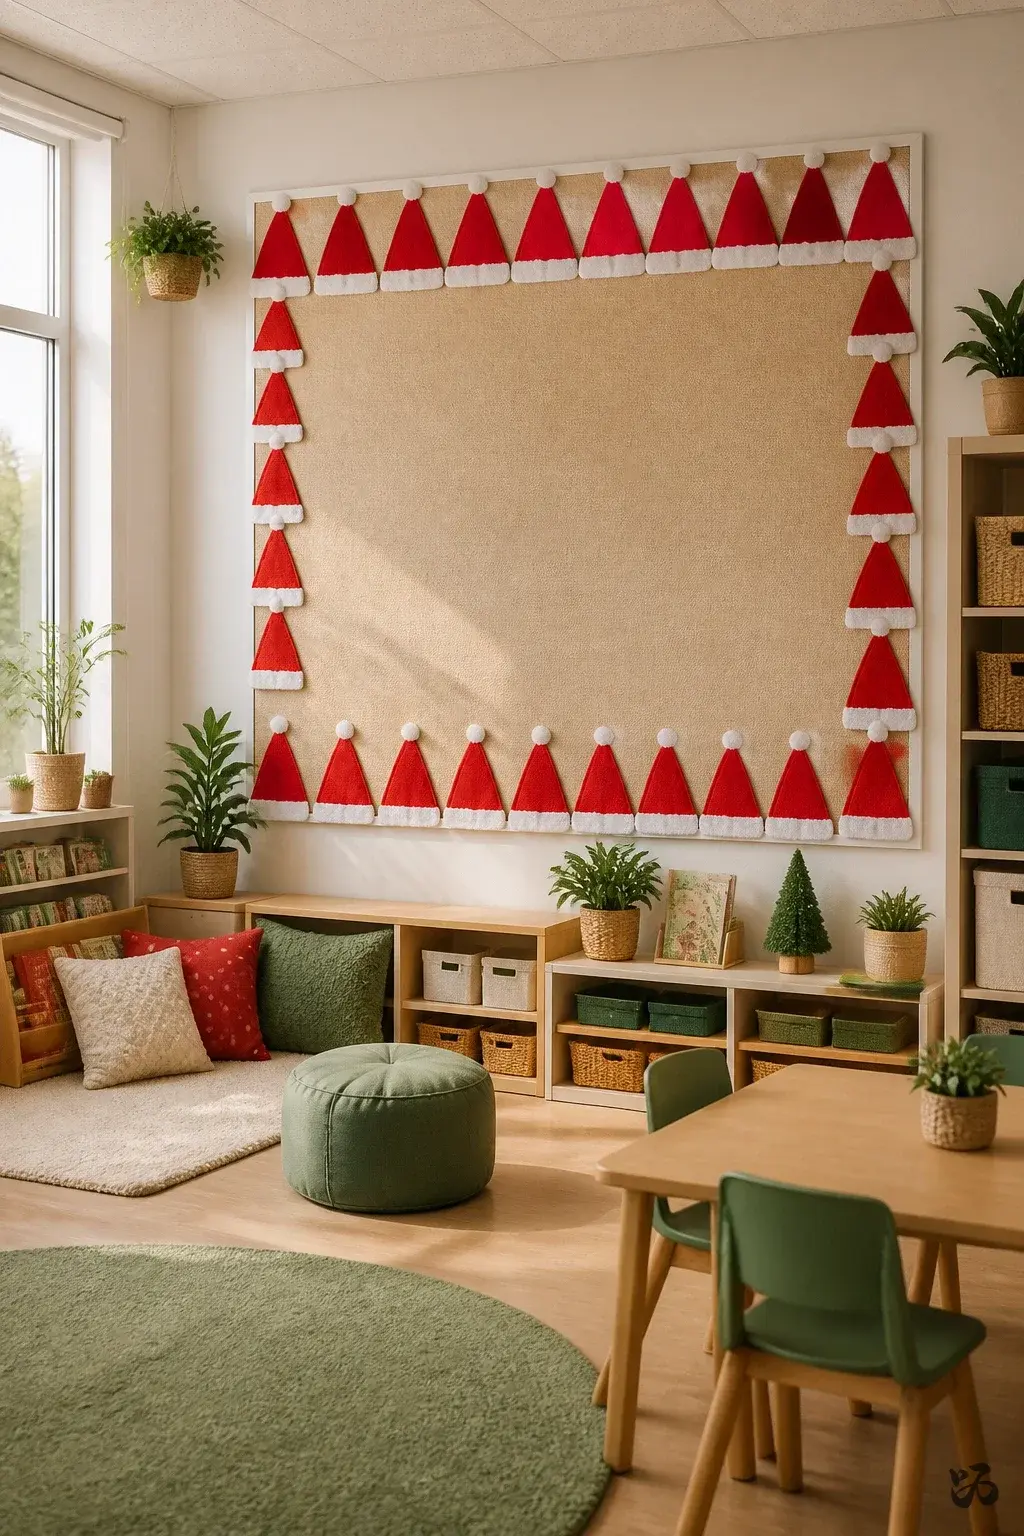 Save
SaveRed felt or red construction paper hats with white pompoms line the top and sides, creating a playful frame.
What you need
- Red construction paper
- White felt or cotton balls
- Glue sticks
- Removable tape
Fabric elements require gentle handling; suitable for early elementary and pre-K.
17. Gingerbread Village Door
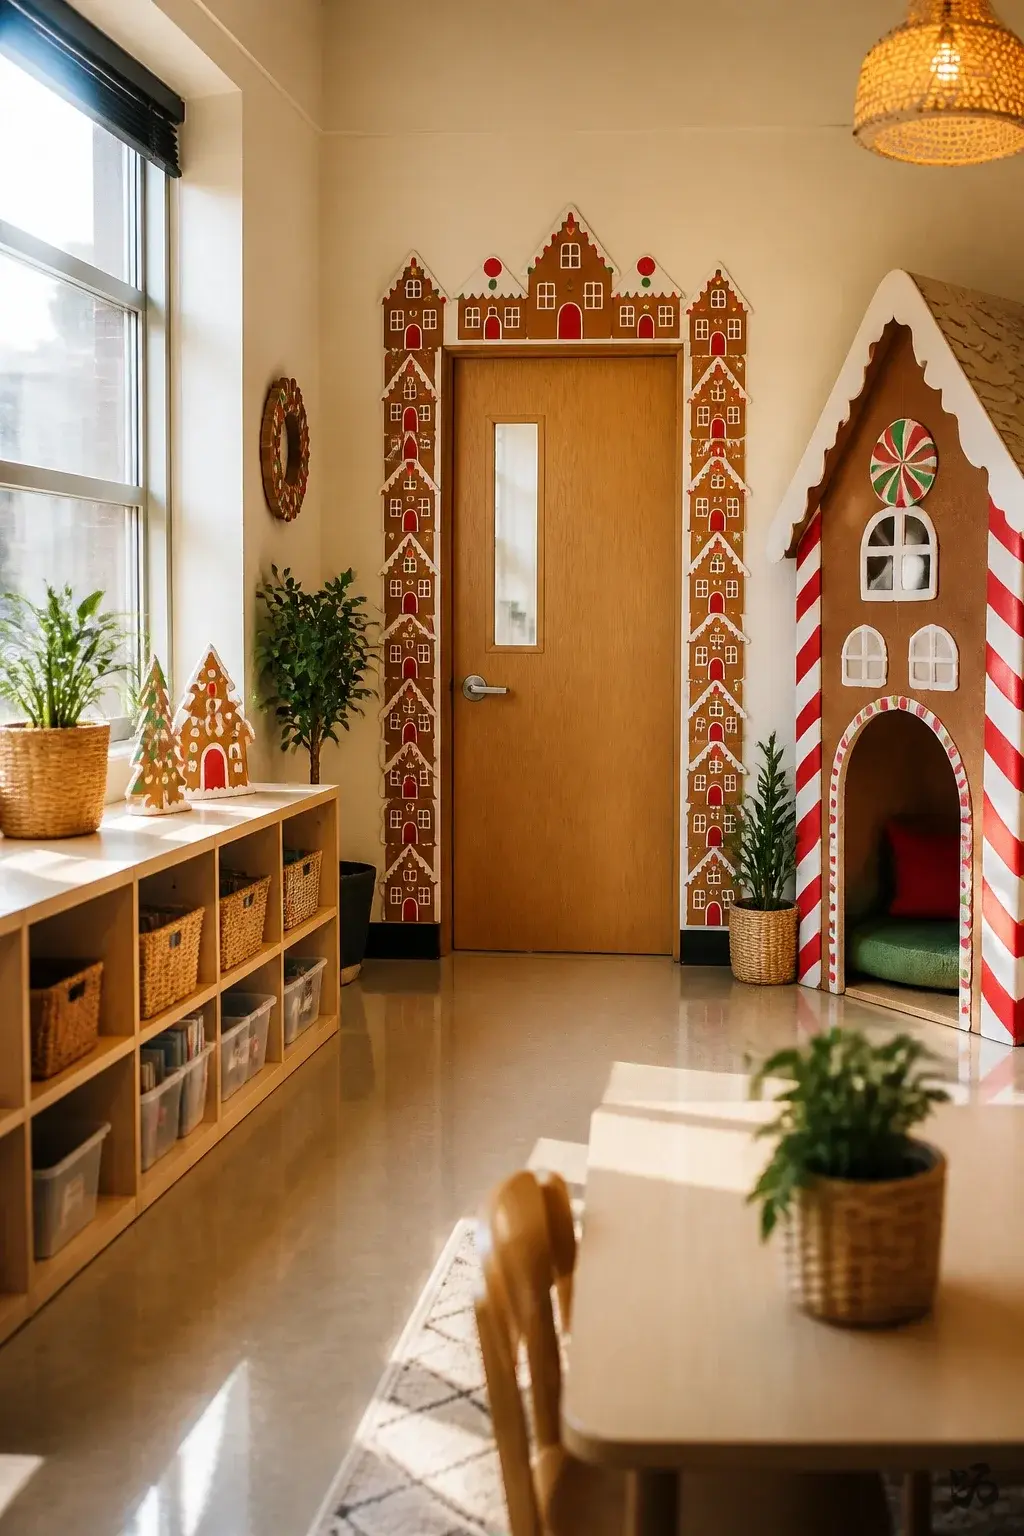 Save
SaveSmall houses aligned along the door border, built from brown cardstock and colored paper, with gumdrop accents made from red and green circles.
What you need
- Brown cardstock
- Colored circles or small paper shapes
- Glue sticks
- Marker for windows
Keep edges free for safe hallway passage; good for first through third grade.
18. Fireplace Scene Door
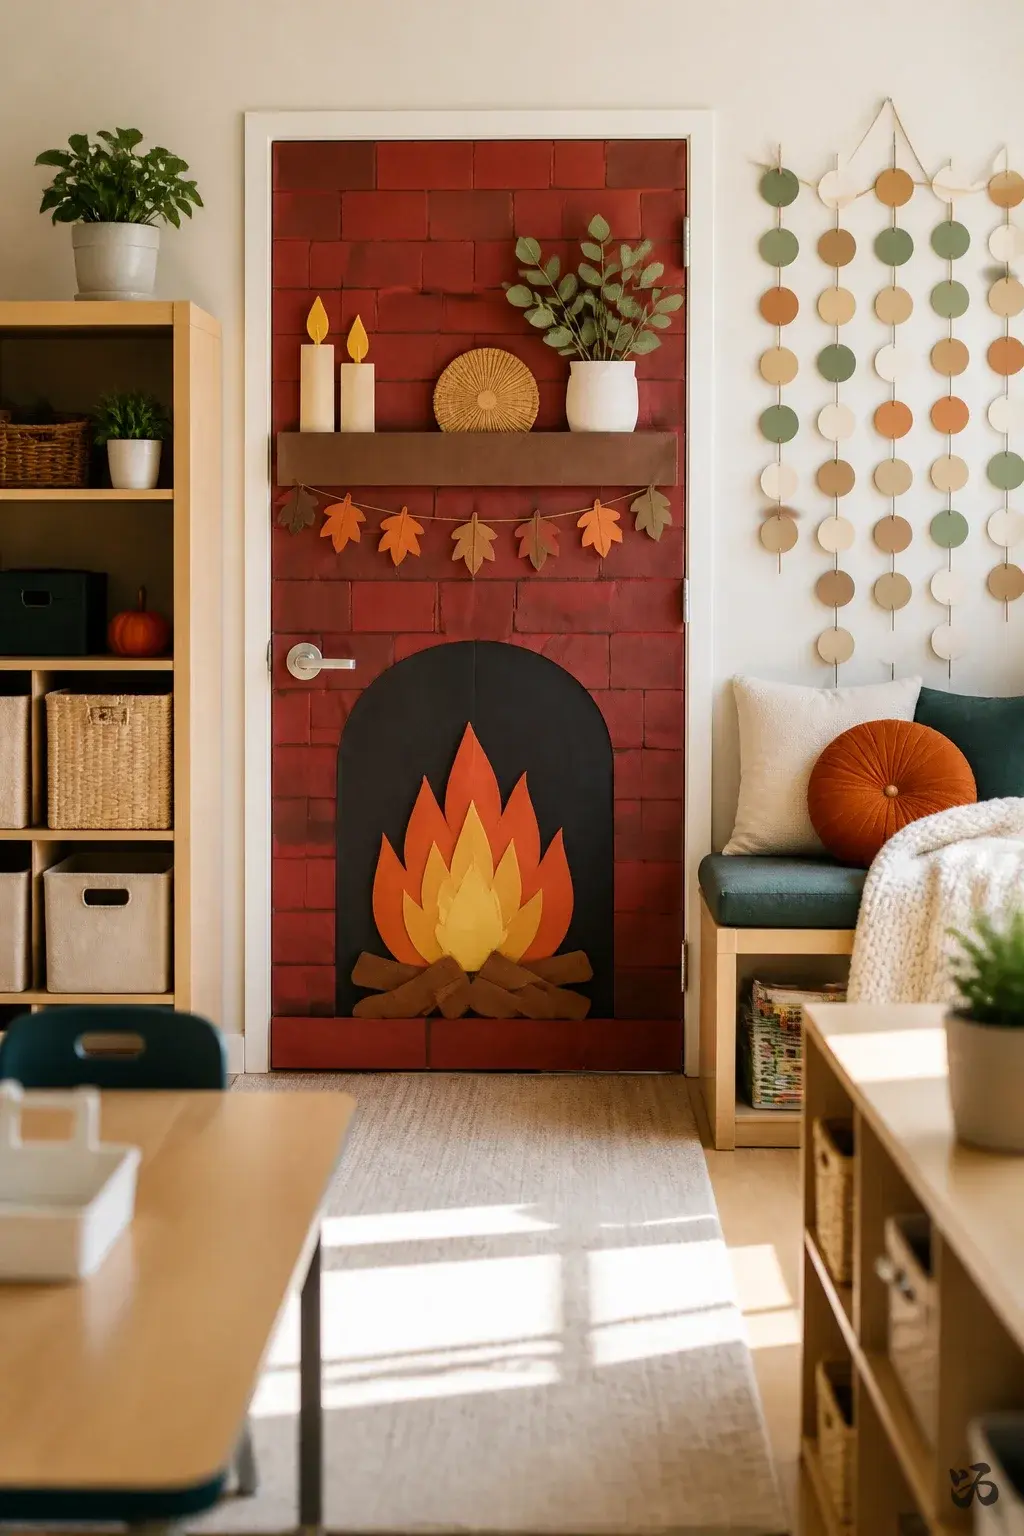 Save
SaveA cozy brick mantle made from red and brown paper stretches across the door. A flame at the center creates warmth without heat concerns.
What you need
- Red and brown construction paper
- Black marker
- Glue sticks
- Removable tape
Brick look is forgiving with a simple pattern; works for all elementary grades.
19. Christmas Tree Door Collage
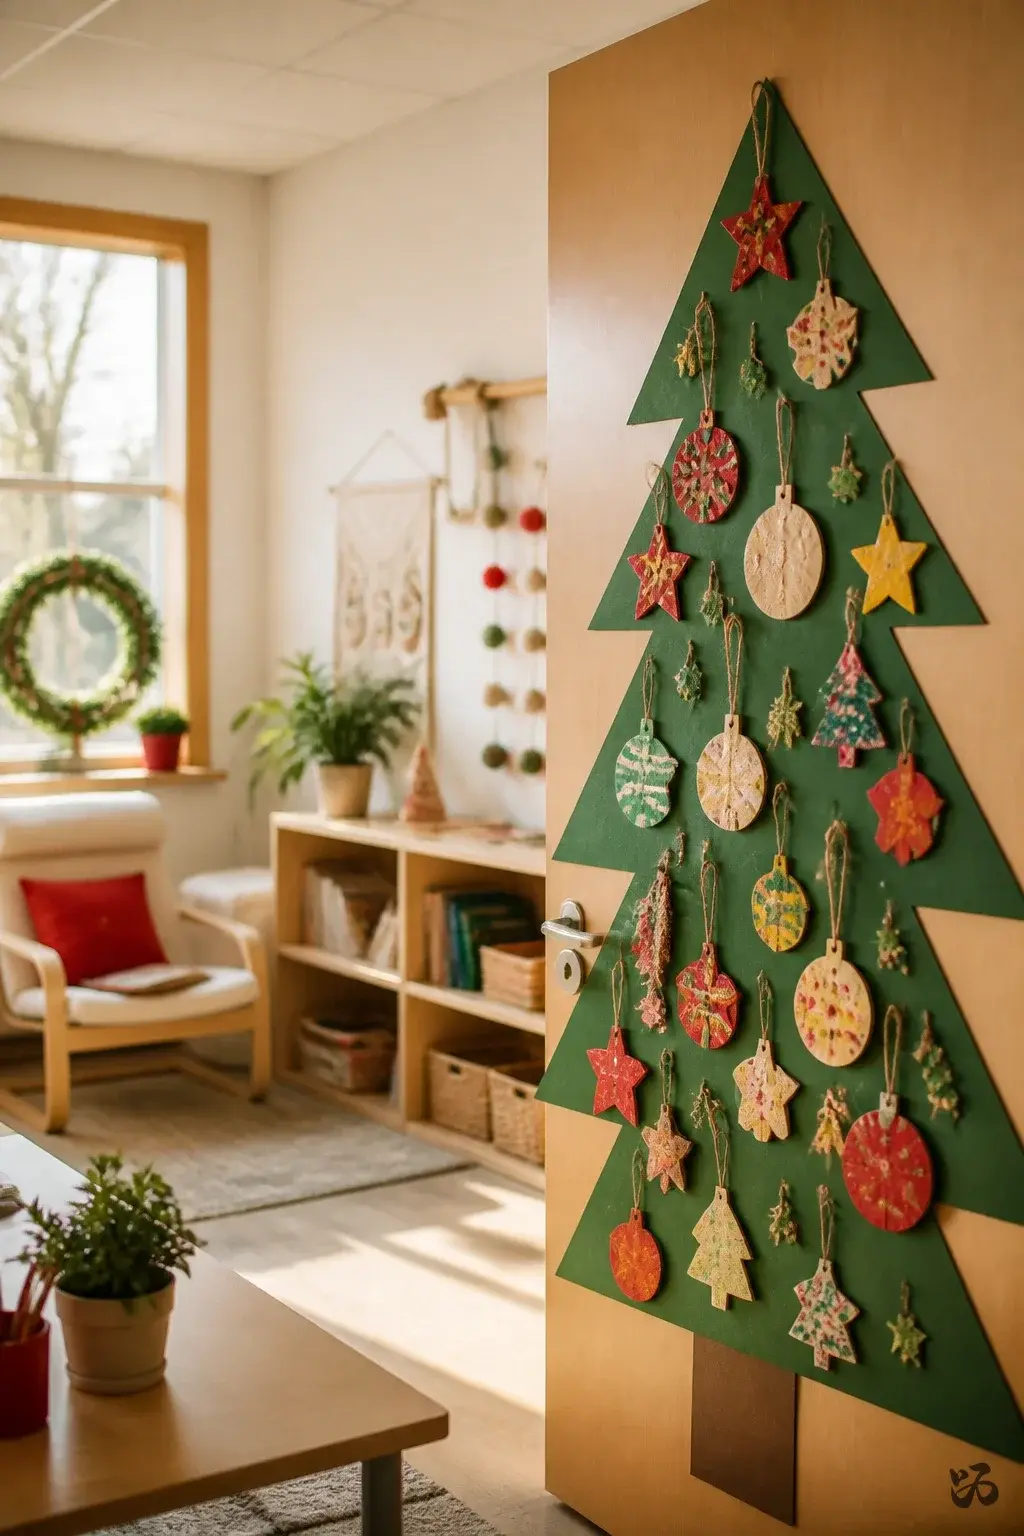 Save
SaveA large tree shape cut from green poster board or construction paper sits on the door. Ornaments are made by students and clustered on the tree.
What you need
- Green poster board or construction paper
- Colored paper shapes
- Glue sticks
- Removable tape
Quick to assemble and easy to remove; suitable for kindergarten through second grade.
Letters, Border and Tape Worth Keeping In


20. Snowflake Gate Door
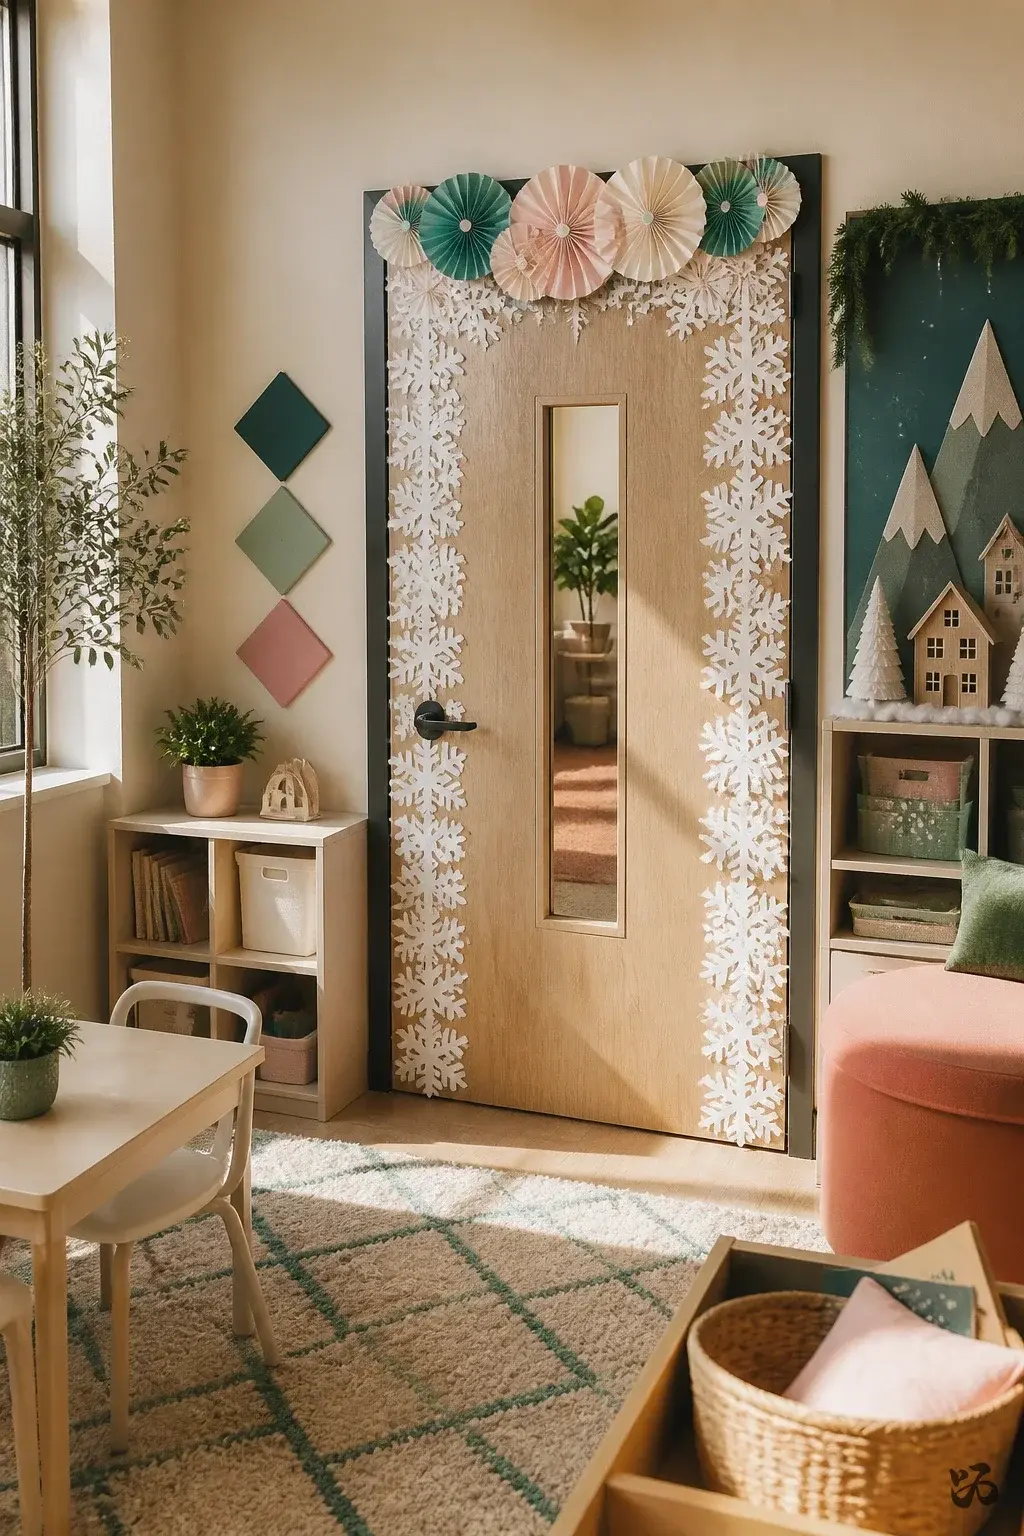 Save
SaveSnowflakes cut from white paper create a delicate, airy border along the edges. A bold headline across the top completes the look.
What you need
- White paper
- Scissors
- Marker
- Removable tape
Delicate shapes require careful handling; may be better with pre-cut snowflakes for younger kids.
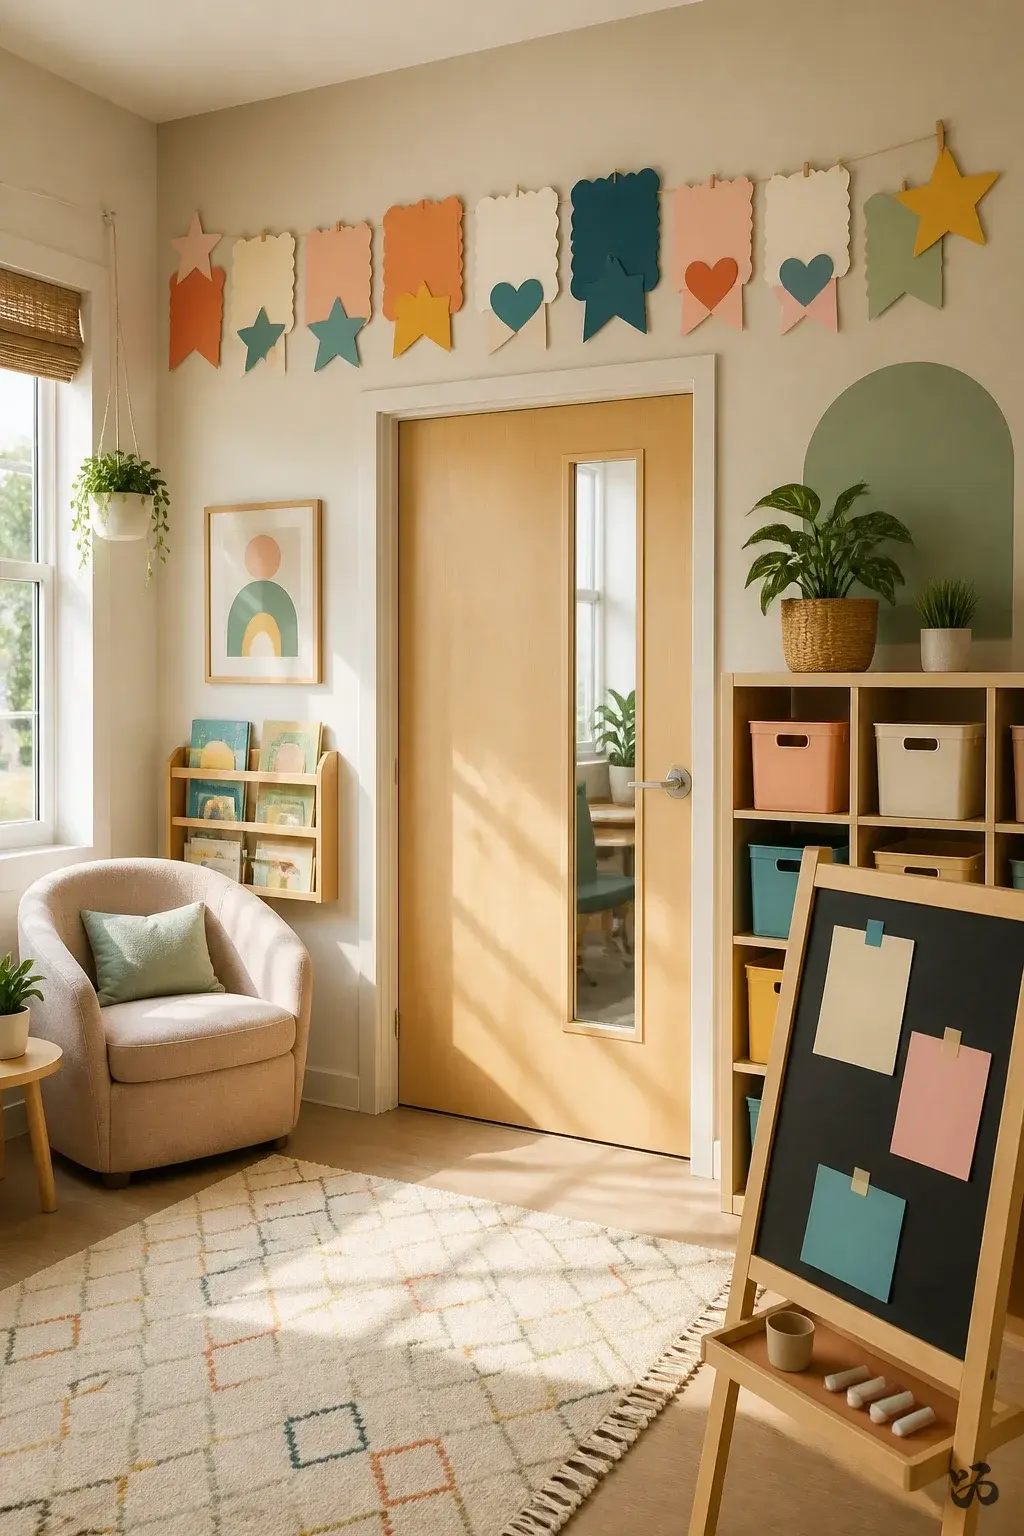
21. Warm Wishes Banner Door
 Save
SaveA large banner across the top reads Warm Wishes in cheerful letters. Each student contributes a small star or heart with a written wish.
What you need
- Cardstock
- Marker or sticker letters
- Glue sticks
- Removable tape
Encourages a quick writing or drawing activity; great for pre-K through first grade.
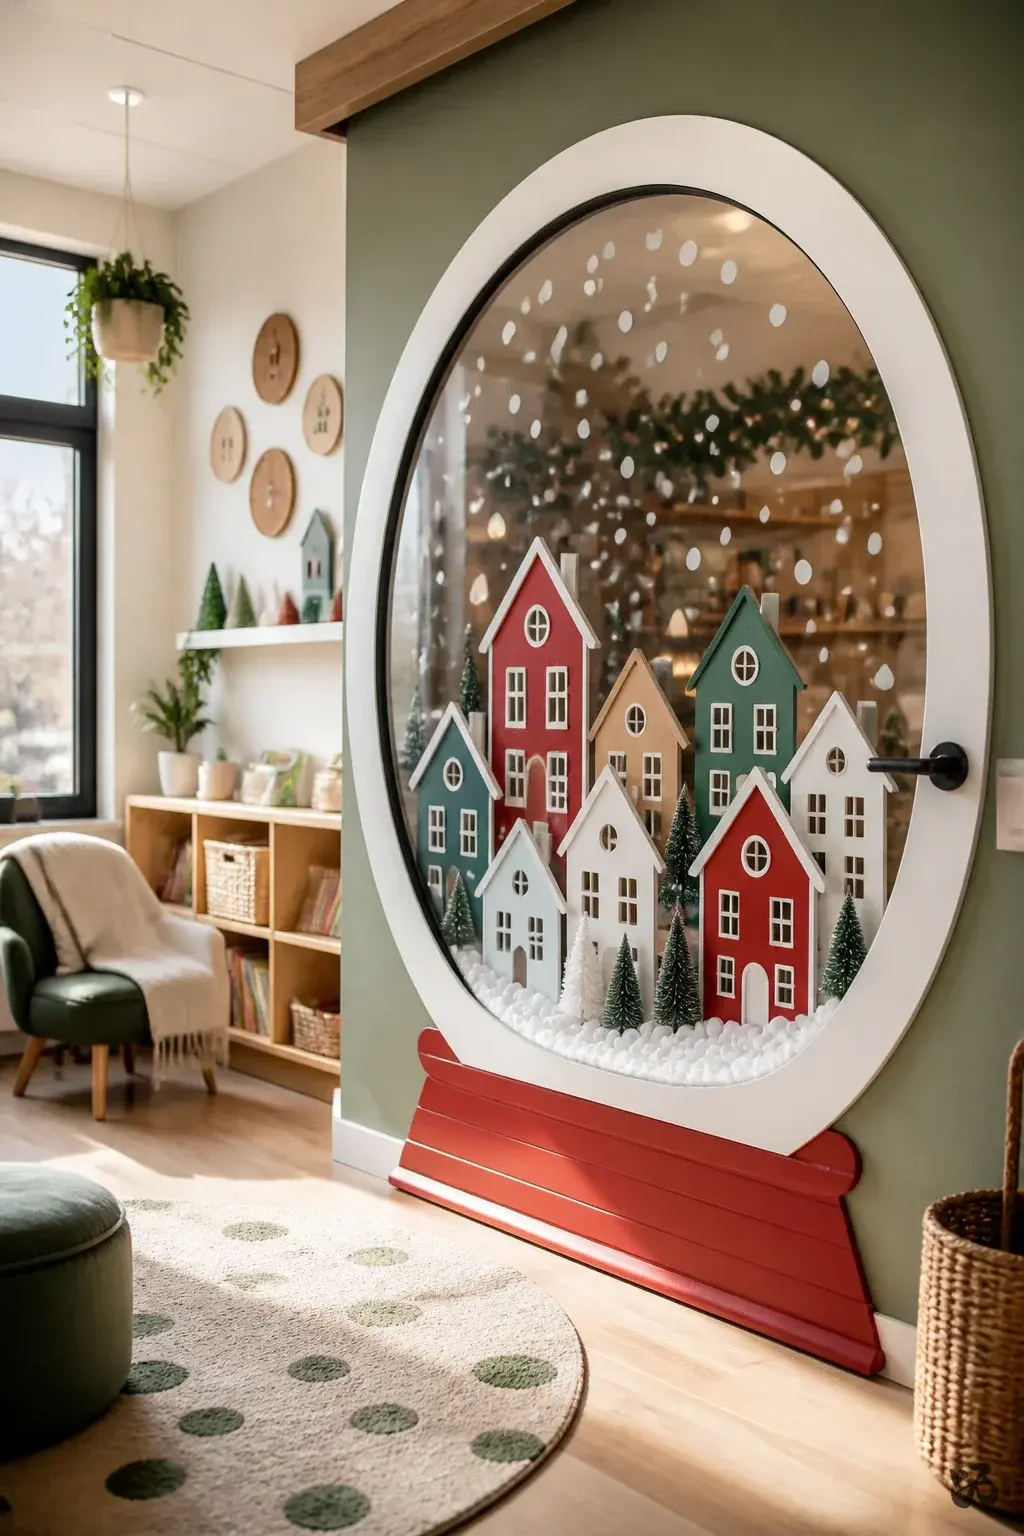
22. Holiday Village Snowglobe Door
 Save
SaveCutouts of small houses inside a large circle create a snowglobe effect. A white border around the globe completes the look.
What you need
- Cardstock in multiple colors
- Scissors
- Glue sticks
- Clear tape
Circle cutouts require a steady hand; best for first grade and up.
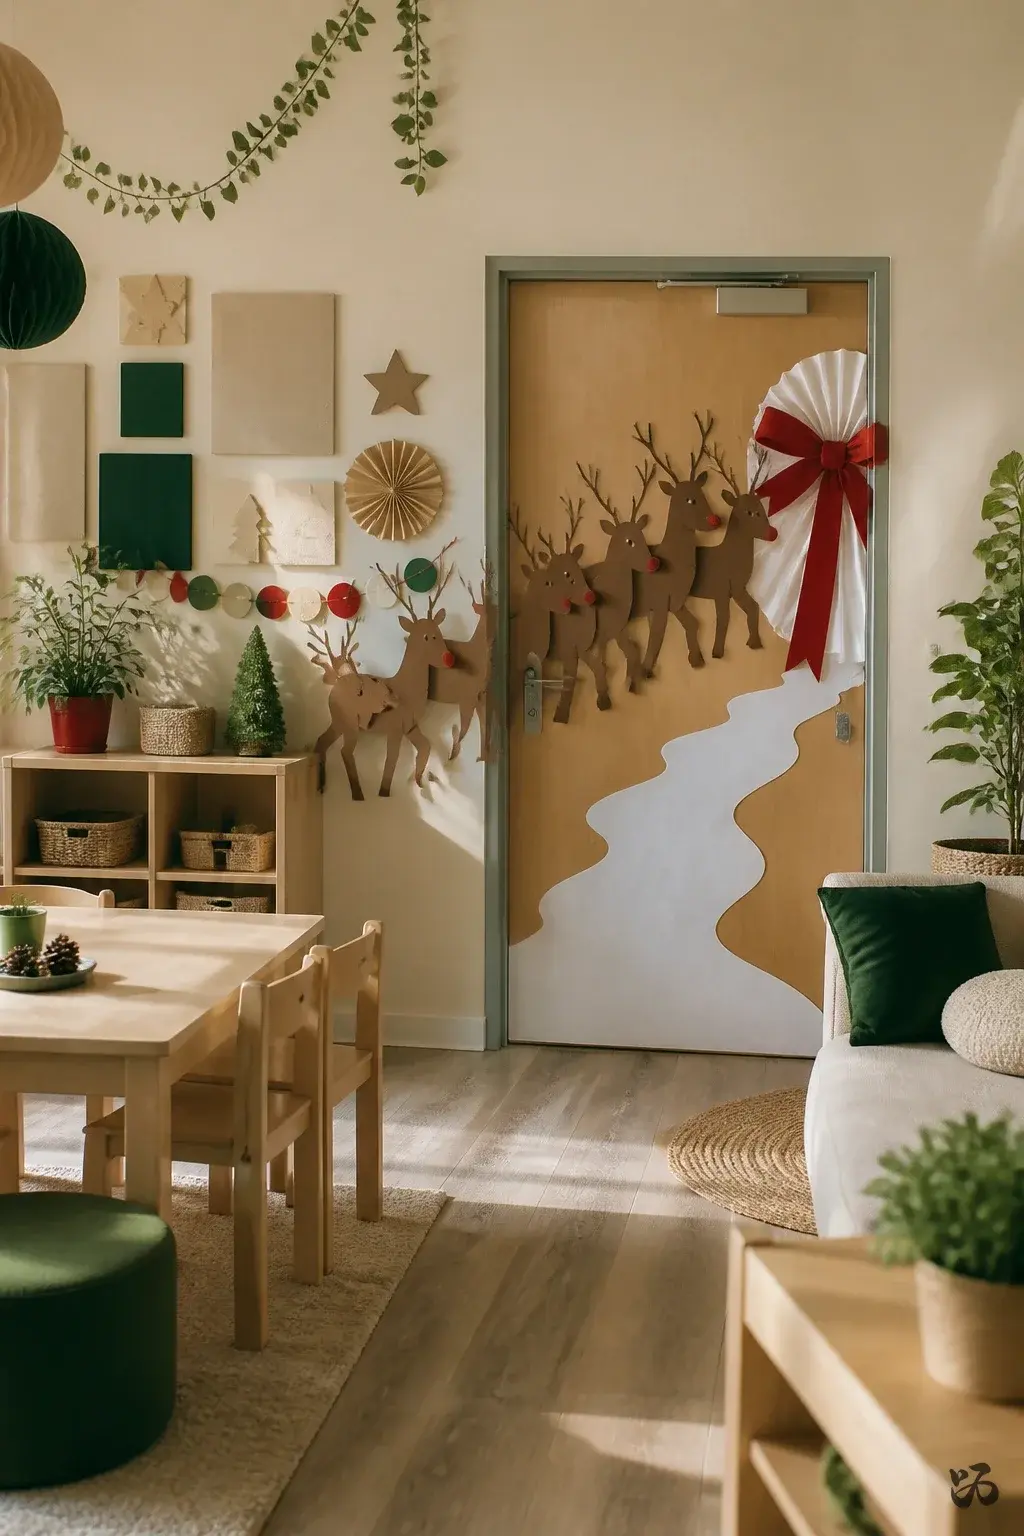
23. Reindeer Crossing Door
 Save
SaveBrown construction paper forms a herd of reindeer across the door with red noses to celebrate Rudolph. A snowy path leads to a final message.
What you need
Simple shapes travel well along a cinder block wall; suitable for all elementary grades.
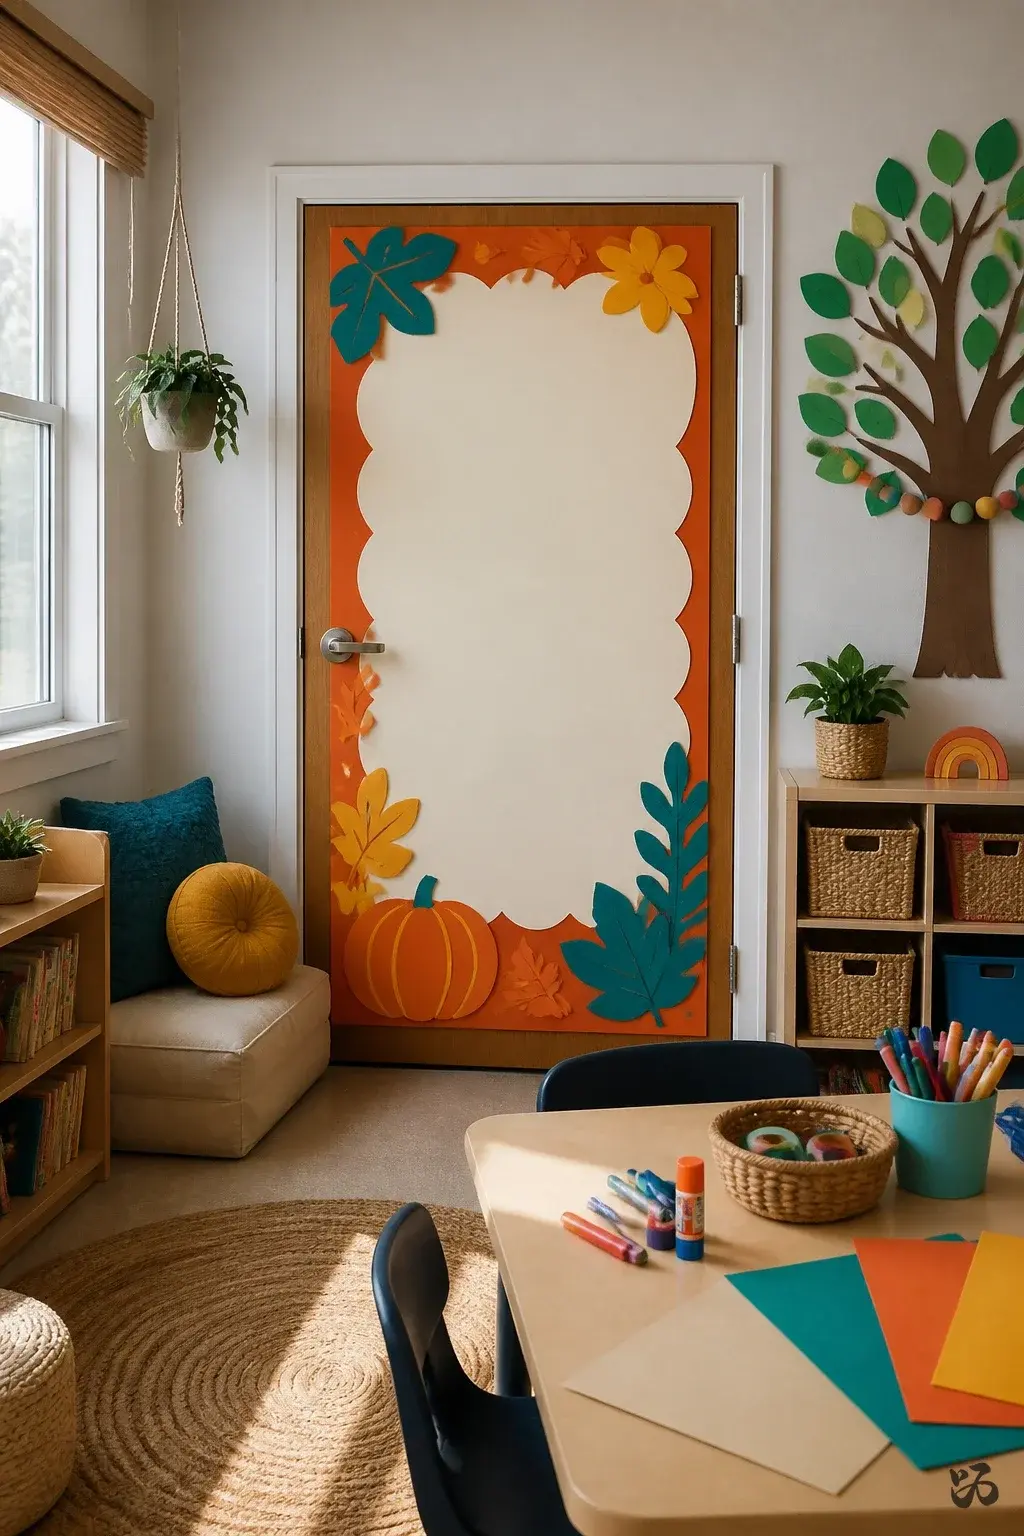
24. Open House Night Door Display
 Save
SaveA simple, clear invitation frame with the date and time of Open House. Small seasonal shapes decorate the corners for subtle festivity.
What you need
- Cardstock in neutral colors
- Markers
- Glue sticks
- Removable tape
Best as a low-coverage feature on a busy schedule; good for pre-K through second grade.
25. Christmas Tree Cutout Silhouette Door
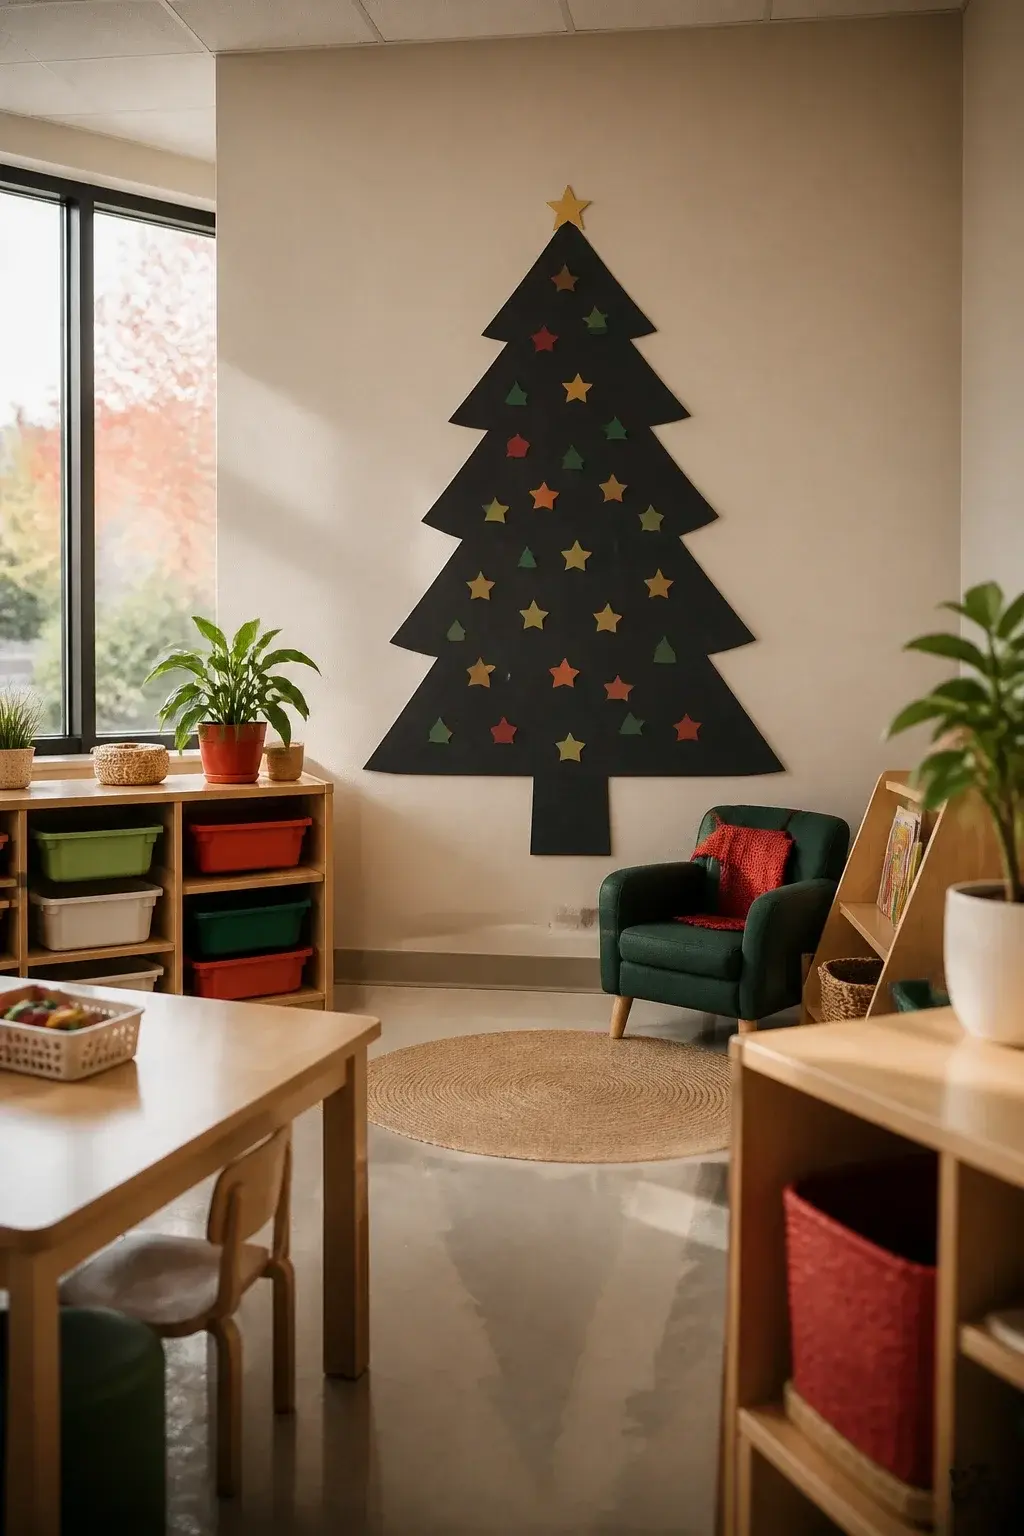 Save
SaveA large tree silhouette cut from dark cardstock sits on a lighter background. Tiny ornaments of color are added with small stickers or punched shapes.
What you need
- Dark cardstock
- Colored punched shapes
- Glue sticks
- Removable tape
Durable on a busy corridor; ideal for kindergarten through second grade.
26. Festive Border with Winter Animals
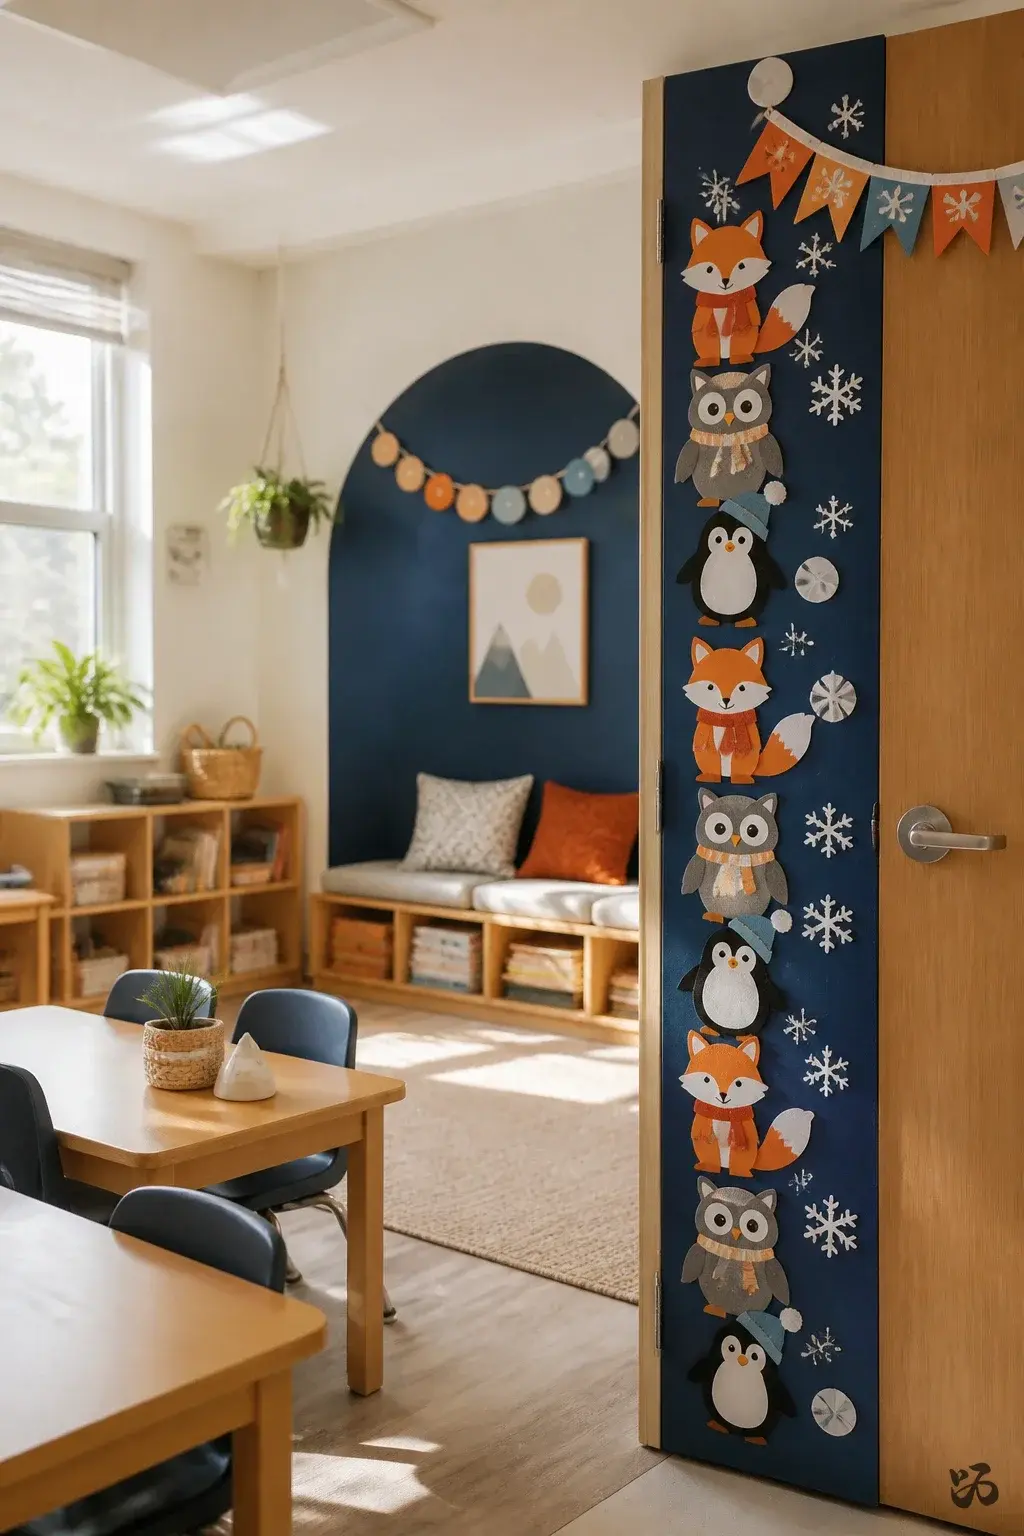 Save
SaveWinter animals such as foxes, owls, and penguins march along the door border. A simple “Season’s Greetings” banner anchors the scene.
What you need
- Animal shapes cut from colored paper
- Background paper
- Glue sticks
- Removable tape
Easy to scale up or down depending on wall space; works across grades.
27. Candy Box Door Invitation
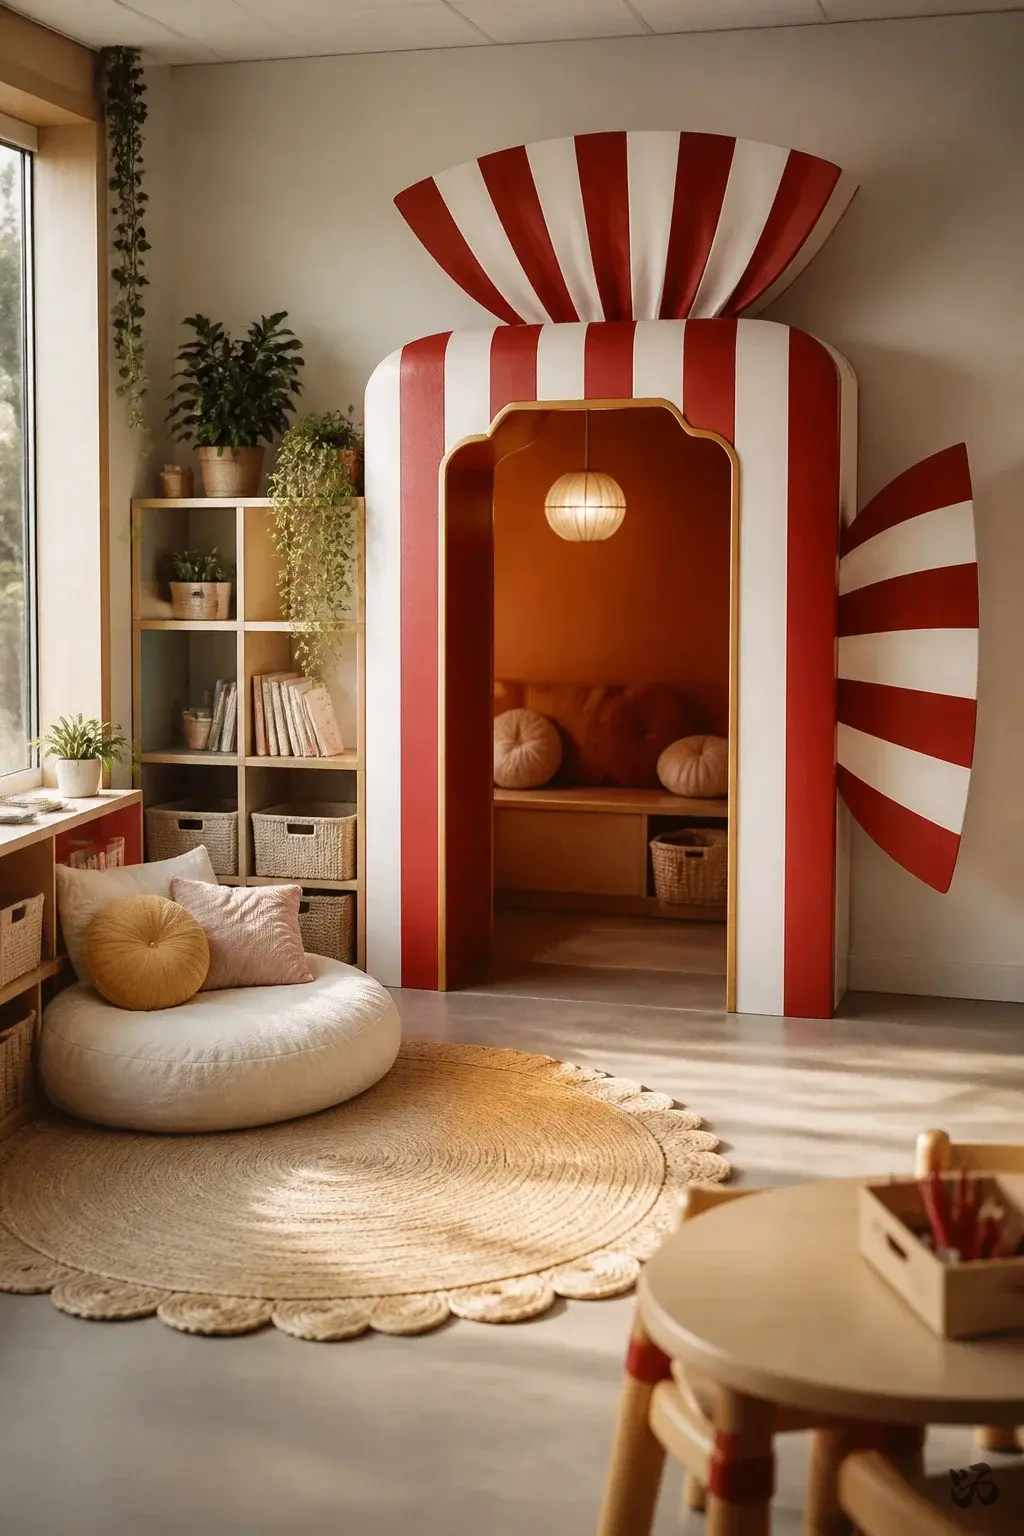 Save
SaveA candy box shape sits on the door with a big opening and a note that invites families to visit the classroom for Open House. Red and white stripes create the box stripes.
What you need
- Cardstock in red, white
- Marker for lettering
- Glue sticks
- Removable tape
Simple, friendly and quick to assemble; suitable for all elementary levels and pre-K.
Conclusion: Start with a door border that uses minimal paper or one that can be assembled with a single prep period, then add a second element if time allows. The key is durability, ease of removal, and avoiding heavy wall damage. Pick one or two ideas to test during prep and save others for later in the school year.