
Some links in this post are affiliate links. If you buy through one, I may earn a small commission at no extra cost to you. As an Amazon Associate I earn from qualifying purchases.
This post gathers practical, low-stress ideas you can implement for Christmas door décor in a preschool or pre-K setting. It’s aimed at teachers in kindergarten through second grade who want sturdy, kid-friendly ideas that fit urban school realities. Each idea includes concrete materials and a realistic look at setup and maintenance during a busy December.
 Save
SaveFree printable
Free Dear Santa and Dear Winter Letters
Letter pages at two levels (K to 1 and 2 to 5), fold-up envelopes and a 2 minute calm moment to start. A cozy December writing lesson.
Free download. You will also get a couple of follow-up emails with classroom ideas. Unsubscribe anytime.
What I’d Grab First
- Bulletin board paper roll: One fade resistant roll covers a whole door or board in a single piece, so there are no seams for little fingers to pick at.
- Cardstock: Heavier than construction paper, so cutouts stay flat and survive being handled all through December.
- Cotton batting: Pulls apart into soft snow drifts and makes far less mess than glitter or fake snow.
- Removable mounting strips: Hold everything up without damaging the paint, and come off cleanly when it all comes down in January.
New from Shinku Studio
 Save
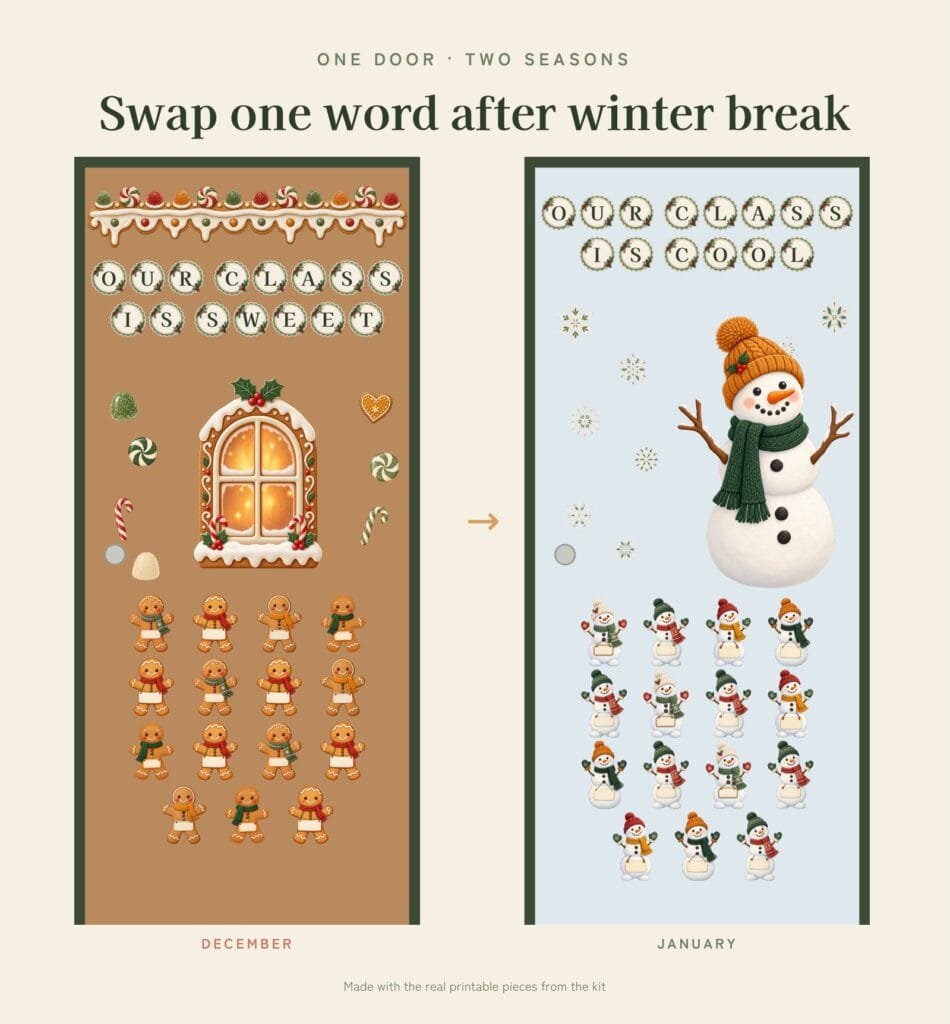
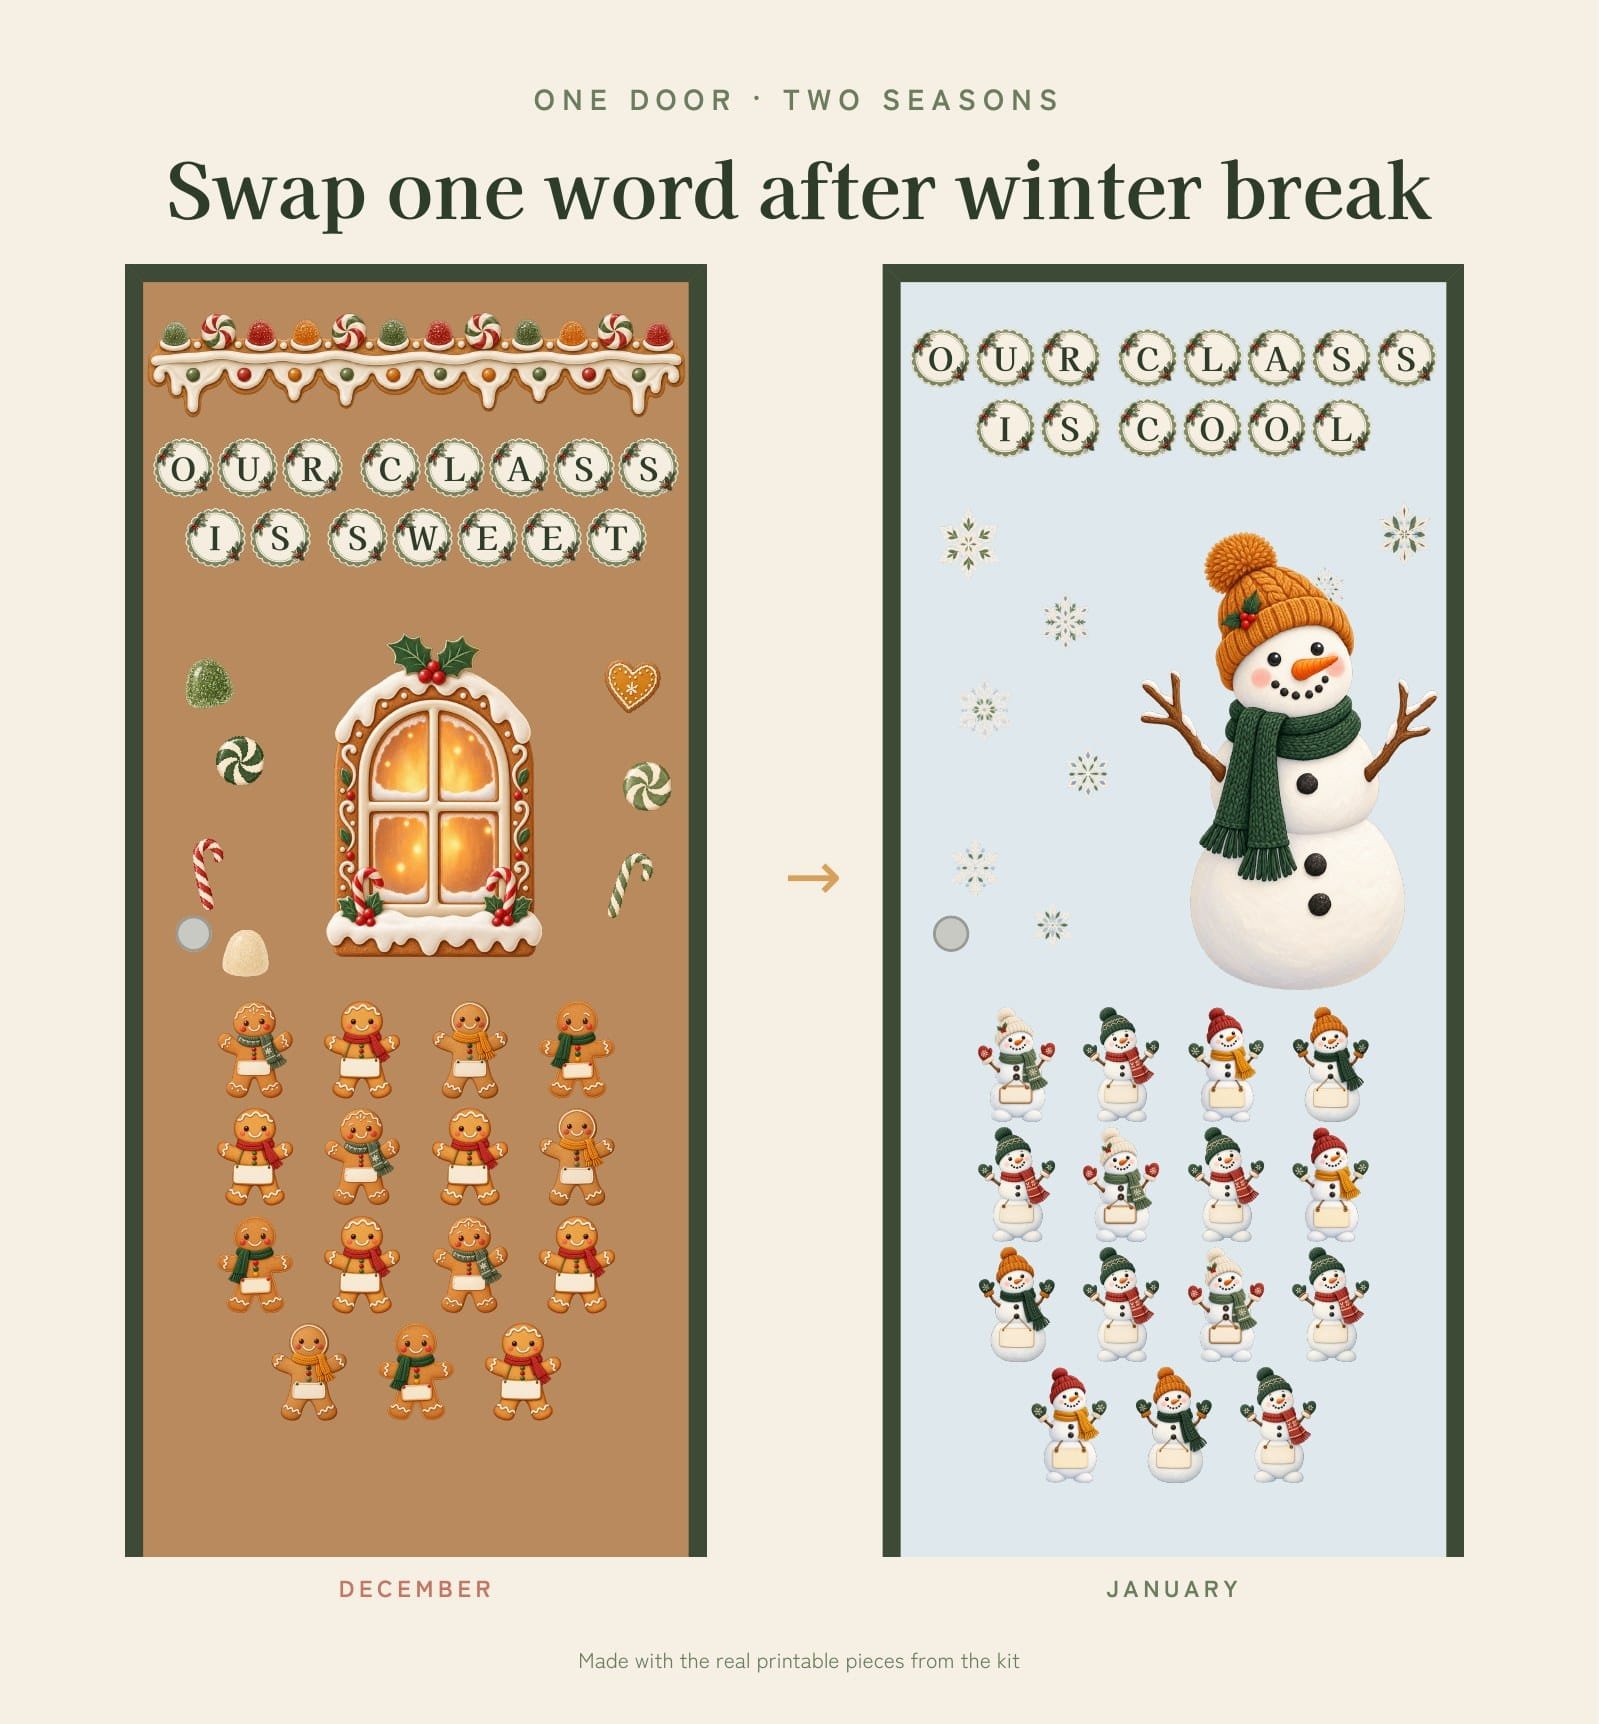
SaveWant the door done in one go? The Cozy Winter Door Bundle is a printable gingerbread house door for December that turns into a snowman door for January, so you decorate once and it lasts till February. Color and ink saver versions included.
1. Candy Cane Strips in the Hallway Border
 Save
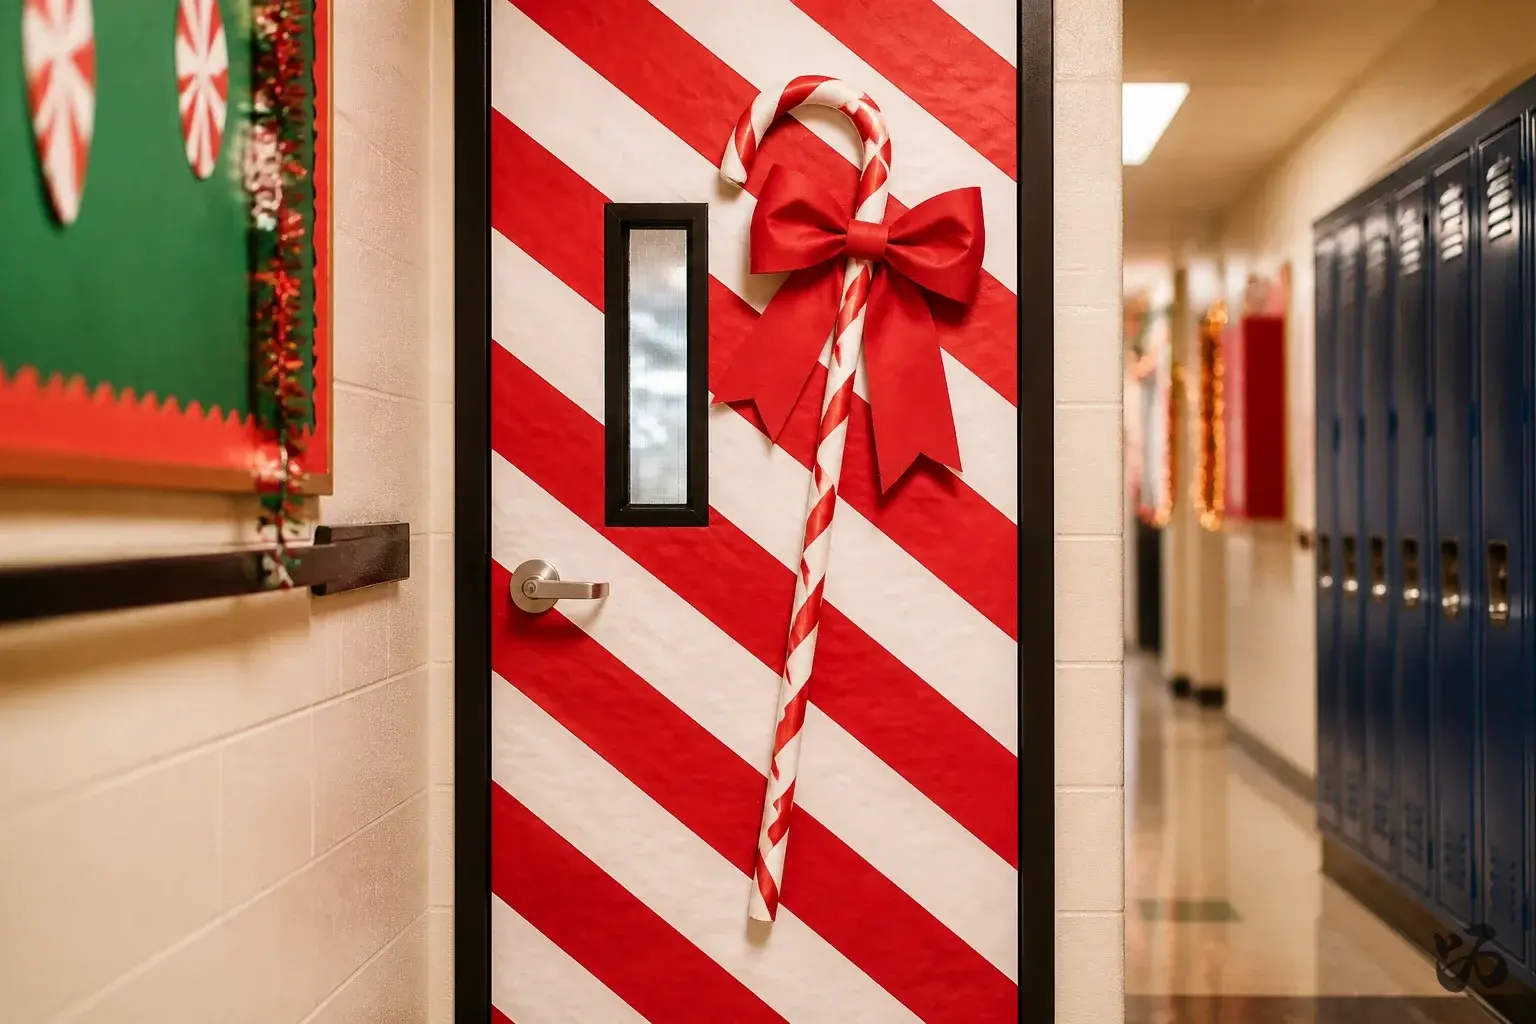
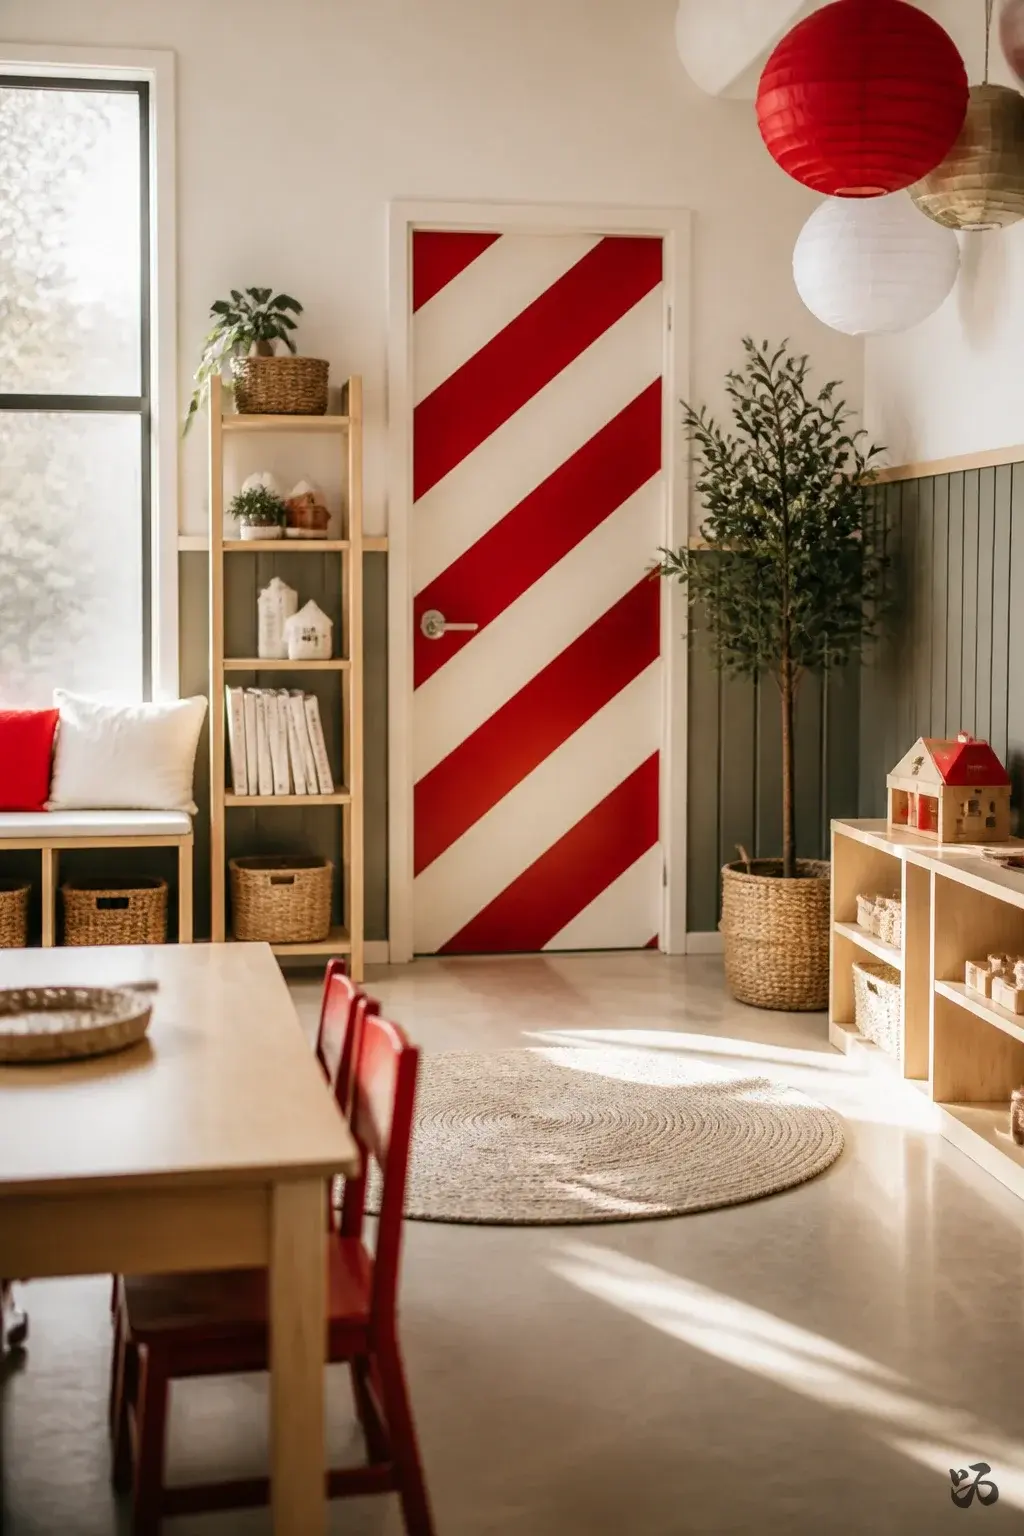
SaveA wide door is wrapped with bold red and white paper strips cut from construction paper or butcher paper. Strips are layered diagonally to evoke a candy cane pattern. The door reads festive from a distance and holds up well to student touch during arrival and dismissal.
What you need
- Red and white construction paper
- White butcher paper or wide craft paper
- Masking tape
- Ruler or straight edge
- Scissors
- Optional small red bows for a finishing touch
Prep period friendly and simple to re-use year after year with minor touchups.
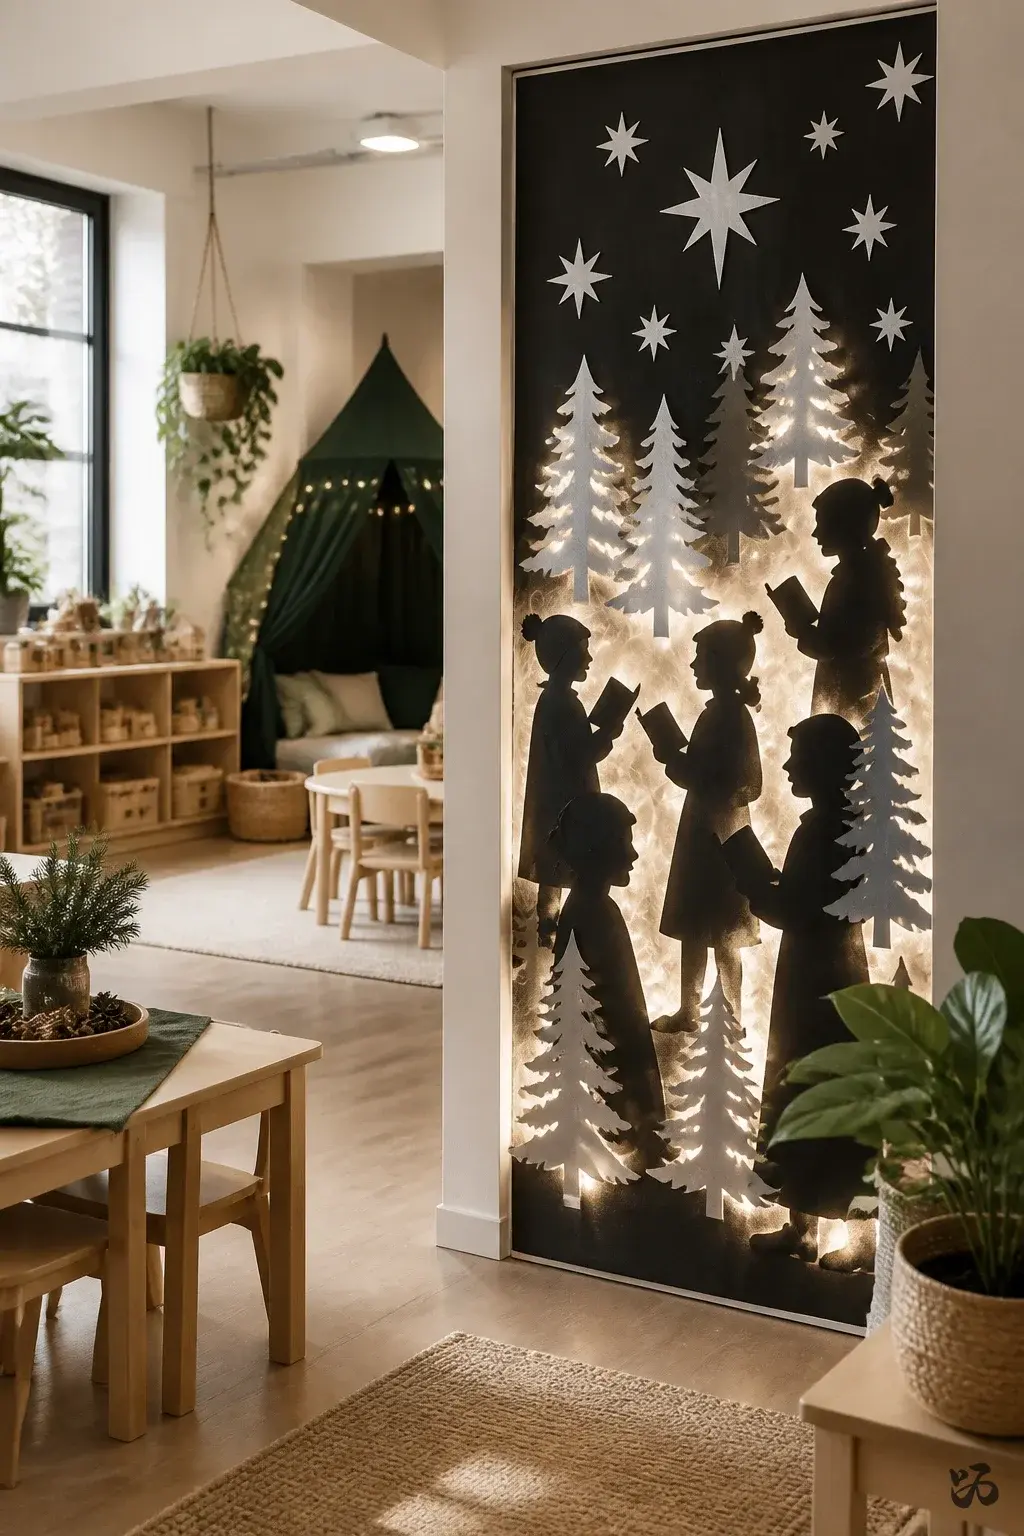
2. Silhouette Carols on Black Cardstock
 Save
SaveCut out silver or white silhouettes of carol singers, stars, and trees from black or dark cardstock. Place them against a wall or door with a light halo made from string lights or white crinkle film. It looks polished without heavy coverage of the door.
What you need
- Black cardstock
- White or silver construction paper
- Small LED string lights
- Double-sided tape or removable adhesive
- Scissors
Laminate not required for the silhouettes; reuse year after year with fresh accents.
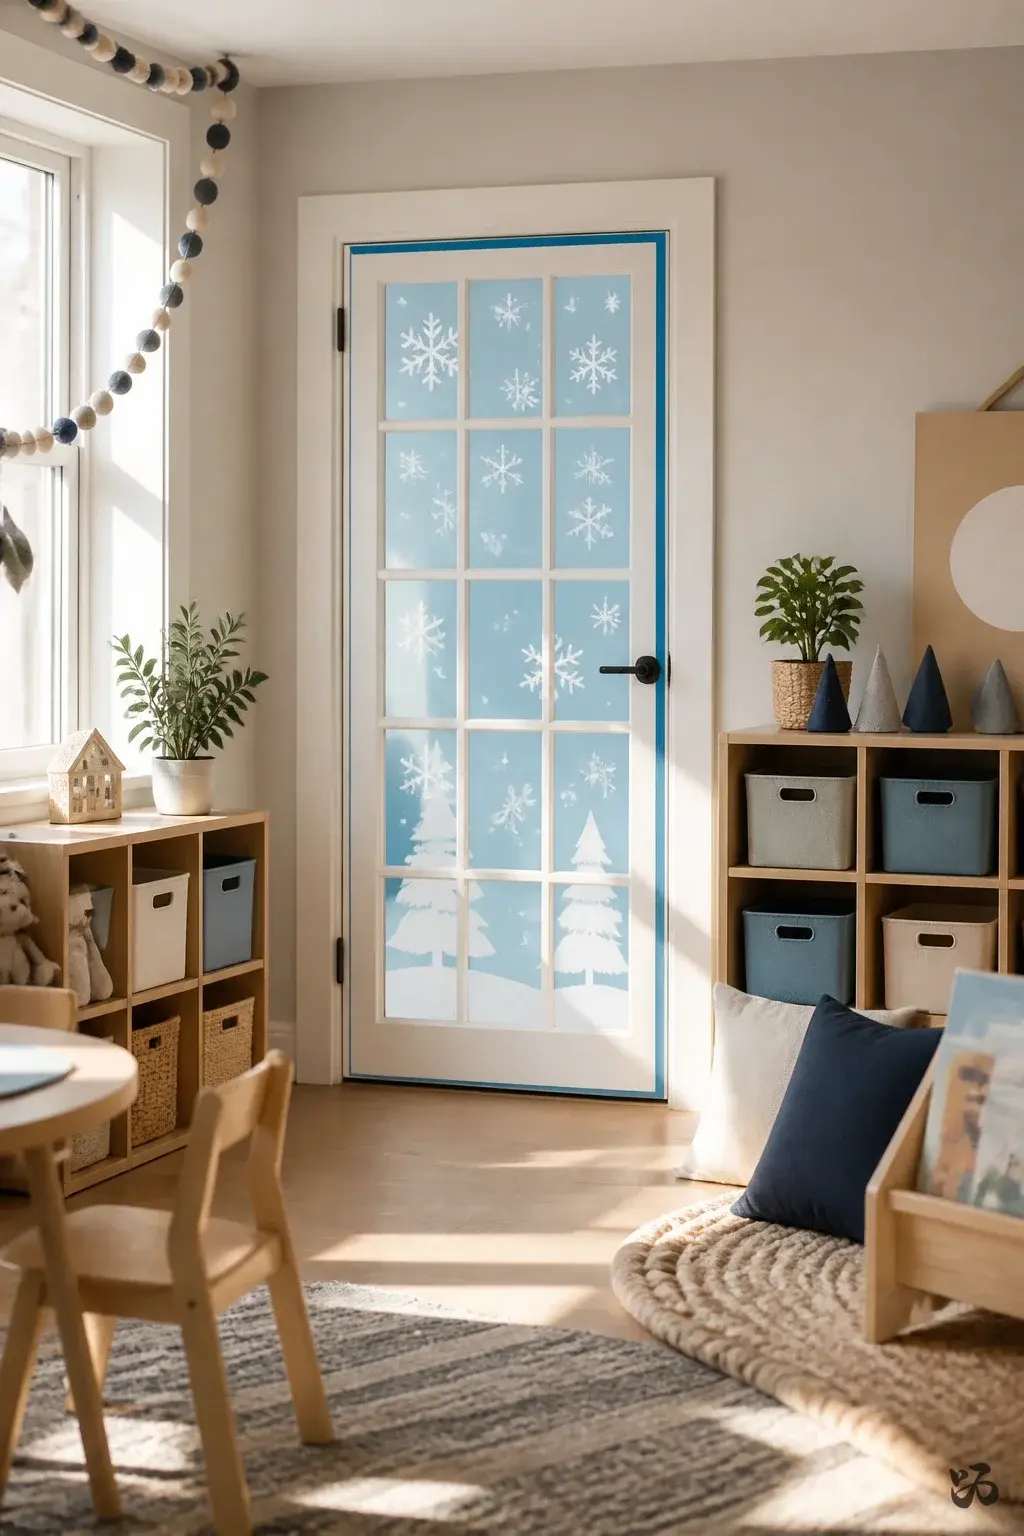
3. Snowy Windowpane Door with Reusable Cutouts
 Save
SaveTransparent contact paper creates a faux window effect over the door, while white cutouts of snowflakes and trees fill the frame. The effect is bright and winsome without covering every inch of the surface. It’s easy to remove after winter break.
What you need
- Transparent contact paper
- White cardstock
- Blue painter’s tape
- Plastic safety scissors
- Light blue or white border trim
May skip lamination; cutouts can be punched and stored flat for next year.
New from Shinku Studio
 Save
SaveWant a door that lasts till February? The Cozy Winter Door Bundle is a gingerbread door for December that turns into a snowman door in January by swapping one word. 45 printable pages in color, plus an ink saver version.
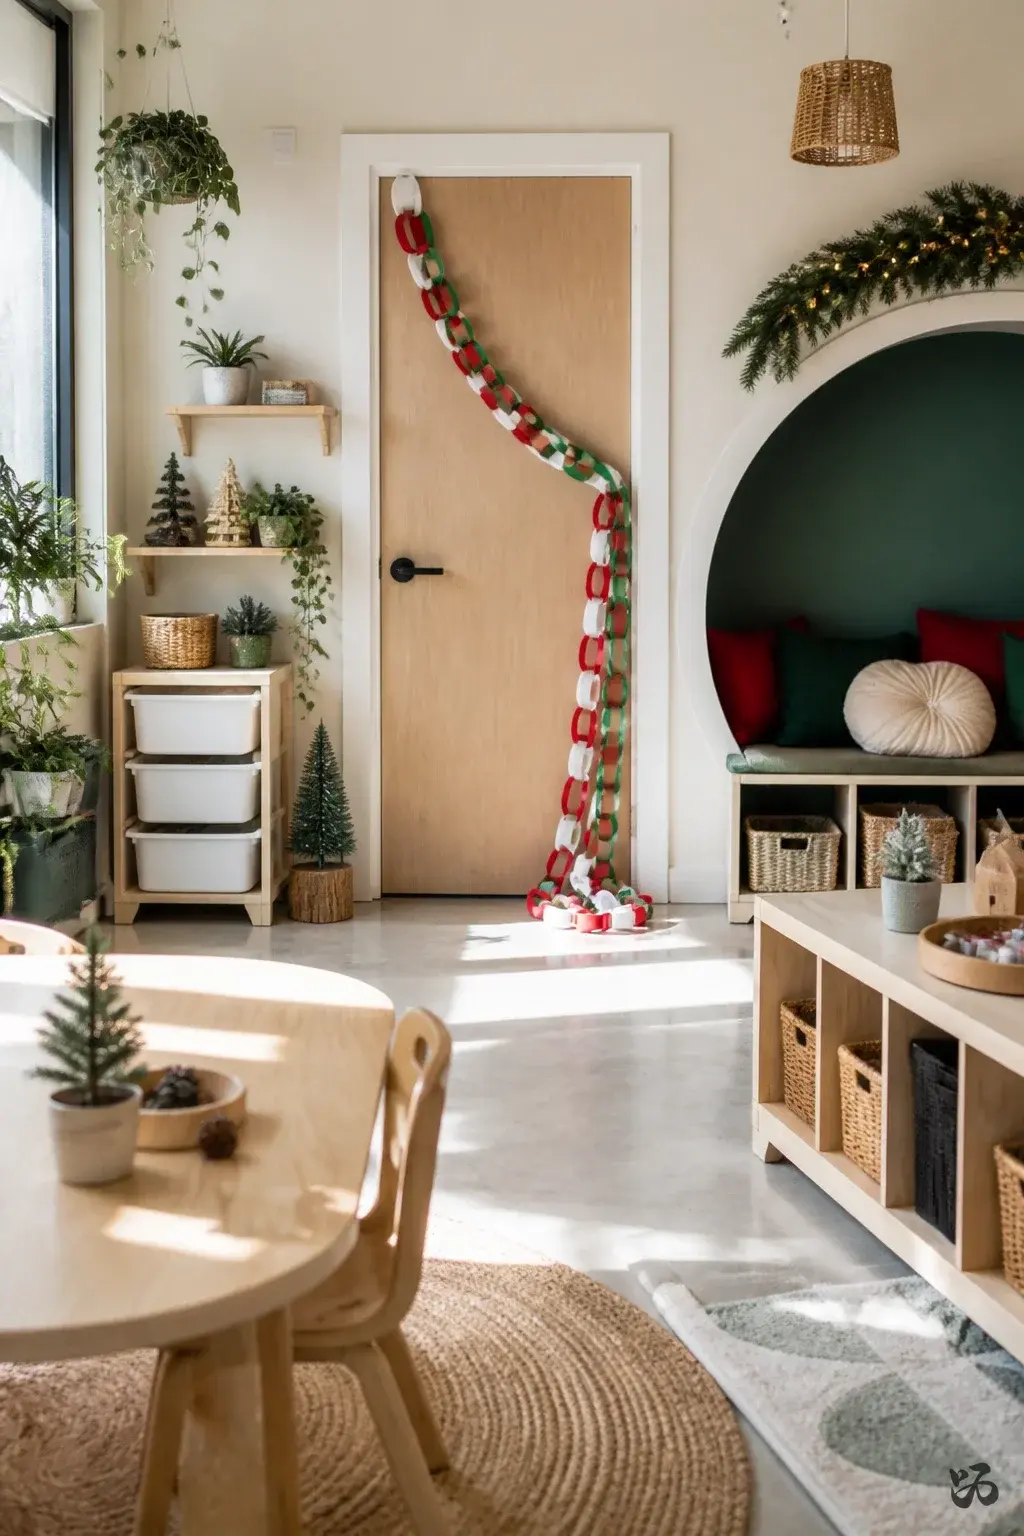
4. Paper Chain Countdown to Winter Break
 Save
SaveA long paper chain wraps the door with one link for every day of December leading to winter break. Use red, green, and white links for a cheerful countdown that doubles as a math activity for students to count down days.
What you need
- Green, red, and white construction paper
- Scissors
- Stapler or tape
- Hole punch (optional for neat links)
- Marker for labeling dates
Tolds up well; avoid using too many staples on doors with custodial rules about tape.
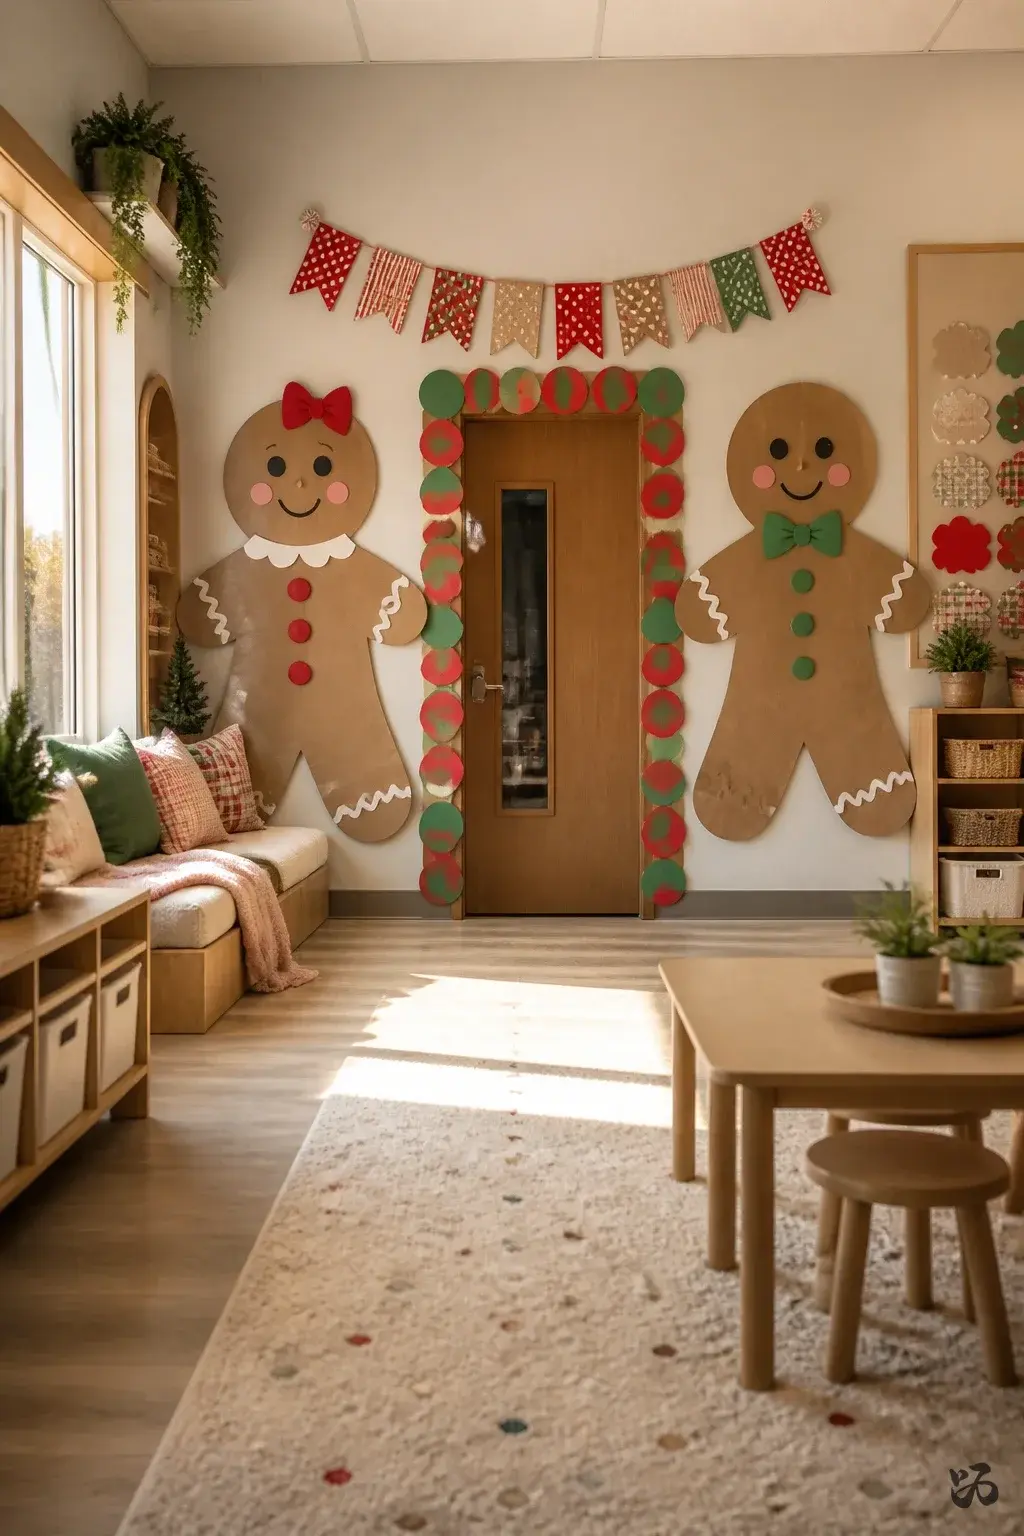
5. Gingerbread Family Door Duo
 Save
SaveTwo large gingerbread figures made from brown butcher paper stand on either side of the door with a welcome banner overhead. Faces are drawn with markers and chalk, and the doorway is framed with candy “gumdrops” made from red and green circles.
What you need
- Brown butcher paper
- White and colored construction paper
- Black markers
- Grocery store punch-out circles or circles cut from construction paper
- Adhesive or masking tape
Keep faces simple so kids can contribute during prep period.
Door Supplies Worth Having


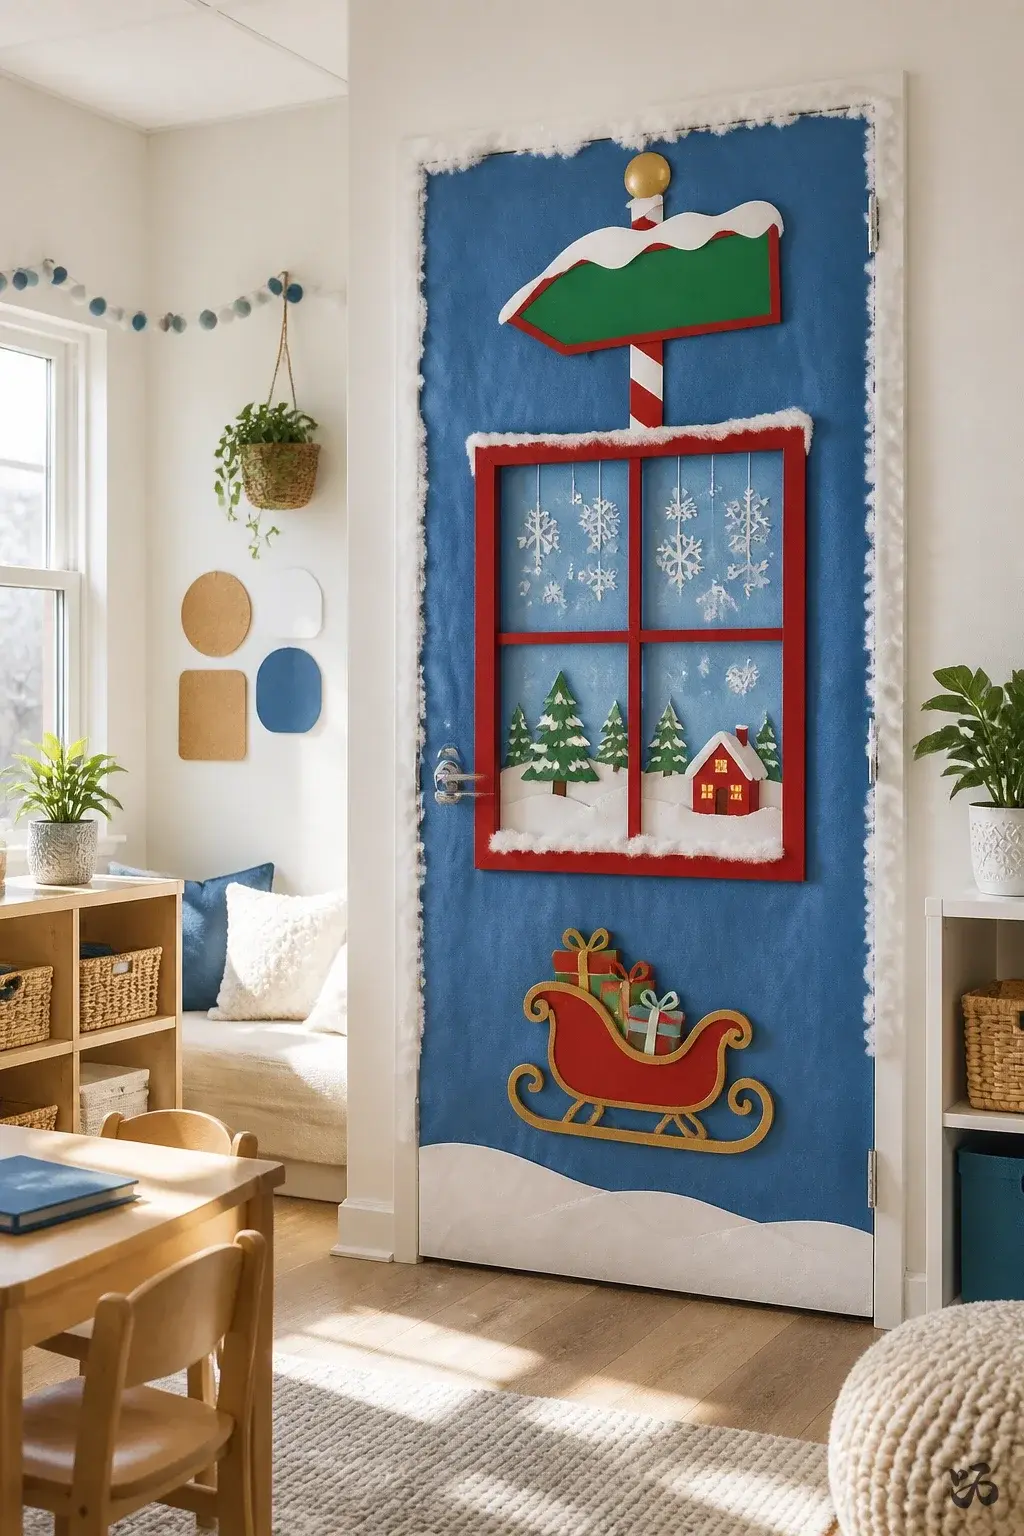
6. North Pole Window on the Door
 Save
SaveA bright, decorative scene uses blue and white hues with a snow-dusted border. A “North Pole” sign hangs at the top, and a few printable stickers or student-drawn sleighs dot the scene.
What you need
- Blue butcher paper
- White glitter or faux snow
- Green, red, and white construction paper
- Glue sticks
- Removable tape or poster putty
Best on a door with a flat surface; avoid heavy crowding on the lower portion to keep it kid-safe.
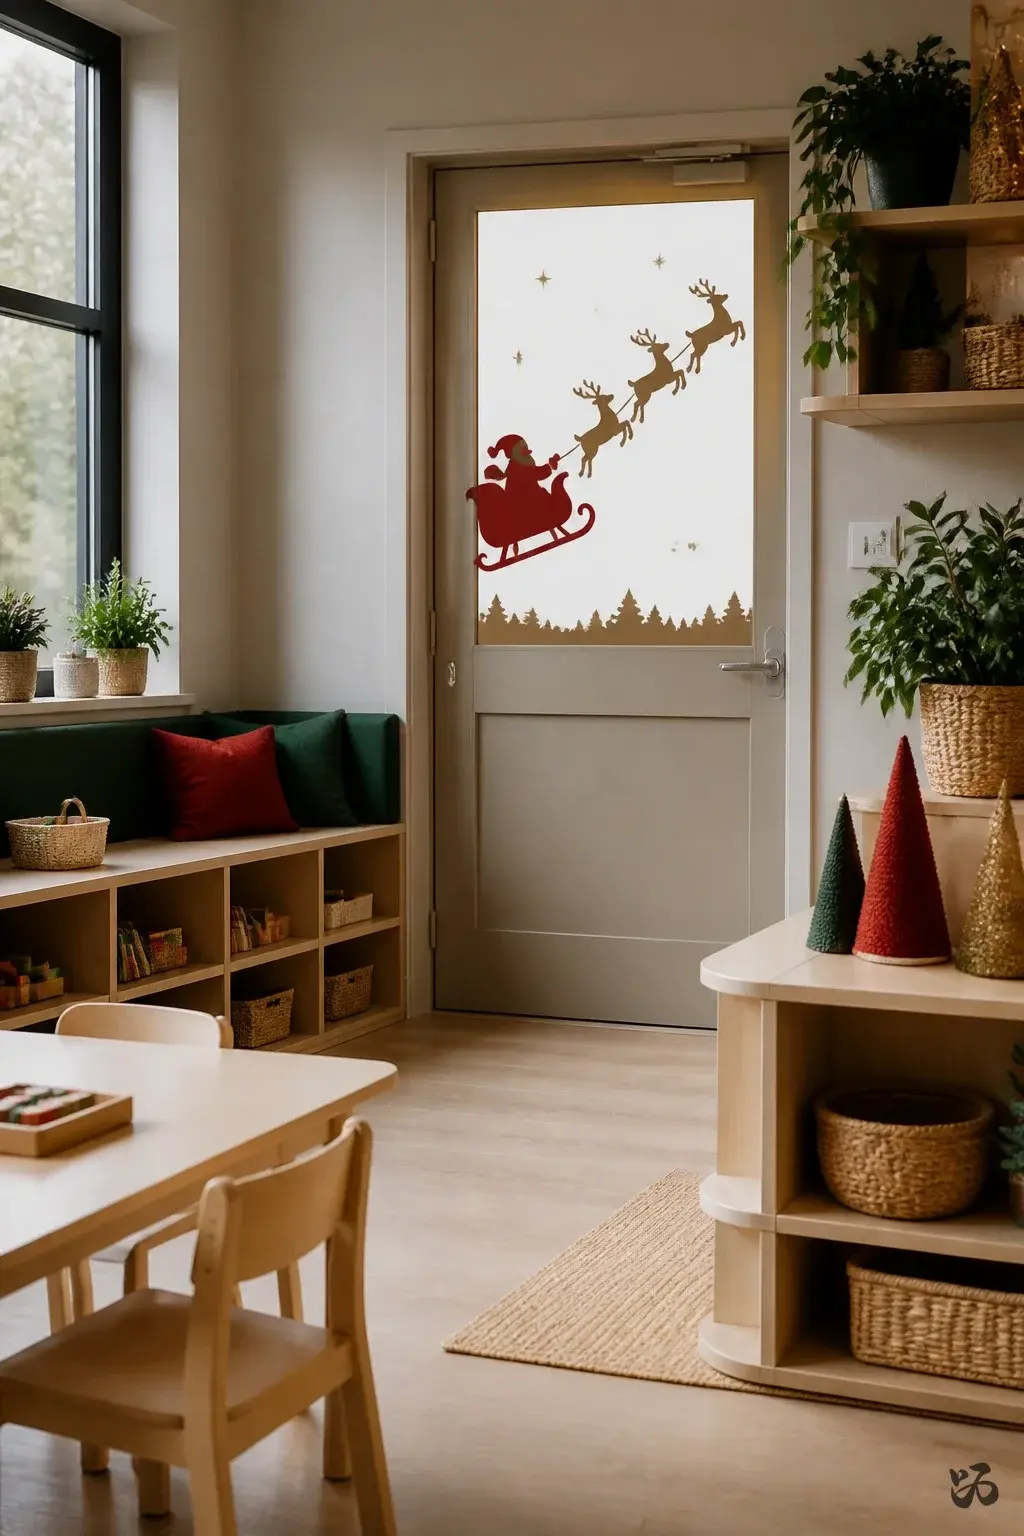
7. Santa Sighting Door Court
 Save
SaveSilhouette shape Santa in his sleigh cut from red cardstock, pulled by reindeer made from brown and tan paper. Position Santa along the upper half of the door with light accents to draw the eye upward.
What you need
- Red, brown, and tan cardstock
- White or gold accents
- Removable mounting tape
- Black marker
Use minimal adhesives to protect the door finish; this one is easy to store for next year.
8. Polar Bear and Friends Under the Snow
 Save
SaveTwo or three friendly polar bears are created from white butcher paper with simple black features. A blue or light blue backdrop suggests a chilly scene, and a few fish or seals cut from colored paper add whimsy.
What you need
- White butcher paper
- Blue construction paper
- Black marker
- Colored paper scraps
- Masking tape
Durable and easy to adjust as the class builds the scene during prep period.
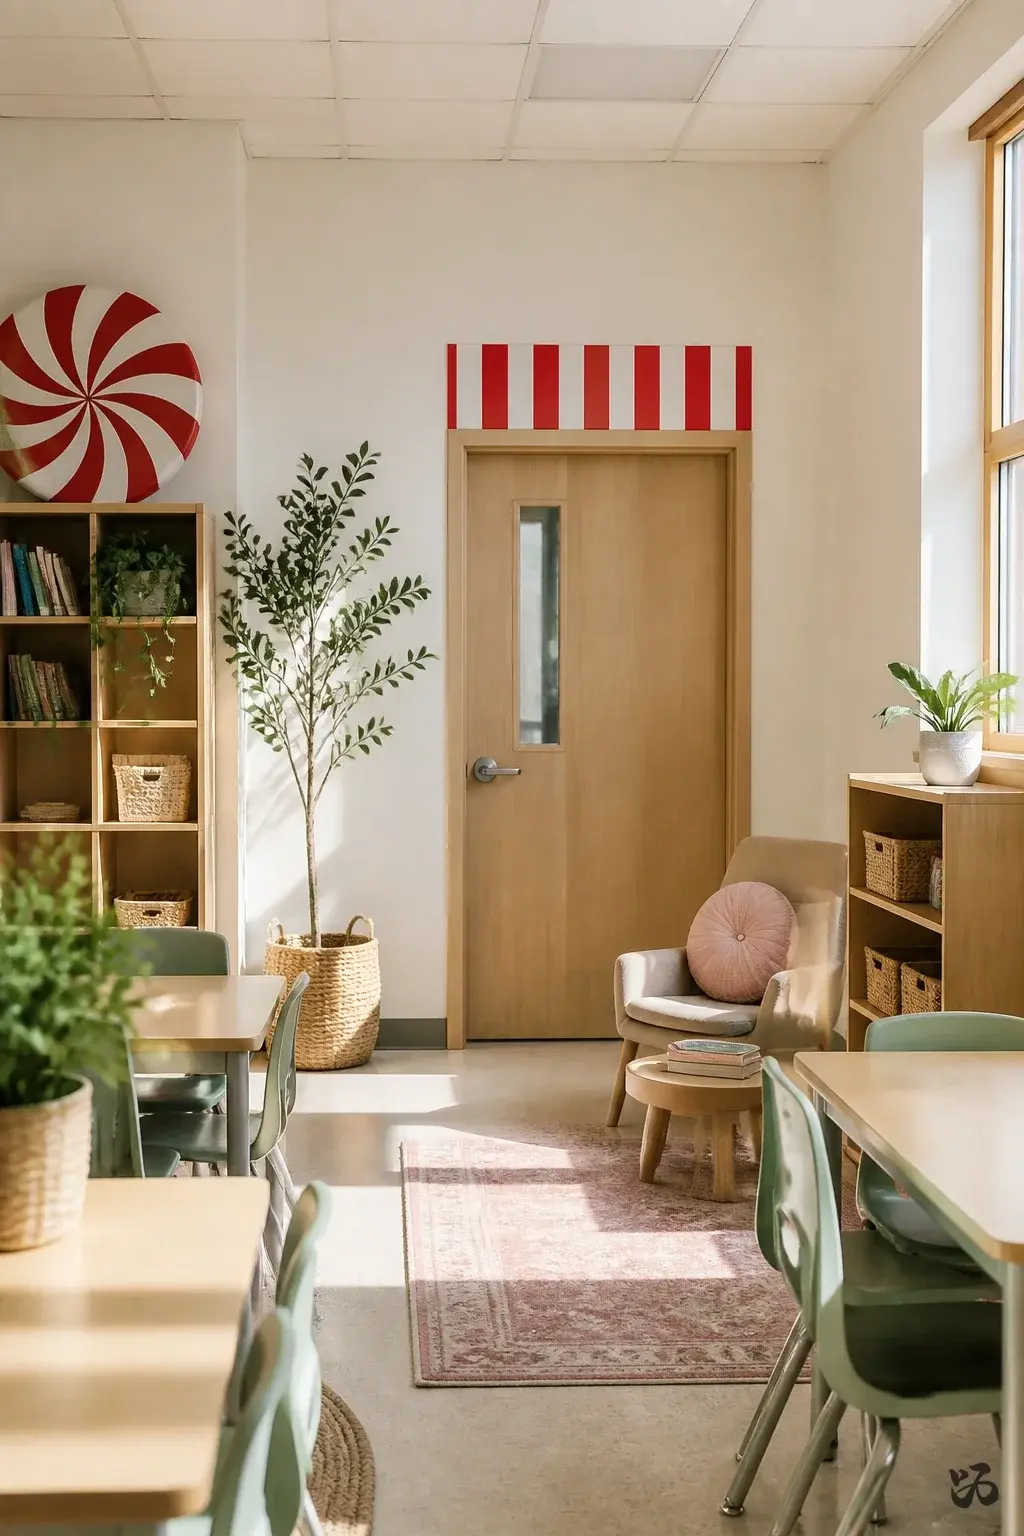
9. Peppermint Palettes from the Door Frame
 Save
SaveStudents help glue red and white peppermint stripes onto a wide strip that runs along the top of the door. The colors echo candy canes but stay simple enough for a quick setup and easy removal.
What you need
- Red and white construction paper
- Scissors
- Masking tape
- Glue sticks
- Optional small bells for a soft jingle when the door is opened
Great for a quick win during a prep period and durable for daily classroom traffic.
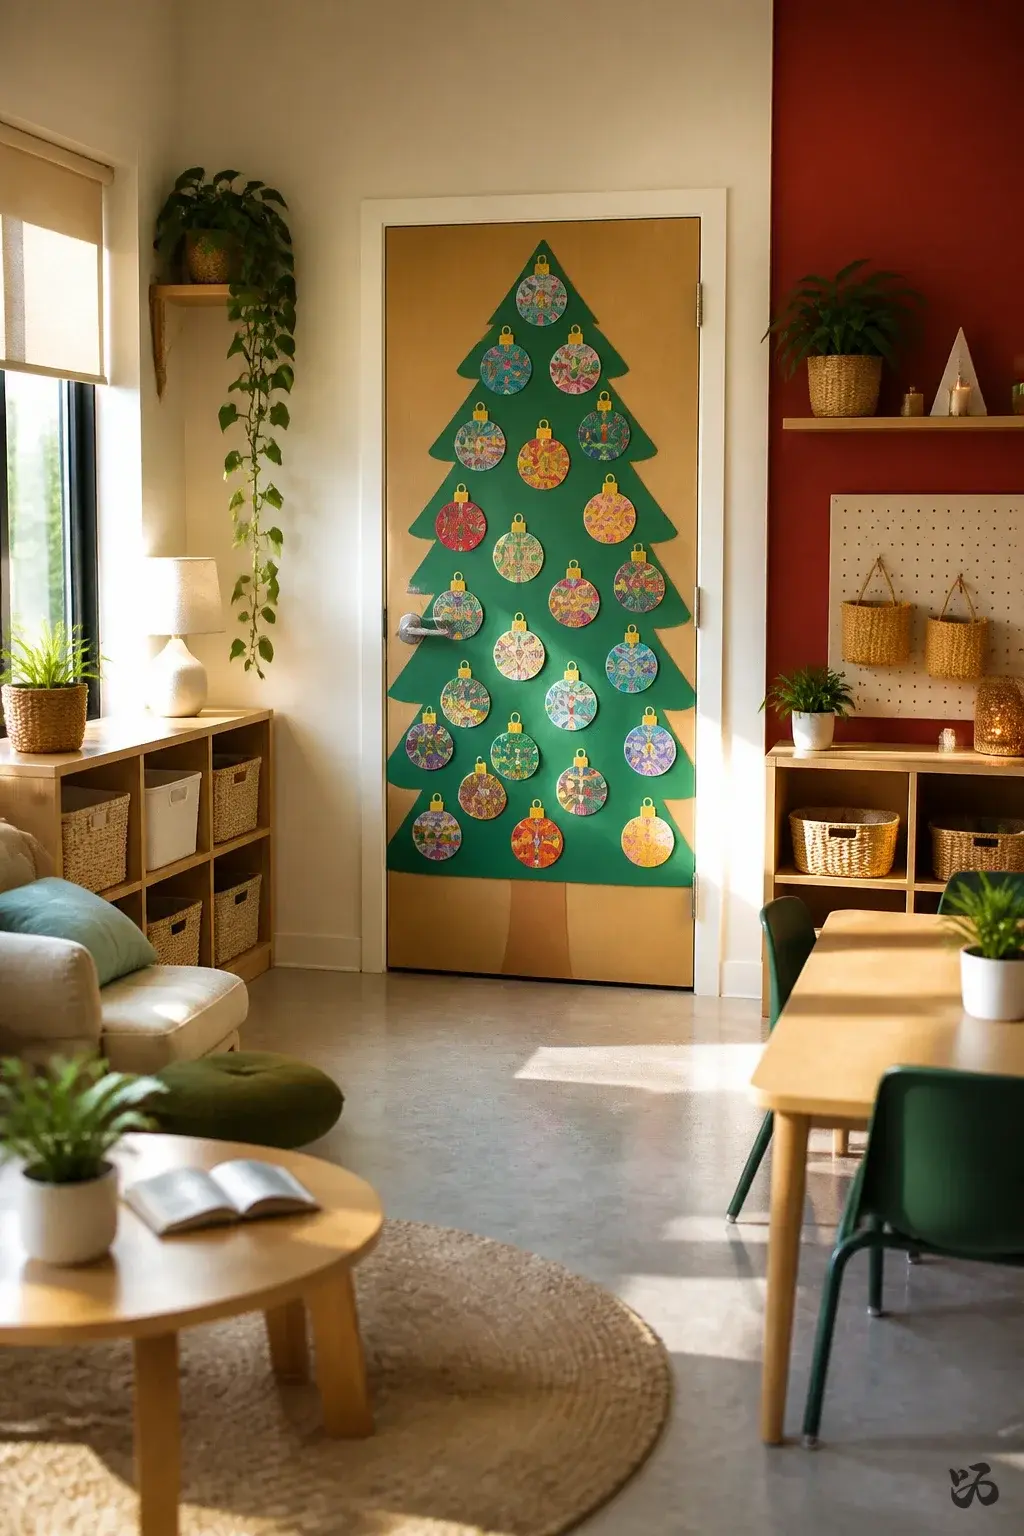
10. Christmas Tree Collage Door
 Save
SaveA large evergreen tree silhouette made from green butcher paper sits centered on the door, with student-made ornaments attached with removable adhesive or staples. The trunk uses lighter brown paper for contrast.
What you need
- Green butcher paper
- Brown cardstock or paper
- Colorful paper ornaments
- Removable adhesive or staples
- Scissors
Ornaments are added as students visit during Open House or parent night; keep extras handy for a rotating display.
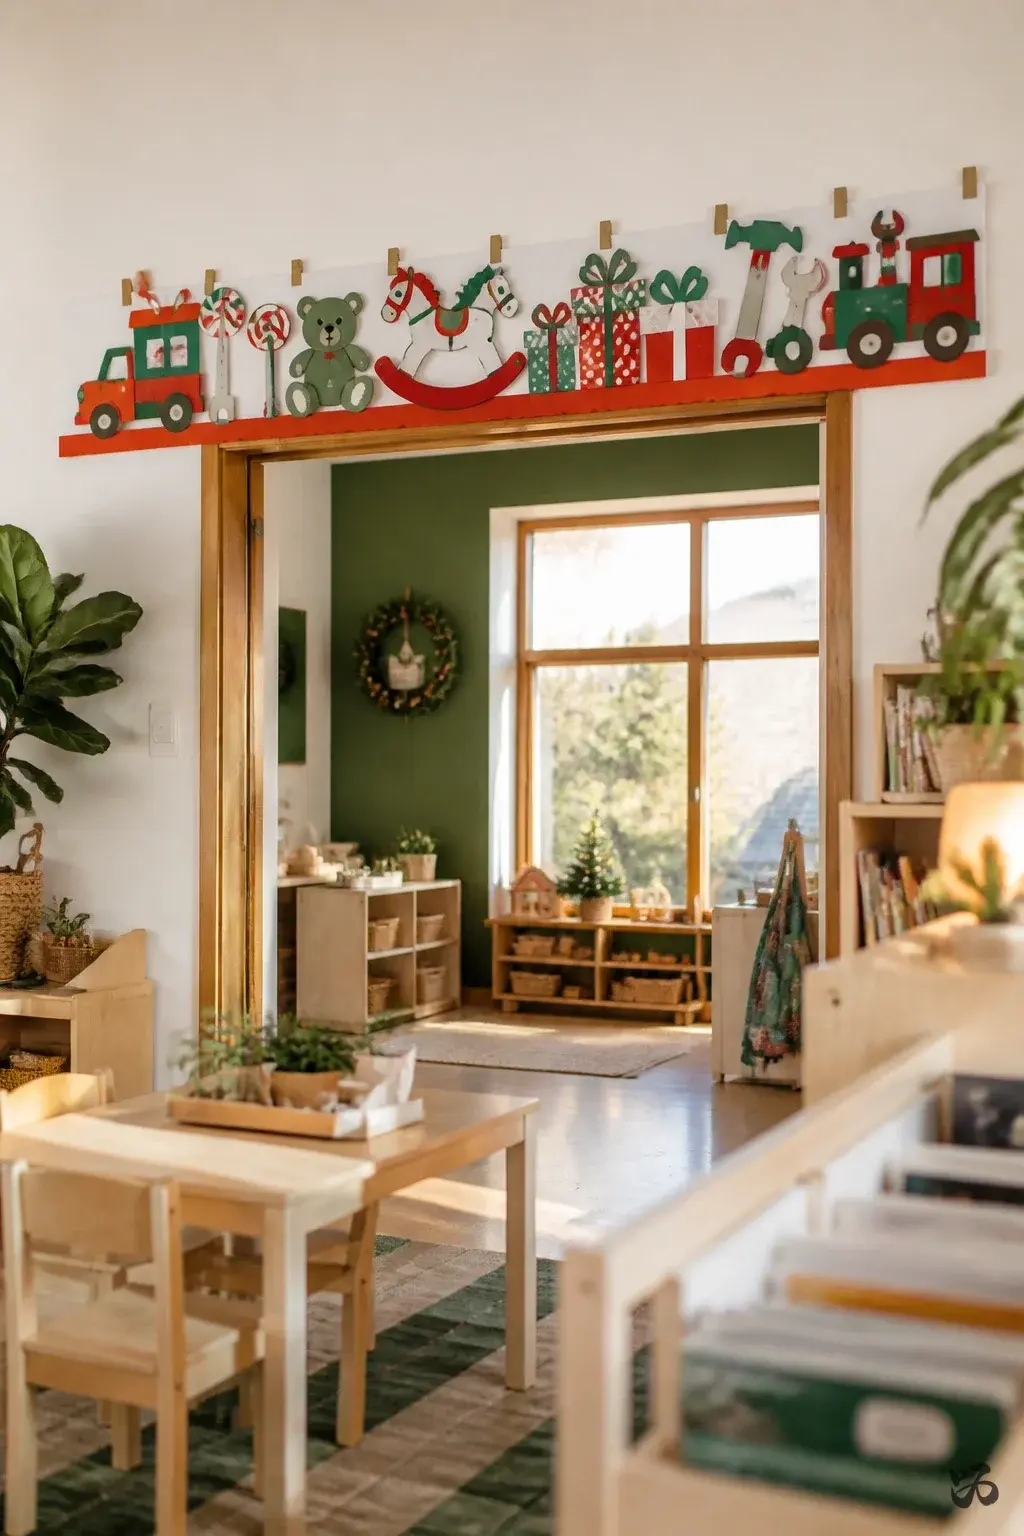
11. Santa’s Workshop Door Banner
 Save
SaveA long banner across the top of the door proclaims “Santa’s Workshop” with little tools, toy shapes, and gift boxes running along the border. The look is intentional but simple, using mostly cardstock and tape.
What you need
- Cardstock in red, green, and white
- String or yarn
- Tape or mounted clips
- Markers or stickers
- Scissors
Keep the workshop theme light so it stays friendly for all kids and is easy to remove.
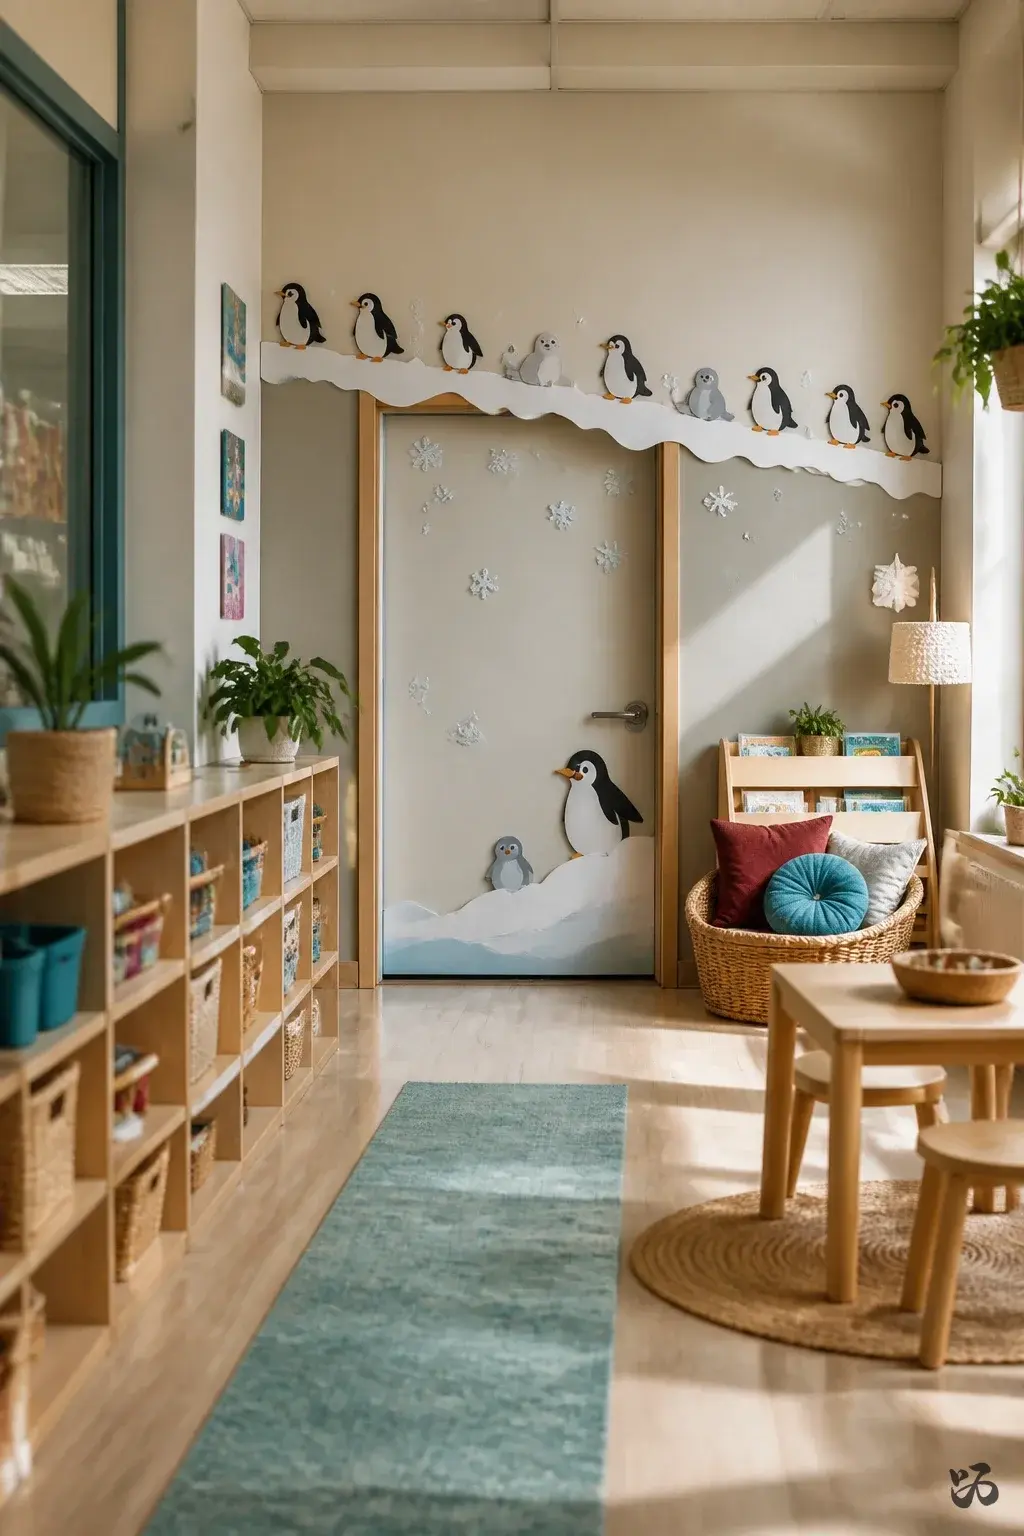
12. Winter Animal Parade Door
 Save
SaveCutouts of winter animals like penguins, penguin families, and a few seals march along the door. A snowy border uses white border tape to simulate falling snow along the top edge.
What you need
- Colored cardstock
- White border tape
- Glue sticks
- Scissors
- Markers
Best for rooms with a longer hallway wall, where movement between students still keeps the display safe.
For Little Hands
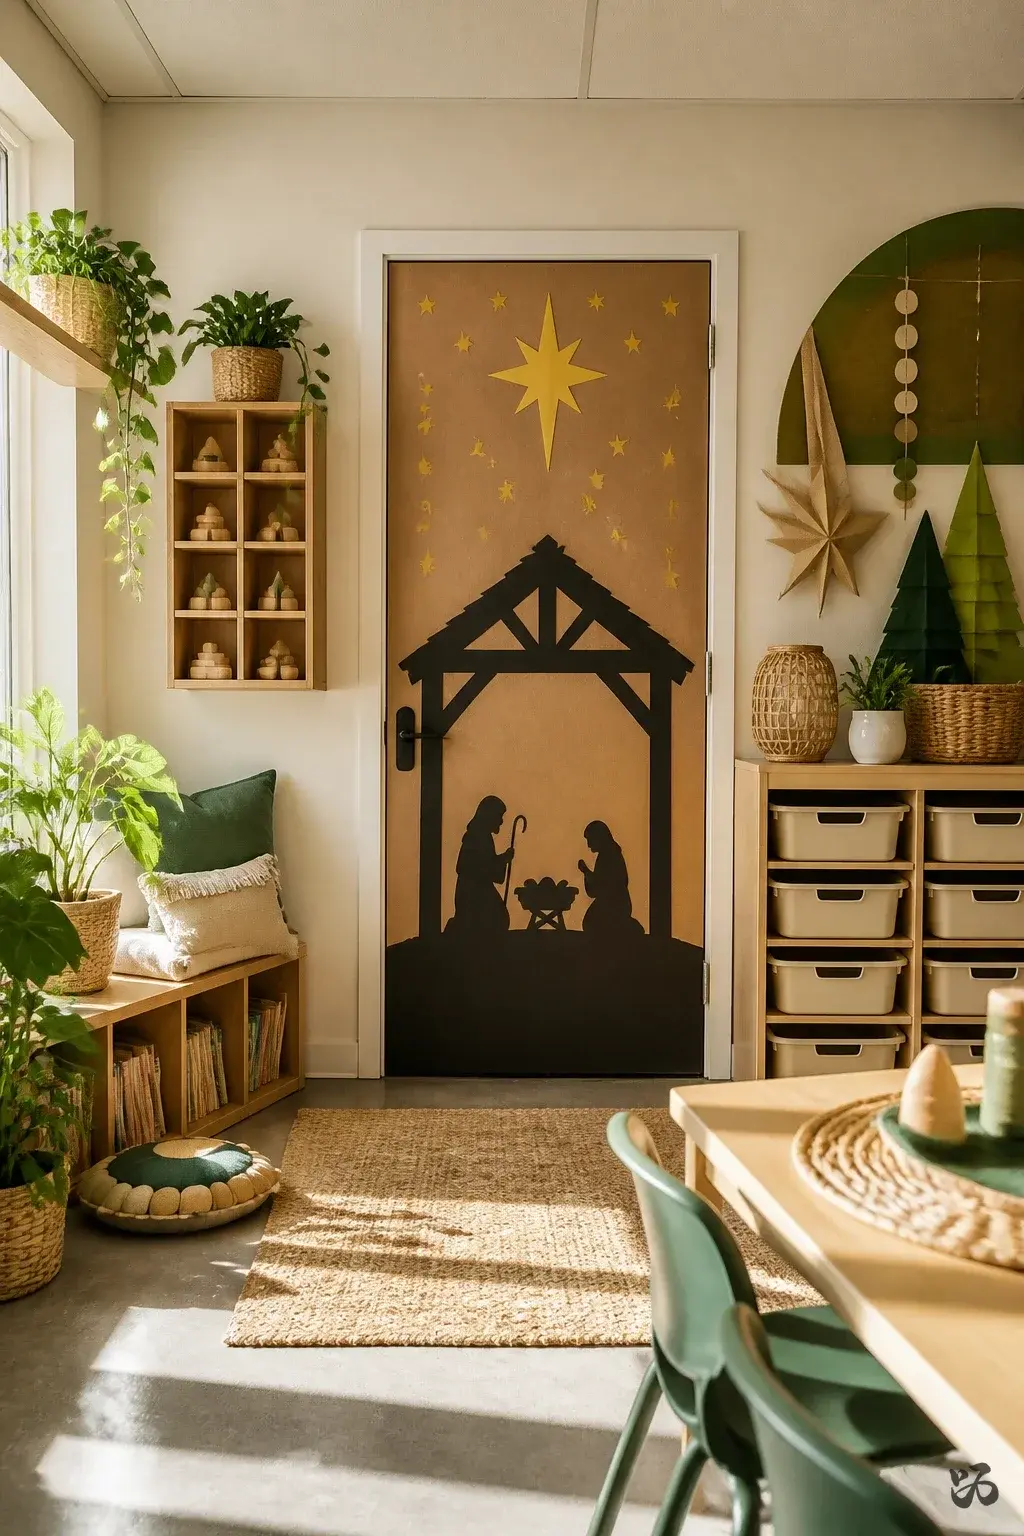
13. Bethlehem Scene on a Center Door
 Save
SaveA simple nativity scene with stable silhouettes and stars in the sky can be made with a few cuts from brown, black, and yellow paper. Avoid crowded scenes and keep the area within reach of students for safe participation during a field trip prep.
What you need
- Brown, black, and yellow construction paper
- Scissors
- Glue sticks
- Removable mounting tape
Consider keeping it as a classroom display for the holiday season but be prepared to cover the door with a new theme after the break.
14. North Star Door with Student Signatures
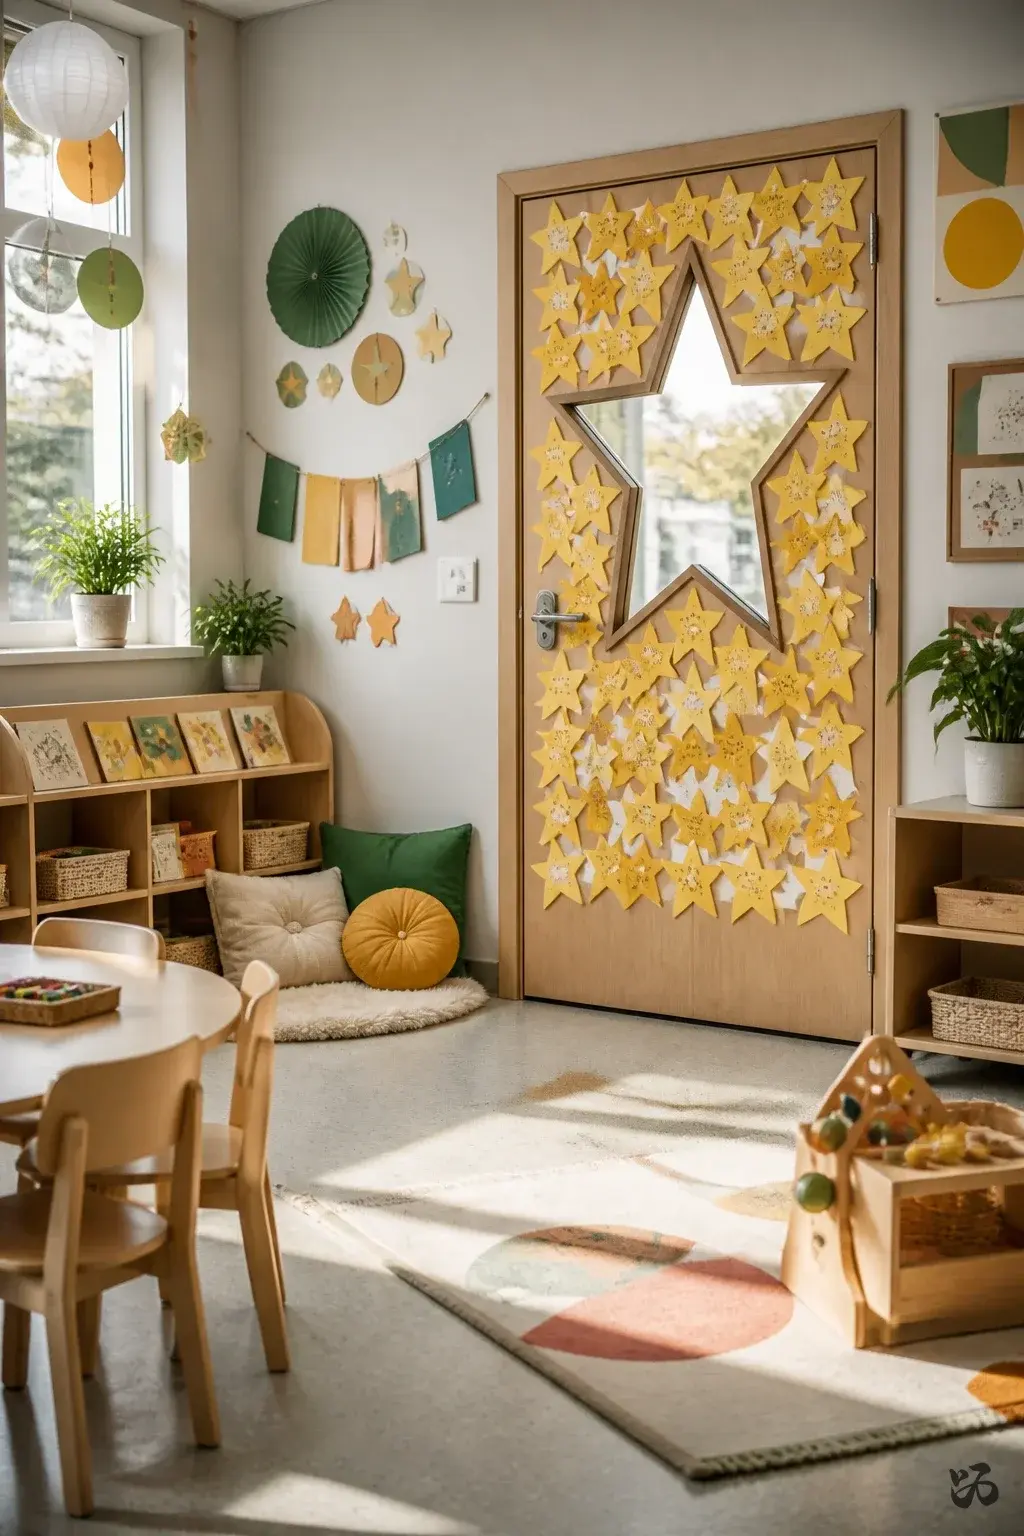 Save
SaveA large star at the top of the door invites students to sign their names on paper stars they glue around the frame. This fosters a sense of community while keeping the door visually striking.
What you need
- Yellow construction paper
- White paper for signatures
- Glue sticks
- Masking tape
- Marker
Works well for parent night when visitors can glimpse class participation without extra clutter.
15. Reindeer Flight on a Red Door
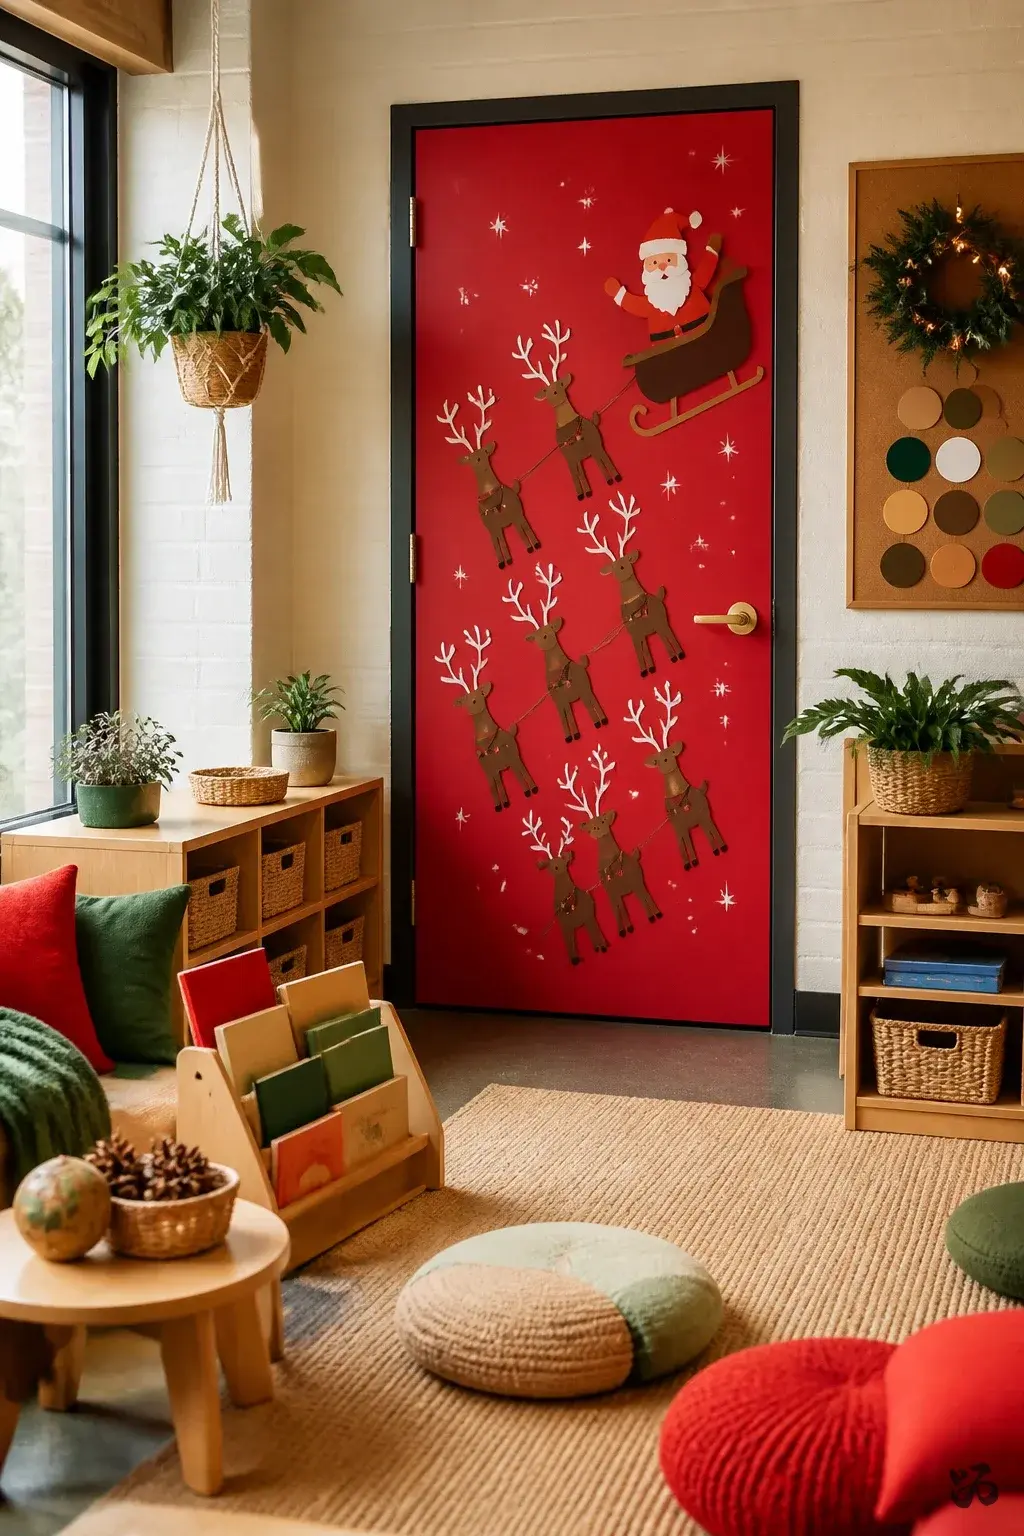 Save
SaveA red door becomes a field of reindeer led by a kid-friendly Santa figure. Reindeer bodies are long and lean to minimize paper use and maximize durability.
What you need
- Red poster paper
- Brown paper
- White paint or markers
- Double-sided tape
- Scissors
Avoid heavy, small pieces that kids may pull off during recess.
16. Wreath Door Greeting
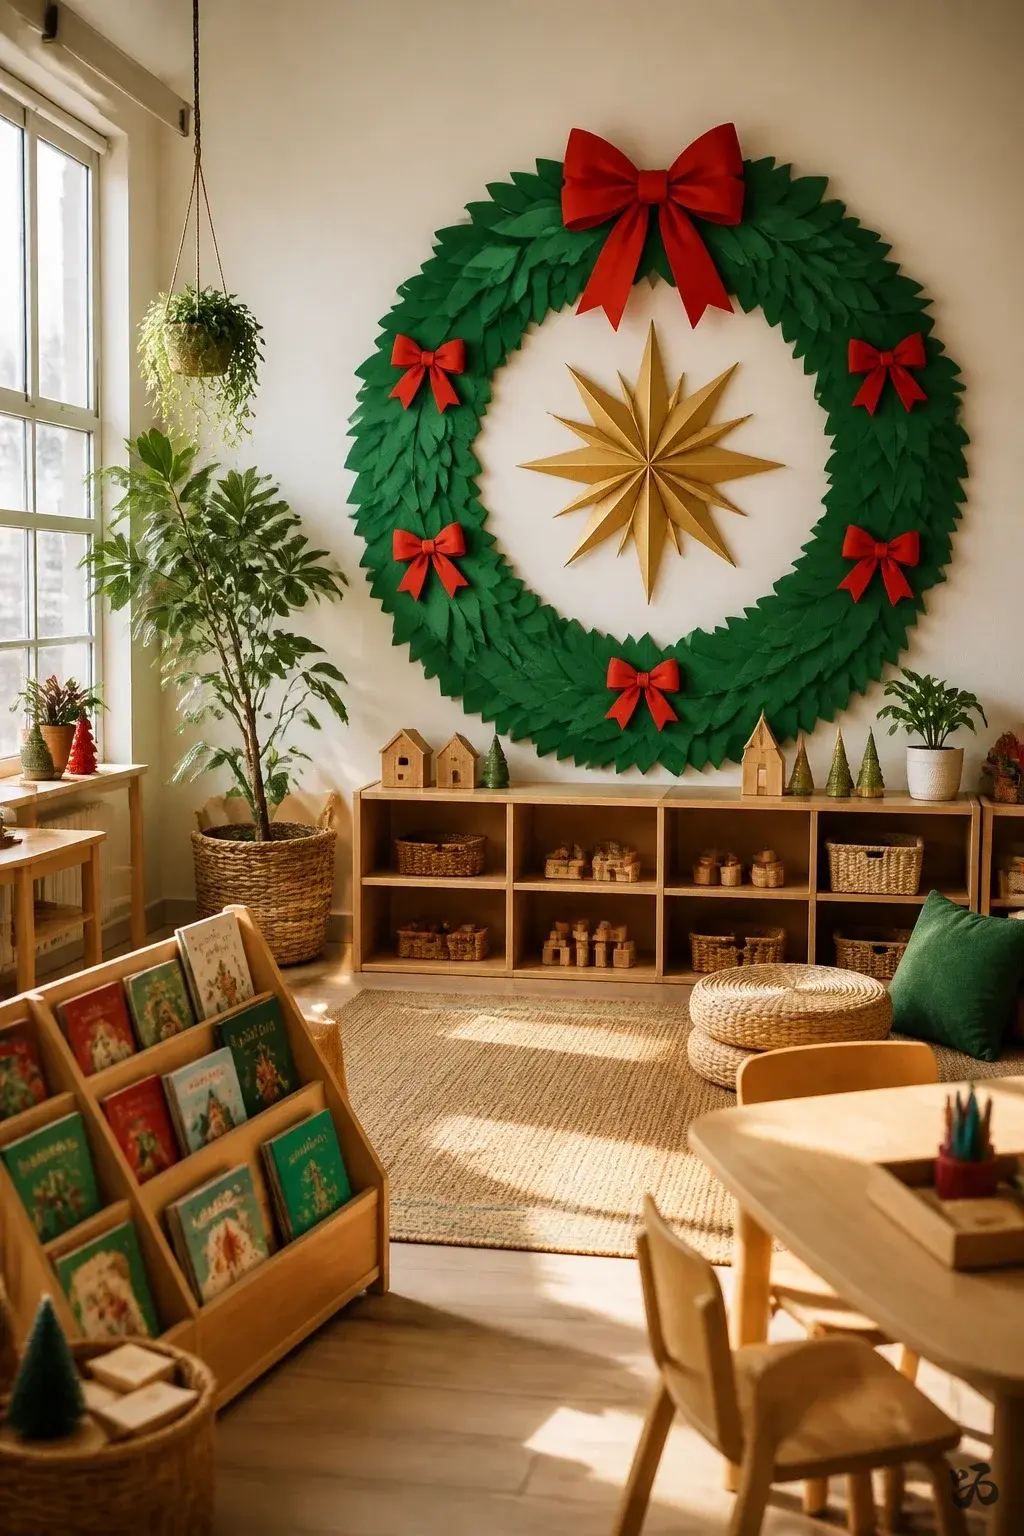 Save
SaveA large wreath outline is created with green paper and red bows. Inside the wreath, a “Welcome” message is written in student handwriting as part of a class activity in December.
What you need
- Green construction paper
- Red ribbon or bows
- Marker
- Tape
Simple, sturdy, and meaningful for Open House when families visit the classroom door.
17. Christmas Lights Door Illusion
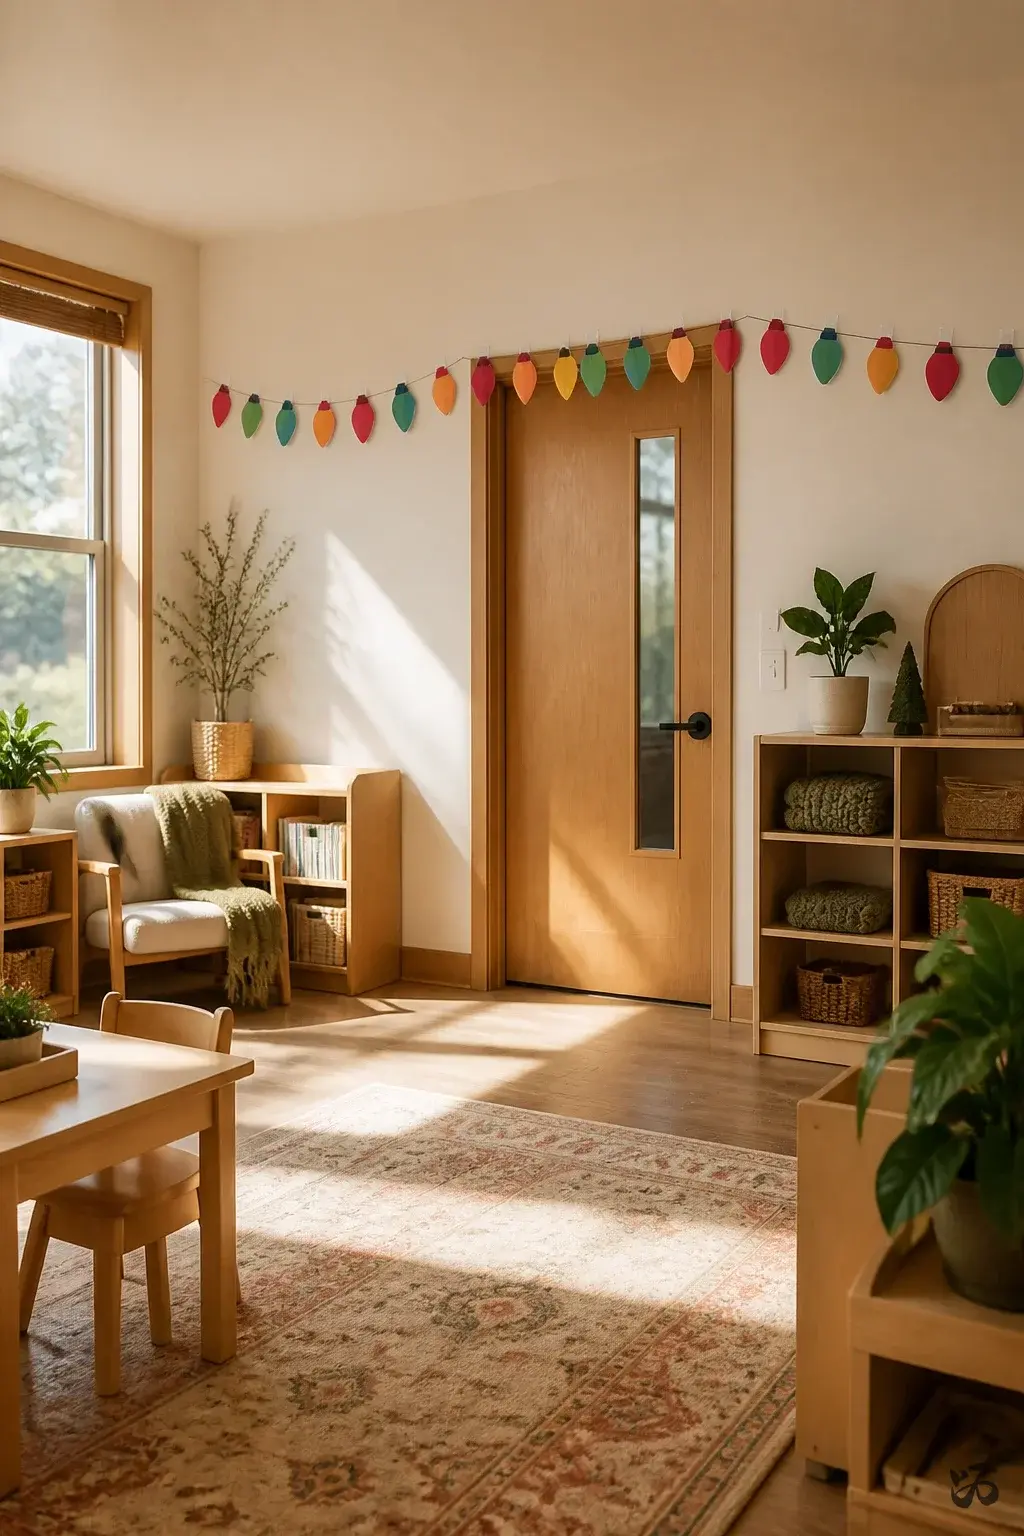 Save
SaveDraw a string of multicolor lights across the top edge using marker, then add tissue paper circles to mimic bulbs. It’s visually bright without needing fragile components that fall off easily.
What you need
- Marker
- Tissue paper in bright colors
- Clear tape
- Cardstock
- Scissors
Great for a quick update between prep periods; keep bulbs in a single line to prevent sagging.
18. Festive Chalkboard Door
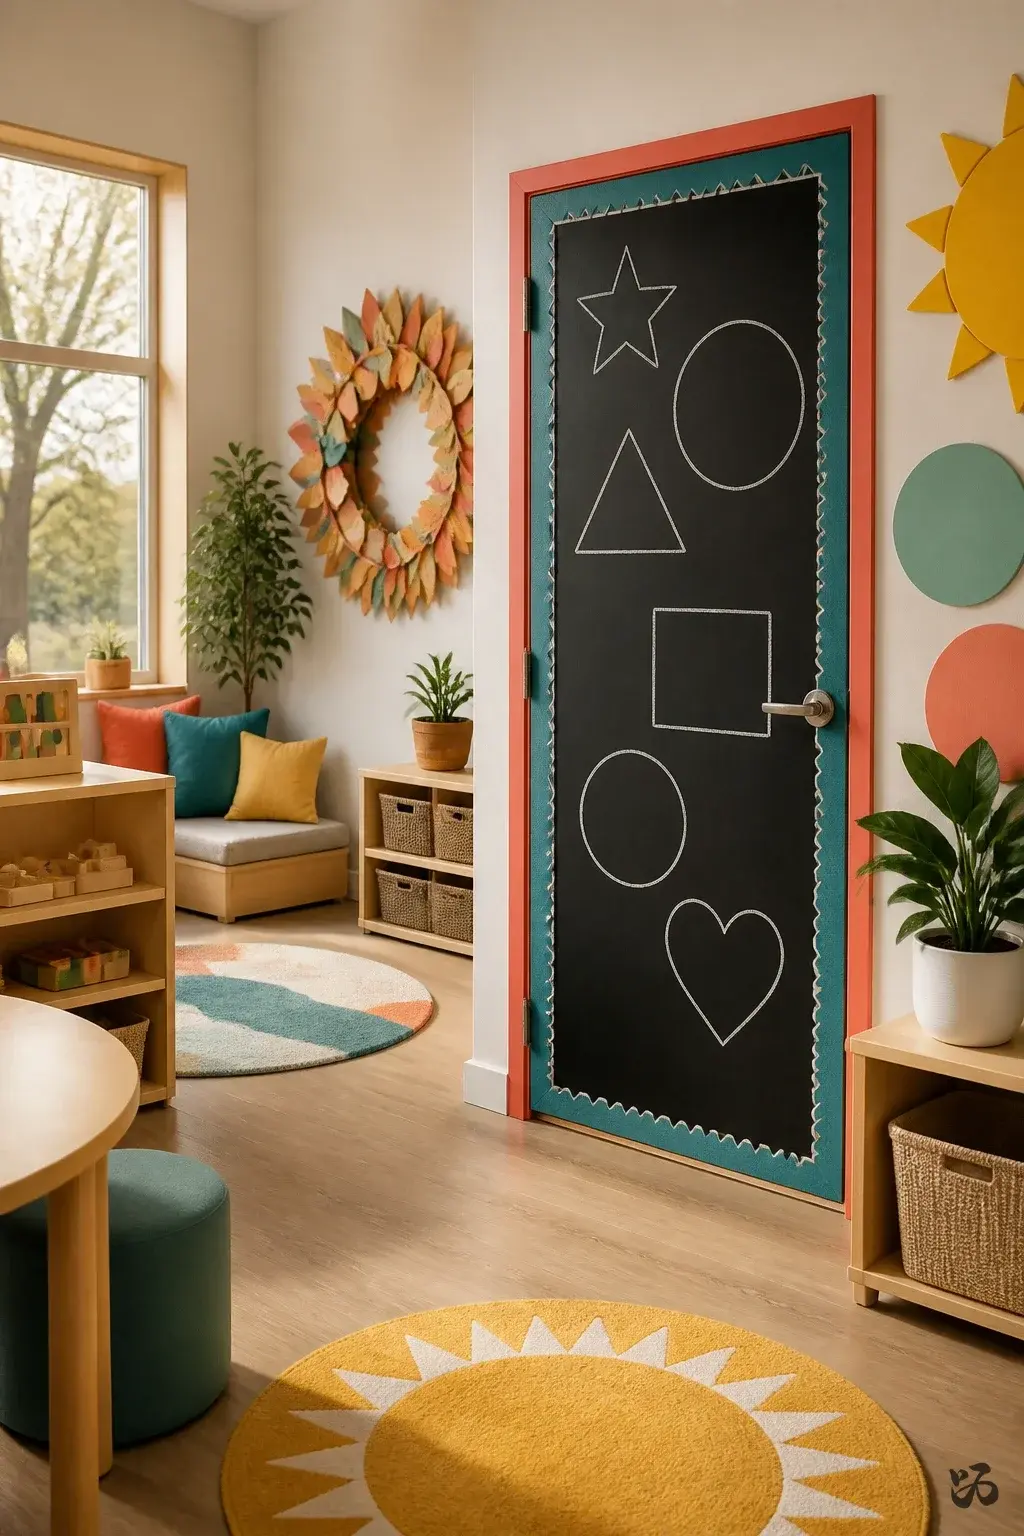 Save
SaveA chalkboard-style design is created with white chalk on a black surface or black cardstock framed with bright border strips. Students can trace a few shapes during Free Choice time to personalize the door.
What you need
- Black poster board or chalkboard contact
- White chalk or chalk markers
- Colored border tape
Works without lamination; erases easily with a damp cloth between uses.
19. Winter Countup Door
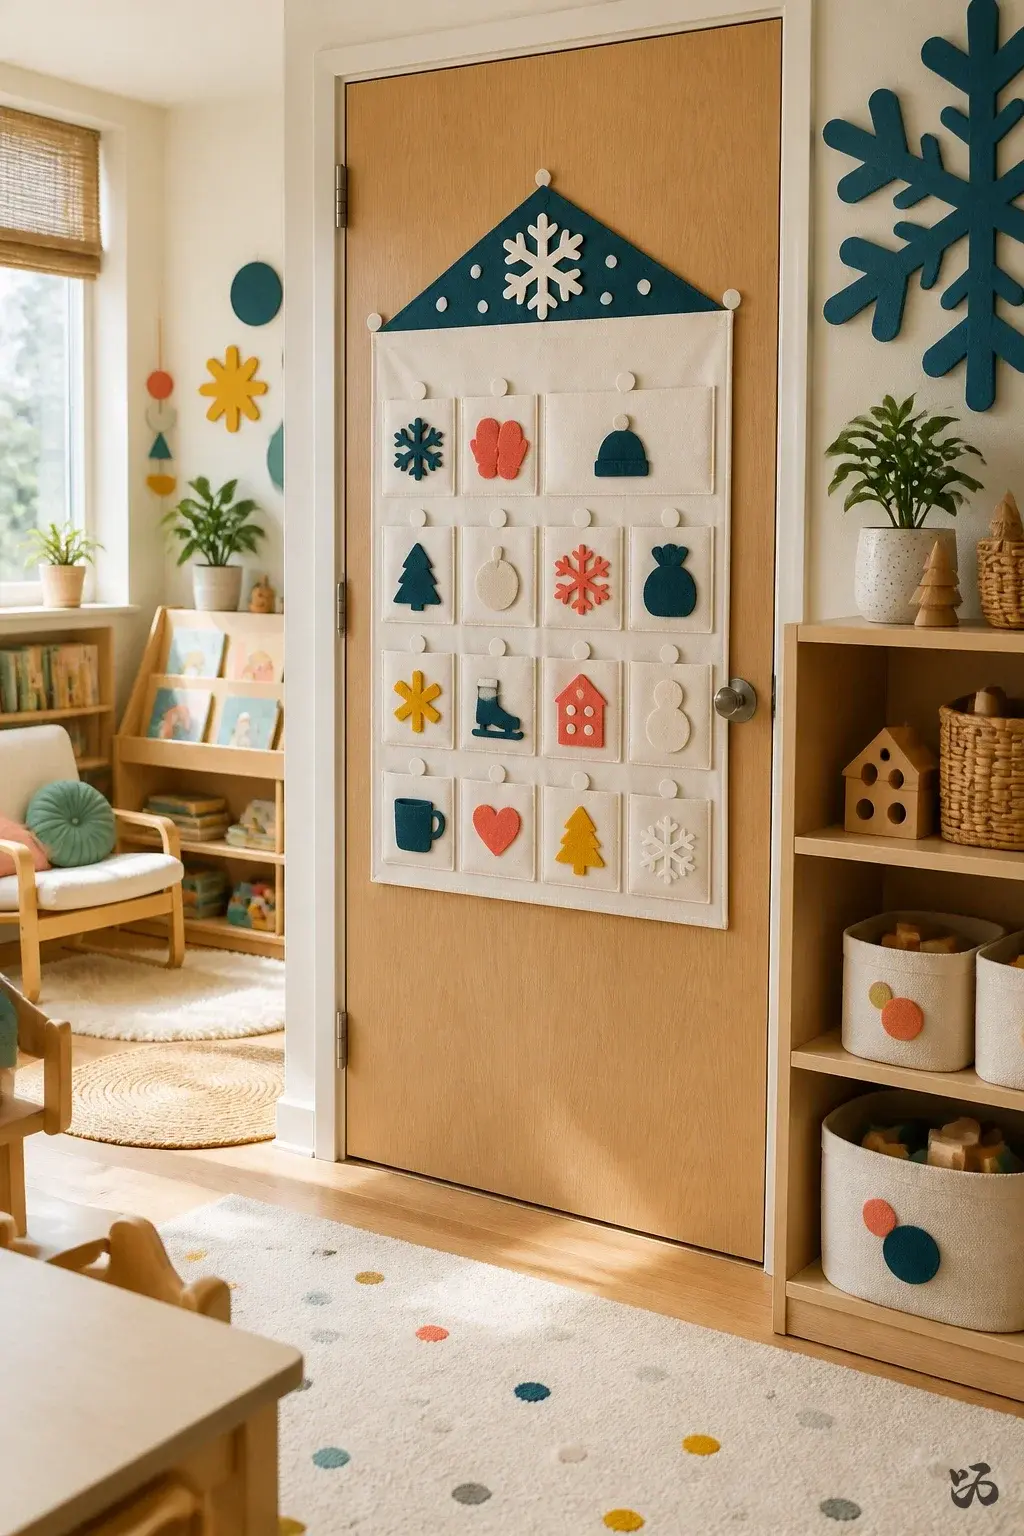 Save
SaveA small calendar-like board is placed on the door showing the first 12 days of December. Each day a new number or symbol is added by students as a counting activity during math time.
What you need
- Poster board
- Markers
- Removable adhesive
- Velcro dots (optional)
On a door with a bulletin board, you can attach the calendar with minimal tape; on bare doors, use light adhesive only.
Finishing the Frame


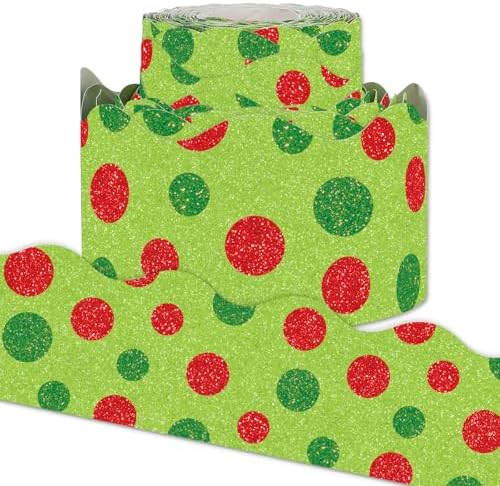
20. Gift Box Doors
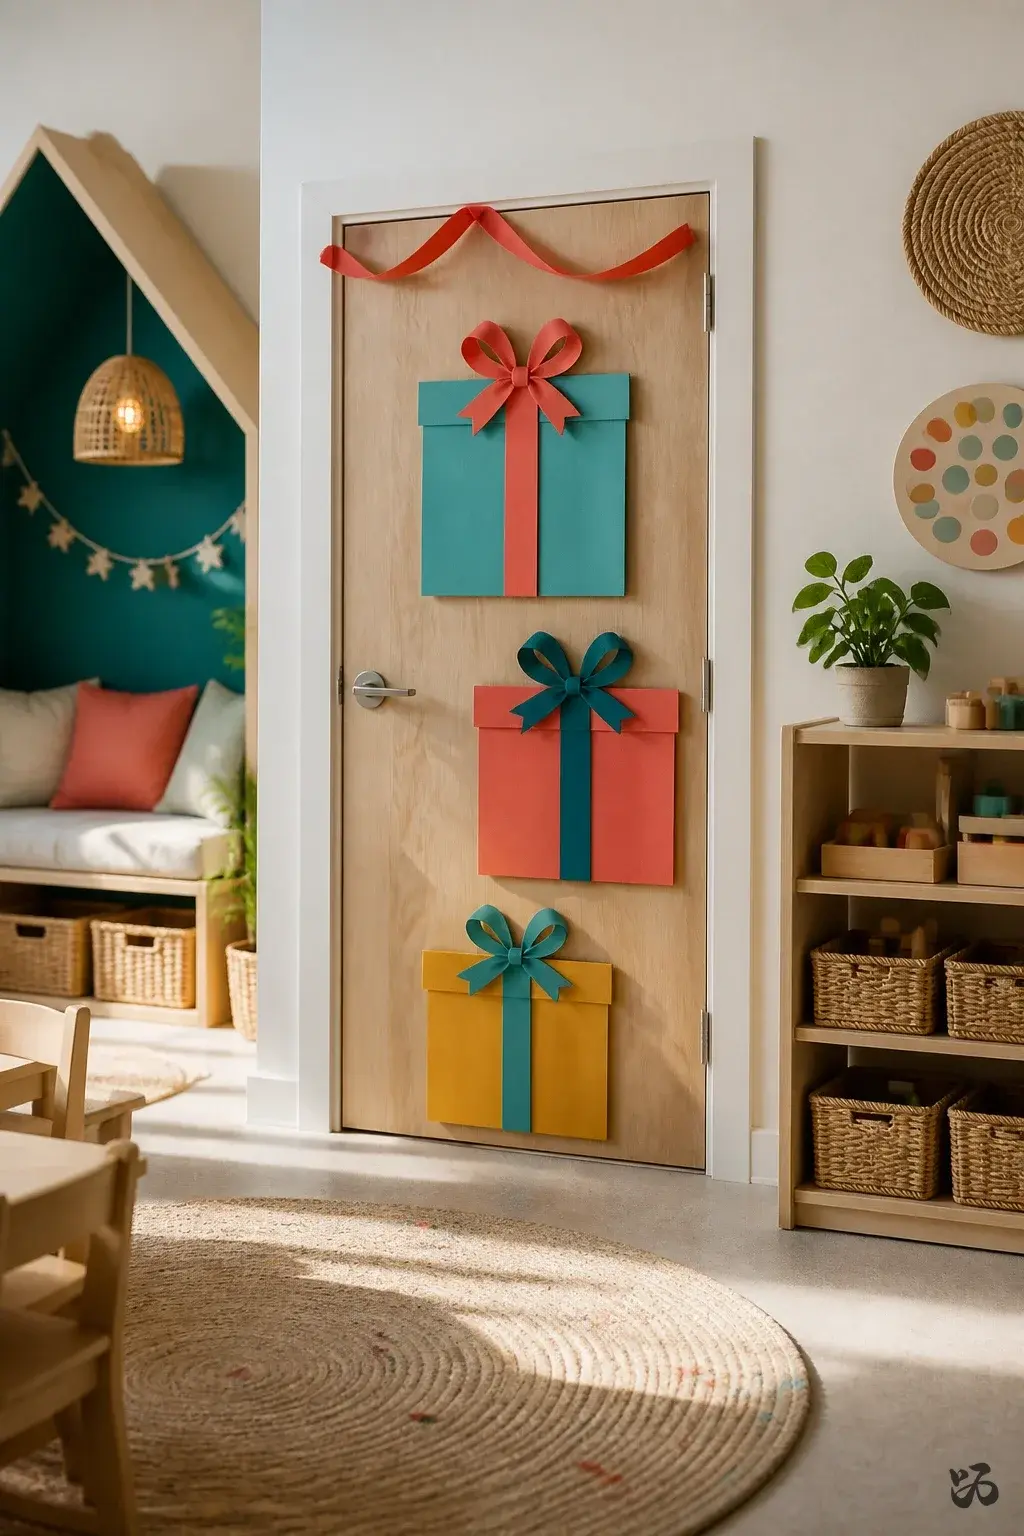 Save
SaveThree large gift box shapes sit on the door, made from colored cardstock and layered for a 3D effect. A simple ribbon loops across the top acts as a unifying accent. This idea is friendly and accessible for pre-K and kindergarten learners to participate in during prep time.
What you need
- Colored cardstock
- Ribbons
- Glue sticks
- Tape
Be mindful of heavy ribbons that can be pulled; secure with tape behind the door edge where possible.
21. Winter Scene Curtain Door
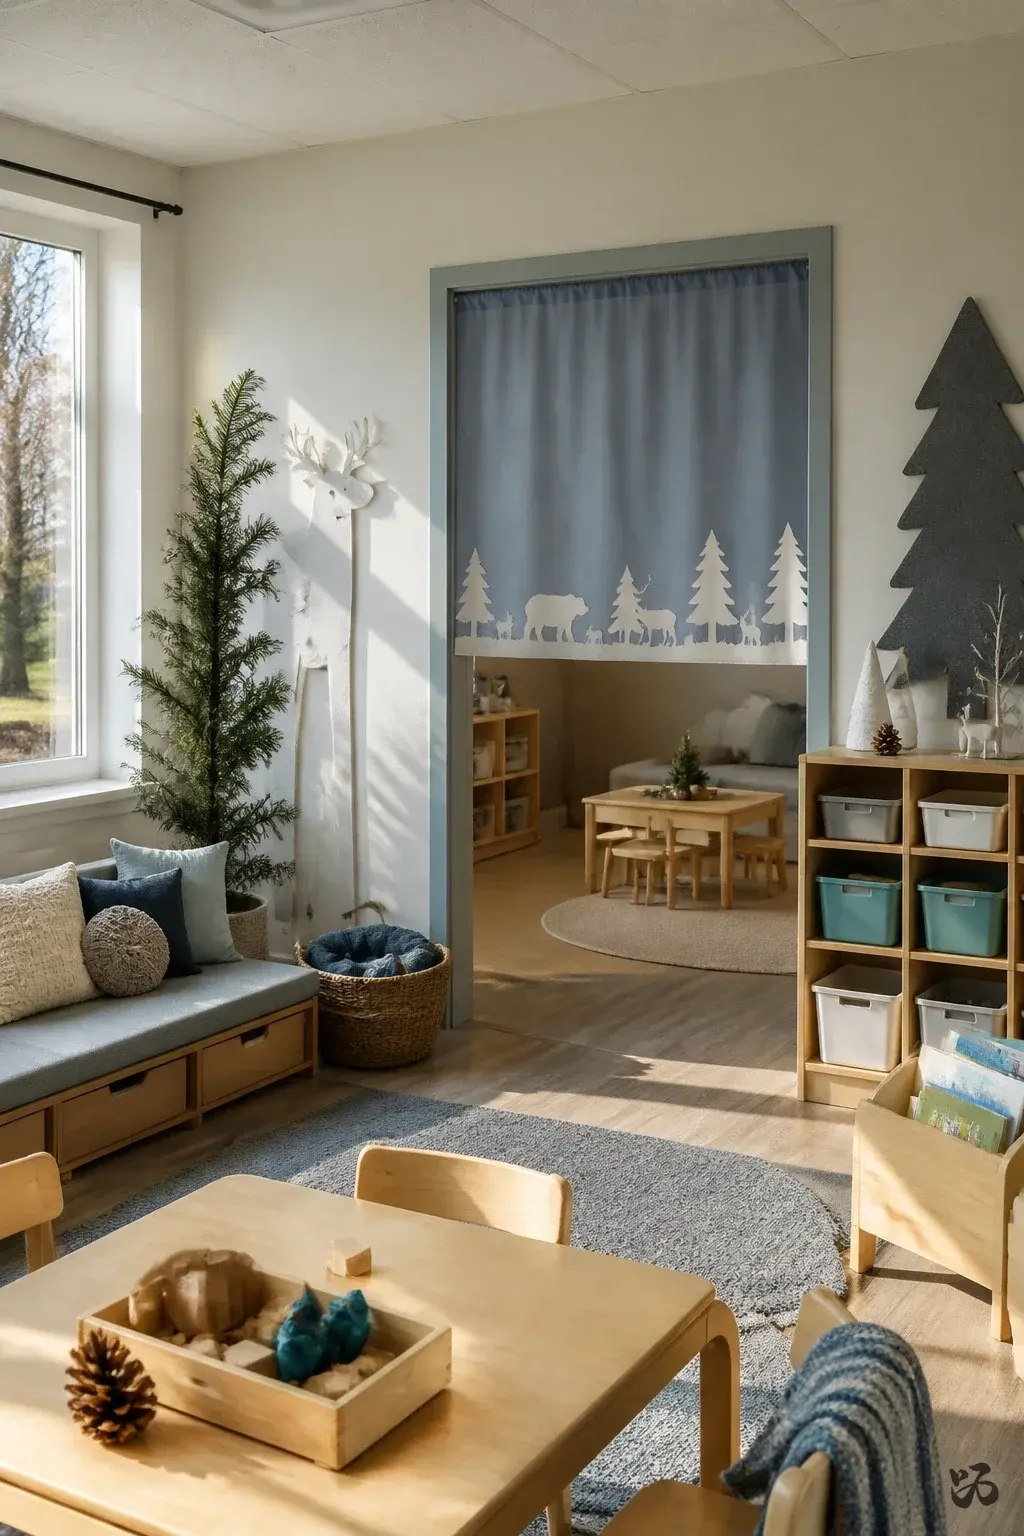 Save
SaveA lightweight curtain or border hangs across the top of the door to evoke a wintry sky. Simple animal silhouettes sit along the bottom edge, created with cardstock and stuck with removable adhesive. It feels expansive without covering the entire door.
What you need
- Border trim or lightweight curtain
- Blue or gray cardstock
- Animal silhouettes
- Removable adhesive
It’s easy to adjust with the season and quick to remove after the break.
Conclusion: Start with one or two ideas that align with your door and classroom routine. If you have a strict fire code limit, choose lightweight options or those that skip laminating. Don’t forget to involve students in a safe, supervised prep period to maximize ownership without creating extra work for the custodian.