
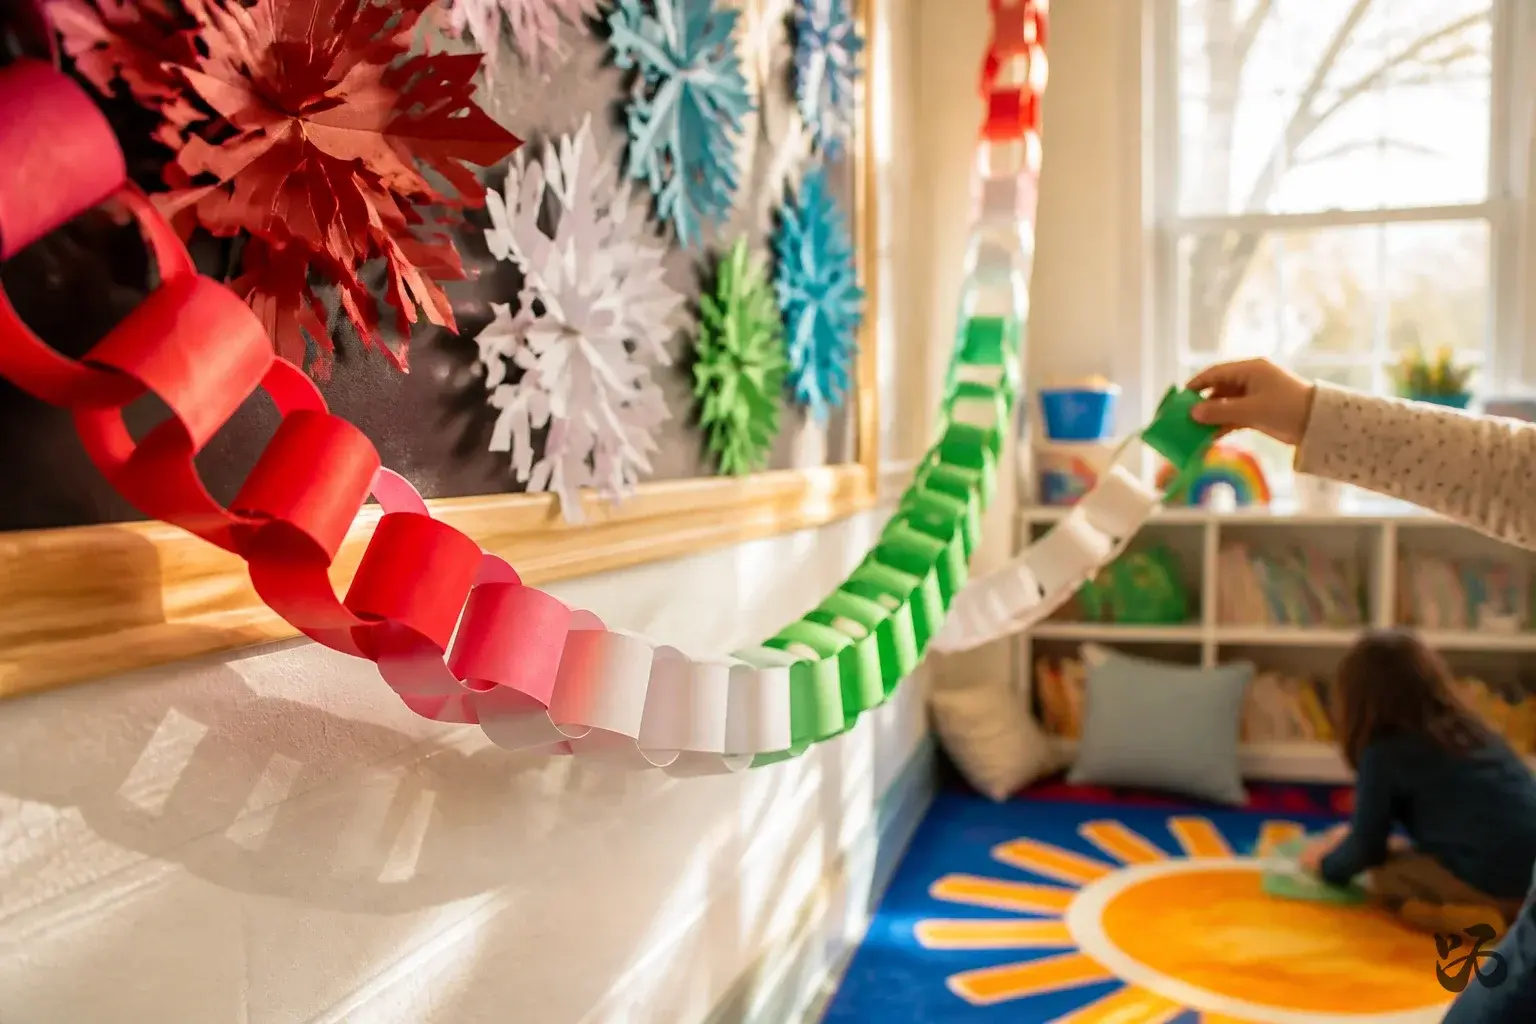
Some links in this post are affiliate links. If you buy through one, I may earn a small commission at no extra cost to you. As an Amazon Associate I earn from qualifying purchases.
Paper is the best Christmas decoration a classroom can have. It is cheap, every child can help make it, and it goes in the recycling in January instead of a storage cupboard.
These 20 DIY classroom Christmas decorations use paper, card and a few basics. Most can be made as a class activity in one afternoon and put up the same day.
Four paper supplies worth stocking up on
- Crayola construction paper: The 96 sheet pack has enough red, green and white for a whole class project.
- Astrobrights cardstock: Sturdier than construction paper for stars, ornaments and banner letters.
- Elmer’s disappearing purple glue sticks: Kids can see where the glue is, and it dries clear.
- Battery fairy lights: Paper lanterns and snowflakes look twice as good with warm lights behind them.
1. Paper Chain Countdown to Winter Break
 Save
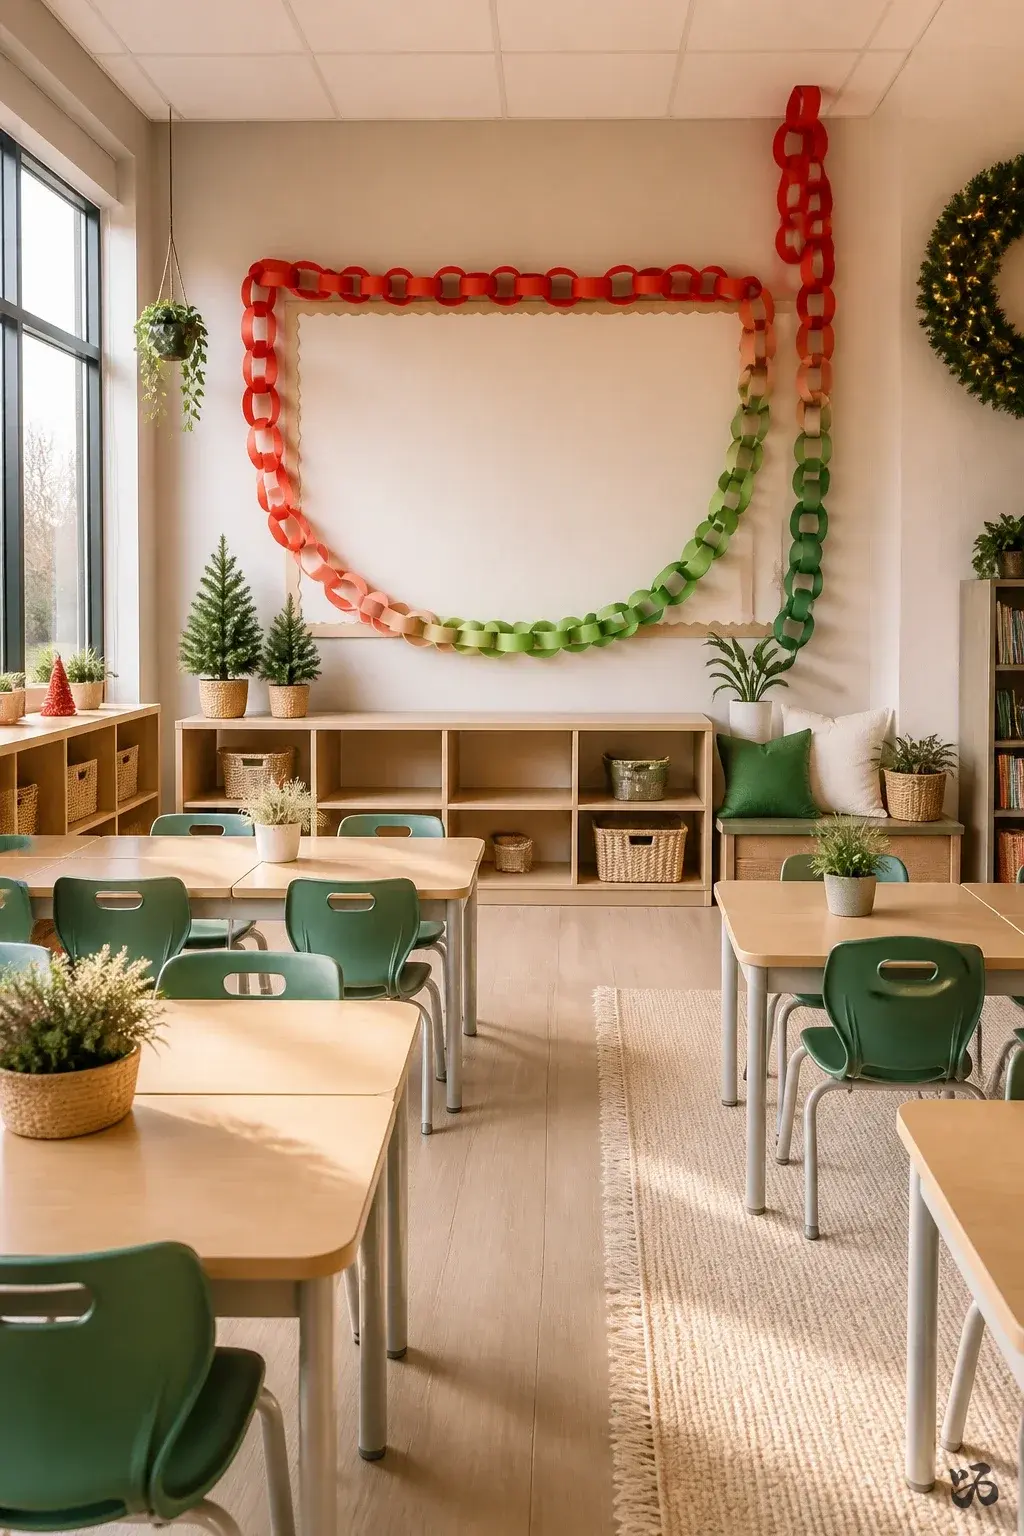
SaveA long paper chain winds around the edge of a bulletin board and up the wall, each link labeled with a school day until break. The colors shift from red to green as December progresses, adding a gentle sense of time without heavy decoration. It’s sturdy enough for kids to help assemble during prep period and stays up through the final week of December.
What you need
- Construction paper in red, green, and white
- Scissors
- White glue or tape
- Ruler and pencil
- Optional: festive border tape to finish ends
Put the links on the wall in the open area near the homeroom whiteboard; it’s easy to adjust as days pass.
2. Giant Paper Snowflake Cluster
 Save
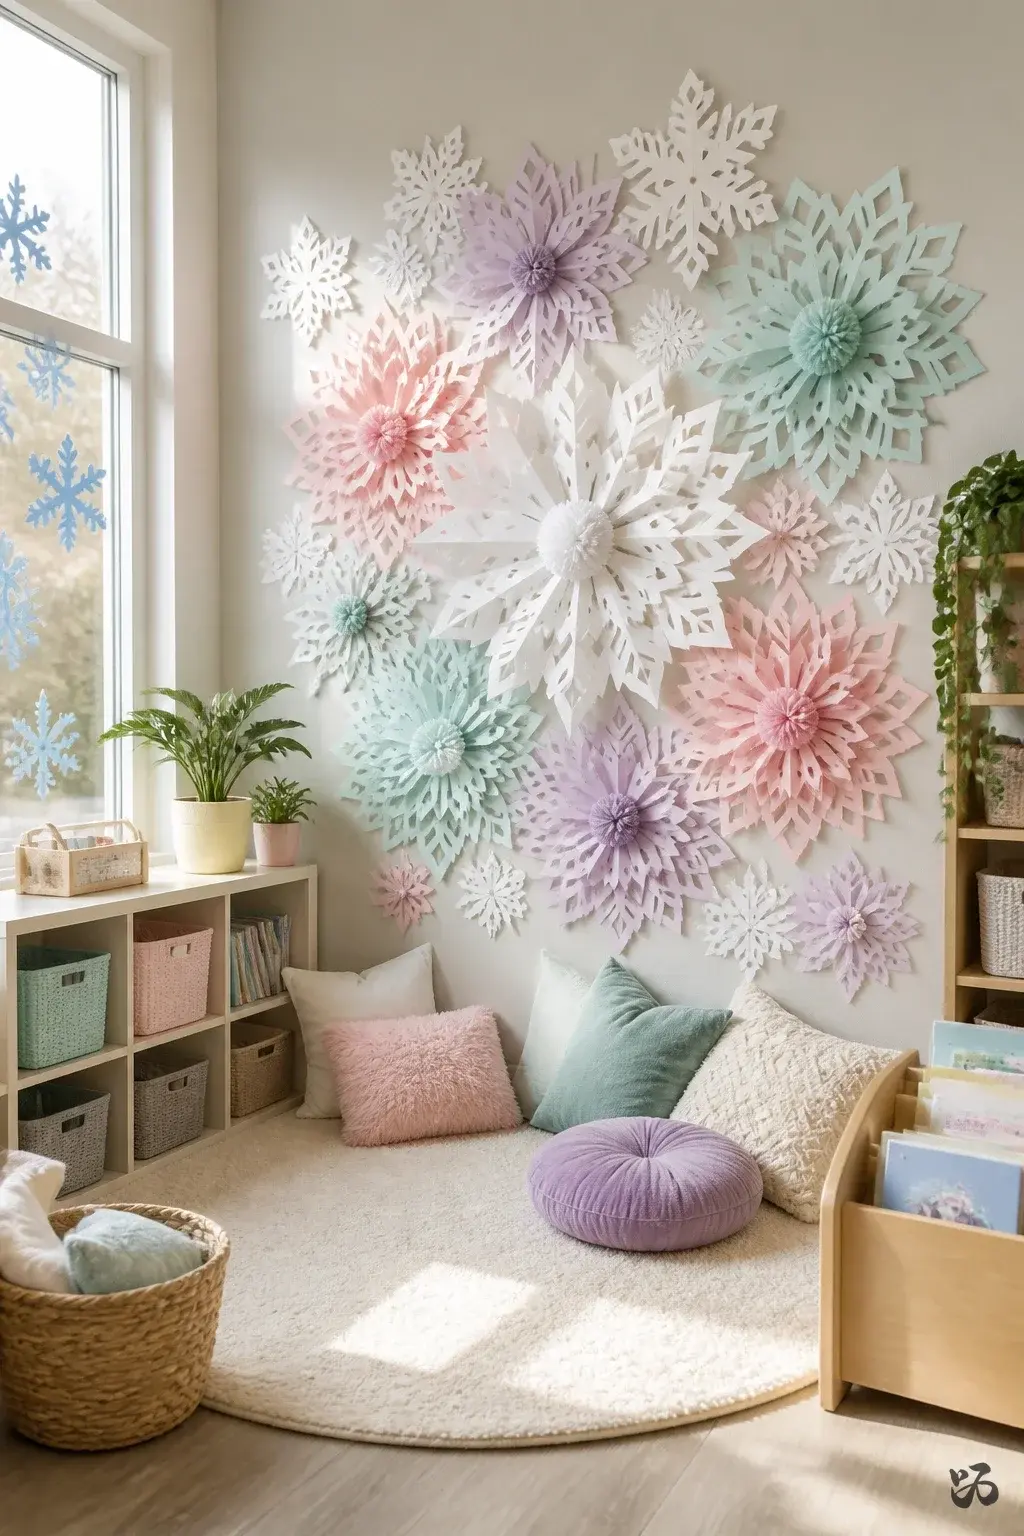
SaveColorful snowflakes cut into layers and arranged like flowers form a welcoming corner near the reading rug. Use different sizes to create depth and apply to a light-colored wall or window with minimal tape. It’s a good entry project for kinders and first grade, since folding and cutting are straightforward with teacher modeling.
What you need
- Cardstock in white and pastel shades
- Scissors
- Clear tape (for wall mounting)
- Optional: small pom-poms or buttons for centers
- Blue painter’s tape for window placement
Plan for a 20 to 30 minute prep and assembly block; don’t overstuff any single wall with too many pieces.
3. Pop-Up Card Garland Gallery
 Save
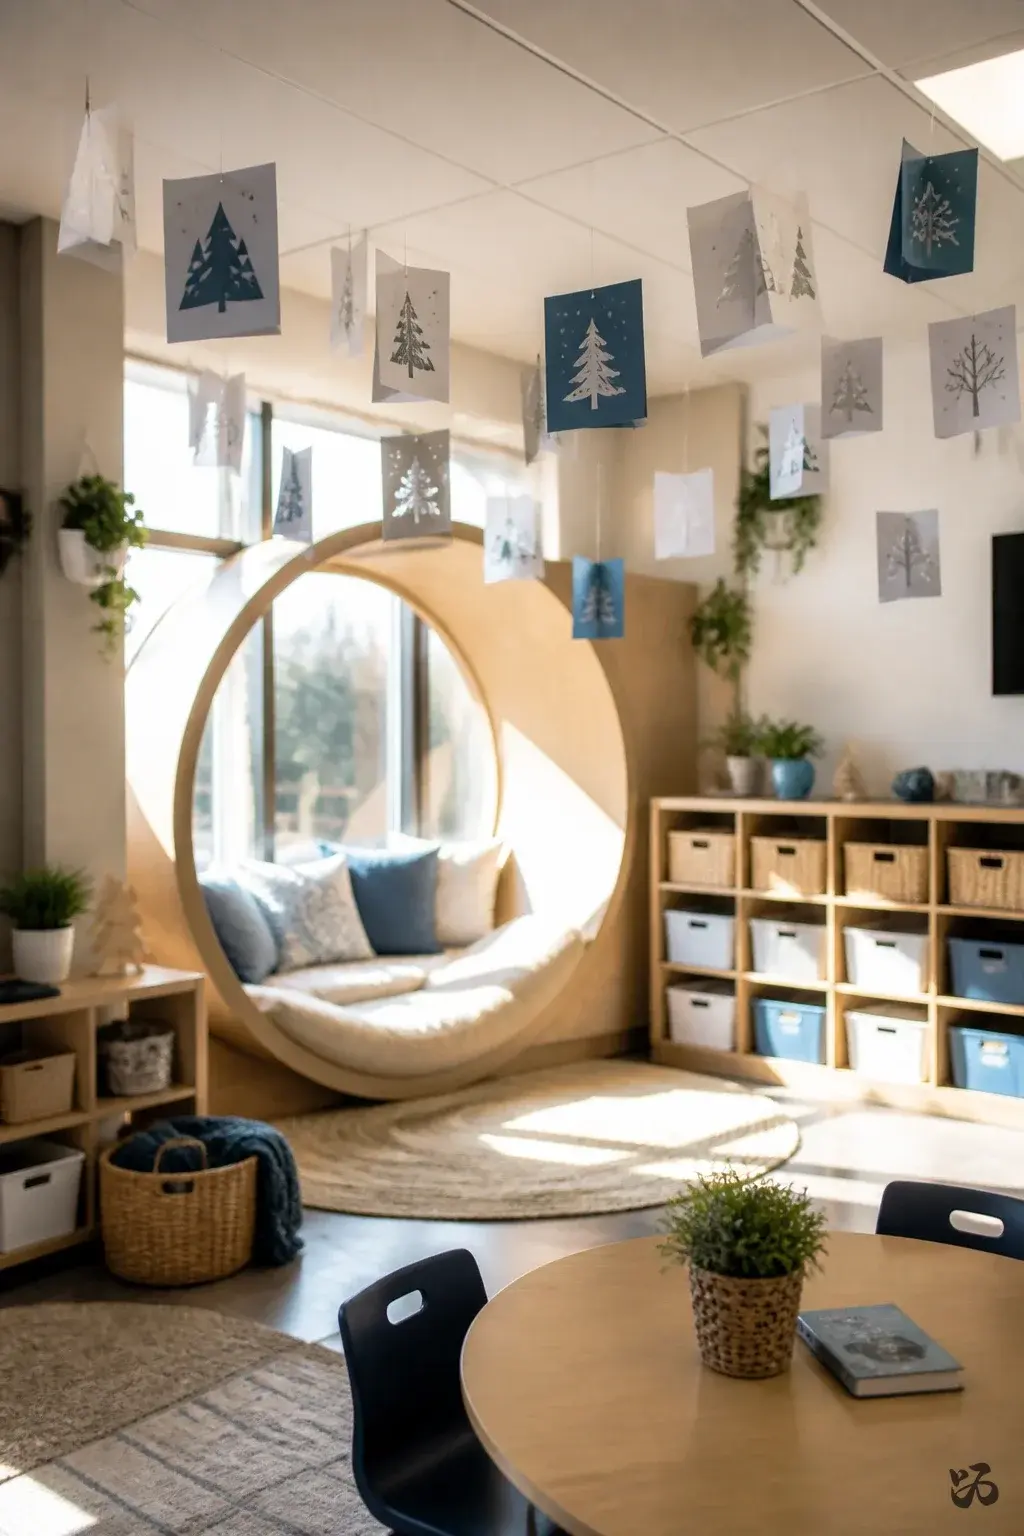
SaveA garland of folded paper cards hangs from the ceiling grid or a doorway, each card a tiny winter scene drawn by students. It stays light and mobile, so it’s friendly for a ceiling hook and safe if the custodian has ceiling restrictions. It reads as cheerful rather than cluttered.
What you need
- Construction paper in white, blue, and silver
- Markers and glue
- Cardstock for sturdier cards
- String or fishing line
- Scissors
Keep the cards simple so students can contribute during a light-end prep period; ignore lamination to save time.
4. Paper Ornament Door Strip
 Save
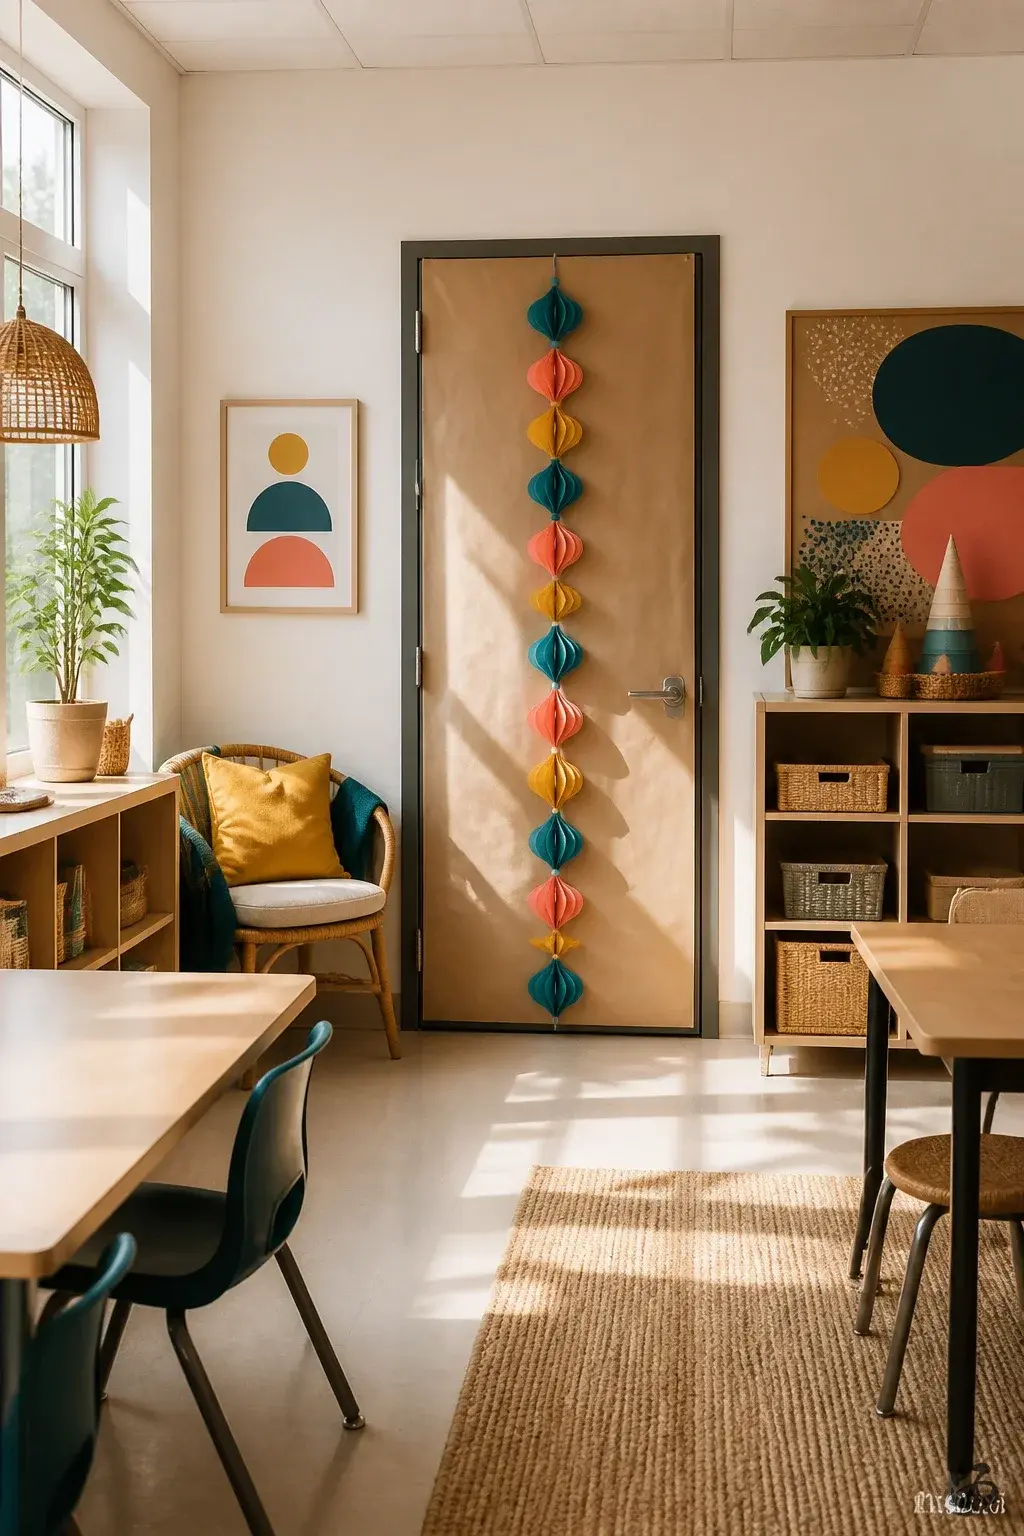
SaveA door-sized patch of paper ornaments creates a festive entrance without covering the whole door. Use sturdy butcher paper for the back and hang individual ornaments cut from construction paper with string or thin ribbon, keeping to a few inches of width so the door can still be opened easily by a few inches.
What you need
- Butcher paper (colored or white)
- Construction paper for ornaments
- String or ribbon
- Stapler (optional) or tape for hanging
- Scissors
Limit to a single column of ornaments to avoid blocking the door edge; remove during June.
5. Cardstock Christmas Tree Wall Mosaic
 Save
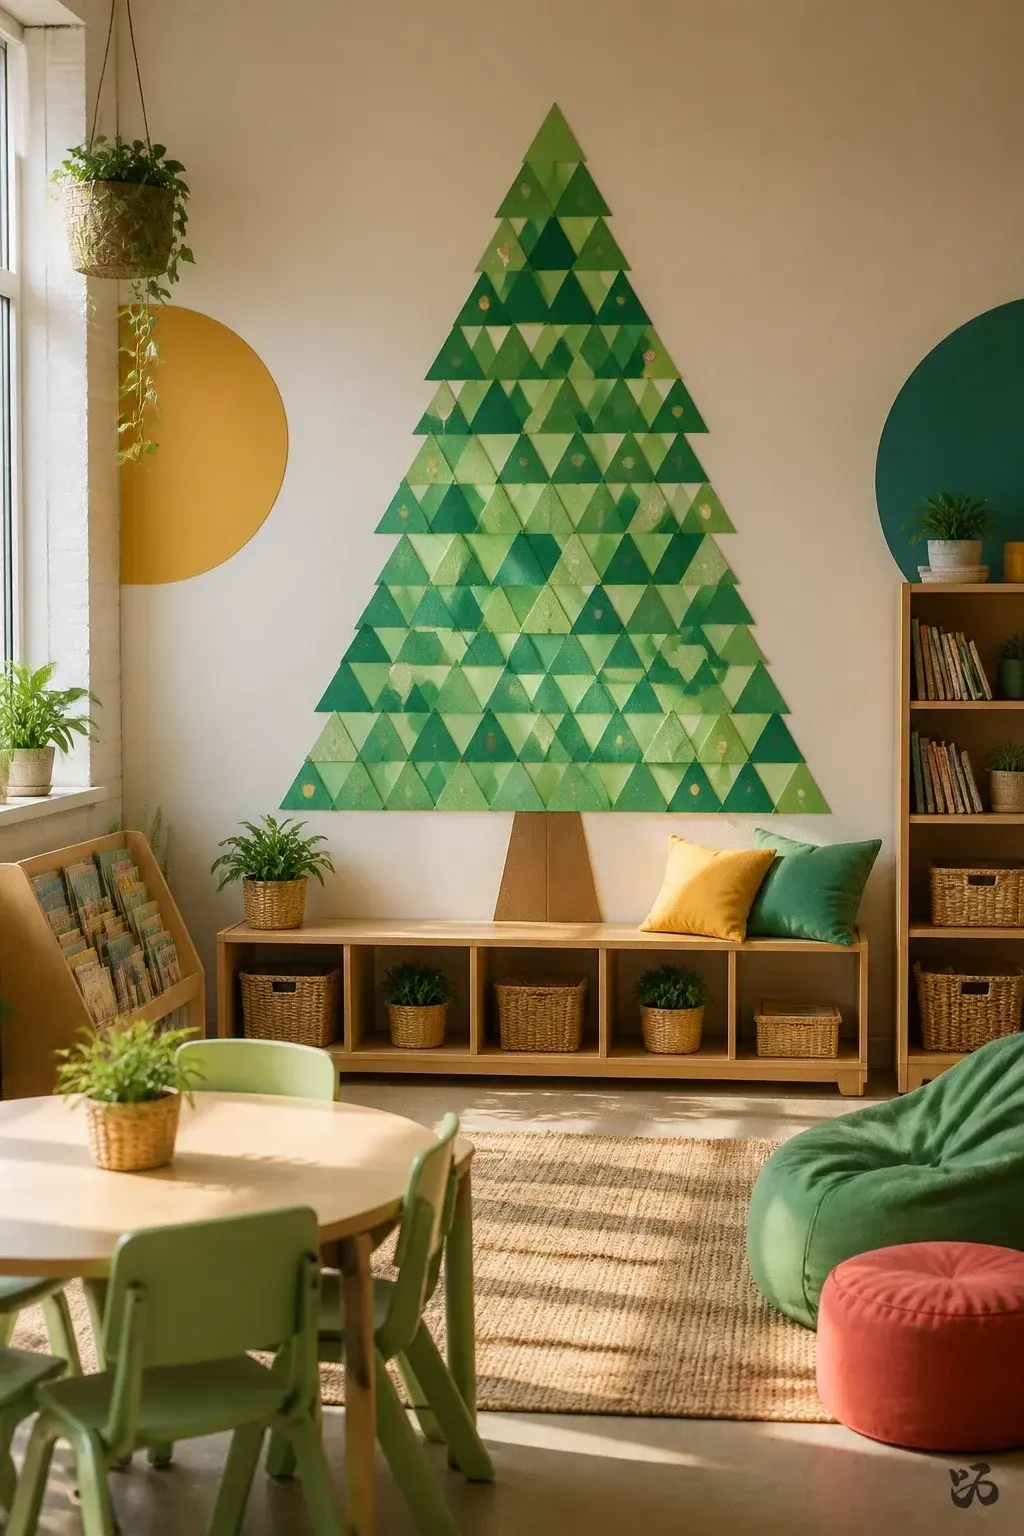
SaveA wall mosaic made from dozens of small green cardstock triangles forms a large tree shape. Place it on a flat, clean wall where blocks of color remain visible. It’s sturdy if you mount in layers with tape rather than relying on glue alone. Works well in fall rooms that still have a lot of bulletin board space open.
What you need
- Green cardstock in several shades
- Tape or paste
- White or brown cardstock for the trunk
- Scissors
- Optional: small stickers for ornaments
Laminate is optional; layers stay up without it.
6. Paper Lantern Garland
 Save
SaveA string of paper lantern shapes suspended across the back corner of the room adds warm color without sweating the lights. Use plain white or colorful lanterns made from folded paper and light accents that are battery operated. It’s a good alternative if the ceiling height limits hanging heavy décor.
What you need
- Colored paper or construction paper
- String lights or plain string
- Scissors
- Glue or tape
Place lanterns at kid height along a safe edge; check fire code rules about ceiling hangings in your district.
7. Snowy Window Silhouettes
 Save
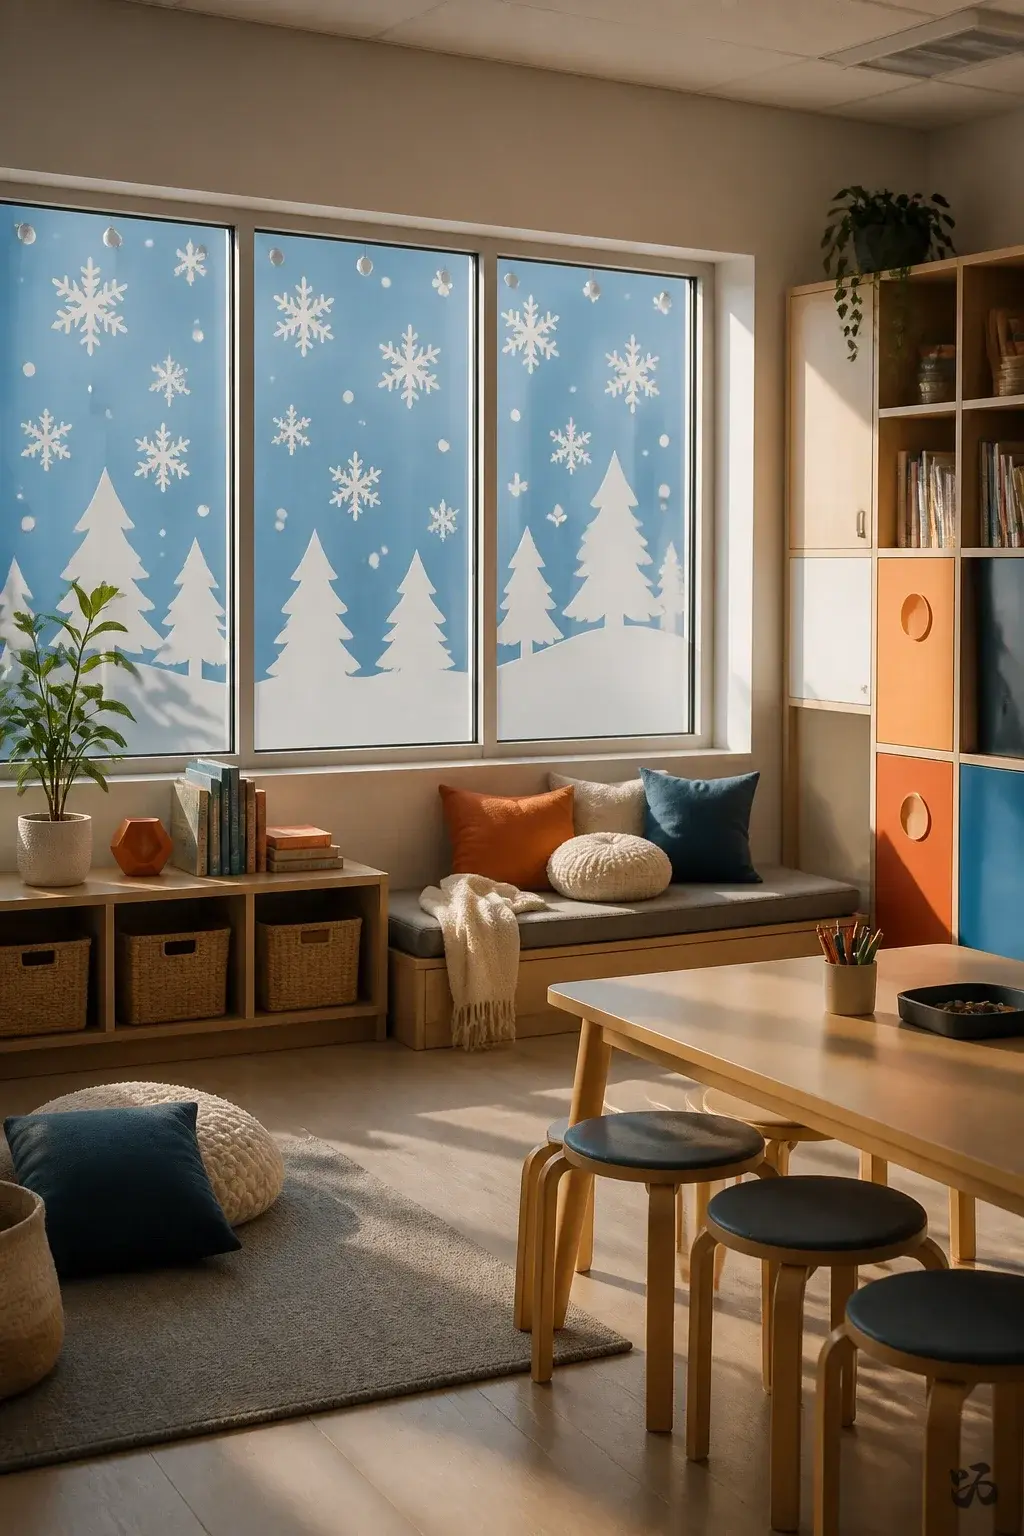
SaveSilhouettes cut from white cardstock cling to windows to create a snowy landscape that’s visible from inside and out. If windows are hard to reach or too bright for tape, use reusable suction cups or low-tack window clips from the dollar store. It’s a forgiving project for a prep period and uses mostly one material family.
What you need
- Cardstock in white
- Blue or light-blue printer paper for background
- Window-safe adhesive or suction cups
- Scissors
- Marker for outlining
Choose a window that gets indirect light for best effect; it’s easy to remove in June.
Christmas crafts for kids


8. Festive Paper Banner Letters
 Save
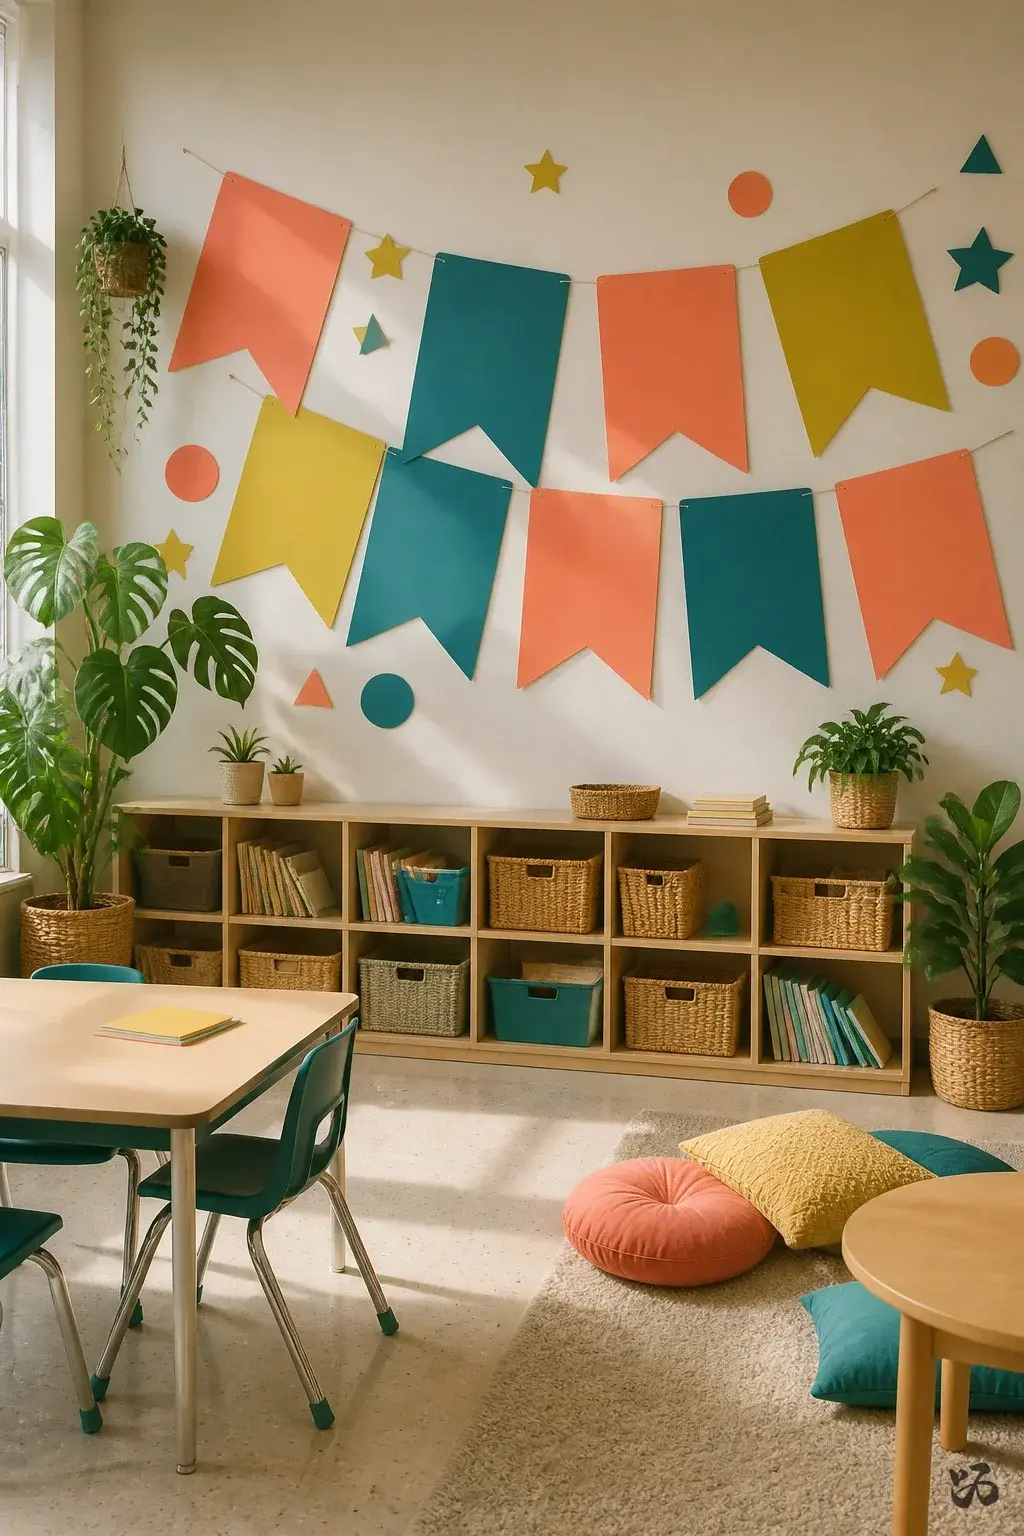
SaveA banner spelling “MERRY” or “JOY” uses large printed or cut letters in bold colors along a hallway or classroom wall. Layer colors for depth and add small shapes around the letters to fill space. It’s simple, reusable, and can be worked into a parent night or Open House display without heavy commitment.
What you need
- Cardstock or construction paper
- Scissors
- Adhesive (tape or glue)
- String for hanging
- Pencil for tracing
Store rolled to minimize creasing; rotate with a new color palette each year.
9. Paper Cup Snow People
 Save
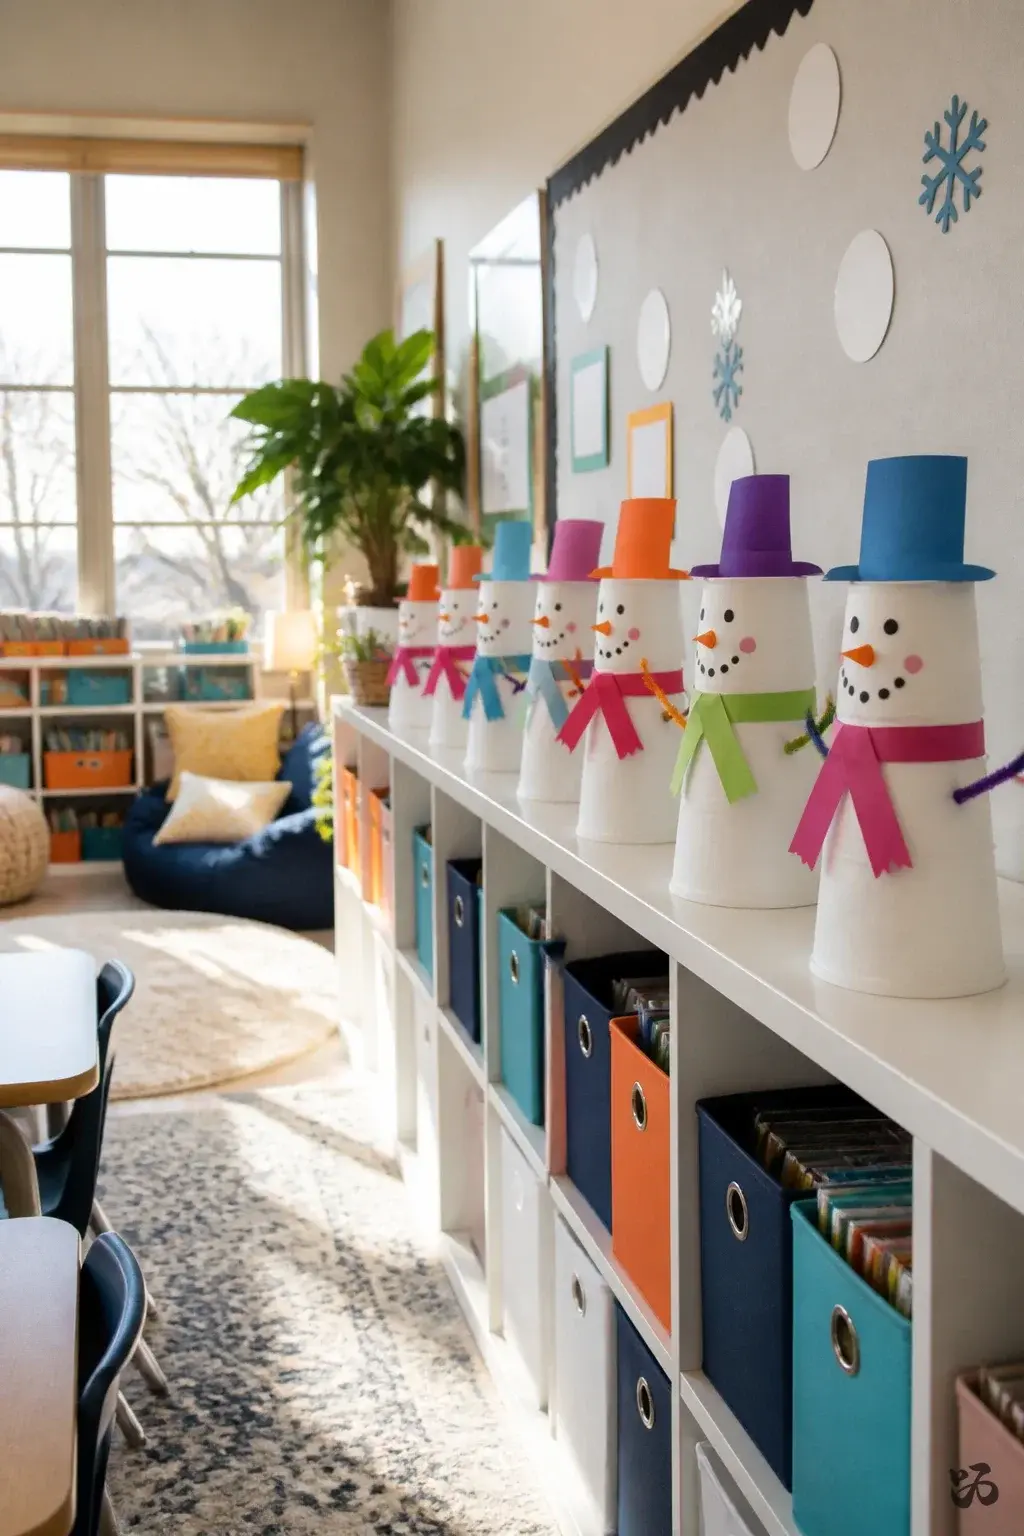
SaveUse white paper cups layered with hat shapes and scarves drawn or glued on. Line them along shelves or the edge of a bulletin board to create a playful row of snow people. They’re inexpensive and robust, especially if you glue the facial features before assembling on the wall.
What you need
- White paper cups
- Colored paper for hats and scarves
- Marker for faces
- Glue or tape
- Pipe cleaners for arms (optional)
Consider a quick demonstration to guide students; no laminating needed.
10. Reindeer Footprint Trail
 Save
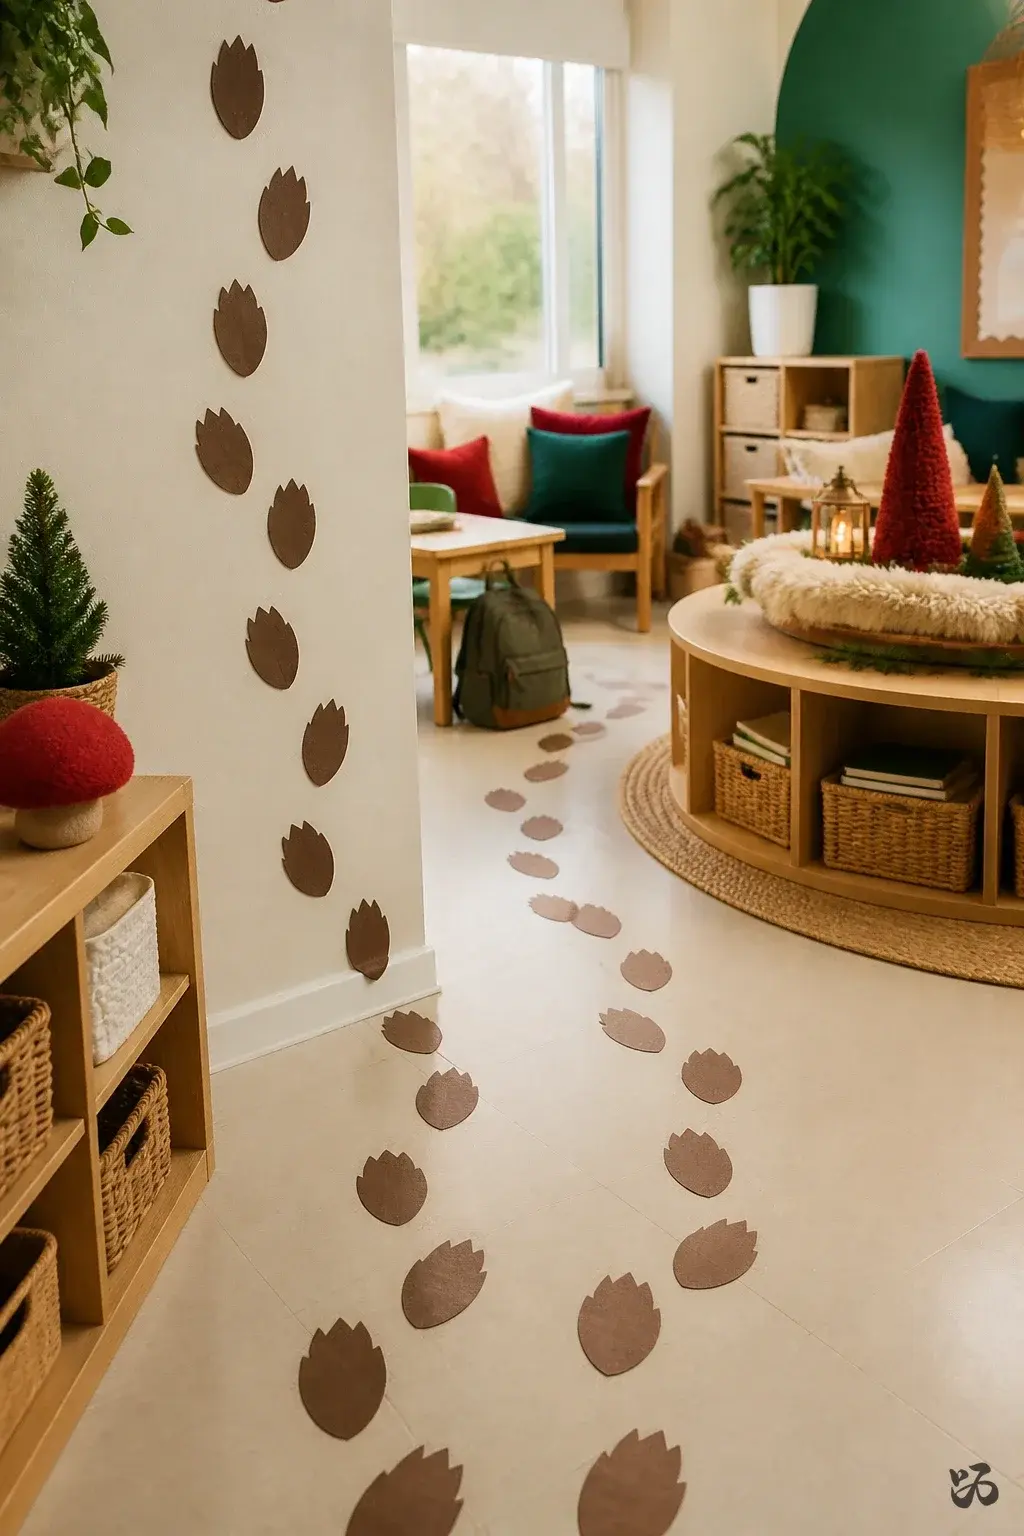
SaveA trail of brown footprints made from cut paper leads to a classroom centerpiece. Each footprint can be labeled with a kind act or student name to promote kindness and collaboration. Mount on a wall or along a hallway edge that does not block doors.
What you need
- Brown construction paper
- White paper for eyes
- Googly eyes (optional)
- Glue or double-stick tape
- Pencil for tracing
Laminate is not required; this stays light and removable.
11. Night Sky with Paper Stars
 Save
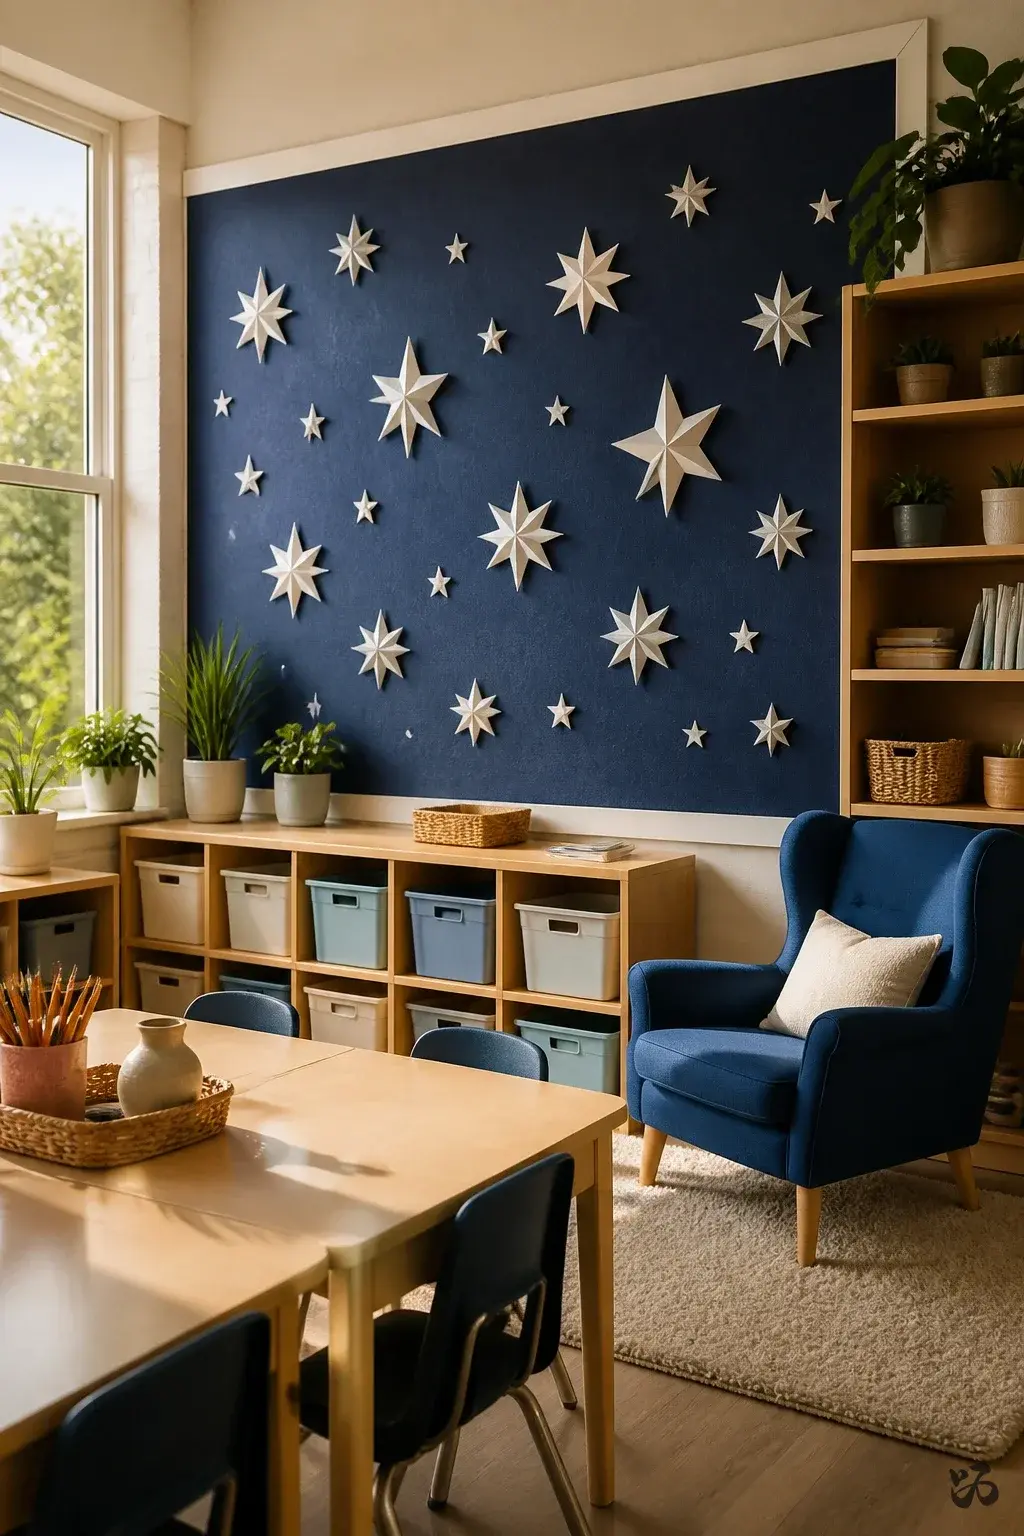
SaveA dark blue bulletin board backdrop with white and silver stars creates a calm, seasonal scene. Use varying sizes to suggest a quiet night sky. This is a good fit for classrooms with limited bulletin boards, as you can place it on a single wall panel and attach with tape or small staples in allowed areas.
What you need
- Dark blue bulletin board paper
- White and silver cardstock
- Scissors
- Adhesive (tape or glue)
- Optional: star-shaped hole punch shapes
Skip laminating; stars can be punched and easily added or removed.
12. Paper Candy Cane Curtain
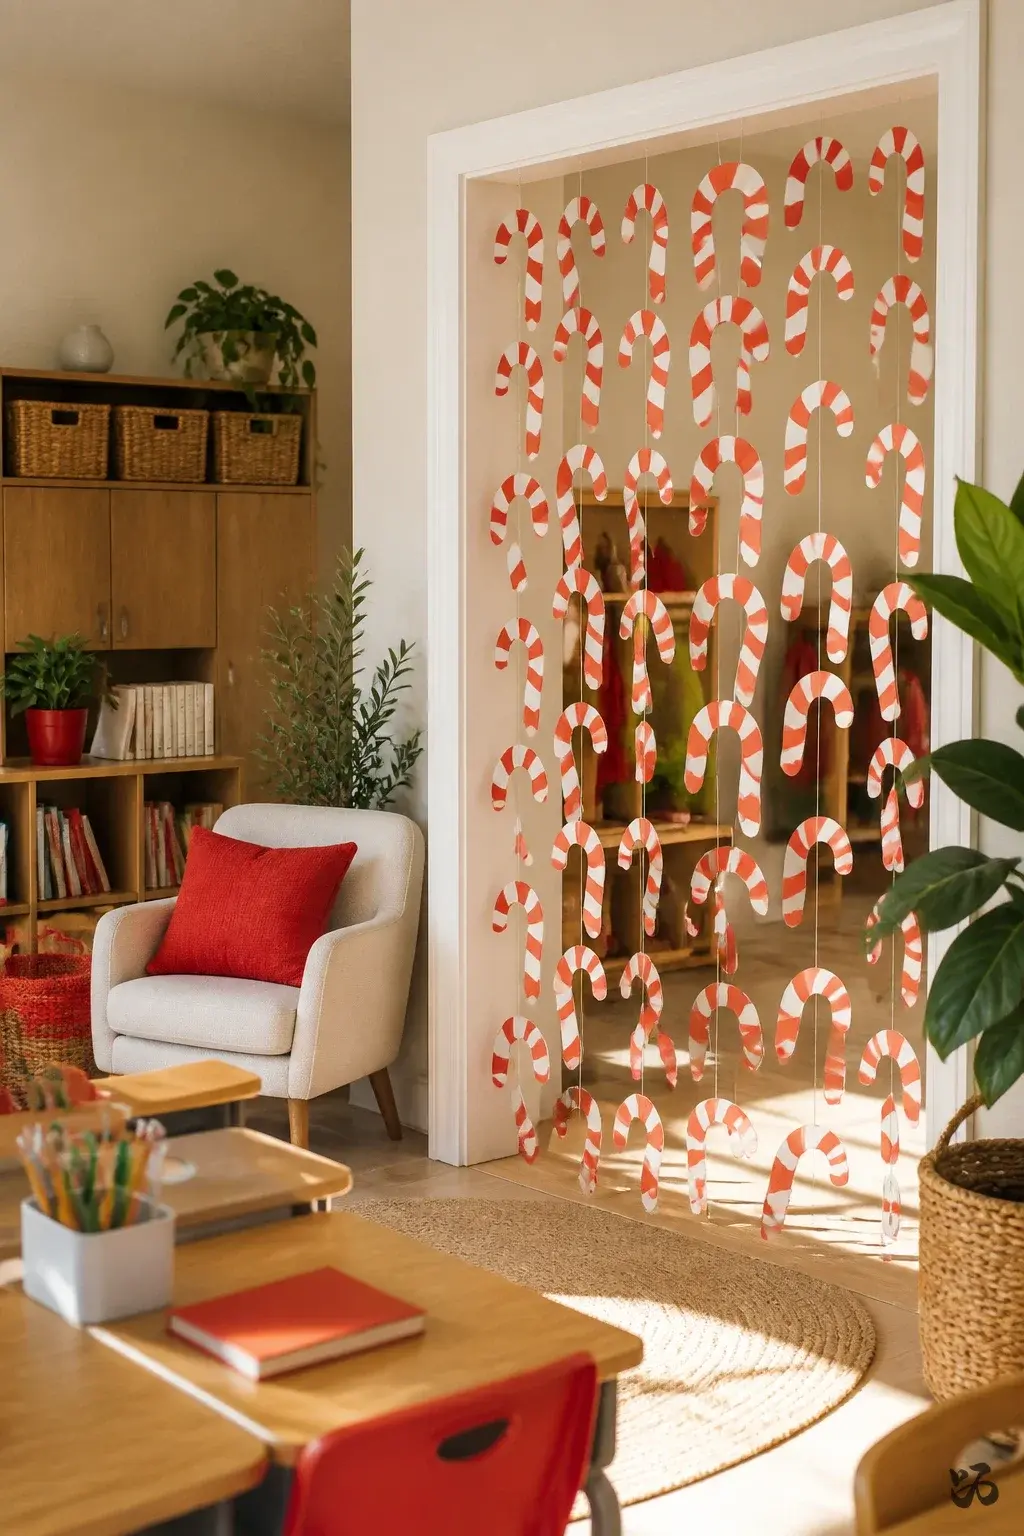 Save
SaveA curtain of red and white candy cane shapes cuts across a window or doorway edge. This is a light, movable decoration that can be assembled during prep period and removed with minimal effort in June. It works well in rooms with limited bulletin board space.
What you need
- Red and white construction paper
- Scissors
- Glue or tape
- String or ribbon
Mount along a doorway frame for easy viewing from the hallway; avoid covering the entire door in crowded classrooms.
13. Cardboard Tree Silhouette with Paper Filling
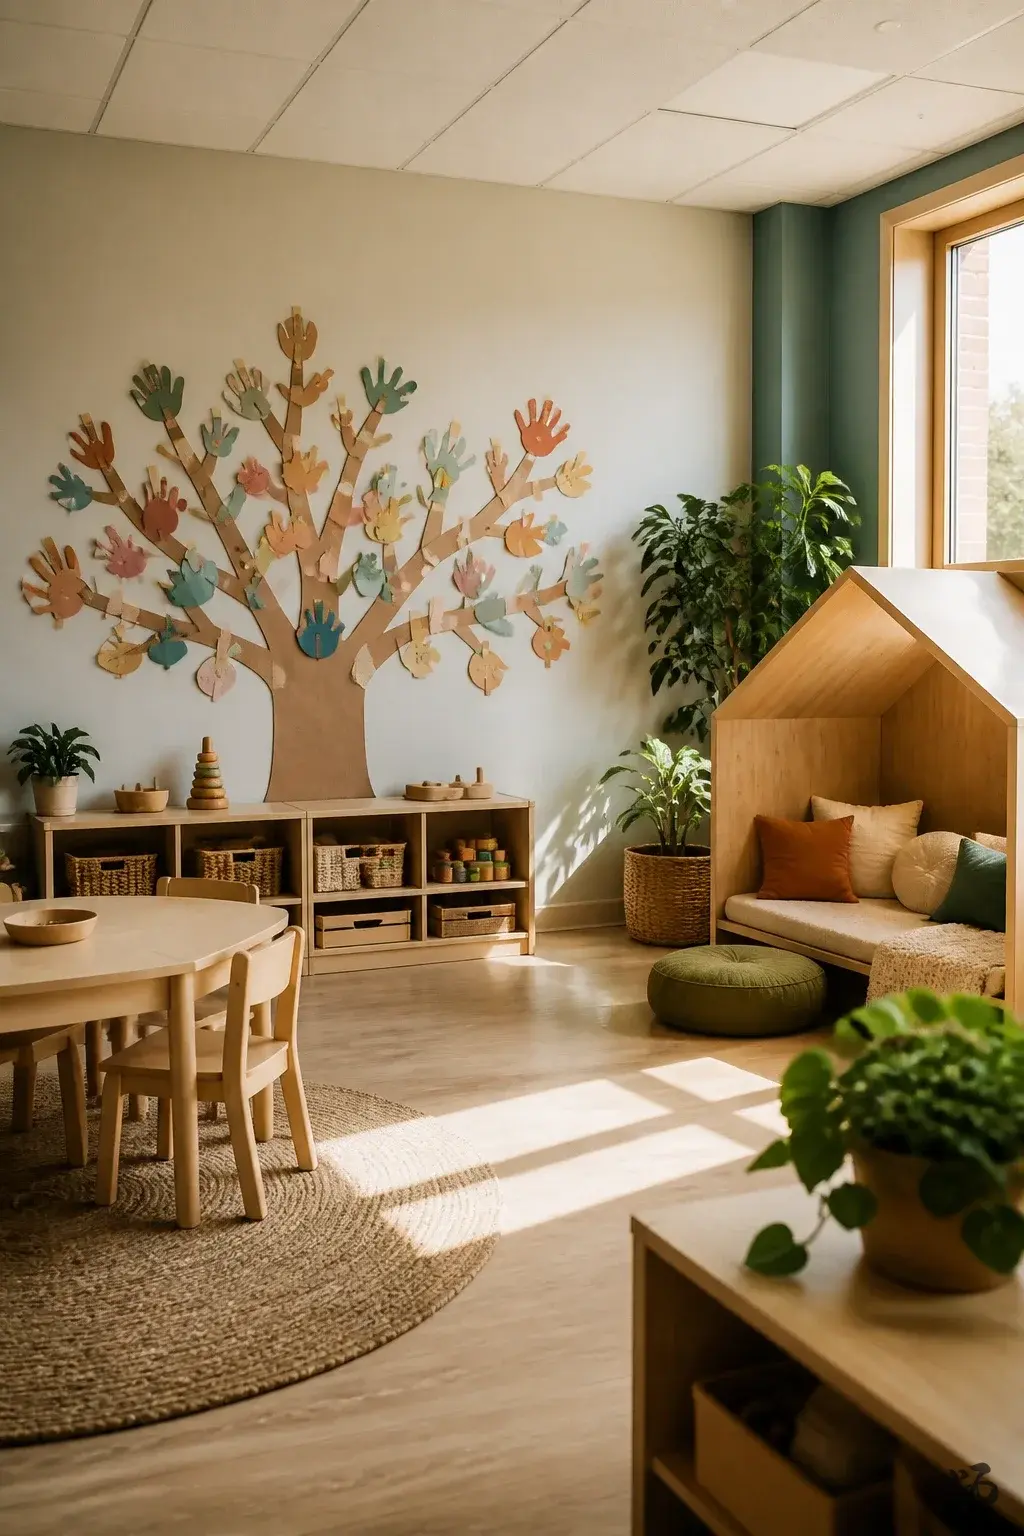 Save
SaveA simple cardboard tree silhouette taped to a wall and filled with various cut-paper ornaments creates a bold focal point. Paper ornaments can be students’ handprints, cut-outs, or small shapes. This is sturdy if you reinforce the tree with a little extra tape and avoid high-traffic zones.
What you need
- Cardboard or foam board for the tree
- Construction paper for ornaments
- Masking tape or double-stick tape
- Scissors
- Glue or tape
Place low down and away from the door to avoid bumps during recess.
14. Origami Star Garland
 Save
SaveFolded origami stars in metallic or bright paper strung along a wall or window adds a touch of sparkle without heavy materials. Kids can help with simple folds during a prep period, and the strings can hang from wall hooks or a light fixture if allowed.
What you need
- Metallic or colored origami paper
- Thread or thin string
- Glue or tape
- Markers to label each star with a kind word if desired
Use only lightweight hooks or clips; avoid pulling on ceiling hardware.
15. Paper Cup Snowy Village
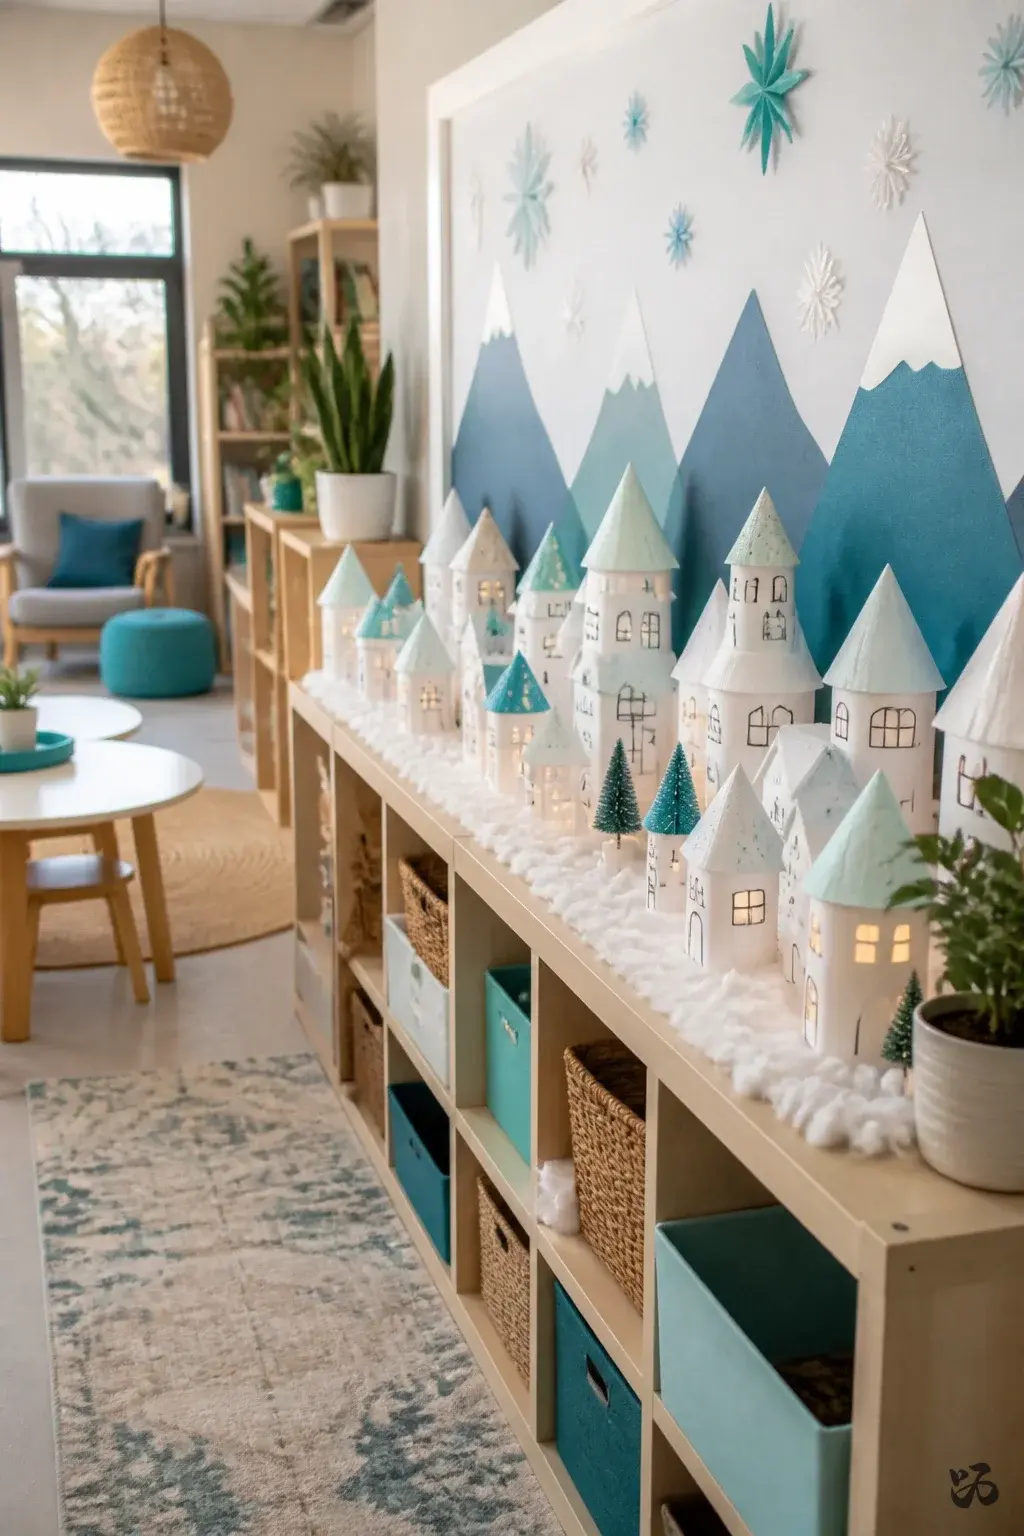 Save
SaveFold and trim small white paper cups to resemble houses with windows drawn on. Arrange them on a bulletin board or shelf to form a miniature snowy village. It’s a nice, tactile project for early grades and uses minimal glue, relying on stacking and spacing for stability.
What you need
- White paper cups
- Markers for windows and doors
- Colored construction paper for roofs
- Glue or tape
- Mini pretend snow (cotton, white pom-poms) (optional)
Place along a shelf line away from the door edge to minimize mischief during transitions.
Paper snowflakes and cutouts


16. Paper Fireplace Mantel
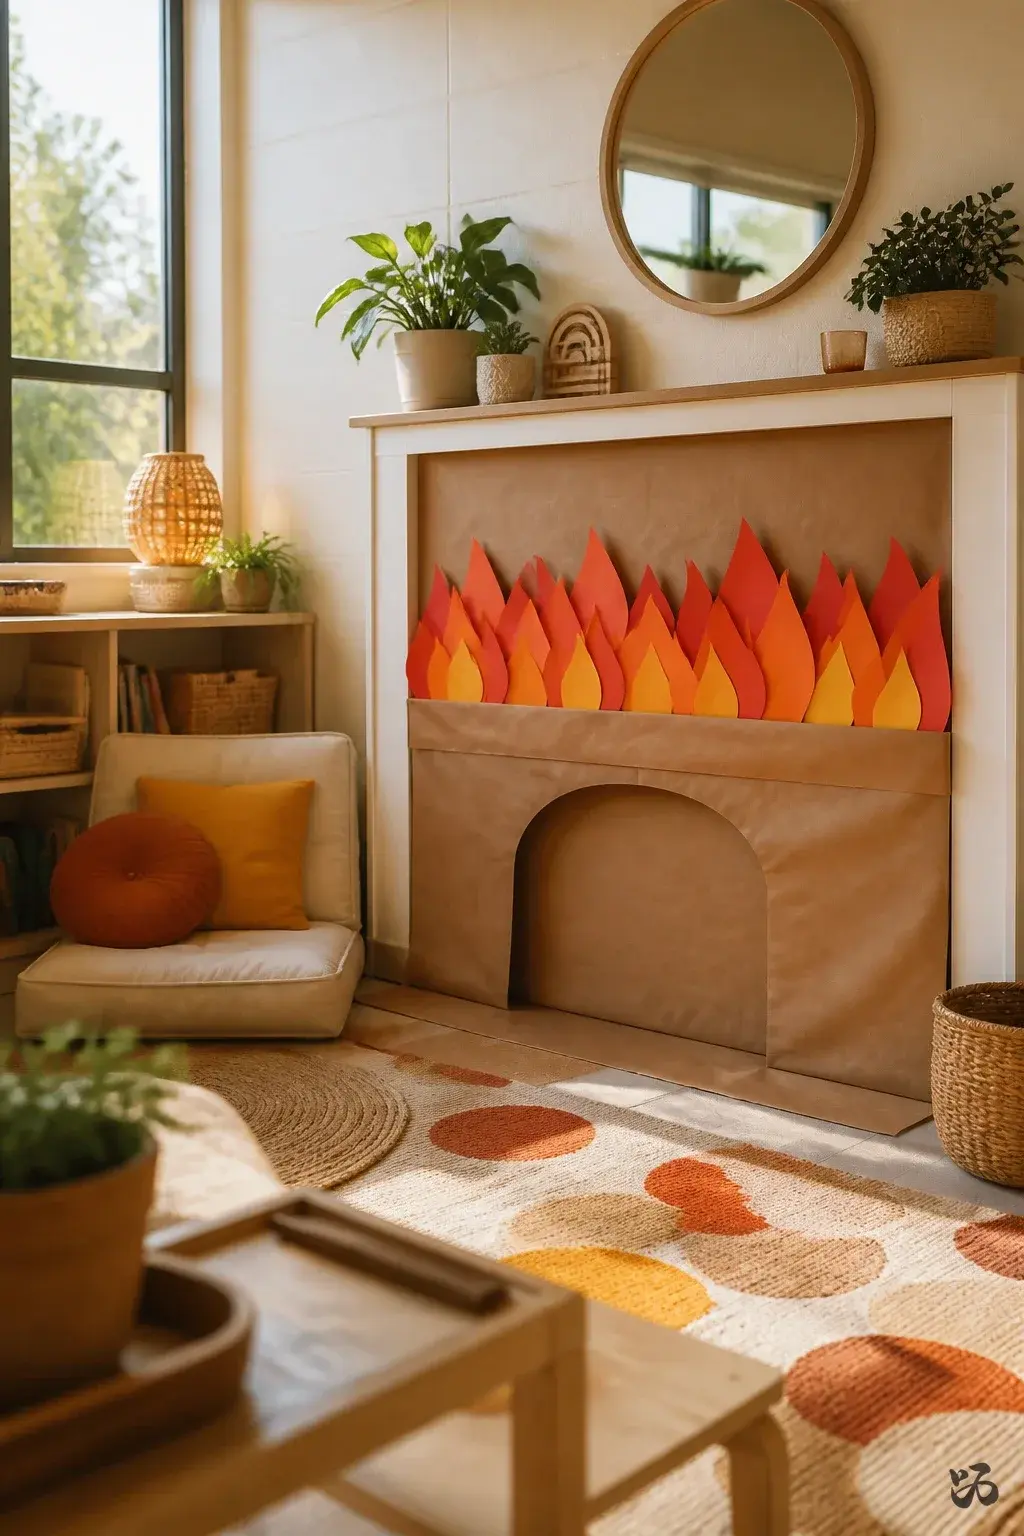 Save
SaveA faux fireplace scene created with red and orange paper flames attached to a brown paper mantle along the wall. This keeps the coloring warm and cozy without needing real heat details. It’s a good central focal point for a reading corner or field trip planning area.
What you need
- Brown butcher paper for the mantle
- Red, orange, yellow paper for flames
- Tape or glue
- Scissors
Keep flames layered and taped into the mantle line to prevent sagging; remove easily in June.
17. Winter Animals in Paper Silhouettes
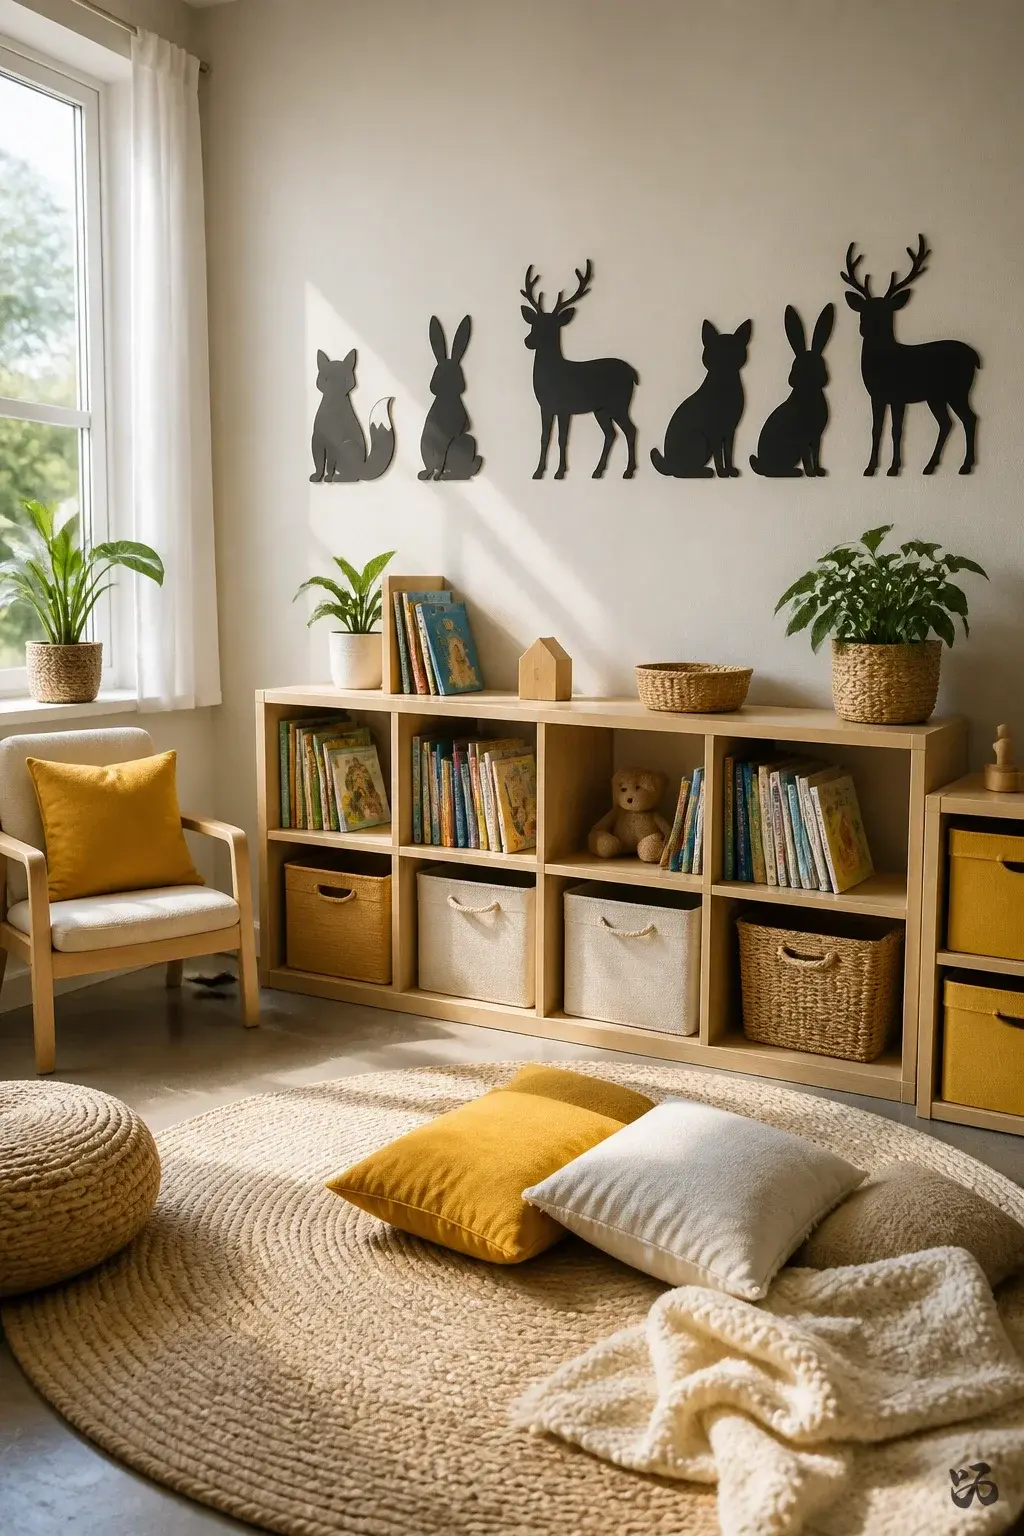 Save
SaveA row of animal silhouettes cut from black cardstock (like foxes, rabbits, and deer) adds a crisp contrast on a light-colored wall. Place near a reading rug or window for a seasonal touch. It’s straightforward to cut and assemble, and durable enough for daily classroom traffic.
What you need
- Black cardstock
- Scissors
- White or light-colored wall backdrop
- Double-stick tape or small staples (where allowed)
Laminate if you want longer-lasting silhouettes; otherwise, they’re simple to remove.
18. Paper Lantern Snowfall Curtain
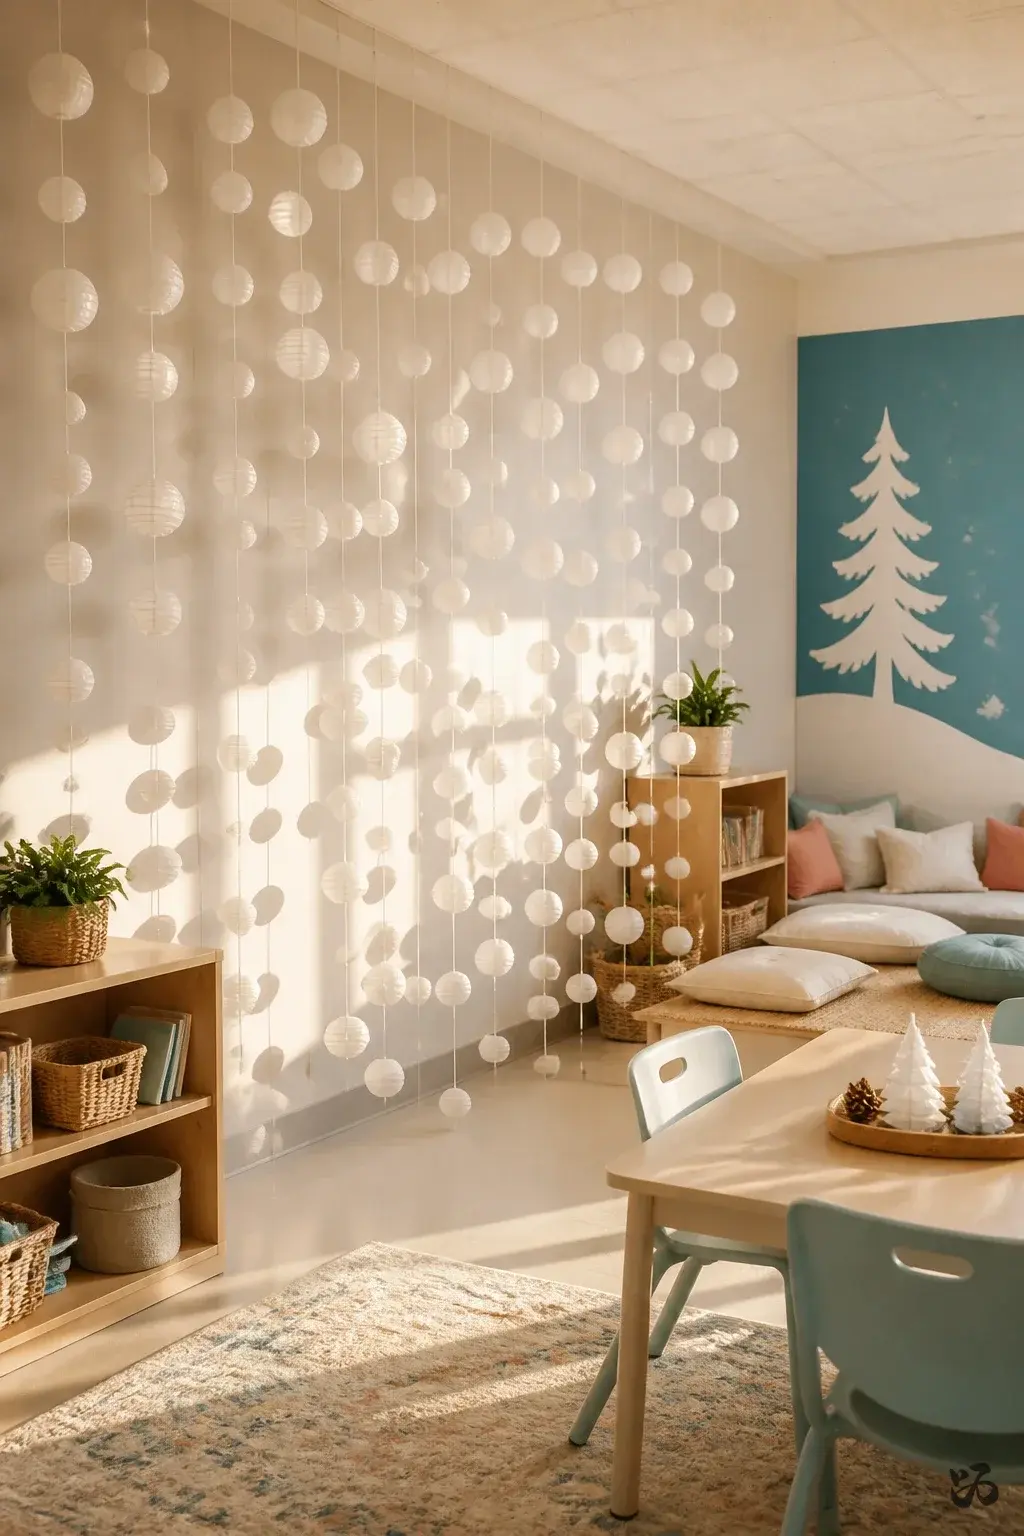 Save
SaveA curtain of small white lanterns or circles simulates a gentle snowfall along a wall or doorway. This is light enough to stay up without heavy mounting and can be done with minimal prep time. It’s best on a wall that is not near a classroom exit to avoid frequent movement.
What you need
- White or light blue cardstock
- String or fishing line
- Glue or tape
- Scissors
Test length in prep period to avoid snagging on door handles or sensors.
19. Paper Plate Snow Globe Wall
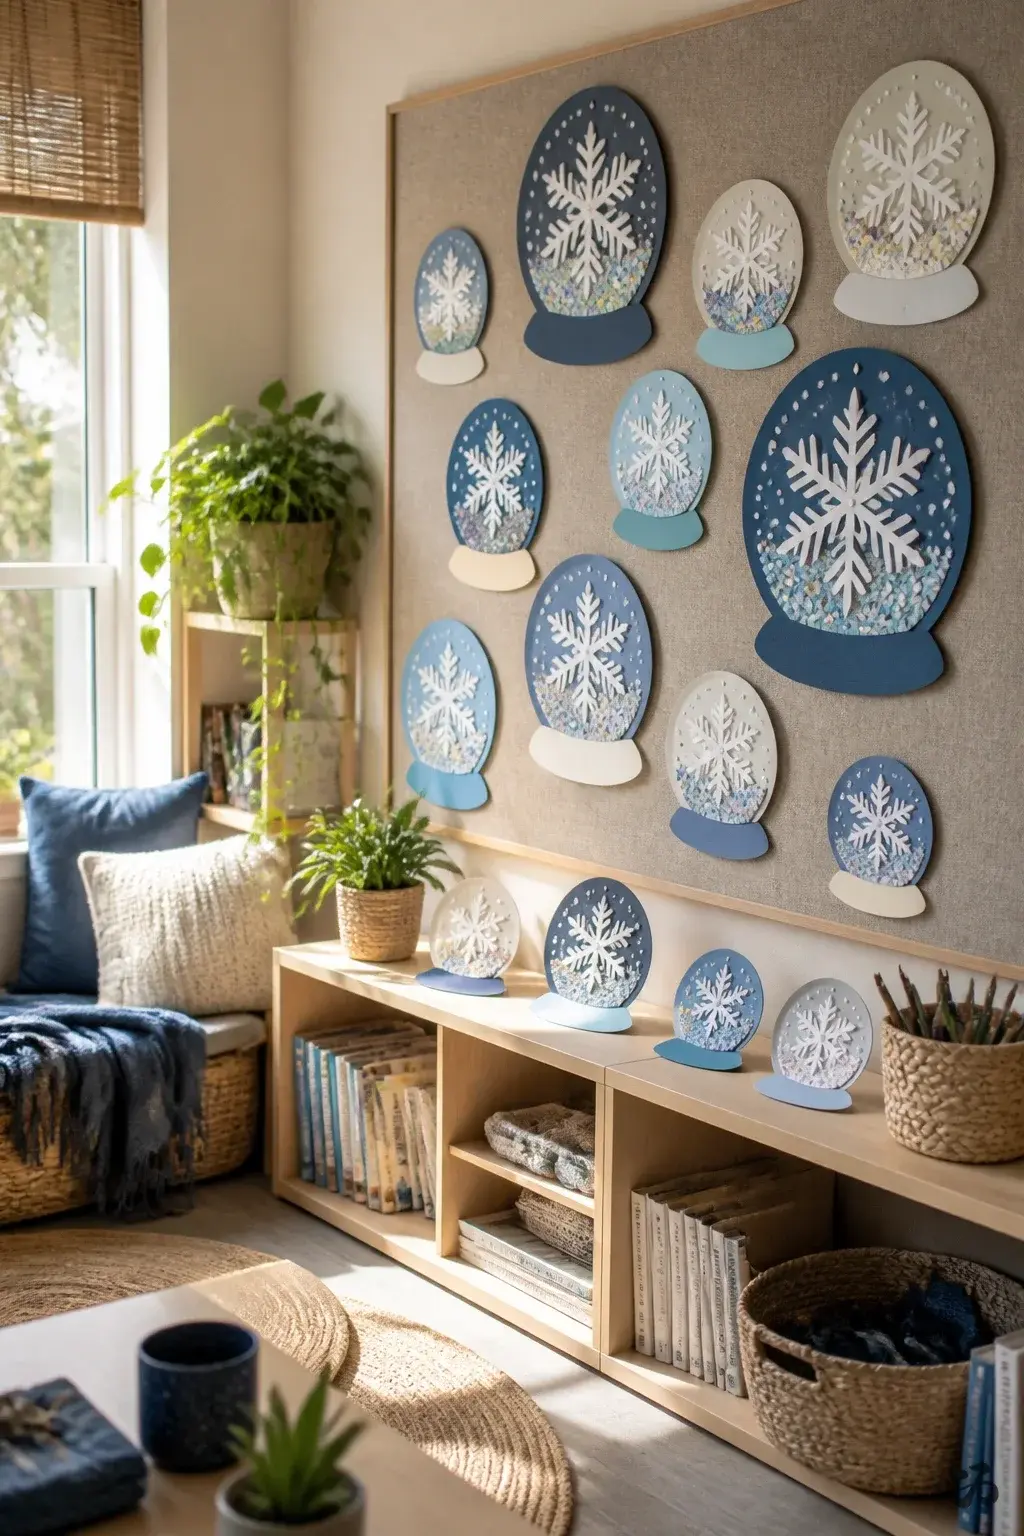 Save
SaveCut circular shapes from recycled paper and layer to form small “snowglobe” scenes. Mount on a bulletin board or a low shelf to create a scattered, festive display that doubles as a subtle science moment about materials and texture. It’s a green option that holds up reasonably well with light handling.
What you need
- Recycled paper (from printer scraps)
- Construction paper for color accents
- Glue or tape
- Cardstock for bases
- Scissors
Use a glue stick for quick adhesion and easy removal during June cleanup.
20. Handprint Holly Wreath
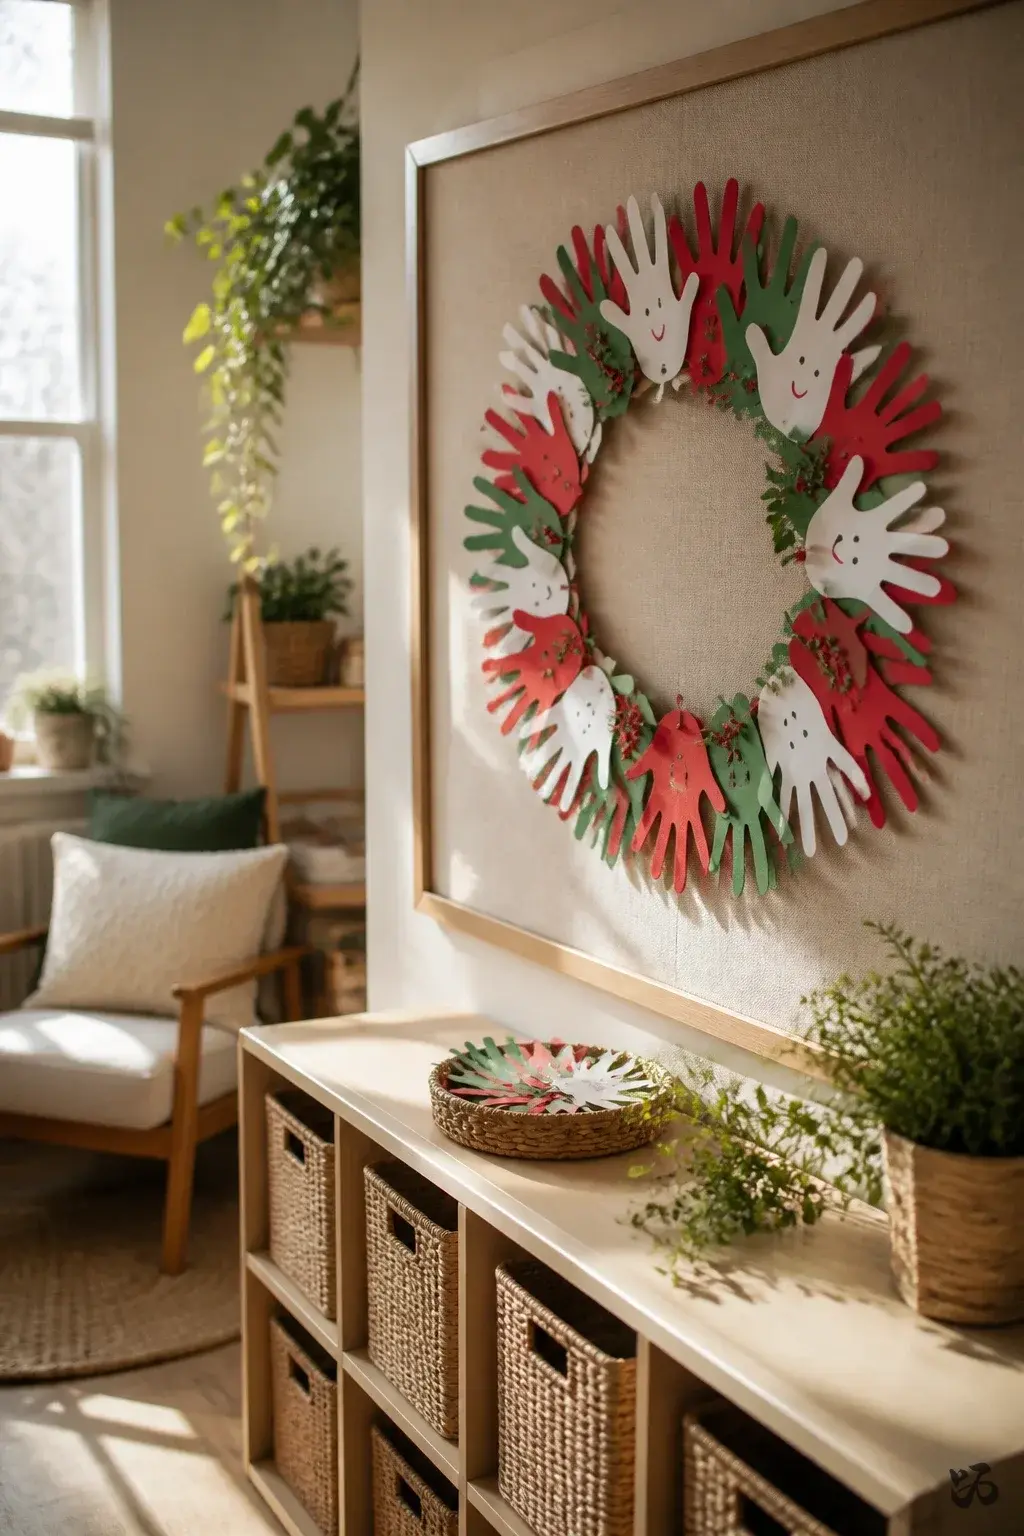 Save
SaveA wreath formed by student handprint cutouts in red, green, and white creates a personal, team-oriented display. It sits well on a bulletin board or wall panel and invites family participation during parent night or Open House. It’s gentle on the budget and simple to assemble during a prep period.
What you need
- Colored construction paper (red, green, white)
- Scissors
- Glue or tape
- Circle templates for wreath ring
- Markers for face features on handprints (optional)
Give students a choice of color for their handprint; it adds variety and keeps the project manageable for little hands.
Frequently Asked Questions
What paper is best for classroom Christmas decorations?
Construction paper for chains and big cutouts, cardstock for anything that needs to hold its shape like stars and ornaments, and white copy paper for snowflakes because it folds and cuts easily.
How do you make paper decorations last until winter break?
Use cardstock for pieces that hang, mount with removable putty rather than tape, and keep them away from doors and heaters. Laminating a few key pieces lets you reuse them next year.
What paper Christmas crafts can young children make?
Paper chains, handprint wreaths, paper plate snow globes and simple folded snowflakes all work for pre-K and kindergarten with a little help cutting.
Final Thoughts
Pick one decoration for the walls and one the class can make together, and the room will feel festive by the end of the week. Paper decorations made by the kids always mean more than anything from a store.
More classroom ideas
- 30 Classroom Christmas Decorations You Can Put Up in an Afternoon
- 28 Christmas Decor Ideas on a Teacher Budget
- 24 Christmas Bulletin Board Ideas That Take One Prep Period
- 20 Gingerbread Bulletin Board Ideas
All designs featured here are imaginative visual concepts. Every image is original and thoughtfully created by Shinku Studio.