
Some links in this post are affiliate links. If you buy through one, I may earn a small commission at no extra cost to you. As an Amazon Associate I earn from qualifying purchases.
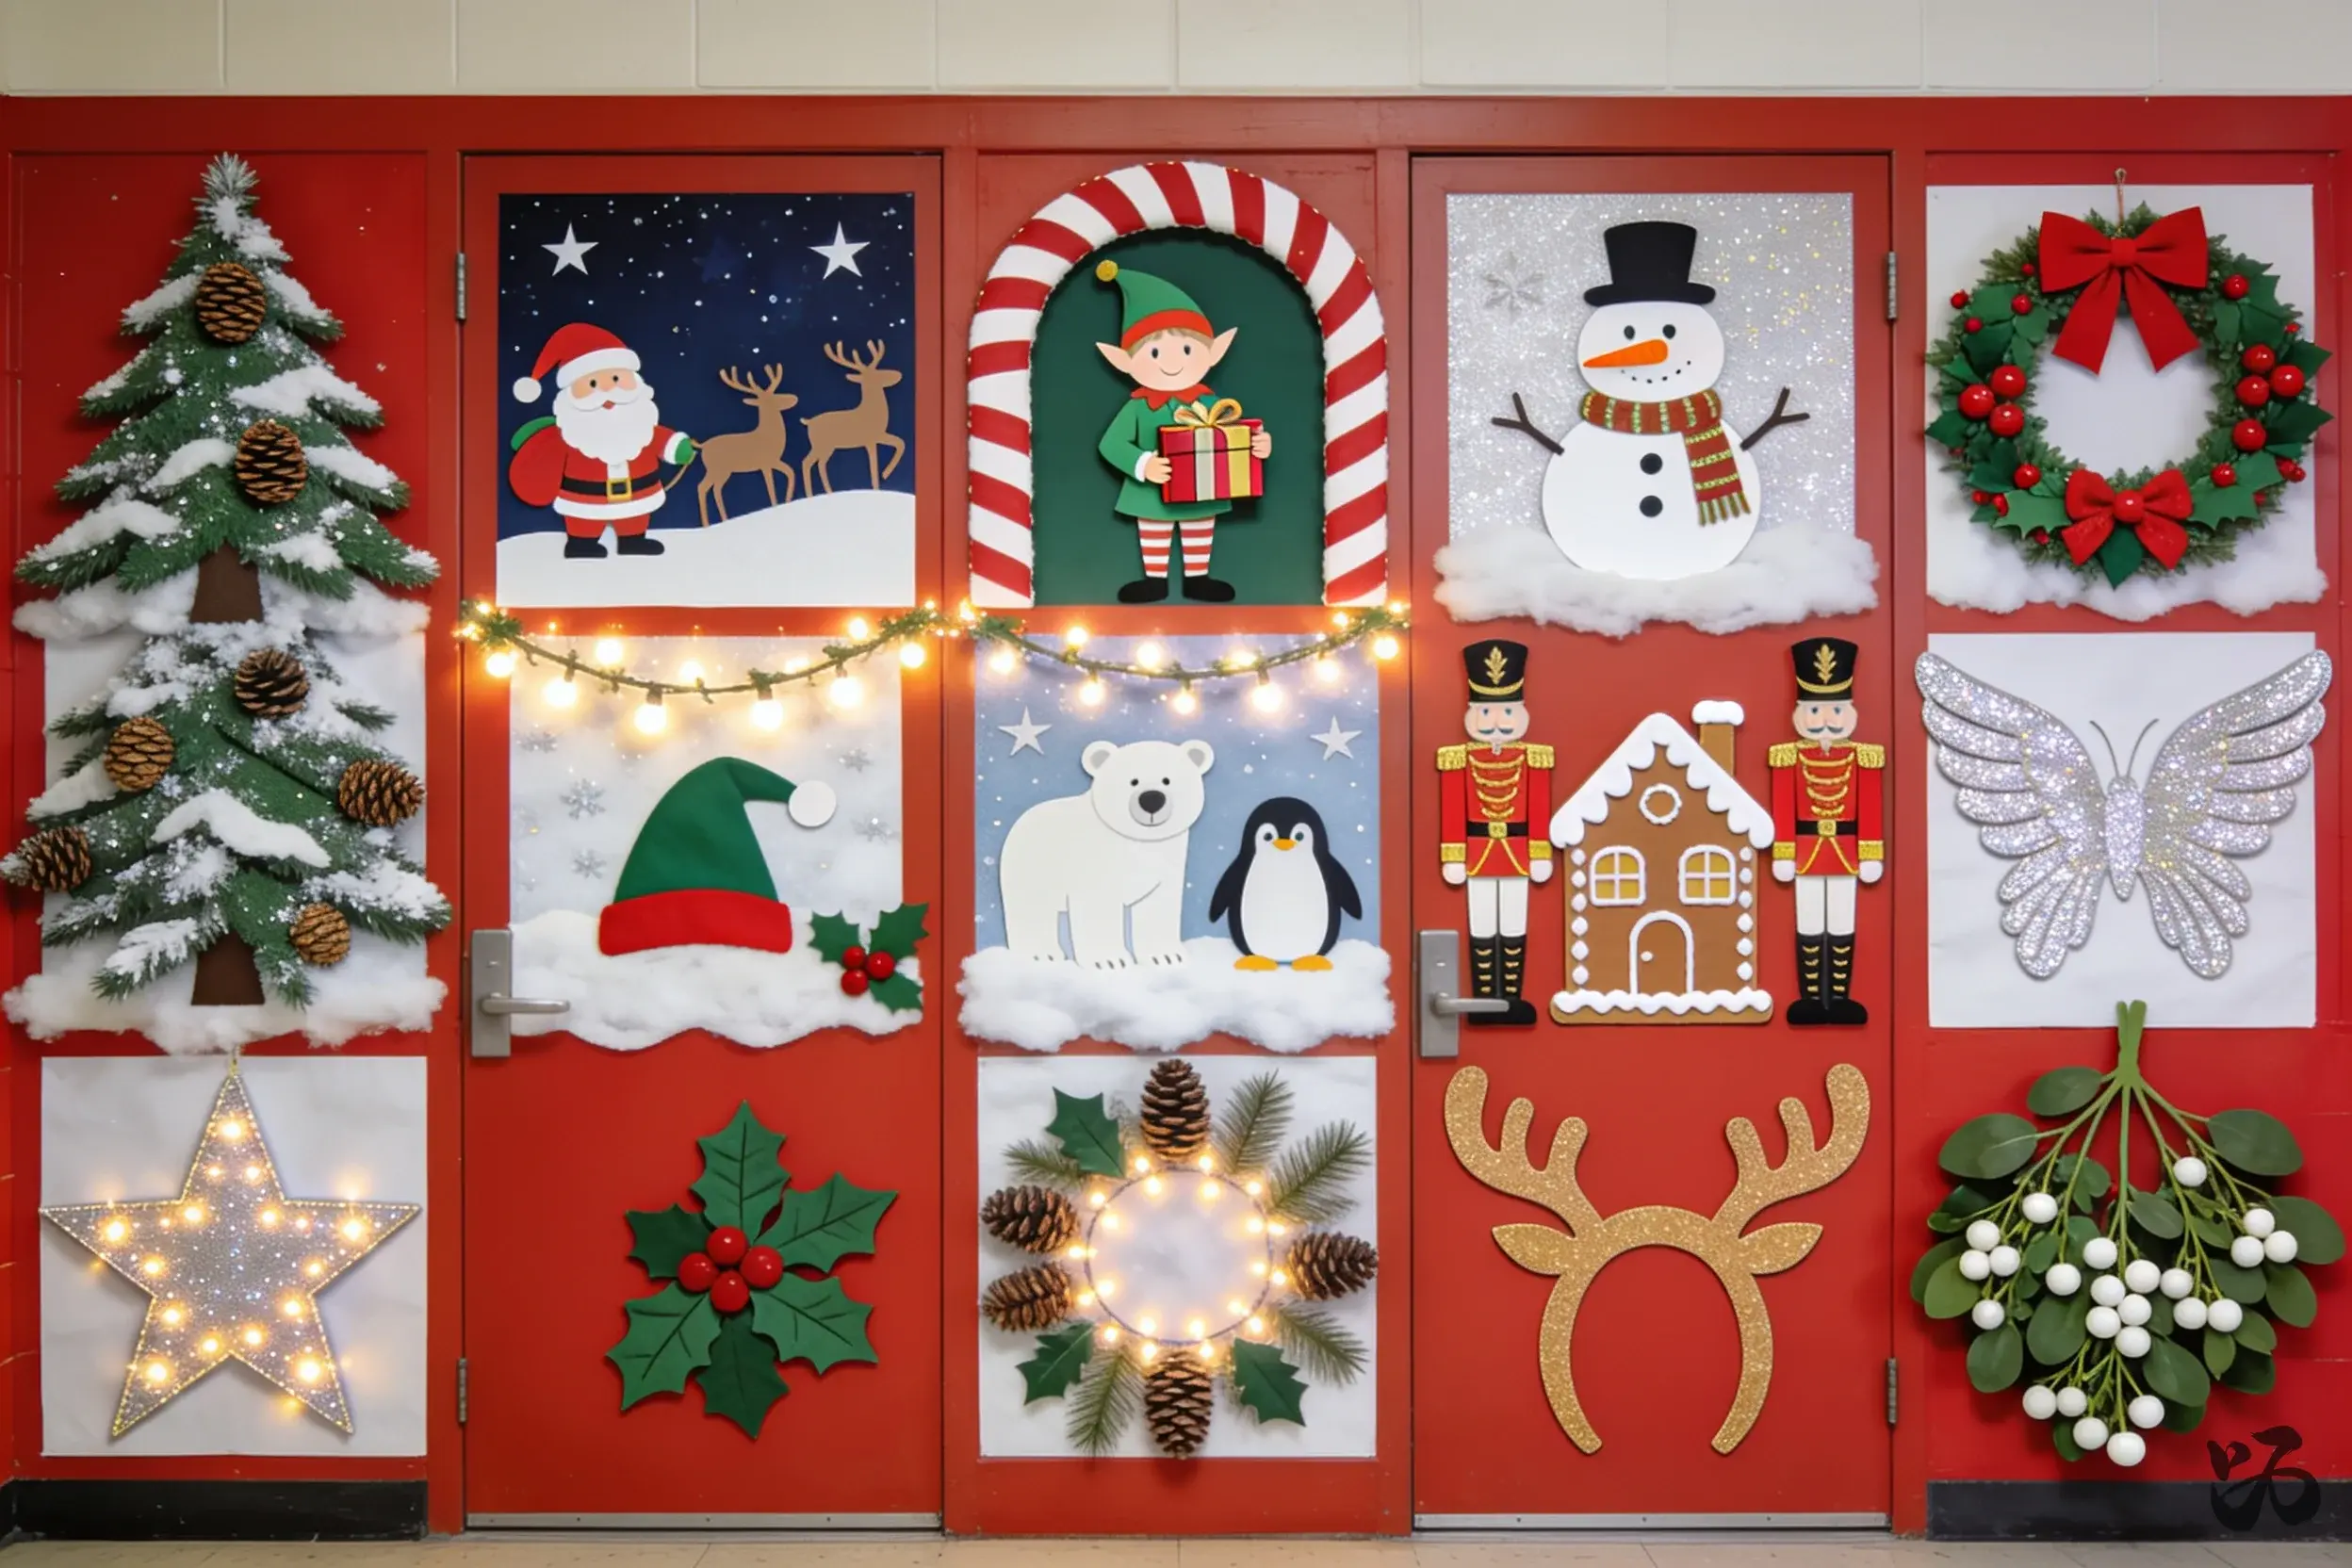
These ideas are practical for pre-K through fifth grade classrooms and sized for standard US doors. They work in kitchens and hallways alike, and they respect fire codes, cleanup time, and open house prep. This guide focuses on durable, kid-friendly ideas you can build during prep period or in a single class period.
Four things that make a door come together fast
A door is mostly paper and light. These are the pieces that turn a flat sheet of butcher paper into something the hall actually stops at.
- Battery powered fairy lights with a remote Thin silver wire that disappears against paper, so what the room sees is glow rather than cable. Battery packs mean the display can go anywhere, not just near a socket.
- Plug in string lights for a longer run For the window or the back wall where there is an outlet and you want more light than battery wire gives. Eight modes, including a slow fade calm enough to leave on during lessons.
- A warm neon sign for the corner One soft focal point that stays up long after the paper comes down. USB powered with adjustable brightness so it is not glaring mid lesson.
- Self adhesive felt boards for walls that will not take pins They stick to painted block, take pins straight away, and cut down to fit an awkward gap. This is the fix for a room with no cork anywhere.
1. Snow Globe Door with Clear Window
 Save
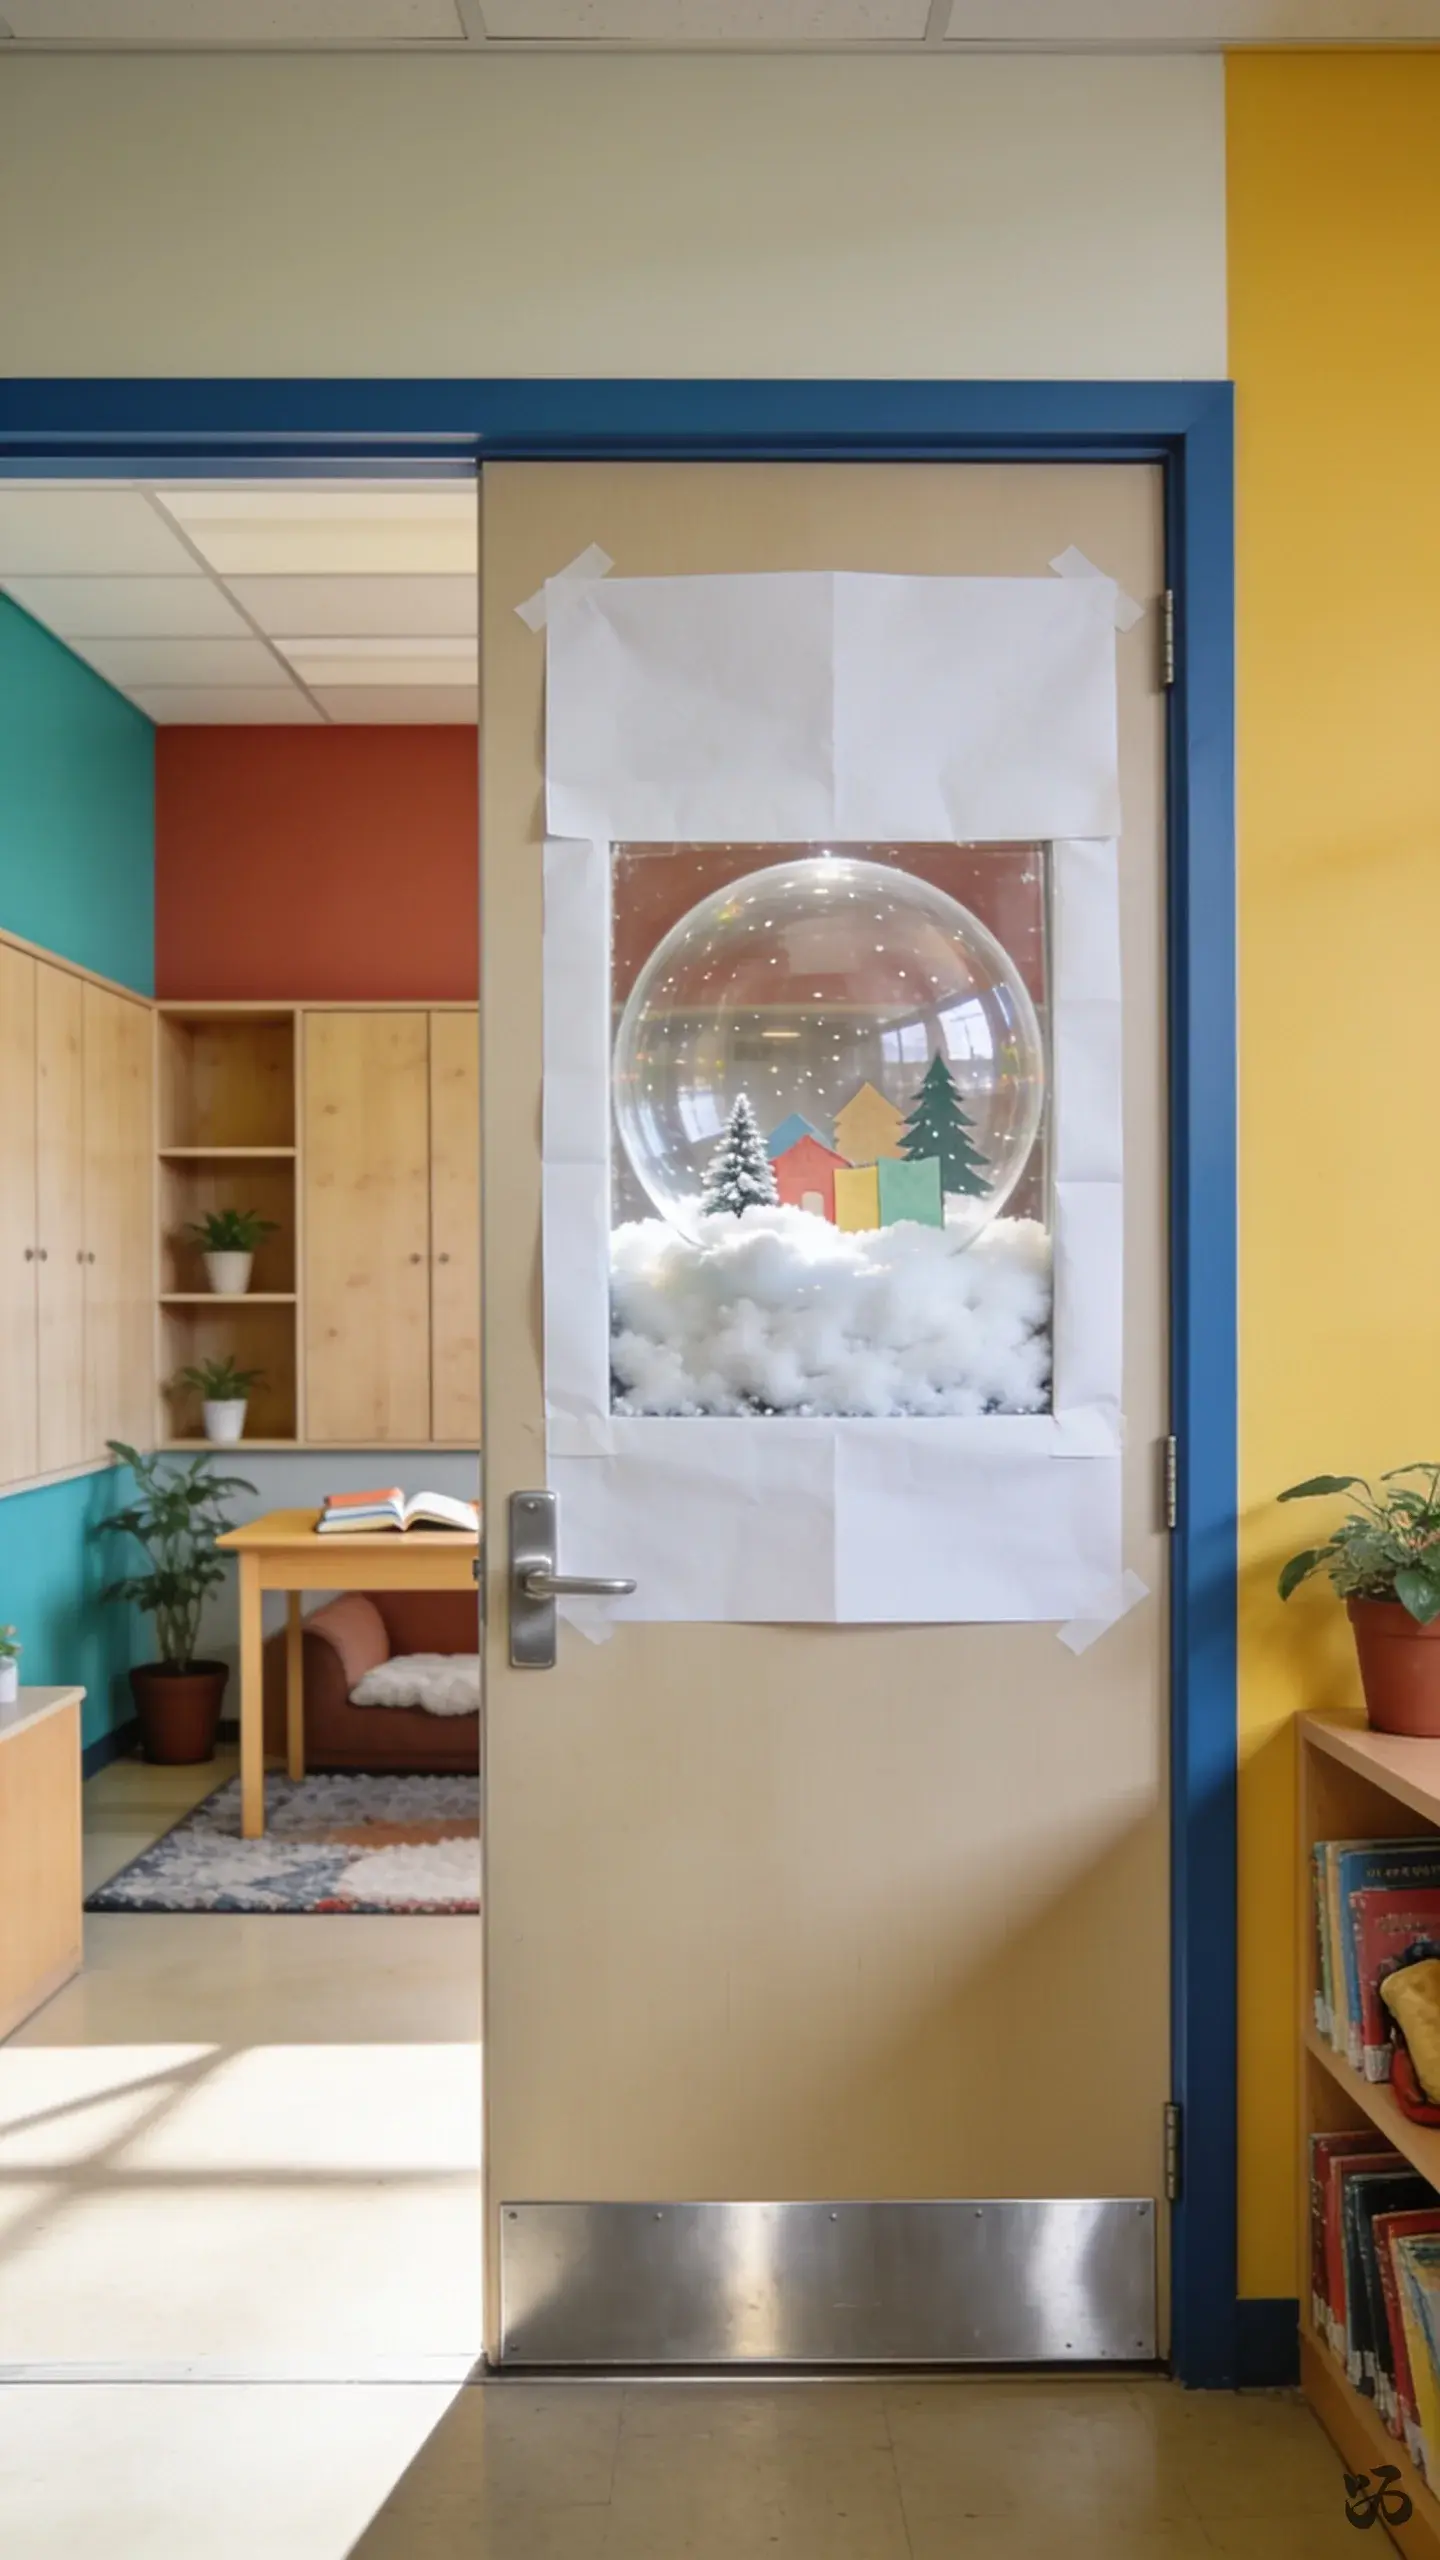
SaveClear plastic or a cut-out window framed with white butcher paper turns your door into a giant snow globe. Inside, use cotton batting for snow and a little scene at the bottom. It looks bright from a hallway glance and stays sturdy during recess traffic.
What you need
- White butcher paper or poster board
- Clear plastic sheet or lamination scraps for the globe window
- Cotton batting for snow
- Colored construction paper for figures
- Blue or silver border trim
- Glue sticks or liquid glue
Lay it out along the edge of the door and secure with a combination of removable tape and low-tack tape. Takes about 45 minutes; suitable for pre-K to second grade with adult help.
2. Candy Cane Lane Corridor
 Save
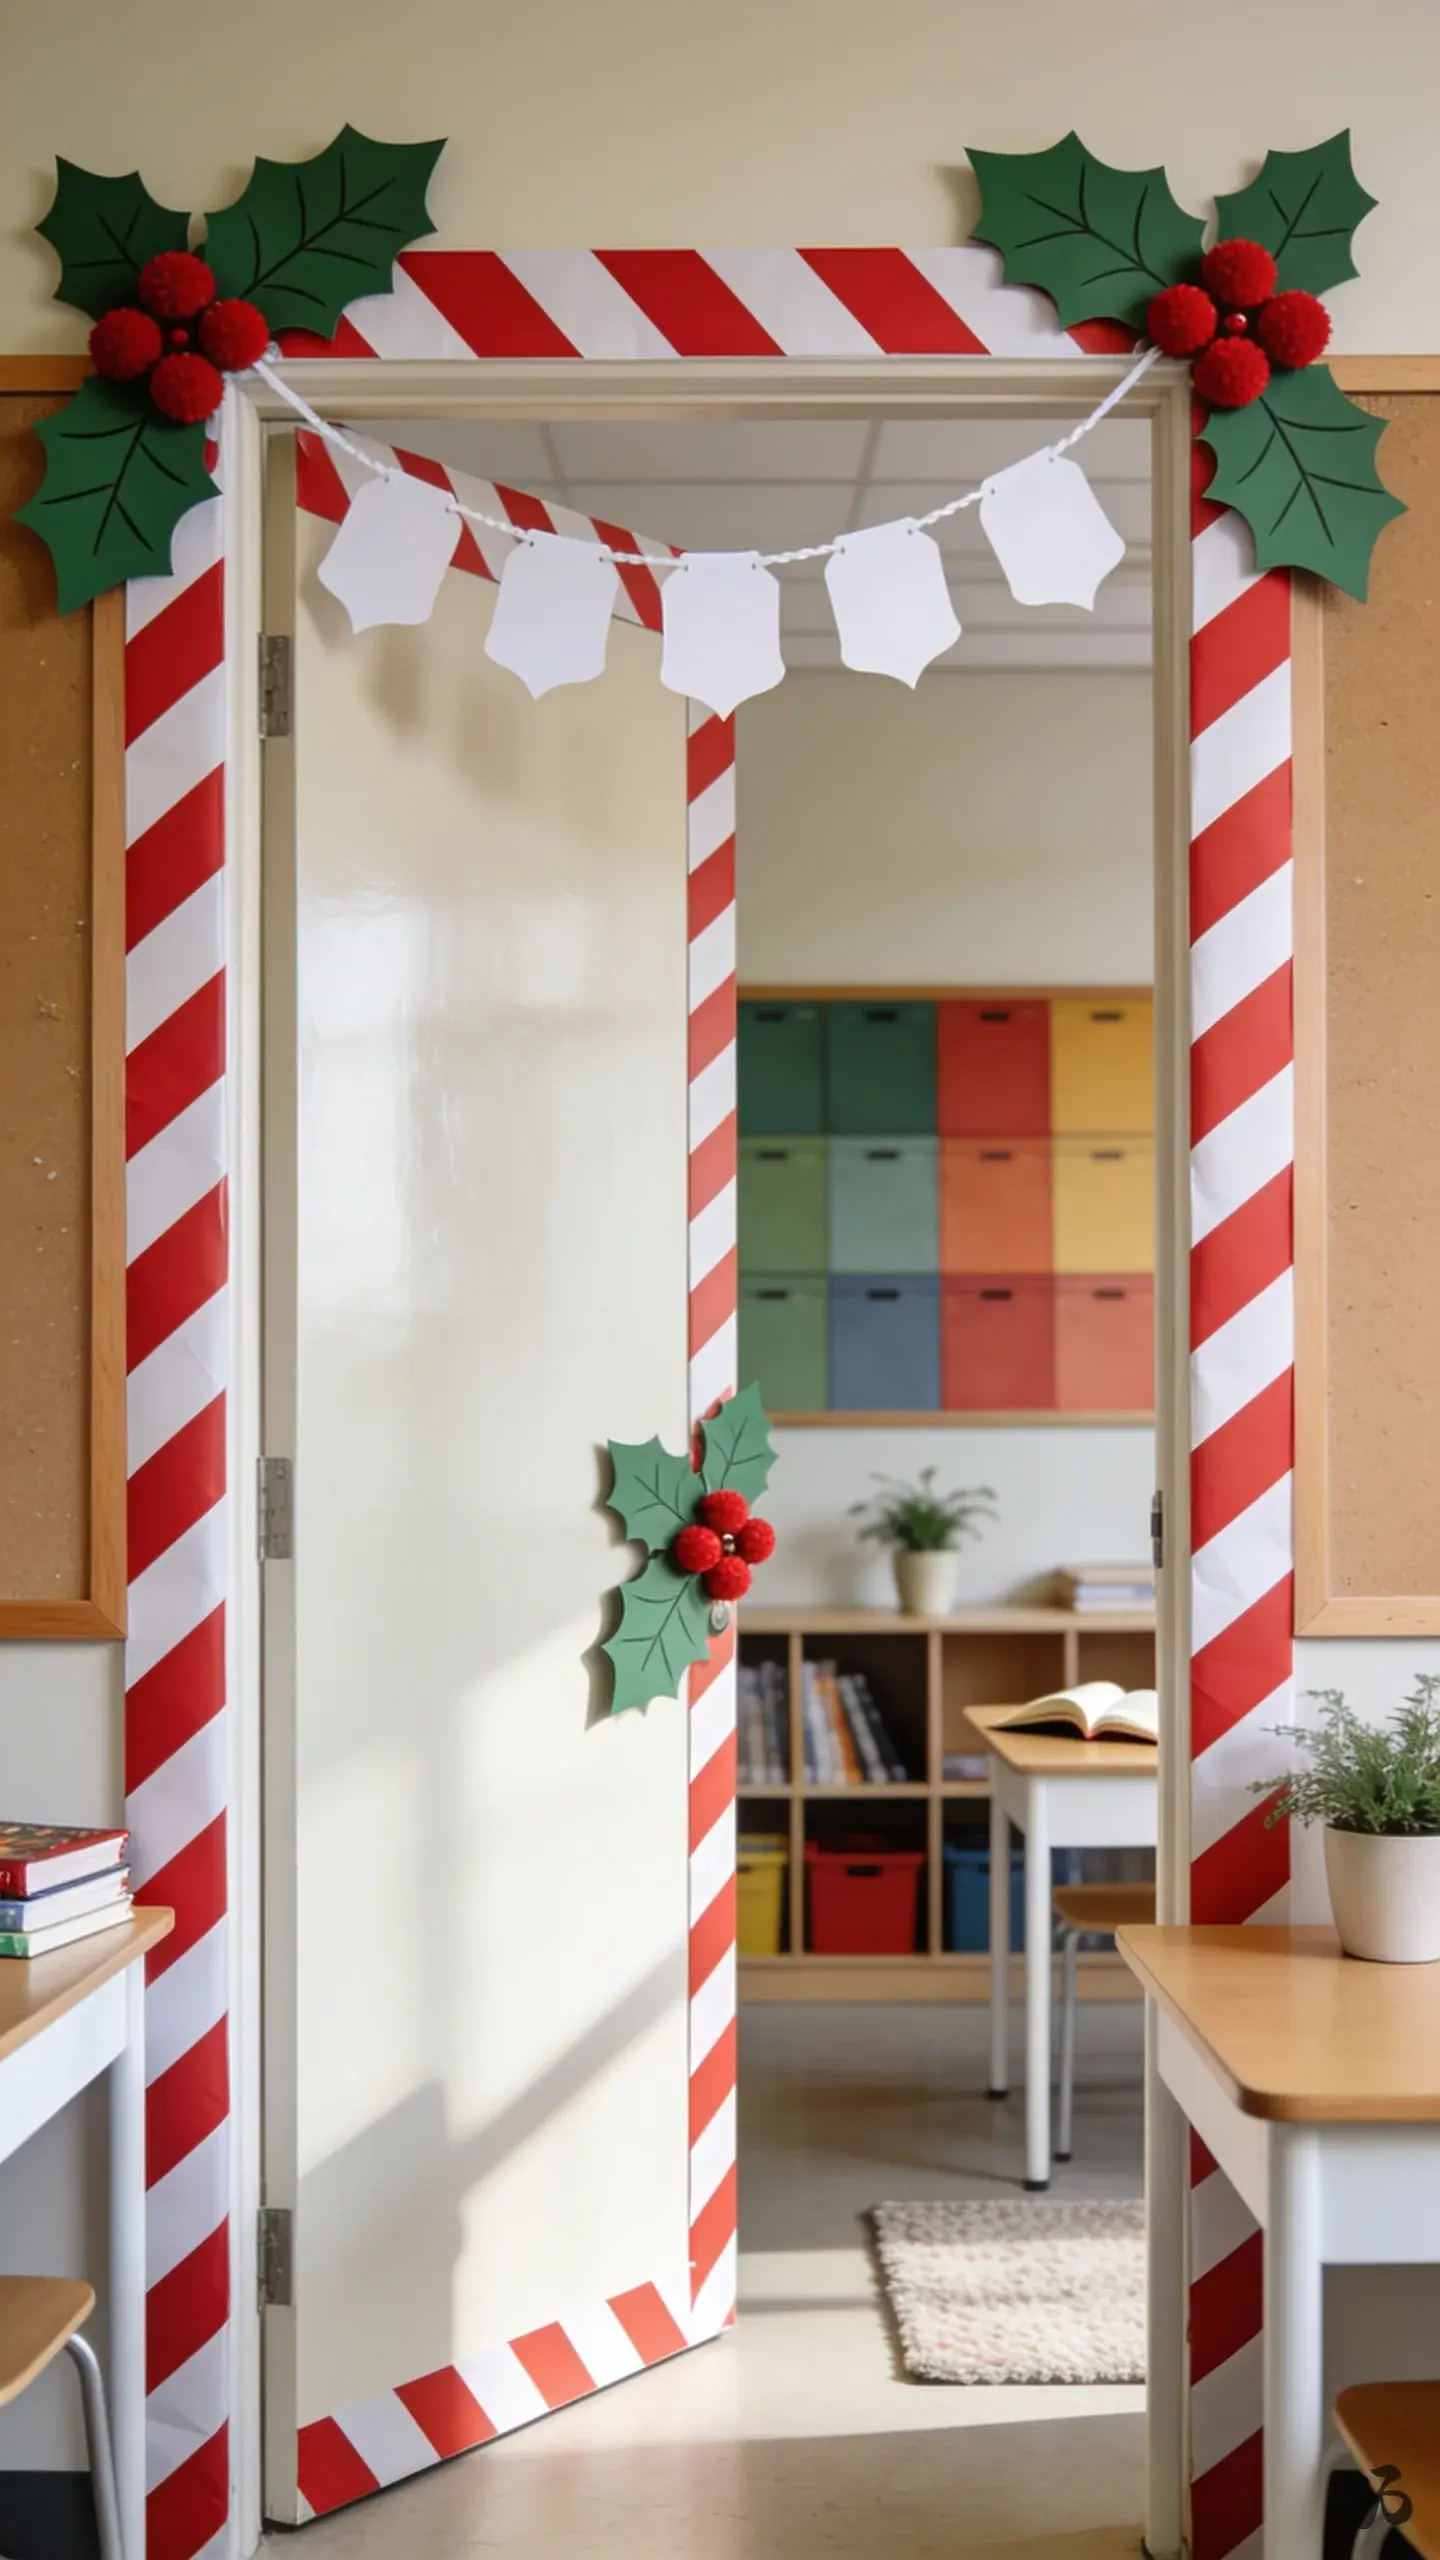
SaveRed and white striped paper wraps around the door like a candy cane. Add large holly accents and a banner that reads Happy Holidays. Keep the stripes vertical to maximize visibility from the hallway.
What you need
- Red and white striped bulletin board border
- Green cardstock or paper for holly leaves
- Red pom-poms or small red circles
- White string or ribbon for a banner
- Scissors and glue sticks
One prep period, no lamination needed. Works best for first grade and up; thinnest strips are easy for younger students to handle.
3. Reindeer Door with Open Book Nose
 Save
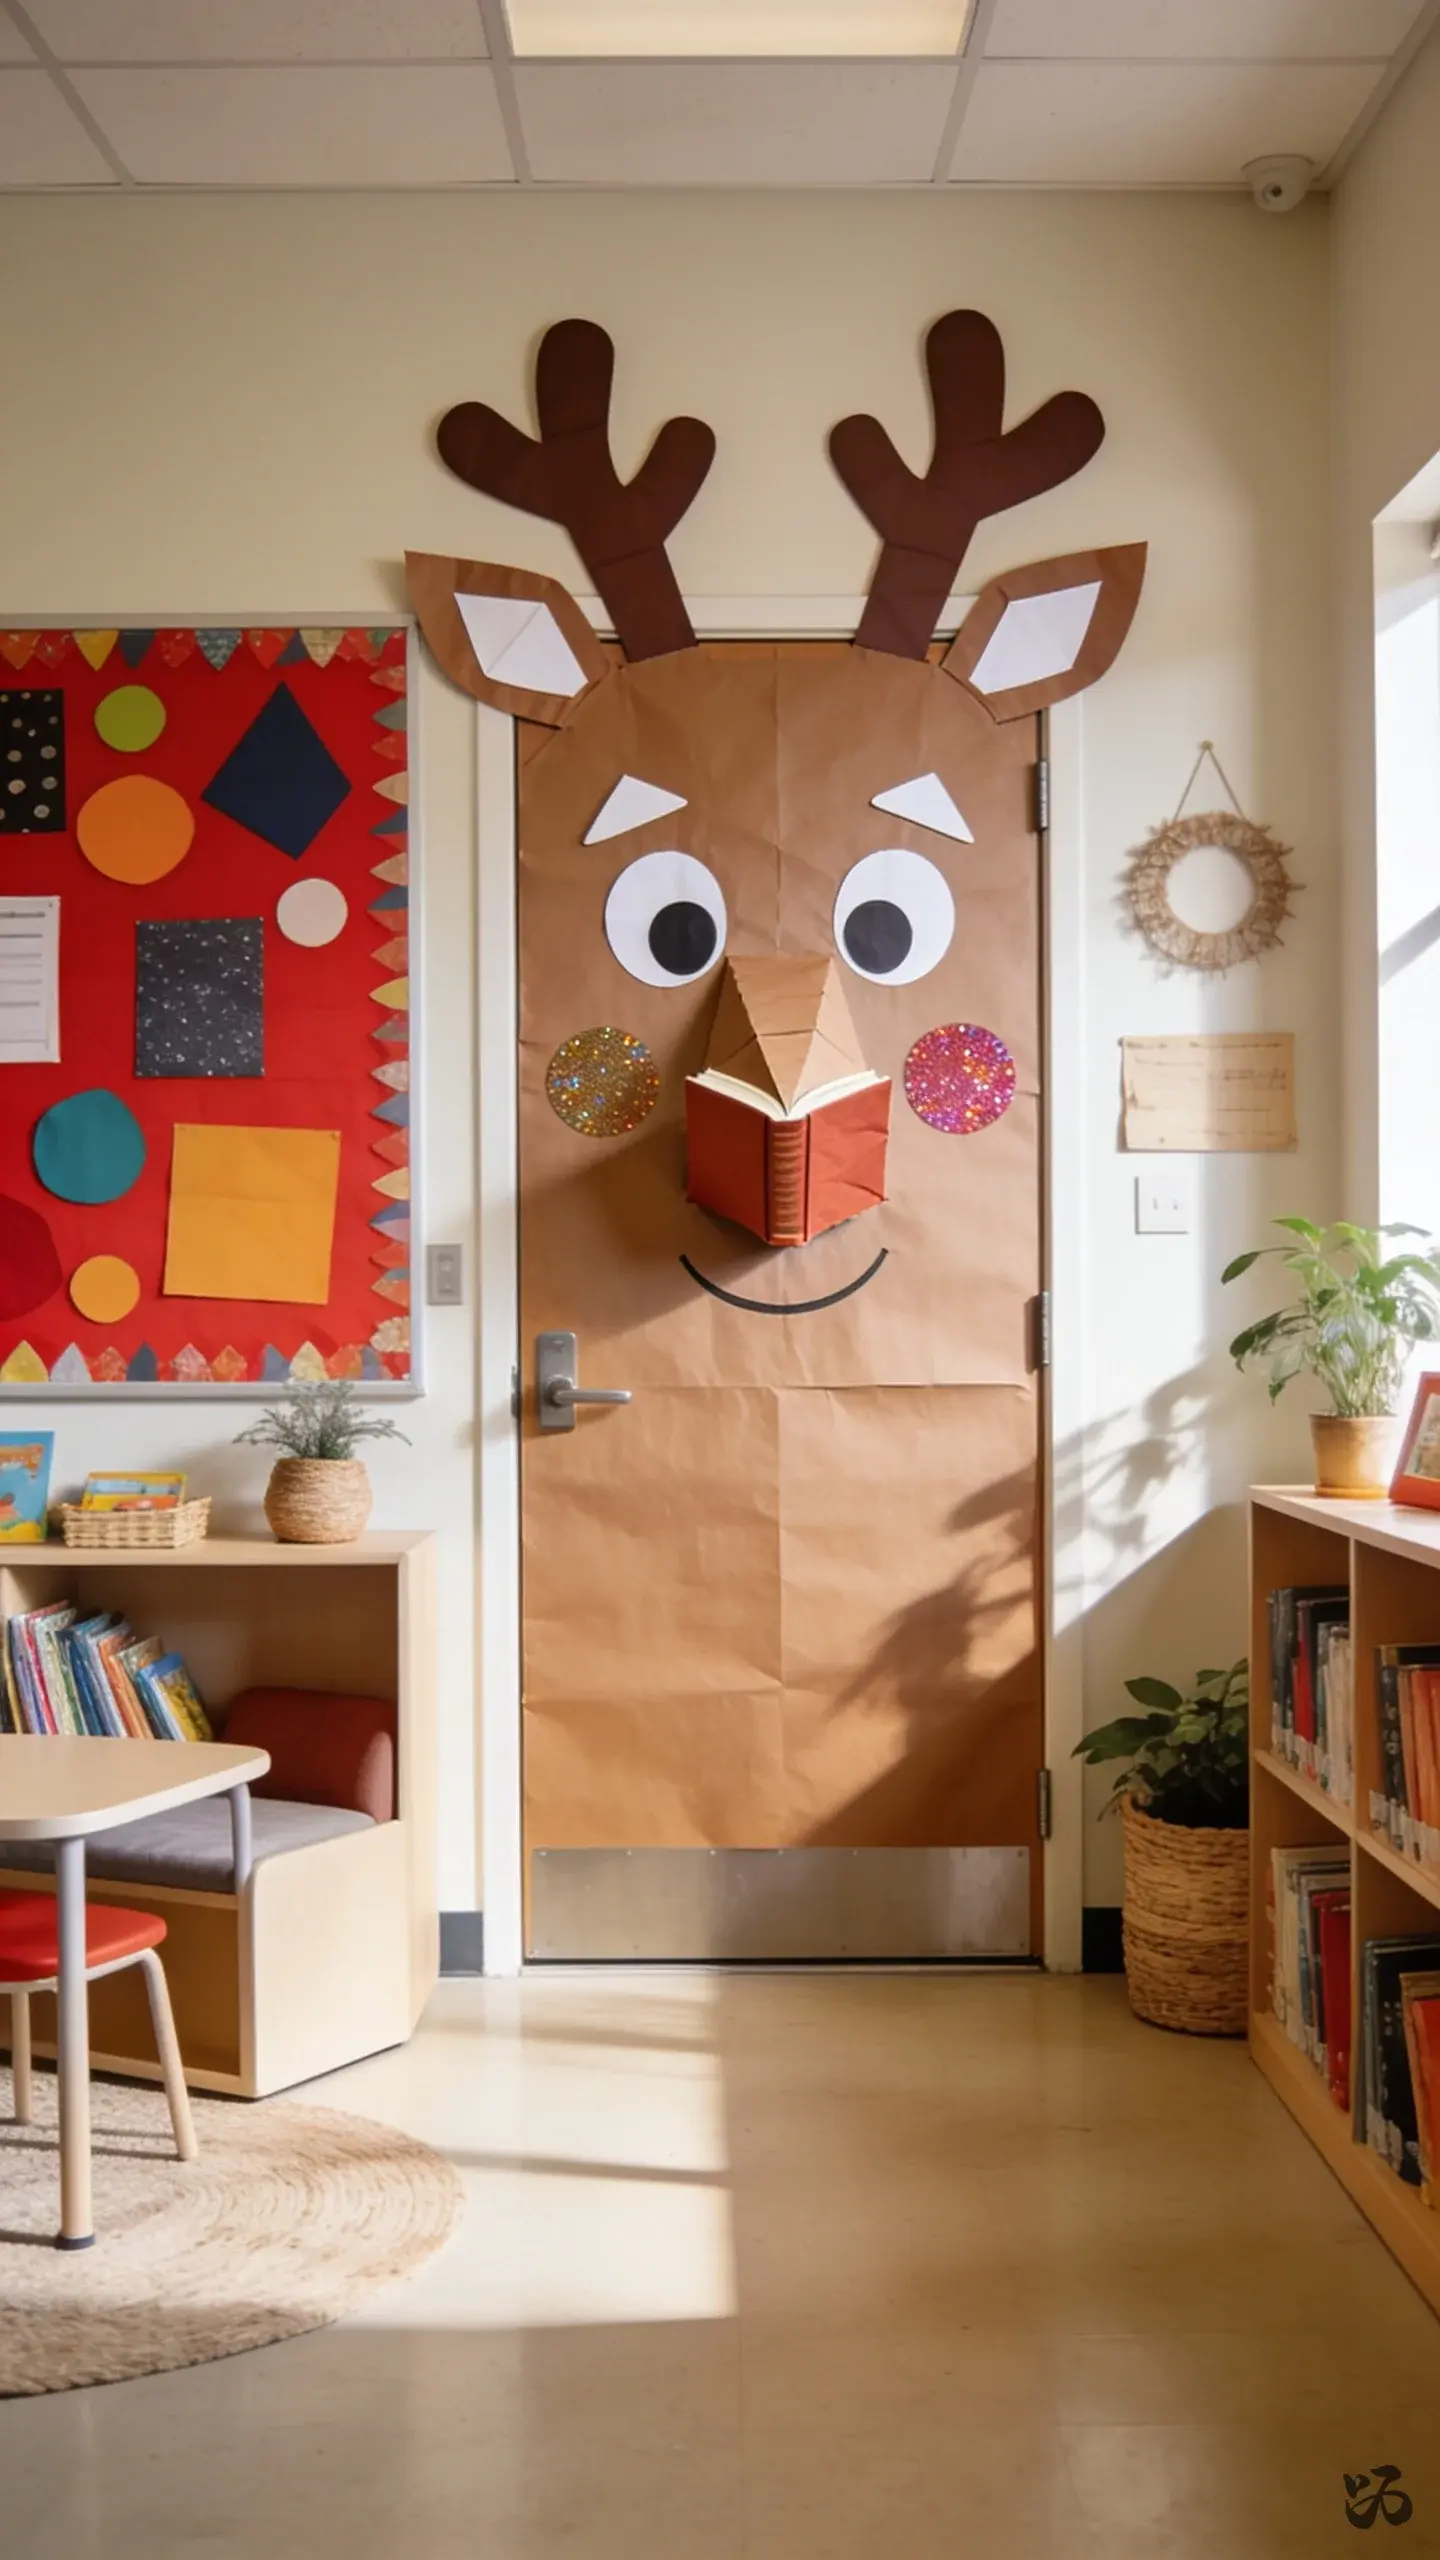
SaveA friendly reindeer face spans the door using brown butcher paper, with a real or paper book nose. Students can color the cheeks or add glitter accents. Robust and fun to touch, it holds up to doors being opened and closed during the day.
What you need
- Brown butcher paper
- Black cardstock for eyes
- Red pom-pom for the nose
- White poster paper for highlights
- Glue sticks and stapler (for permanent attachment if allowed)
Expect about 1 class period; good for preschool and kindergarten with teacher scaffolding.
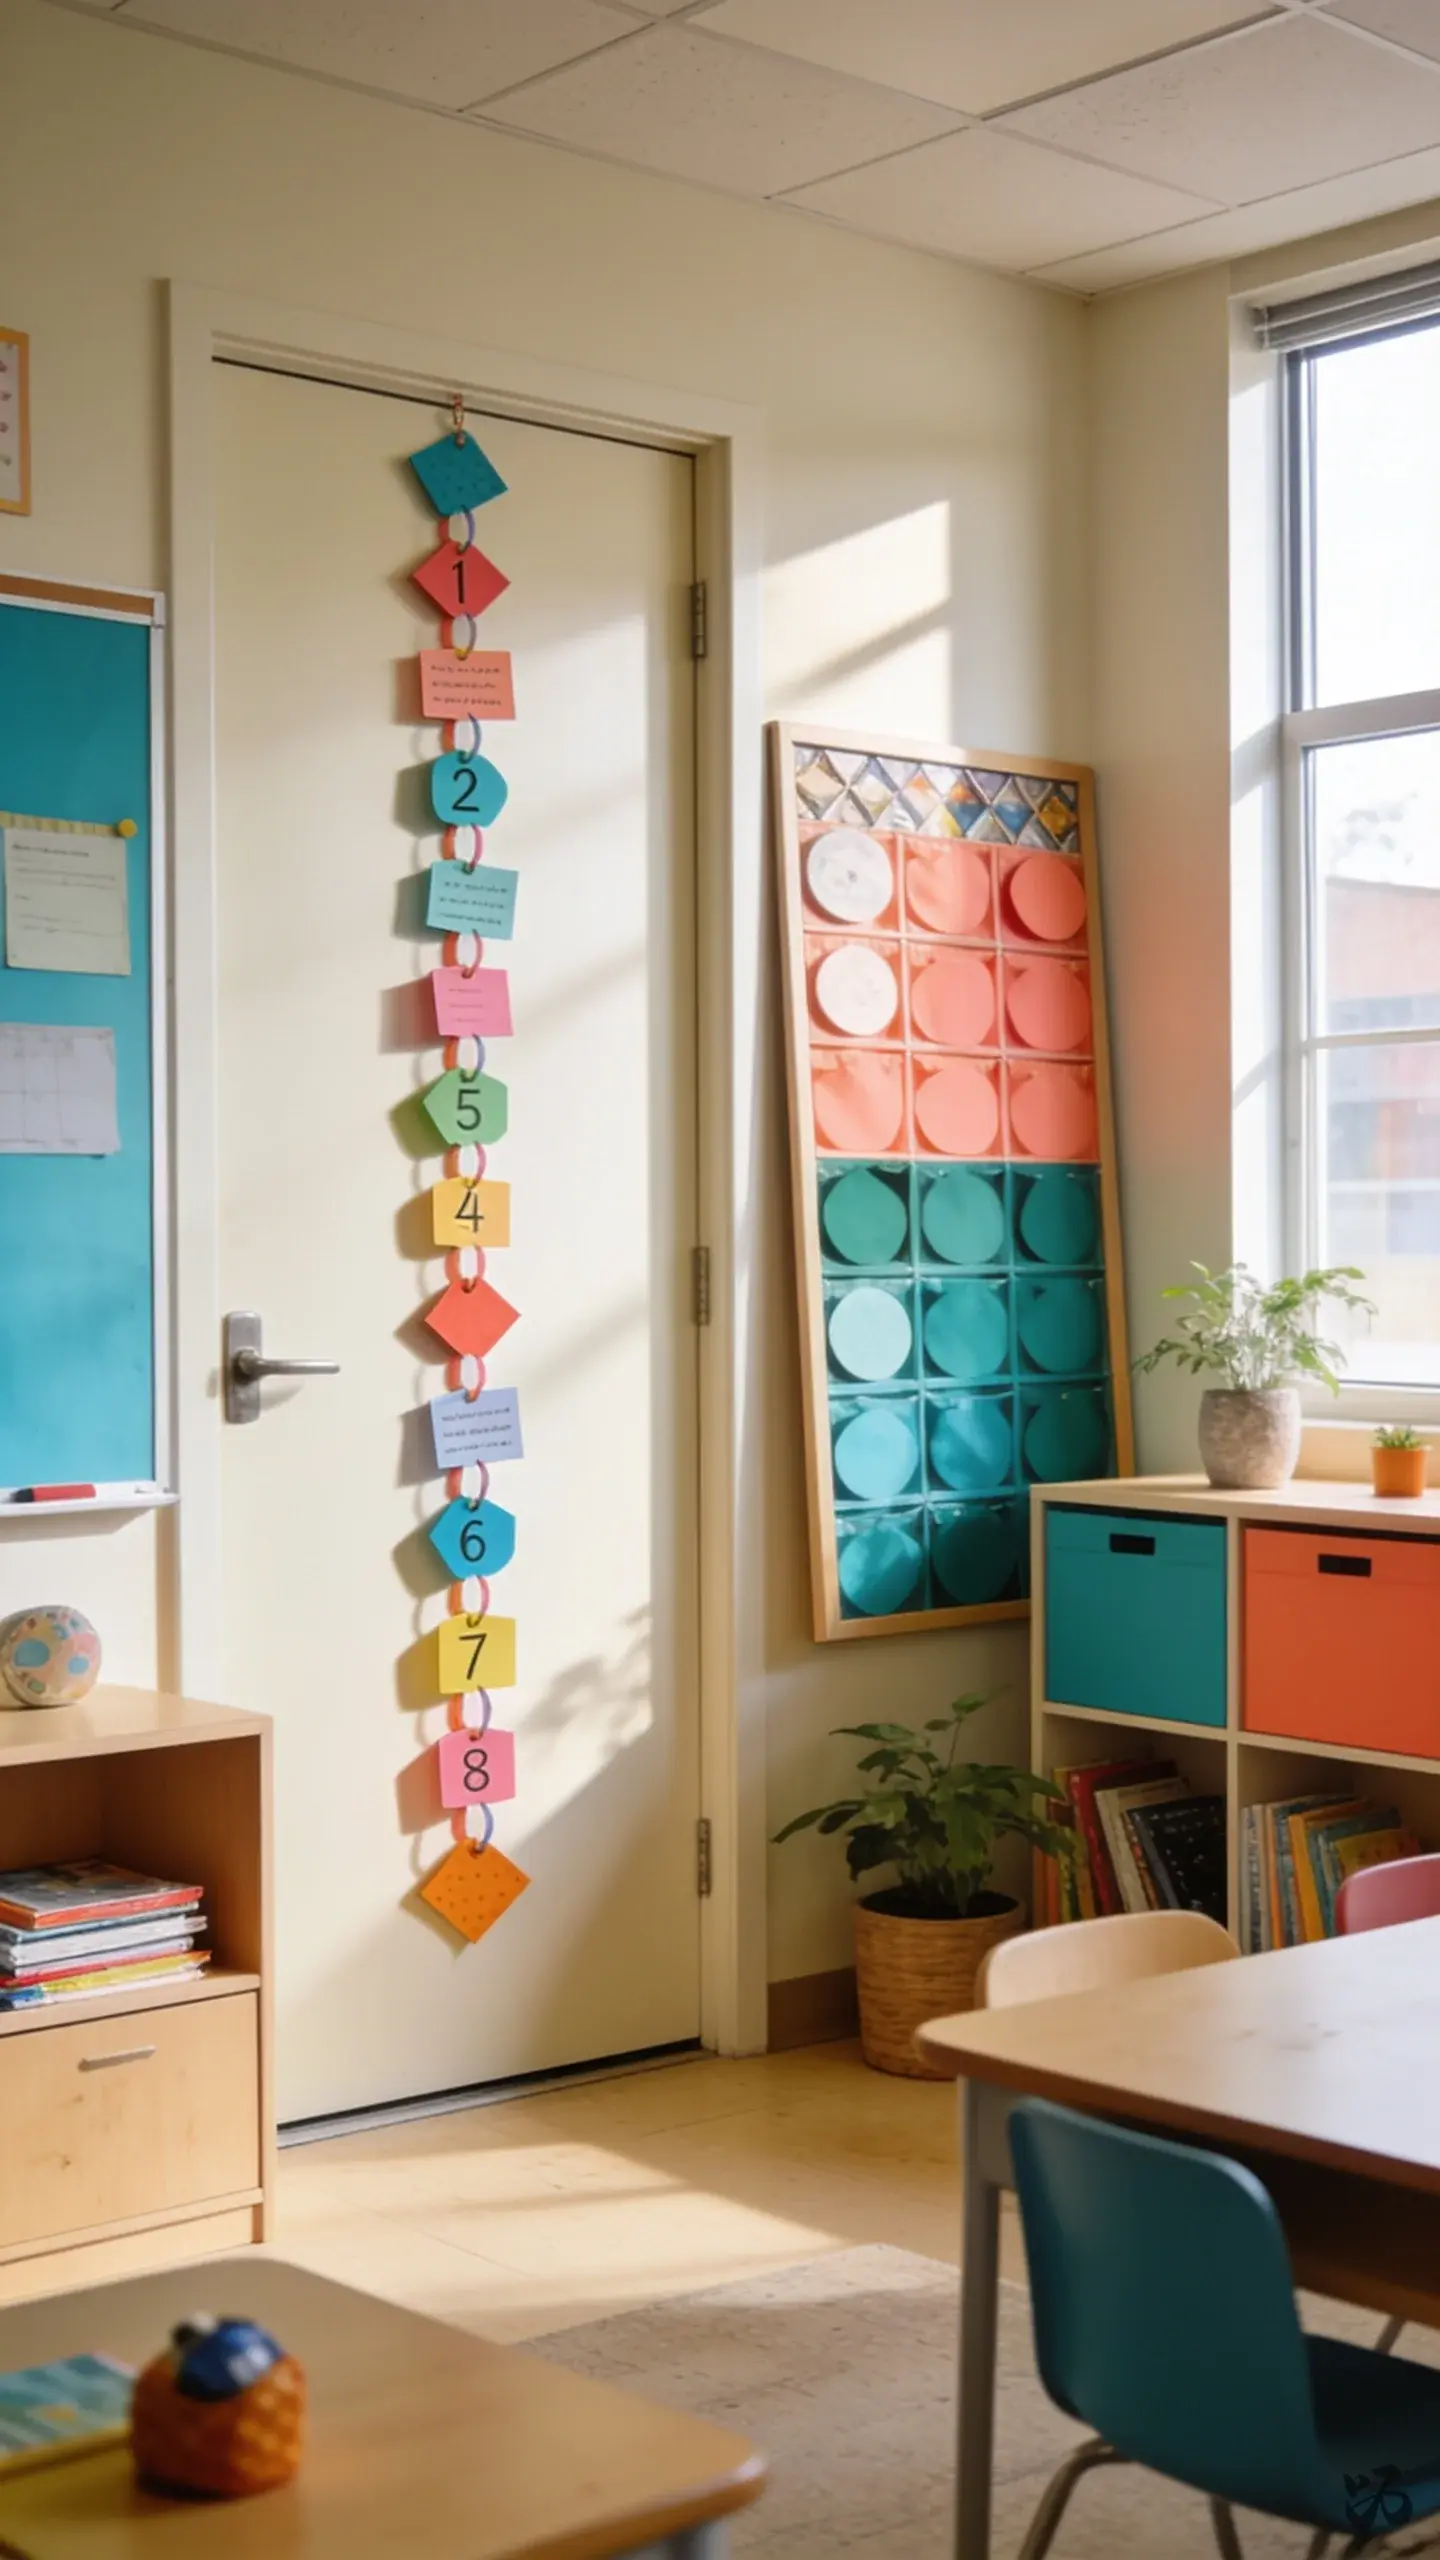
4. Paper Chain Christmas Countdown Door
 Save
SaveColorful paper chains stretch across the door in a long countdown sequence. Each chain link can hold a small holiday task or a note from a student. It’s bright, interactive, and simple to assemble with a prep period.
What you need
- Colored construction paper
- Scissors
- Clear tape or masking tape
- Low-tack border trim
- Markers for numbers or letters
Unlimited durability with careful edge clipping; suitable for all elementary grades.
What I’d Order Early


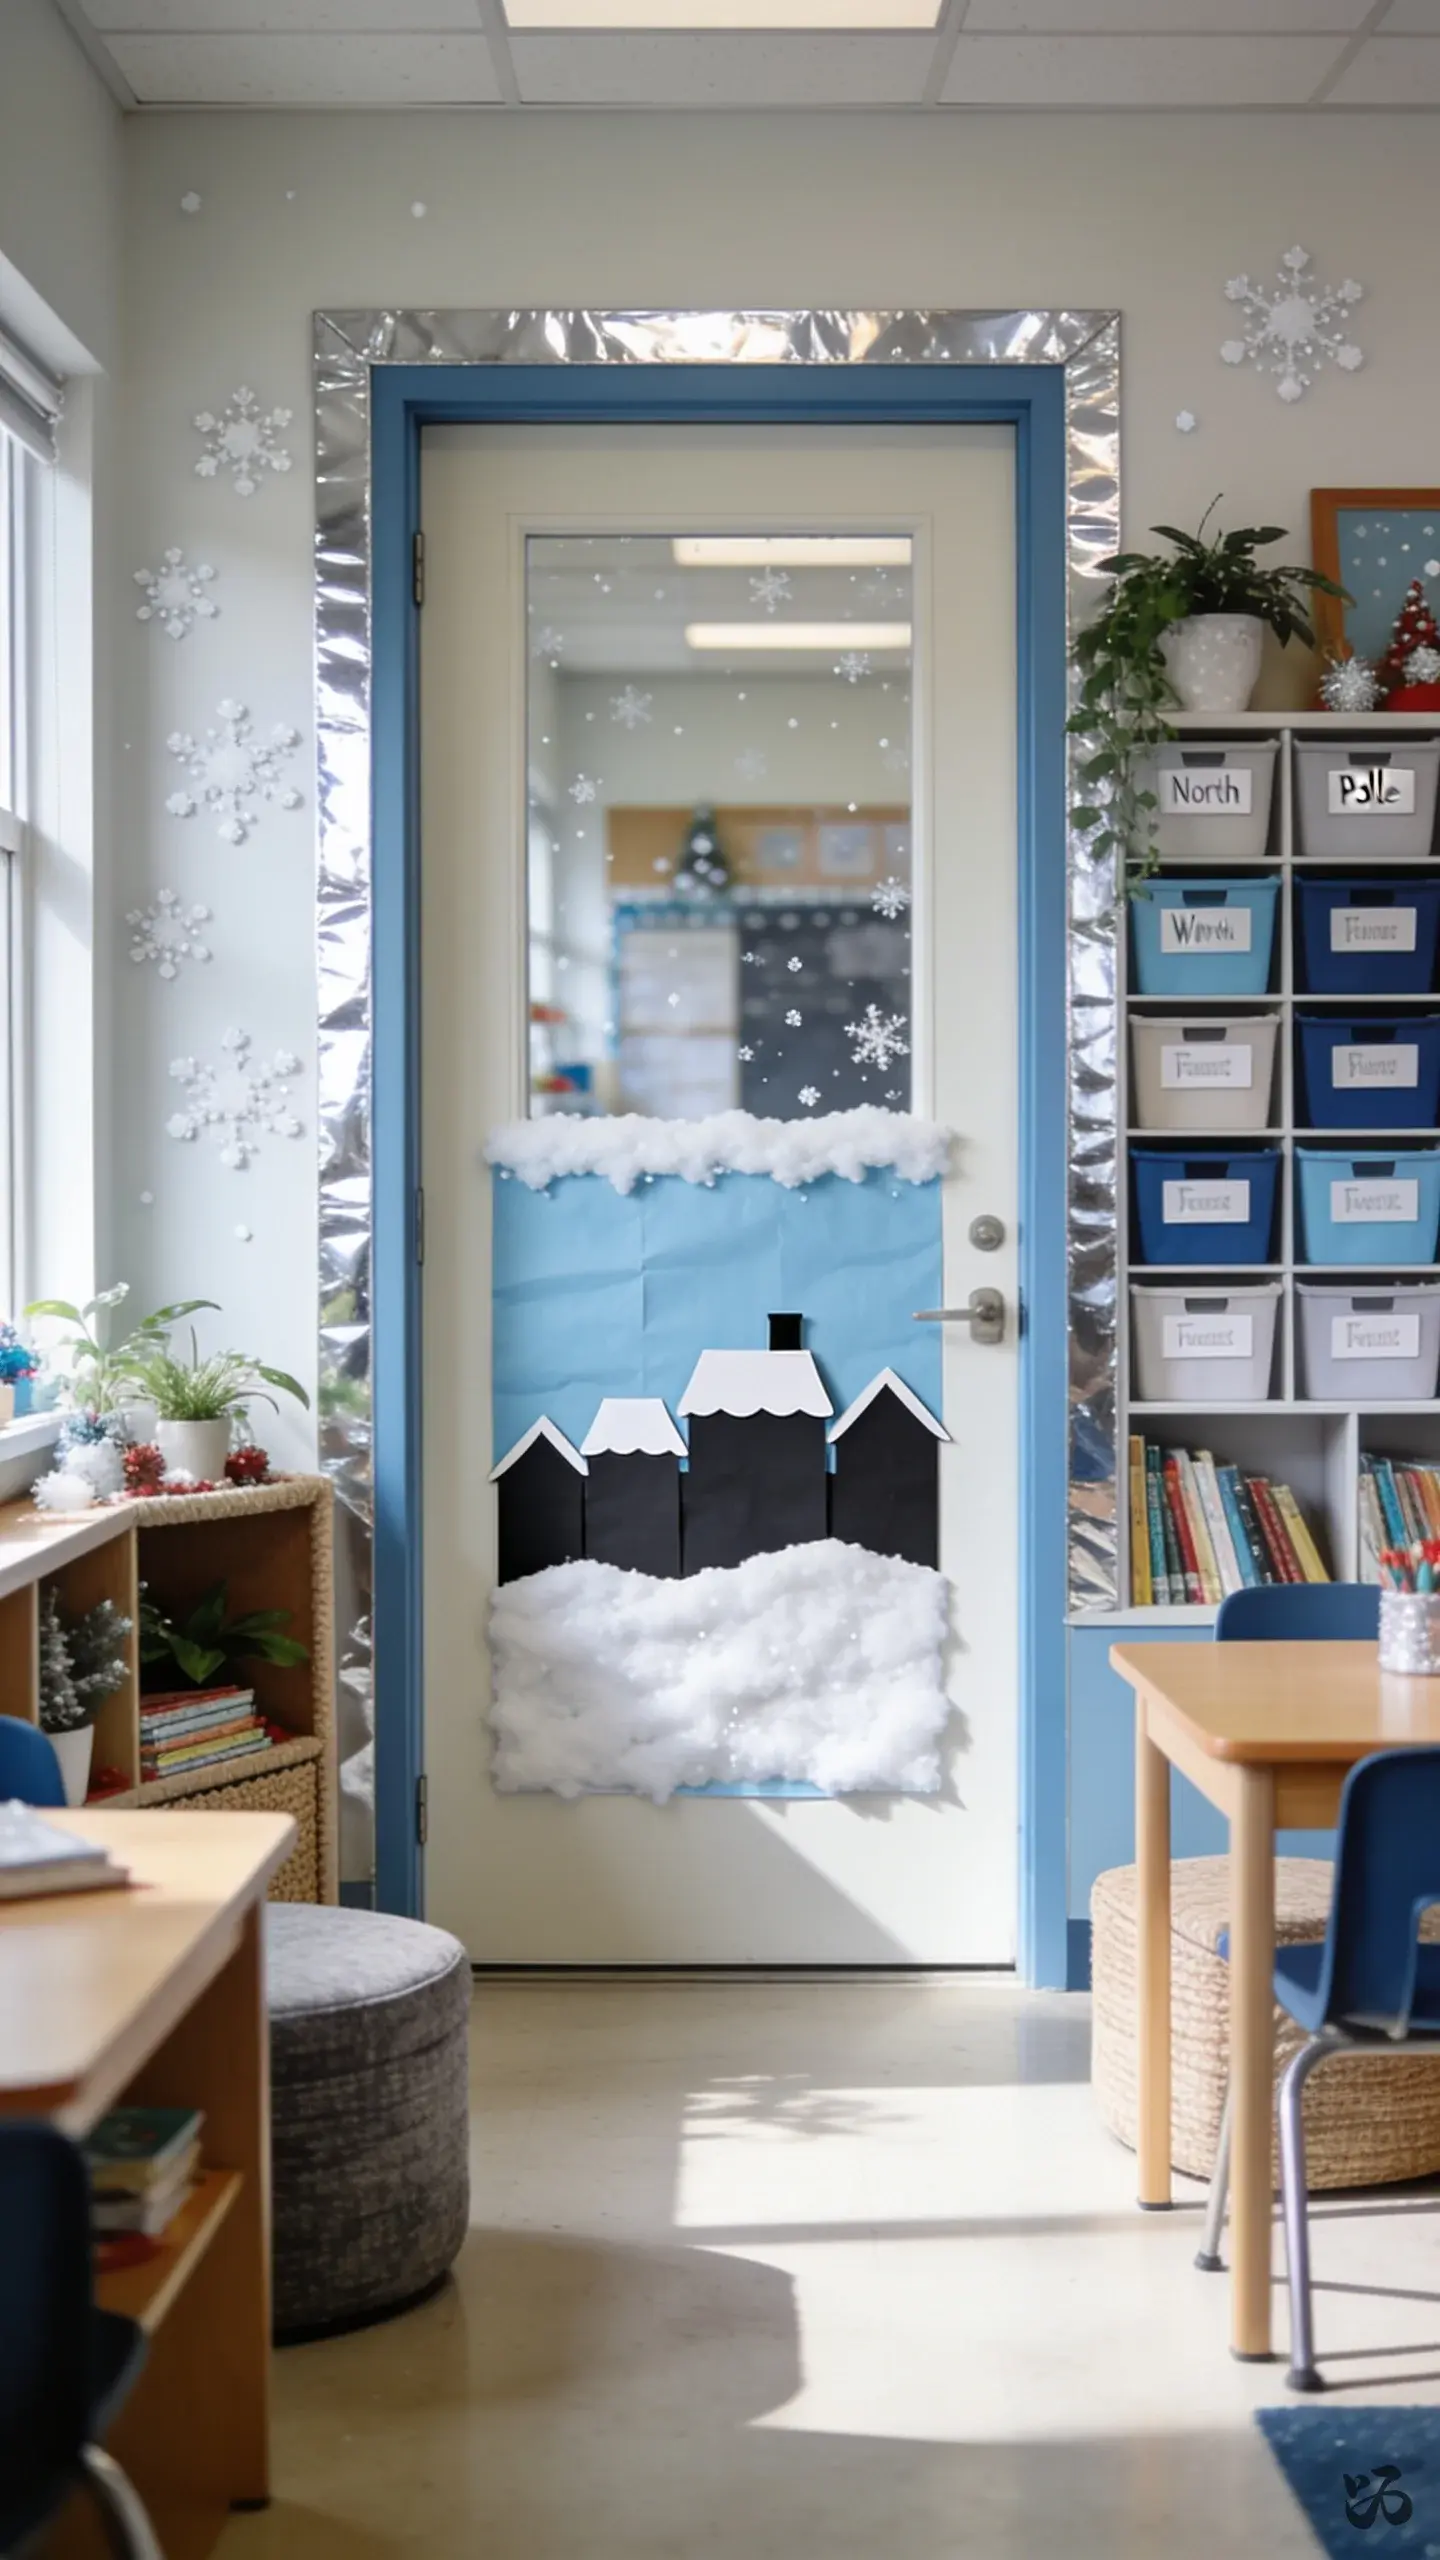
5. North Pole Window Scene
 Save
SaveCreate a wintry window scene across the door using light blue butcher paper, white flurries, and a snow-topped building silhouette. It reads as crisp from the hallway and is forgiving on door curves with a flat surface.
What you need
- Light blue butcher paper
- White felt or cotton for snow
- Black cardstock for building silhouettes
- Silver or white border
- Glue sticks, scissors
Laminate optional for extra durability; works well across grades K–2.
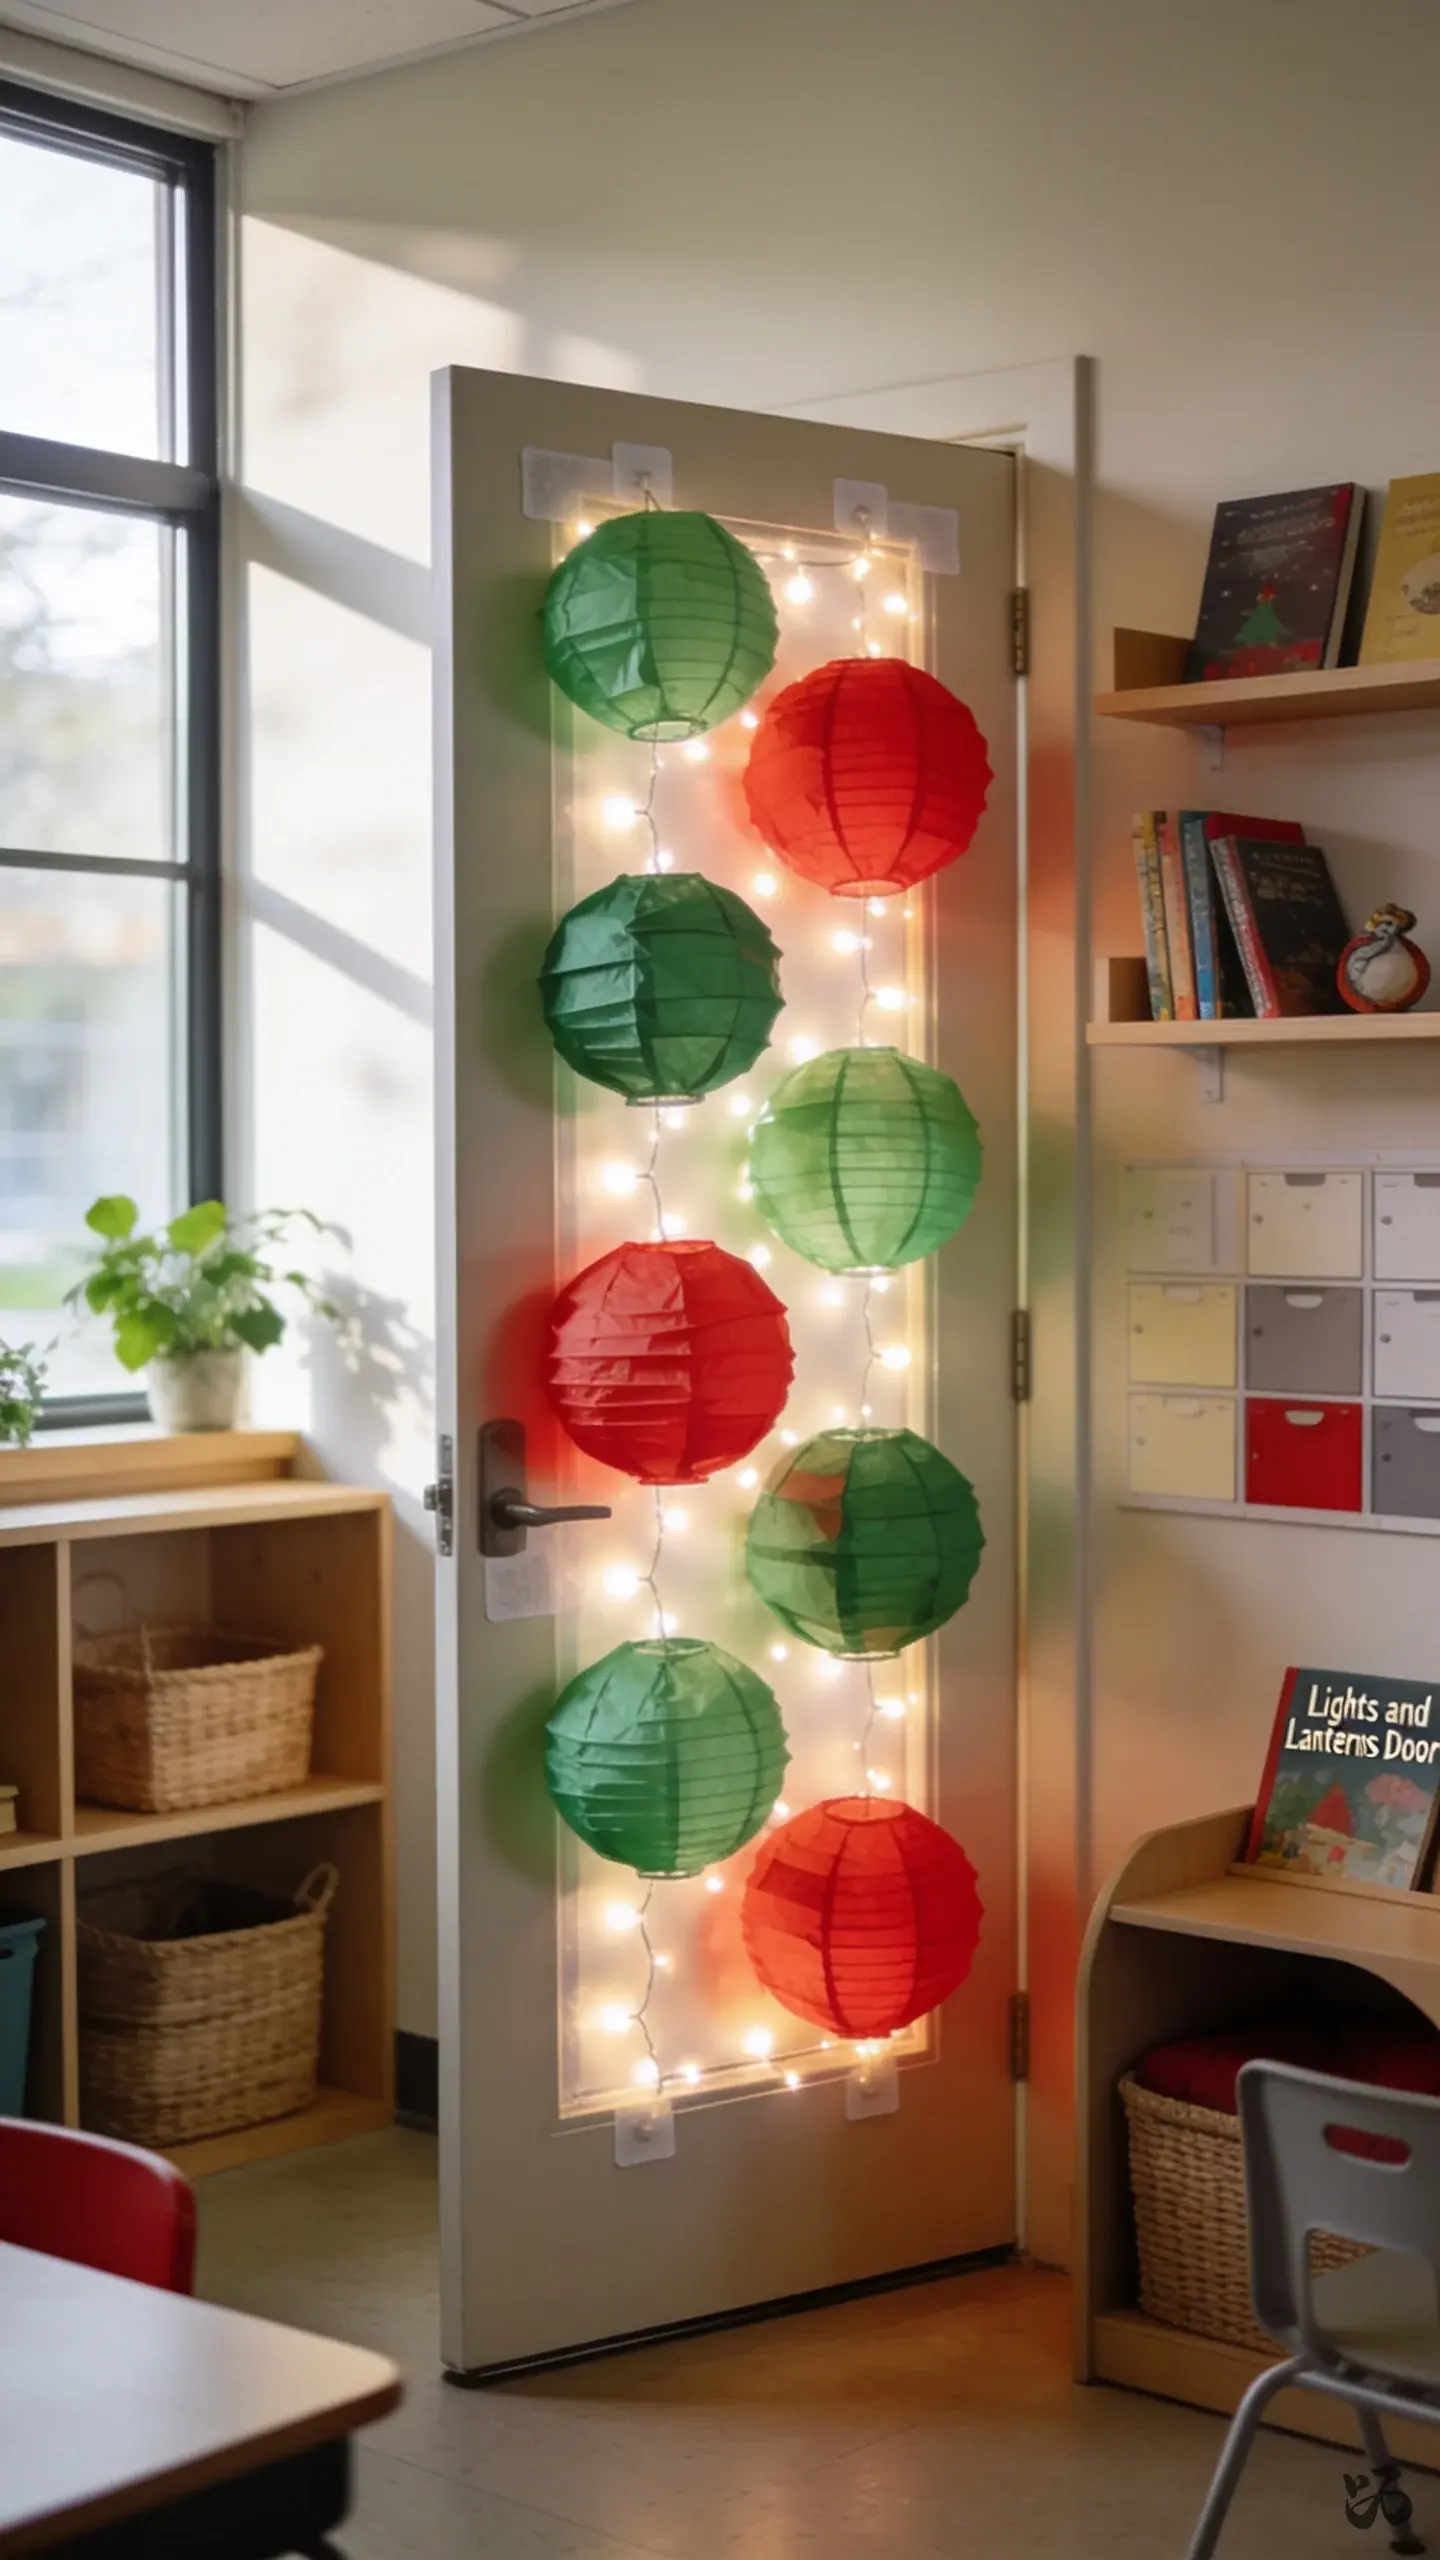
6. Lights and Lanterns Door
 Save
SaveWarm white string lights behind red or green paper lanterns creates a cozy glow that’s visible from the hall. Secure carefully to avoid pulling cords. This one feels festive without being overwhelming.
What you need
- Warm white string lights
- Red or green tissue paper or lightweight lanterns
- Cardstock for lantern frames
- Double-sided tape or removable mounting putty
- Scissors and glue
Best for classrooms that can accommodate a few extra inches of door depth; avoid heavy electronics in older schools.
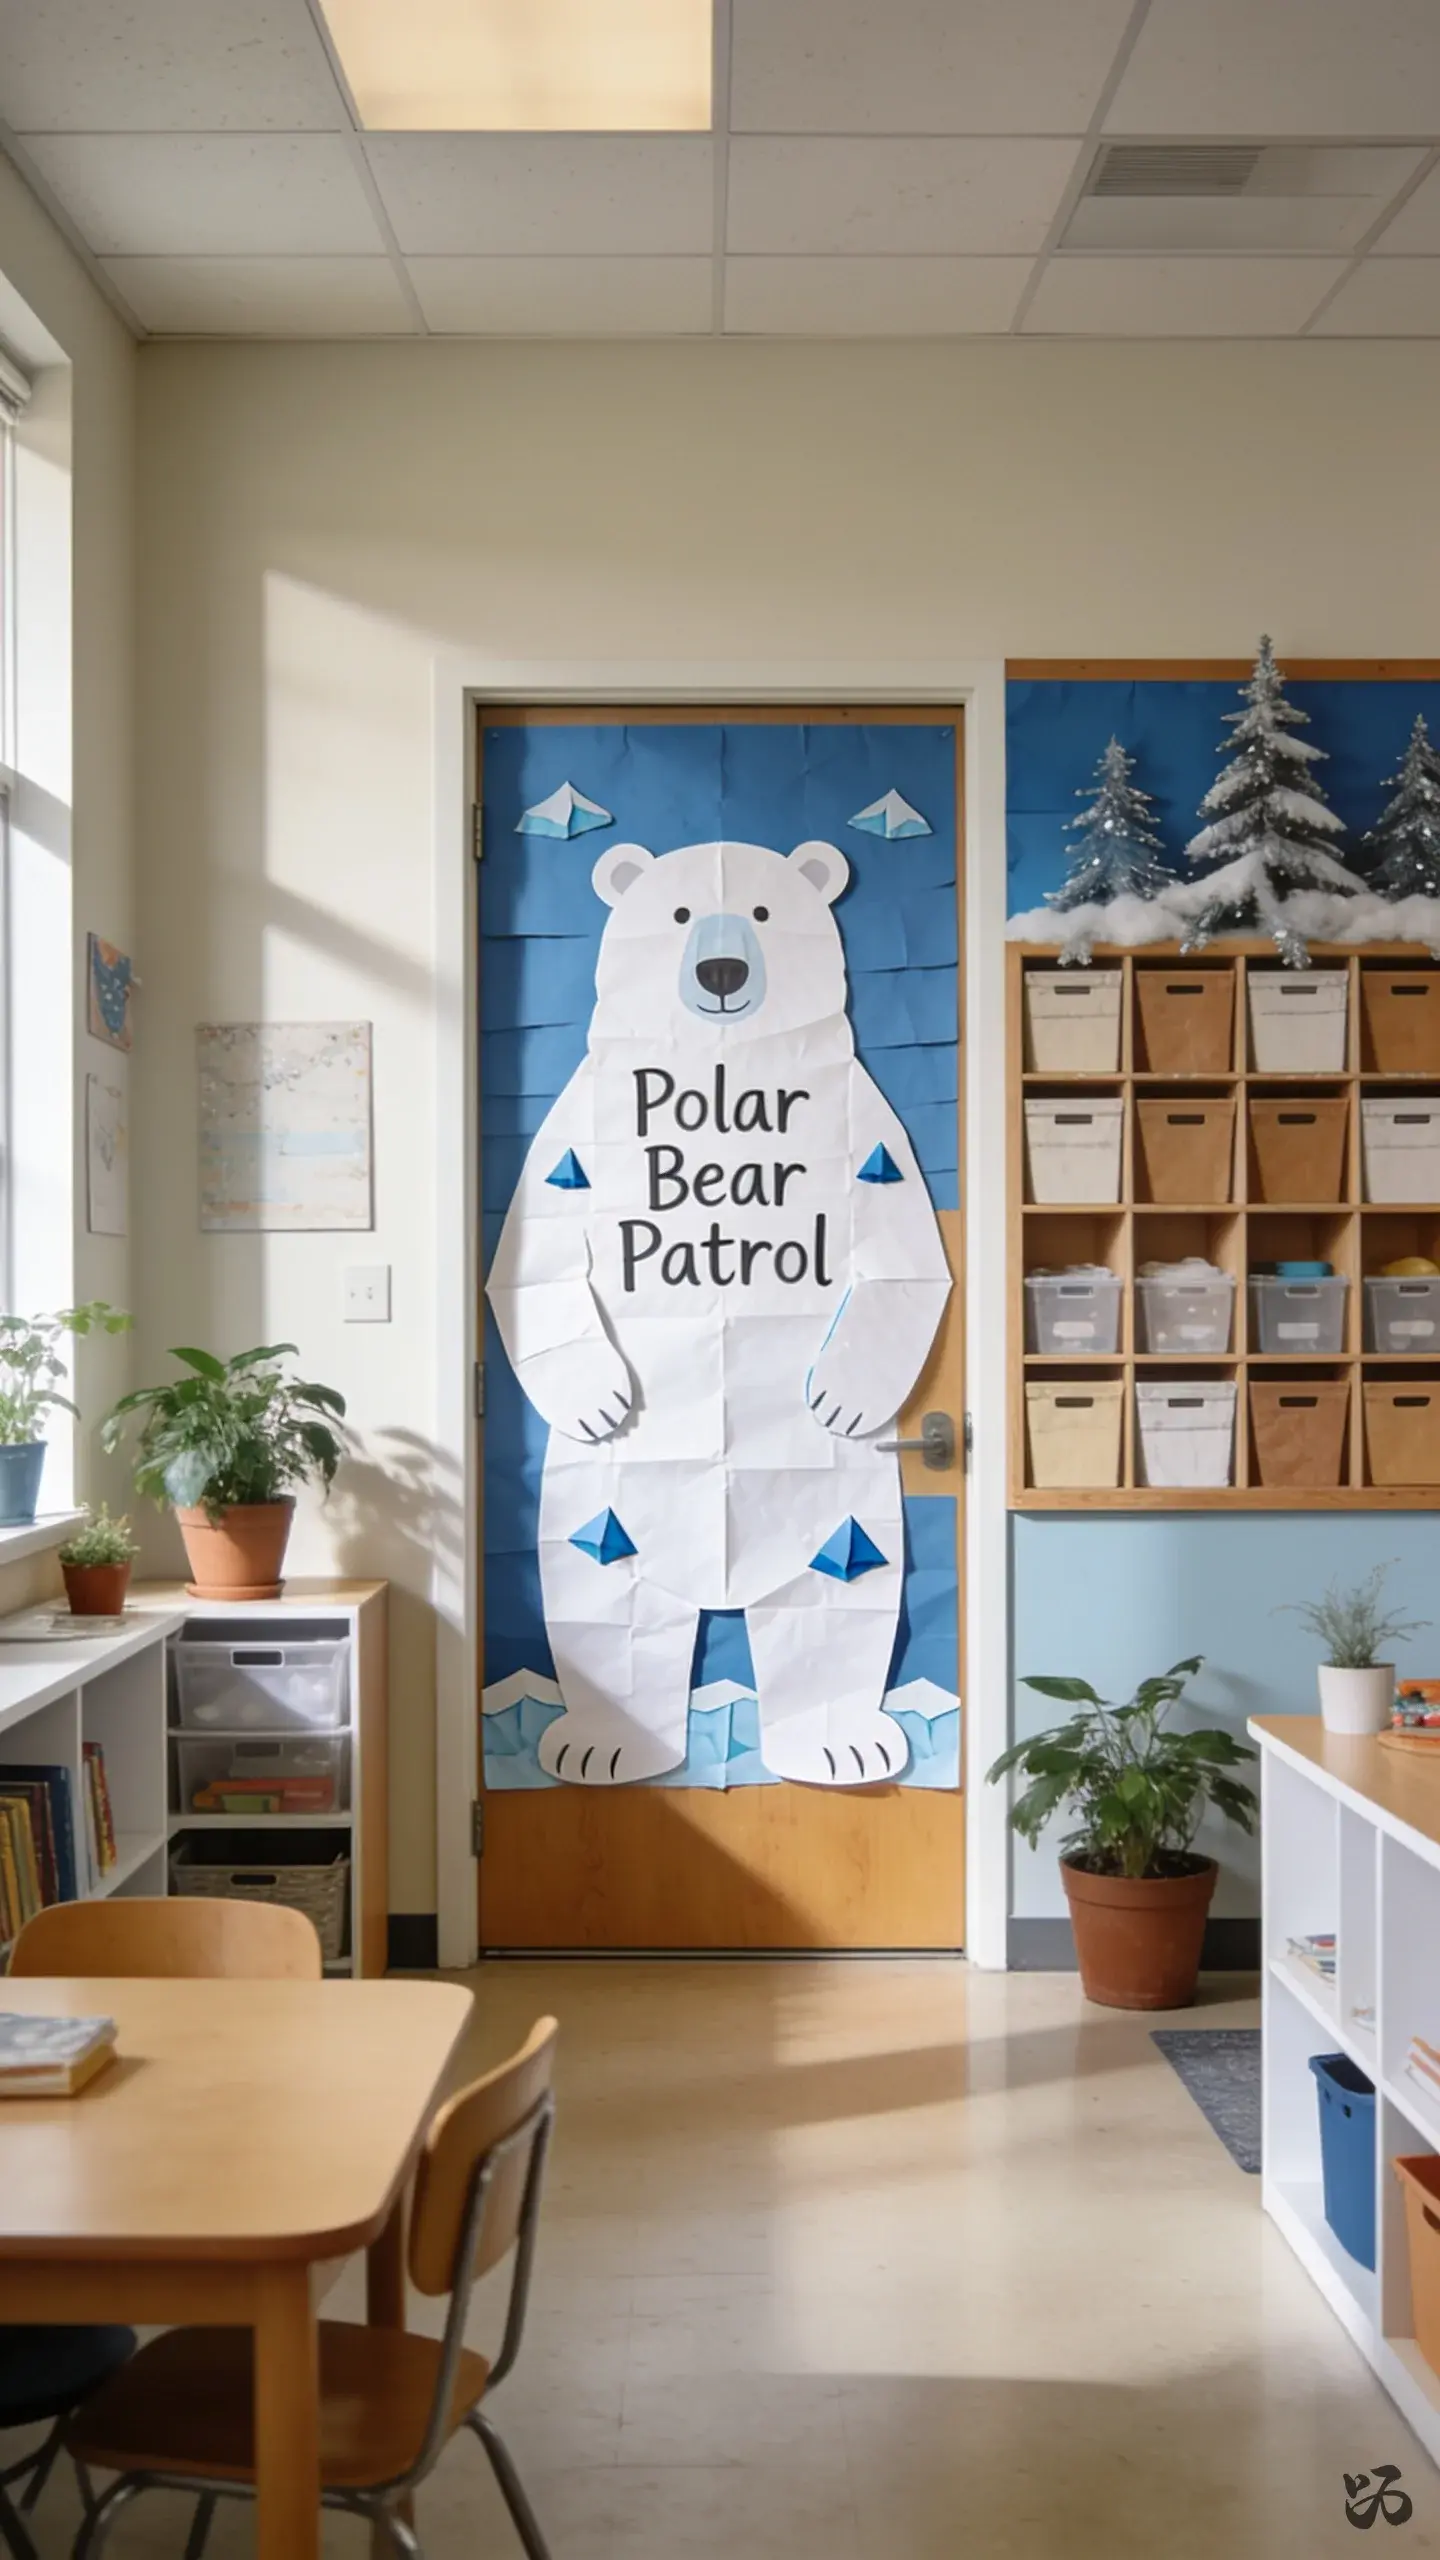
7. Polar Bear Patrol
 Save
SaveA large polar bear made from white butcher paper covers the door, with small blue accents for ice and a backdrop of blue cardstock sky. It’s soft to touch and easy to re-use in January after the holidays.
What you need
- White butcher paper
- Blue construction paper for ice blocks
- Black marker for eyes and nose
- Trade-size googly eyes if available
- Glue sticks or tape
One or two class periods; sturdy enough for high-traffic doors and suitable for younger students.
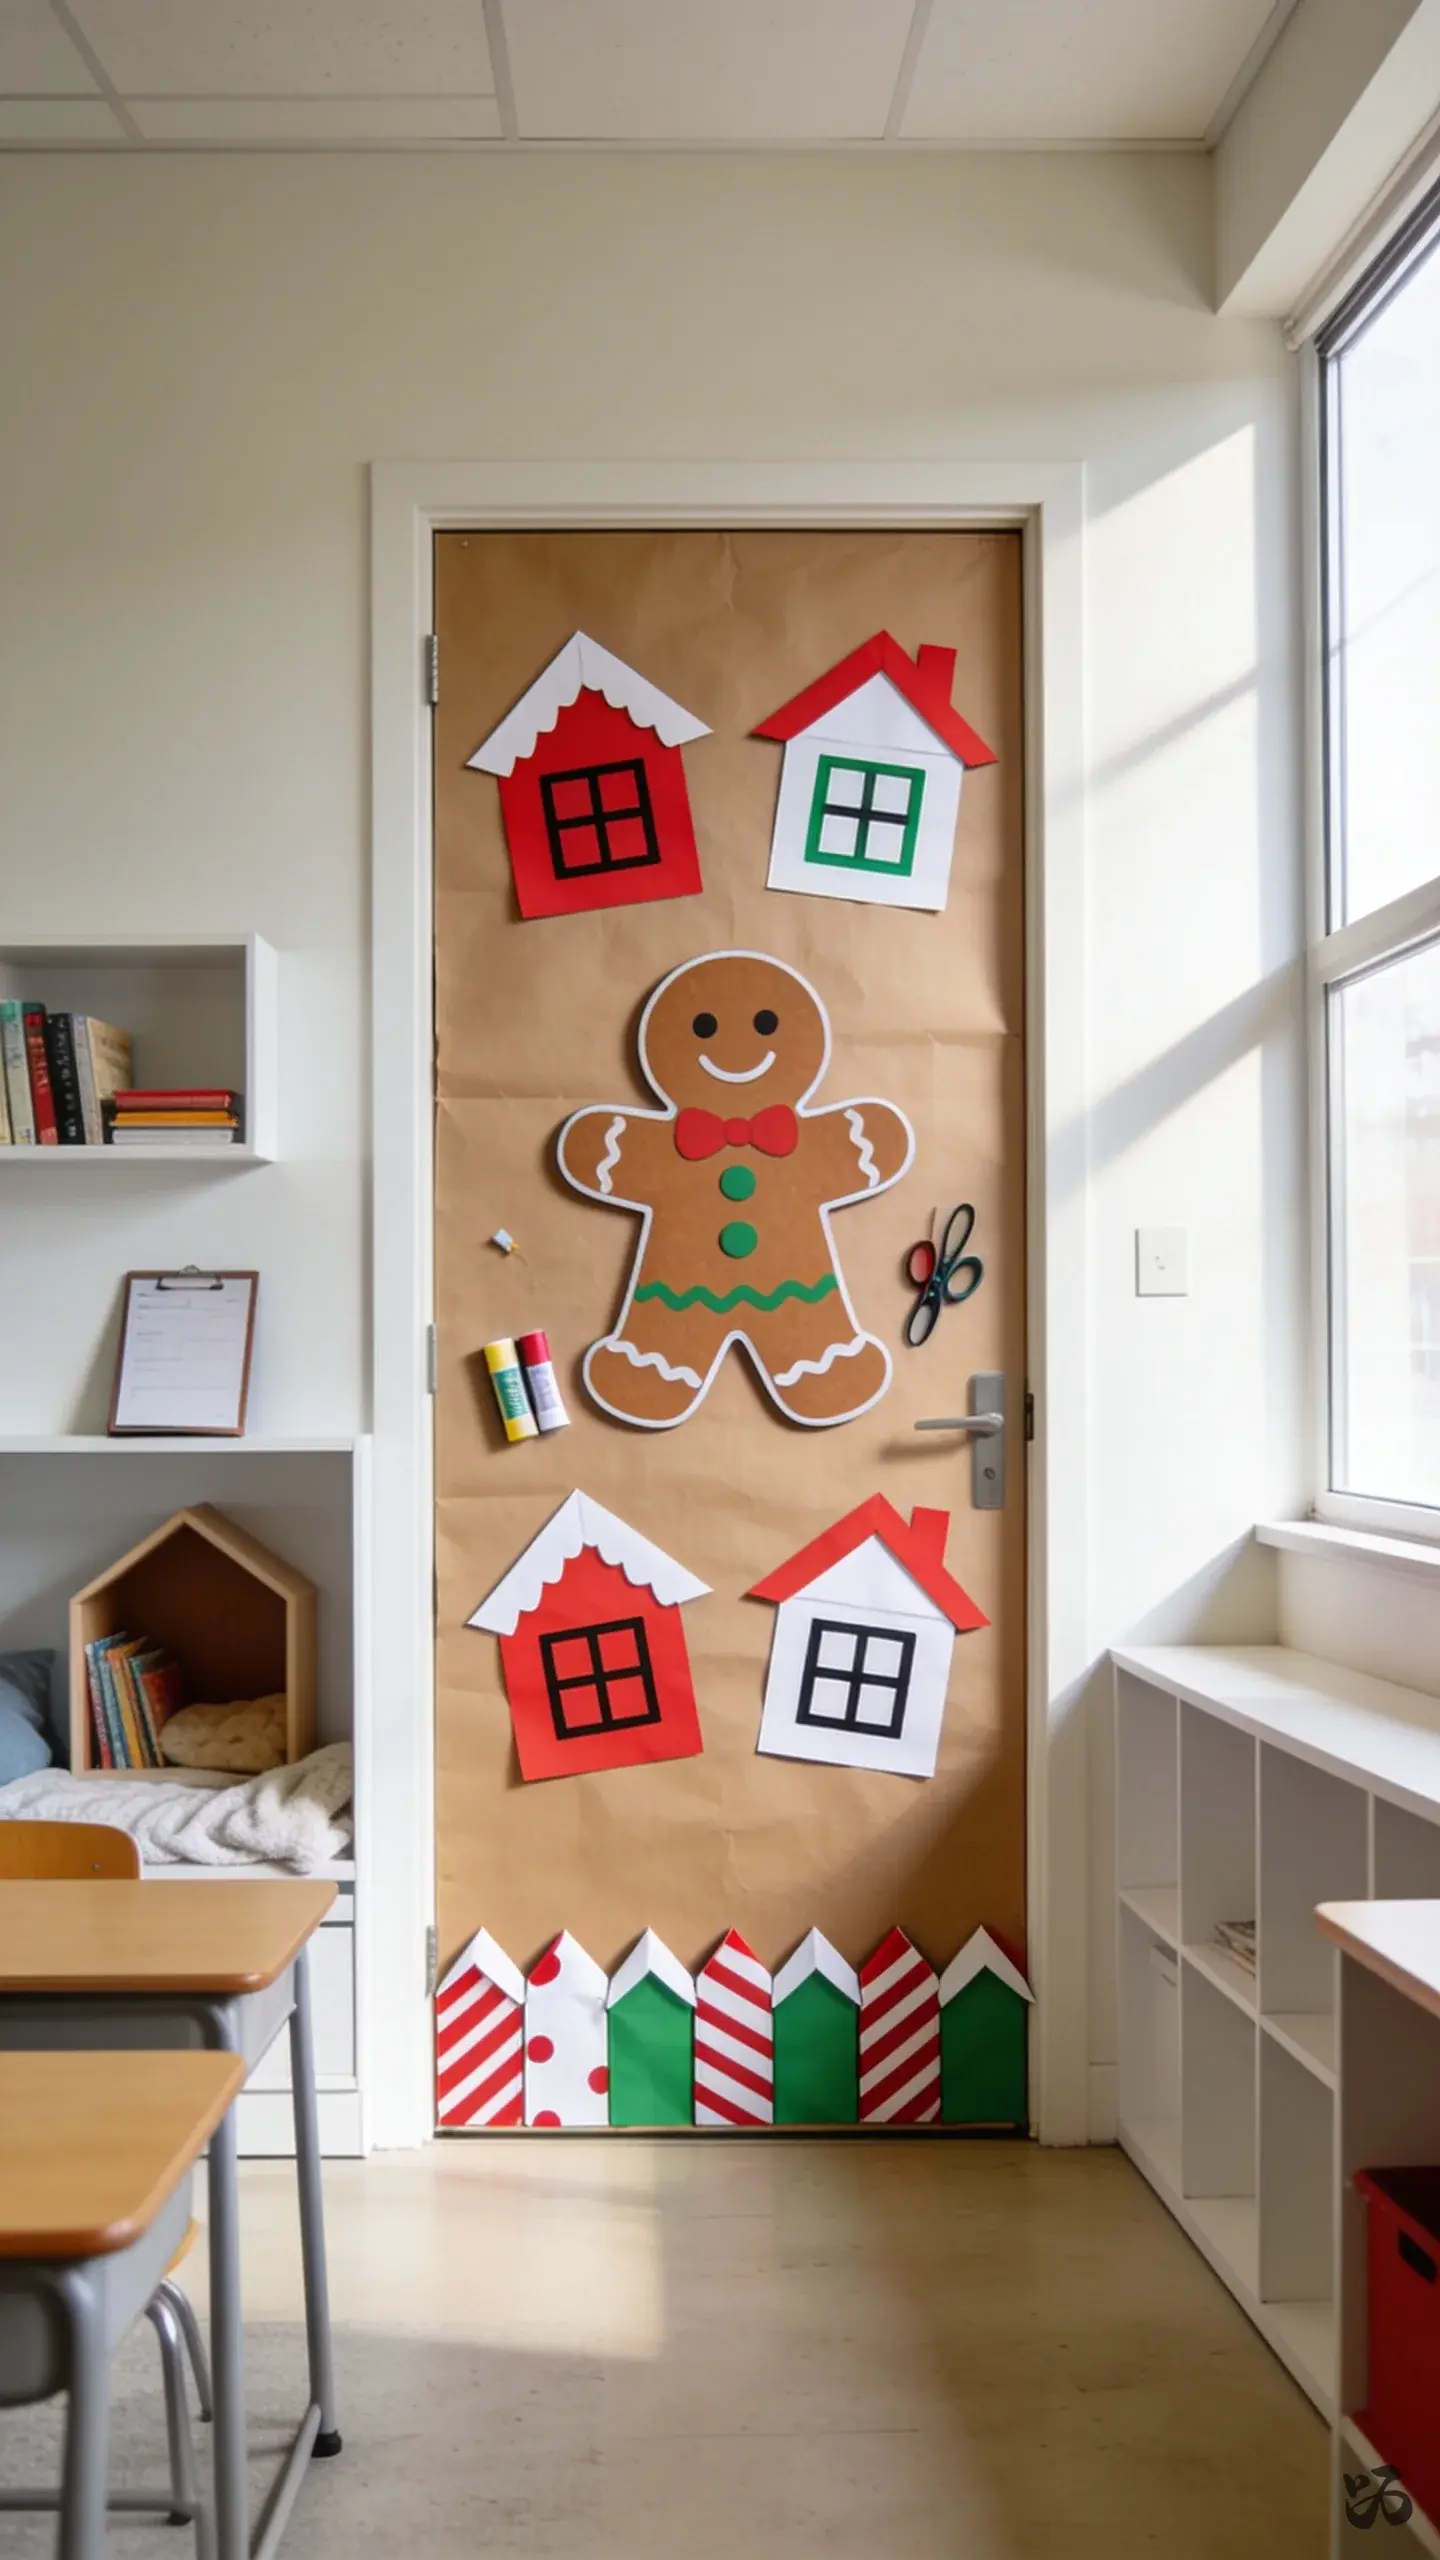
8. Gingerbread Village Door
 Save
SaveCreate a gingerbread village scene with a central gingerbread person and several houses along the bottom edge. Use kraft paper as a base and candy-colored accents with markers. Durable and printable with minimal materials.
What you need
- Kraft paper or brown butcher paper
- Red, white, and green paper for houses and outfits
- Black marker for windows
- Glue sticks, scissors, tape
About 60 minutes; great for prep periods and end-of-year bulletin board transitions.
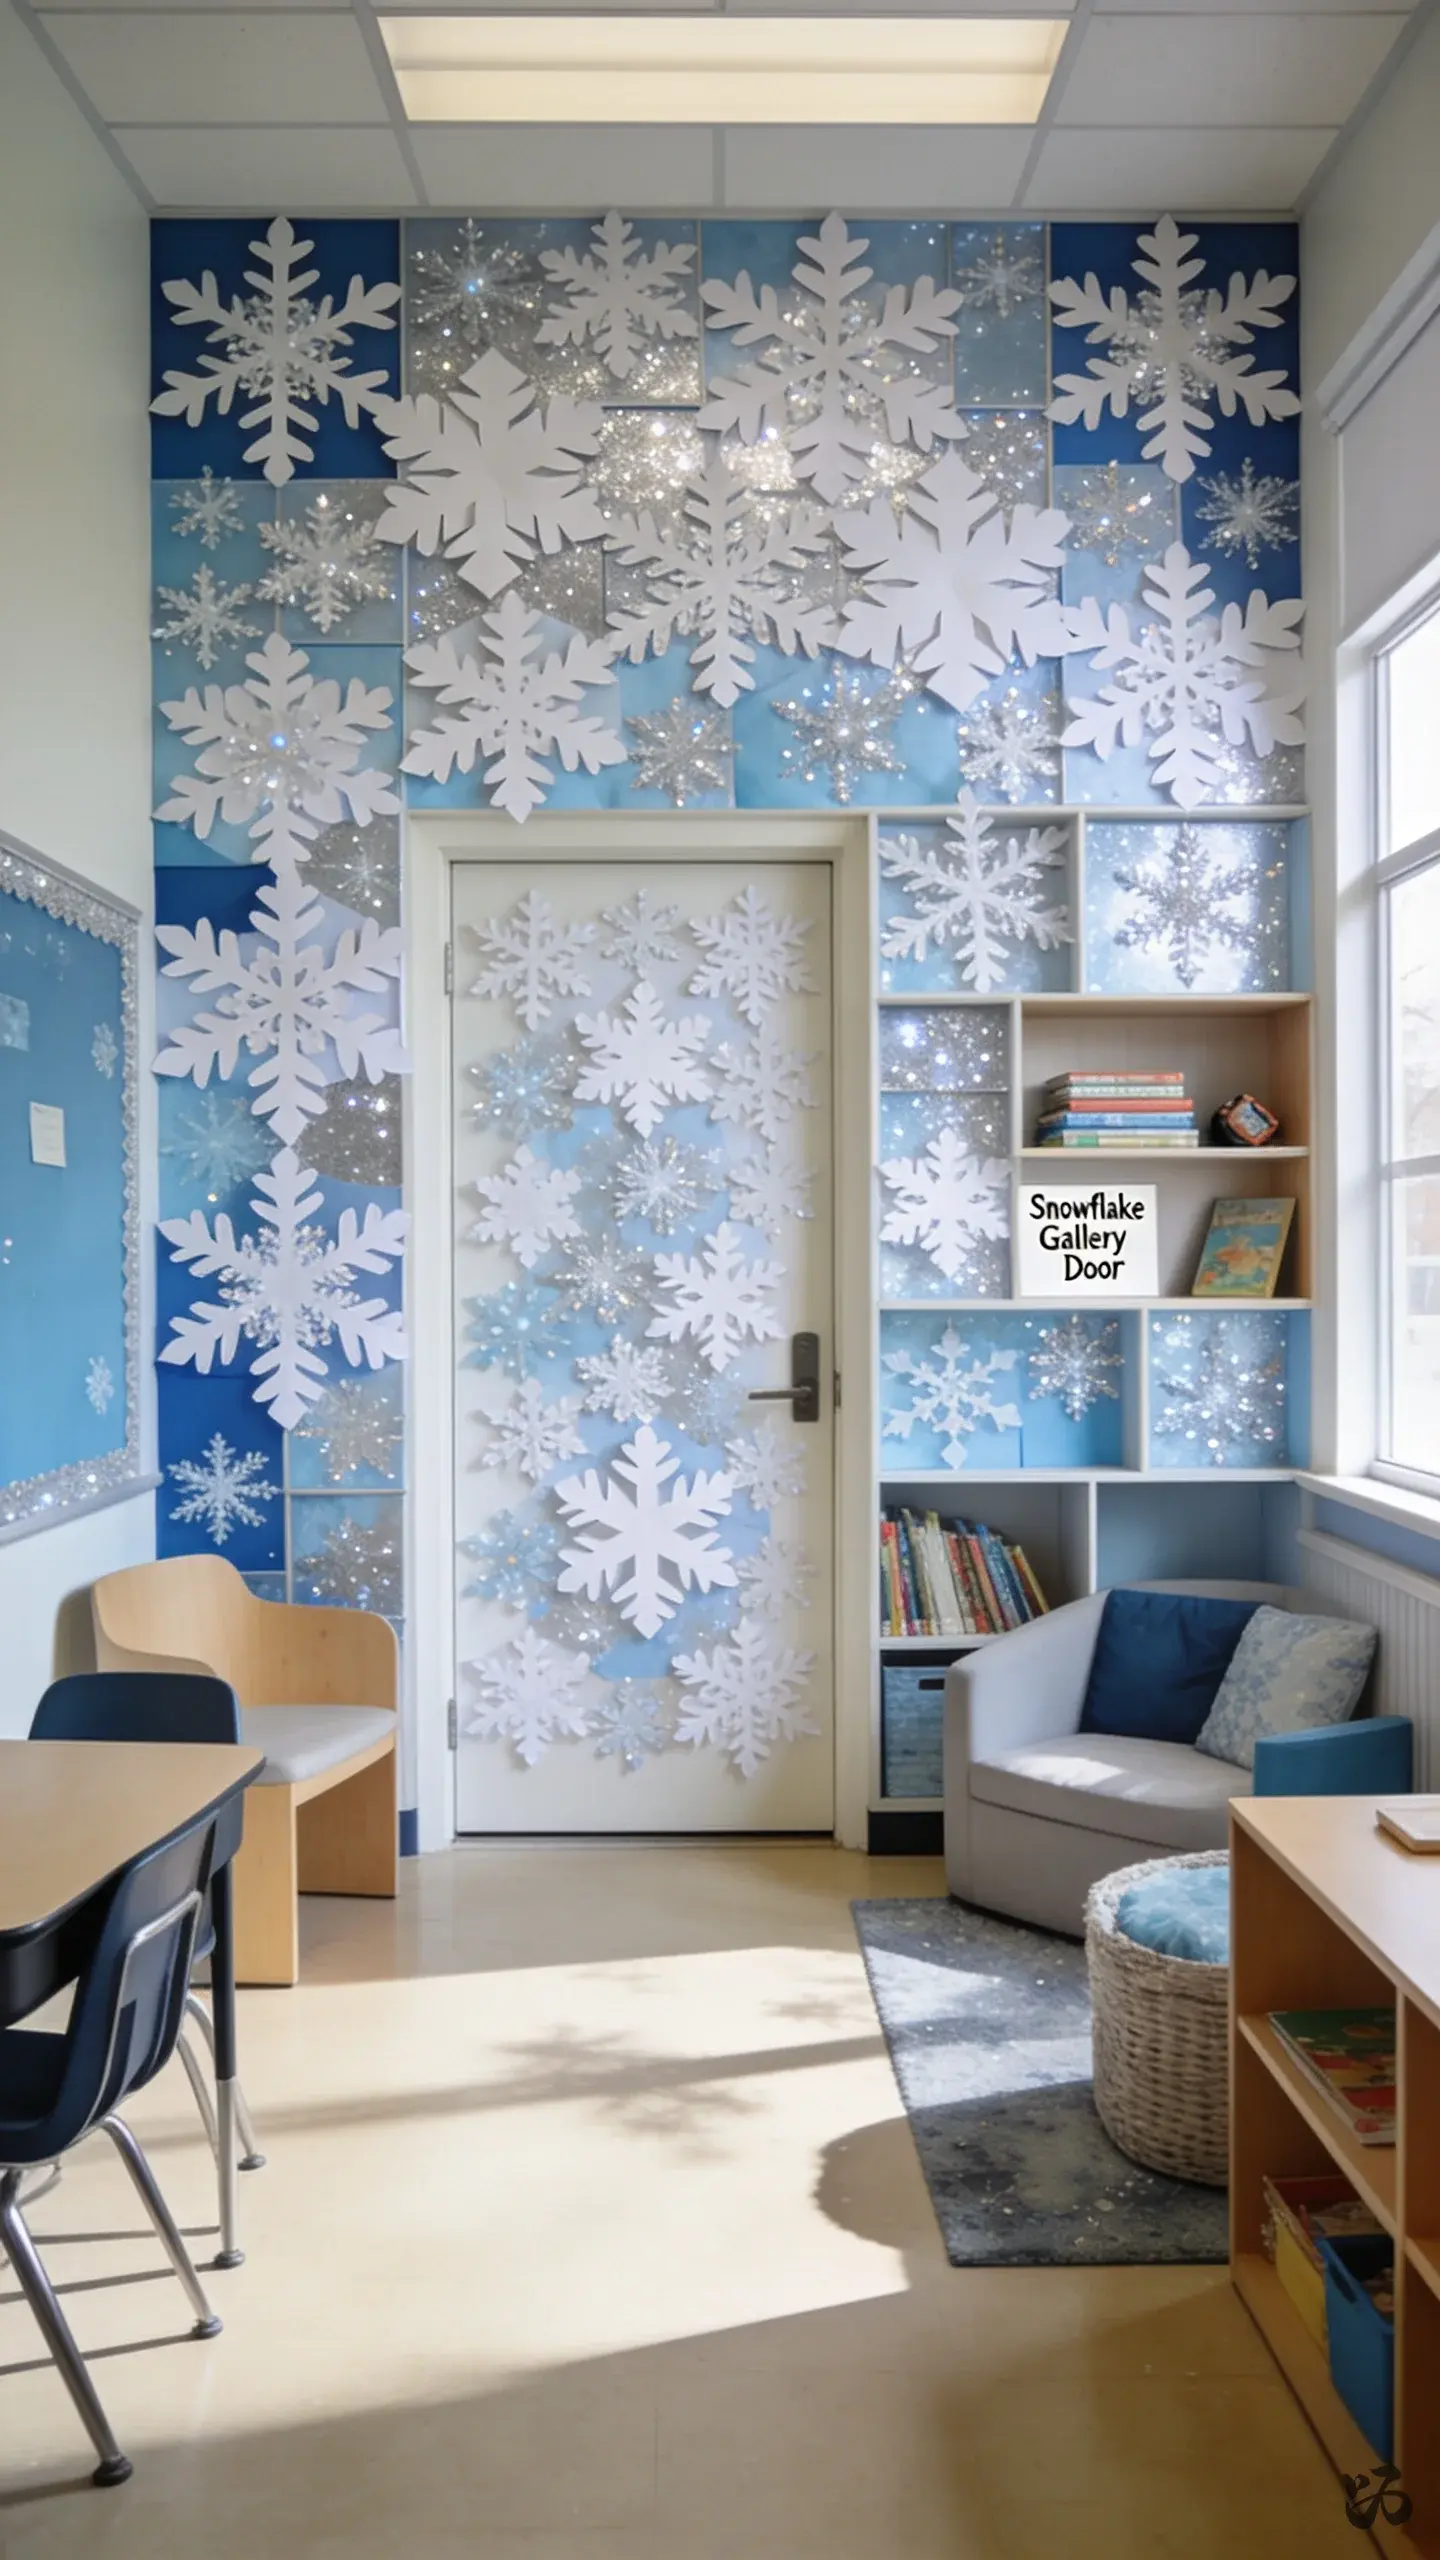
9. Snowflake Gallery Door
 Save
SaveA gallery of giant snowflakes made from white cardstock or cut from white butcher paper. Each student adds a unique snowflake to the door in a coordinated pattern to form a sparkly mosaic.
What you need
- White cardstock
- Blue or silver border
- Glue or tape
- Scissors and pencil for tracing
Skips laminating if you use sturdy cardstock; ideal for early elementary and older preschoolers; takes about two brief sessions.
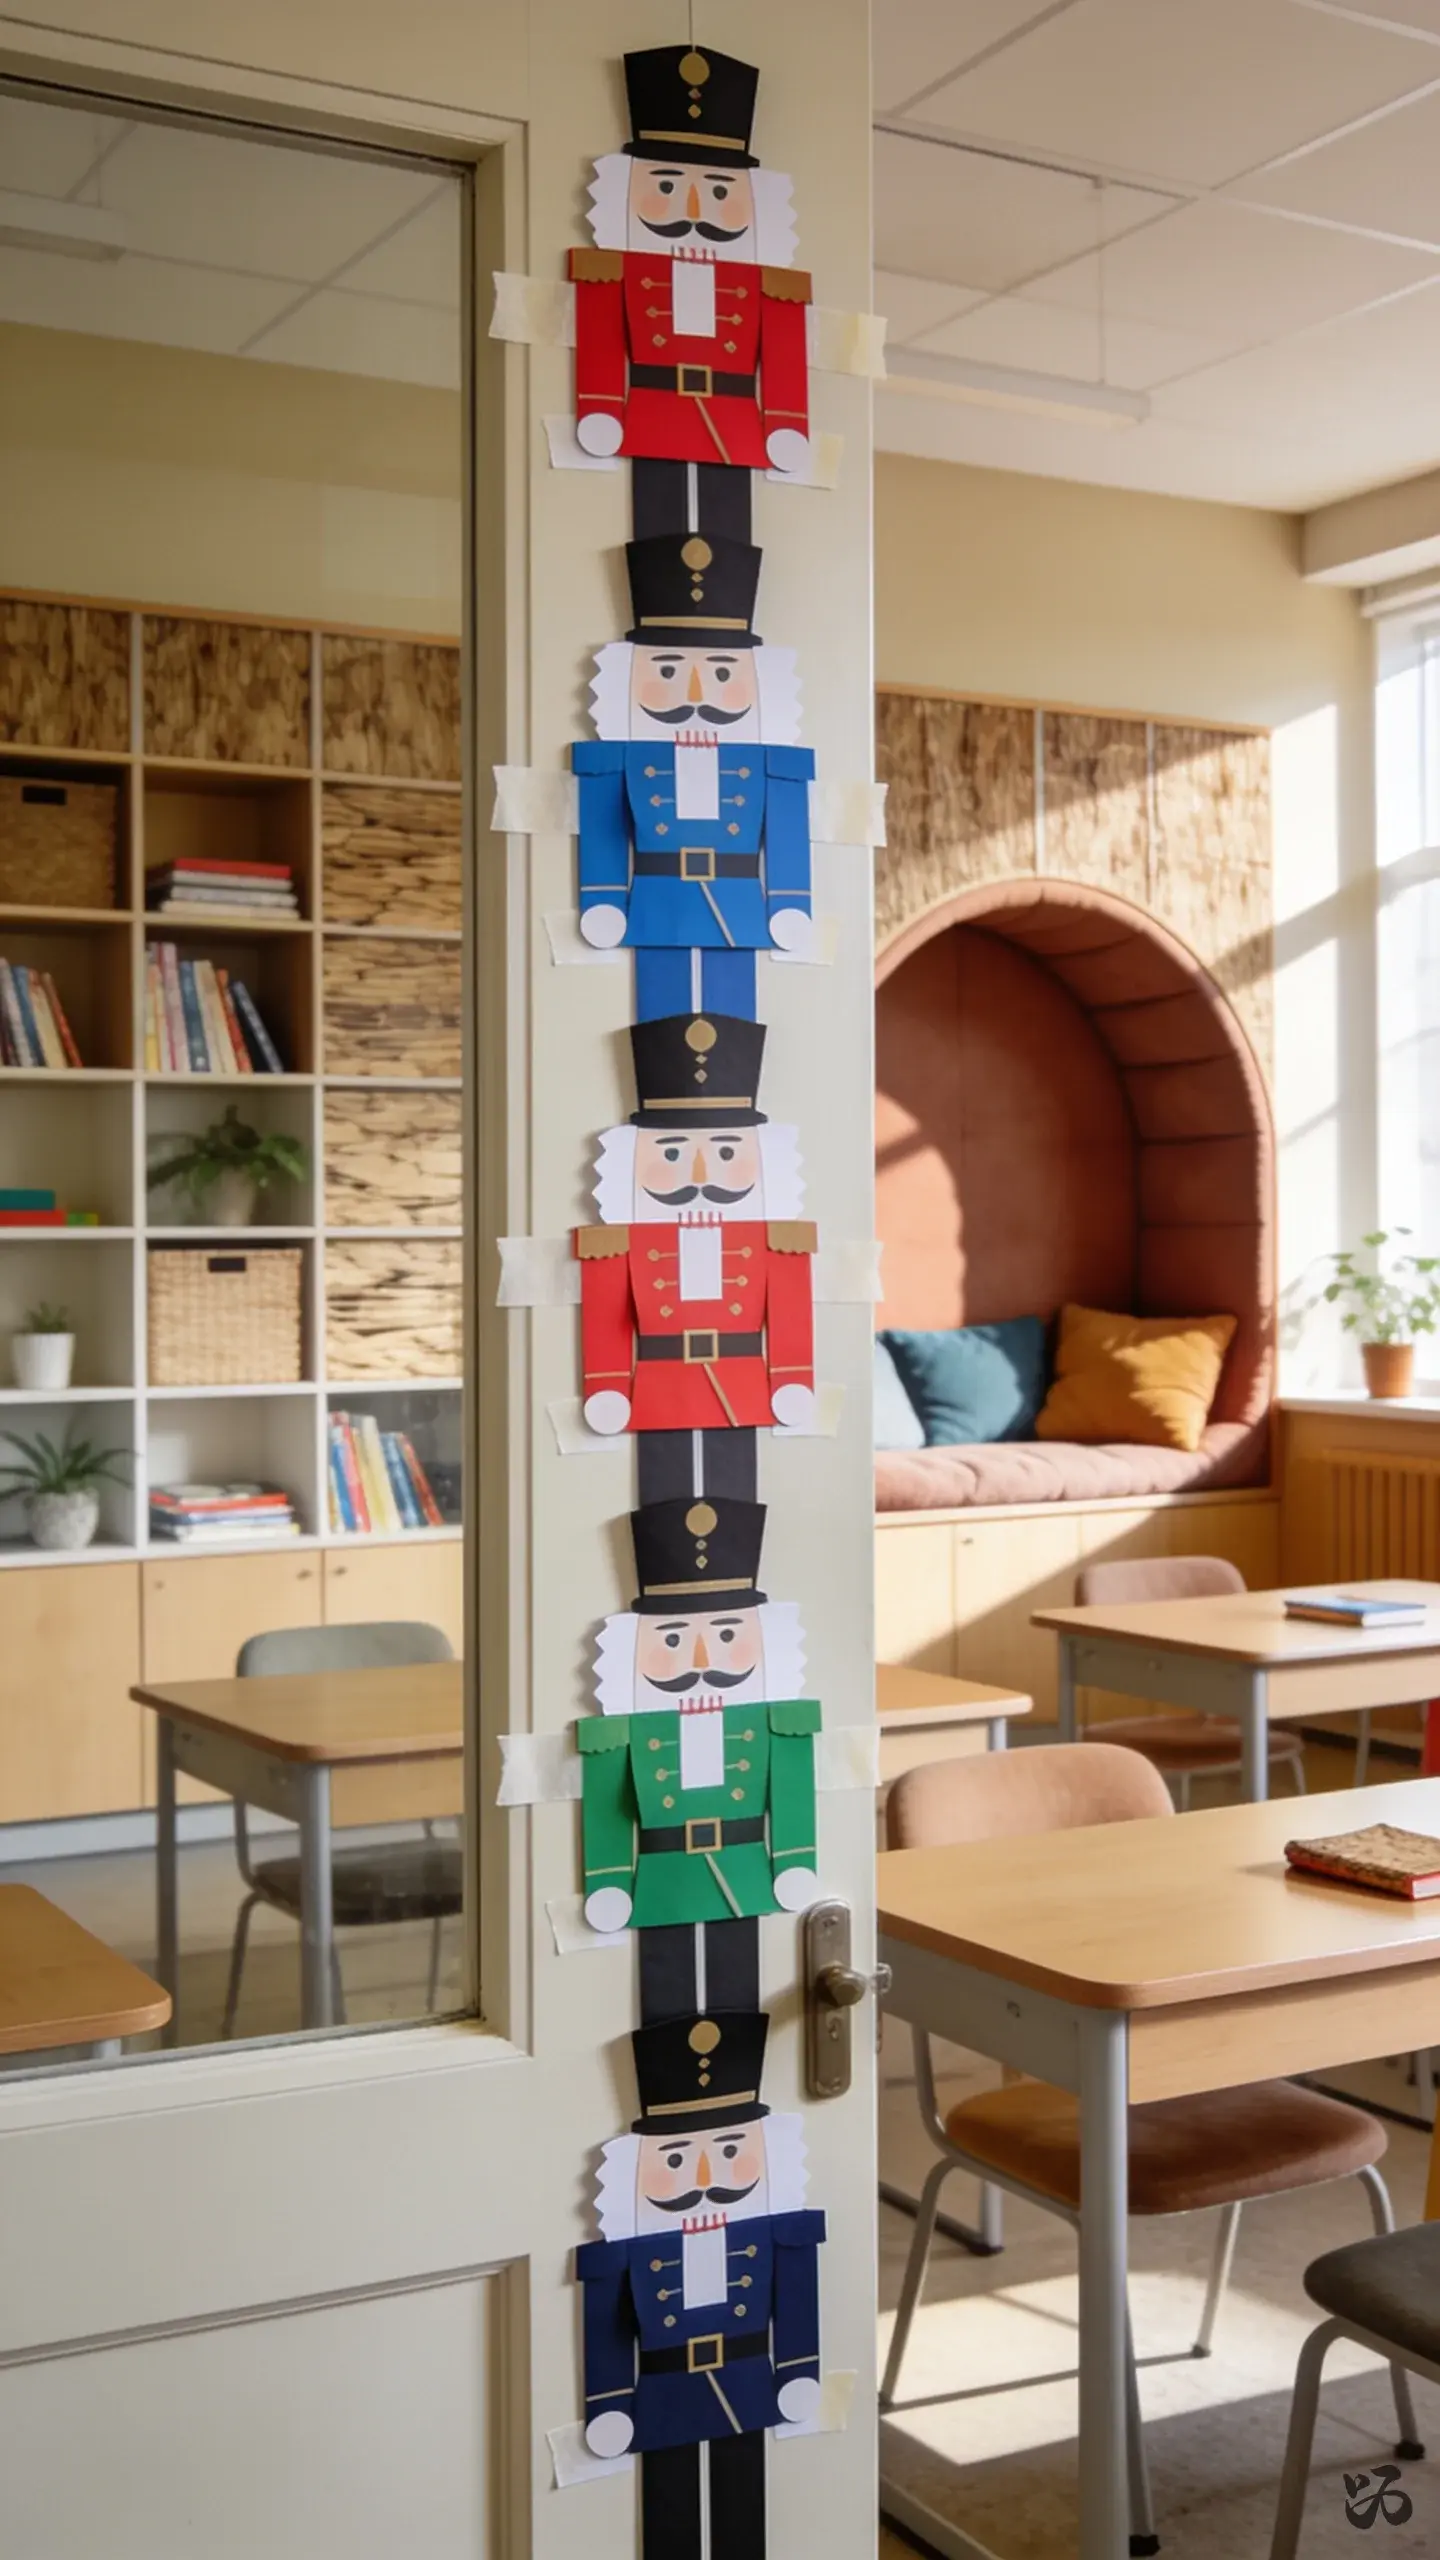
10. Nutcracker Lane Door
 Save
SaveTurn the door into a line of nutcrackers using small cutouts attached at chest height. Use construction paper, markers, and a bold border to frame the display. It’s visually striking when children line up for class photos.
What you need
- Construction paper in red, blue, green, and black
- White cardstock for faces
- Markers for details
- Masking tape or Velcro strips for removable mounting
Easy to assemble in one prep period; check door width for workable height.
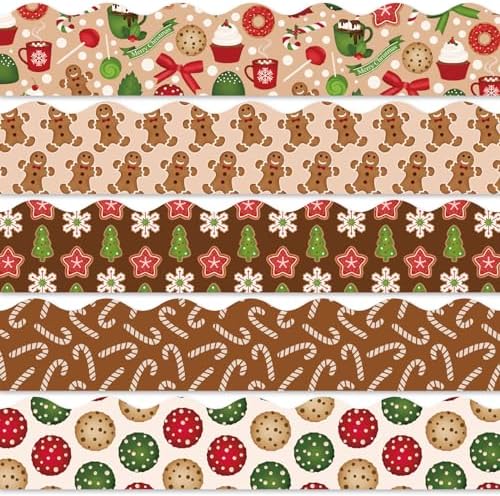
Borders and Backing Paper


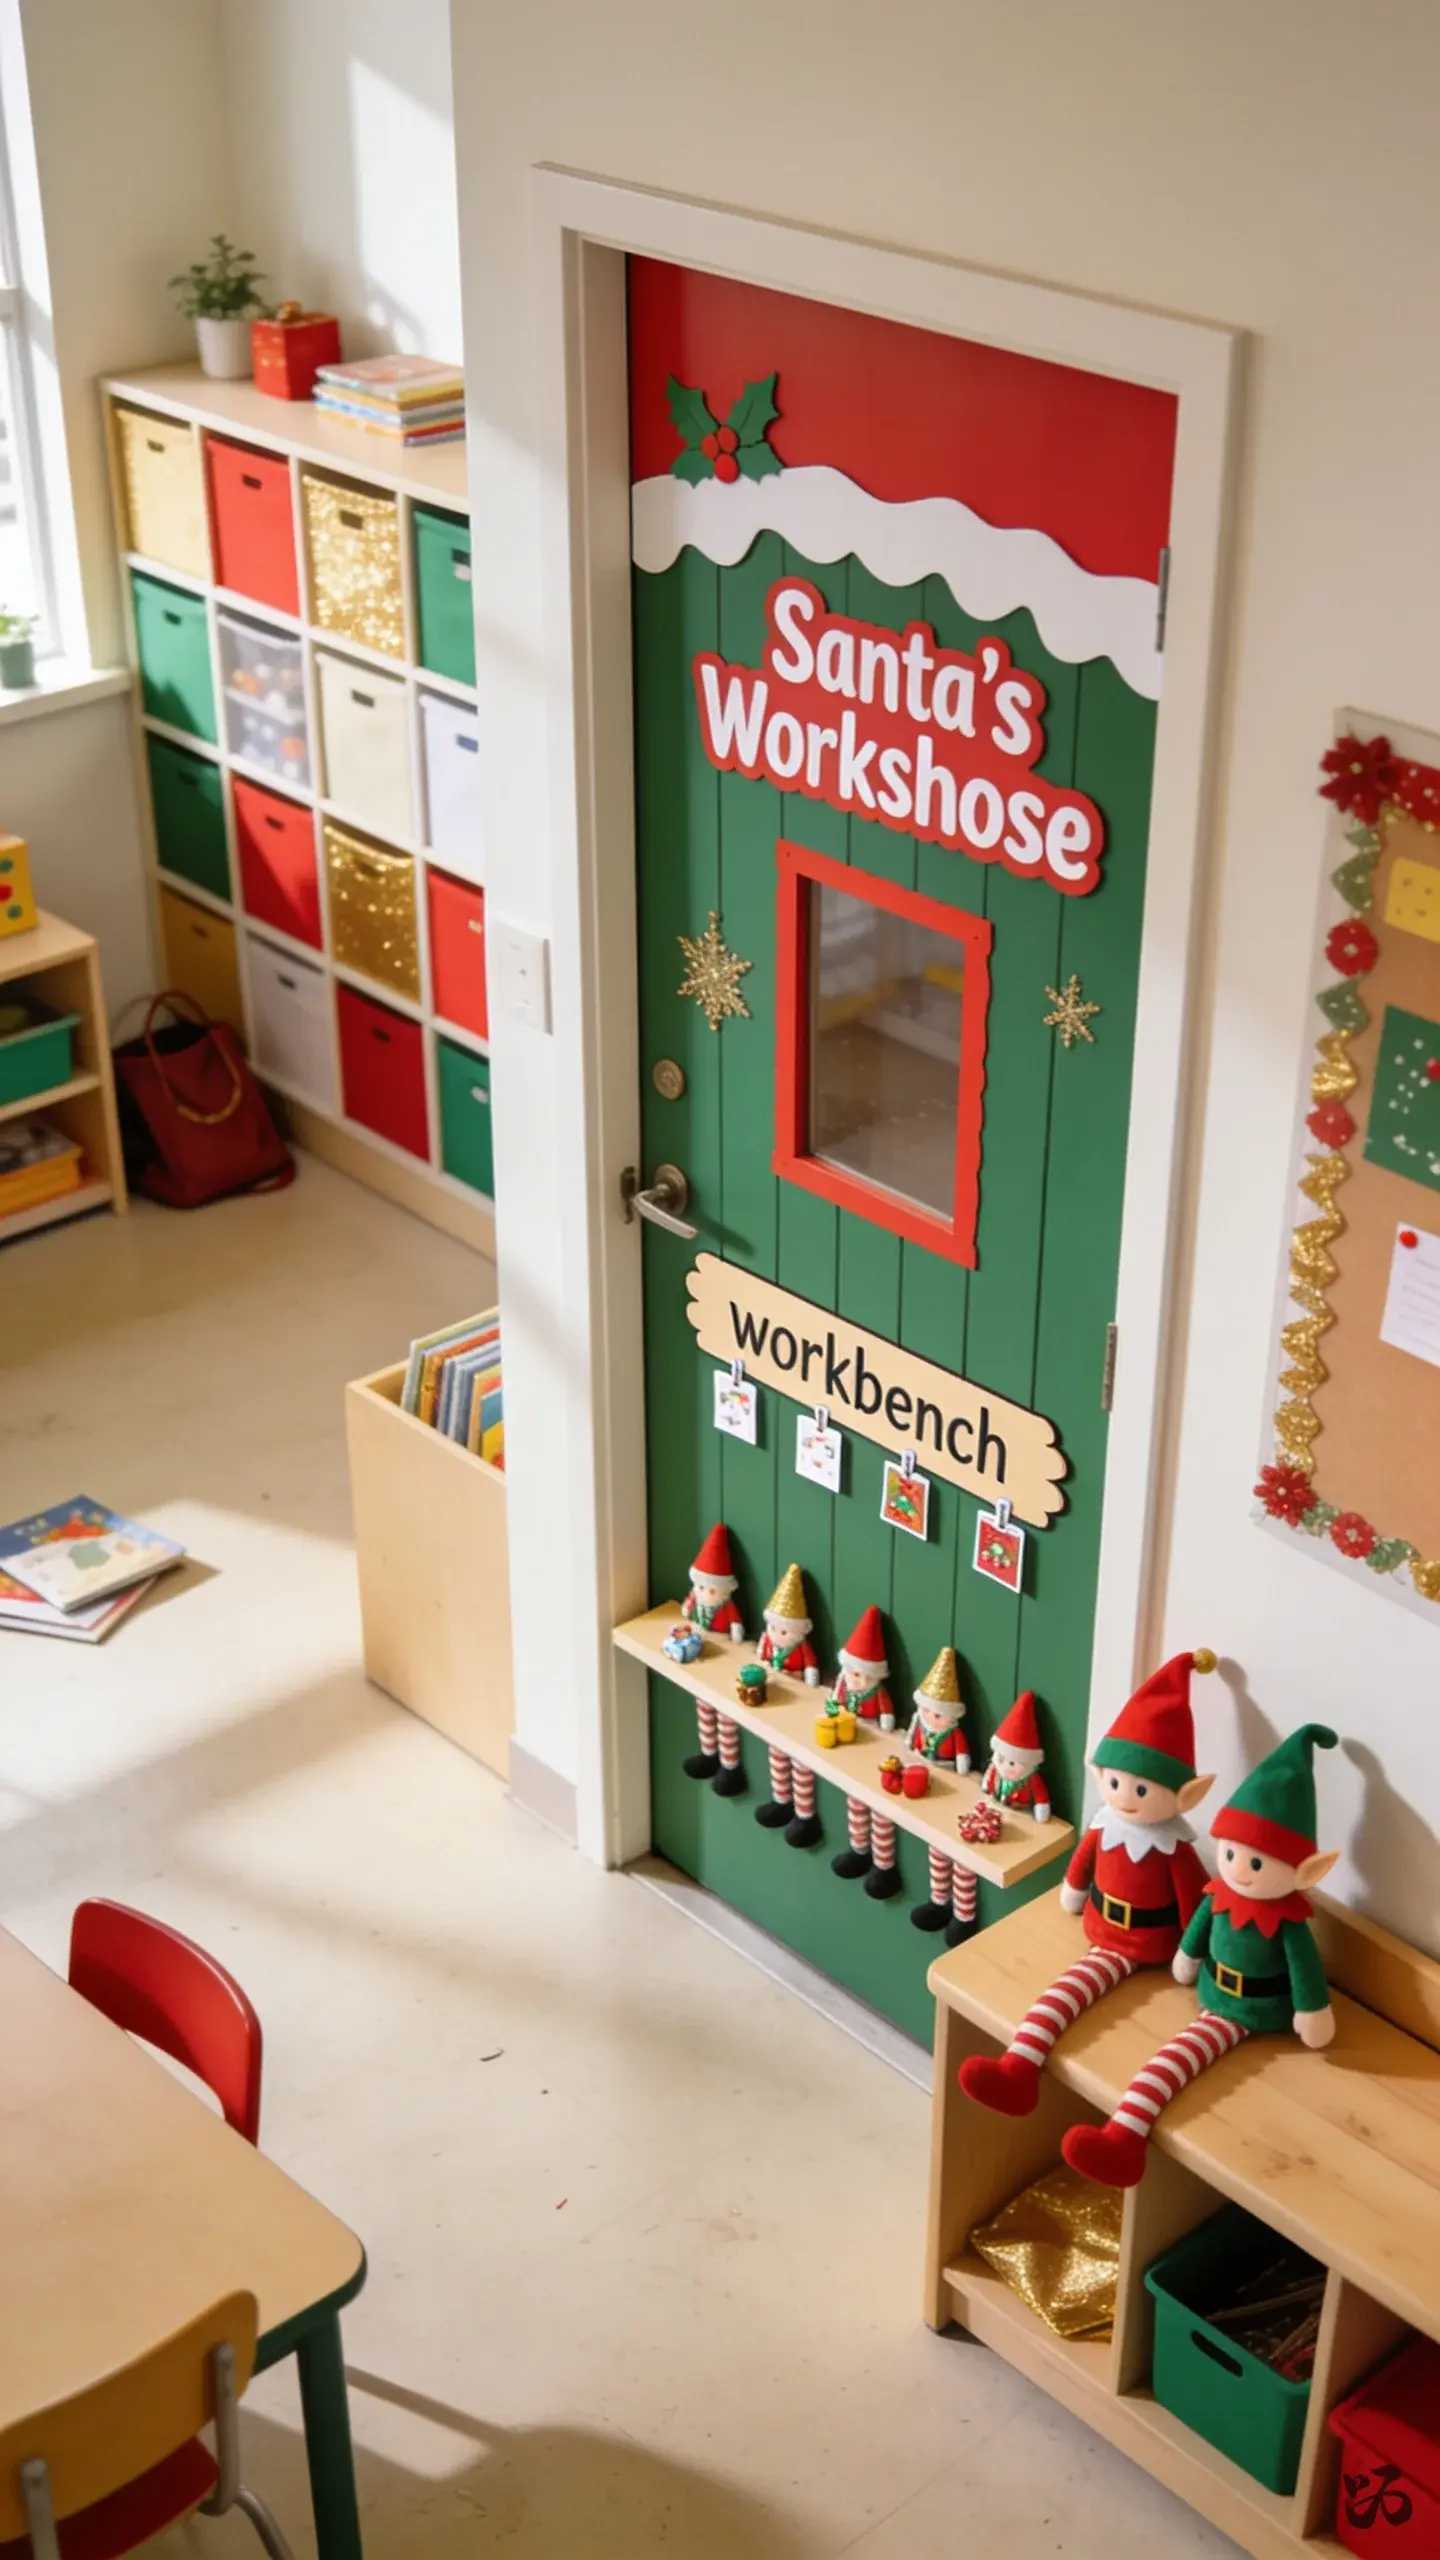
11. Santa’s Workshop Door
 Save
SaveThe door becomes a cheerful workshop with a cut-out “workbench” line and several elf figures along the bottom. Students add their own small props to the bench with magnets orVelcro for a rotating display during December.
What you need
- Construction paper
- Velcro dots or magnets
- Green butcher paper for worktable surface
- Scissors and glue sticks
Use several small props you can re-use year to year. Suitable for kinder through second grade.
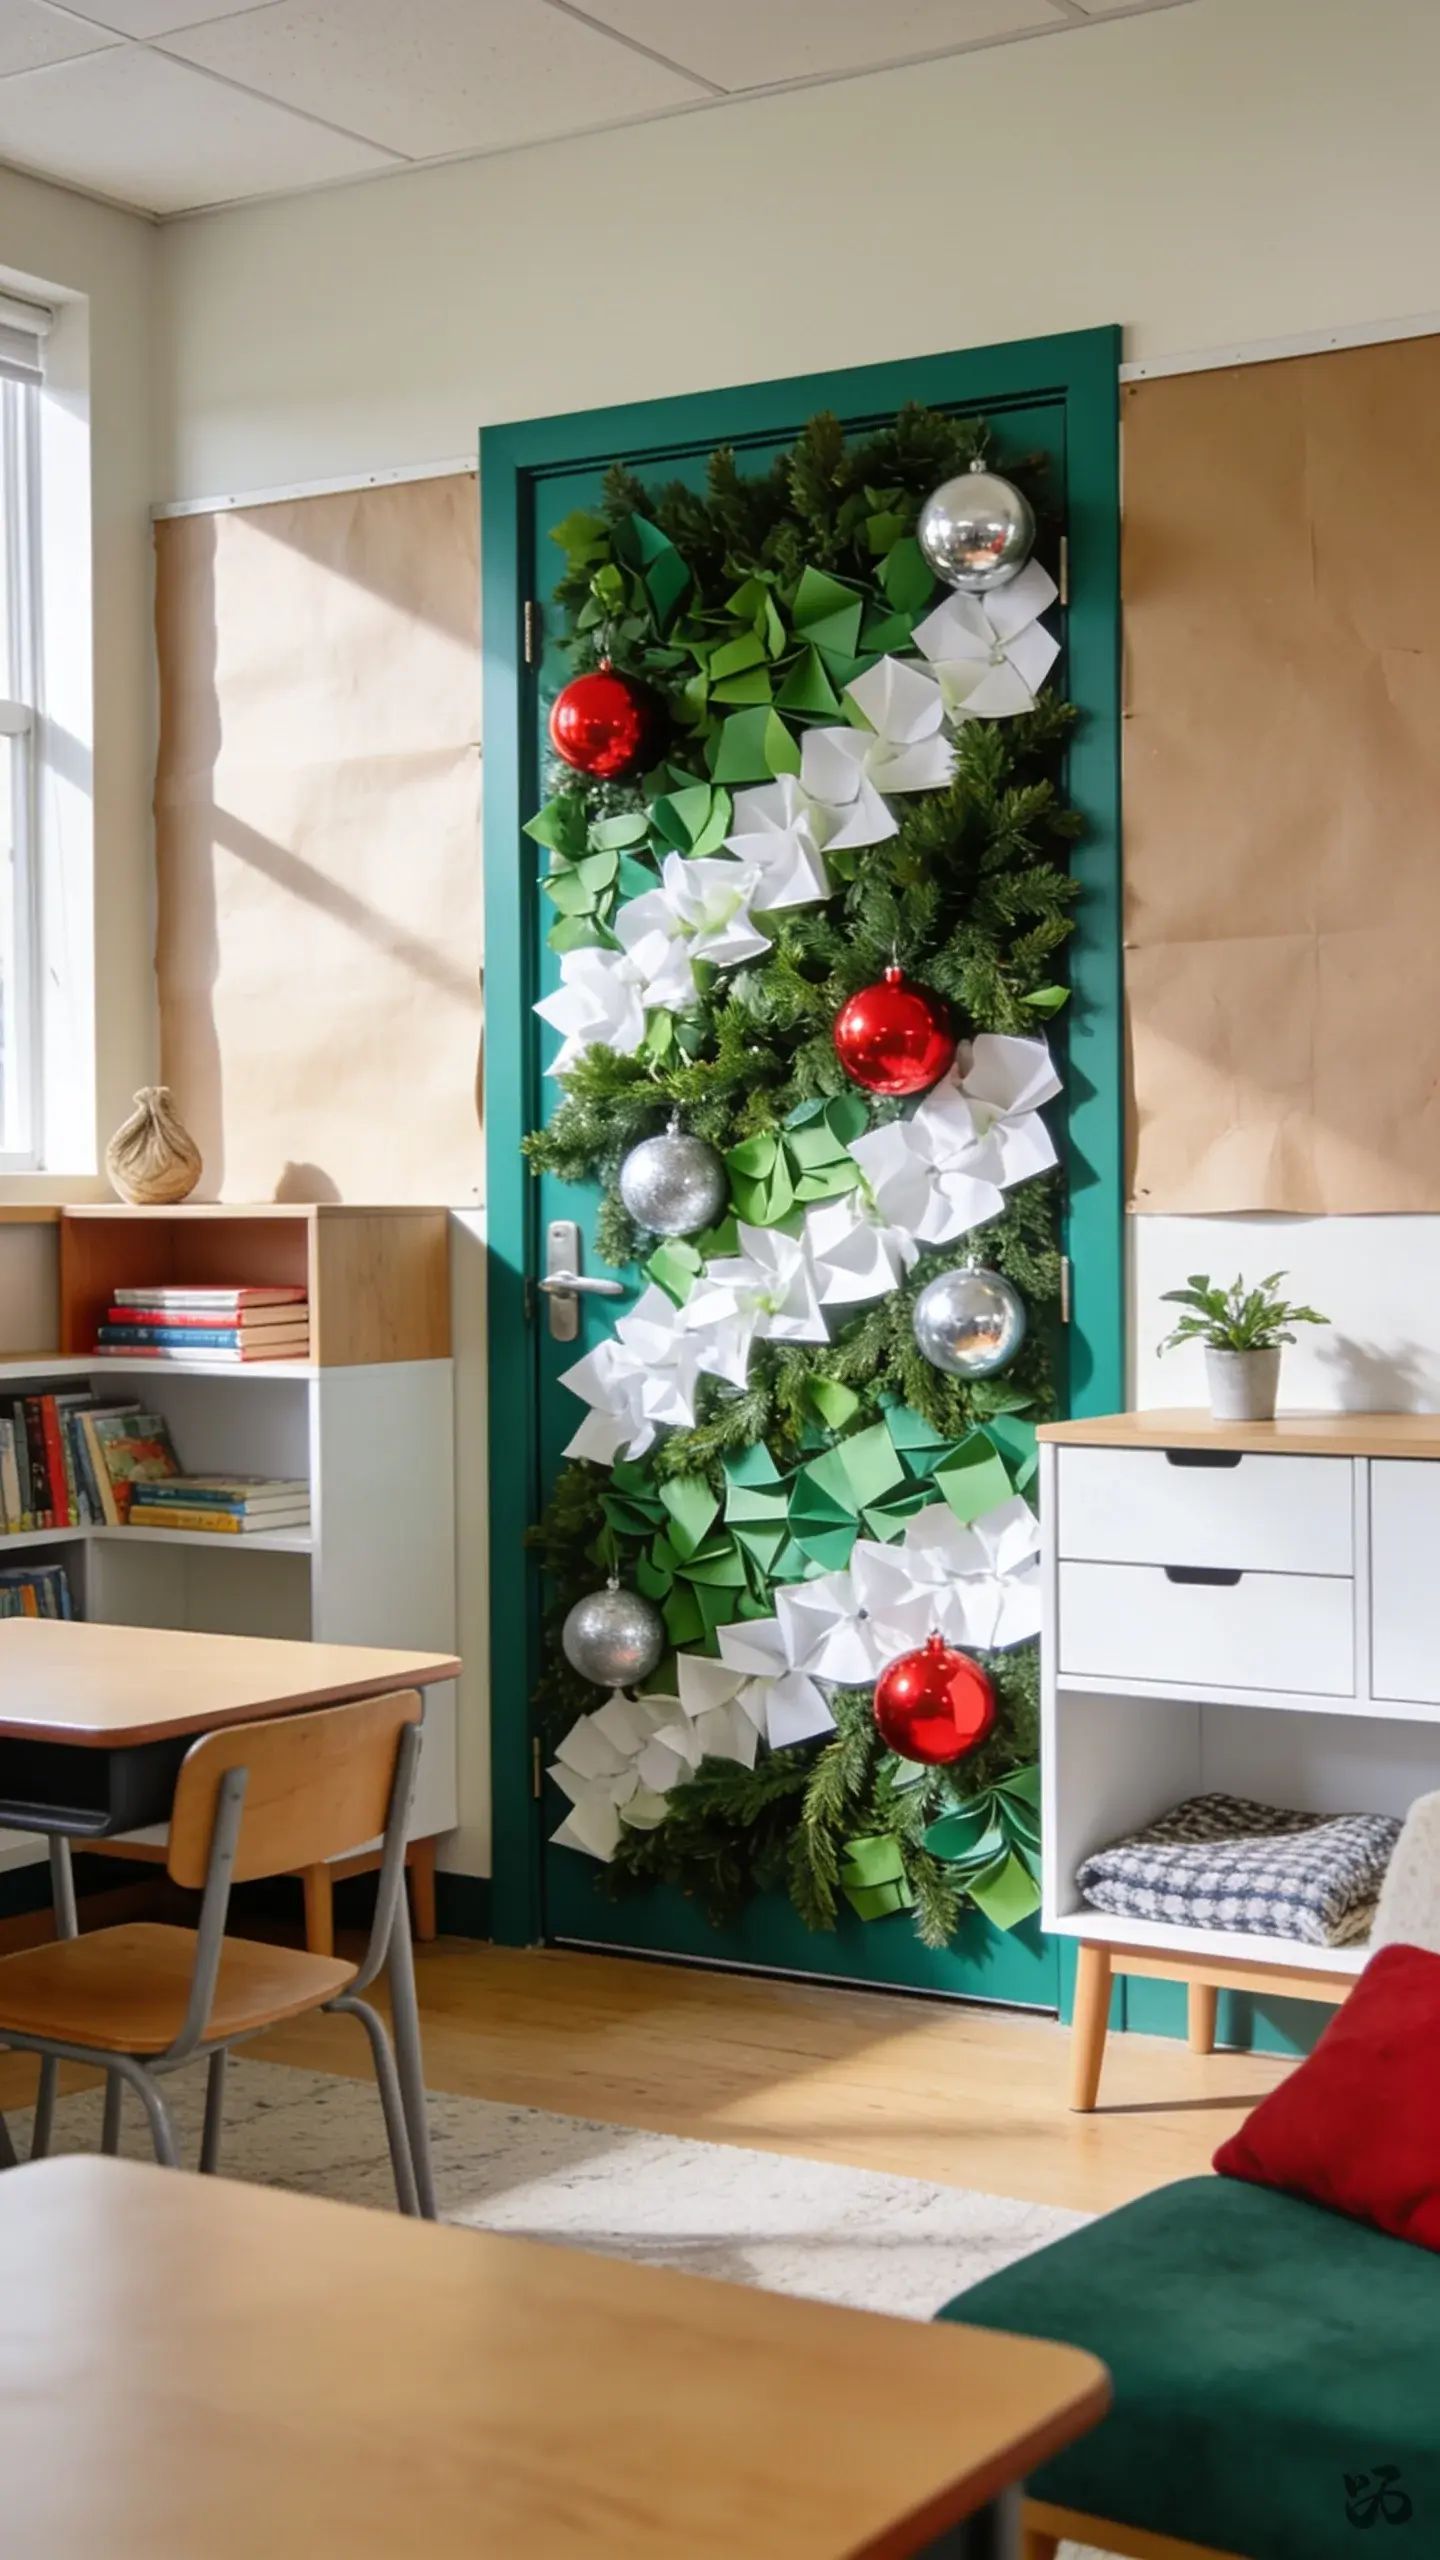
12. Winter Bench Garden Door
 Save
SaveA door covered with a green and white garden of evergreen branches. This idea uses lightweight paper greenery and a few plastic ornaments to simulate a field trip stop during a winter field trip week.
What you need
- Green butcher paper
- Green craft branches or paper leaves
- Plastic ornament balls in silver or red
- Glue sticks, tape
Durable with light weight; pretty for all elementary grades and easy to remove in June.
If the door is only half the job
A winning door usually sits next to a board and a wall that let it down. There are 21 Christmas bulletin board ideas here, and 28 Christmas decor ideas on a teacher budget if the budget is what is stopping you. For the front door at home instead, try these Christmas door decorating contest ideas.
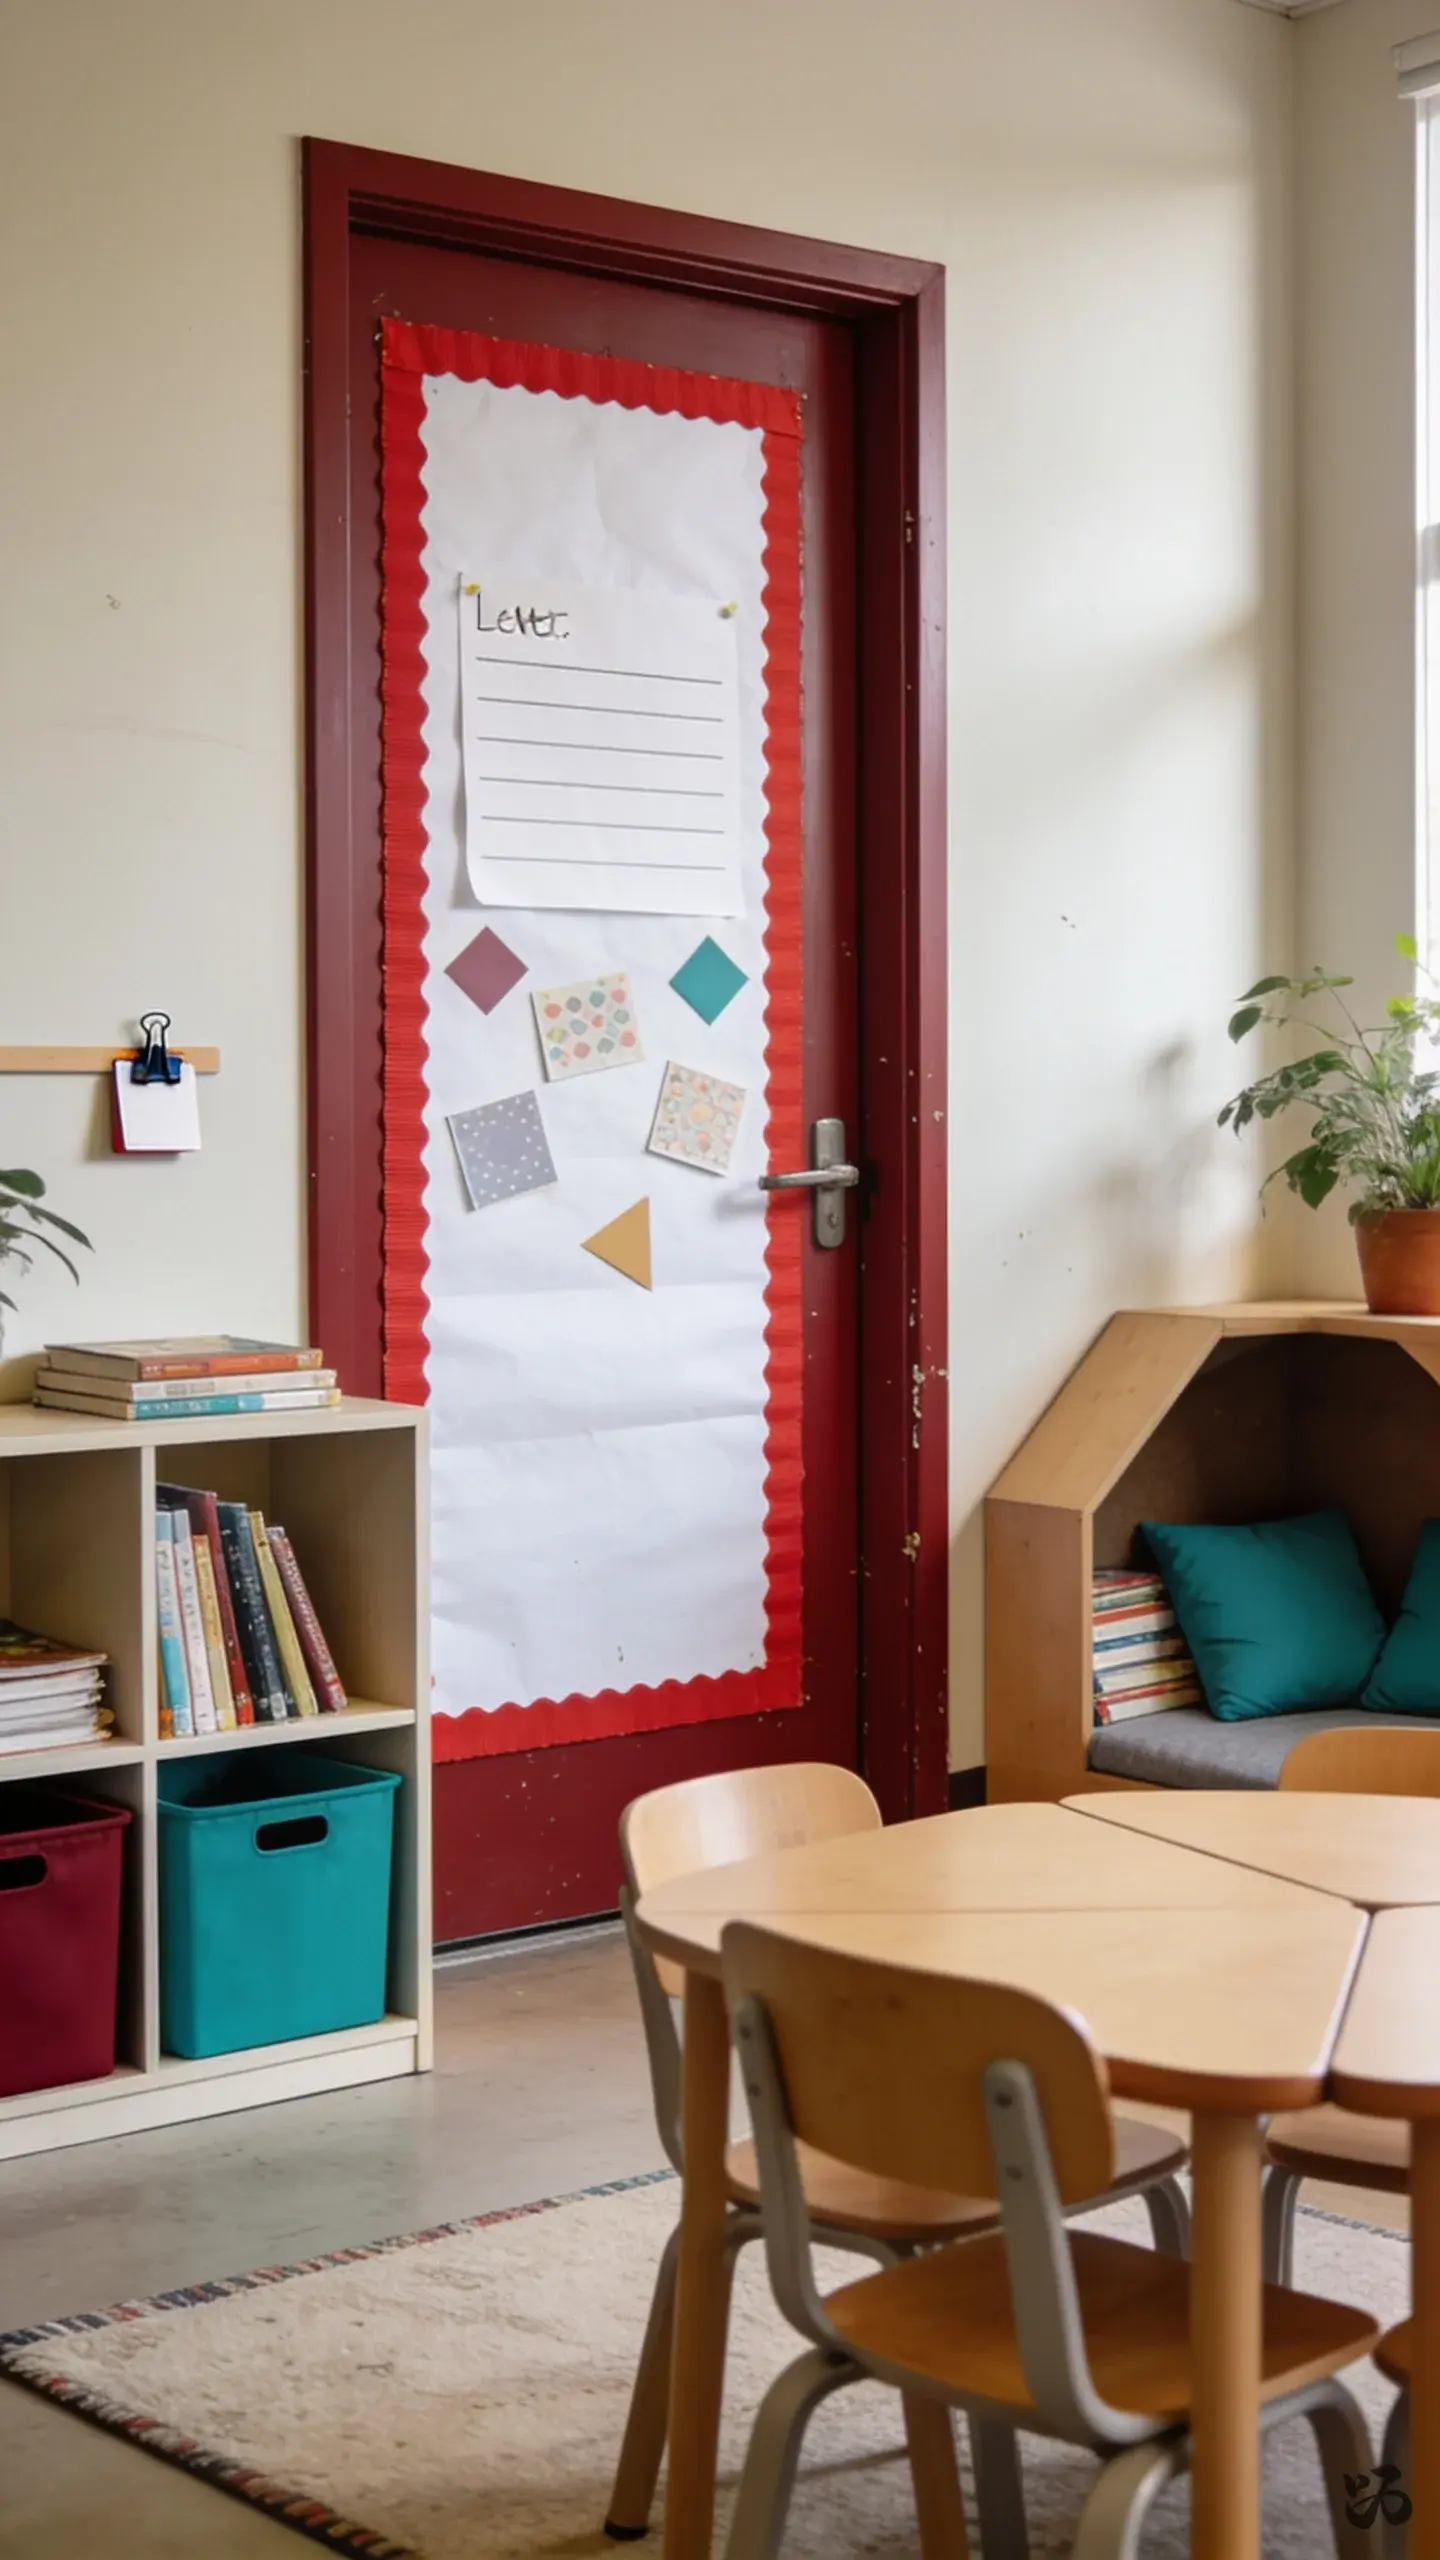
13. Letter to Santa Door
 Save
SaveA bulletin-board-inspired door with a large white sheet for writing letters. Students can tape or staple their letters to Santa directly onto a border and read them as a wall feature. It becomes a living activity during Open House or parent night.
What you need
- White butcher paper or poster board
- Red border to frame the scene
- Colored markers for letters
- Masking tape or staples as allowed
Great for first through third grade; avoid over-stuffing to keep doors accessible.
14. Open House Holiday Gallery Door
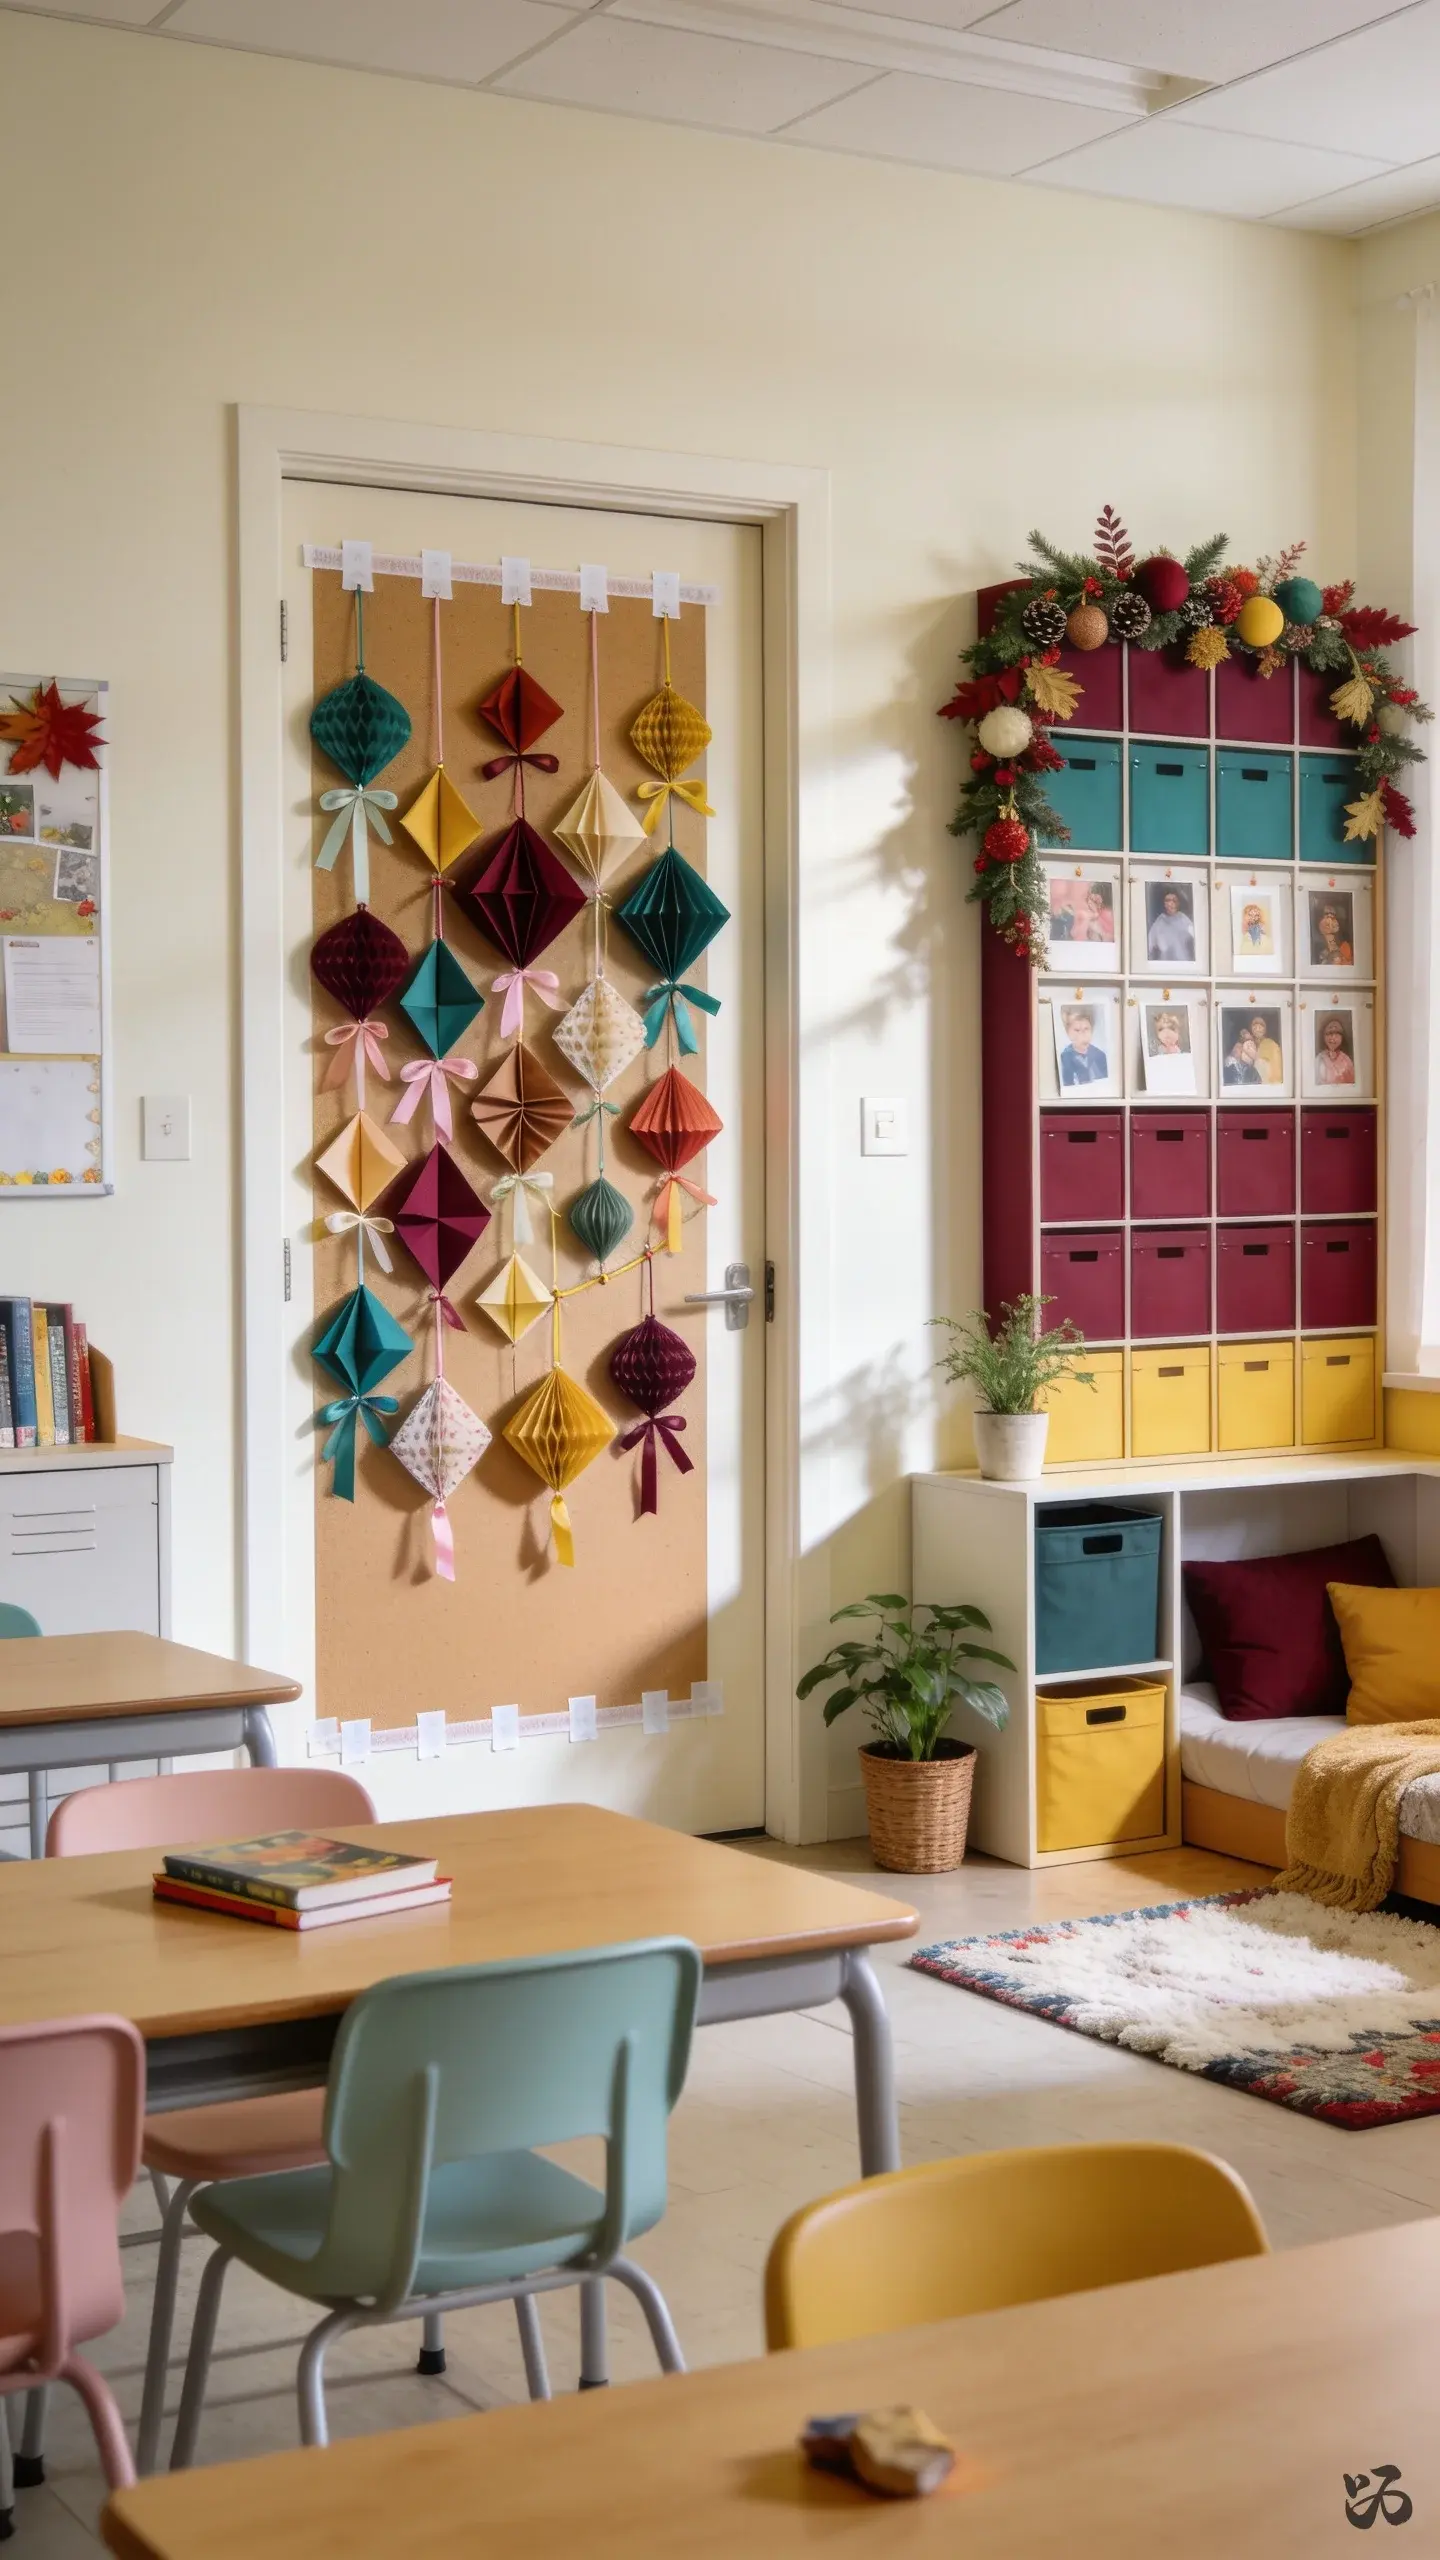 Save
SaveScan adorable student-made ornaments on a door-sized bulletin board. Each ornament is a small cutout or folded paper art piece that students create in class. The door reads as a tiny gallery to welcome families during Open House.
What you need
- Cardstock or construction paper
- Ribbon or string for hanging
- Low-tack tape for mounting
- Scissors and glue
Low effort, high impact; best with a few simple shapes per student per class period.
15. Jingle Bell Path Door
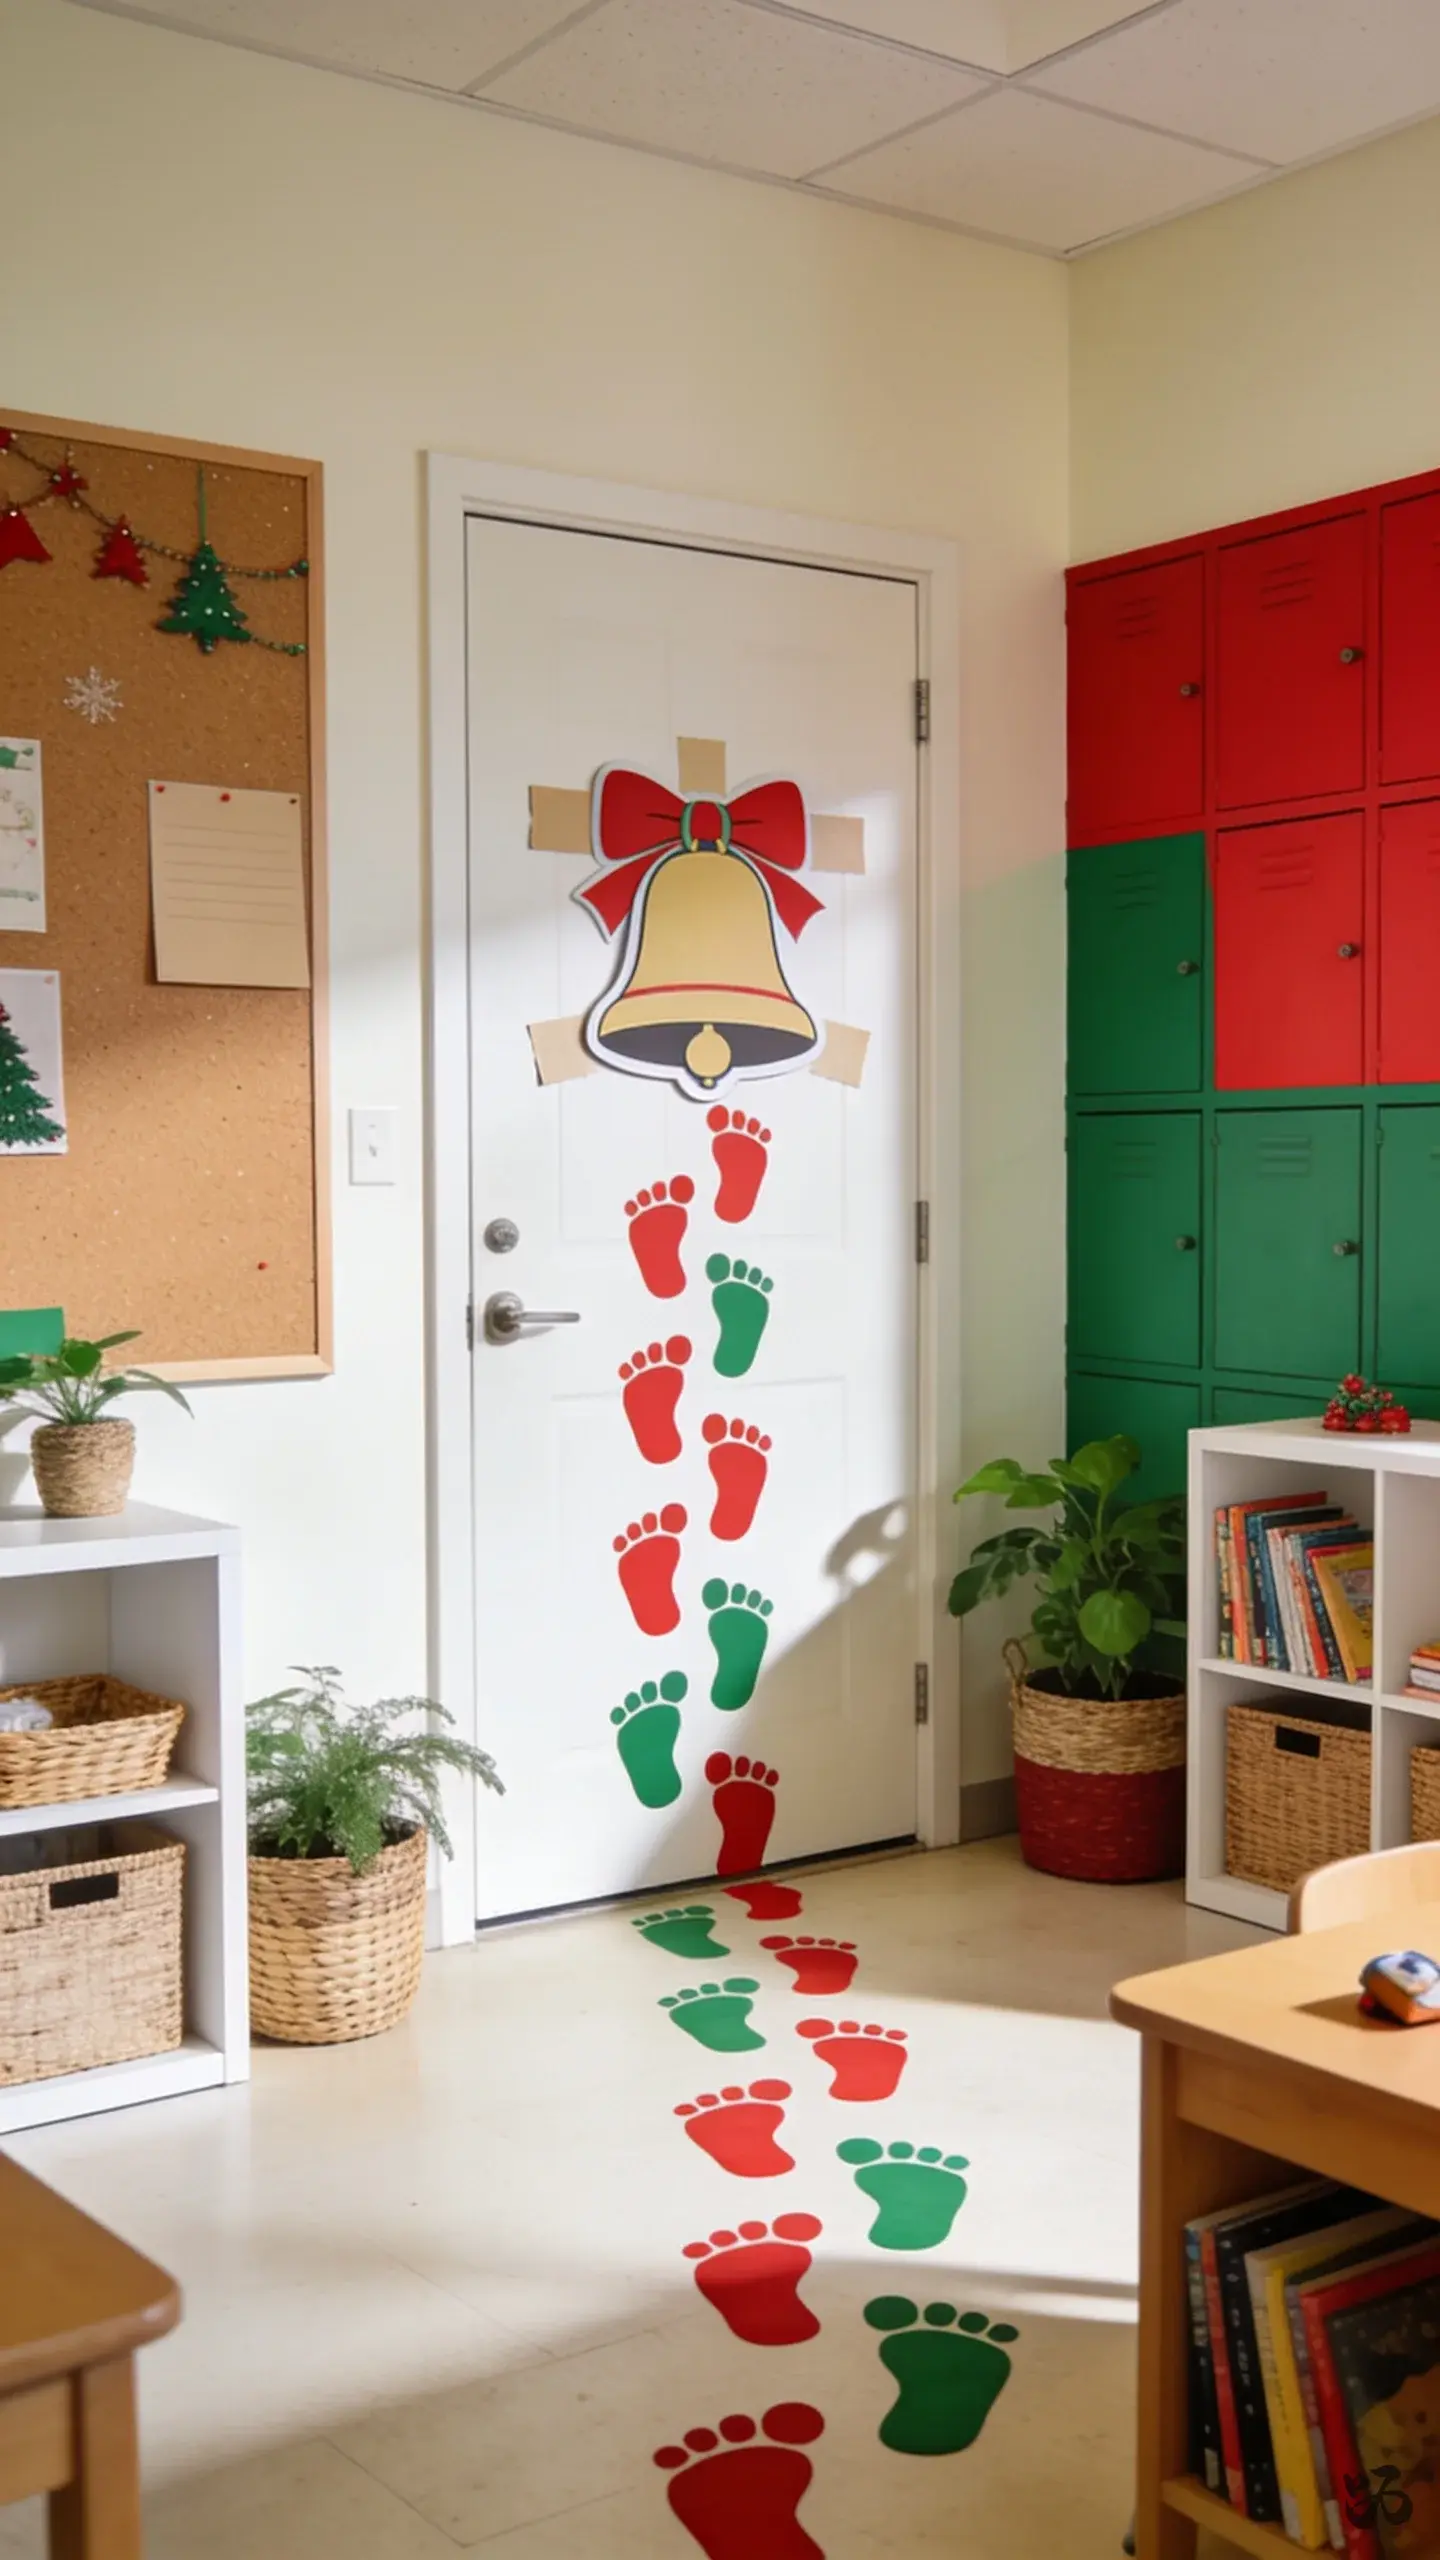 Save
SaveAttach large jingle bells along a path of red and green footprints across the door. The path ends at a big bell cutout or a sign that says “Ring in the Holidays.” It’s athletic and fun but sturdy if you anchor with tape and cardstock behind the bells.
What you need
- Red and green construction paper
- Large jingle bells or bell cutouts
- Brown and green borders
- Tape and glue
Best for halls with light foot traffic; suitable for all elementary levels.
Lights and Finishing Touches


16. Christmas Tree Collage Door
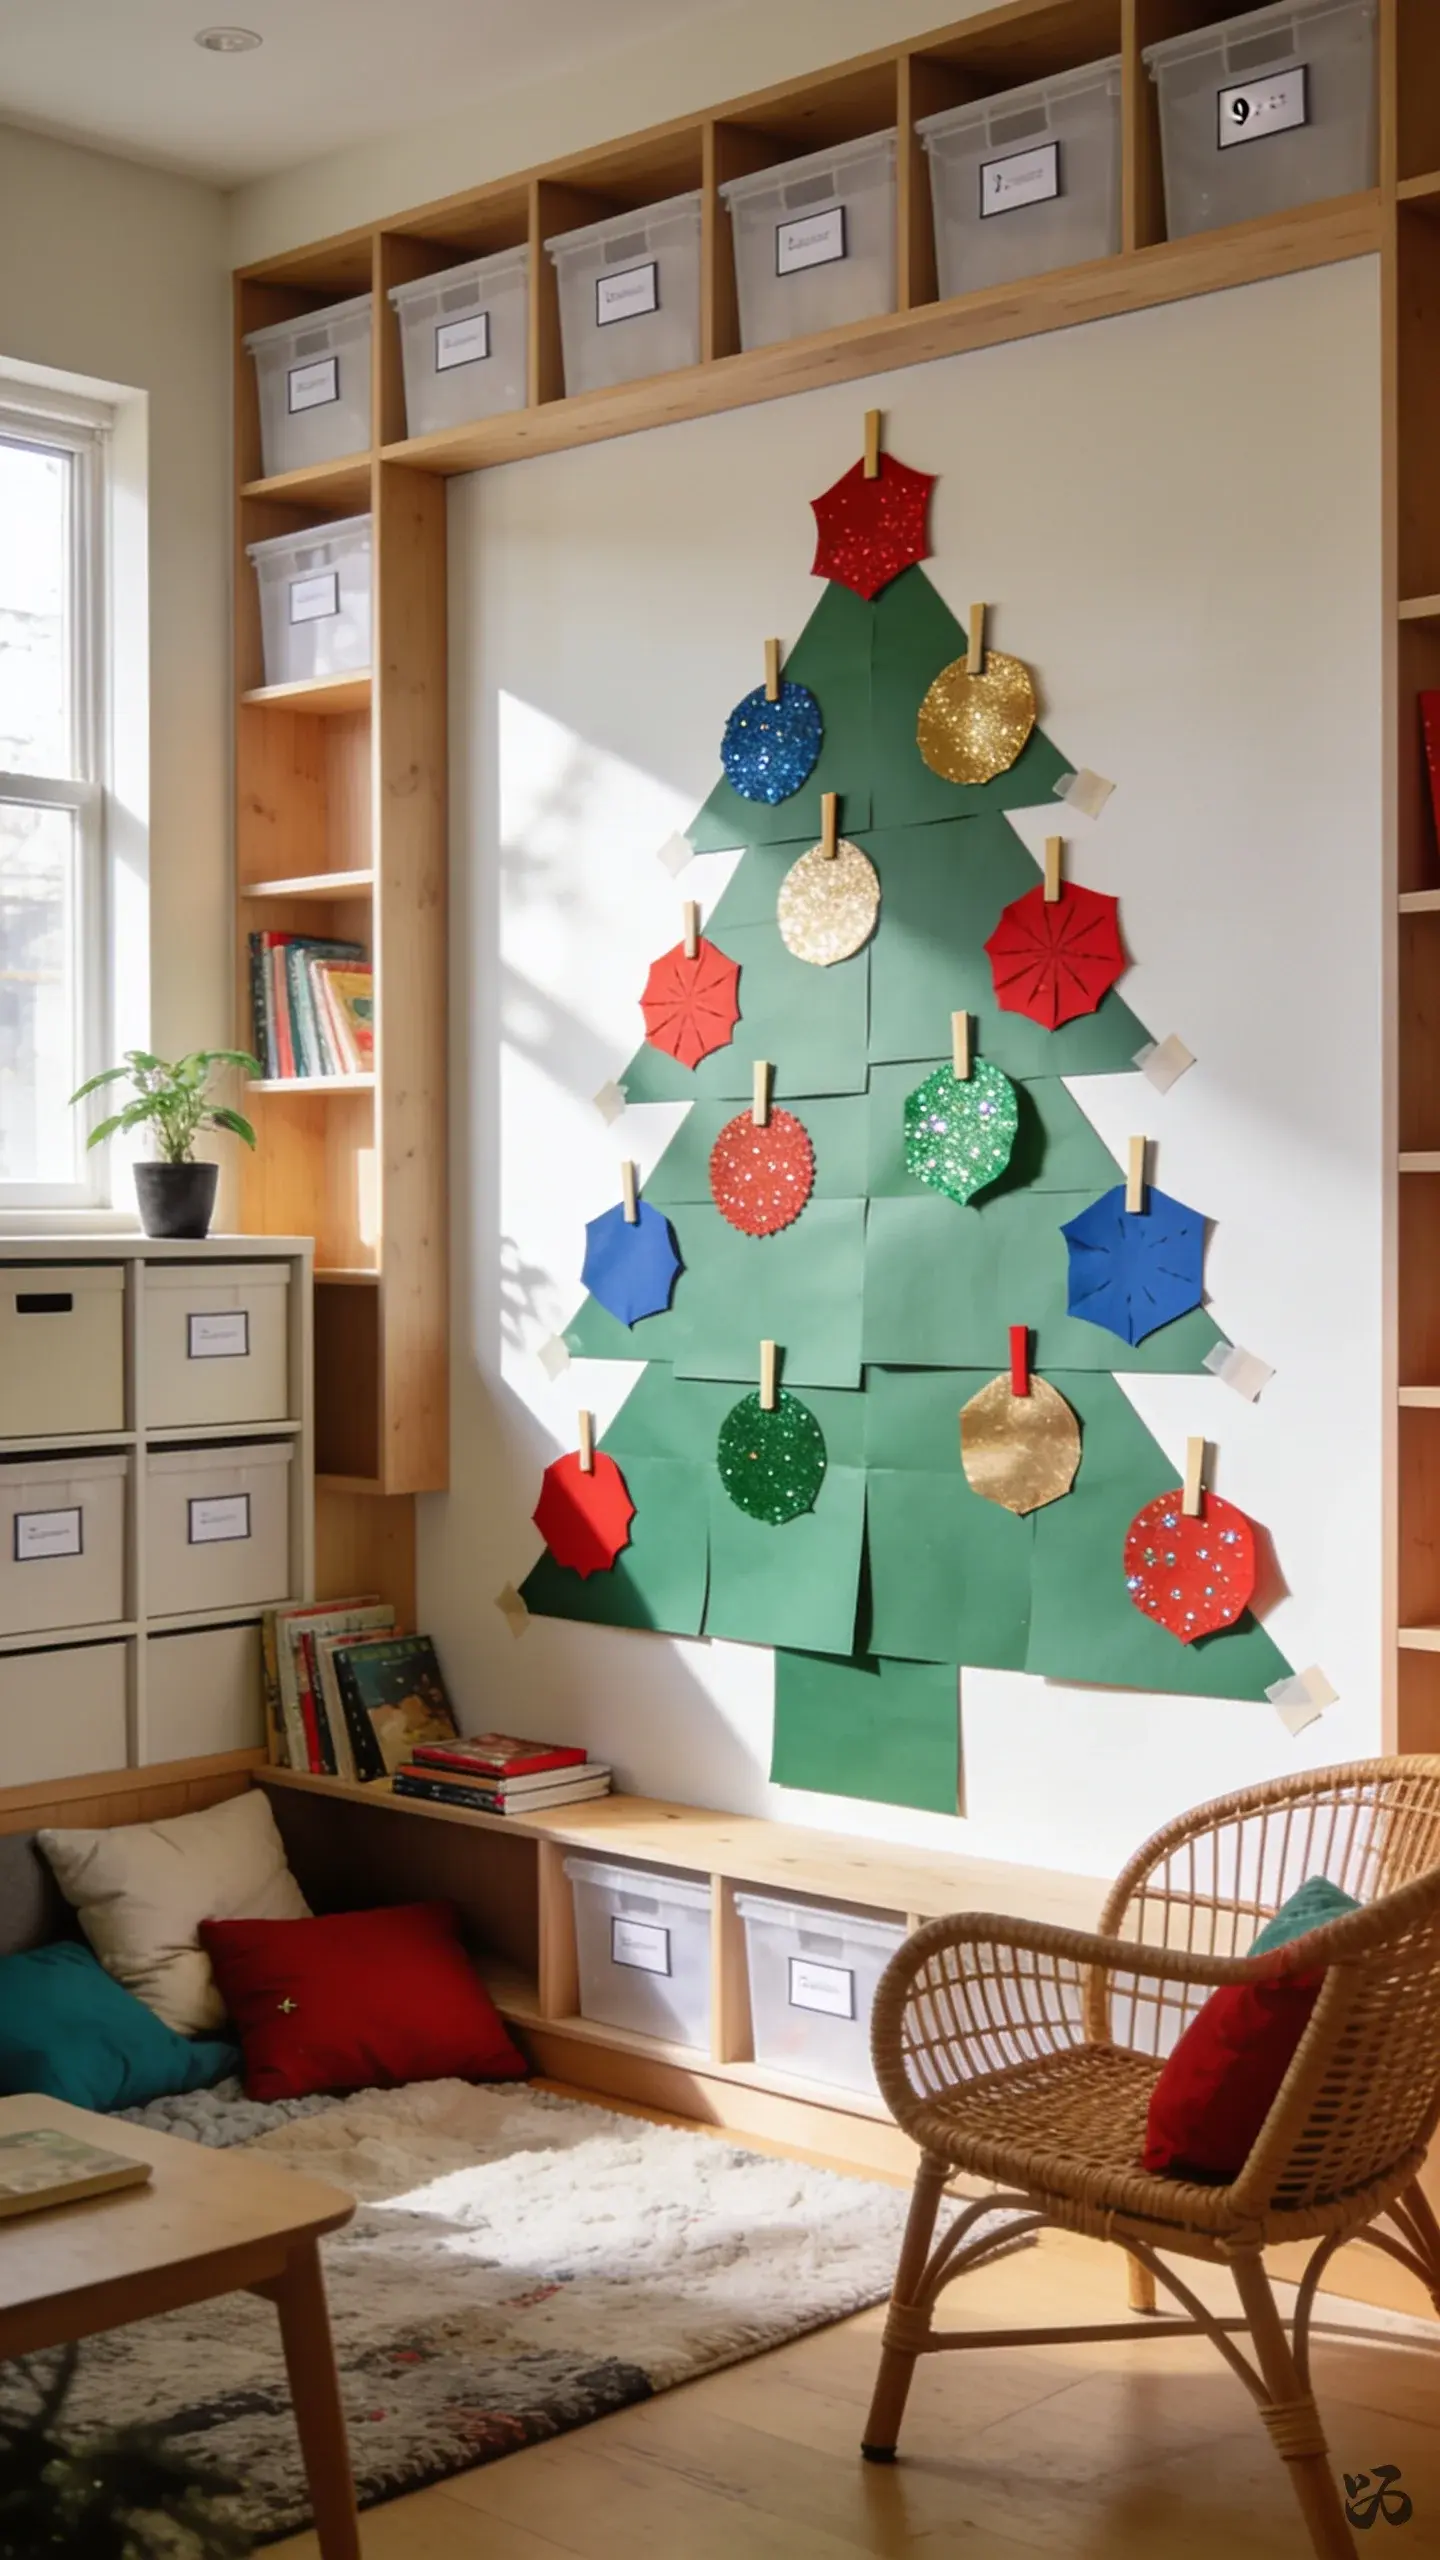 Save
SaveA big Christmas tree shape trimmed with student-made ornaments. Ornaments are 2D paper shapes the students cut and decorate. The tree can be assembled in sections if needed to avoid heavy single-piece attachments.
What you need
- Green poster paper or butcher paper
- Colored paper for ornaments
- Glue sticks or tape
- Scissors and optional glitter
Quicker if you pre-cut the tree shape; perfect for early primary grades.
17. All-A-Glitter Garland Door (Optional)
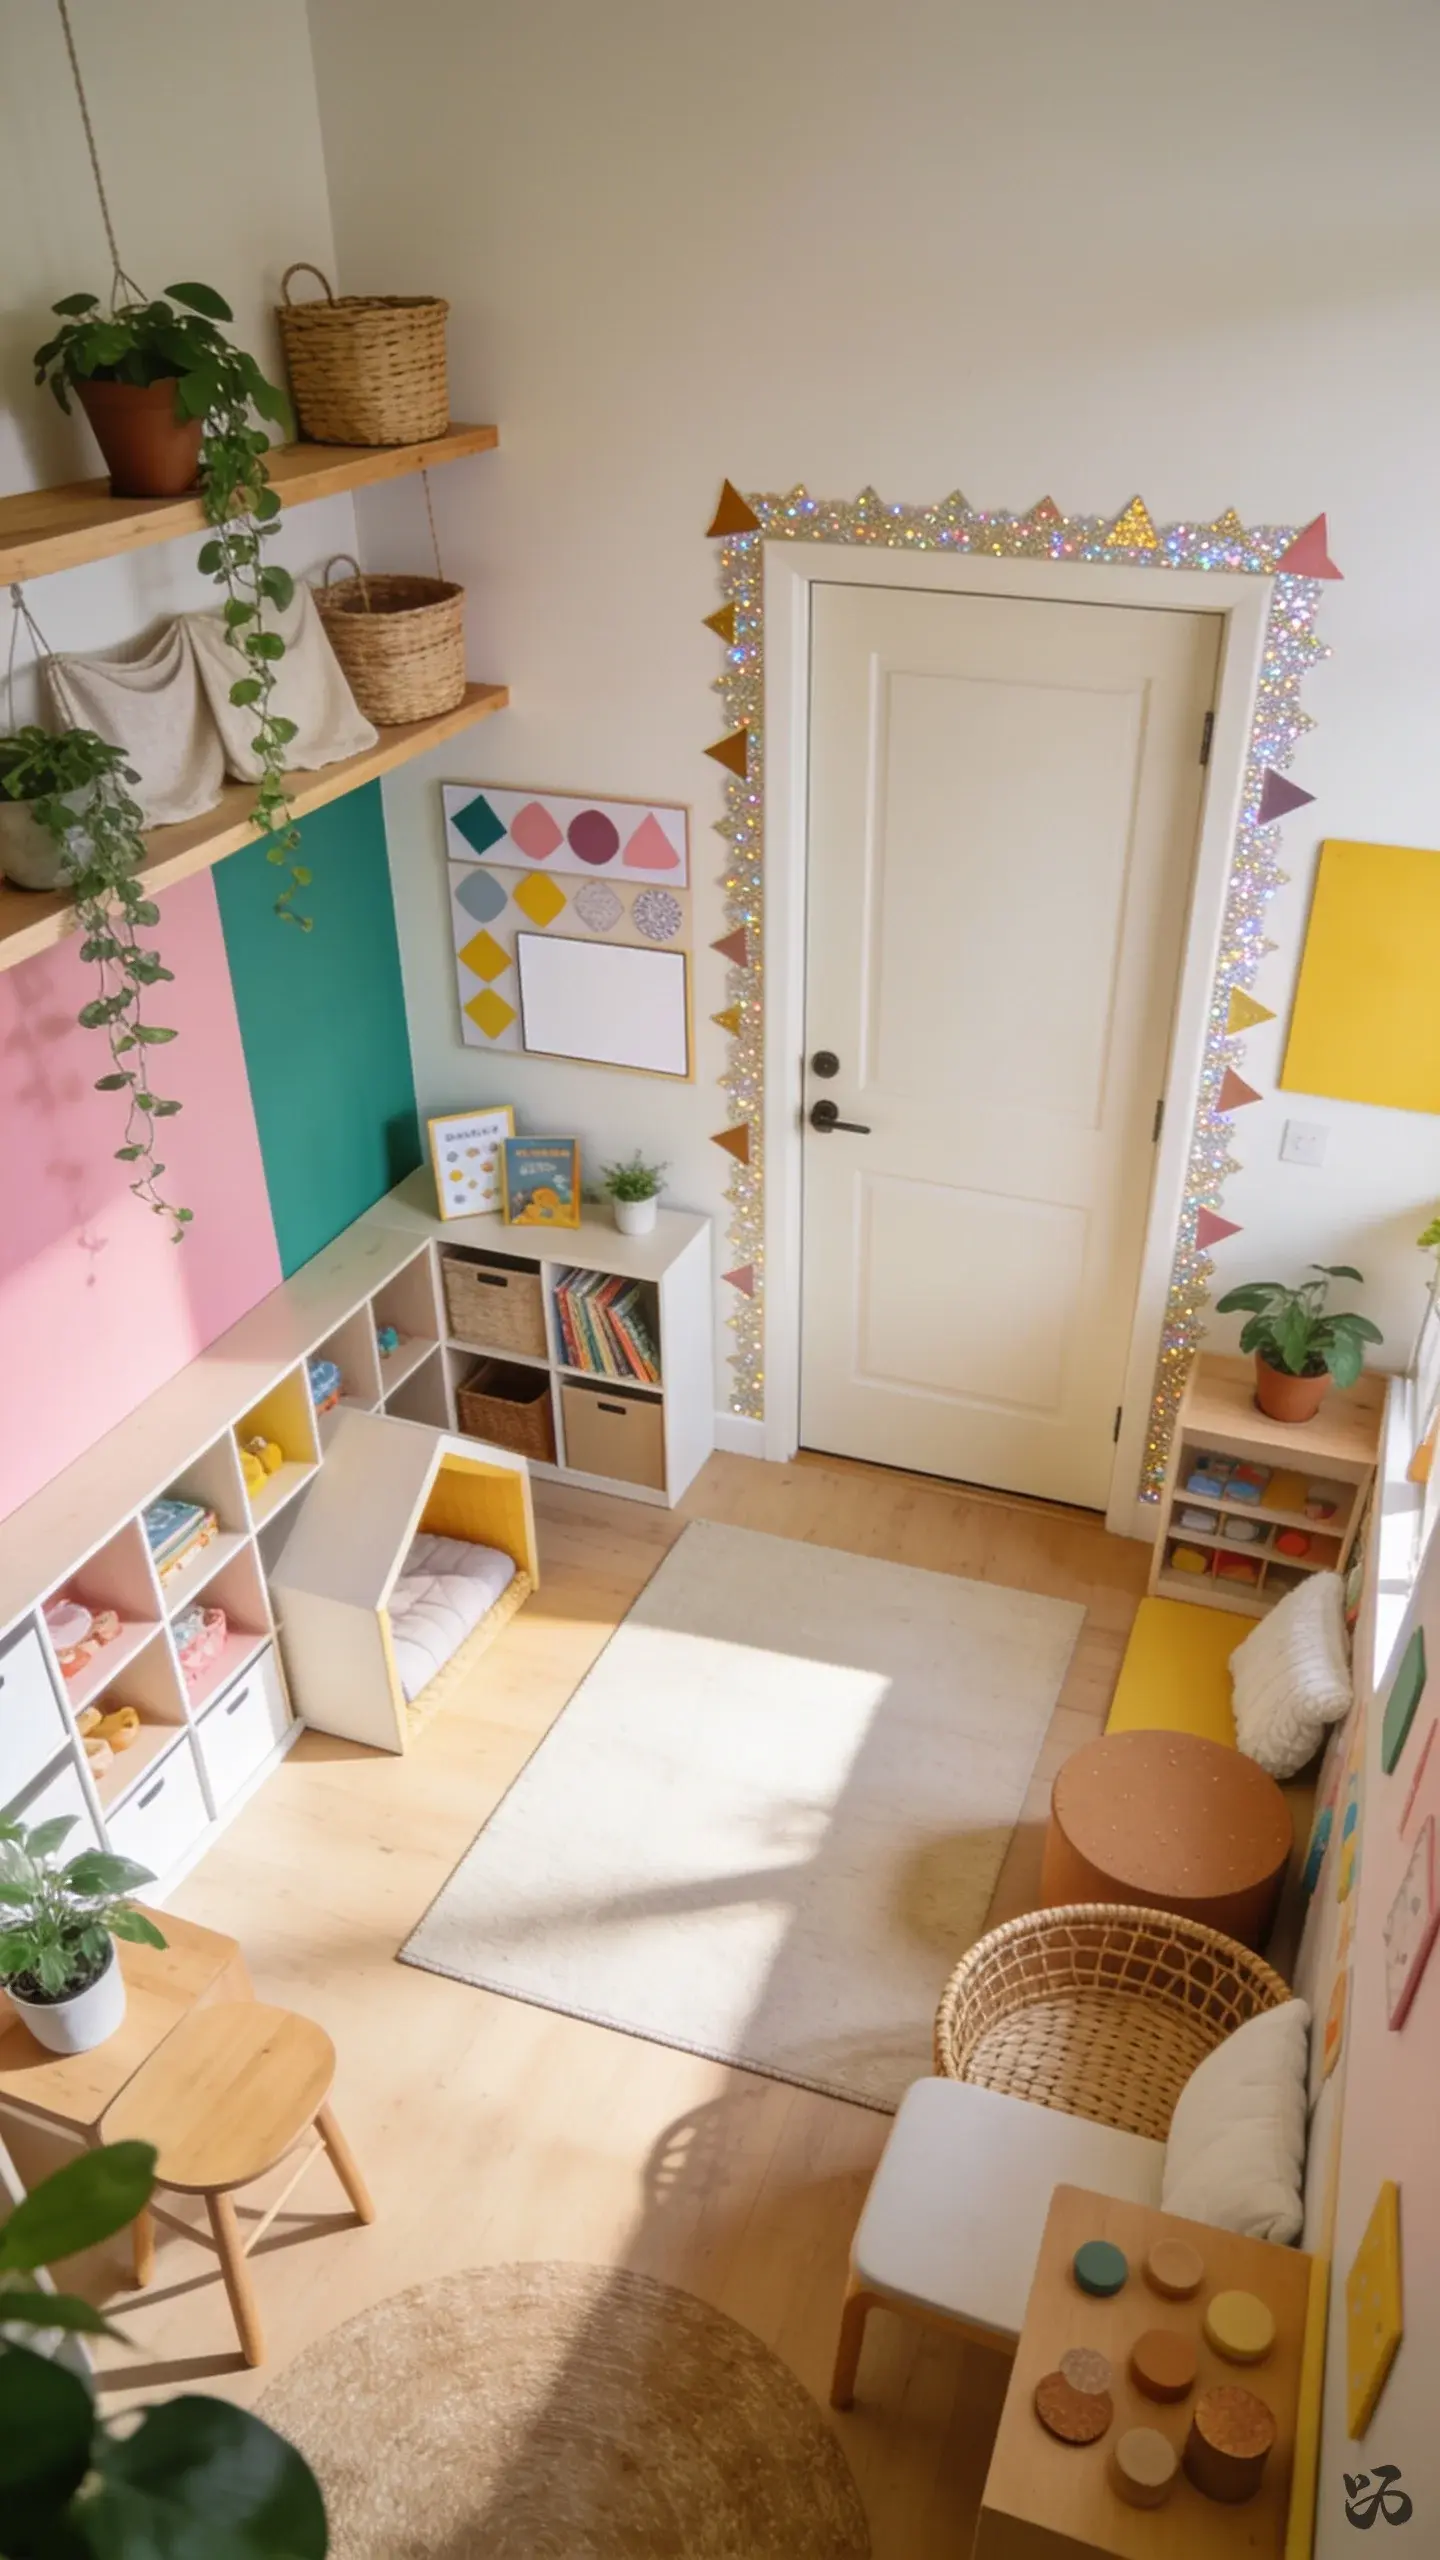 Save
SaveA controlled amount of glitter across a garland border along the door frame adds sparkle without making a mess. Use glitter glue or pre-glittered pieces on a low-tack edge for easy removal with custodial help.
What you need
- Garland border
- Glitter glue or pre-glittered shapes
- Blue or red border to frame
- Glue sticks and tape
Use sparingly to minimize cleanup; best for upper elementary with guardrails on mess.
18. Elf Landing Dock Door
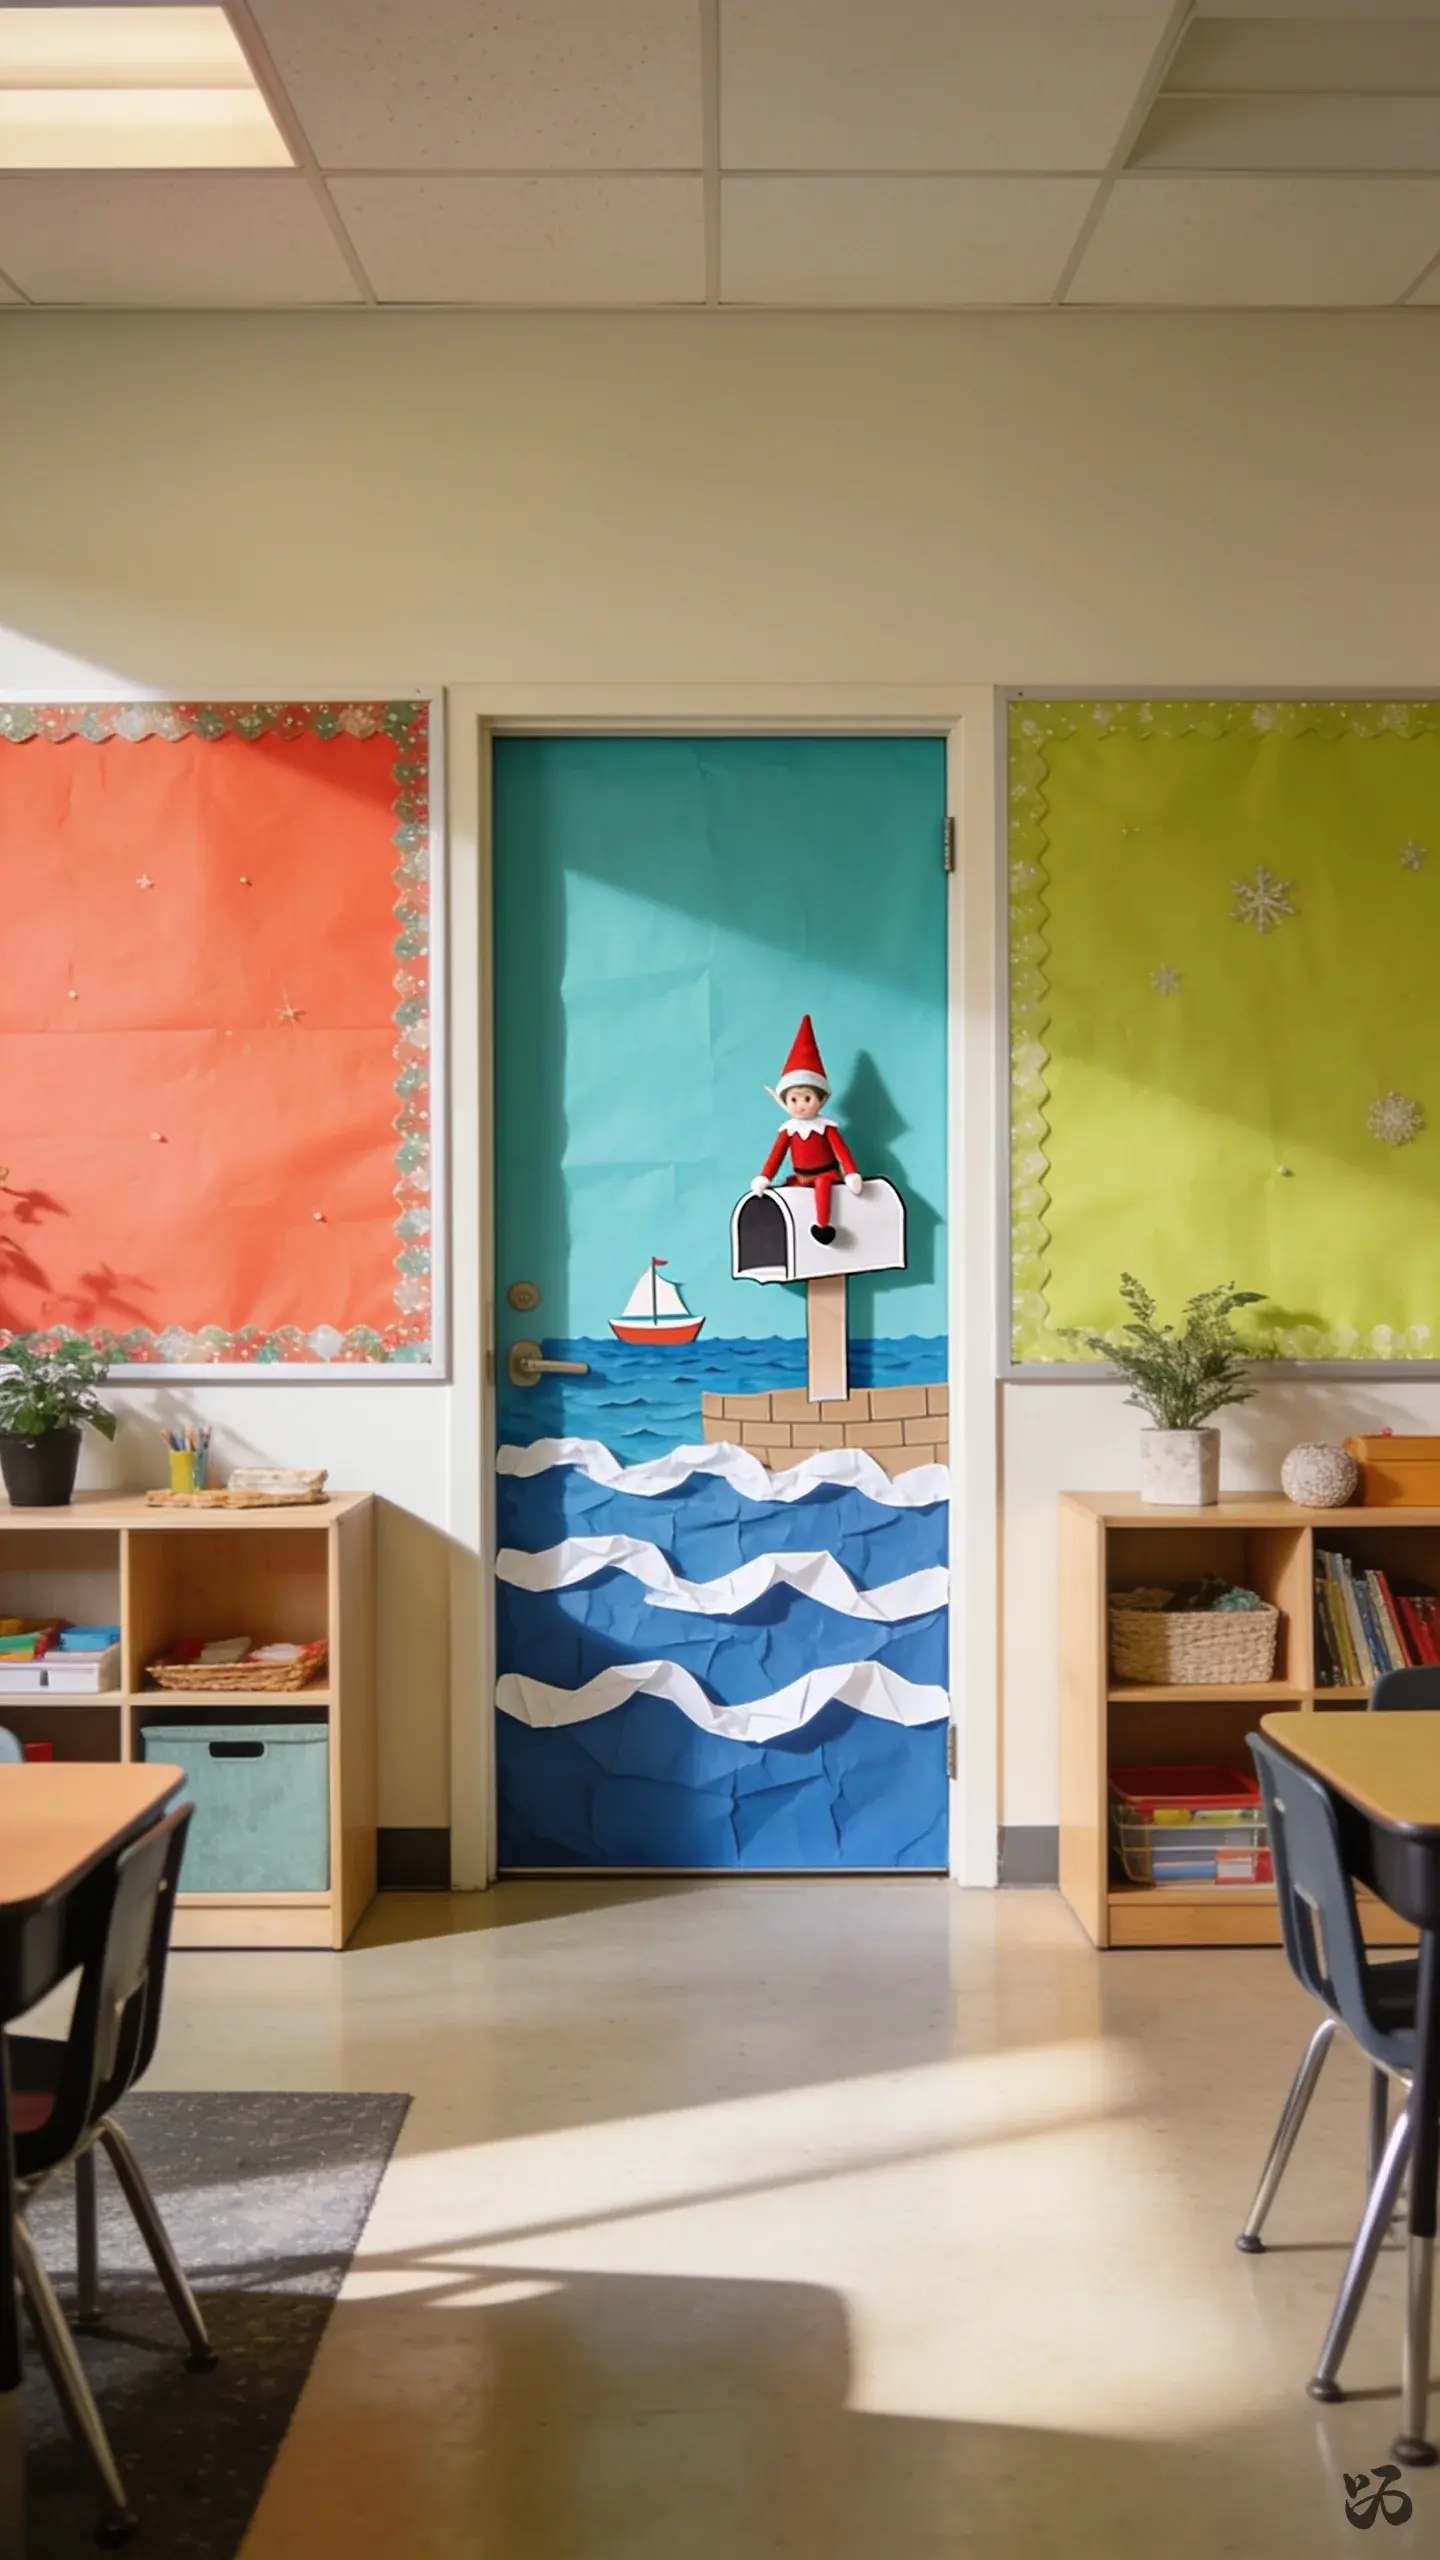 Save
SaveTransform the door into a small dock with an elf perched on a mailbox or mailbox-shaped cutout. Build a small harbor using blue paper and white “waves.” It’s imaginative and durable when mounted with a mix of tape and staples where allowed.
What you need
- Blue butcher paper
- Cardstock for elf and mailbox shapes
- White paper for waves
- Tape and glue
Fun across grades K–2; consider a laminated background to reuse in future years.
19. Chorus of Christmas Lights Door
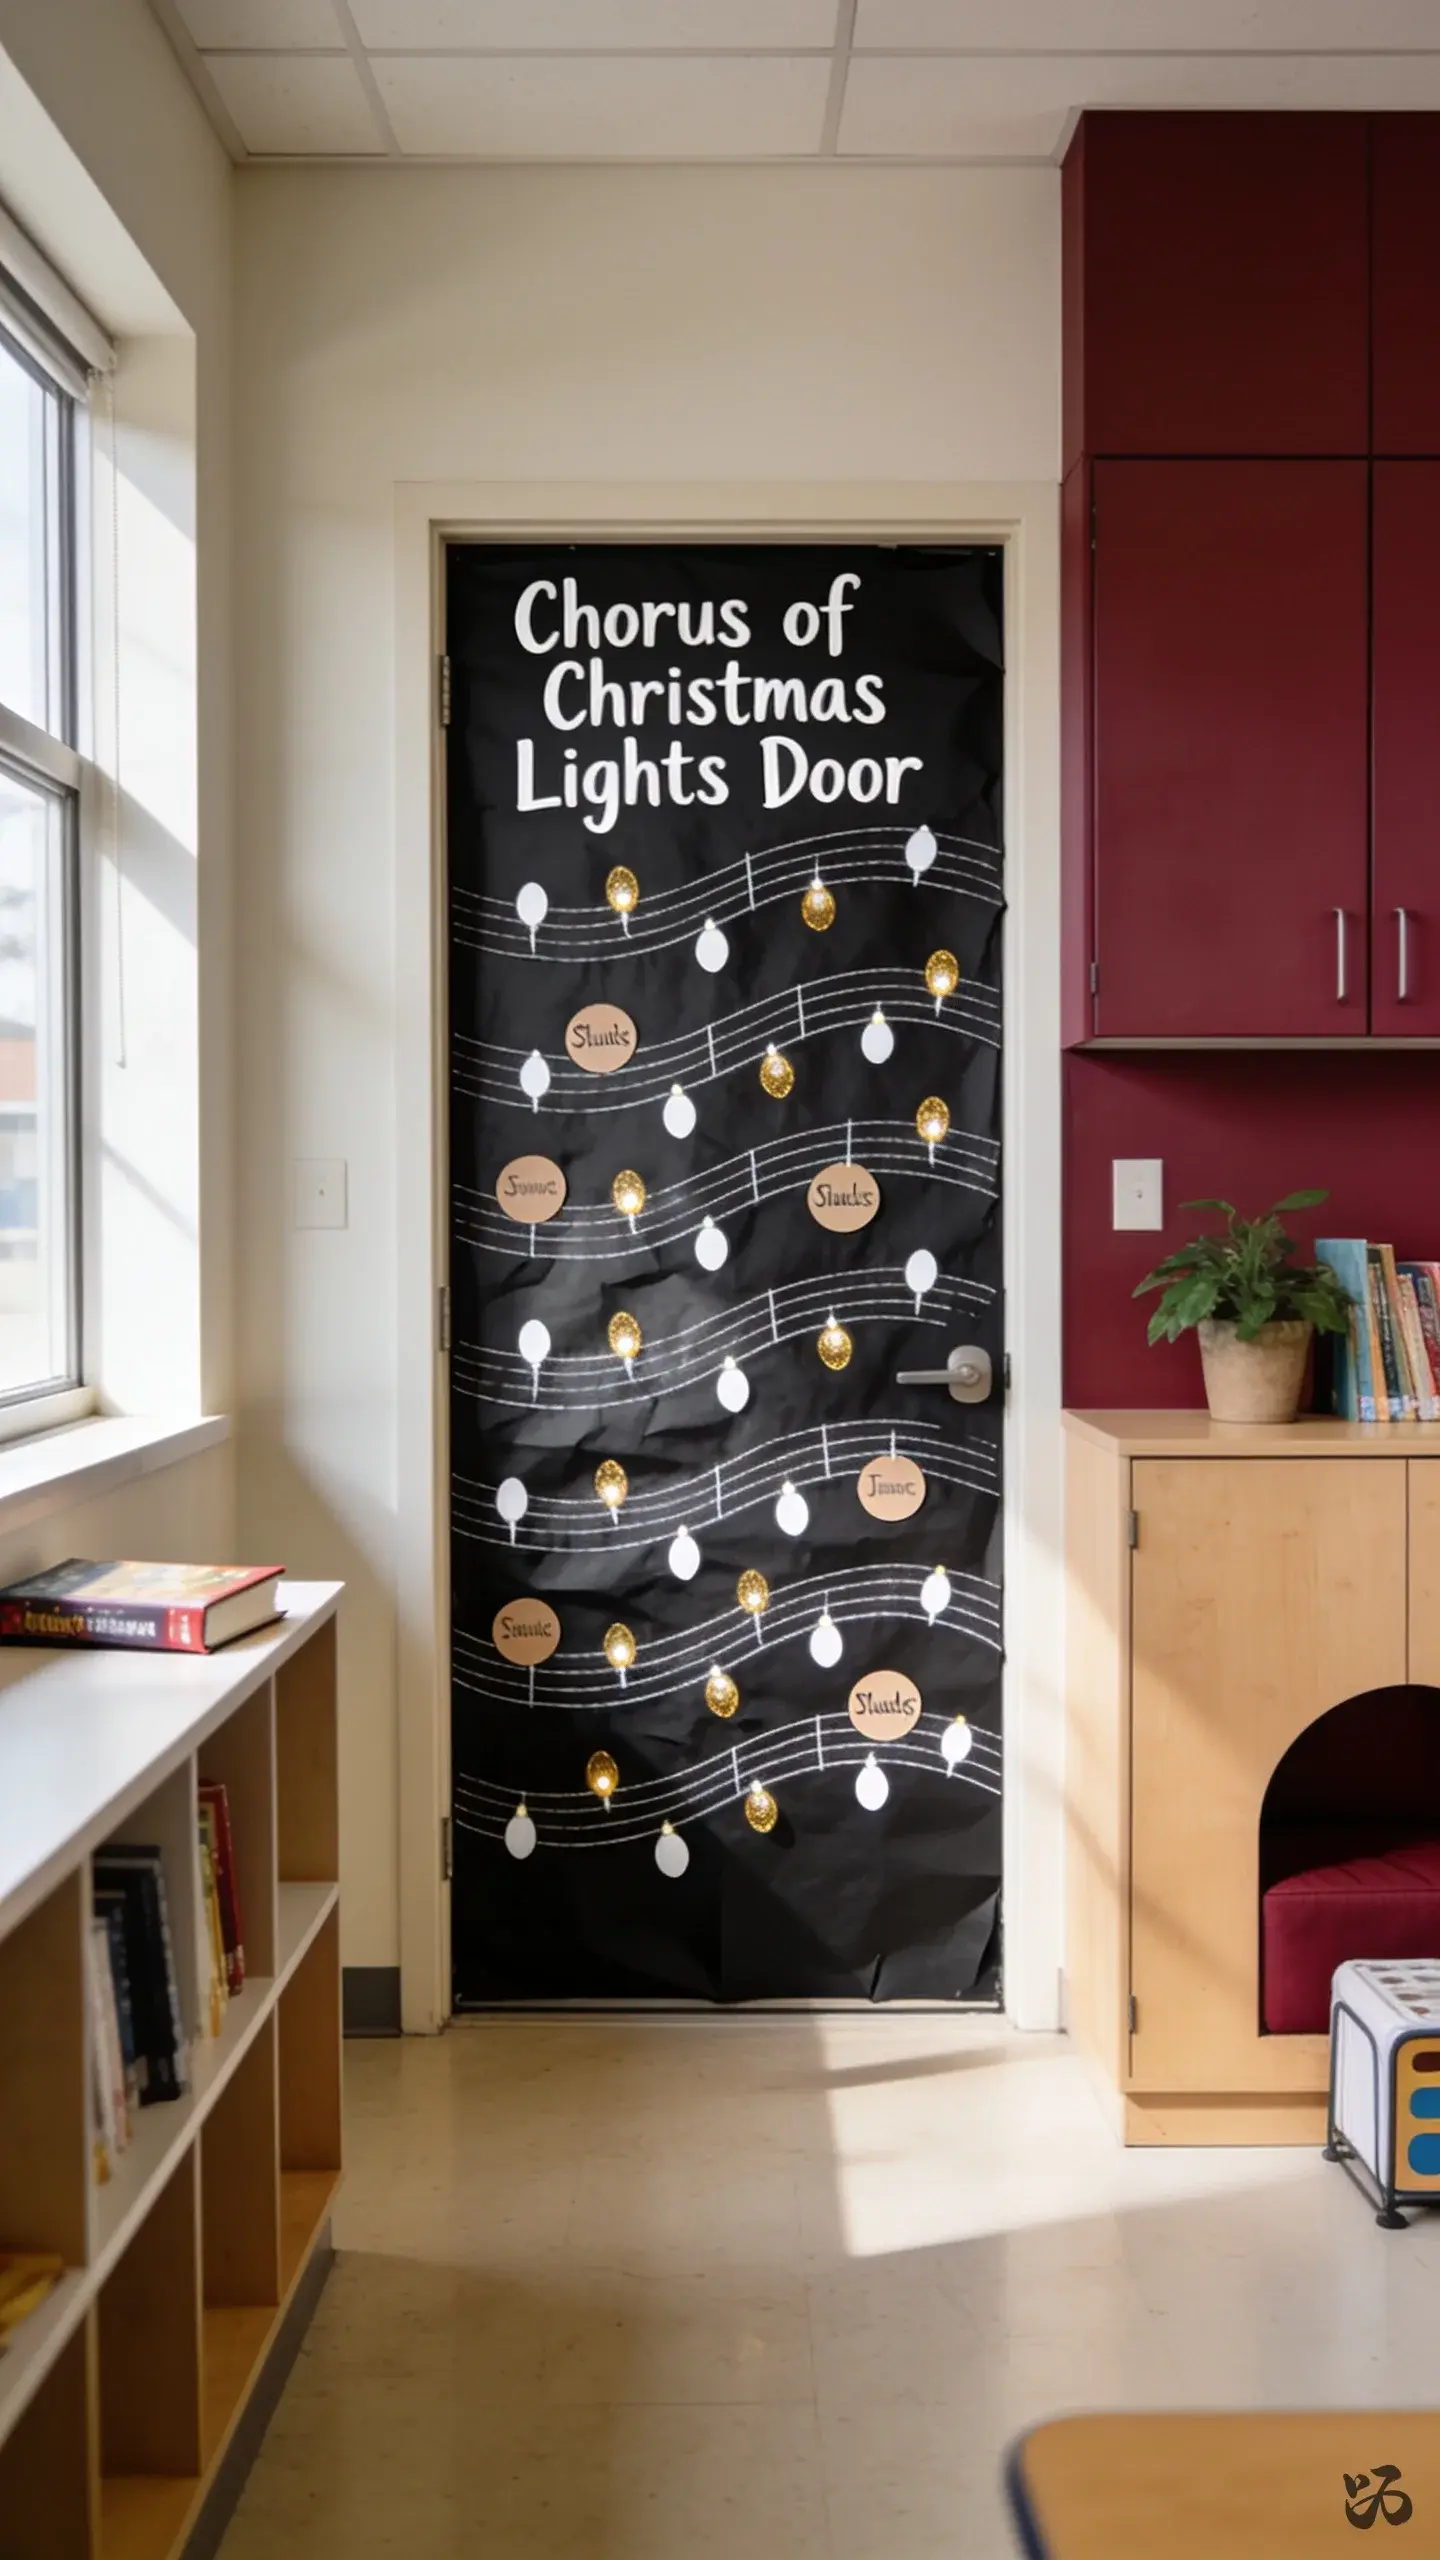 Save
SaveA chorus of lines of lights made from black paper and white markers, with each light representing a student’s name or a short holiday word. It is a fun, low-cost idea that invites student participation during prep period or homeroom time.
What you need
- Black butcher paper
- White or gold markers
- Small circle cutouts for each student name
- Masking tape or removable mounting
Simple to adjust for door height and time; works well from pre-K through second grade.
Conclusion: Start with one easy idea you can finish in one prep period, then pick a second that uses durable materials and minimal laminating. If your door is heavily used, choose ideas that avoid long wall lines and heavy paper layers. These 19 options provide varied visuals while staying practical for busy classrooms.